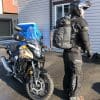
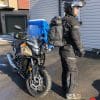
Wearing a backpack while riding a motorcycle is a huge killjoy for me. It throws off balance, restricts movement and makes me sweat where normally I wouldn’t.
I hate it and avoid it at all costs. That is until I met the Velomacchi Speedway.
First Impressions
When Velomacchi approached WBW by email about doing a review I took one look at it and said that if I liked it it would be a winner, because of my intense dislike for backpacks on bike rides.
Of course, I jumped at the opportunity to verbally tear this backpack to shreds as such.
Quality Materials
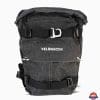
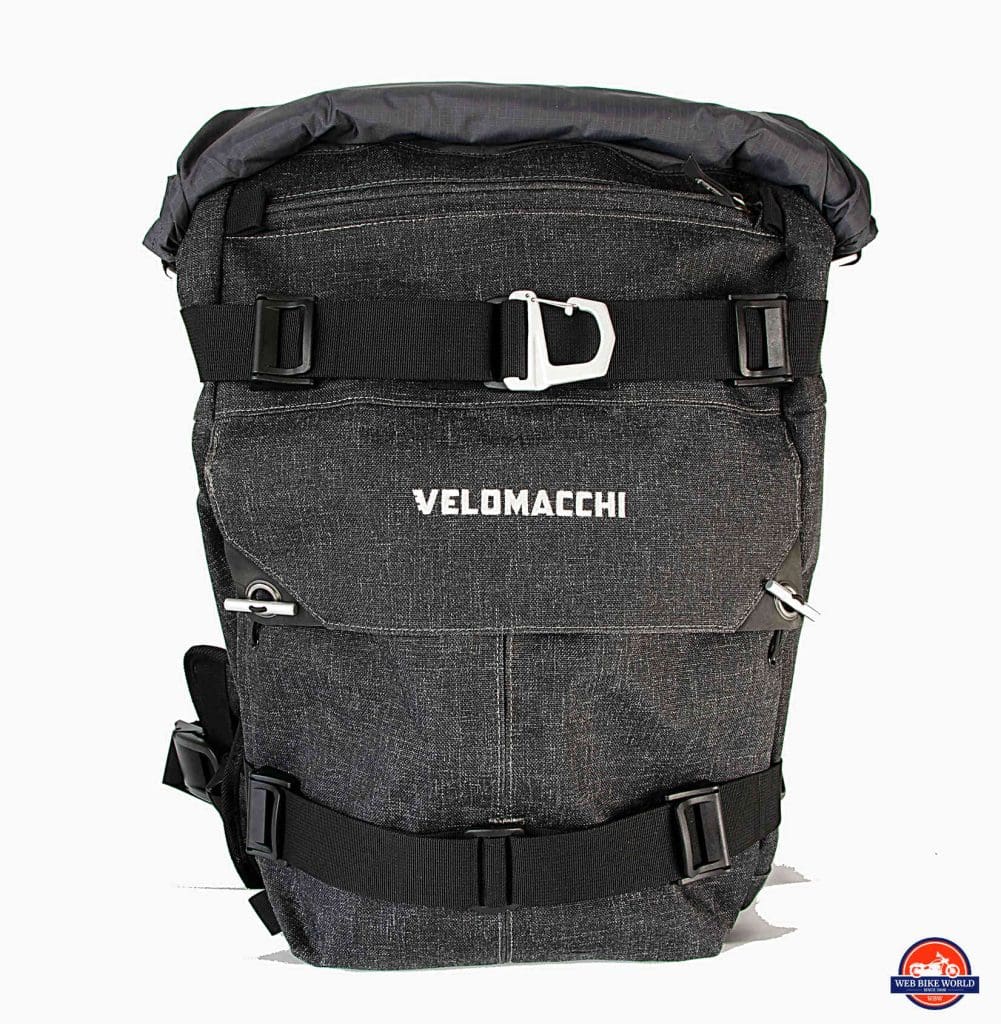
Once I had it in my hands and felt the canvas-style, stiff, yet flexible 1000D nylon exterior and laid witness to how much care and attention was evident in the construction my hard-line attitude softened. It’s lightweight, coming in around 3.5 to 4 lbs, yet feels strong and begs me to pack it up full and go traveling.
The Backbone
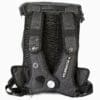
There’s a stiff plastic insert running the length of the bag that keeps it standing up straight even when empty and set down on the floor. This also allows easier loading and unloading of items from the compartments and better fitment when worn.
No Hi-Viz?
I don’t see any reflective material on the backpack anywhere. As stylish as it is, I think being seen in low light is important especially since a large backpack like this will cover any reflective badging on a rider’s jacket.
Aluminum
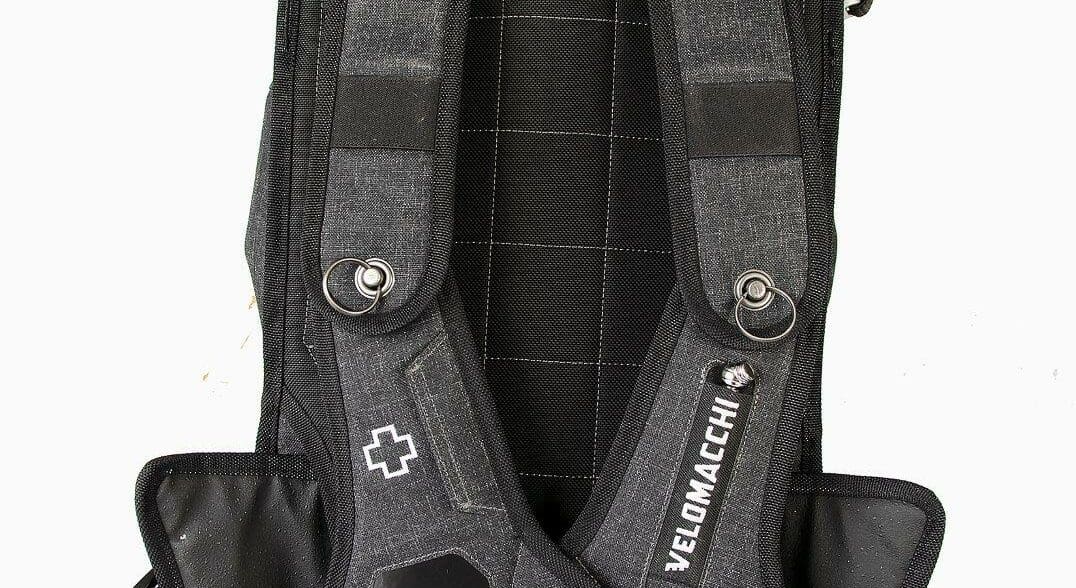
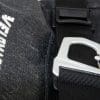
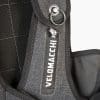
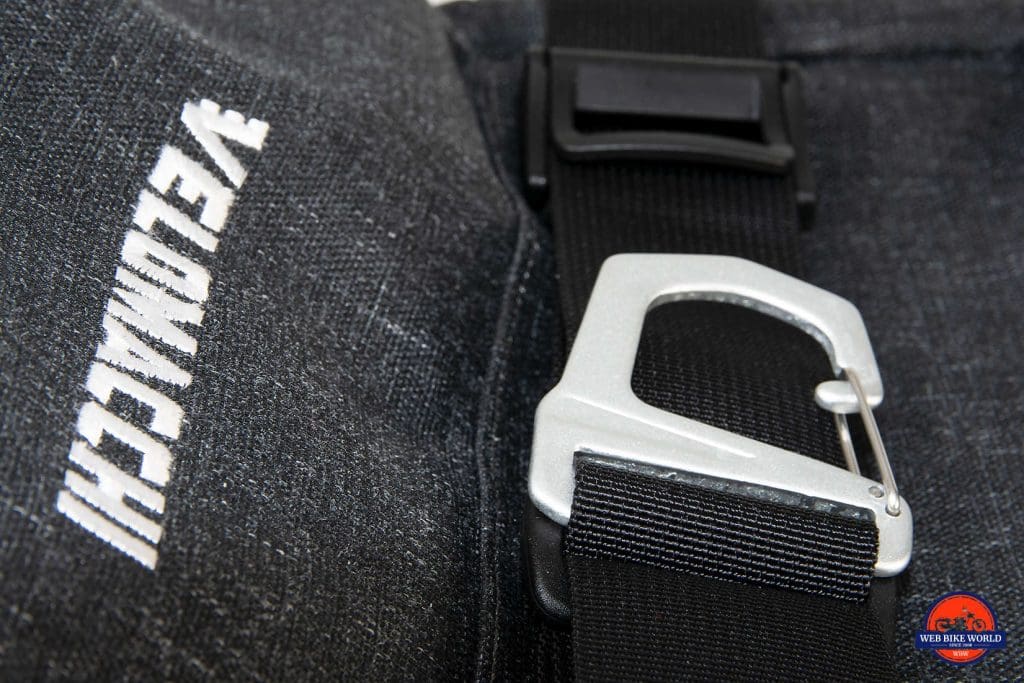
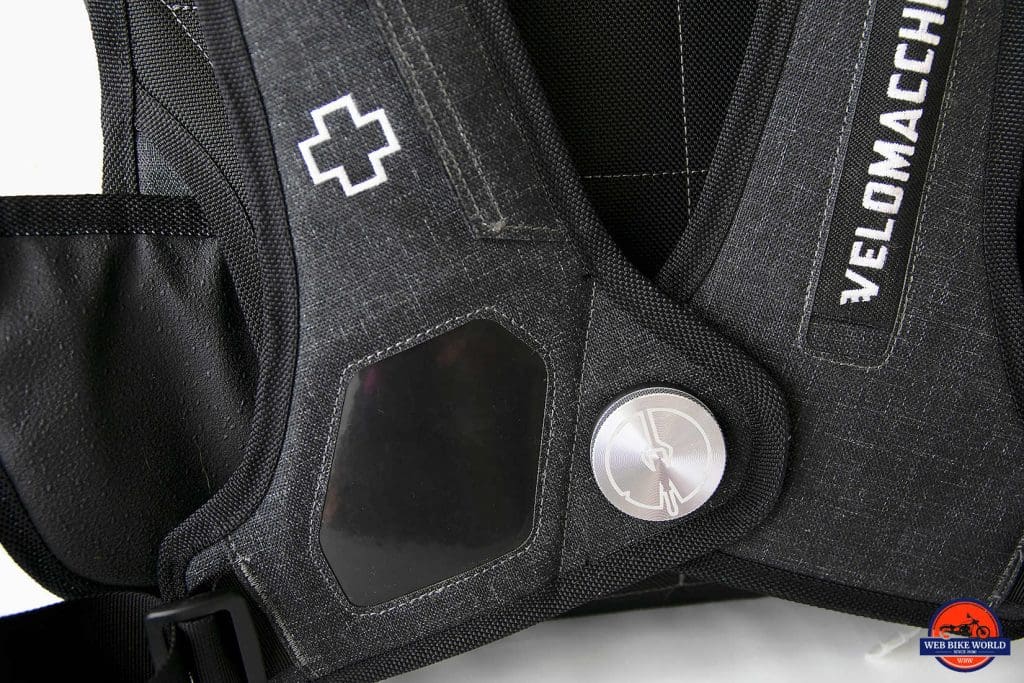
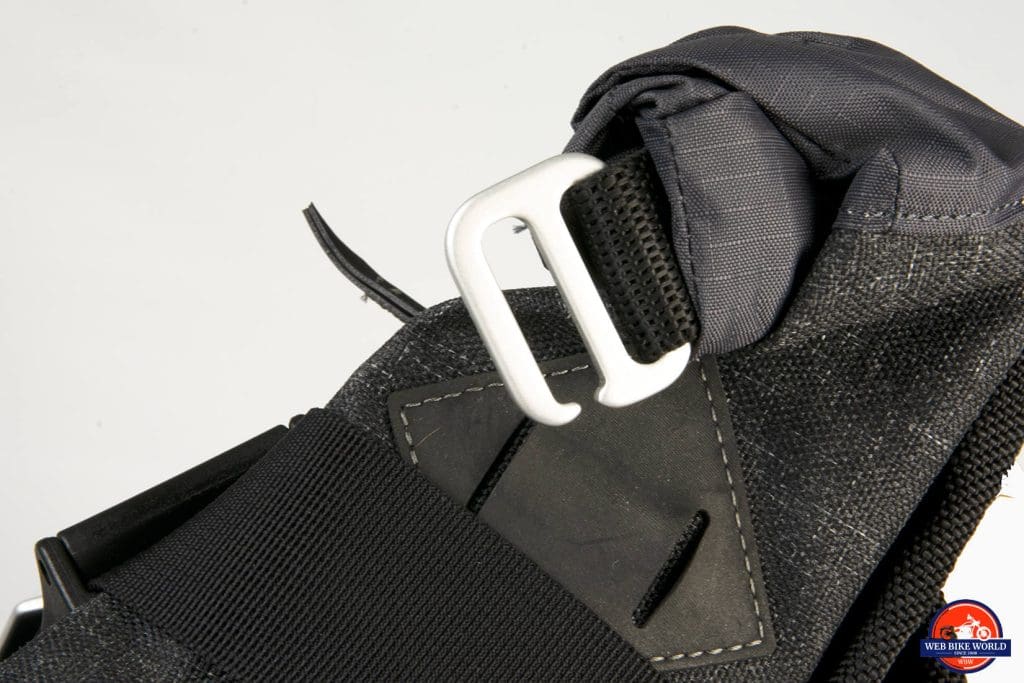
I see the metal closures used on this bag are aluminum, beefy and chosen with quick access in mind. The chest harness looks ergonomically designed to flex and adjust to varied body shapes. The large, 1.5” round button for the sternum harness, in particular, grabs my eye along with a latched hook on the upper portion of the pack.
Helmet Hook
The hook is for hanging a helmet on while you aren’t wearing it. I try it out to see if it works as intended. With the chinstrap done up, I find the hanging helmet doesn’t even swing around too noticeably when I have the pack on my back. Impressive!
Stitching
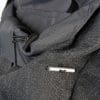
All the exterior stitching is sealed against moisture intrusion and there are magnets holding two closures shut. The whole front area of the bag is coated in a kiss of chemical to inhibit mud and dirt from sticking to it.
This is a smart and handsome piece of kit that screams “Facta Non Verba” (Deeds Not Words) which is the motto of the Merchant Marines. Velomacchi’s founder and CEO Kevin Murray’s Grandfather was a marine mechanic with the Merchant Marines and inspired Kevin to design and build equipment that performs above expectation under any adverse conditions encountered.
“Show me, don’t tell me” is often a motto in life for me and being that I’m a heavy duty mechanic myself I think along the same lines as Kevin’s Grandfather. I prioritize functionality over flash in my chosen gear.
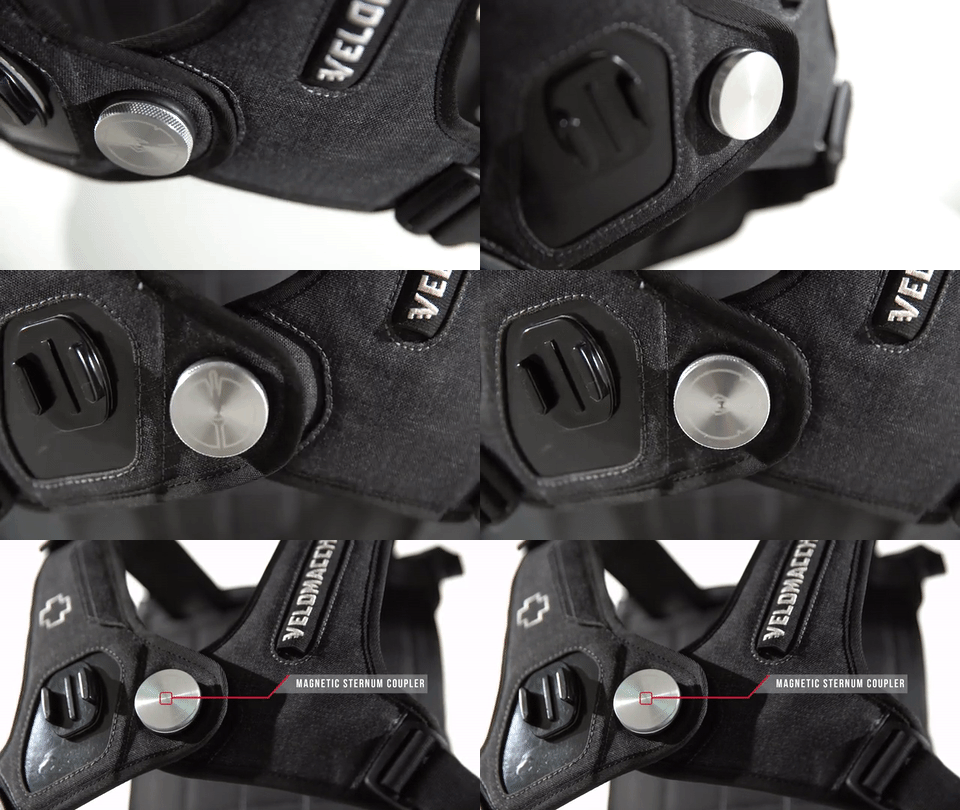
Magnetic Sternum Tri-point Harness
This is the most impressive feature of this backpack by far to me.
Harness Comfort and Fitment
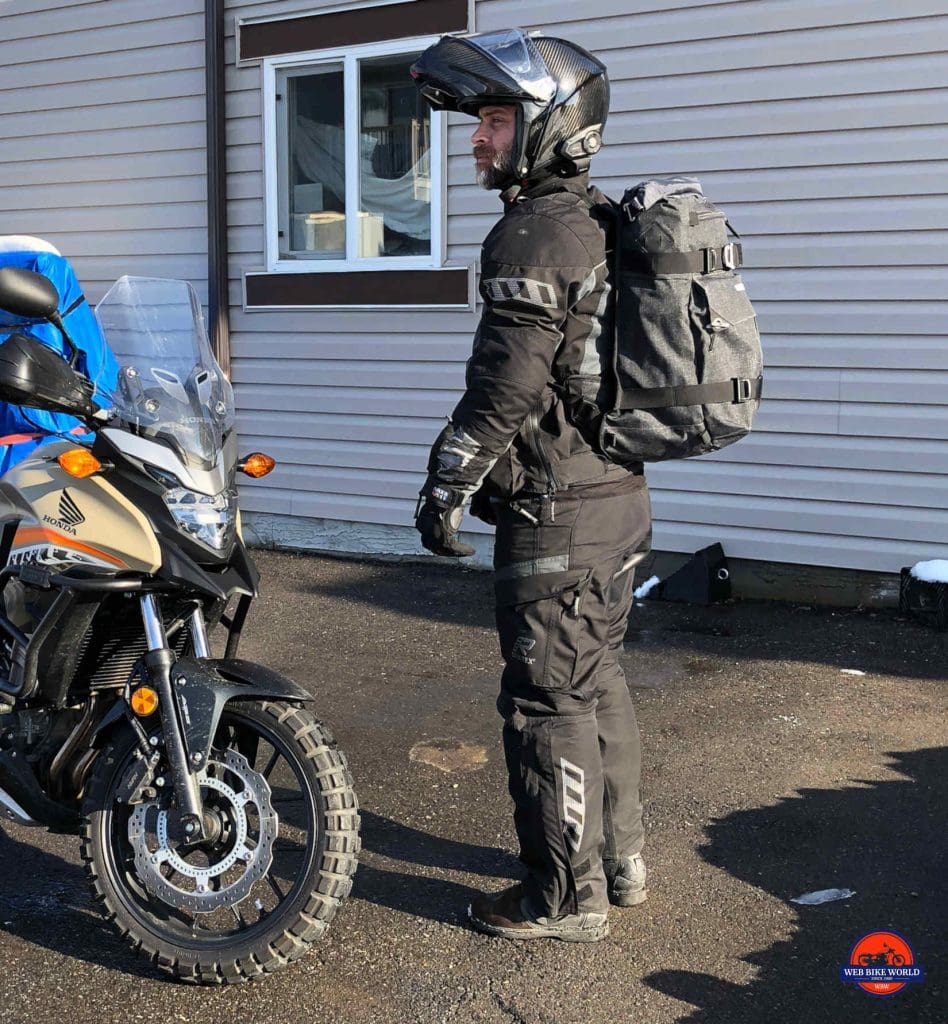
The tri-point harness can pivot and turn in three areas as the name implies. I found it worked in conforming to my individual body shape allowing the backpack to hug me tightly as desired without making me feel like I’m wearing a straightjacket.
Without anything inside, I barely noticed I was wearing it. With only a laptop inside the weight was so evenly distributed as a result of the harness design I still barely noticed it.
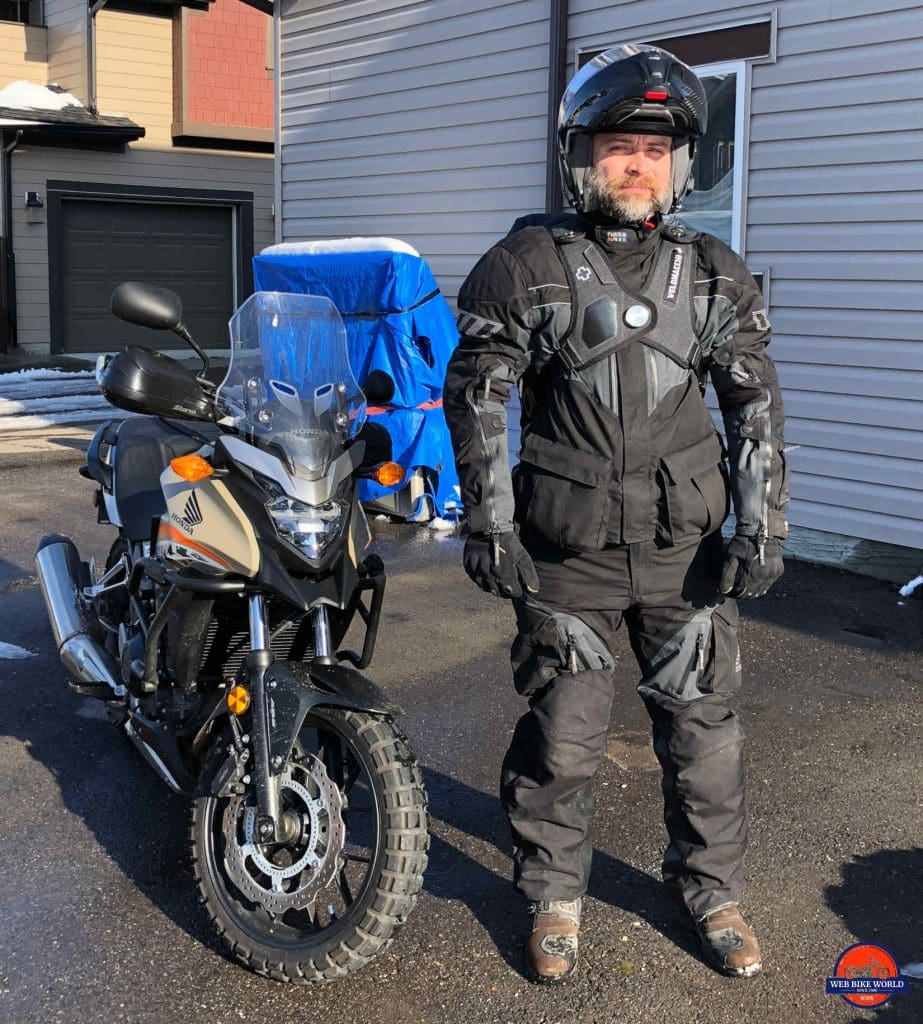
It really works well with standard amounts of gear inside. Of course being the eccentric tester that I am I had to push the envelope to see just how much punishment this bag can take.
More on this in “The Ride” section to come below.
Sizing Adjustments
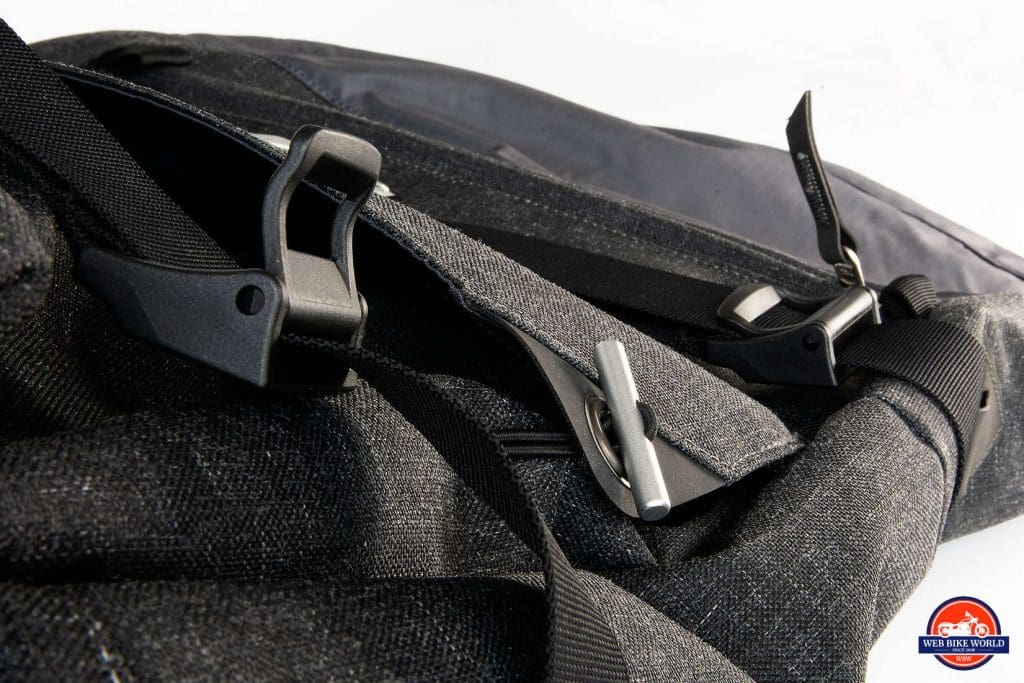
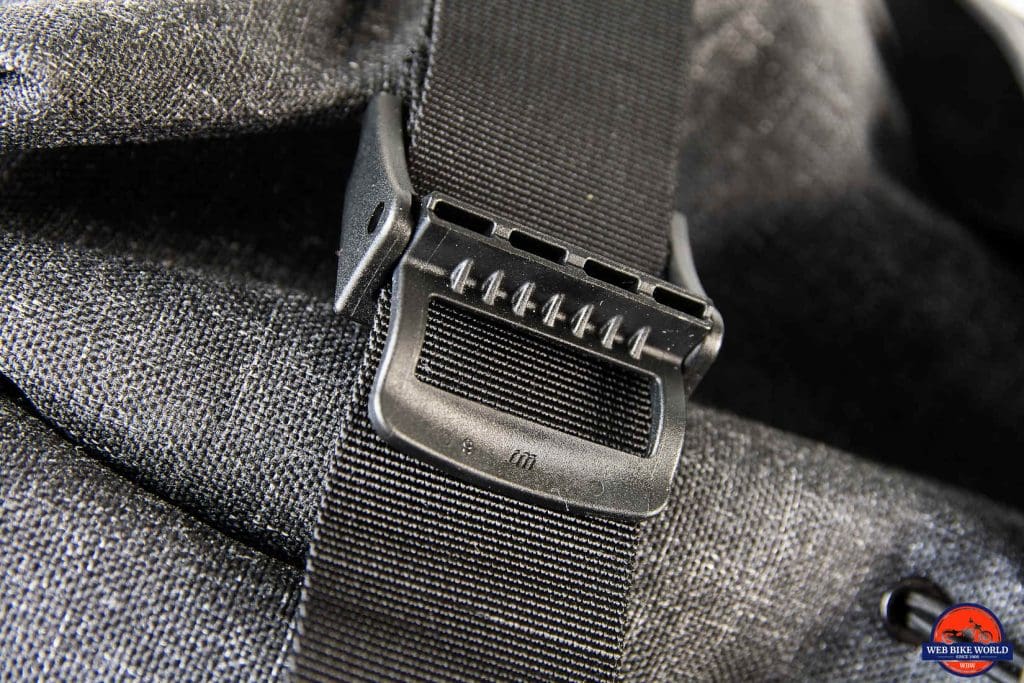
Flip open cinches can be manipulated one-handed once you’re wearing the pack.
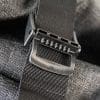
You first set the ones on each hip close to where you want it, then fine tune the two on the rib cage area. It’s a cam-over design that pinches the straps tightly to lock it where you want it. The system worked perfectly for me in maintaining a good fit at all times during testing.
Open & Close Done Easy
Many backpacks close up securely across the chest area using clicking plastic connections or zippers. The Kriega R35 Backpack is a good example of this.
I find those difficult or near impossible to latch/unlatch while wearing thicker gloves and having a full face helmet chinbar impeding my vision.
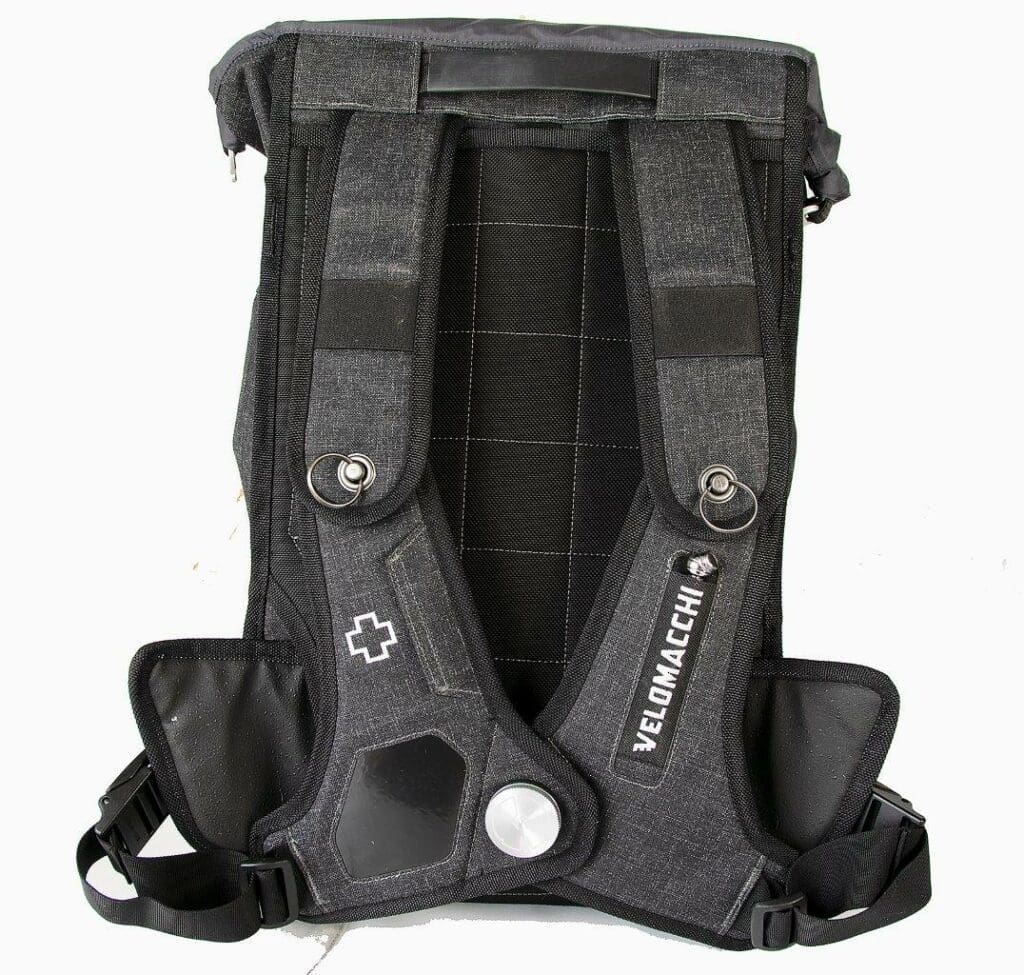
It’s wickedly easy to do up. I usually get it closed on the first attempt and I’m able to undo it flawlessly with only one hand. The round aluminum locking button is easily twisted 90 degrees to unlock even with gloves on thanks to its size and knurled edges. After unlocking it, my index and second finger grip the projecting lip edge beside the button and split the harness bond.
Storage Compartments
The total capacity of this backpack is a claimed 40 liters spread out over 4 compartments. Velomacchi calls this a “weekender pack”, saying it can contain gear needed for 2 days.
There are two other Speedway backpack offerings in the 28 and 50-liter class available, but I chose the 40 to review because I feel the 28 too small to be of any significant worth and the 50 too large.
Just call me Goldilocks I guess because the 40L is juuuuuust right.
Roll Top Main Compartment
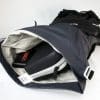
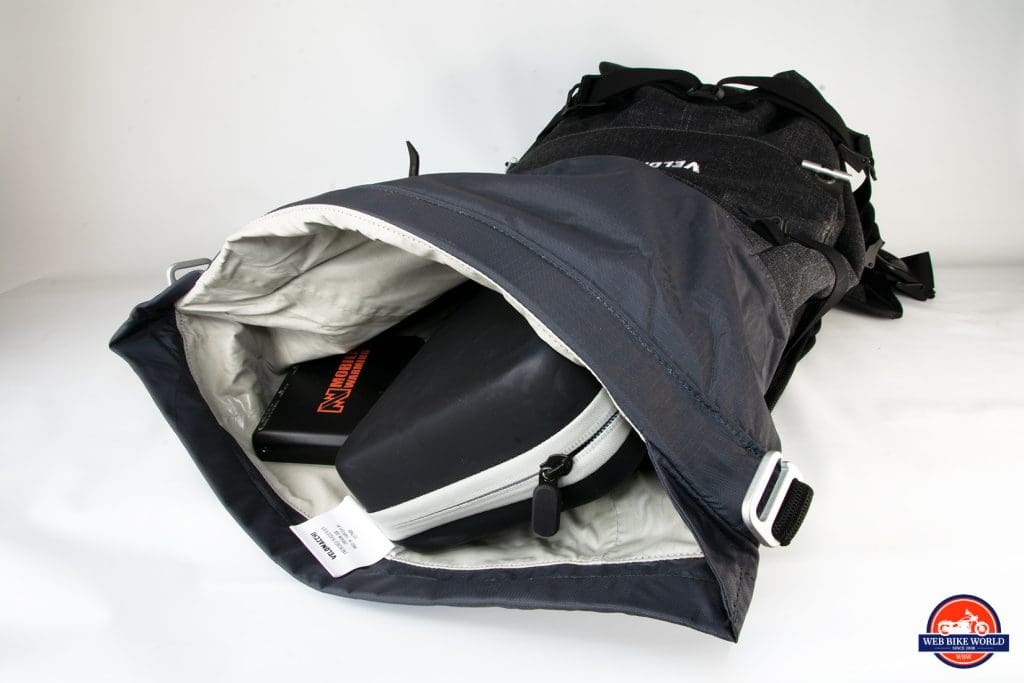
The largest of the compartments runs the full width (12.5”) and length (21”) of the backpack. It’s 100% waterproof and the opening uses a flexible magnet for a closure.
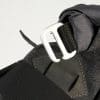
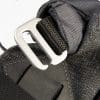
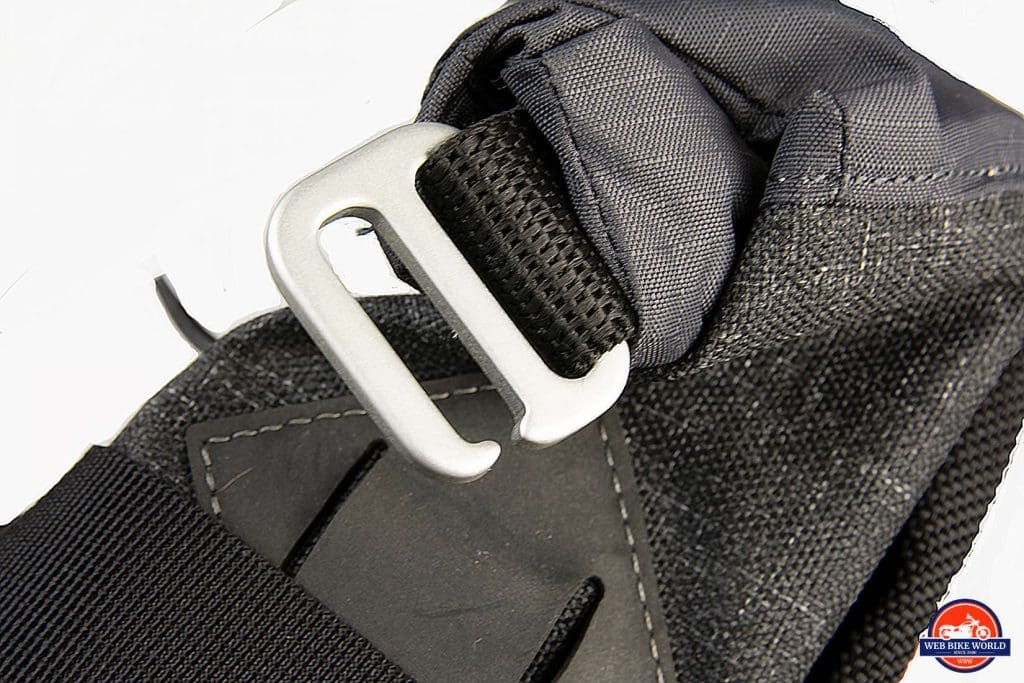
After the magnet seals shut the material around it is rolled three rotations before coming flush with the top of the main body of the bag. On either side are aluminum hooks that slip into slots to keep it rolled shut.
Annoying Hooks
I’m not a fan of these hooks because I find them awkward and finicky to put into place with a lot of gear in the bag. Conversely, opening it is very quick and easy which is nice.
Tan Colored Liner
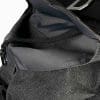
The inside of the main compartment is lined with a rubberized material beige in color. This makes it easier to see contents when you open the bag to hunt for whatever you buried inside. It’s also easy to clean due to the material chosen.
Other 3 Compartments
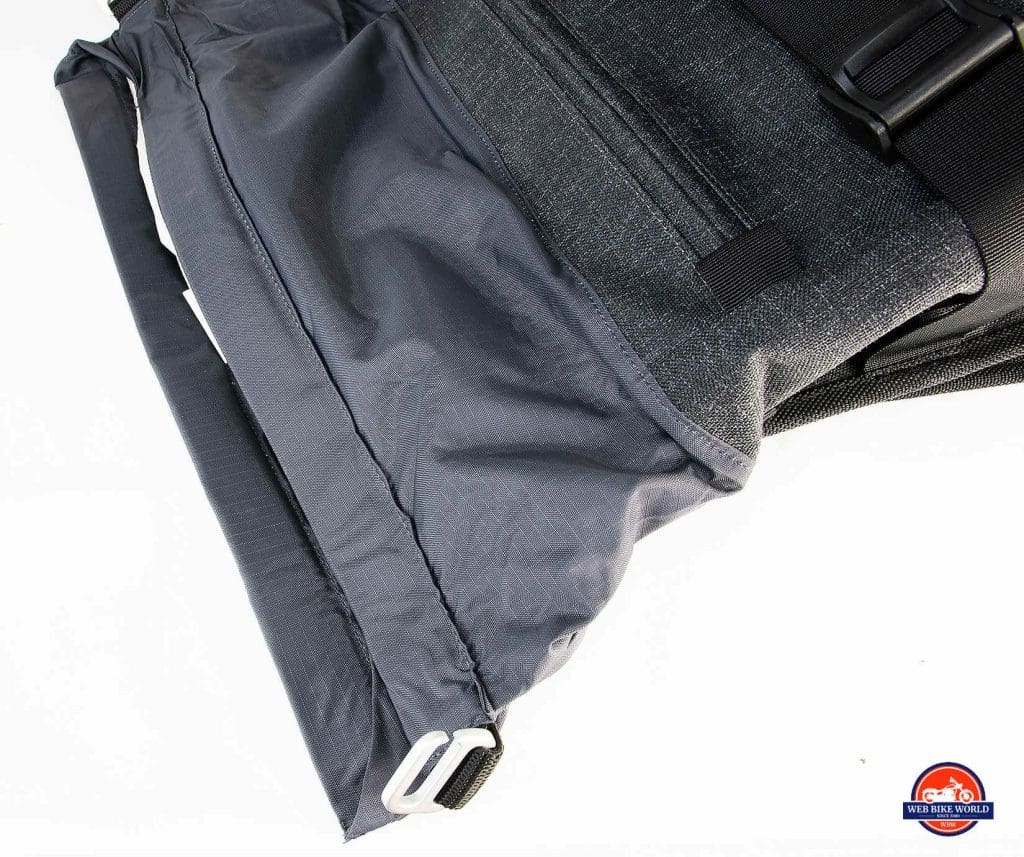
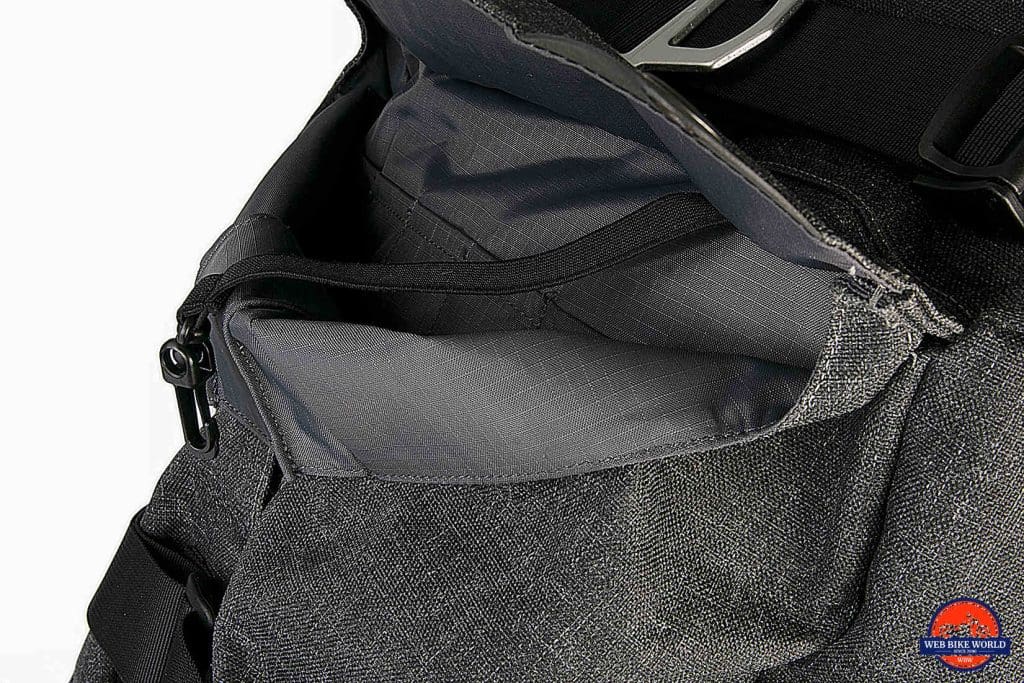
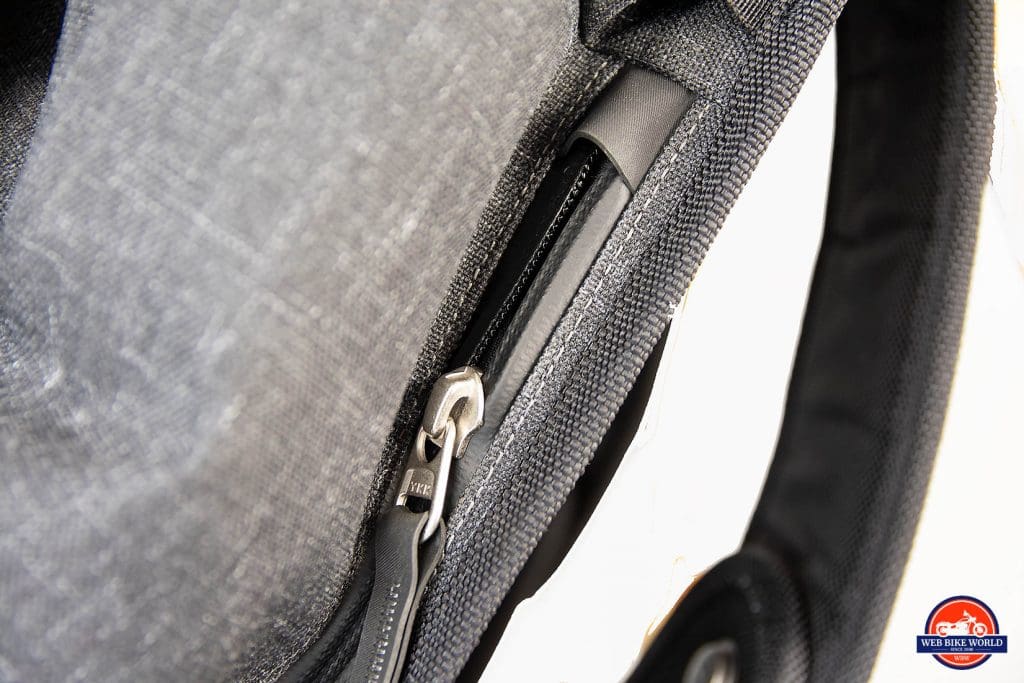
The next largest compartment runs just below the lip of the main one. It’s the quickest and easiest to get into of the 4 compartments thanks to what’s supposed to be a waterproof YKK zipper. It has a 4” smaller opening than the main one and runs just about the same depth.
Unfortunately, this compartment isn’t satisfactorily waterproof. During my testing, I found water easily penetrated the zipper and soaked the contents. Very disappointing, but at least the main compartment stayed dry.
Waterproof Testing In The Shower
It’s October here in Alberta and there’s no rain to be had. In order to waterproof test the backpack I decided to take it in my shower for 20 minutes instead of attempting a rain dance ritual.
I noticed after 20 minutes the backpack was significantly heavier and sloshed when I took it off my back. Lo and behold I came to find a major design flaw with the hydration pack compartment. It doesn’t have drains at the bottom and had filled up with water! I dumped out the water and opened up the compartments to inspect paper I had placed inside to detect moisture.
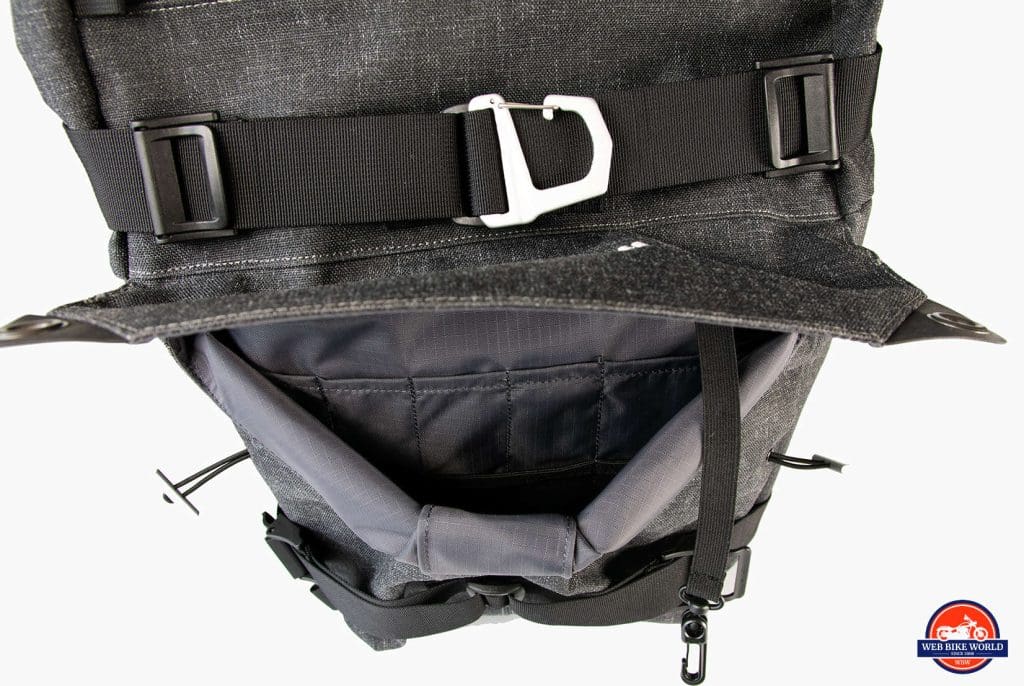
Third Largest Compartment
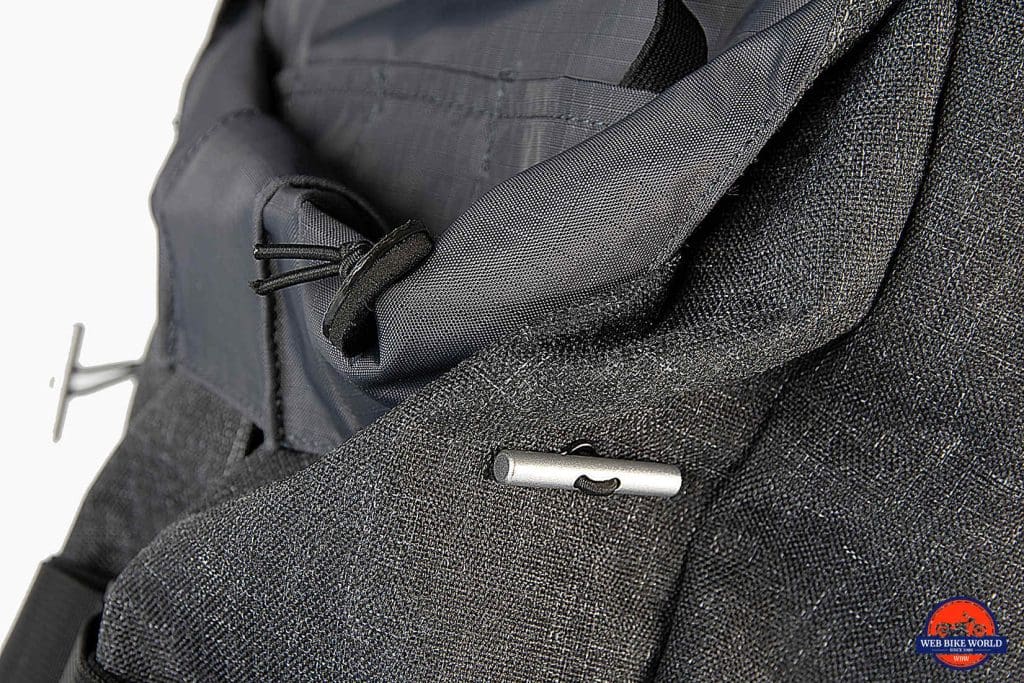
The flap covering the third compartment below the second one with the zipper is secured using two toggle-style closures on the end of elastics. Again, access is easy and it has several smaller pockets inside to house whatever you’d like. I was able to slip in several wrenches, tire irons, and other small tools.
I would use this as a tool holding area, although I’m having second thoughts now about that since tools get really dirty sometimes out on the trail and I wouldn’t necessarily want grease and oil inside the bag.
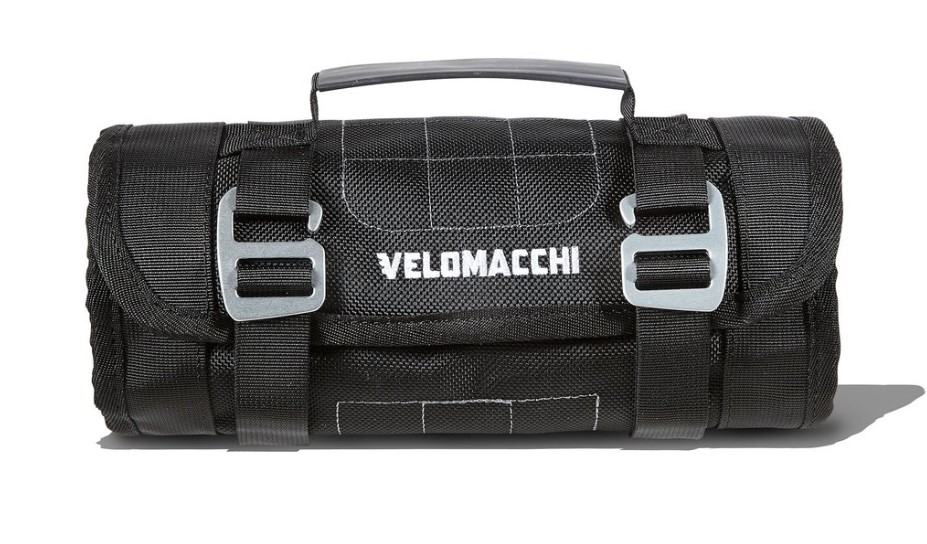
Photo by Velomacchi
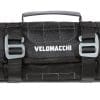
Velomacchi makes a nice tool roll for $75 that could easily attach to the bottom of this bag to avoid that problem. This is a missed opportunity on their part, especially since comparable bags like the Klim Krew Pak come with a tool roll included and cost less.
Leaking Eyelets?
The eyelets the toggle elastics pass through seem at first to be an obvious point for water leakage. Upon closer inspection, I found neoprene backing washers at the end of the elastics on the inside. This should keep water out unless the bag is submerged completely, whereupon all bets are off anyway. This backpack wasn’t made with SCUBA diving in mind after all.
This pocket did much better than the zippered ones at keeping water out during my shower testing. The paper inside was only just slightly damp at the bottom. I would obviously have preferred no water intrusion, but admit perhaps my shower testing was a bit over the top. Having said that I’ve been caught in very heavy rain before on the bike so it’s not totally unreasonable.
I like to push the limits in order to truly gauge quality.
Secret Pocket
The final storage compartment is a small zippered one on the right side of the pack. Its zippered aperture runs about 6 inches across and in theory would be good for holding valuables to keep them dry and secure, yet handy.
When I had the main compartment jammed full and tried to get anything out of this secret side pocket it was difficult due to the bulging main compartment contents taking up most of the 40 liters of capacity.
The big problem is that water got inside this side pocket and soaked the paper during my shower testing. This secret pocket can’t be trusted to keep valuables dry as it turns out. You’ll have to put your passport in a ZipLock bag before storing it in here to have complete peace of mind.
Other Features
GoPro Mount
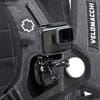
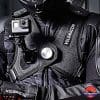
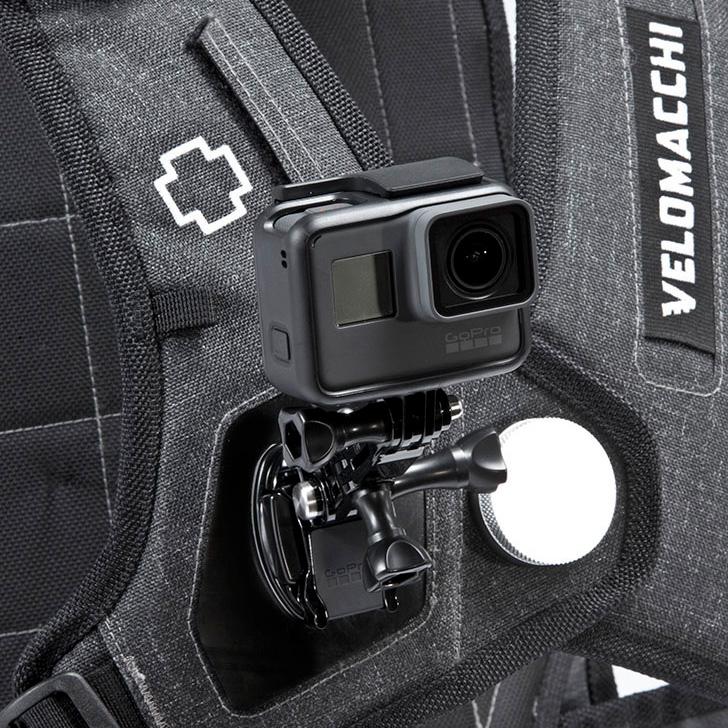
On the right chest strap, there’s a smooth patch of plastic intended for a GoPro or similar sticky camera mount. I tried mine out on there with the standard mount and found it because of the limited angle I couldn’t get good footage of the road ahead of me without installing another pivoting mount on the camera. Even standing up on the bike didn’t help much with the standard mounting bracket.
The other problem is that I found myself knocking the camera off whenever I would reach to undo the chest harness. Velomacchi recommends securing the camera with a strap in addition to the sticky base, but in reality, I think this just doesn’t work. I love the idea, but the reality is that I wouldn’t use it.
Hydration Pack Compartment
There’s a gap in behind the backboard where a hydration pack can be installed, but no bladder comes with the backpack as some competitor backpacks do.
As already mentioned, in heavy rain this pocket might fill up with water if you don’t have the main compartment packed full.
Tire Pressure Gauge Holder
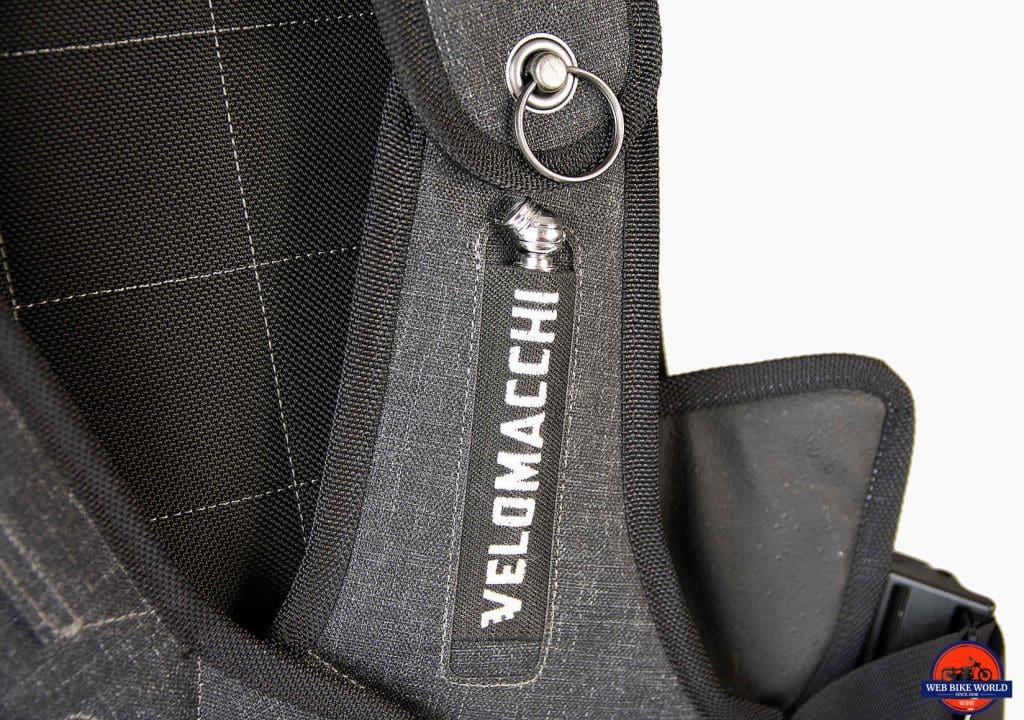
I like the elastic sleeve on the left chest strap to house a tire pressure gauge. Very handy indeed.
Emergency Contact Pouch
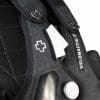
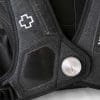
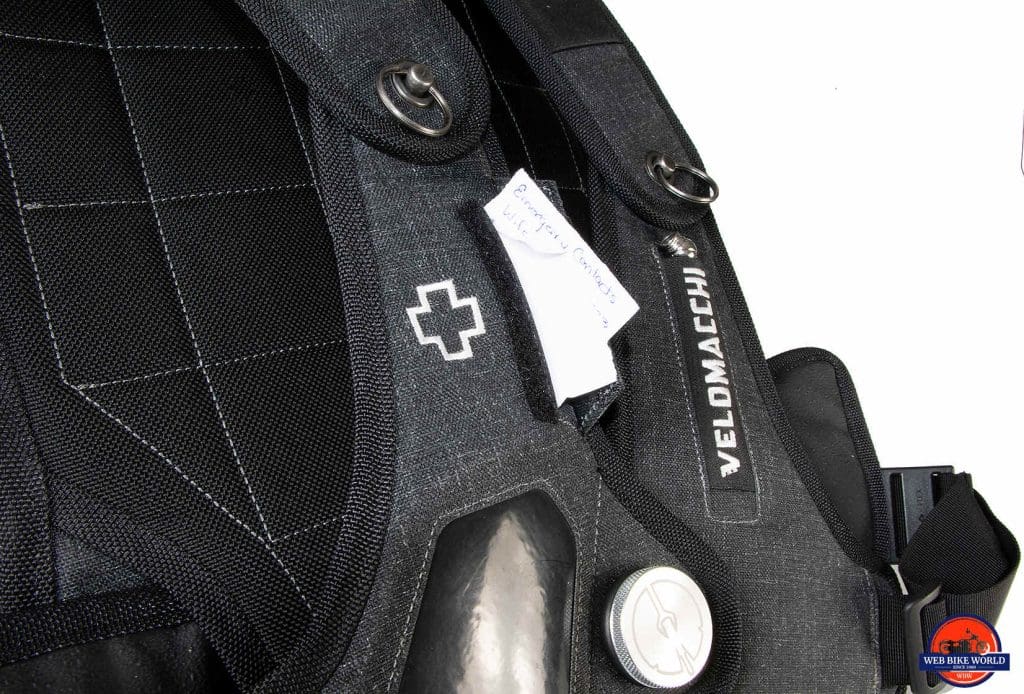
Directly above the GoPro mounting pad, you’ll see a cross embroidered on the strap indicating the velcro aperture containing emergency contact information for the wearer. It’s a good idea, but you’ll need to ensure the contact info isn’t written on anything susceptible to water since water can enter around the velcro.
You’ve Got Options
If you still don’t want to wear this Speedway as a backpack, fear not. You can remove the chest harness rig and simply strap the bag down to your bike like you would any other piece of motorcycle luggage as it turns out.
On each corner of the bag, you’ll find nylon loops to thread straps through to secure it to your bike rack or seat. Brilliant!
The Ride
I’ve hashed plenty about the features by now and it’s high time to talk about how this bag performs on the road, in the wind at speed.
Where’s The Flap?
Velomacchi is a made-up word derived from two Latin ones. Velocita = Speed or Velocity, Macchina = Machine. Guess what they had in mind when they designed this backpack? No flapping at speed.
I can’t stand it when my gear or my bike vibrates or flaps so I was ready to rip this Speedway backpack a new “backdoor” if it failed to pass this test. Happily, even up to 90 mph, it didn’t flinch.
I tried everything within reason to get it to flap and couldn’t. I rode with the bag full and empty, but neither scenario produced any irritating noise.
Good job, Velomacchi!
How’d They Do That?
The stiff shell, when used along with the SENZA CODA strap management system employed on it to compress the bag shell to the contents, is the answer. Even the extra length of webbing straps left over after adjusting the harness to fit you tuck away nicely in behind the backboard so the wind can’t catch them.
How Much Are 40 Liters Exactly?
Velomacchi says you can store two days’ worth of belongings in this backpack. That’s a pretty conservative claim.
I took it to AimExpo in Las Vegas for a week and it swallowed everything I needed for the trip and time there. I punished it for 4 days straight hauling around heavy camera equipment, food, and beverages along with any and all souvenirs my wife and I picked up along the way.
Yeah, But What’s the Weight Limit?
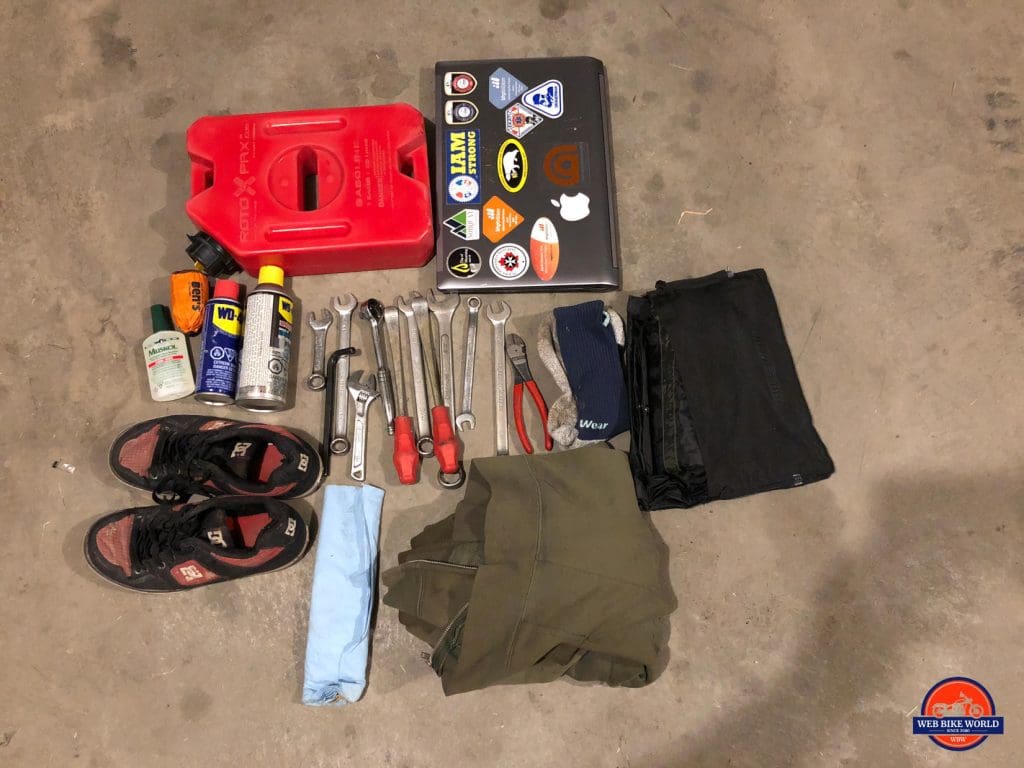
I decided to answer this question and see if I could break this unbreakable bag by trying to overload it. No mercy will be had from me, so off I went to my garage to shove in everything I could in this bag.
Here’s a photo of what I got inside. By the time all was said and done it was tight as a bowstring and I didn’t need to use the compression straps much, if at all. The bag has what appear to be only single stitching running everywhere on it (but it’s tough to tell if there are hidden stitches), so I wondered if stretching it would move anything too.
Nope. This is one hell of a strong backpack.
I could have put in twice as many wrenches pretty easily, but left a little room for sockets I would have brought along if this was a real adventure ride. After I filled the 1-gallon RotoPax full of gas I weighed the pack. 39 lbs were the final tally!!
Let’s Ride!
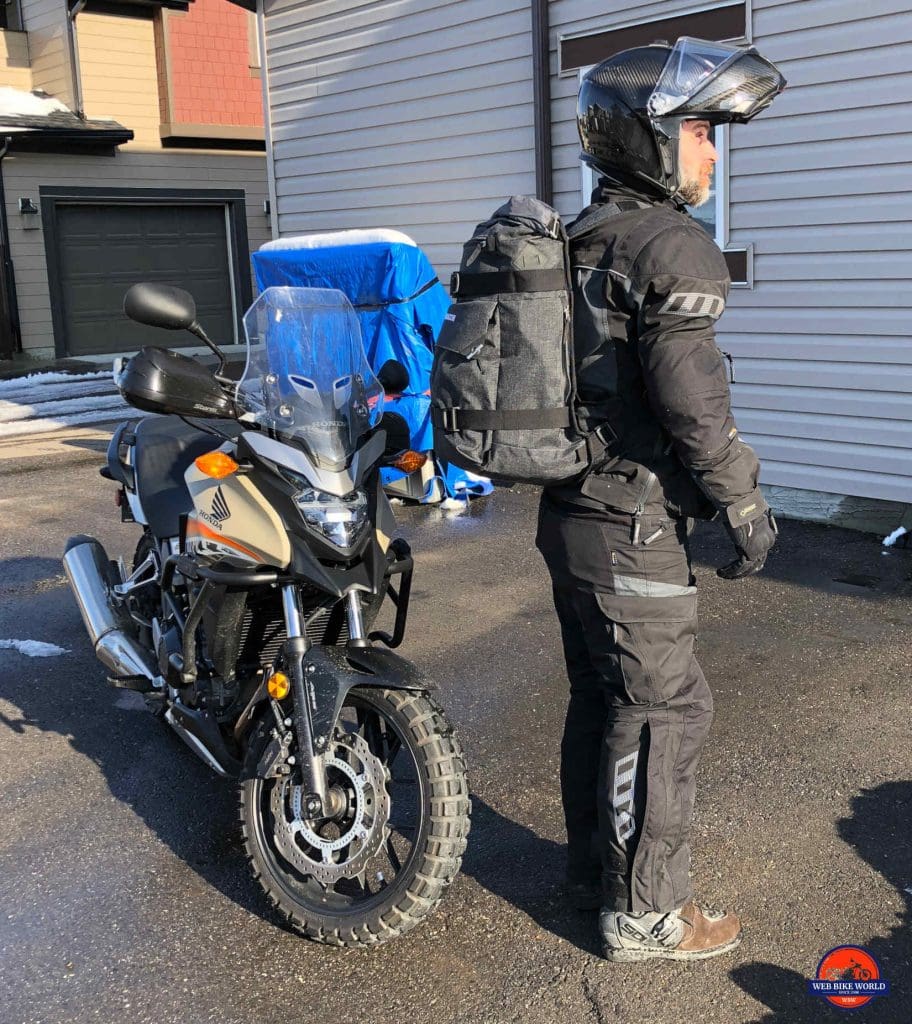
I hefted the now very heavy pack onto my back and did up the harness. With this ridiculous amount of weight in it, I definitely noticed it was there.
The Speedway harness did an admirable job of keeping the weight tight to my body and I found it comfortable managing the weight other than when I would bend over to pick up something from the ground. At that point understandably this load mounted across my shoulder blades did throw off my balance and I nearly tipped over.
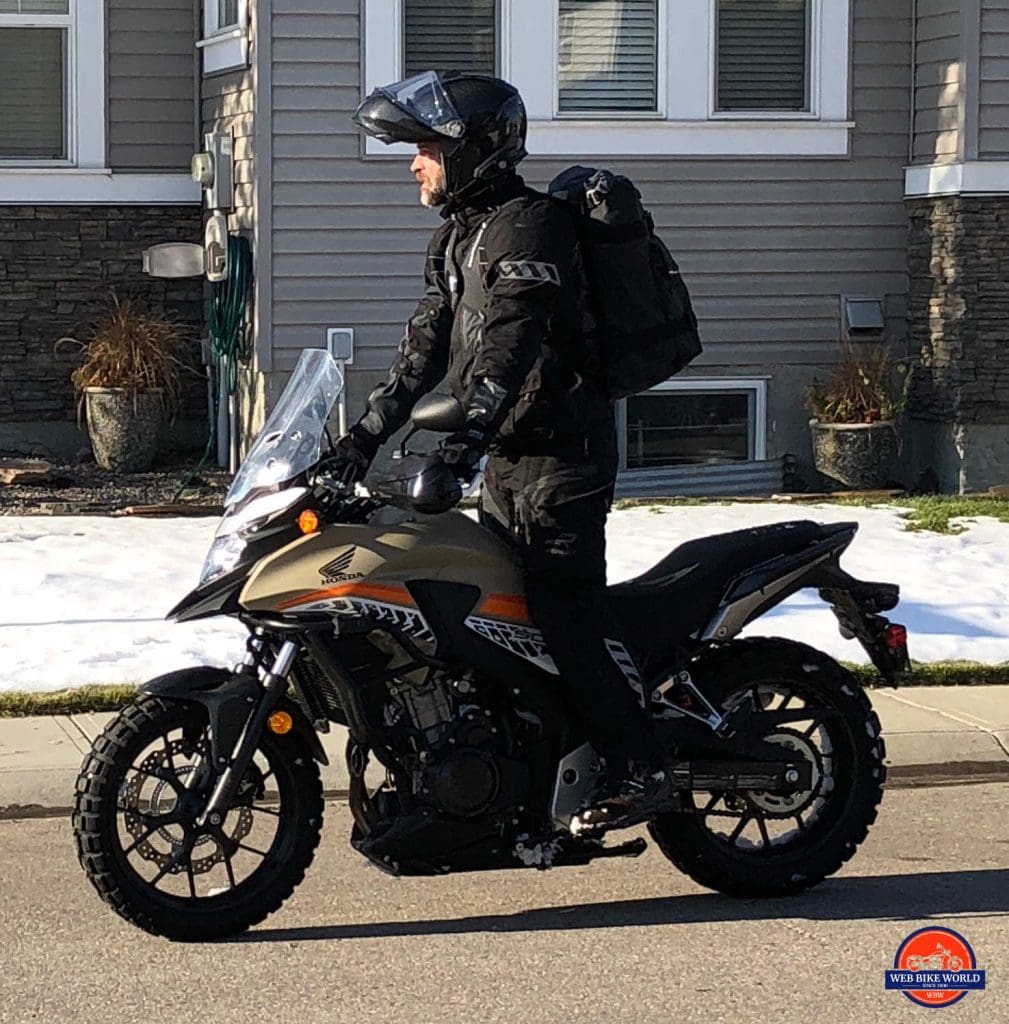
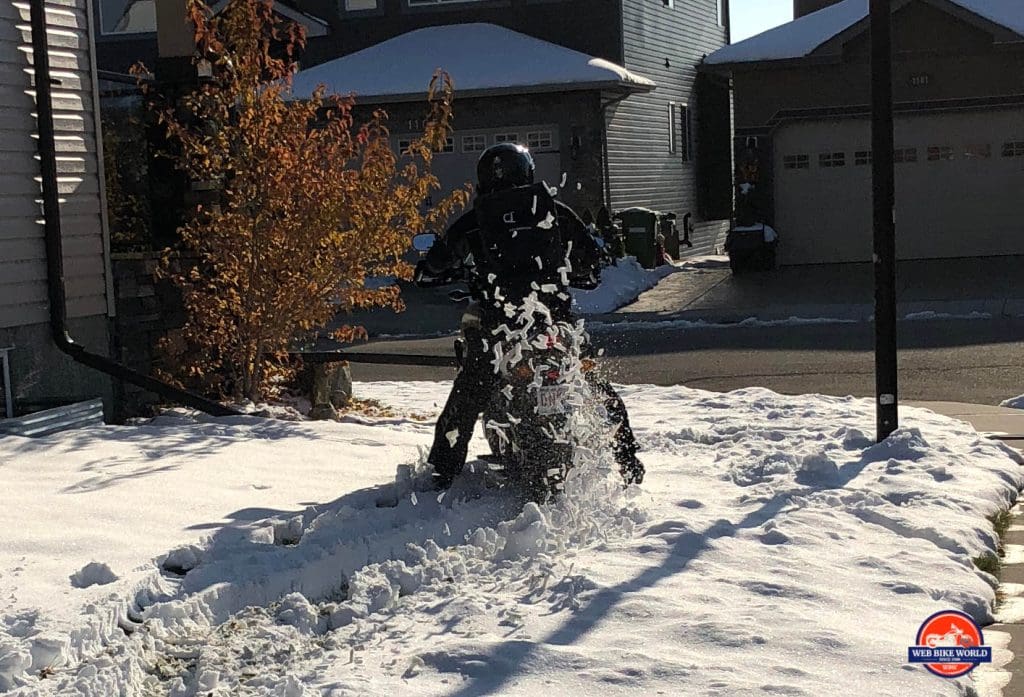
On the bike, the weight didn’t interfere with operation, which is most important to note and impressive. I was so confident that I decided to ride through the 6 inch deep snow covering my lawn even with all that weight in the pack.
The Final Verdict
I would still much rather strap luggage to the bike than use a backpack, but I admit this Velomacchi is making the idea of wearing a backpack more plausible for me.
From what I can find this is one of the most expensive backpacks made for motorcycling. The $299 sticker shock is understandable, but you are getting a very sturdy, high-performance backpack for a lot of money.
When it comes to the water leakage problems I found, I’m not certain any competitor backpacks would perform better. Notably, the main compartment didn’t leak one iota.
For hardcore riders going out facing intense off-road riding situations, this would be a decent backpack. It’s also the bag of choice for commuters who want this to be the last bag they ever buy. With a lifetime warranty and seemingly bulletproof durability, it probably could be handed down to your kids if you take care of it.
I doubt very much anyone could legitimately wear this bag out riding, bicycling or hiking with it.
One final problem was pointed out to me by a female friend I wouldn’t have thought of because I’m male. The latching system clamps tightly right across the wearer’s upper chest which would be very uncomfortable and possibly unstable on people who are… how do I put this? Voluptuous or well-endowed.
Suggested Changes
I have some suggested tweaks for the next generation some of which I already touched on.
- Make all the compartments truly waterproof
- Install drains on the bottom of the hydration bladder compartment
- Include the tool roll and a hydration bladder with this bag
- Find a way to accommodate the female market
- Replace the latching hooks for the main compartment with something better
- Add reflective piping to the trim of the bag for rider safety reasons
- Do something to improve the GoPro mount or get rid of it
Pros
- Mostly waterproof
- Quality materials used in construction
- Lifetime Warranty
- Quick access to contents
- Magnetic sternum latching system magic
- Ergonomic
- Unaffected by wind and mud
- High capacity
- hydration pack ready
Cons
- Not friendly to the female form
- ¾ of the pockets could leak in heavy rain
- Lacks Hi-Viz or reflective elements
- Expensive
- GoPro mount isn’t trustworthy and won’t work with a standard mount
- Awkward closures on magnetic roll opening
- Needs a tool roll and hydration pack
Specs
- Manufacturer: Velomacchi
- Price (When Tested): $299
- Made In: Vietnam, designed in the USA
- Alternative models & colors: One color only
- Sizes: 28L, 40L, & 50L
- Review Date: November 3, 2018


