
A suspension update is a black art with every suspension expert having differing opinions.
You could go up and down the MotoGP pit lane and find differing viewpoints from every garage.
While it looks like a simple job to unscrew some bolts, swap the shocks and fork springs, then bolt them back in, there is more to it.
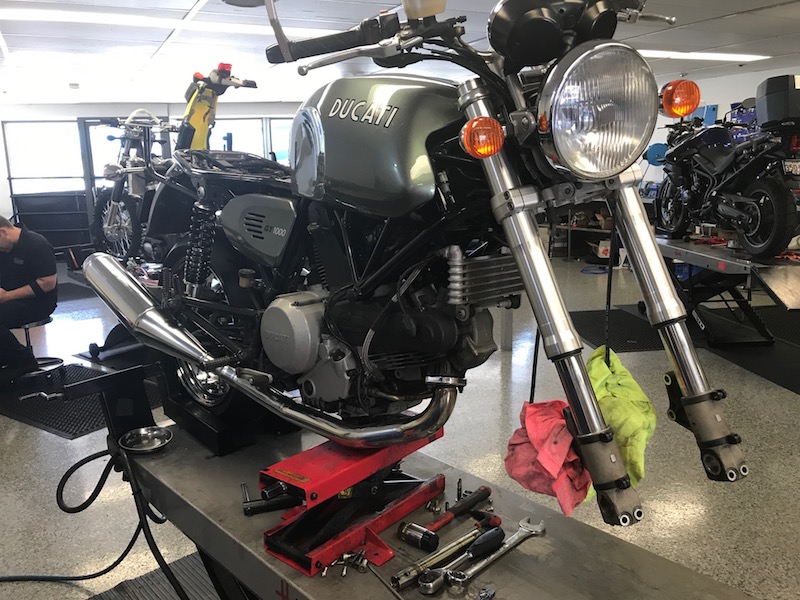
We’ve been scouting around for deals on bike accessories using Couponsmonk, and when we wanted to update our Ducati GT1000 project bike’s very basic suspension with new shocks and fork springs from Australia’s Ikon Suspension, we went to Oliver’s Motorcycles in Brisbane for professional fitting.
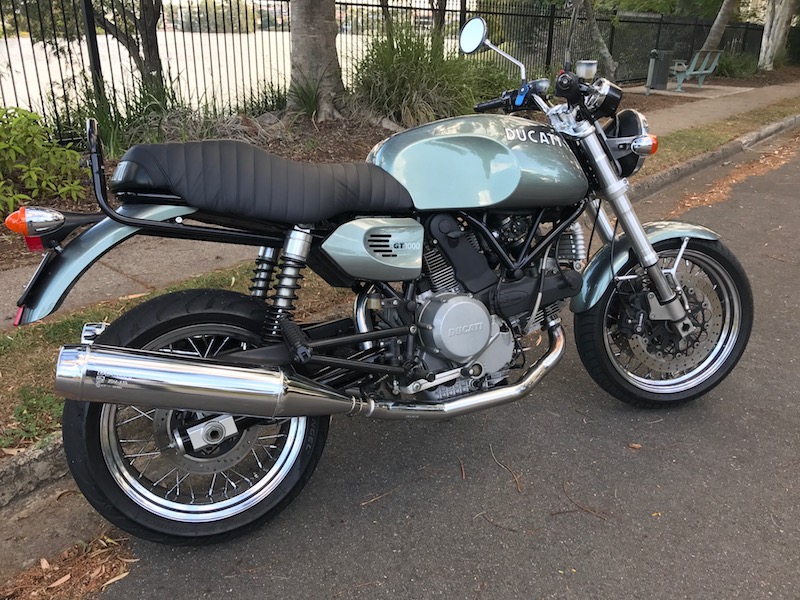 Our Ducati GT1000 with basic suspension
Read how we selected the right springs.
Chief tech is Sam Simmons who spent eight years as a professional motocross racer and worked in the UK factory Yamaha team’s suspension workshop.
Read his seven myths of suspension here.
Our assigned mechanic was Mark Zach who Sam has taught all his suspension magic.
Zach turned out to be a careful and exacting mechanic.
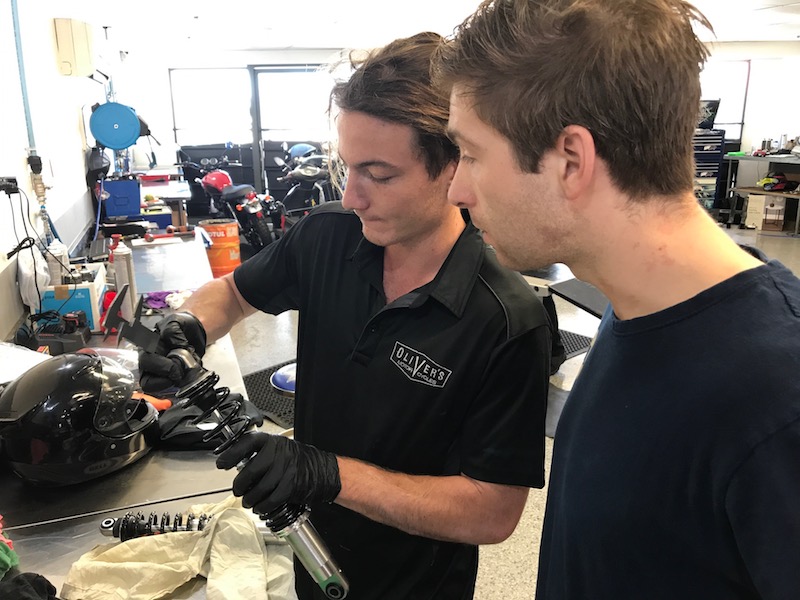 Mark works under Sam’s supervision
Shock update
Right from the start of our suspension update we ran into a bit of a problem with the shock bushes being slightly wider than the brackets into which they were supposed to fit.
I would have used a crowbar to widen the brackets and forced them in.
However, Zach says the pivot points are an important part of the action of the shock, so he wanted to be precise.
Out came the vernier callipers to make exact measurements. He worked out that the bushes were 0.9mm too wide.
Rather than machining them down, he decided on laborious but more exacting hand-filing with frequent stops to measure the progress with the verniers.
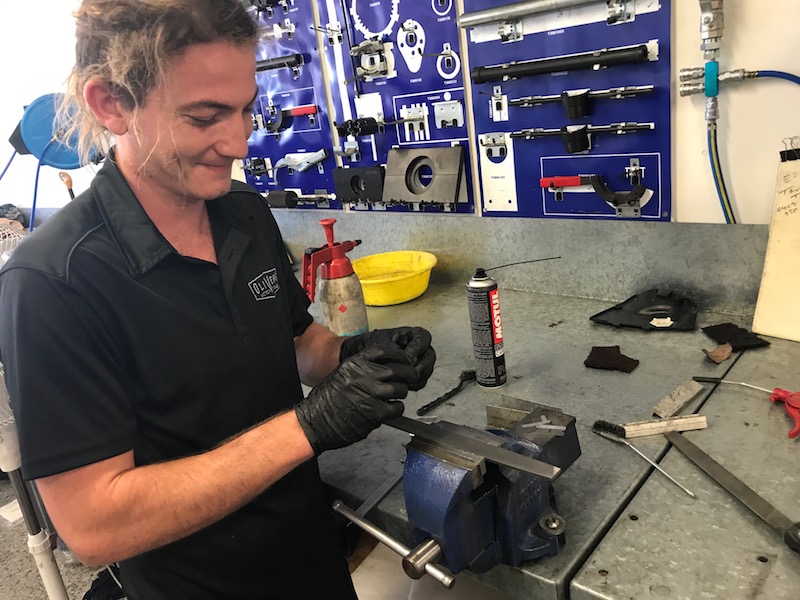 Zach files down the bushes
Once the desired width was obtained, the bushes moved into place easily where they will be able to pivot firmly but freely.
“It’s satisfying doing it the right way,” Zach tells me.
Once in place, Zach starts taking precise measurements from the axle to the seat frame to measure the top-out or unweighted distance of the spring.
He then drops the bike weight on to the springs and measures again for “static sag”. Then I get to sit my 75kg frame on the bike and he measures again for “rider sag”.
He says he’s looking or a magic measurement of 30-40mm rider sag.
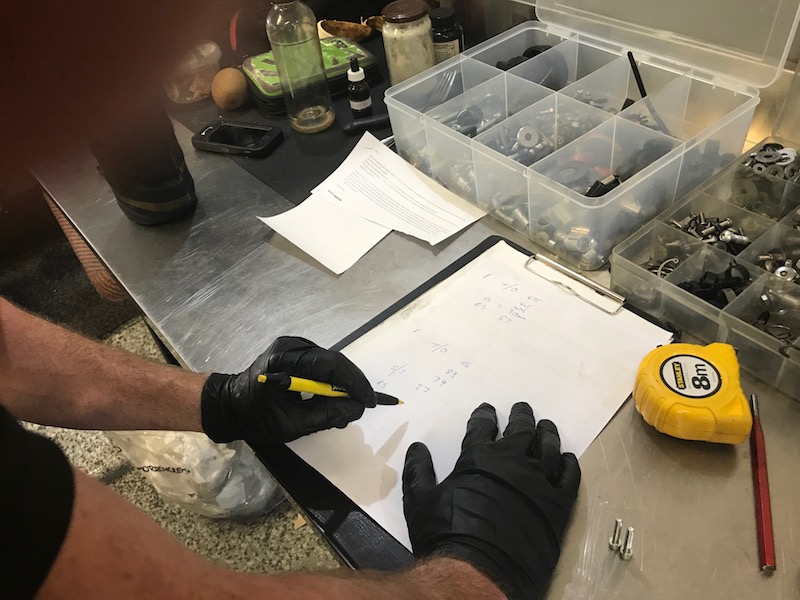 Precise measurements
He then sets the damping on the top of the shocks under a protective rubber collar according to the Ikon suggestions.
Position 1 is for smooth damping and a solo rider, 2 is for a rider and occasional pillion on average roads, 3 for sporty riding and extra loads and 4 is for touring two-up with luggage.
It’s a bit fiddly to adjust as you have to hold up the rubber collar with one finger while turning the damping adjuster ring with another.
Replacing the fork springs
The forks also present a problem with Ducati using unusual and difficult-to-remove fork caps. I don’t think I would have been able to do it.
Even without the correct Ducati tool, Zach managed to find a way to do it without damaging there chromed caps.
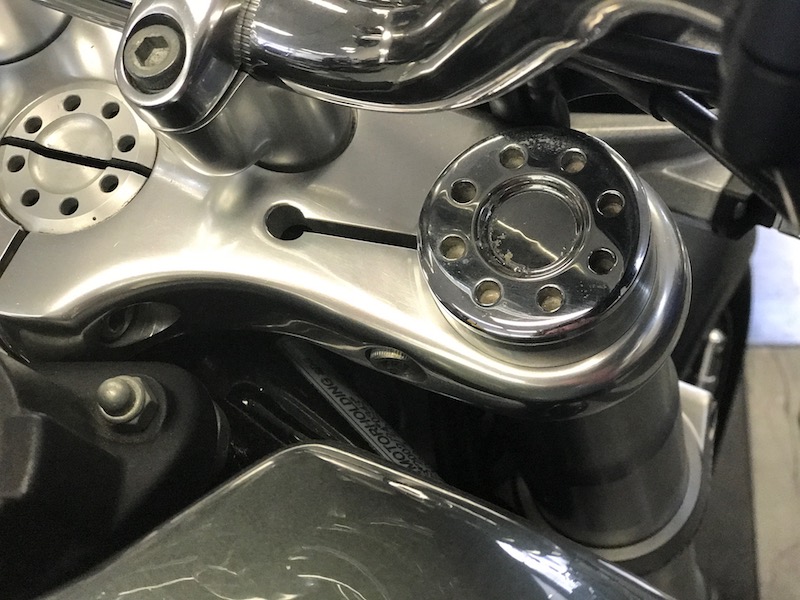 Ducati’s chromed fork caps
Once removed, Zach measures the standard linear springs against the replacement progressive Ikon springs.
They are close and Zach says they only need a small washer to get the exact measure.
He then pumps out every last drop of the existing 7.5W oil and washes down the damping rod and other suspension parts with solvent.
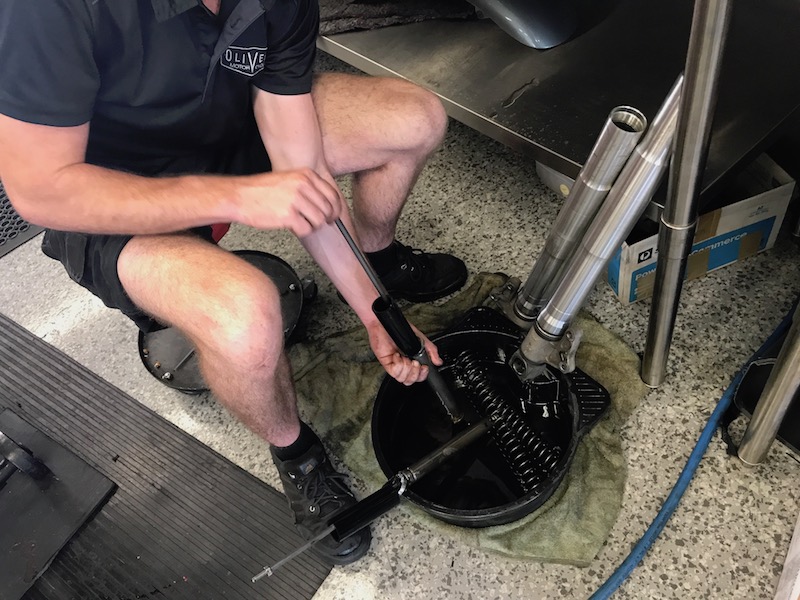 Pumping out the fork oil
“I like things to be squeaky clean,” he says.
He replaces the heavy fork oil with a lighter 5W oil which he says will reduce the damping effect.
The closer-wound part off the spring goes to the top to reduce the unweighted sag.
We then go through a similar process to find the same amount of rider sag as the rear.
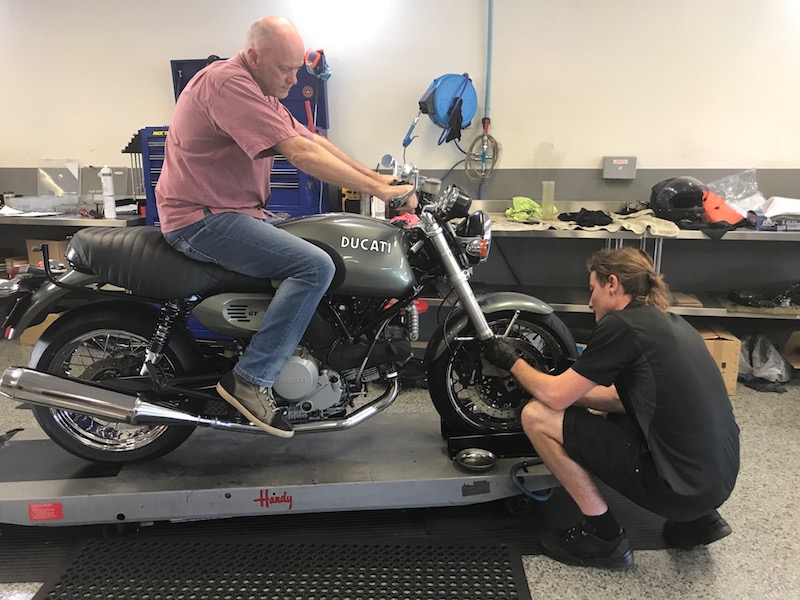 MBW sags the Duc
Zach is satisfied when we reach the same 37mm measurement front and back.
Now read how the suspension performed.
(Ikon Suspension supplied free)