Dash cameras have, over the past decade or so, become more and more popular in cars and trucks, for a multitude of reasons. Some like to have the cameras for insurance purposes, in case someone tries to pull an insurance scam or they are not at fault in a collision. Some like to have them for professional logging, proving to their employer or contractor that the miles they have are getting paid for are actually being travelled. Some like to have them to create compilations of bad drivers to put on YouTube.
Whatever the reason, there are now so many brands and types of cameras that there is literally a solution for any four wheel vehicle. Motorcycles, on the other hand, have been left behind for the most part, with many riders using helmet cameras or handlebar mounted action cameras like a GoPro as their dash cam. This is where ThinkWare has stepped in, providing a dedicated solution for us riders that is reported to be easy to set up, boasts on demand and continuous recording modes, and allows for near instant playback through a wireless connection to a smartphone (iOS and Android compatible app needed).
About ThinkWare
Originally founded in South Korea in 1997, ThinkWare has been at the forefront of in-car technology for over two decades, and were one of the original companies that provided infotainment and smart car GPS and location-based navigation solutions for both OEMs and as add-in devices. Throughout the 2000s, ThinkWare has expended beyond infotainment to provide dashcams, GPS navigation devices, and has also recently expanded into the educational market with Android tablets for classroom use.
ThinkWare is now a global solutions provider, with everything from IT services and wireless networking to built-in and add-in dash cameras and navigation tools. With offices on all 5 continents, they are one of the true success stories of the 21st century.
About webBikeWorld’s Review Policy
This product was supplied by ThinkWare for review purposes. Note that we do not allow brands to influence review scores or content. Please see our review policies for more information.
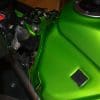
We here at webBikeWorld believe that you can’t just try something out once and give an honest opinion of it. Any product we test is actually used by our testers, and as such this camera was installed into my 2012 Kawasaki Ninja 650.
ThinkWare M1 Motorcycle Dash Camera In The Box & Features
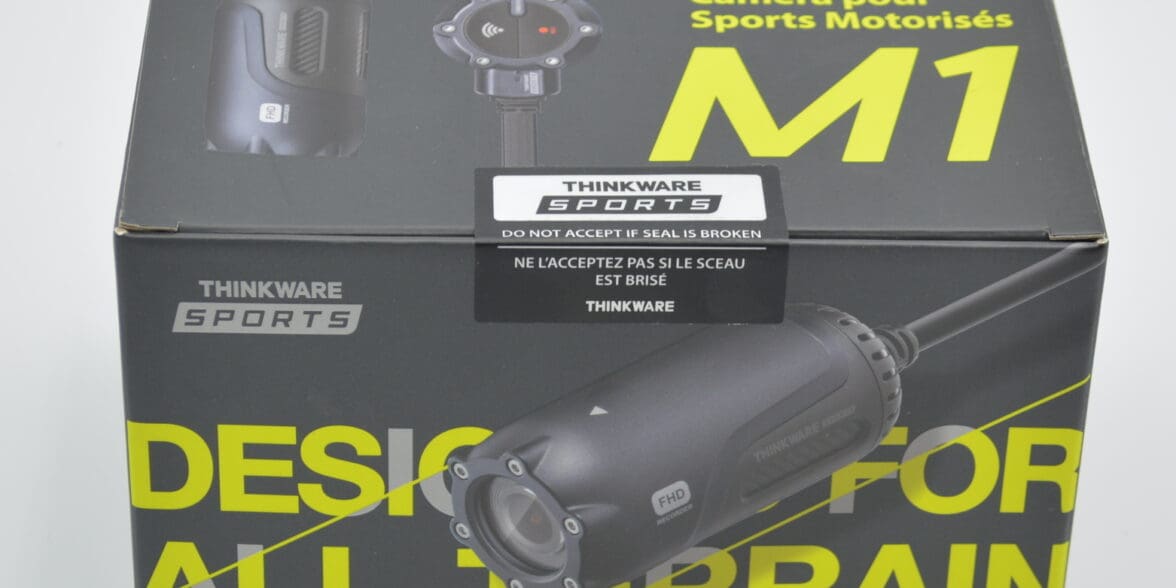
The first thing that needs to be mentioned is just how small the box that the ThinkWare M1 dash camera system comes in is. With two cameras, two camera mounts, a control box, cables, instructions, and other items in the box, you would honestly expect a decently sized package, yet the box is just under about half the size of your typical helmet box from Arai or Scorpion.
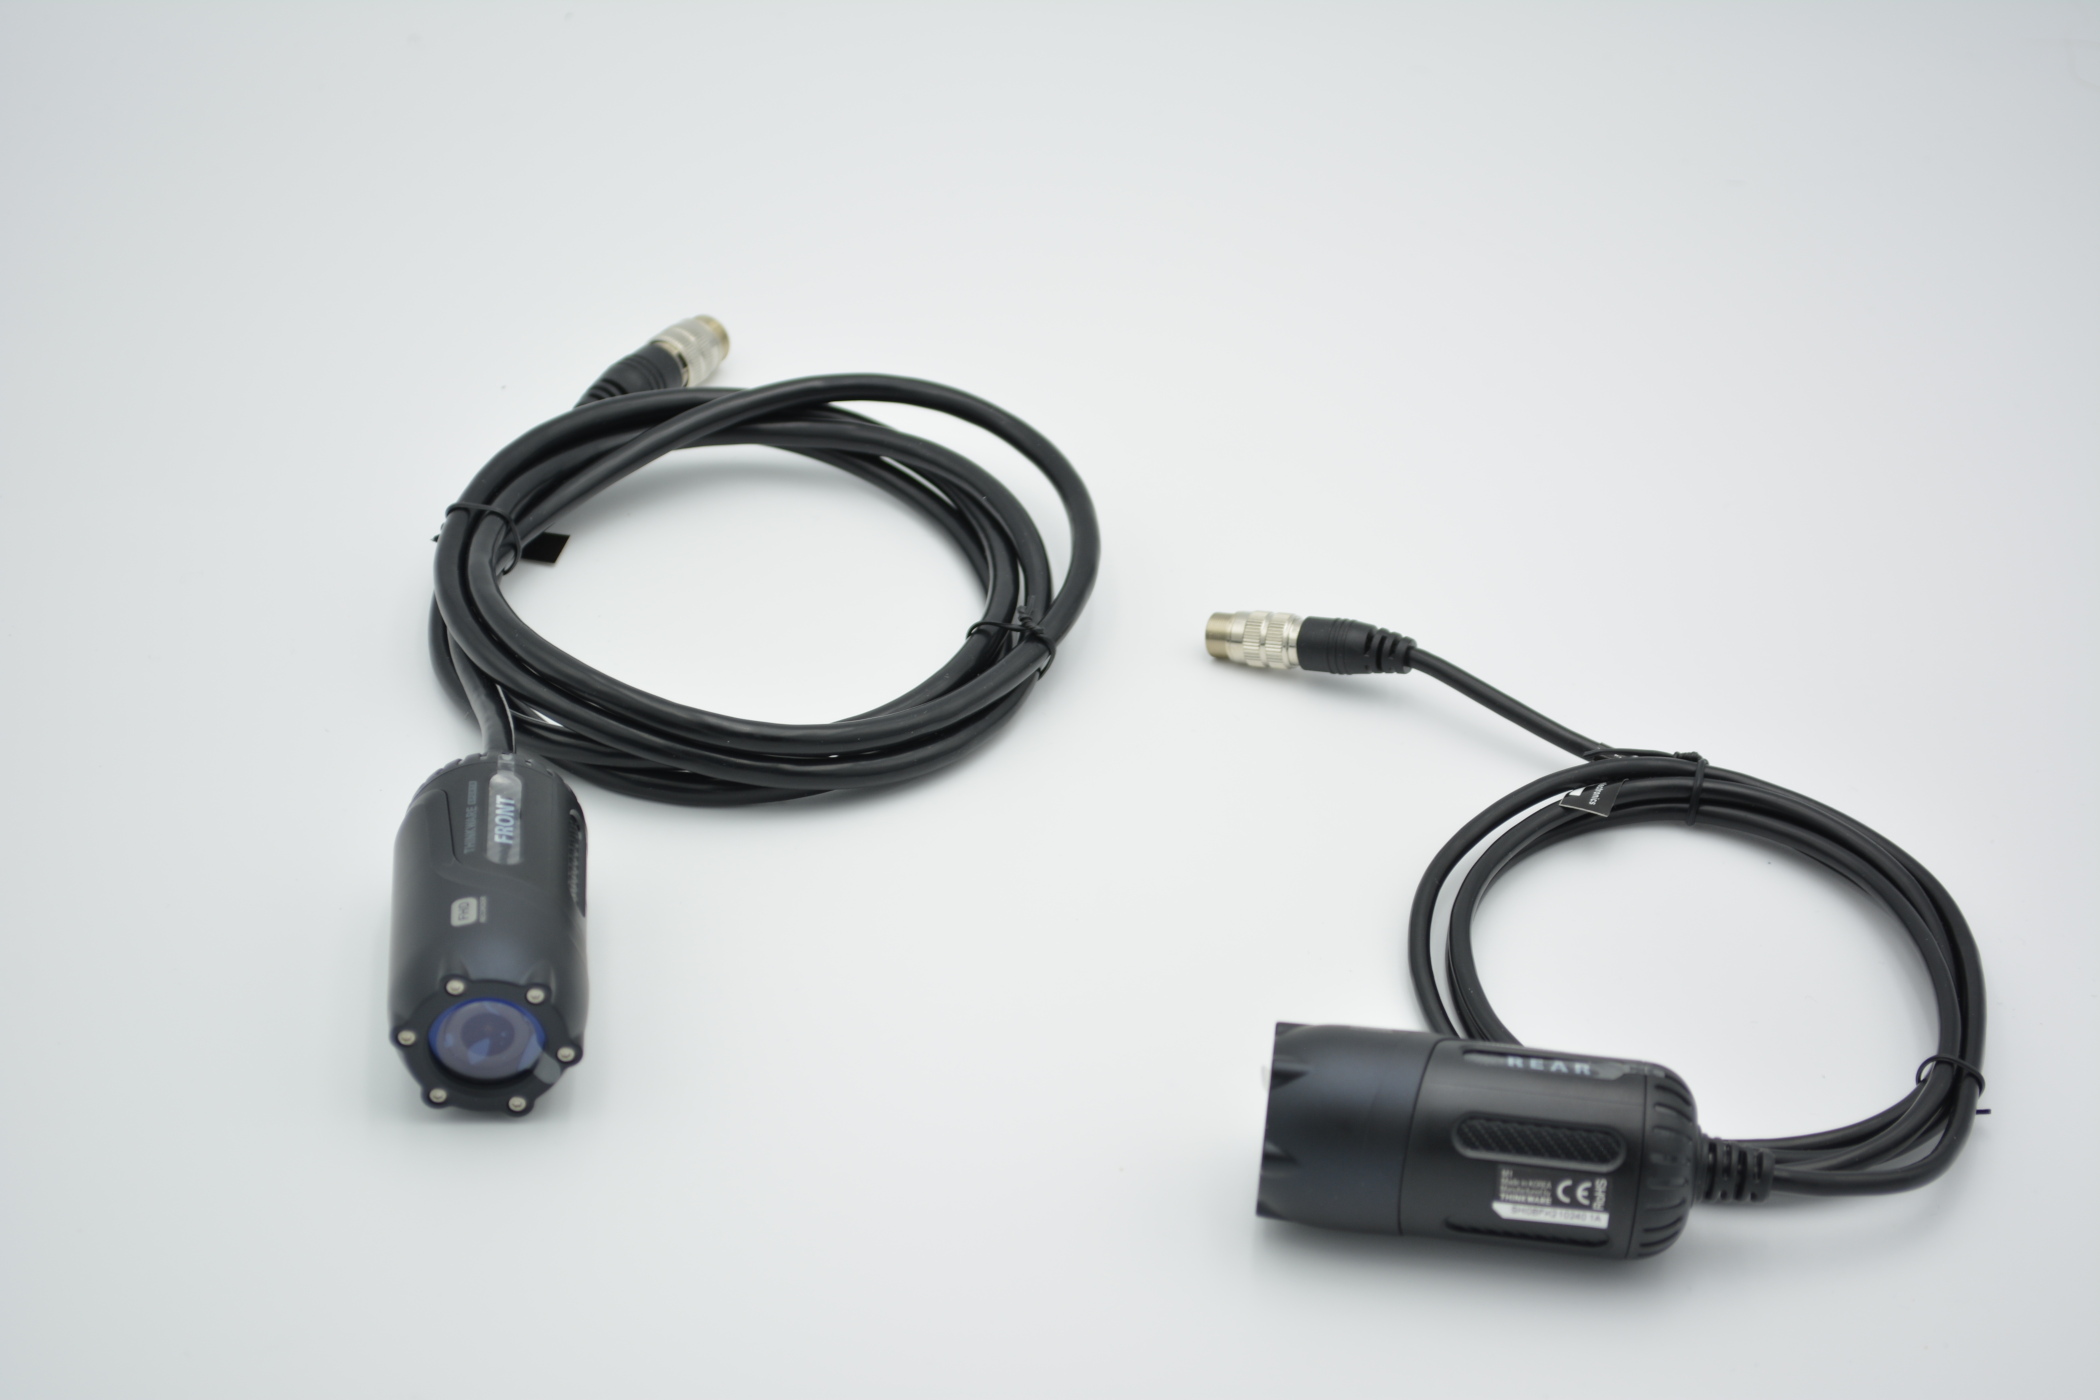
The first thing that you see when opening the box are the two cameras, with their cables tucked away into the base of the box, and just how robust they feel. The casings are durable plastic and metal combined, and the lenses are solid shatterproof glass. This stands to reason as the M1 is fully IP66 waterproof for off-road/ADV use, and looks like it can take a beating without worry.
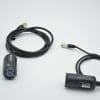
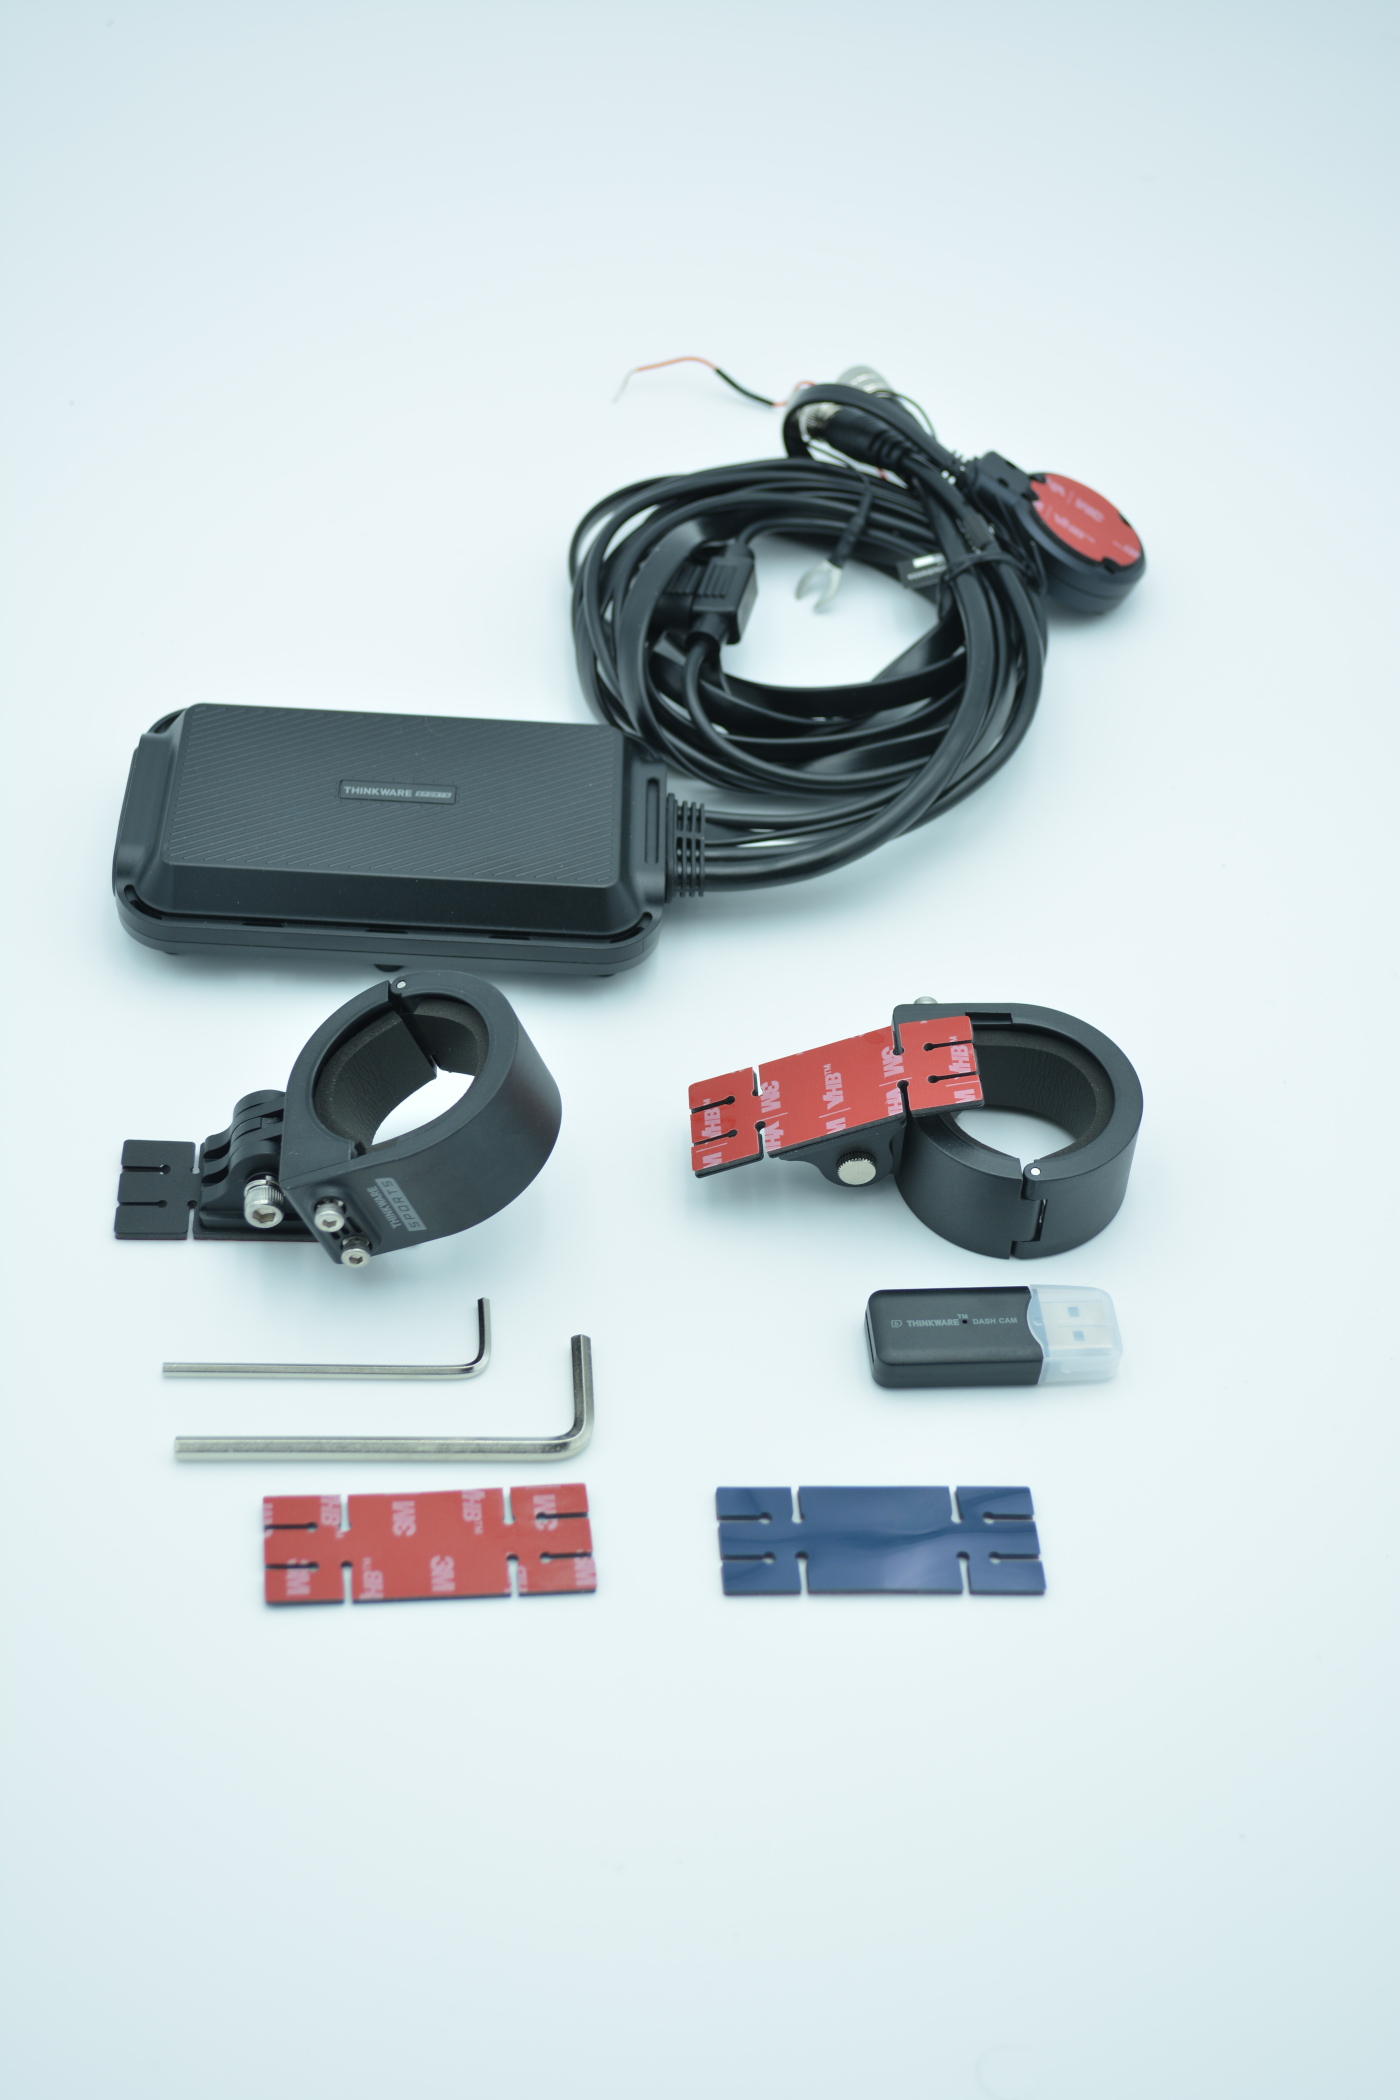
I was wondering how the cameras would be powered and hooked up, and the control box in the base of the packaging was the answer. With two threaded coaxial jacks for the cameras, all of the other cabling needed, including power and the control toggle, is already hardmounted. The control box is also very small, about the same size as your average smartphone. This made it very easy to find a place to tuck it during installation, which I will go over in detail soon.
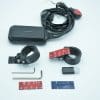
I was initially suspicious of the fact that the mounting points used 3M adhesive foam pads to mount, but peeling the corner of one very slightly and touching the very edge of it proved that it was extremely tacky. Even with just a couple of millimeters of skin contact, it required a good amount of force to pull off. Thankfully, the box has a couple of spare pads provided in case, over time, the pads to wear down.
The mounts are also adjustable on one axis, and when tightened down around the camera bodies, hold them extremely tight. The fact that they provide two allen keys is also a really nice touch, making installation a breeze because you always have the right sized key for the two sizes of allen bolts used to hand.
One of the things that I like about the M1 is that it is wireless, and will connect with the ThinkWare Cloud app, both for video playback as well as uploading clips to the internet if you want to have it automatically back up your videos. It uses Sony STARSIS lenses and sensors both front and back, which give it super clear 1080P image capture at 30 FPS, and are also capable of both direct bright light and night time recording. It automatically detects the light level and compensates to give you the best image.
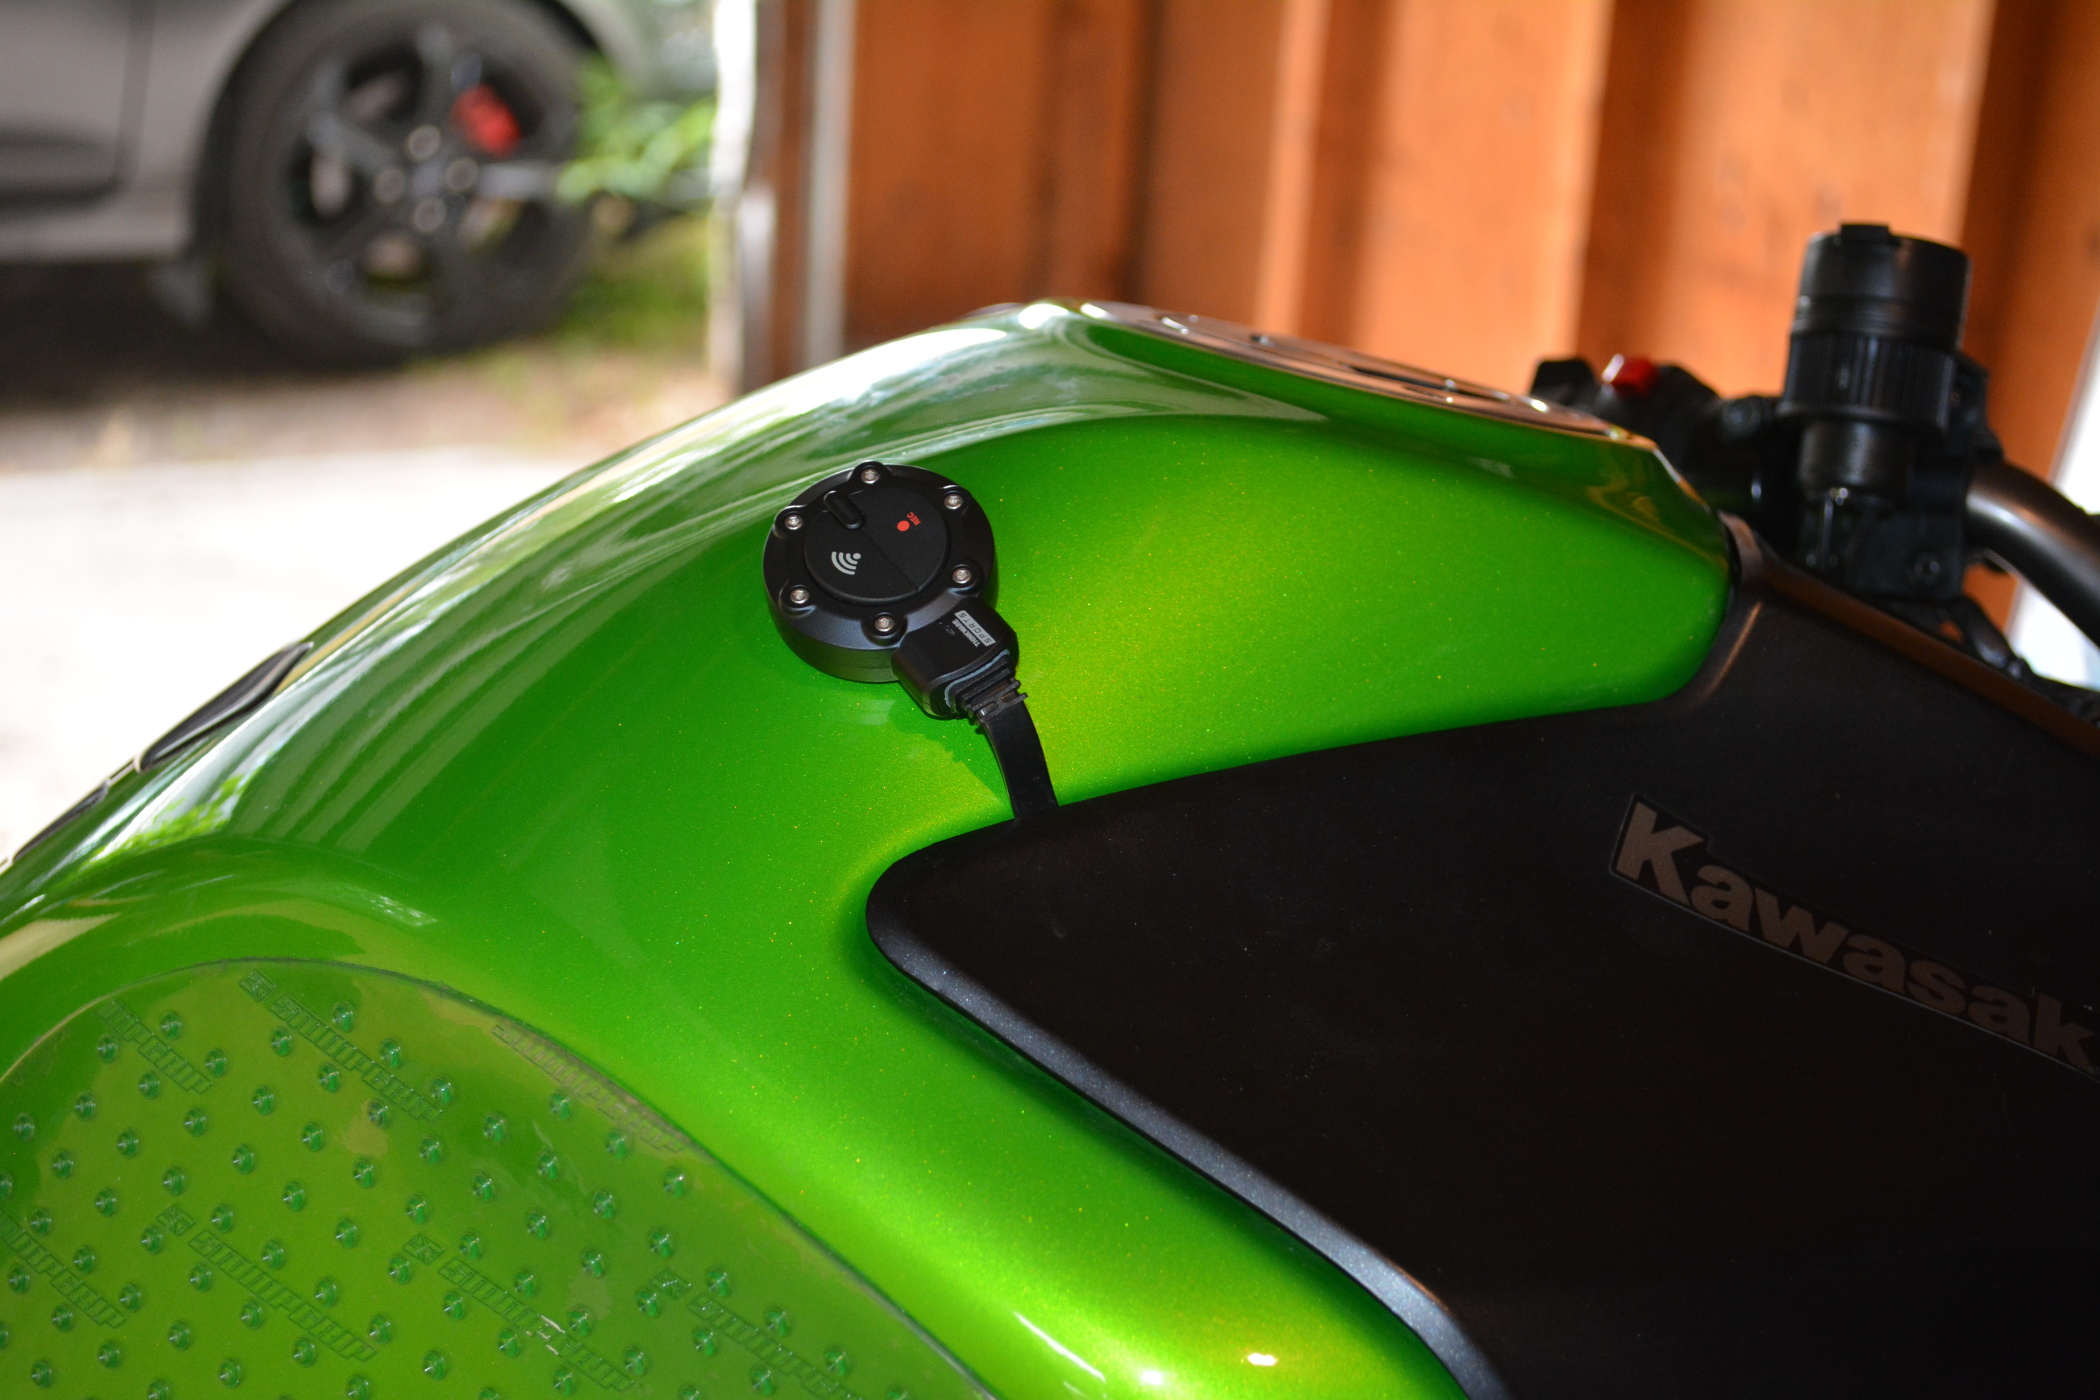
One of the nice things is that while the M1 is designed to be continuously recording in a loop, it does have the command toggle with two really big buttons with great tactile presses for use with gloves. One side activates the wireless connectivity of the dashcam to a smartphone running the ThinkWare app, allowing for aiming or re-aiming of the cameras, setting up how it records files at what resolution, turning electronic image stabilization on and off, if you want to capture sound, et al. The other button is a manual recording button, which will instantly save the previous 60 seconds of capture and record for another 30 seconds, very useful if you capture a fender bender in front of you, or want to review your riding on a specific turn or road.
Both cameras also have a built in microphone, so you can capture sounds front and back. Finally, the system comes with a 32 GB MicroSD card in the box, but the system is compatible all the way up to 64 GB cards, as long as they are Class 10 or better in terms of write speeds.
ThinkWare M1 Motorcycle Dash Camera Installation
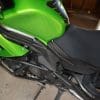
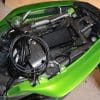
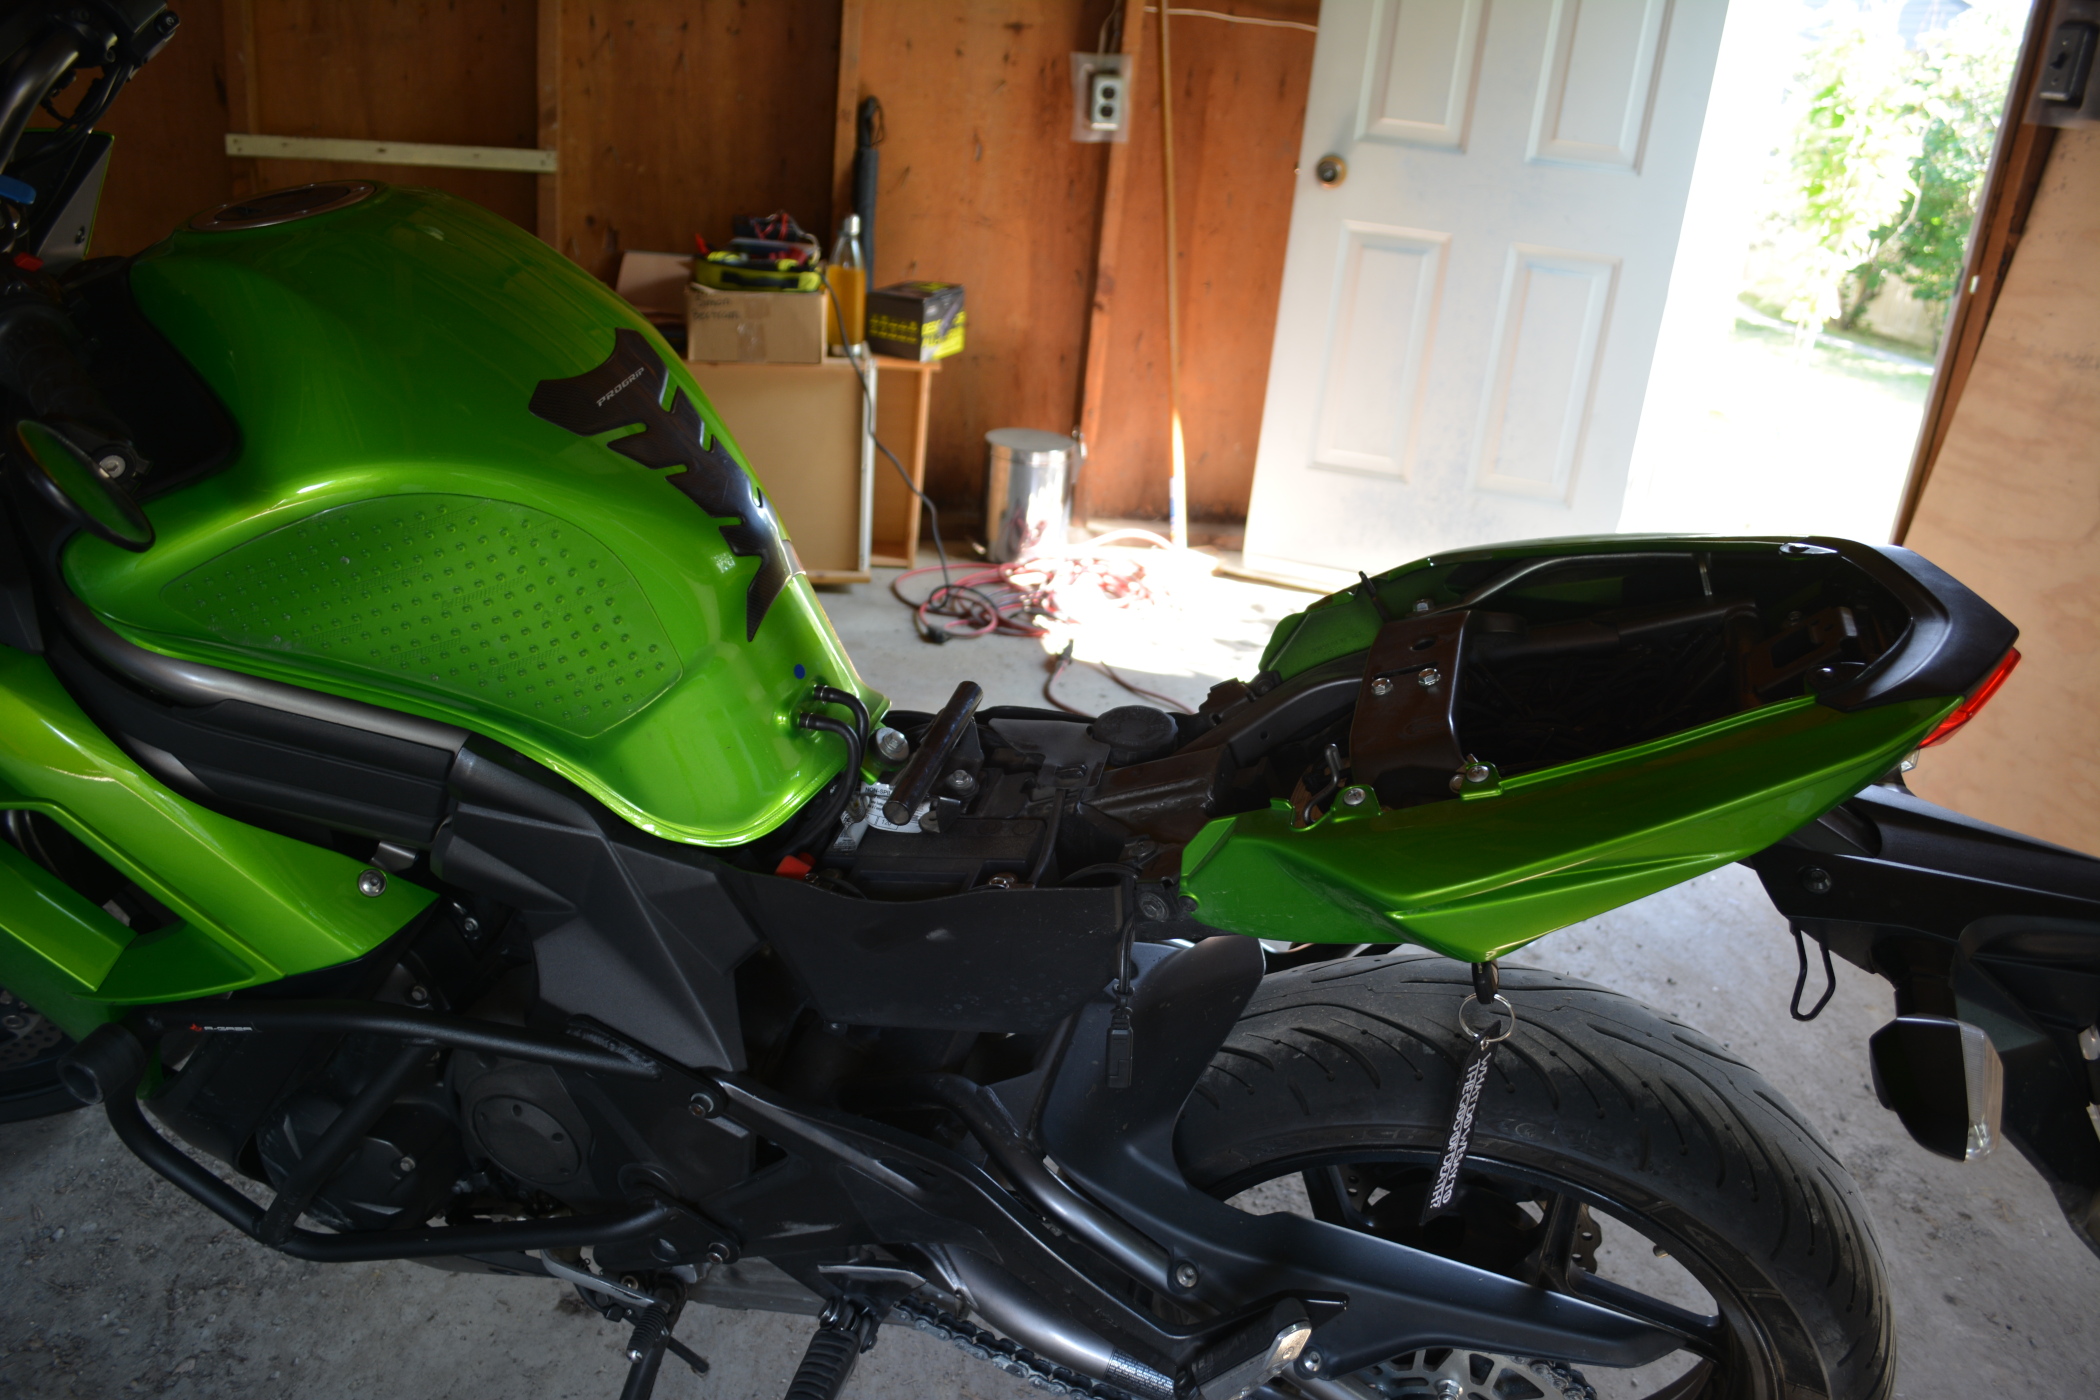
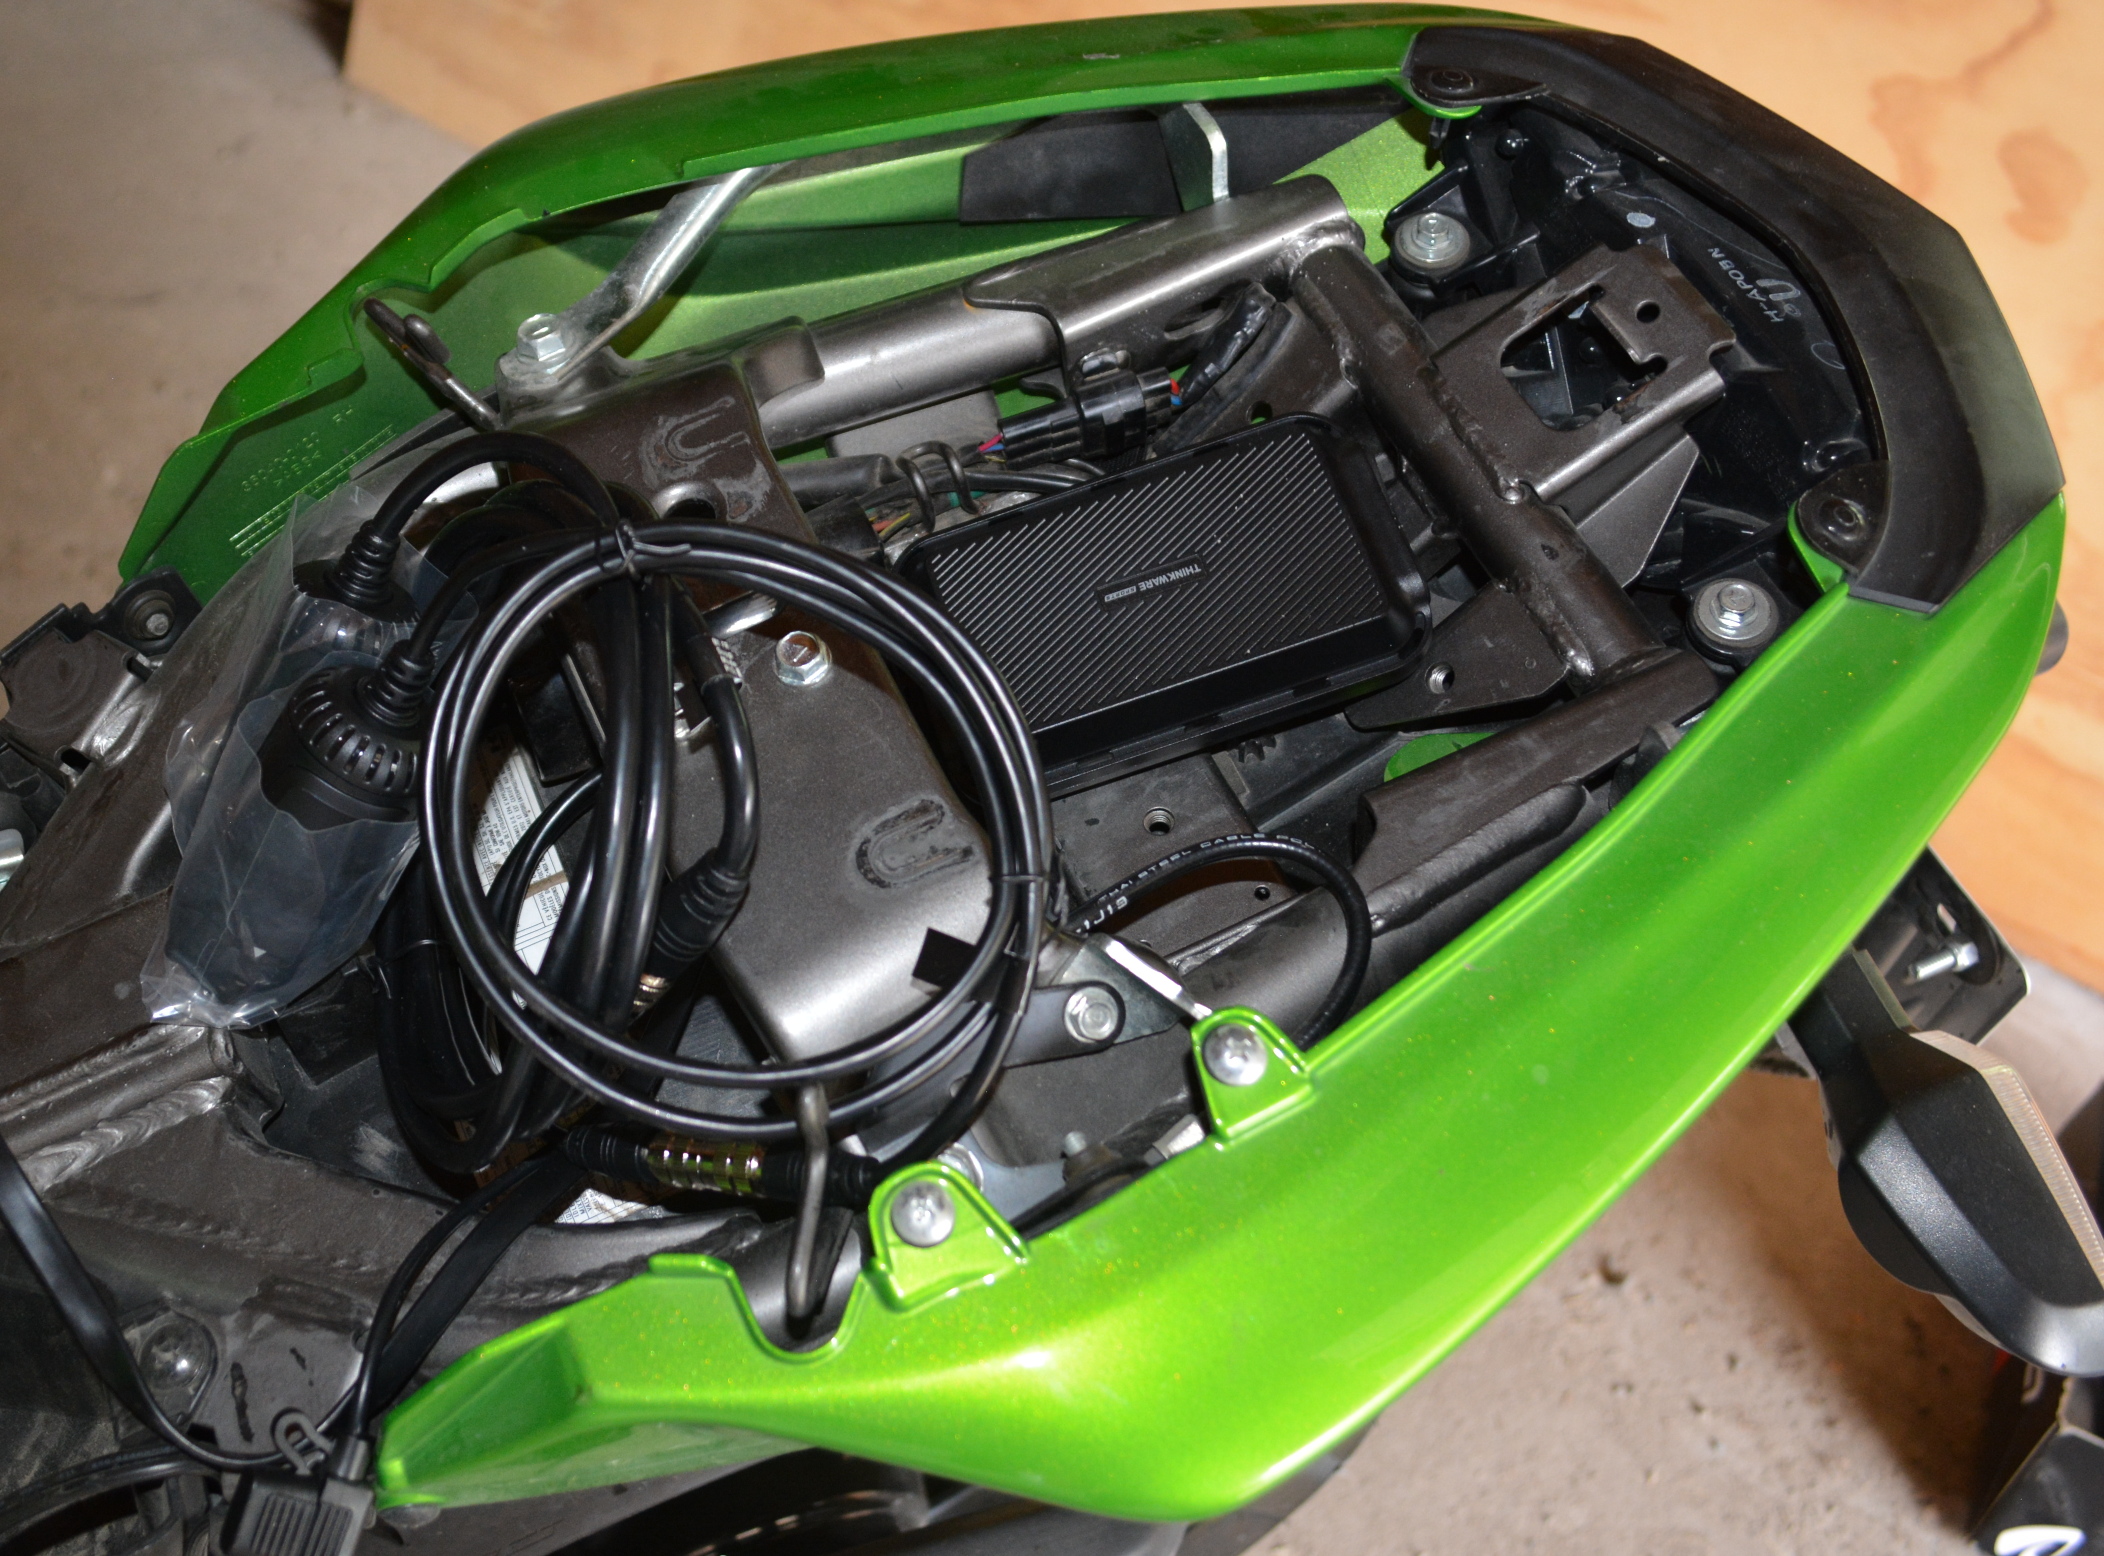
With the 2012 Kawasaki Ninja 650, the area directly under the main saddle is packed full with the battery, air box, and other assorted bits, making the tail section under the pillion seat the only viable space for the control box.
When you unfurl the cables attached to the control box, you find that there are two very thick cables terminating after about 6 inches in coaxial jacks, a long, flat ribbon cable with the control toggle at the end, and a very thin but also very long power cable with an eyelet mounted on the end of the ground, and a bare wire tipped power cable.
I should note at this point that both the instructions and the ThinkWare M1 website recommend professional installation. However, as I am reviewing this setup in every way I can, I went ahead with my own installation.
The first thing that was located was the control box in the tail of the bike, with the cables run under the passenger seat lockdown bar. I routed the control box cable to the right side of my bike, and the power cable up the left side of my bike, as you need to tie in to an accessories fuse to actually power the unit.
This took a bit of time with a voltmeter and the somewhat confusing way that the 650’s fuse box is labelled, but after finding a fuse that doesn’t get powered until the key is fully turned to “On,” I mounted the ground to one of the fork tree bolts that are mounted to the main frame of the bike, and wrapped the positive lead’s bare wire around the fuse finger and slid the fuse back into the fuse box.
At this point, I connected the cameras without mounting them, and then tested to make sure that the cameras turn on. This is shown on the control toggle by a small LED that will cycle blue-green-red while the control box boots up, and then will show a solid blue LED once on with a MicroSD card installed, meaning it’s started recording on loop mode. The LED will flicker green if there is no MicroSD card installed, but the cameras are detected, and means that it has turned on wireless and is looking to connect to any device on wireless running the ThinkWare Cloud app.
I had put the MicroSD card that came with the camera into the control box before installation, and after a bit of the rainbow of LED’s cycling at me, the light went solid blue, meaning everything was working and the camera was recording. Success!
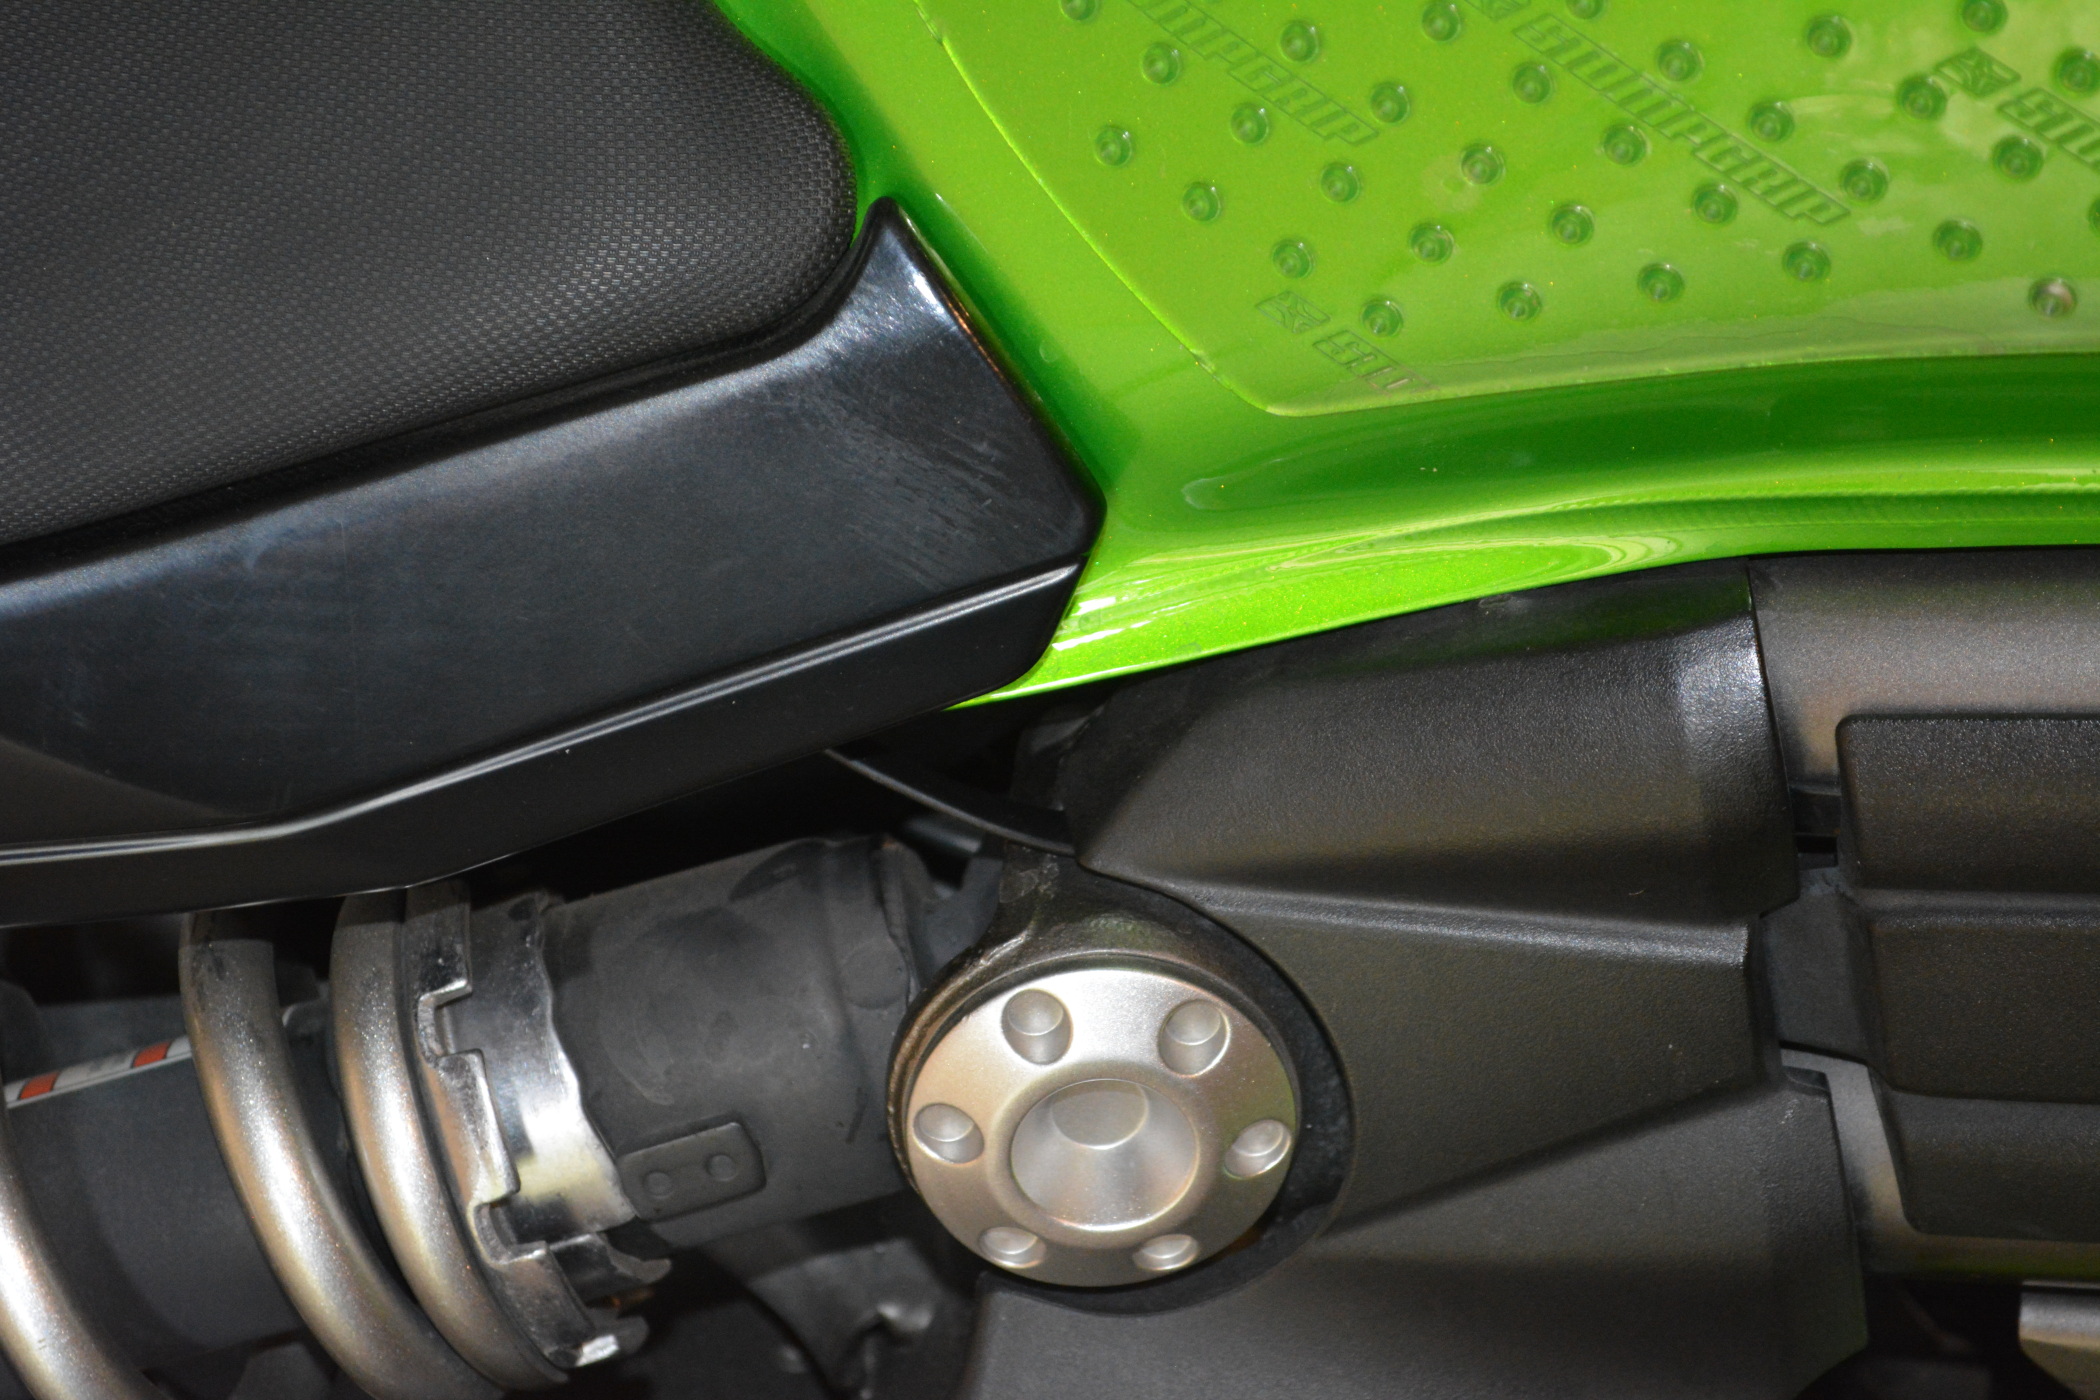
I also took the time here to pop the plastic frame covers between the tank and the side fairings open, and routed the cables up each side of the bike, being very careful to route the control toggle’s cable over top of the suspension pivot cover and not under or behind it. I did have to get out a coping saw and cut about 4 mm of plastic from the front left of my under-saddle area to squeeze the power cable through, but that was about the only bit I needed to modify to fit.
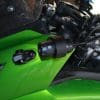
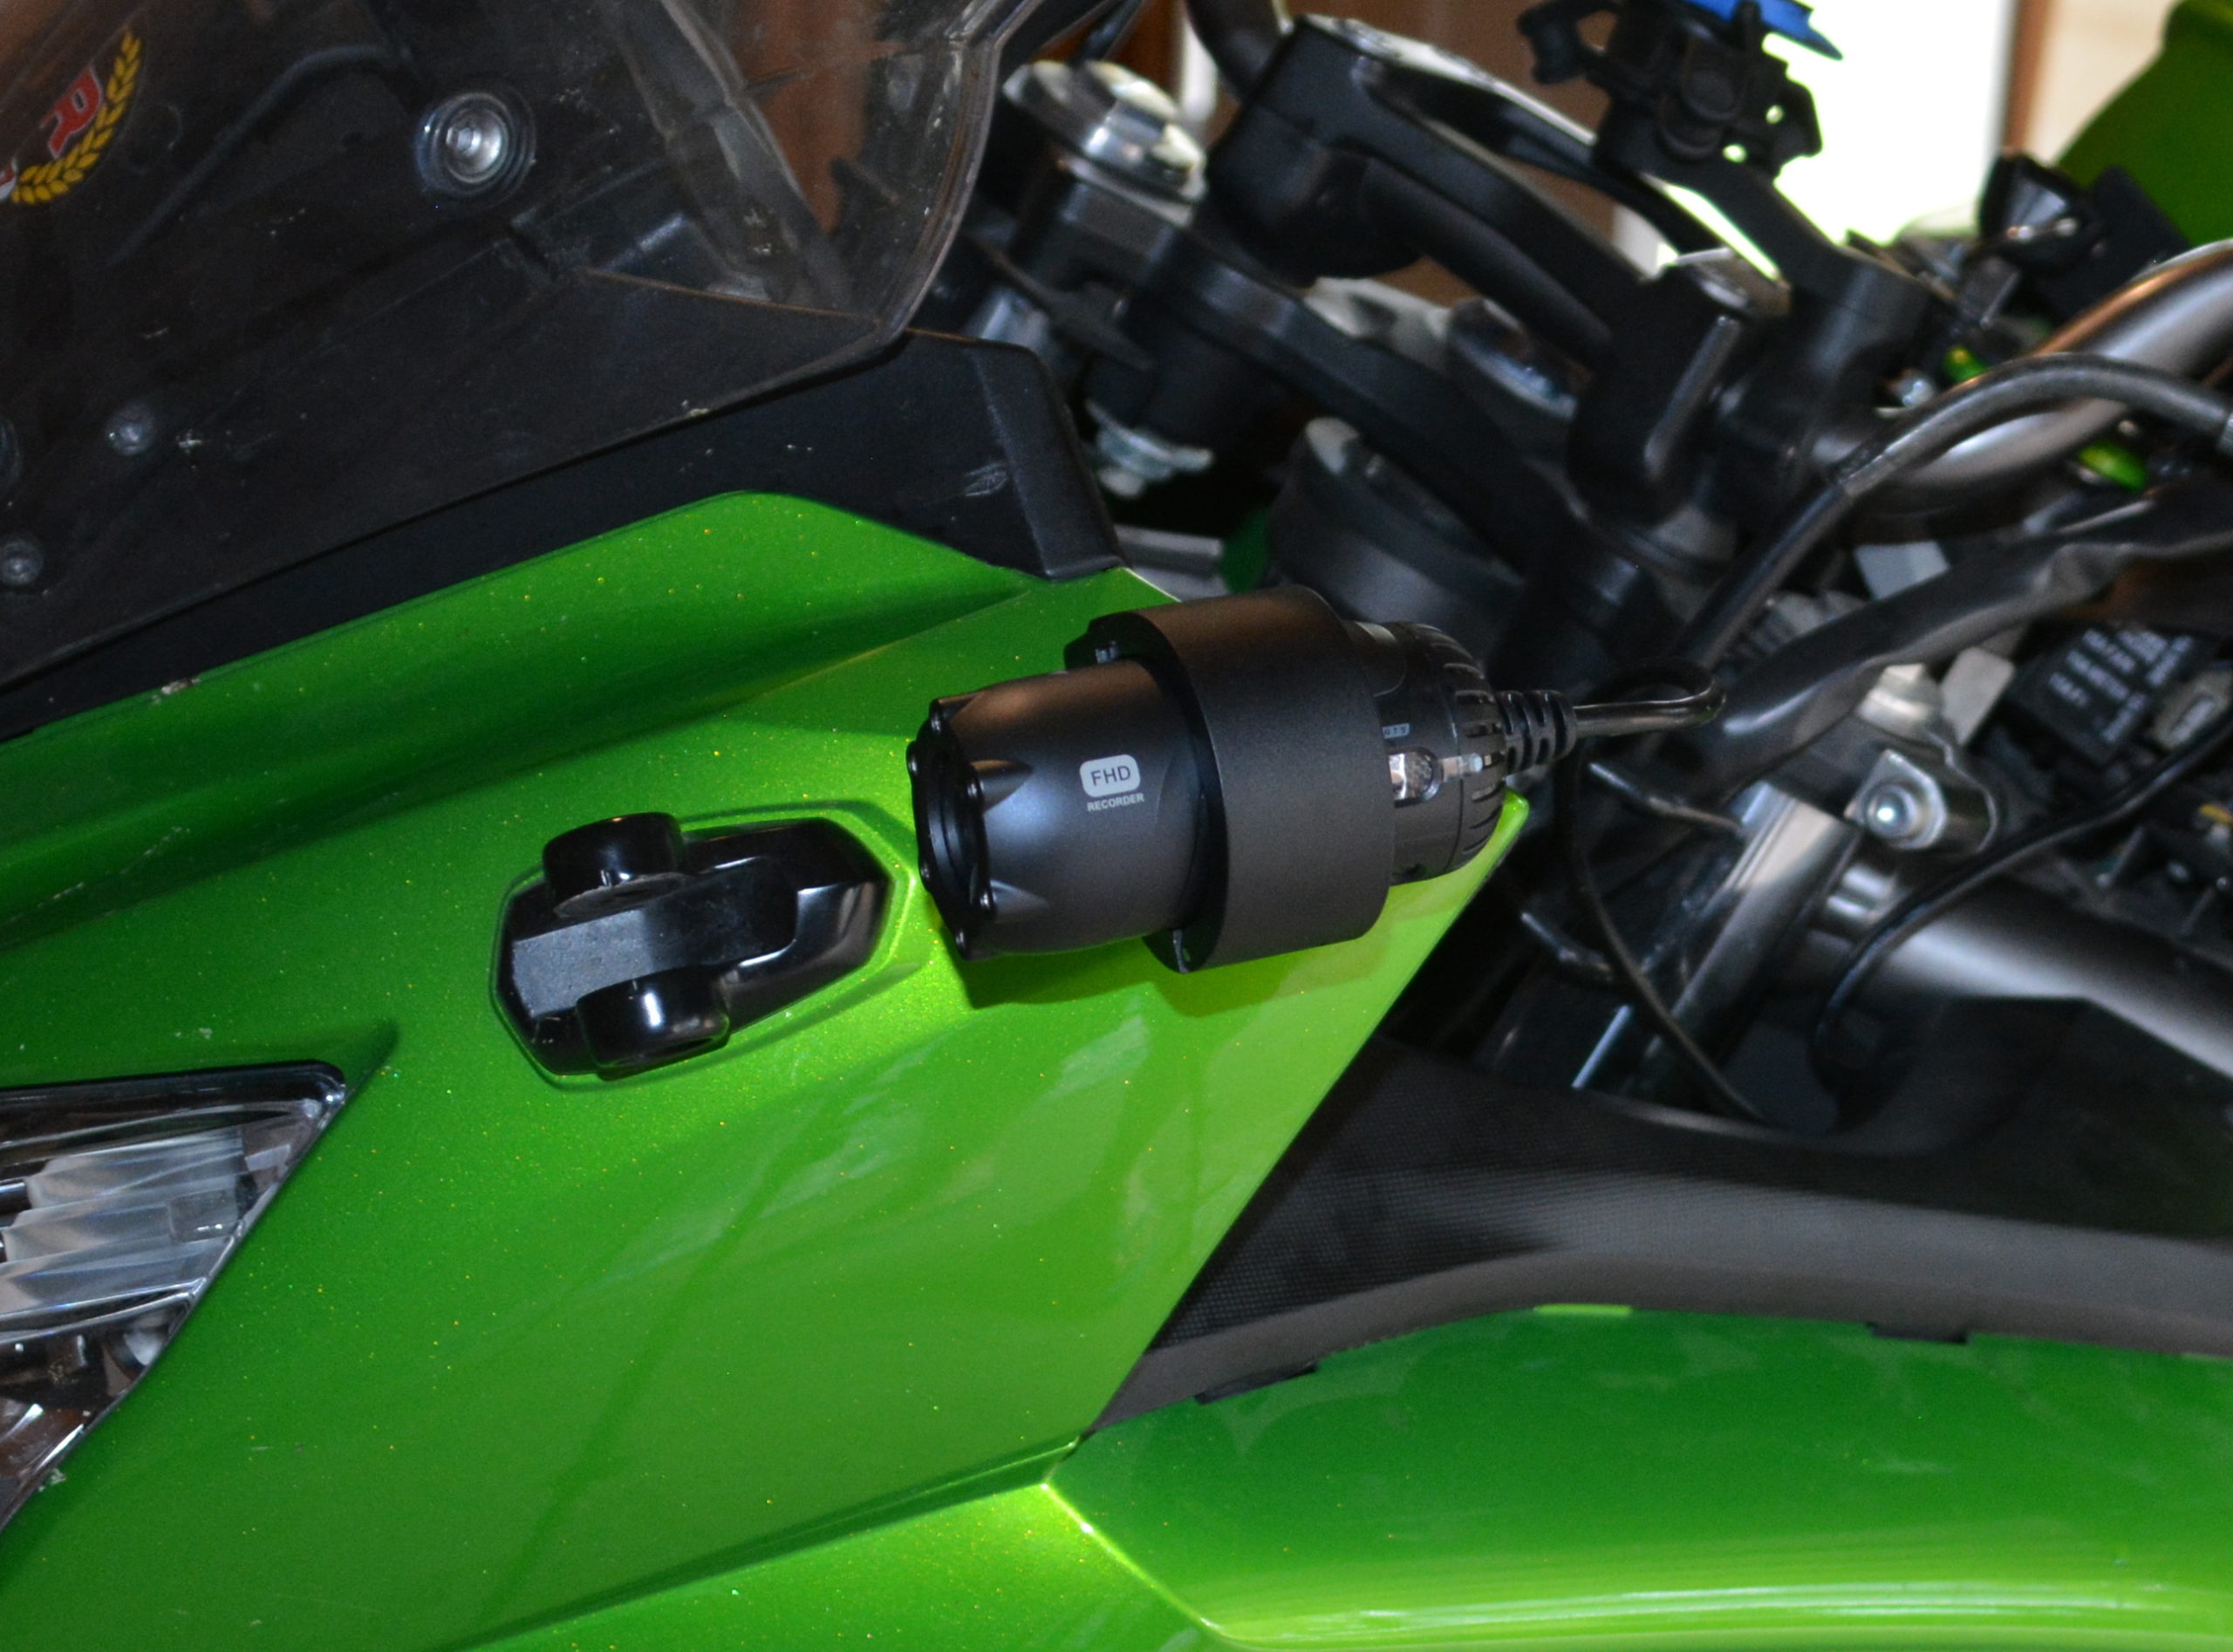
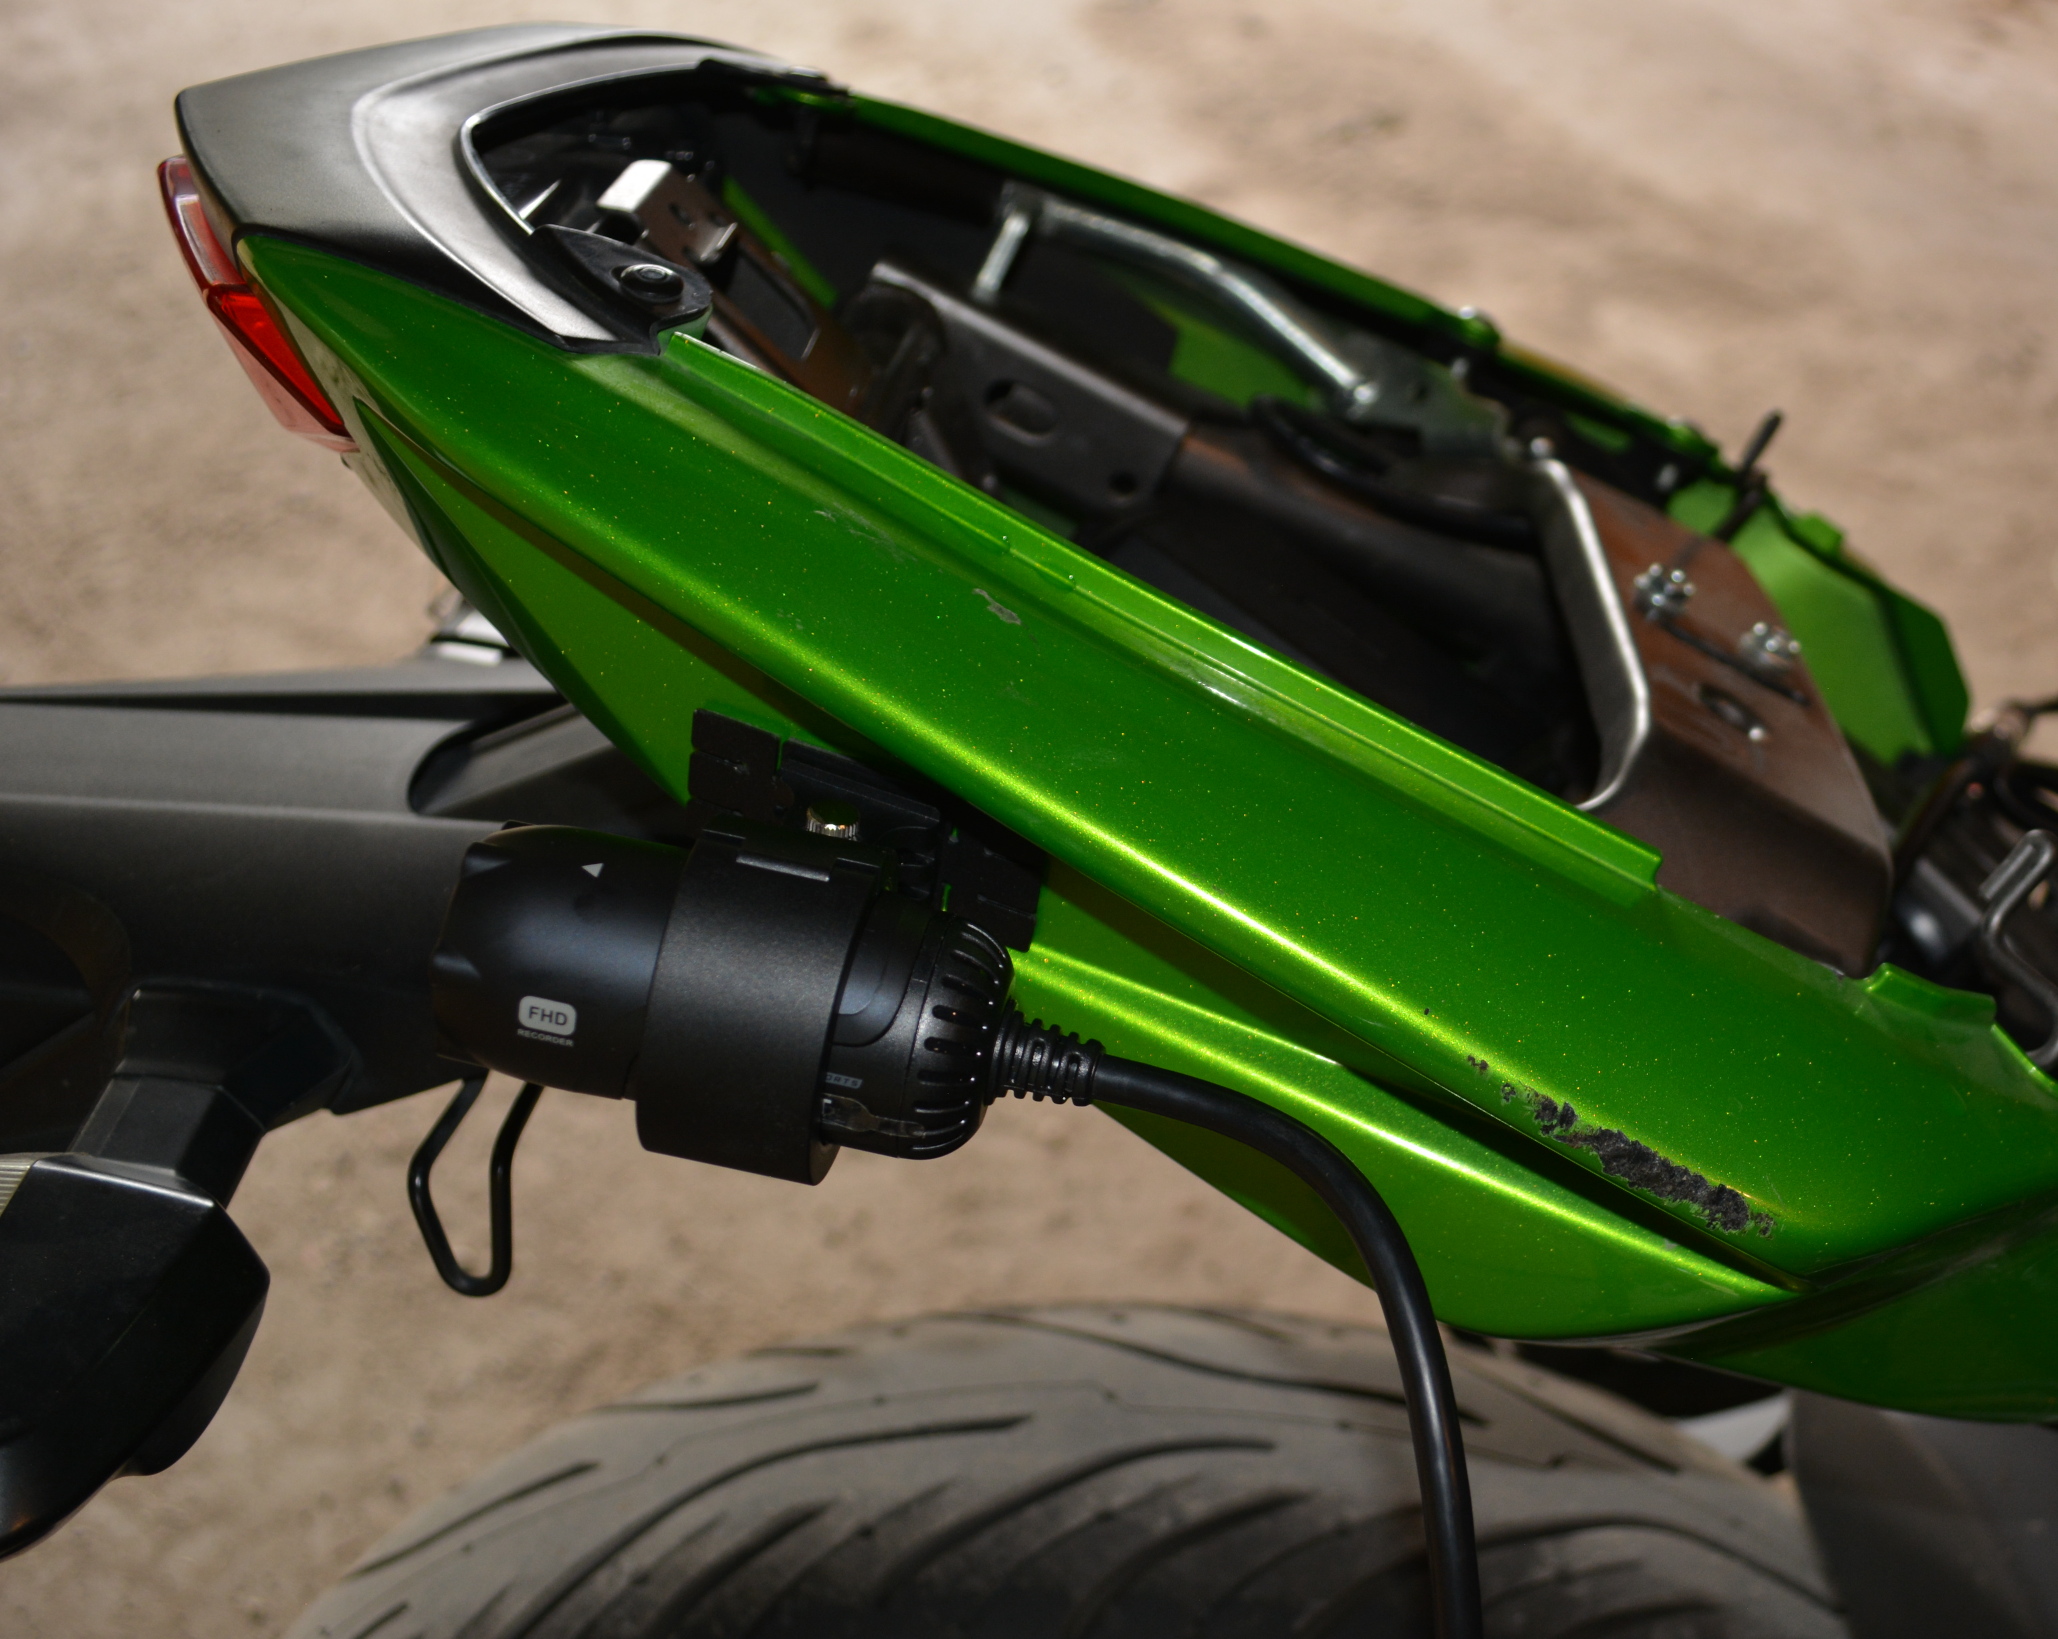
With that part done, I got out the rubbing alcohol and shop towels and, after holding each mount with a camera preinstalled, roughly sighted where I wanted each mount to go, with the system powered up and connected to the ThinkWare app so I could aim the cameras with a live feed from each. For the front mount, I found the front cowling beside the windscreen had the best contact area, while for the rear, under the lip of the tail had some really nice flat spots for best contact. I cleaned both areas thoroughly with a shop towel with a small splash of alcohol, and let it dry out for 10 minutes.
So far, apart from a bit of a scraped knuckle when I was getting my admittedly large fingers into the tight area around the fuse box, the installation had been relatively simple if you followed the instructions provided. The only bit where I had to be creative was with where I was going to tuck the cables, and with a sport touring bike, the frame and fairings provided ample tucking room.
Peeling off the plastic from the 3M adhesive for the front camera mount, I sighted it one final time, and then, as per the instructions, pressed the pad against the cowling. I was worried about the angular ridges on the cowling, but ThinkWare has already considered that, and there are little gaps in the plastic mounting that you can bend to push the adhesive over ridges to ensure maximum contact, a really nice feature.
After doing the same with the rear camera and mount, all that remained was screwing the camera cables together at the coaxial connection and tucking them away. The rear cable has more than enough length to reach the rear of pretty much any bike I can think of, including a continental tourer like a Honda Goldwing where the installation space would be in front of the rider. The front cable is slightly thicker, meaning it was a bit of a squeeze to tuck it between the plastic piece in the frame and the frame itself, but with some bodywork pry tools and patience, it was soon seated and home.
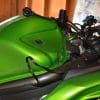
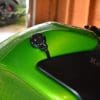
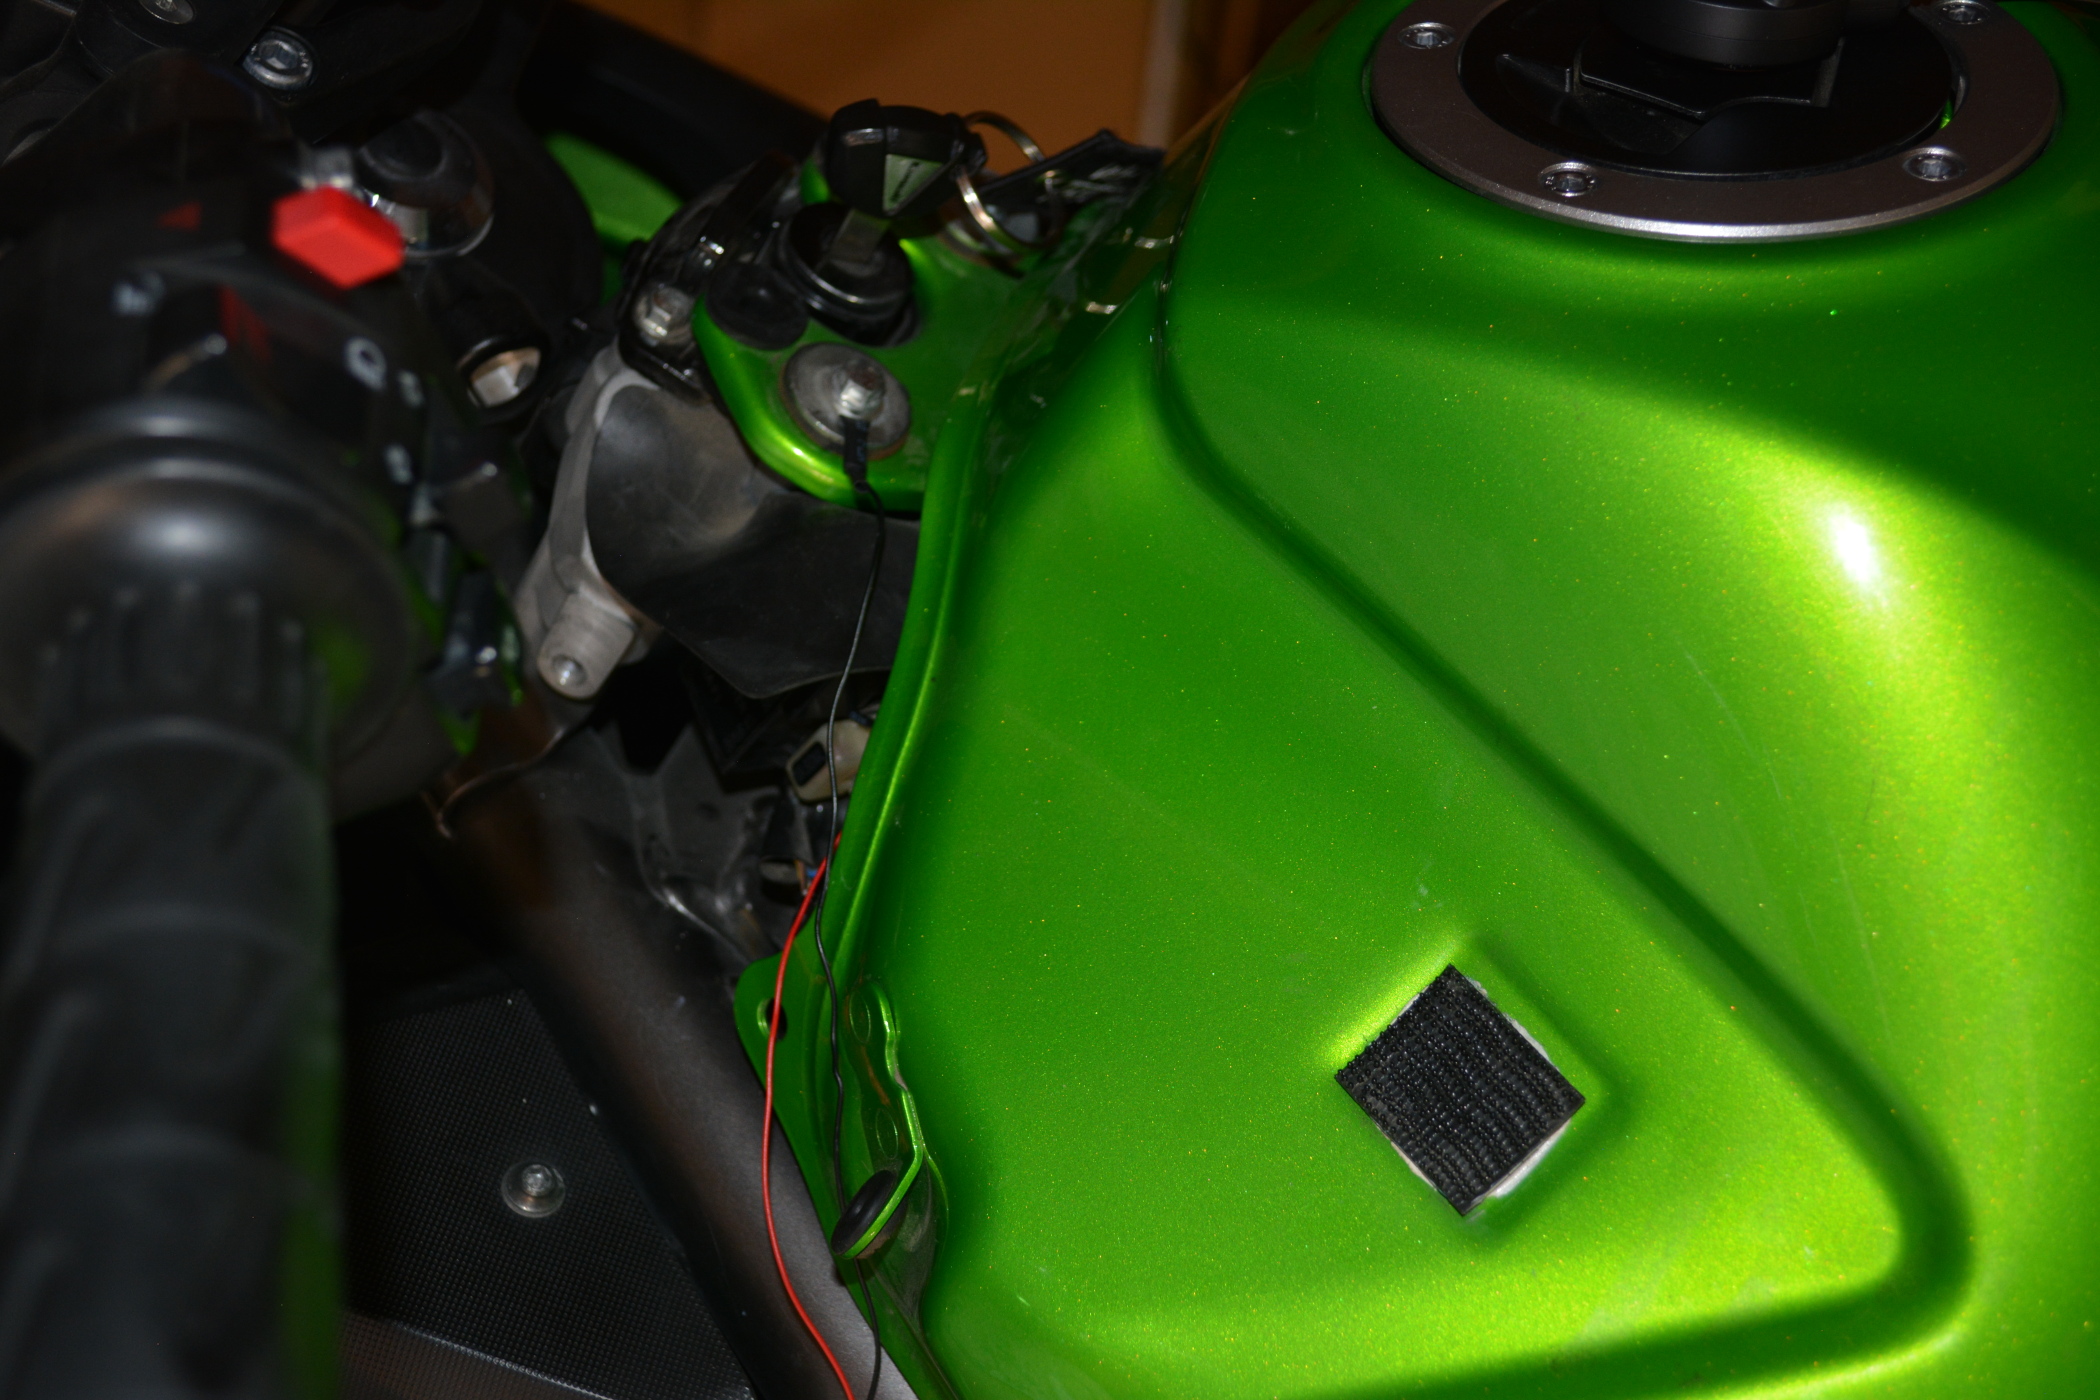
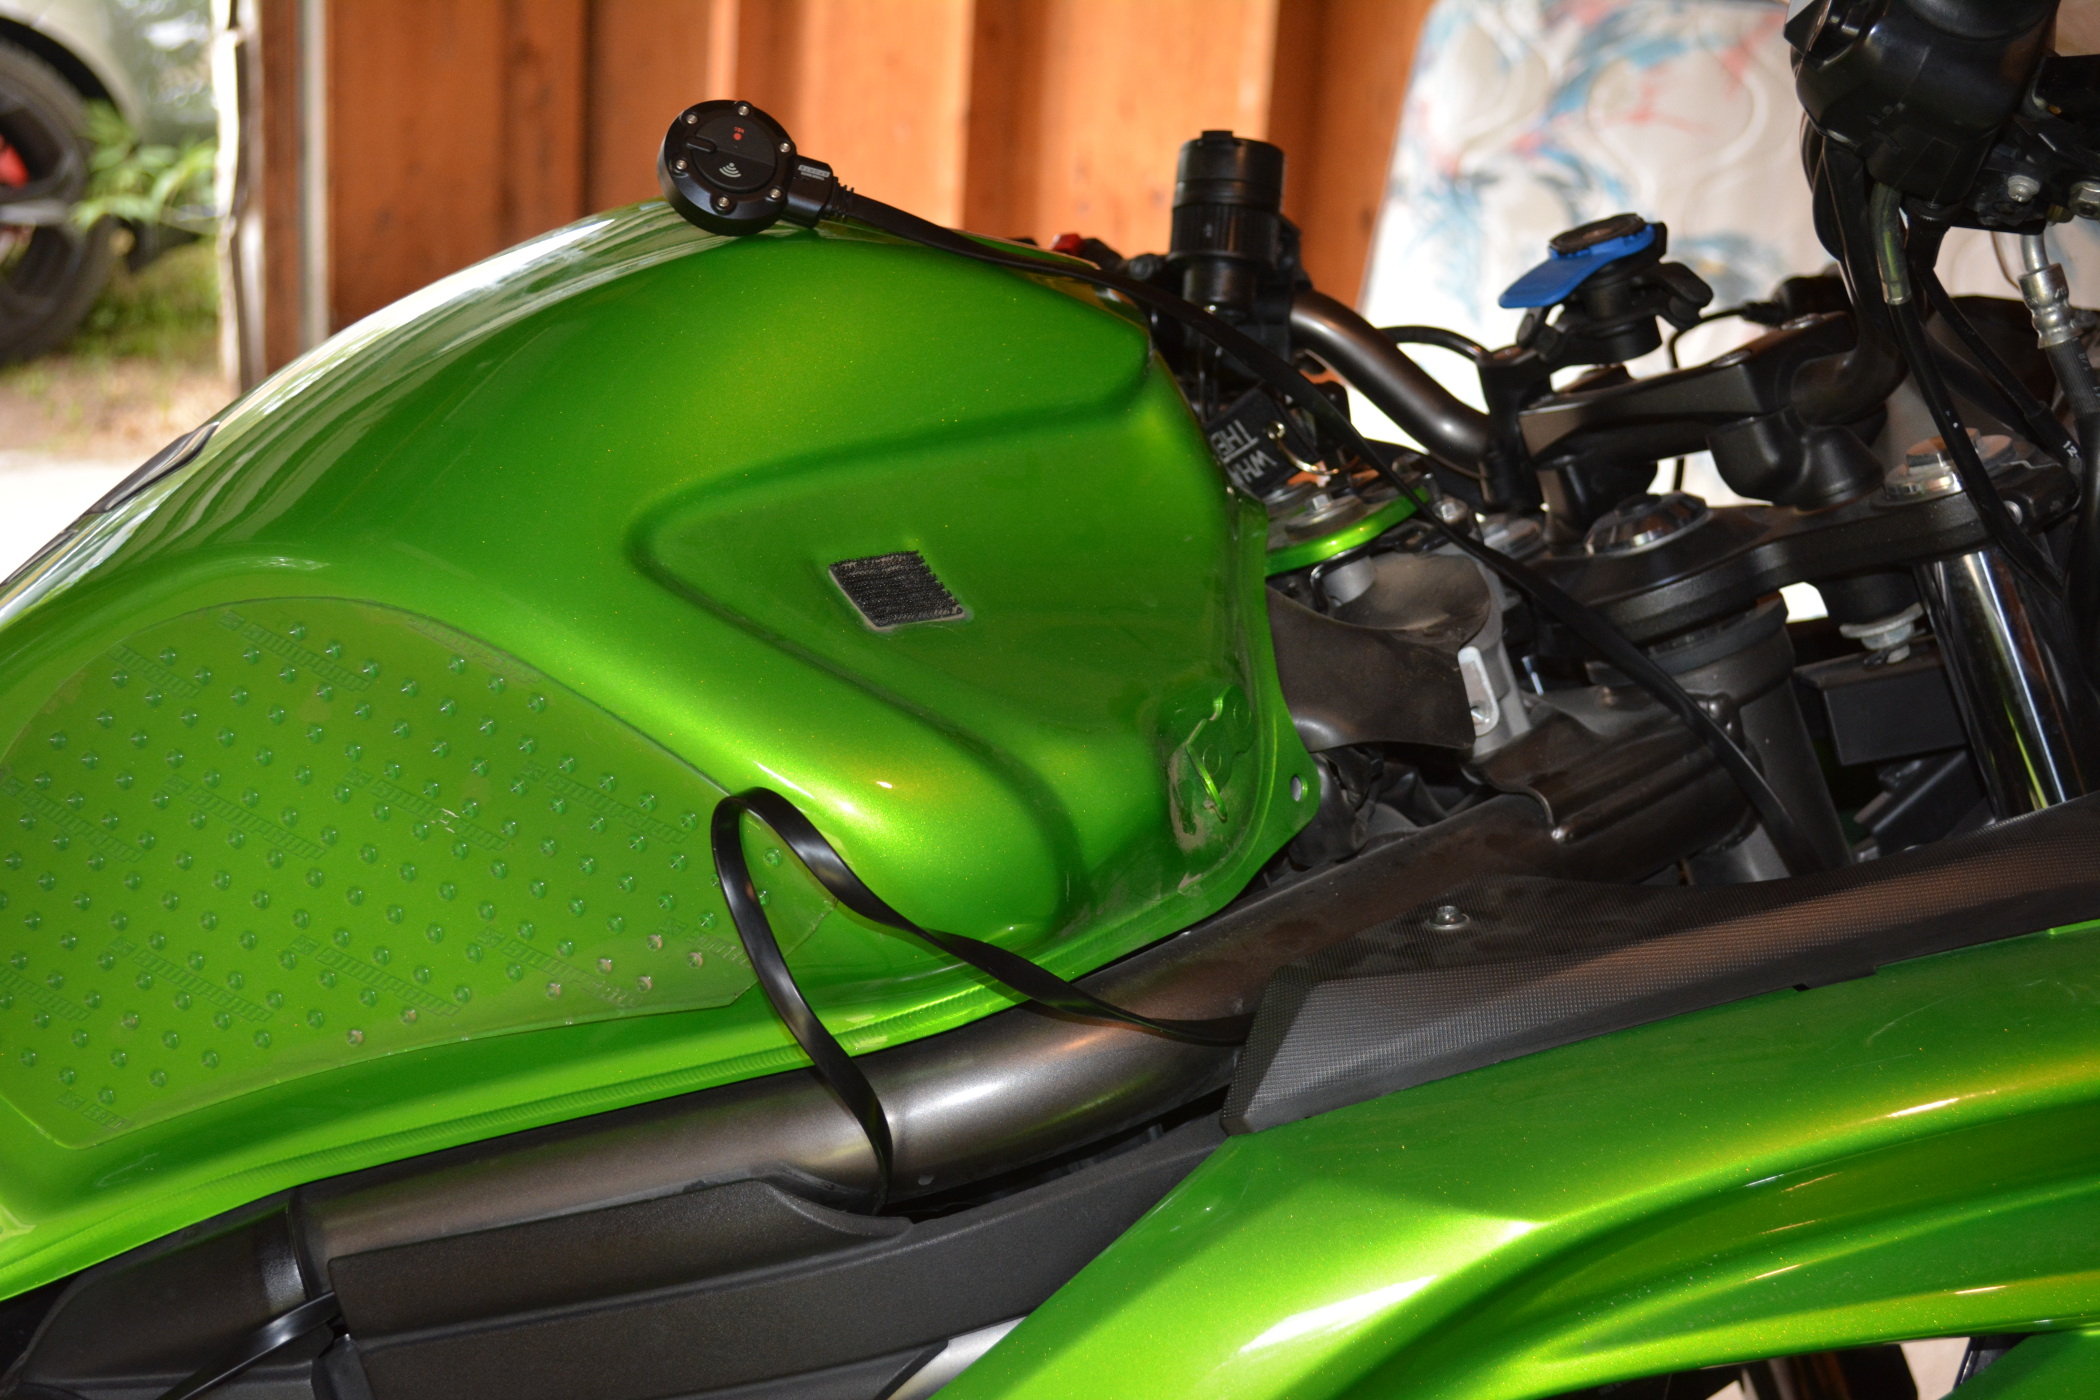
The last thing to do before reassembly of my bike was to locate the control toggle, and I was debating between mounting it to the right of my dash, or on the side of the tank, as the cable would reach both locations. I decided on a tank mount, because I could bring my hand back quickly enough to tap the manual recording button to capture an event while holding in the clutch and get it back to the throttle in about a second, without needing to look down or fiddle about to find it.
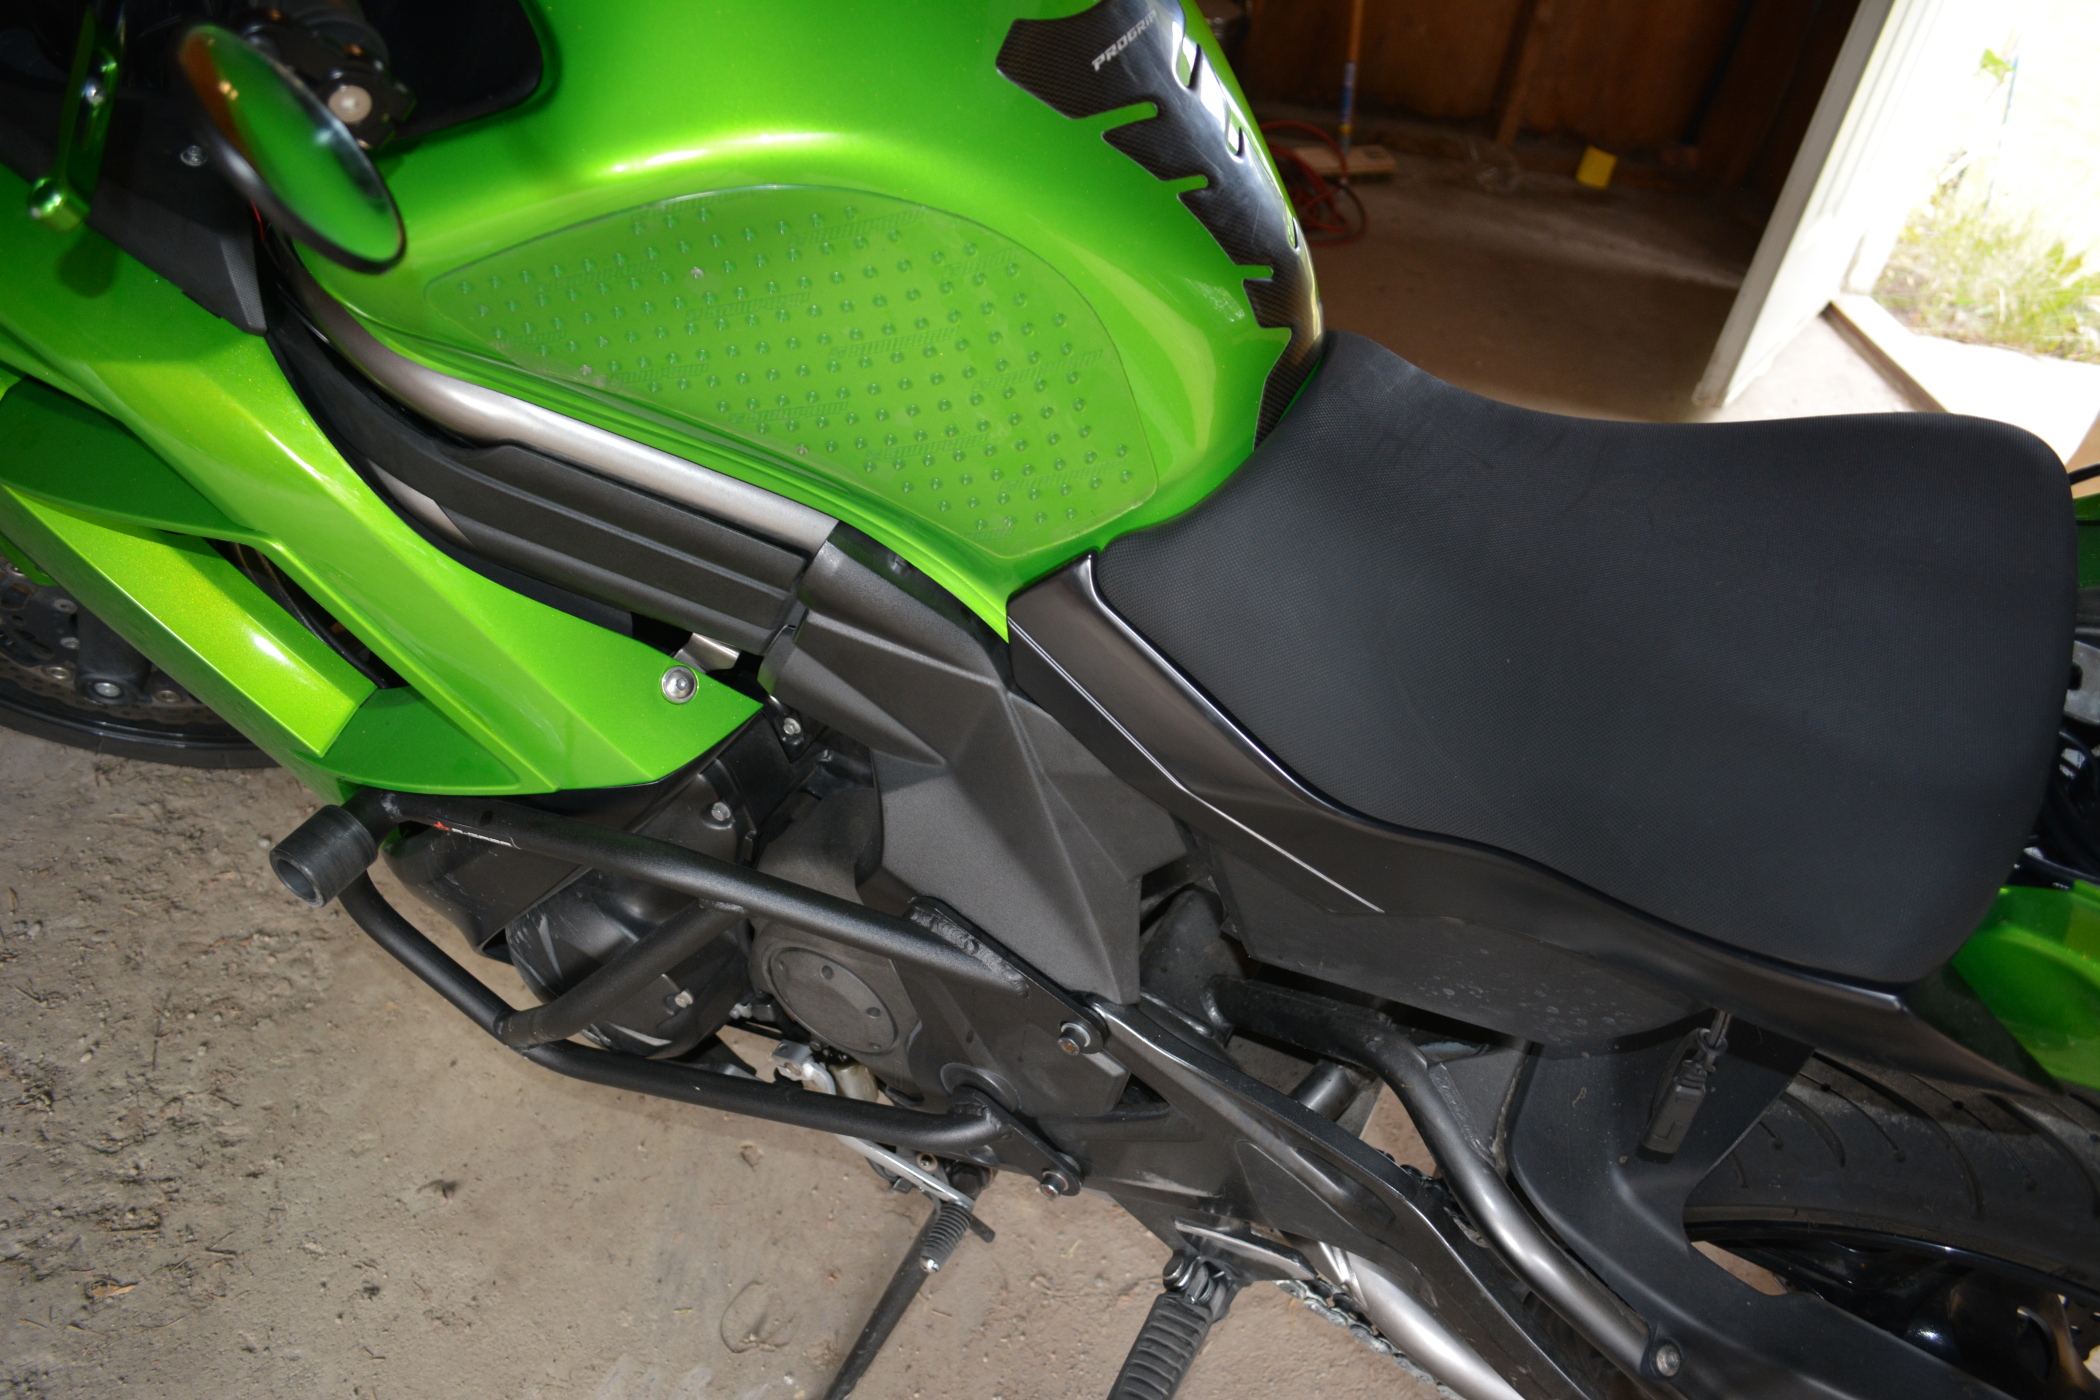
With the control toggle mounted, it was time to put my bike back together. The control box cable lies nicely flat and I was able to squeeze it under the dasher plate that covers the front of the tank without issue. With the seats back on the bike, you have to look really closely to even see the cables running out from under it to the front and rear of the bike.
It took me a total of about two hours start to finish, including removing bits off my bike, testing the reach of the cables, deciding on the mount locations, testing the system, general cleanup, and screwing my bike back together. As long as you have patience and “measure twice, cut once,” the installation is not at all difficult even with basic knowledge of how to test fuses, route cables, and connect a wireless device to your smartphone.
ThinkWare M1 Motorcycle Dash Camera In The Real World
Of course, the whole point of installing a dashcam is to, well, record video from your dash! After I had finished the installation, there was still enough time to get out and ride. After putting on all my gear, I headed out on the bike, and started to cruise around. I did a couple of test manual recording moments, one at a red light, and the other while cruising to test out the ease of finding the control box with my gloved hand.
As long as you screw the mount pivot allen bolts to hand tight, the cameras don’t move at all. Vibrations, bumps, wind, nothing deflected the front or rear cameras from their mounted positions. In Calgary, we have speed limits from 40 kph (25 mph) to 110 kph (68 mph), and even riding North along the Queen Elizabeth II highway, where that 110 kph limit is, neither camera deflected at all.
I also turned the electronic image stabilization on, as I discovered in my review of the Akaso V50 Pro Action Camera that a parallel twin can make a video unwatchable if stabilization was turned off. In all other respects, I left the settings as they were, so that the camera continuously records in 1 minute intervals, creating two files, one for the front camera, one for the rear camera. The microphones were left on, and the autosensing for light levels is at its factory settings as well.
Below, you will find a one minute video capture of a ride from September 28, 2021, in broad daylight.
WARNING: Because the microphones were at 100%, the wind noise is very loud. I recommend muting or turning the volume way down on each video before watching!
Unfortunately, this being Calgary, October, when I was planning to get out and start fiddling around with settings such as EIS, shutting off the front mic and capturing only from the rear mic, and all the other fun settings, turned out to have weather that was picked from one of those spin-to-win party wheels. One day it was rain, the next day it was sunny but close to freezing, and I have sport tires on my Ninja 650 and did not want to risk it on slippery or frozen roads.
As such, when the 2022 riding season starts, which for us here in the frozen North usually means March for those with heated grips and heated gear, or April for those of us who are slightly more sensible, there will be an updated continuation of this section of the review with more video captures.
As it stands, however, I have yet to have to re-aim the cameras, tighten any of the allen bolts on the mounts, or re-stick the mounts with new 3M adhesive. This is aslo despite my bike being stored in an unheated garage, and Calgary’s temperatures varying over the winter from 5 C (41 F) to -33 C (-27 F) on the coldest day so far.
ThinkWare M1 Motorcycle Dash Camera: Wireless
Having the M1 be wireless enabled is definitely helpful. Many less expensive units with a single camera or that are seemingly thrown together from the leftovers of the car dashcam pile lack something as “simple” as wireless connectivity, and I honestly would have had a much more difficult time aiming the cameras and changing settings on the fly without ThinkWare’s app on my iPhone 8 Plus.
The wireless acts as an access point, which you have to find in your phone’s wireless list and select, then enter a default passcode that you can find in the instruction manual. You can change that passcode if you want, but for the review, I felt it better to leave it as default in case I needed to factory reset the unit for any reason.
Once you have the app installed and the phone connected, all you need do is open the app, and it will automatically detect the M1 (or any other ThinkWare camera you might use, such as one of their car camera kits), and bring up a live view from whichever camera you want. Of immense aid at this point is the fact that ThinkWare was smart enough when developing the app to include a recording area box as well as a horizon aiming line across the middle of the camera’s view.
This allows you to straddle the bike as if you were riding on the road, and with the bolts that hold the camera firmly slacked off a bit, you can twist the camera in the mount, and aim the mount along its hinge axis to get the best possible capture. Doing this with both the front and rear cameras is as easy as tapping the camera button on the app to whichever camera you wish to use.
The app also allows you to watch captures, either continuous or manually commanded, on the phone screen in case you need to do an instant review or want to check to make sure things are capturing. The app also can upload those same captures to the ThinkWare Cloud (which is, coincidentally, what the app is named) if you want to have a backup, although you will need to set up a free ThinkWare account for that to happen.
The last major thing that the app is used for is setting up camera features, such as turning EIS on or off, turning the microphones on or off, as well as setting up connectivity and turning GPS on or off as well. It’s fairly basic, as the control box takes care of most of the “Standard” dashcam things automatically, but it does allow you to customize a few things as. The app itself is stable, although you might need to close it and open it again if the camera feed locks up, which happened only once to me during initial setup.
Final Thoughts & Verdict
I am a huge believer in dash cameras. Back when they were starting to take off and become popular, I bought a BlackVue DR400G for my car. It isn’t wireless, it can only accept up to a 32GB MicroSD card, and takes about 2 days to boot up, but it has come in useful in preventing one insurance scam where an idio- er, pedestrian crossing the street in a crosswalk suddenly ran at my car and jumped on my hood as if I’d hit him, then collapsed dramatically in front of my bumper. I hopped out, pointed at my dashcam, stated it was recording, and he got up and walked off without another word.
From the first day I started my motorcycle school, knowing that the hobby comes with a certain degree of risk and danger, I wanted to have some way of recording each ride. For the longest time, that was a SENA 10C Pro helmet cam on my Scorpion GT920, and then my HJC i10 Plus. Having an actual, dedicated motorcycle dashcam that is on when my bike is on, off when my bike is off, and that records continuously in a loop with a front and back camera is something that puts my mind a bit more at ease.
It is even more at ease with how honestly easy the entire thing was to set up. Two hours on a cool Autumn afternoon with set of body panel prys and some allen keys, some shop towels, and a small jug of isopropyl alcohol, and the cam was in. In fact, the only thing I’ve changed about the installation since it was done was that I built a battery-return ground instead of grounding out against the frame, so that I don’t micro-surge the control box with static electricity from my textile riding gear rubbing against the metal of the bike.
Since it’s been installed, it has worked flawlessly on every ride. No error codes blinking on the control toggle LED. No overheating even on rides that lasted well over 4 hours, hidden away under a pillion seat with a small tail bag on it. The mounts have not moved at all since I tightened them, even with the roads in Calgary sometimes giving even 4×4 offroad suspension in the pickup trucks around town a challenge.
As well, I brought up the point that the BlackVue, which is now in my Ford Fiesta ST, takes about 2 minutes to boot up. If I swing a leg over my bike, get it off the kickstand, and then turn the key to on and press the starter, by the time I’ve walked the bike backwards out of the garage, it’s already been recording for about 20 seconds, and it takes me 30 seconds to back up carefully so I don’t scratch the car.
A very intelligently designed, low profile, and easy to install system by ThinkWare, the M1 is quite possibly the most hassle-free, easy-to-use, and powerful camera system I’ve used in or on any road-legal vehicle. Wireless connectivity allows for near-instant review of incidents, an easy to find and press manual recording button lets me save things I want to save, and continuous recording means that, unlike with my car dashcam, I don’t even have to do anything except start my bike for the system to start recording.
It is only let down, and I am nitpicking here, by having only one capture resolution and speed, which are 1080P and 30FPS respectively. The iOS app did encounter one hiccup with the camera feed during initial setup, and I do not have an operation Android smartphone to test the Android capabilities with, but the app is fairly basic, if functional. The only other sticking point is that the system will not accept any MicroSD card above 64GB, in a time when we have 256GB and 512GB MicroSD class U cards available.
Pros
- Reasonable installation time
- Wireless connectivity helps with aiming and setting up cameras
- Nimble control toggle can be mounted anywhere
- Continuous recording loop
- Well designed cable layout
- High quality materials (Sony STARVIS lenses and sensors)
- Easy to understand status LED on control toggle
Cons
- Only one capture quality and rate, 1080P @ 30FPS
- Can only handle up to 64 GB MicroSD card, in a time when 256+ GB MicroSD cards exist
- ThinkWare App is stable, but did have one glitch during initial setup
- Microphones are extremely sensitive to wind noise, to the point of drowning out all other sound
wBW Specs
- Manufacturer: ThinkWare
- Price (When Tested): $499.99
- Made In: China & South Korea
- Alternative models & colors: None
- Review Date: Month of September 2021
Important Links / Where to Buy
- Manufacturer Website: ThinkWare
- Where to Buy: ThinkWare website | Amazon


