Redemption!
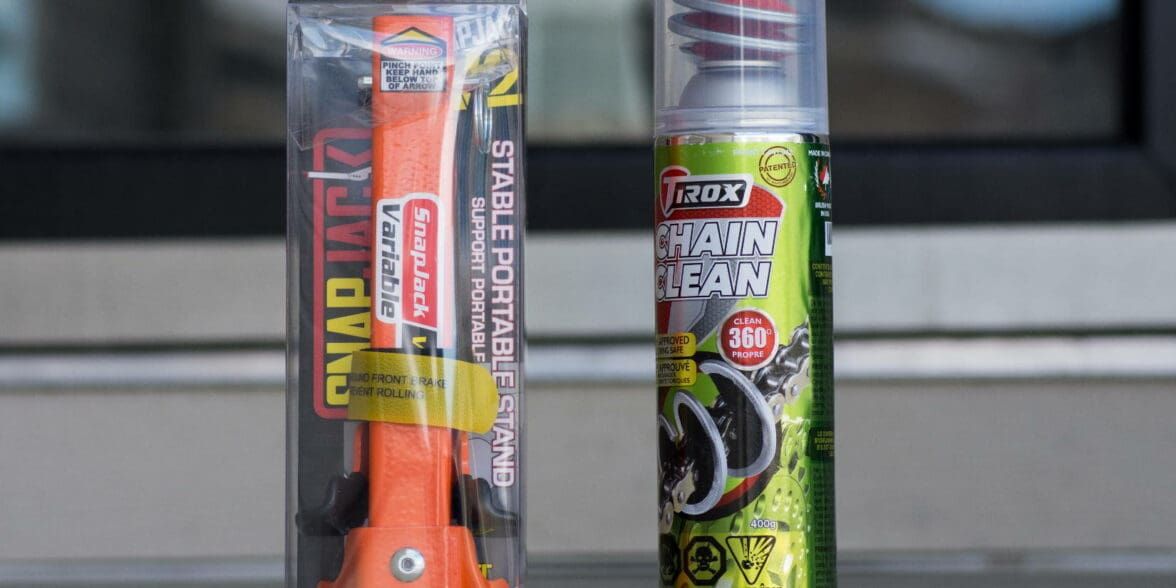
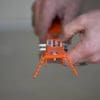
No one likes only getting one chance to prove themselves, including the maker of the SnapJack. Not much is more satisfying than dusting yourself off and coming back strong with a winning performance. That’s what Basil Paul Andrews the President of Tirox/SnapJack was after when he provided us the newest version of the SnapJack to give a second glance.
Originally reviewed on WBW two years ago, there were some valid concerns with the first SnapJack design exposed by our reviewer. See that review here.
Basil took our input to heart and made the needed fixes to produce what is now a very handy product in the SnapJack Variable V2.
What’s In the Kit?
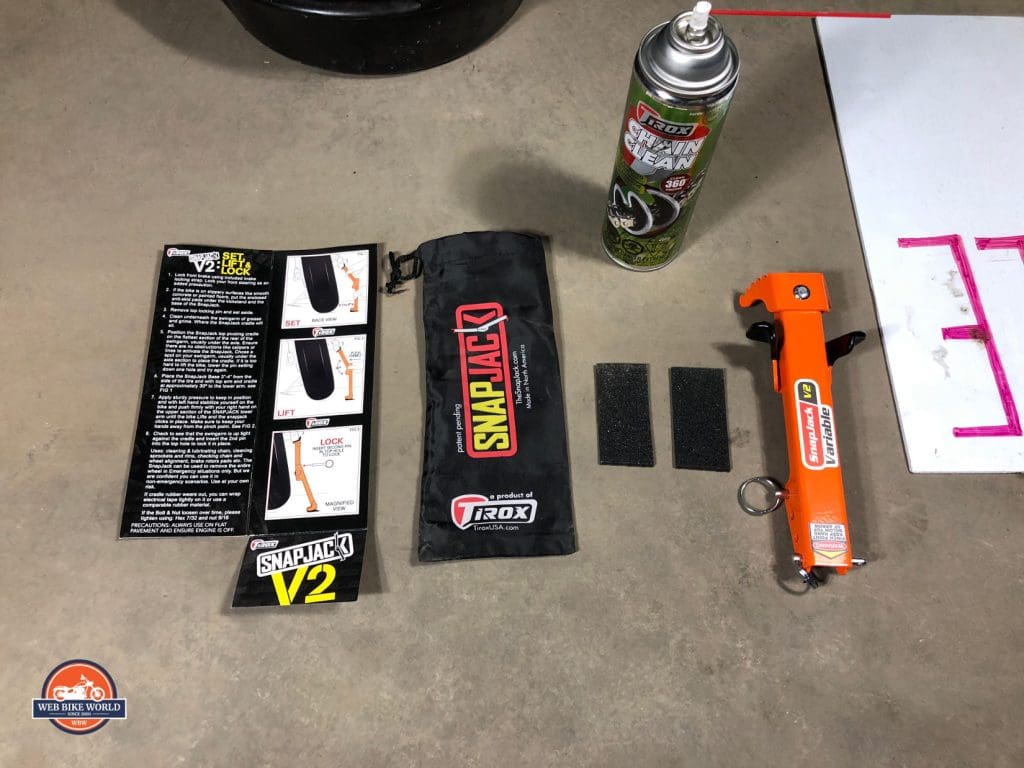
- Simple instructions
- Carrying bag for the kit
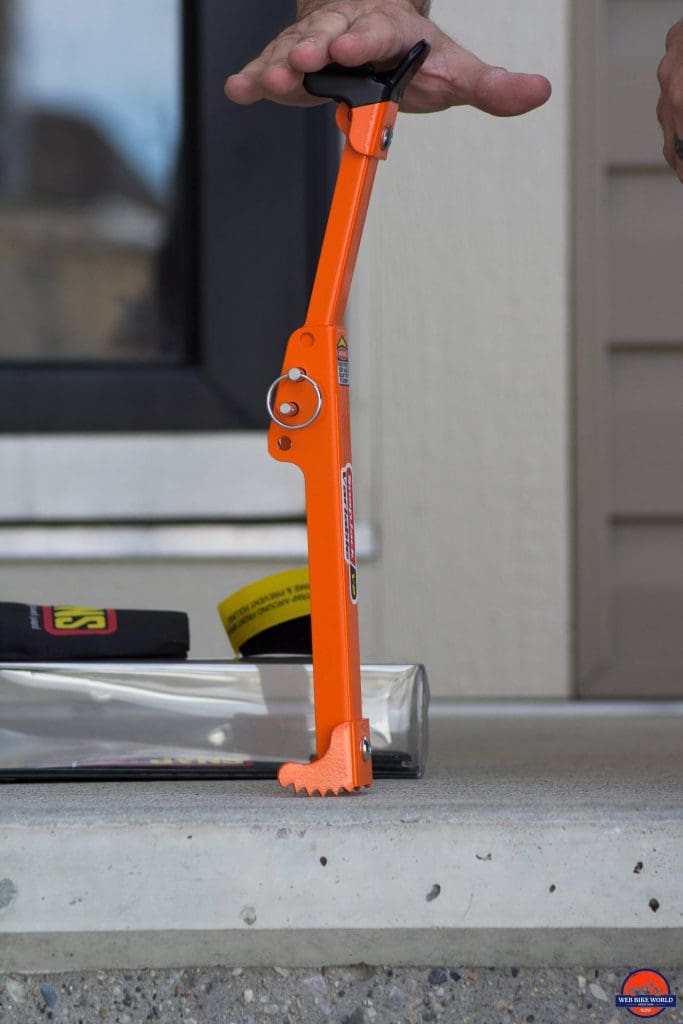
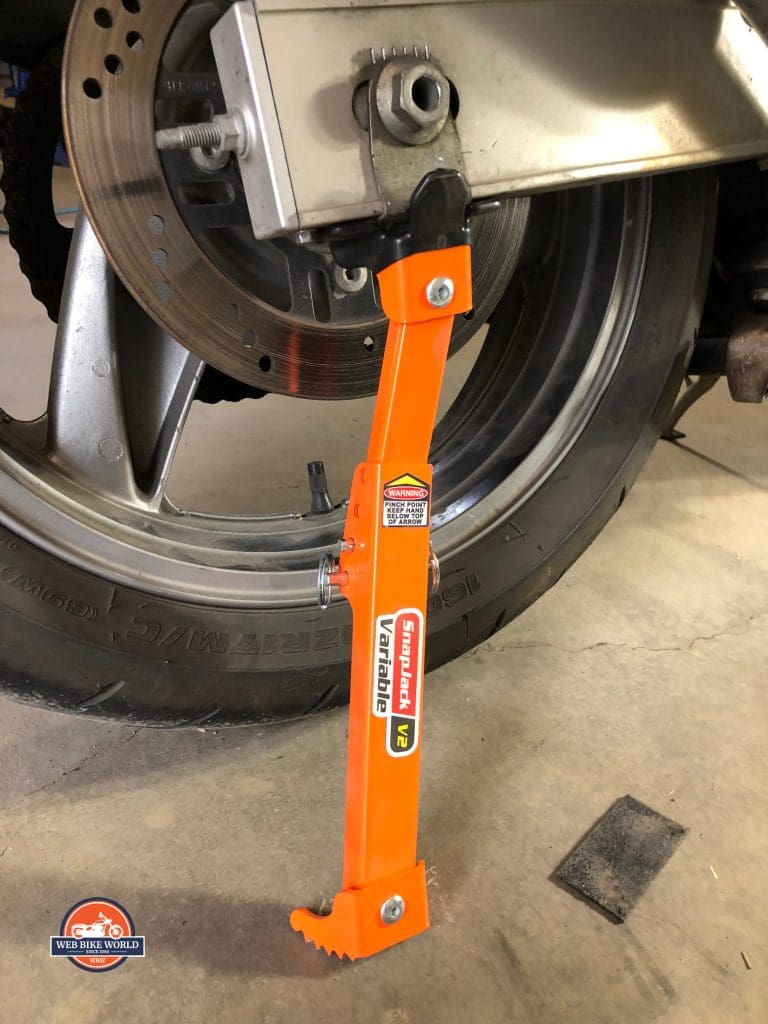
- One variable height SnapJack V2 with two locking pins
- Velcro strap
- Two rubber pads
- 360-degree chain cleaning brush included with spray can of Tirox Chain Cleaner
How The SnapJack Works
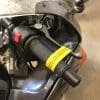
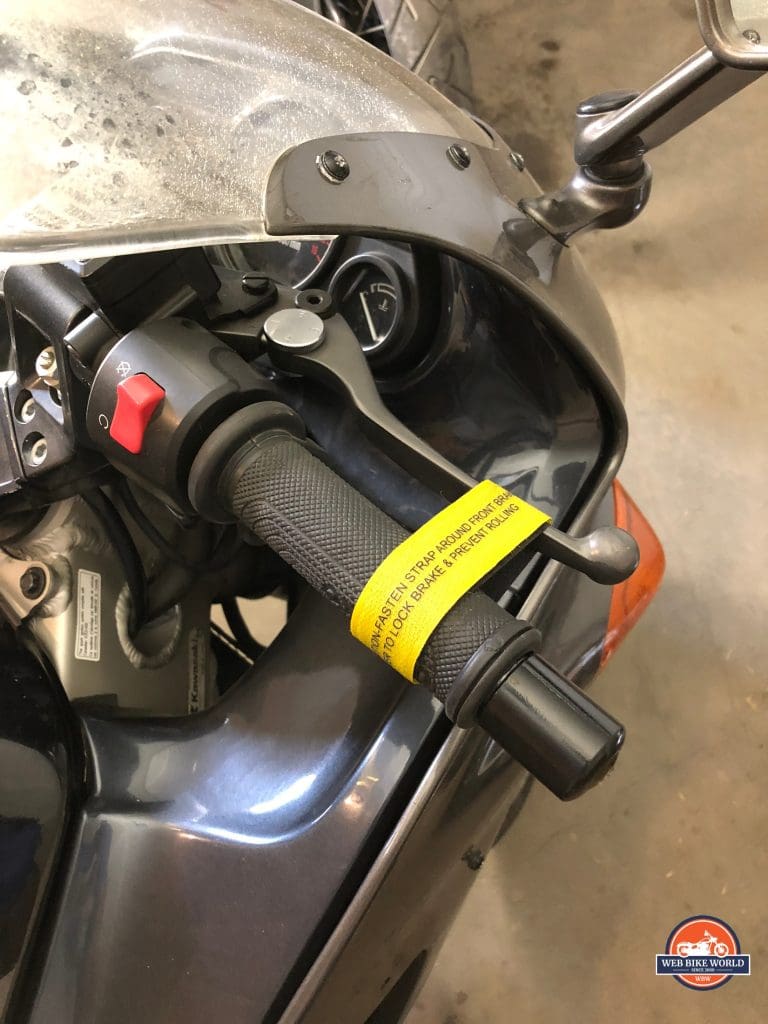
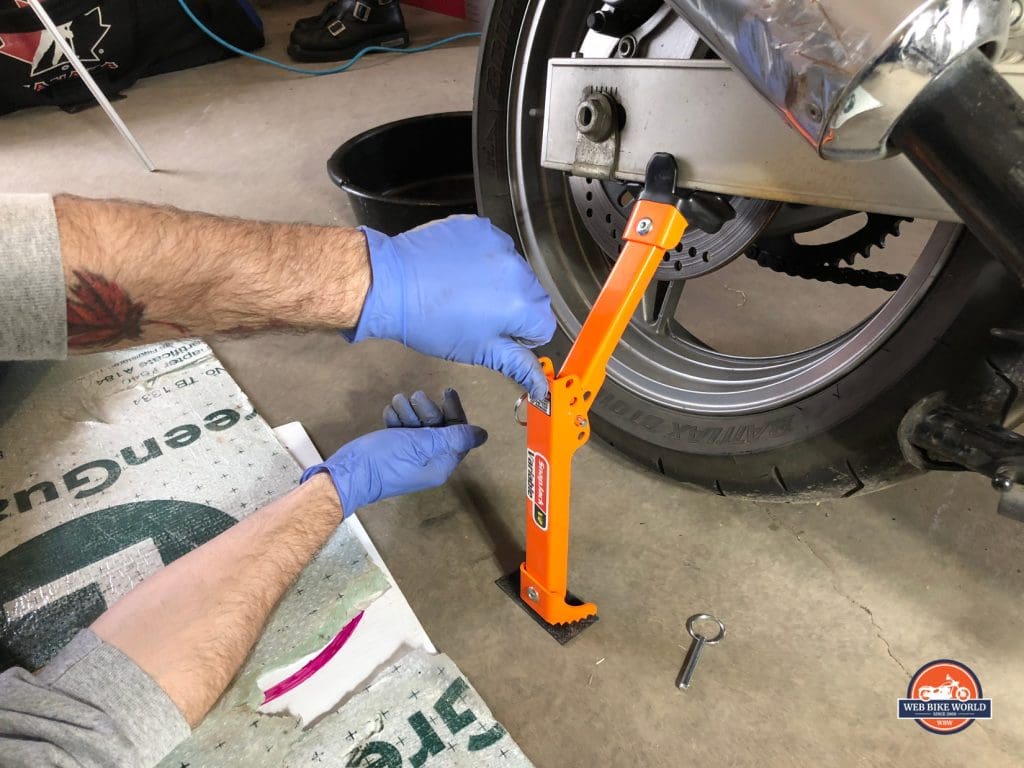
Step 1: Lock your front brake ON with the included velcro strap. This stops the bike from rolling forward when the jack is put in place and raises the back of the bike up.
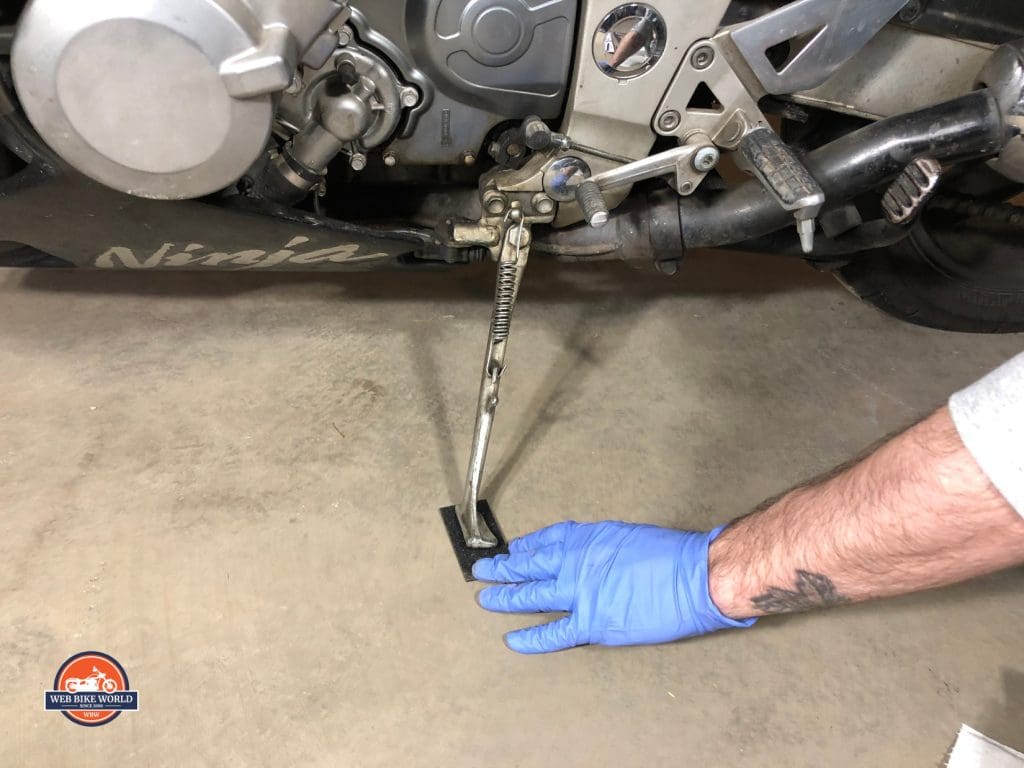
Step 2: Ensure your bike is on a hard, level surface. Put the non-slip rubber pad under the kickstand to keep it from sliding on the floor.
My experience using the SnapJack showed that it could be used out on any type of ground so long as you have a hard, level surface for the kickstand and the base of the SnapJack to anchor on. I think it would work great for dirt bikes out camping, etc.
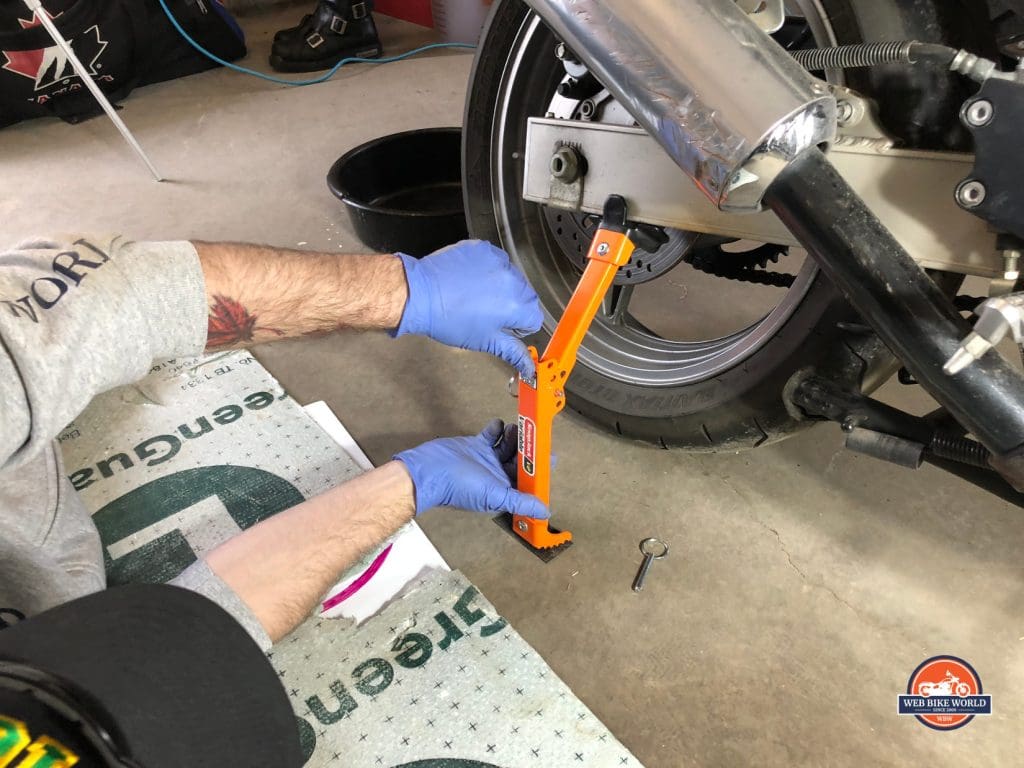
Step 3: Hold the SnapJack beside the rear axle and ensure there’s a flat area for the rubber coated end to push against. If there’s a caliper in the way or anything like that just move the jack forward on the swingarm ahead of the obstacle.
You’ll want to clean off the area of the swingarm where the jack will make contact to avoid having it slip while lifting upwards.
Gauge which hole on the jack needs to have the hinging pin in it, and install it there. Ideally, you only want to raise the rear wheel just enough to clear the floor and so keep everything stable.
Step 4: Set the base of the jack about 3 to 4 inches out from the edge of the wheel and the other end under the swingarm. Push the center part of the jack sticking out inward with the palm of your hand to avoid pinching when the two halves of the SnapJack move over center and “SNAP” into the locked position.
This should result in the swingarm assembly and wheel lifting up and the tire clearing the floor by about half an inch letting it spin freely.
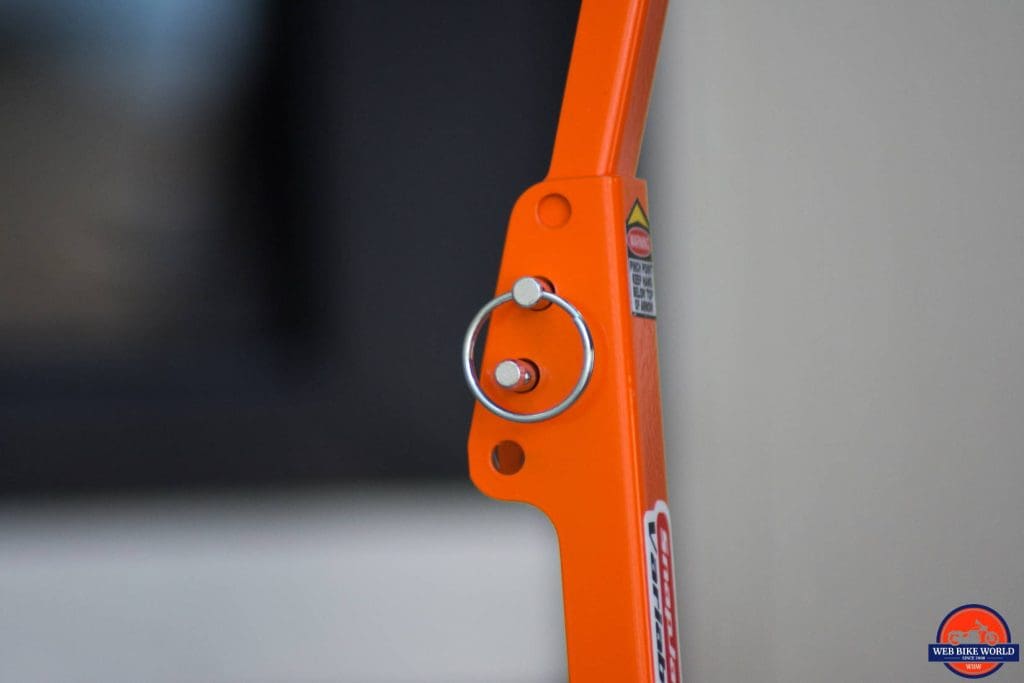
Now install the second pin in a second hole to prevent it from popping out of lock if the bike shifts suddenly while you’re working on it.
Check for Stability and Good Contact
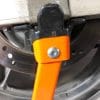
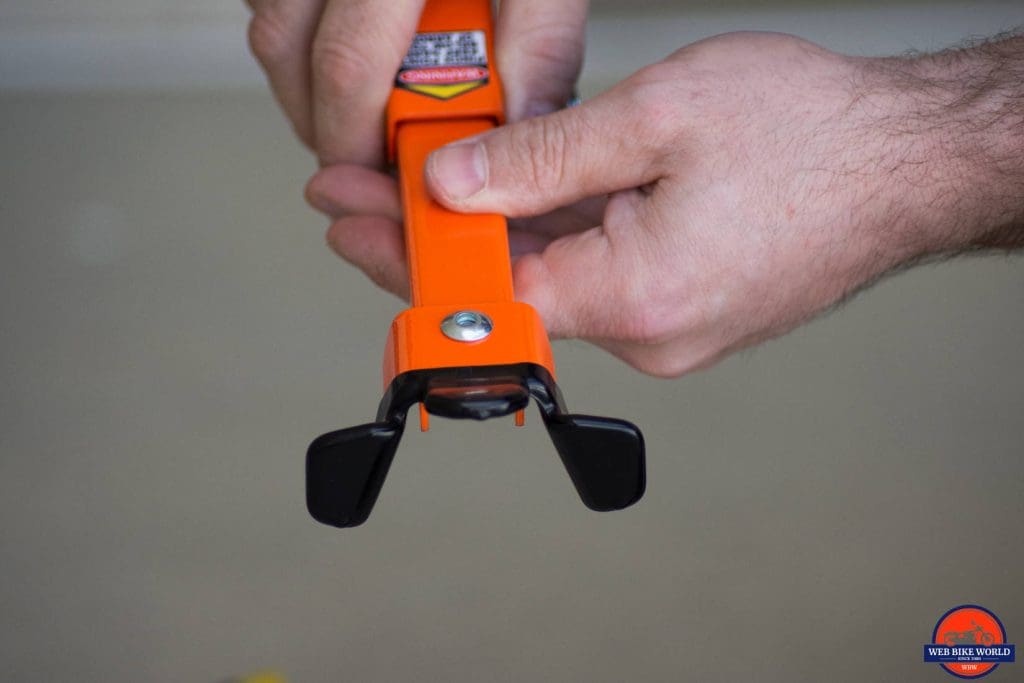
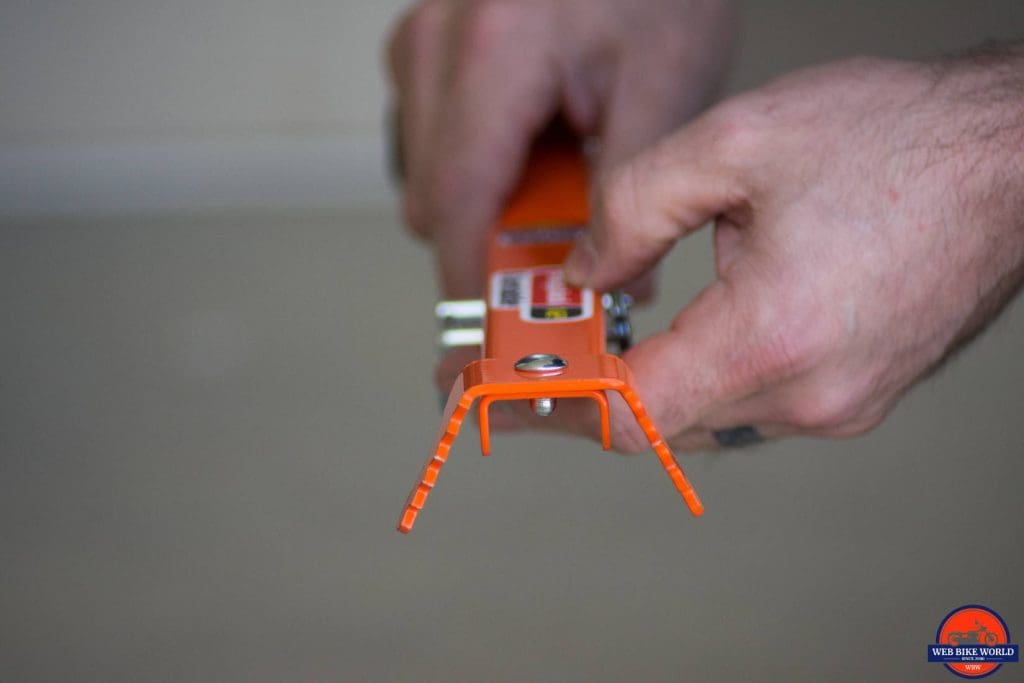
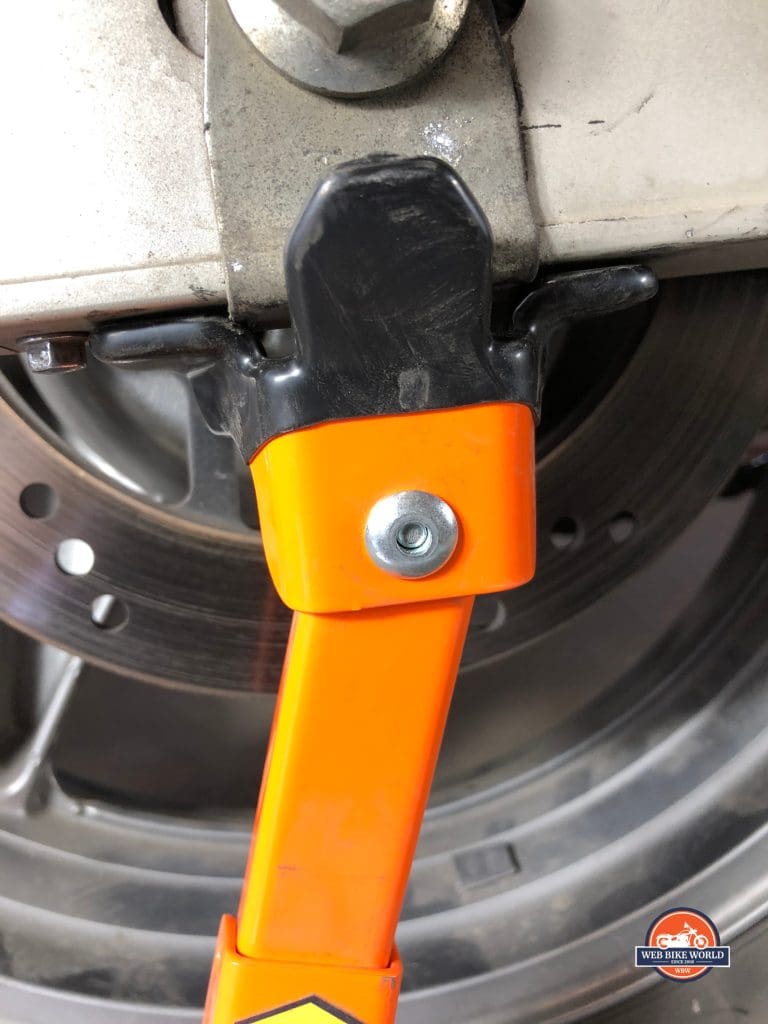
The SnapJack has a pivoting head and base on it in this second incarnation thanks to feedback received from our reviewer last time. This allows a flush contact patch with the swingarm to be achieved and so keep the bike from falling off the jack.
This photo shows how you want the head to look on the swingarm. Little to no gap between the two. I was able to get it flush even with the bracket being in the way underneath the rear axle nut.
Making It Work
The video below shows me after reading the instructions going through the motions of installing the SnapJack for the first time. It takes holding your tongue just right to get perfect, but once it’s there, the setup is pretty solid.
An important takeaway from this is the rubber strip under the base of the jack. The instructions say to put it there if the jack is being used on a smooth concrete floor, but I found it to be a hindrance instead of help. Once I removed the rubber, the jack bit into the floor nicely without damaging it and the lift was secure.
Many backyard mechanics get injured at home because of improper cribbing under their cars, trucks etc. Even though this is just a bike and far lighter – don’t take this lightly. Any suspended load can hurt you if you’re caught in the wrong place when it comes down.
Chain Cleaner and 360 Degree Brush
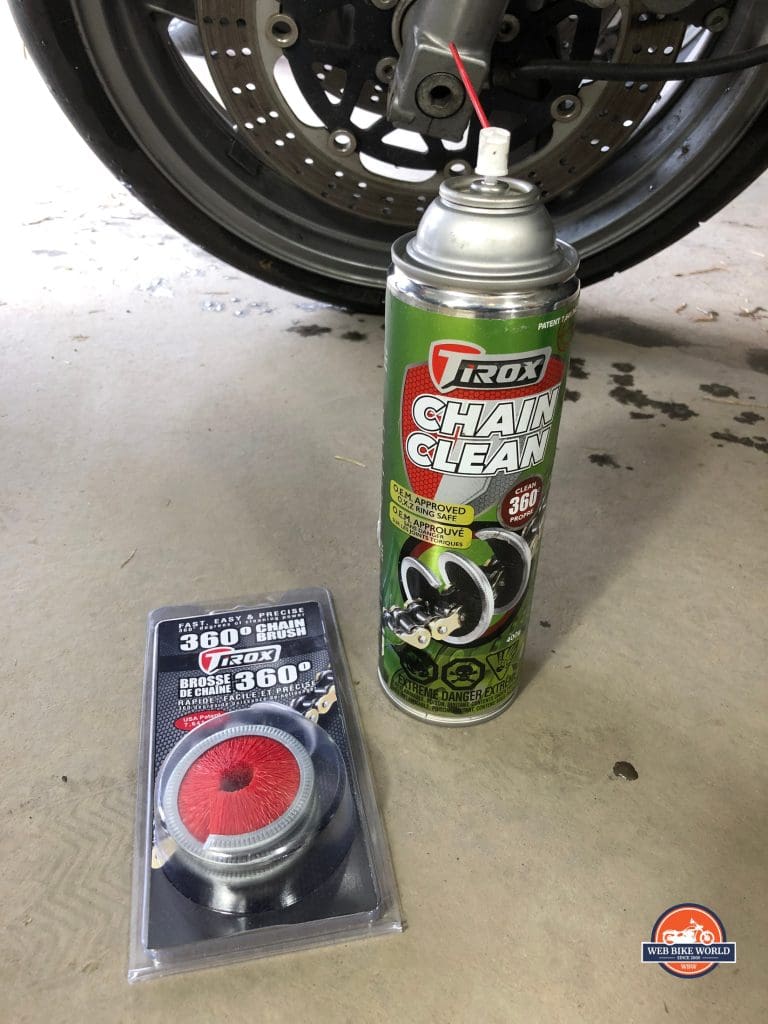
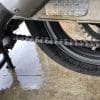
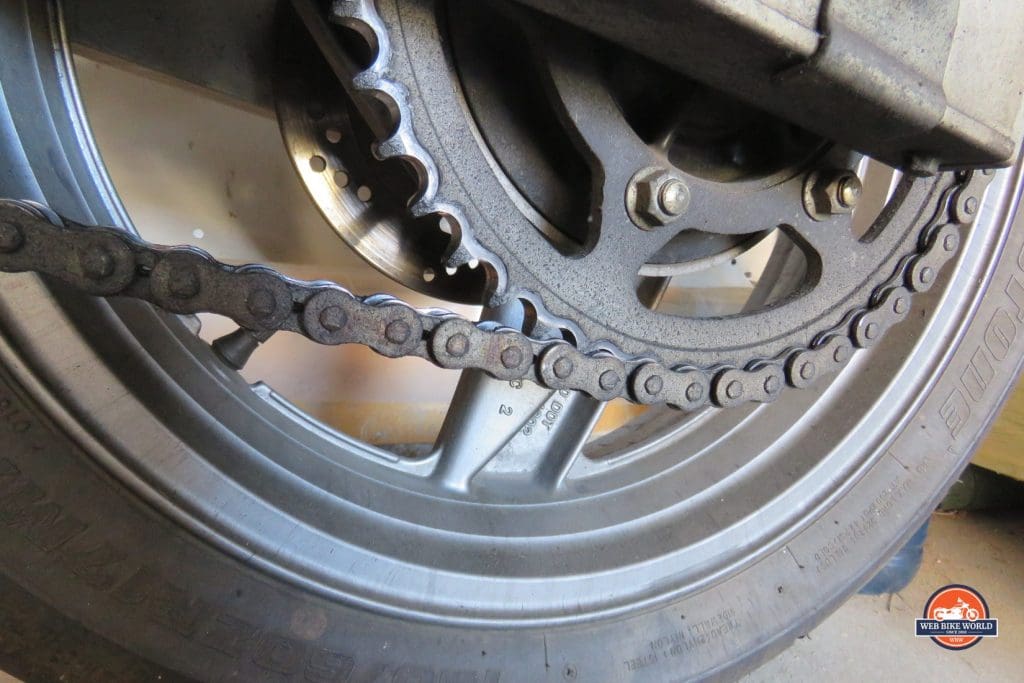
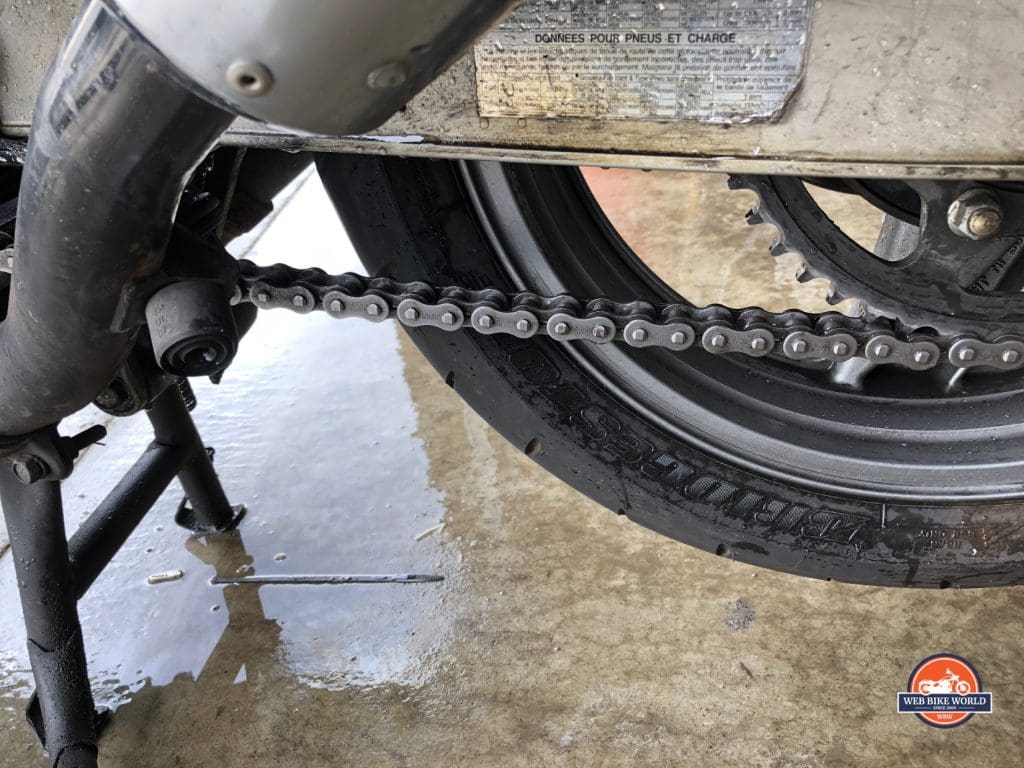
The chain on my 1999 Kawasaki Ninja ZX6 was in really sad shape. I hadn’t cleaned it in ages and the owner before me never did from the looks of it. The perfect test for the Tirox Chain Clean and 360 Brush system.
The Cleaner is mainly composed of Kerosene along with other chain seal conditioners which is the perfect medicine for a nasty and dirty chain and sprocket set like on this bike.
Cleaning
Some of you have probably noticed this bike already has a center stand on it and that would be the easier way to clean the chain, but for the purposes of this experiment, we’ll pretend it’s not an option in the name of science.
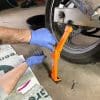
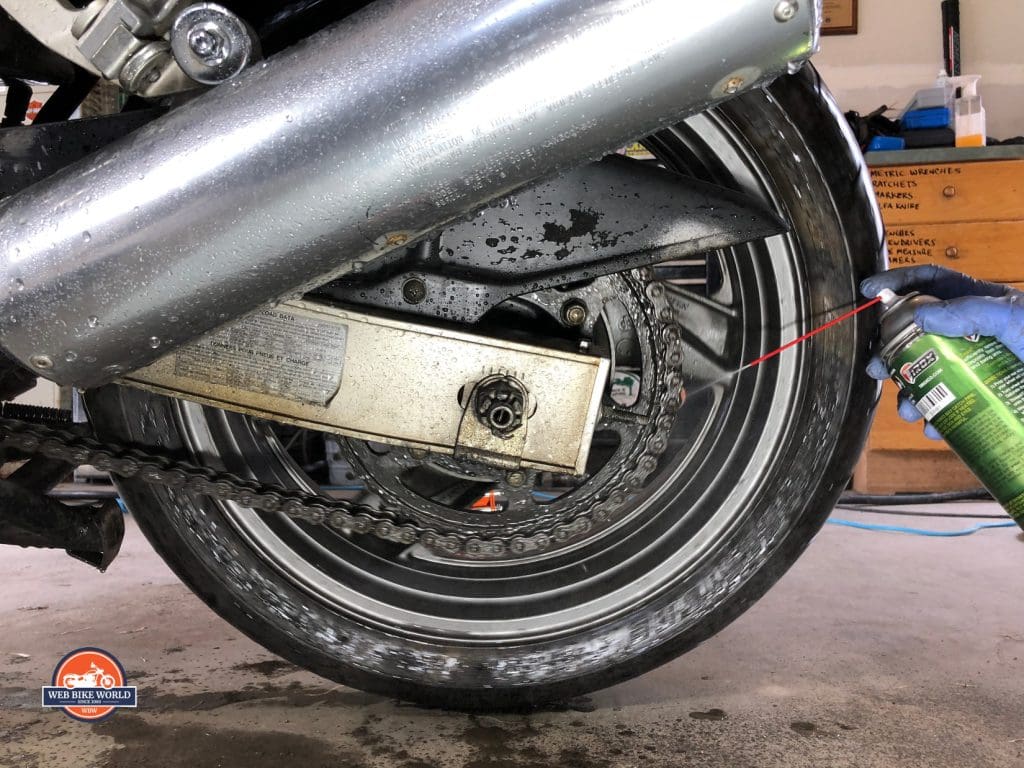
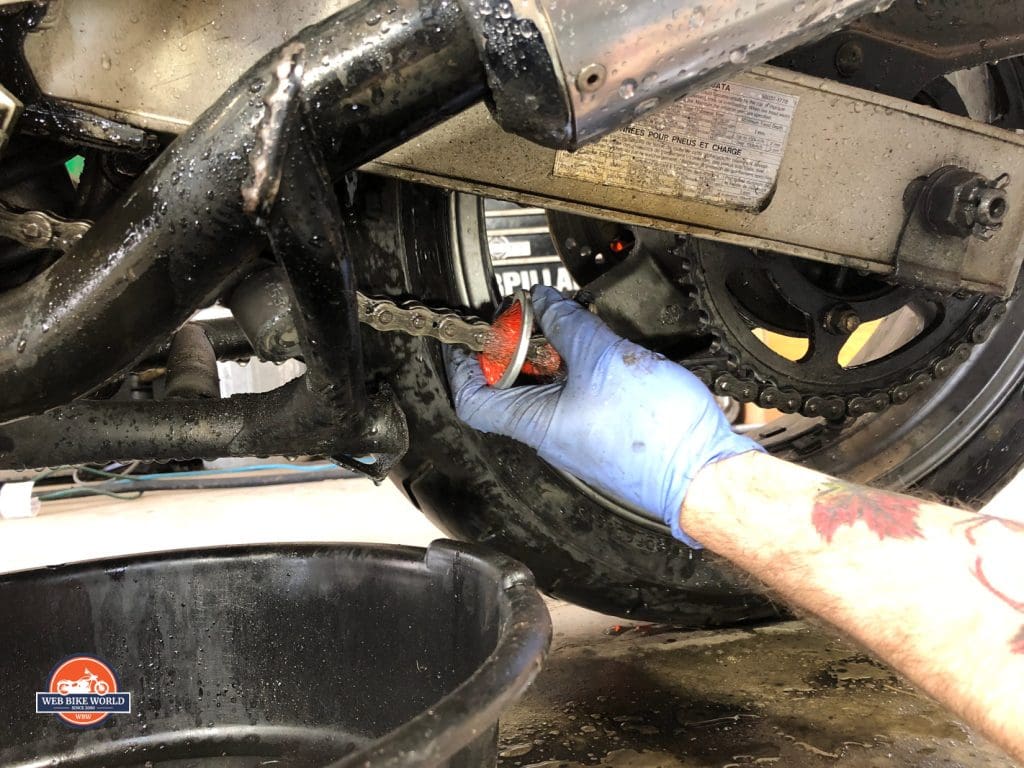
I sprayed on the cleaner and let it sit for 2 minutes, then using a rotational motion installed the brush onto the chain. I stretched out the brush and carefully spun the wheel in both directions for a few minutes while the brush worked over the grimy chain like it owed it money.
It’s a messy affair and I was glad to have nitrile gloves handy for this operation along with a pan to catch the drippings.
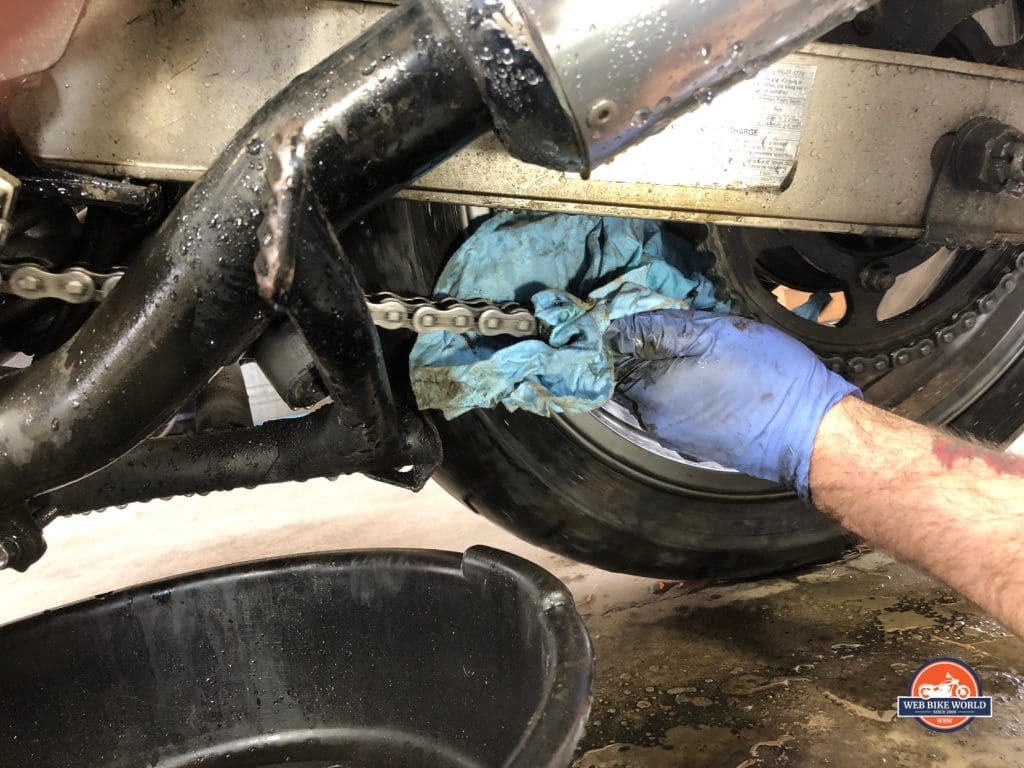
After more than a few trips through the bristles and around the sprockets, I wiped off excess grime and cleanser then hosed the whole thing down with water for a few minutes out of the garden hose.
I dried off the water with a paper towel and realized the chain and sprockets were still dirty, so I repeated the process again. The instructions warned this might need to happen in extreme cases and this dirty little Ninja definitely qualified as such.
After the second cleaning, drying, and a test drive around the neighborhood to get anything else lurking on the chain off, this was the result.
Much better!
The cleanser also cleaned off the rim of the rear wheel while I was at it. Overall, I think it worked well and if I had been regularly cleaning this chain with Tirox Chain Cleaner it wouldn’t have gotten to such a wretched state.
The Final Verdict?
The New SnapJack addresses all the concerns WBW had with it before, and I think it’s a useful tool for when you’re out and about and need to perform chain maintenance.
Additionally, the SnapJack can become your go-to motorcycle jack while at home instead of buying an expensive rear wheel stand that costs a lot more money. Those stands are difficult and a bit risky for some people who are slight in stature to use easily while the SnapJack isn’t.
Revzilla’s Spurgeon in his review of the SnapJack says that he has been using it out on the trails to repair tires on his off-road bikes. That’s a good option to have if you get a flat out in the bush.

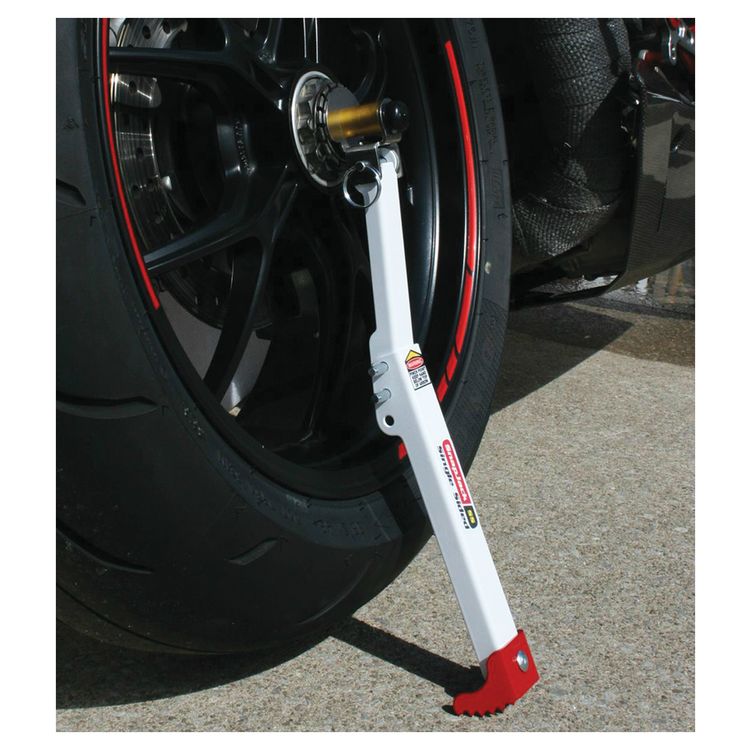
If you own a sport bike lacking a center stand and don’t have a good place to jack your bike up at home this is a good thing to have too. Much less money than a real motorcycle jack and easier to use than a rear wheel stand is.
There’s a different SnapJack SS for single sided swingarm bikes to use available from Tirox for $79.95 as is seen in this video.
The Variable SnapJack reviewed here won’t work on single sided swingarm bikes.

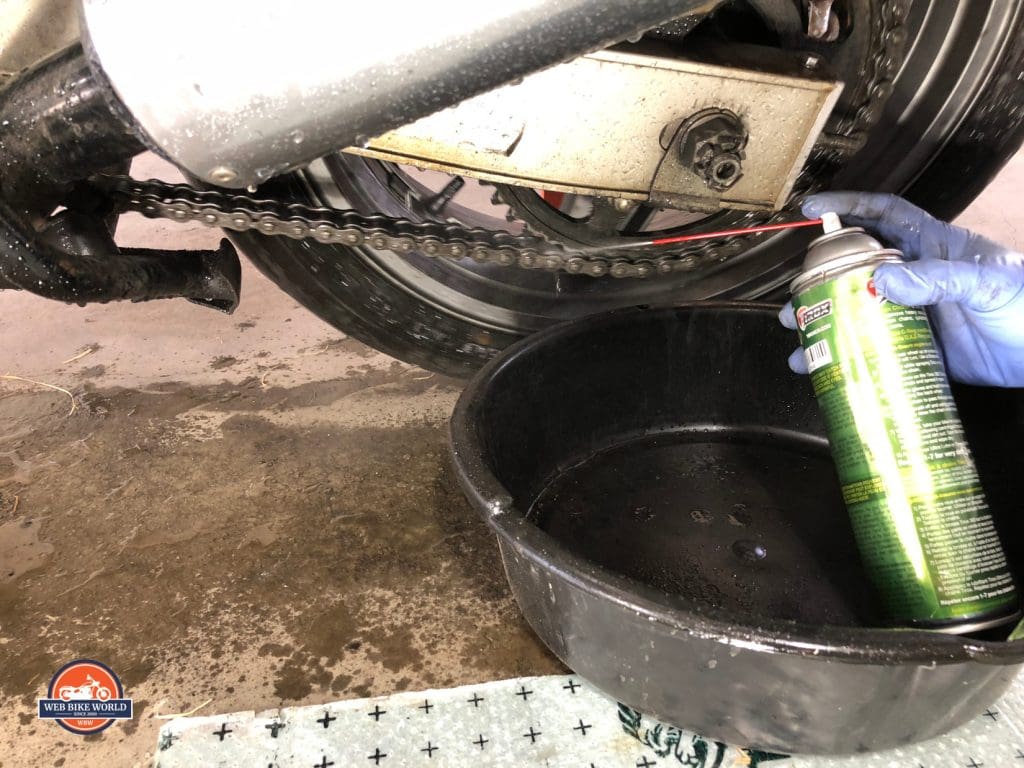

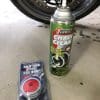
The 360 Degree Brush and can of spray Tirox Chain Cleaner sells at Revzilla for $17.95 and the brush is a great tool for cleaning chains quick and easy. Much faster and better than the old toothbrushes I’ve been using for sure.
On the other hand, I could go to WalMart and pick up a gallon of Kerosene for about $9.00.
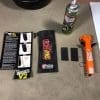
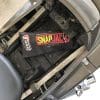
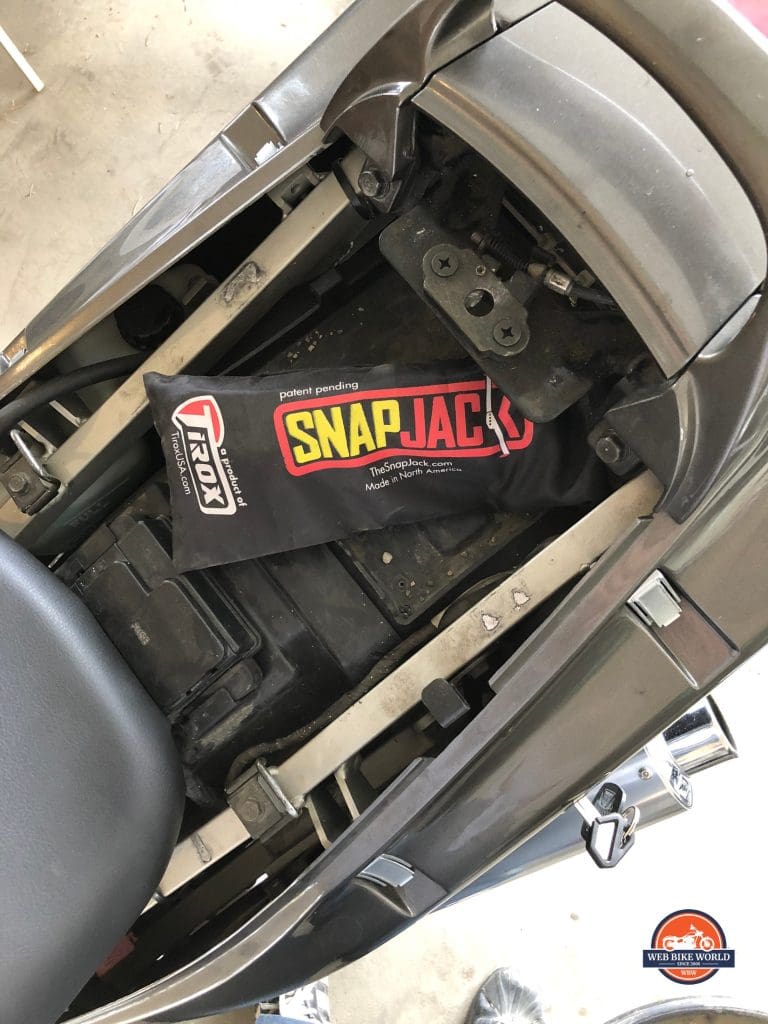
I see the value in buying the spray can and brush to take it and the SnapJack on road trips since they can store nicely in my saddlebags/panniers. You can see how compact the SnapJack kit is in the photo below. It fits under the Ninja’s seat in the tool compartment with room to spare.

At home though, I really only need the 360 brush to clean the chain along with the jug of kerosene.
The other additives and seal conditioners’ value in the Tirox Chain Cleaner compared to just the Kerosene?
I’m not sure to be honest. I would have to do some long-term testing to determine whether the added expense is of value to me and my bikes. They can’t hurt I suppose.
Pros
- Built strong with Lifetime Warranty
- Folds up to be compact and portable – fits in bike tool kit or large pocket
- Versatile – can be used to remove a wheel in an emergency
- Safe and stable if used correctly
- 360 degree cleaning brush cleans chain quickly and effectively
- Chain Cleaner works, conditions chain seals and washes off with water
Cons
- Somewhat Expensive to buy $49.95 USD
- Won’t work with most cruiser style bikes (too low to the ground)
- Need a different model SnapJack to work with single-sided swingarm bikes
- Can be unsafe if used incorrectly (bike could fall over or onto you)
- Tirox Chain Cleaner is flammable and emits strong vapors
Specs
- Manufacturer: Tirox Products, The SnapJack
- Price (When Tested): $49.95
- Made In: North America
- Alternative model: SnapJack SS Single Swingarm
- Review Date: May 1, 2018


