Setting up your motorcycle suspension is one of the most arcane and confounding disciplines, yet one of the most important.
Whether a motorcycle has adjustable or non-adjustable suspension, it comes from the factory with the suspension set up for a single rider – even if it’s a dual-seat bike – weighing about 75-85kg. If you weigh more, carry luggage or have a pillion, then your suspension will be totally wrong for the duties it has to perform.
Then there are the varying demands on suspension from different riding styles (cruising, touring or track work) and terrain (tar, back roads, gravel and sand).

If your bike has non-adjustable suspension, then you’ll either have to adapt your riding style, restrict where you ride or upgrade the suspension for something that has adjustment such as Gazi, one of our favourites.
If your bike has factory or aftermarket suspension that is adjustable, it would be remiss of you not to adjust it to your needs.
This is a dark art indeed. Many experts have devoted their lives to it, making fine adjustments that can be the difference in micro-seconds around a track.
However, these basic tips from Paul Bushell of Gazi Suspension should help you adjust your bike’s vital rear suspension for your requirements. You may need one or two friends to help you.
1 Setting the spring preload or “sag”
- Place the motorcycle on a level surface.
- Check swing arm and wheel bearings/bushes to ensure there is no wear.
- Lift the rear of the bike until the suspension is completely extended.
- Take a measurement from the axle to a point directly above on the rear sub frame.
- Let the bike down on its suspension and measure again.
- Have the rider in their gear (plus pillion/luggage, if applicable) sit on the bike in their riding position and take another measurement.
- Without the rider, the difference should be 6-12mm.
- With the rider (and pillion/luggage), the difference should be 35-50mm.
- To adjust the preload, wind the spring collar down to reduce the amount of sag and up to increase sag.
2 Adjusting the rebound
- Depending on the shock, there may be adjustments for compression and rebound.
- Rebound adjustment affects the handling of the bike the most.
- Start by winding the adjustment knob below the spring all the way in (clockwise) and then all the way out, counting the number of “clicks” as you go. Half way is a good place to start, so wind back in half the number of clicks.
- Fine adjustment will then depend on the type of bike, riding style and terrain. If the bike feels loose and bouncy, wind in a couple of clicks at a time, then test ride for the conditions you want to ride. If the bike feels too harsh, wind out a couple of clicks and test. One and two-click adjustments at a time are best.
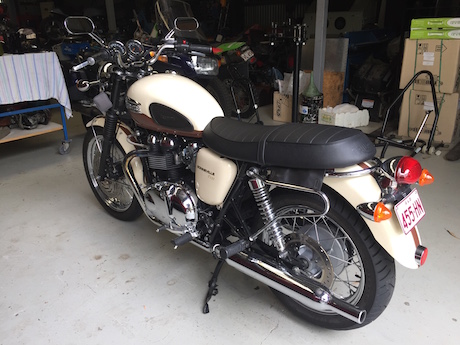
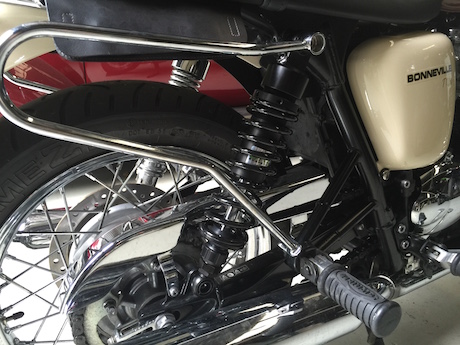
Gazi shock fitted to our Bonneville
3 Adjusting the compression
- If your shock has compression adjustment (usually a knob on a reservoir attachment), wind it clockwise until it stops. Then find half way using the same technique as for rebound.
- If the bike feels soft and bottoms out easily, wind in a couple of clicks at a time, then test ride.
- If the bike feels too hard over bumps or the rear wheel hops under braking, wind out a couple of clicks and test.
4 Setting the ride height
- To adjust the shock absorber for ride height, look for an adjustable eye/clevis at the bottom and turn it in or out to suit.
- Some shocks, such as Gazi, have a locking nut, so make sure you undo it first and remember to lock it again when you are finished.
- Adjusting the length of a shock to suit a rider’s height can have an affect on the bike’s handling and steering. Raising the rear makes the steering sharper and more “nervous”. Lowering it can make a bike feel vague, but stable.


