The original iASUS EAR3 Amplifier Review, done by Rick and published January 2016 had lots of good information on how to get the best helmet audio (with or without an amplifier of some sort), and how to also protect your hearing—all of which is still applicable today.
Some things have changed since that original review, especially regarding technology, demand, and marketspace—but then again, some things have not, including the fact that we, as motorcyclists, ride in a noisy environment and need to cope with that environment. I tested the iASUS EAR3 V2 Helmet Amp to see if it offered a substantial upgrade from the original version, and I’m here to tell you what I discovered.
iASUS Concepts
Over the past 20 years, IASUS has developed unique approaches (and products) to showcase their expert audio solutions.
WBW has followed with interest the audio offerings from IASUS, like the iASUS Diablo Mobile Amp, the already identified iASUS EAR3 Amplifier, or the original iASUS XSound 2 and 3 Speakers, along with other products adaptable to motorcycle use, like the IASUS Throat Microphone.
iASUS EAR3 V2 Portable Helmet Amp
- Manufacturer: iASUS
- Price (when tested): $ 99.00 USD, 3-pak of EAR3 mounts is $25.00 USD
- Made In: China
- Warranty: 1-year
- Review Period: April to August 2021
- Review Submission Date: 31 August 2021
iASUS EAR3 V2 Portable Helmet Amp First Impressions
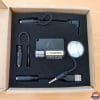
First impressions are very important which is why you need to wait a few seconds more when first looking at the well-designed but very discrete outer packaging for the EAR3 Portable Helmet Amp.
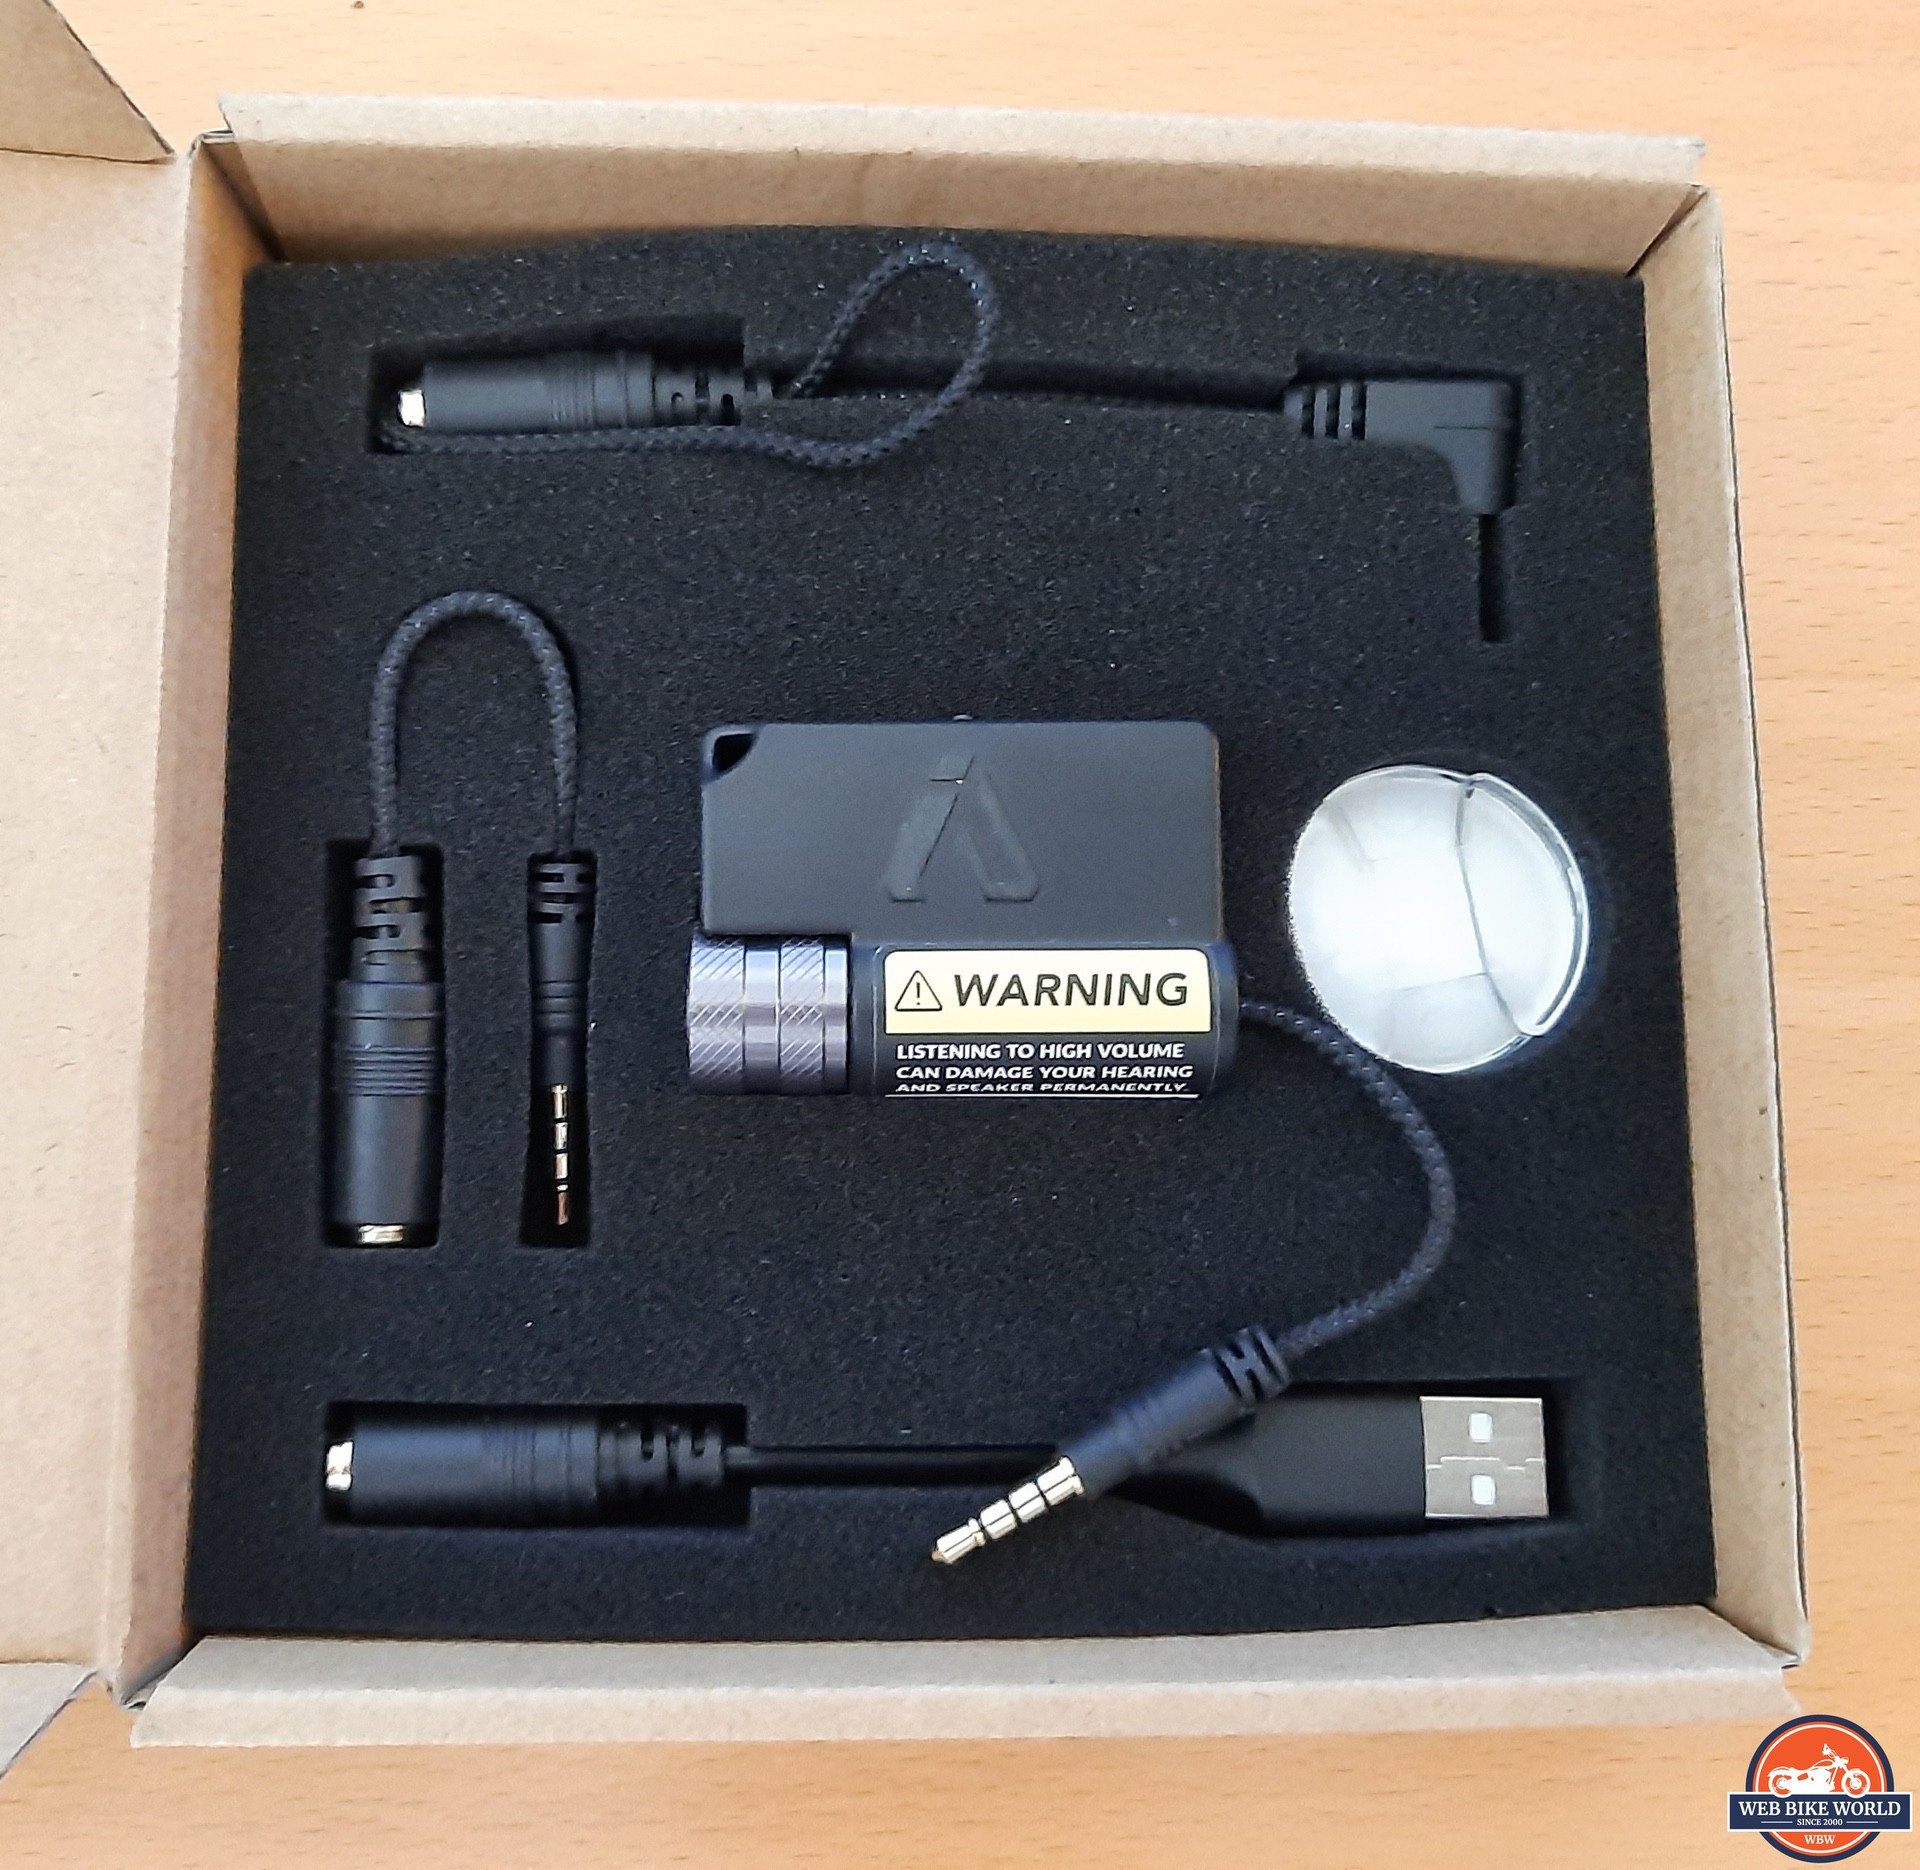
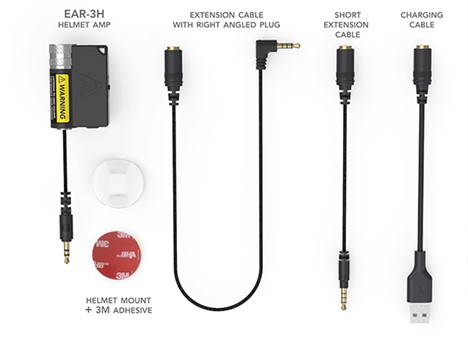
Sliding the outer sleeve off reveals the EAR3 module nestled into the top foam layer and lifting this layer up reveals the bottom layer with custom shaped recesses for all the other components. I’ve said this before, but I will repeat myself—nobody does presentation packing like iASUS does.
When removing the Amp module, its adhesive mount, and its interface cables, it’s hard to argue about the quality of any of it. It all seems first class all the way.
iASUS EAR3 V2 Portable Helmet Amp Audio Specifications
From my experience with using iASUS products over the years, their engineering, design, and performance are arguably the best or among the best in the audio industry.
Like the original iASUS EAR3 product reviewed by Rick way back in January 2016, this newest version is an audio amplification device with excellent specifications critical to overall performance:
- Output Power: 55mW per channel x 2 @ 16 Ω55mW per, Channel x 2 @ 16 Ω
- Maximum Output: Less than 0.5mV
- S/N Ratio: 80dB
- Sensitivity Frequency Response: 10Hz to 100Khz +0/-0.1dB
- Impedance: Input: 1k Ohm, Output: 16-32 Ohm
- Weight: 1.1oz (30g) including battery
- Battery: Built-in lithium-polymer (LiPo) battery lasts up to 20 hours per charge
- Dimensions: 2.0″ x 1.5″ x 0.8″ (51mm x 37mm x 20mm)
iASUS EAR3 V2 Portable Helmet Amp Features & Function
The IASUS EAR3 V2 Amplifier is small and compact. It fits nicely into the palm and is easy to handle, install, remove, and use.
The EAR3 is very portable, and while not specifically designed for motorcycling use, its size, portability, and adaptability make it a very good audio amplification option, easily moved between motorcycles, helmets, or riders for mounted or dismounted use.
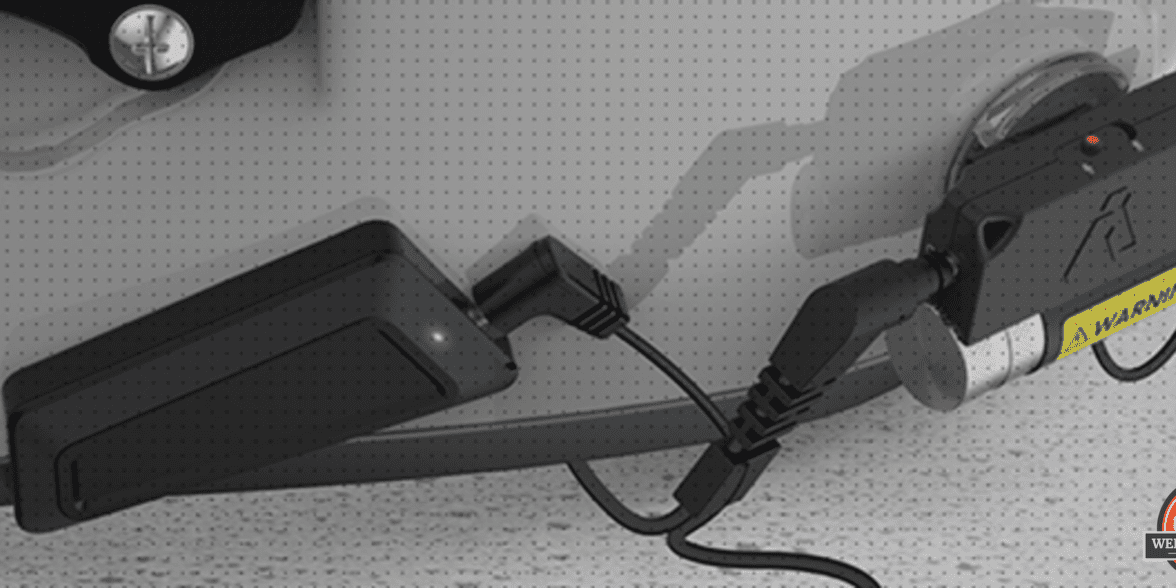
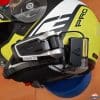
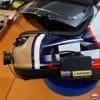
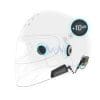
A small Quick Release clip on the back of the module allows it to be clipped to a convenient point on riding gear or another accessible point, while the provided lightweight clear plastic adhesive surface mount works for securing the module to a helmet or another point; keeping safe use and access first and foremost.
One end of the housing has an integrated 3.5mm jack with an audio input lead, while a 3.5mm output port for connecting speakers or earbuds is located on the other end of the housing; accessing and using the connections takes only seconds.
The basic features are:
- On/Off & Volume Control
- Transparency Mode Switch Microphone for Transparency Mode
- 3.5mm Input Lead
- 3.5mm Output Port
- Charging Indicator LED
- Quick Release Clip
- Lanyard Loop Pass-through
The IASUS EAR3 V2 is extremely simple to use once connected to an audio source and output system (like a helmet headset). With the module held so the IASUS logo is facing you and the warning sticker is on the lower right, the output port is on the top left with the finely machined well-finished knurled rotating bezel control below it.
Here are some notes on a few of the features I found most interesting:
On/Off & Volume Control
A single control turns the system on or off and adjusts volume. Turn the glove-friendly knurled knob clockwise (to the right) until a ‘click; is heard to turn the system ON; reverse this step to turn the EAR3 OFF. For volume control, turn the knurled knob clockwise to increase volume and counter-clockwise to reduce the volume.
This multi-function control is stylishly incorporated into the EAR3 module and has a very positive détente for ON or OFF and resistive motion for a controlled feel, which is important as precise control is needed when using an amplifier that has the potential to damage hearing—not to mention the speakers, earphones or headset being used if output is not managed.
But its overall smooth styling and integration into the module can make the control difficult to access and use. Depending on placement on any surface, including the side of a helmet and orientation, accessing the rotary with two bare fingers isn’t bad—but with anything other than lightweight gloves on and good access it can be difficult to use.
Another (potential) impediment to good access of the rotary control is that the 3.5mm port for the headset or earbud input sits close to the rotary control and whether a straight jack or the 90-degree jack connector (extension cable) is used it can interfere with clear access. More on this in the Functional Observations section.
It’s also worth noting that the rotary control has slightly raised grip sections—but with anything other than the bare fingers, getting a good grip on the rotary can prove difficult. The control’s close fit can be another complicator; some separation for better multi-angle access and/or higher-profile grip sections would enhance function of this key control.
Transparency Mode
This embedded feature has a very important role to play in helping users maintain situational awareness while using the IASUS EAR3 V2 amplifier.
The system has a ‘smart’ microphone that picks up ambient audio and seamlessly blends it in with the music playing for a fuller and richer sound experience. This also helps the user discern vital traffic sounds.
To activate this feature, move the small red-dot slider on the round section of the EAR3 from the ‘Microphone Disabled’ marking to the ‘Microphone Enabled’ marking (right to left).
This mode is pretty much essential for me, since it allows me to listen to audio from a wired or wireless source while still being (fully) aware of my surrounding environment. However, I find the external input to be very sensitive, requiring some fine tuning between it and the external source audio. But trust me, the feature works—more on that in the Audio Performance Section.
Charging the iASUS EAR3 V2 Portable Helmet Amp
The iASUS EAR3 uses a non-removable lithium-ion battery that has a capacity of 150mAh, with a charge time of three (3) hours and a run-time of 20 hours per charge (nominal).
Pre-charged for out of the box use, it is nevertheless important to make sure the battery is fully charged before taking it on the road.
Make sure the EAR3 is turned off and connect its 4-pin Input Jack lead to the included 3.5mm to USB-A cable, then plug it into a computer USB port that provides the preferred trickle charge (0.5A) for the EAR3 battery. The small charging LED glows RED when charging but goes out once charged.
iASUS recommends that only the provided charging cable be used as it is fully compatible with and tested for the product. Higher charging rates of 1.0 to 2.1A should not be used as doing so may damage or diminish long-term life of the module battery; users need to be aware of this since most newer USB charging ports can charge at higher rates.
Via iASUS.
iASUS EAR3 V2 Portable Helmet Amp Mounting
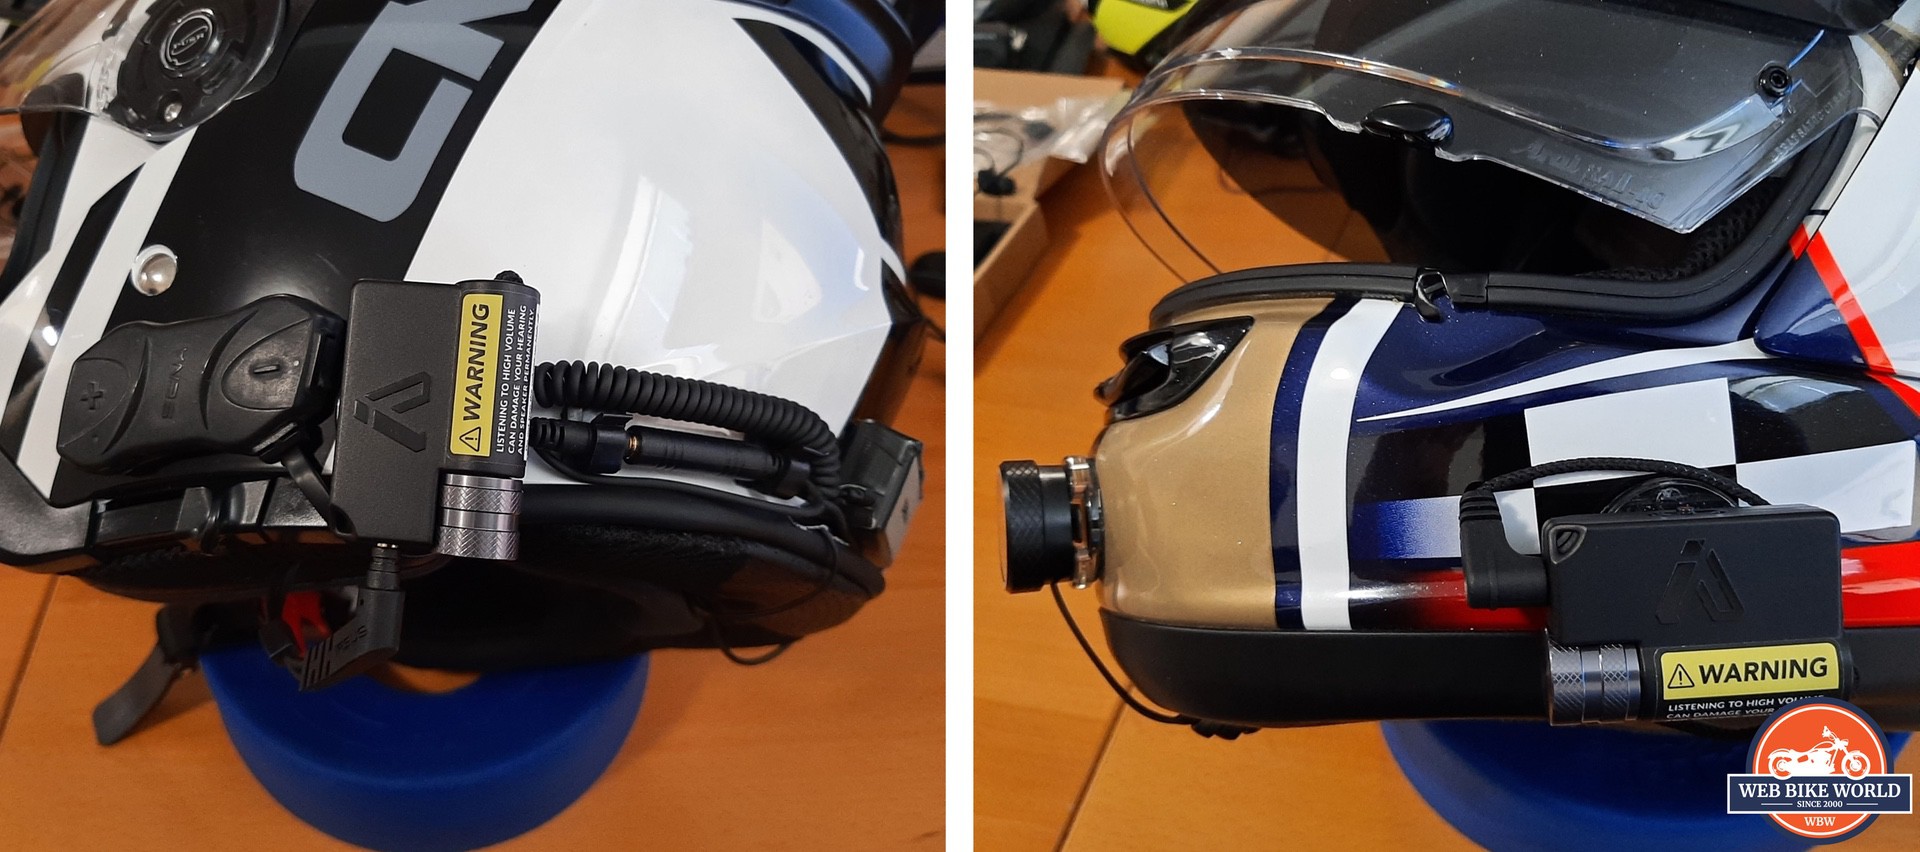
Getting the IASUS EAR3 V2 mounted on a helmet is straightforward, especially if a helmet headset is to be used to reproduce the audio is already installed.
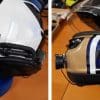
If fitting the module to work with an existing helmet mounted system (or possibly a throat-mic system like the iASUS Stealth with an external headset or audio out connection), the module is often best located slightly to the rear on the left side of the helmet or possibly the front, for safe easy access and keeping connection cables out of the way.
Quick Release Mount
One clear plastic Quick Release mount and 3M double-sided round is provided in the EAR3 kit—the same excellent mounting solution used for the iASUS REKON system. If you want to use the EAR3 on multiple helmets or elsewhere, other mounting sets are needed, which are available in a three-pack from IASUS.
The EAR3 V2 Amplifier is very portable, especially between helmets that have the needed headset connectivity—which is why getting at least two sets of mounting pieces in the kit would be a welcome addition.
Connecting the IASUS EAR3 V2
Via iASUS.
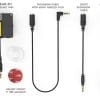
The screen snippet above is a great illustration regarding basic connectivity between the audio source, the EAR3 amplifier and audio out.
Per the ‘Note’ section in the screen extract above, users need to be aware that if the EAR3 is connected between a headset or earbuds that have an in-line microphone, any in-line mic input from the user is NOT passed through the EAR3 system and back to the source device (e.g. smartphone, etc.). Only output audio from the source device is being passed through the amplifier to the headset and/or earbuds.
Via iASUS.
iASUS EAR3 V2 Portable Helmet Amp Audio Performance
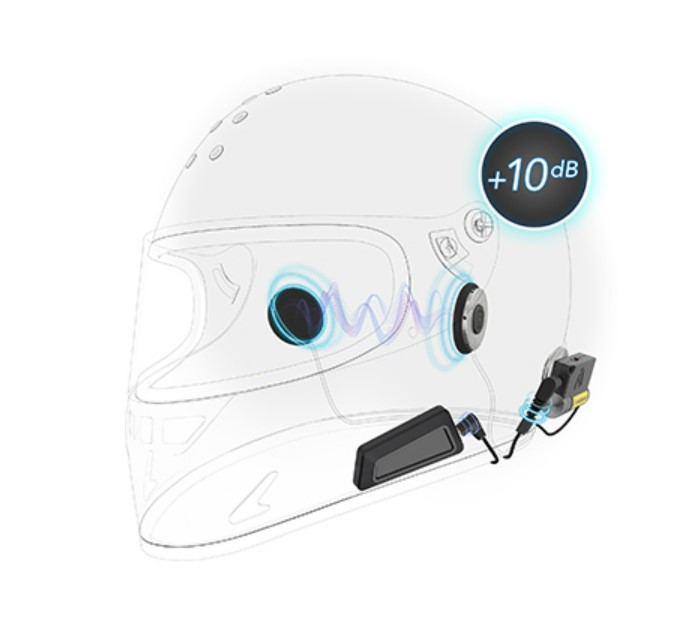
There is no doubt the iASUS EAR3 V2 Helmet Amp is truly an amplifier; when used with some helmet systems it almost doubles the total volume-based output to the speakers and is done with hardly any discernible distortion.
Having said this, and as rightfully pointed out by iASUS, many new helmet headsets or other mobile audio output devices are more powerful per se and more efficient than they used to be, so use of an amplifier may or may not be a critical add-on for every configuration. If needed, however, the EAR3 does the trick.
Users will need to make sure the stock or third-party speakers are up to the task of handling the planned output that can be provided with the EAR3 V2 amp in-line. Static testing is a very good starting point for assessing just how much this amp adds to output and provides an initial baseline for settings once the wheels are put in motion.
Audio levelling is very important as well, whether the device is used solely as a single source audio amplifier, or, with the external microphone turned on and its output set, as a multi-source amplifier; either way it can get very loud in a hurry. Ear protection and moderating the inputs is highly recommended.
Using any of my three favorite speaker sets in helmets with the EAR3 V2 amplifier on-line inline provides an enjoyable listening experience for music or comms at virtually any speed. Just remember to be careful with your balance and volume.
Transparency Mode Optimization
Whenever Transparency Mode is used, it really pays to have the right audio balancing between the ambient environment and the audio source.
To start, ideally with the helmet on and sitting in an area with some noise, turn the EAR3 on and turn on the Transparency Switch (red-dot slider). Then adjust the control until you can hear the ambient environment.
Now activate a music track on your audio device and set that output volume to the desired level. With Transparency Mode active and a level set, connect the audio source and adjust the EAR3 volume to the desired level, adjusting the blended ambient and connected audio levels together.
Depending on the riding environment, some fine tuning or balancing between the two audio sources might need to be done. If your focus needs to be on the environment, turn up the EAR3 volume and turn down the volume on the audio source device to provide a foreground/background overlay.
But when you can afford to focus on your music, turn up the volume on the audio source device and reduce the EAR3’s volume to the desired ‘ambient’ level to switch the foreground/background layout.
Finally, don’t forget to heed the volume warnings iASUS so correctly identifies in the EAR3 Instruction Manual and on their website. Volume control is critical for hearing protection when using any personal audio amplifier, particularly with in-ear or helmet-fitted speakers.
iASUS EAR3 V2 Portable Helmet Amp Functional Observations
The iASUS EAR 3 V2 Helmet Amp is a great piece of audio kit. I only noted a couple of areas where improvements could be made, which I’ve provided here, along with some response input received from the iASUS Team.
Rotary Control Access and Function
The rotary On/Off for output control can be accessed with some care, but with medium to heavy gloves on, it is difficult—mostly due to the control’s close fit to the rest of the module and lack of a sturdy grip surface.
In response to this observation, the iASUS Team stated that the control was intended to be used before putting on the helmet or starting off. That makes sense, but it doesn’t seem practical for many riding scenarios—for instance, how can you assess and set the appropriate level of environmental noise before you start, since ambient noise constantly changes?
The external audio pick-up is also very sensitive—but after doing some specific static and riding tests in various levels of traffic and speed, it is getting easier to find a good starting point. Still, regarding ambient environment audio vs. source device audio balancing, I’m thinking that a little less overall sensitivity of the external pick-up would be good.
The only other observation, relatively minor and related to control access, is that the module moves around on the Quick Release mount; the iASUS Team was quick to point out that I have a pre-release module/clip layout and that the revised layout is solid.
Finally, it’s worth noting—especially those who may be familiar with the original EAR3 amp—that this EAR3 V2 Helmet Amp does not have the noise suppression feature, which was a specific exclusion based on its intended use in traffic scenarios.
Final Thoughts on the iASUS EAR3 V2 Portable Helmet Amp
Lightweight, portable, self-powered, and ultra reliable, use of the iASUS EAR3 V2 amplifier is certainly not limited to powersports or motorcycling activities. However, the typical noise levels we experience between motorcycle, cockpit and helmet environments make this amplifier a great product to use on the road.
Remember, this is a powerful amplifier—and using it incorrectly, especially for prolonged periods, can damage your hearing and/or audio equipment. Stay safe and protect your hearing.
One last thing to mention regarding the iASUS EAR3’s Transparency Mode: as iASUS states, be “street smart”; use Transparency Mode to let you ‘ride aware’ while listening to music or whatever, but always maintain the audio aspect of situational awareness. There are enough distracted/oblivious road users out there, so please don’t be one of them.
Pros
- Small, ultra portable and fittable
- Sophisticated design with sturdy precisely fitted components
- Simple to configure and single control use
- External audio pickup (mic) with On/Off switch for ambient environment audio
- Extends, sometimes significantly, volume output range for any device
- Great power efficiency, fast recharging via micro USB port
- Plug-n-Play kit – everything typically needed is provided
Cons
- Single control can be difficult to use with gloves on
- External mic sensitivity could be moderated a wee bit
- Relatively expensive – but you get what you pay for.


