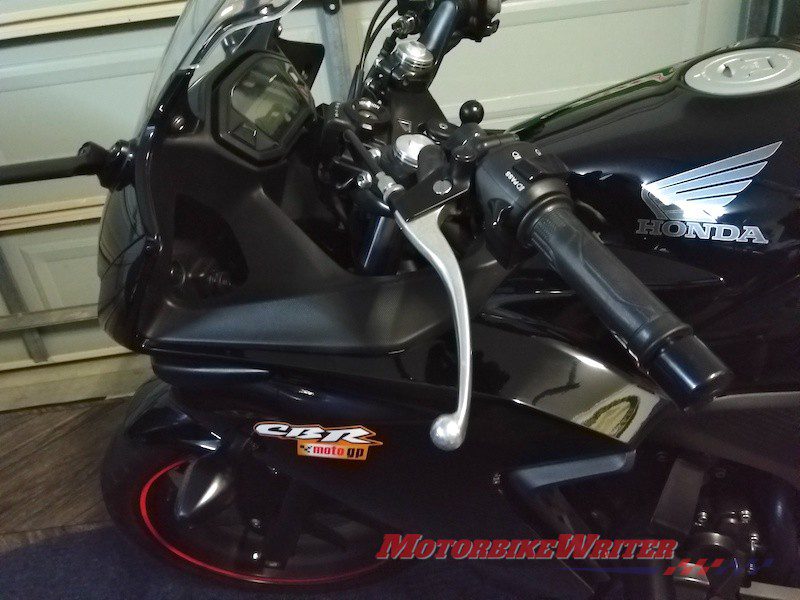
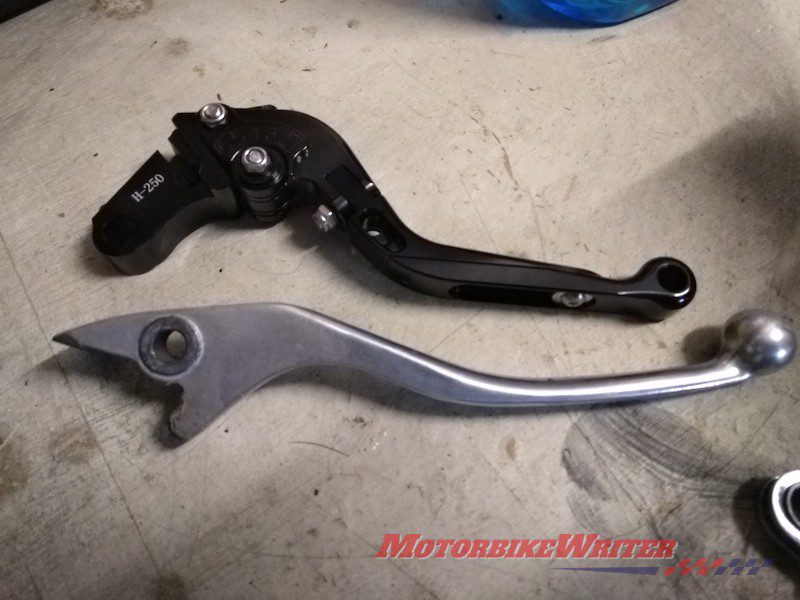
Contributor Todd Parkes replaces the levers on his Honda CBR500R
Standard levers supplied with most motorcycles are ugly, generic, mass-produced, chrome, longish and cheap. Many are not adjustable, so people with big or small hands never feel quite comfortable and most just feel cheap to handle.
And they will break even if you just drop your bike off its sidestand. Even if the lever just bends it will probably snap if you try to straighten it.
Whether your taste is sports bikes and you want to feel racy and have a look not dissimilar to Marquez’s bike, or if you are on a laidback cruiser and want a bit more of a custom or stylish look, those levers have got to gain some attention.
While my bike is only entry level, I do enjoy it and want to personalise it.
The more I looked at those levers, the more I thought they looked all wrong.
Searching for levers
So I googled “levers” and found the cheapest were just $25 and they went right up to $400-plus.
My local stores on the Gold Coast didn’t have much in stock would only order them in. Most did not want me to look at anything under $300.
I’m all for supporting the locals but they have to be helpful and stock the parts affordably.
Back to the net and I came across Aussie company Rad Guard who also make great radiator protector guards.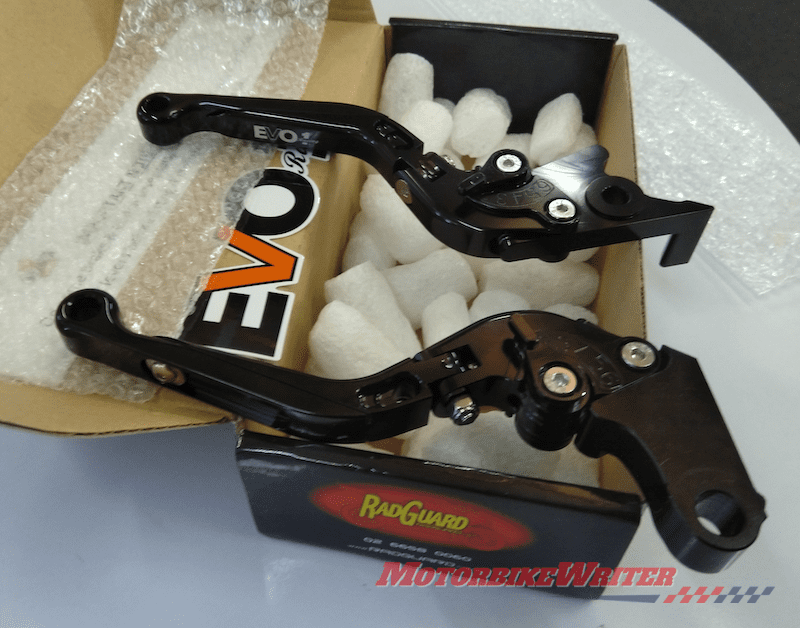
They carry more than just radiator guards and their stock included sets of Evo1 brake and clutch lever sets for many popular models.
Their prices were very competitive with them sitting on a special at the moment for $189 (normally $230) plus postage.
I’d dealt with Rad Guard before for various bikes I had and their willingness to help and go beyond impressed me great.
I bought the extendable and foldable set for my CBR500 and they arrived via courier in three days at less than $1 dearer than standard mail.
I was impressed by the packaging, a labelled boxed set with bubble wrap and foam balls as well as a future purchase discount, a brand sticker and a gift stubby holder.
Fitting the levers
I watched a couple of YouTube clips on how to change the levers and thought it wouldn’t be too difficult.
It is a good idea to have a can of silicon lube at hand to squirt down the clutch cable as it often gets neglected, also to lightly lube the pivot points of the levers and mechanisms.
Be careful with the tools so as they don’t slip and mark those new levers which look beautifully coated.
The brake lever went on smoothly, no dramas.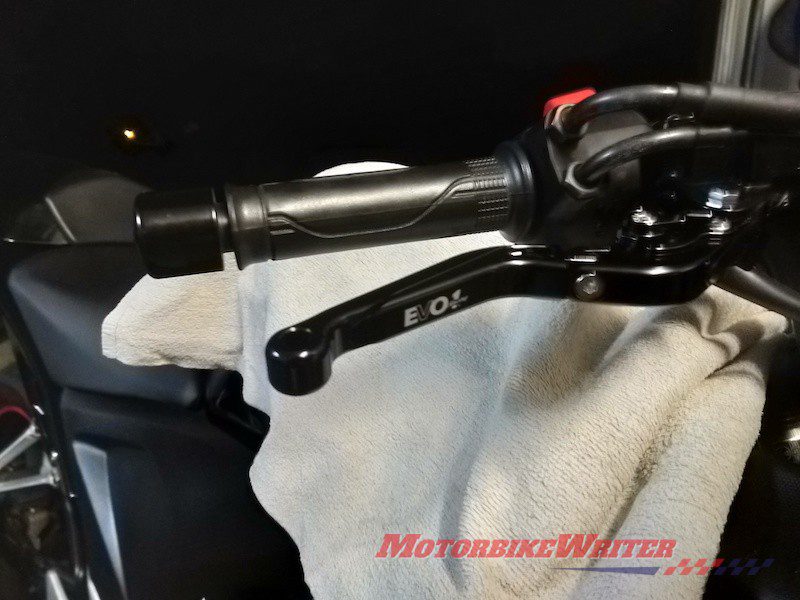
The clutch one was a lot trickier.
Make sure to loosen off the lever adjustment to provide some “play”. It was really like replacing a brake cable on the old Malvern Star in a sense when hooking and unhooking the cable.
Have the manual nearby or the most relevant website to specify the freeplay you need. Check at both ends and don’t forget the locknut.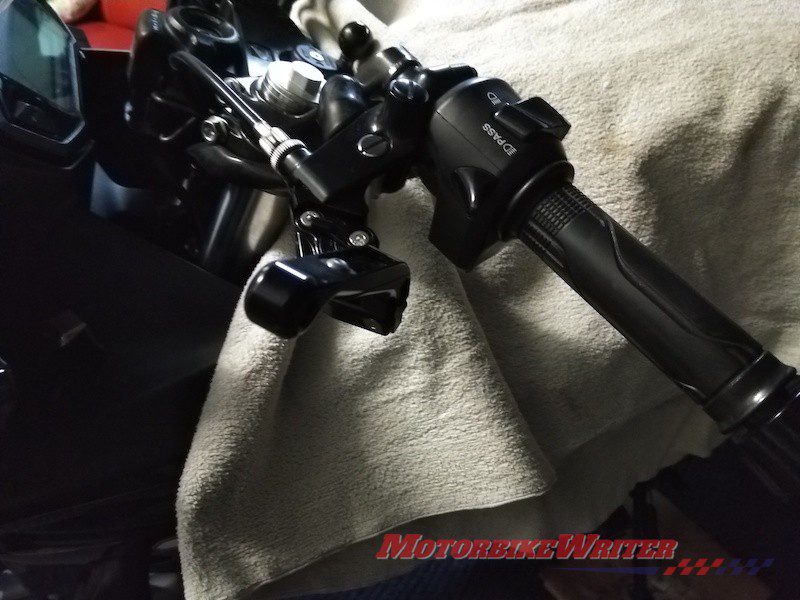
You will need to fiddle around with the freeplay to get it right, so don’t rely on a straight swap without adjustment.
Take it for a test ride and you might find they need another adjustment tweak to et them just right.
You can adjust the length of the levers through quite a range. The six-stop wheel adjusts the reach of the lever to suit your hand size.
My first ride with the new levers provided a noticeable improvement in feel over the original levers. The only negative was that the brake lever had some up/down freeplay in its mounting.
Personalising your bike is fun and this is one of the simplest and low-cost mods you can make to the look and feel of your bike.


