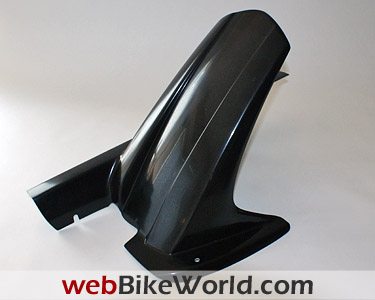
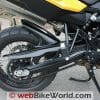
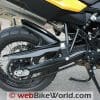
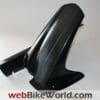
This extremely attractive and very functional rear mudguard is another great offering from Horning.
Hornig is a company that seems to have an endless offering of farkles and bling for virtually any BMW ever made.
Although they do make and market stuff for other motorcycles as well.
The Hornig mudguard, or “hugger”, is precisely molded and virtually flawless in its finish, fit and function.
It is, without a doubt, one of the most eye catching accessories that could be added to the F800GS, or any other machine for that matter.
Part 2 of 2
In addition to offering guided tours in Germany and the rest of Europe, Hornig GmbH sells a huge array of accessories for BMW motorcycles.
Well-known and highly regarded in Europe, Hornig products are also available in North America through selected BMW dealers.
We chose two items from their large catalog, the Hornig BMW wheel cover for Chris’ R1150GS (Hornig P/N 0210) and this Hornig rear mudguard for HBC’s BMW F800GS (P/N 40100).
I’m going to gloat a bit here.
While the Horning Logo BMW Wheel Cover Hubcap that Chris B. installed and reviewed a while back is a nice piece of bling, the piece that I got to play with is a bit larger and more functional, in its own way.
To many Beemer owners, including myself, Horning products are well known and usually considered to be near the top of the accessory heap.
Many of us wouldn’t think of accessorizing a BMW without spending a significant amount of time on the Horning website or fingering through the small, but packed with goodies catalogue that currently has 407 pages.
Functionality, at least for me, will always take precedence over most other factors, but for the Horning rear fender guard, I’ll make an exception.
The piece is superbly designed and virtually flawless in its execution and as I found out, a perfect fit.
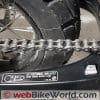
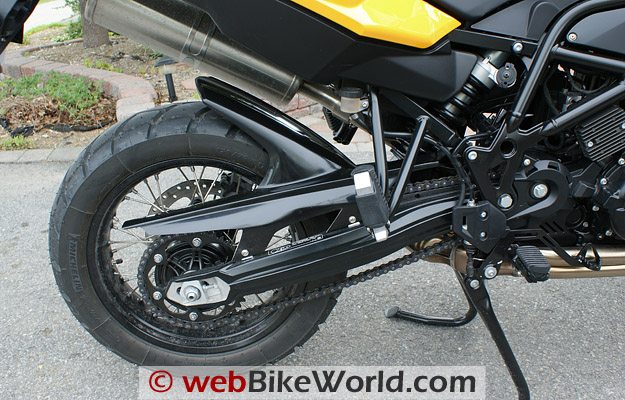
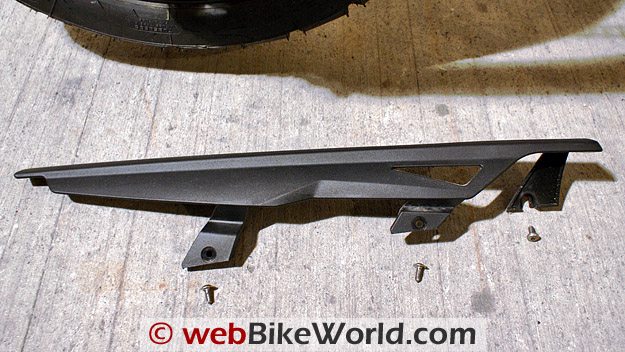
The Rear Mudguard component received, Horning Part Number 40100, is actually an integrated rear fender hugger and chain guard.
This GRP version is made of fibre-glass reinforced with plastic, while a higher end product is also available, made of carbon-fibre. The GRP unit installed weighs less than one pound.
Nothing other than the guard was included in the box that the Editor sent my way with the guard and a few other goodies inside.
The box suffered some damage during shipment which I suspect caused the minor scratches on the outer top surface of the guard. But the marks are minor and with mounting, very hard to see.
Where Is That Easy Button?
A lack of instructions was not a hindrance in any way.
Once a visualization of the steps involved had been completed, it took me longer to position the machine, clean off the mounting points and assemble the necessary tools as it did to install the component.
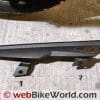
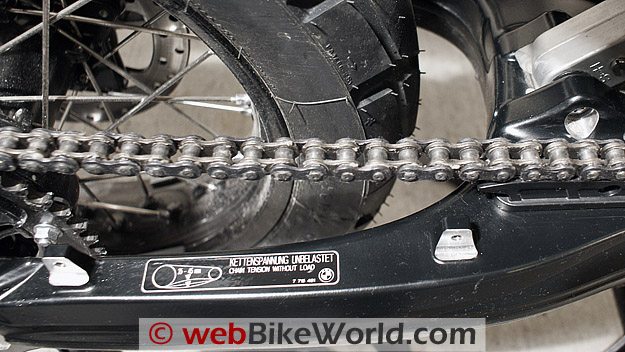
A T30 socket removes the two outer chain guard fasteners: they are put aside for reuse.
My trusty folding Torx-set tool saved the day by providing the critical “through the hole in the upper chain-guard casting” access to the inner front mounting point.
With these three fasteners removed, the stock chain guard can be moved out of the way.
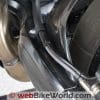
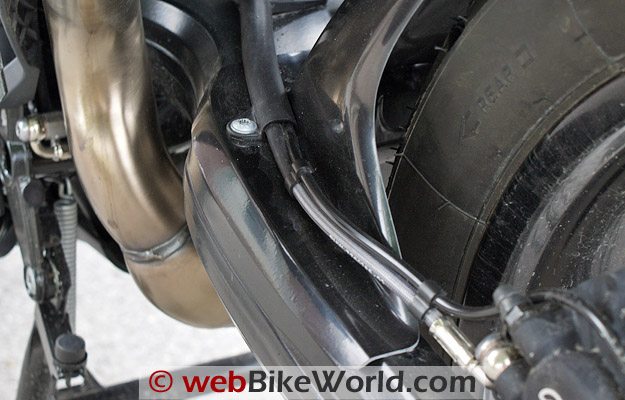
The only other fastener requiring attention is the left side stay that holds and protects the rear brake line and CAN-Bus harness running to the rear hub assembly.
This fastener takes a bit of effort to remove and the plastic stay itself needs to be pulled out of its front alignment slot. But, it all goes back together much easier.
With the work surface prepared, the Horning piece is carefully slipped into place on the right and a gentle slight lifting of the brake and CAN-Bus harness allows the left side lip of the piece to slide underneath the harness and into place.
This is where the precision cut and fit of the component is so obviously perfect.
The finishing work is simplicity itself.
Reinsert the stay into its front alignment guide, align the holes in the stay and the guard molding with the threaded hole, reinstall the fastener and tighten it down.
Finally, replace the two outer fasteners on the right hand side and tighten them to the specified torque. All done.








Conclusion
Anything that can be installed in less than 30 minutes using two simple tools is a good thing, especially when it is something as attractive and functional as this is. Have I said how well designed and executed it is?
After a full week of use, the guard is far dirtier than it was, but most of the parts that it protects are not: testament to its effectiveness.
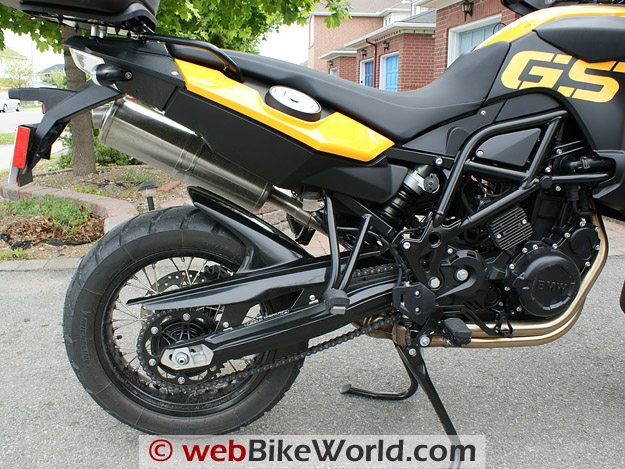
No matter where the yellow F800GS goes, comments about its beautiful black fender guard are sure to follow. I don’t intend to paint it.
Before I forget, the guard provides sufficient clearance for street and multi-purpose or hybrid tires like the Metzeler Tourance or Michelin Anakee (which came installed on the yellow F800GS).
Others may want to try it, but I don’t recommend using enduro or knobby pattern tires with this component for obvious safety reasons.
I must admit that this is the first Horning accessory that I have installed, but outside of appreciating the effort and costs involved to get the stuff, it won’t be the last. I’m impressed.
| wBW Review: Hornig Rear Mudguard Hugger | |
|---|---|
| Manufacturer: Hornig Motorcycle Accessories | List Price (2009): €189-239 |
| Colors: Black | Made In: Germany |
| Review Date: May 2009 | |
Owner Comments and Feedback
See details on submitting comments.
From “G.M.” (June 2009): “Here’s another choice fro the F800GS (The Mudsling). It goes on in 5 minutes, according to (these) folks.”
Editor’s Note: Just a note, the Mudsling isn’t a full fender and chain guard, just a sort of mud/dirt protector for the rear shock. The manufacturer claims 10 minute installation.


