Editor’s Note
In Part 1 of our saga, we challenged our readers to propose a use for the PIAA LED light kit.
Several of you responded, but Brett Borza’s proposal included a $50.00 bill, and purely by coincidence, his proposal was chosen.
Just kidding, of course.
But Brett’s idea to install the lights on a Triumph Speed Triple, of all things, caught our attention. Here’s his story.
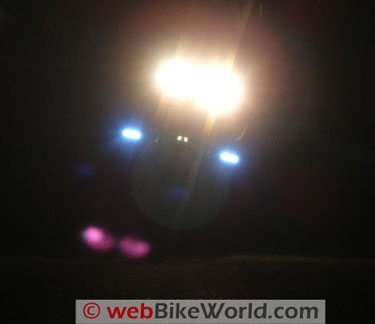
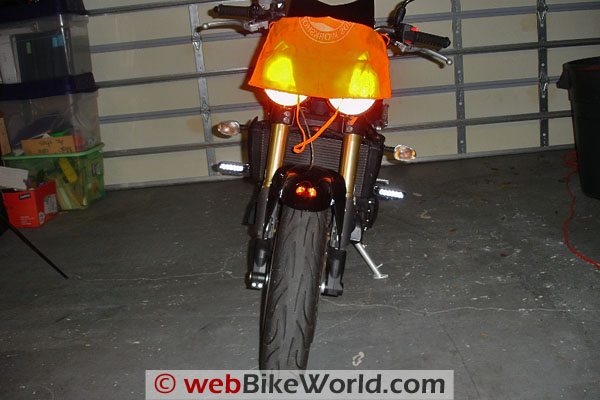
Note that taking photographs of motorcycle lighting that truly illustrate the light properties is extremely difficult.
But I think Brett’s night photo of the bike on its side stand surely demonstrates that this concept has possibilities.
Introduction
I found the original webBikeWorld article and became very excited to find that for the simple act of having a good plan and installing these lights on my 2006 Triumph Speed Triple I could have them for free!
So I sent in my proposal and was honored to get the opportunity.
I planned on mounting the lights on the outermost location on my bike (besides the handlebars), but this would present a wiring issue.
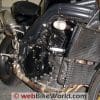
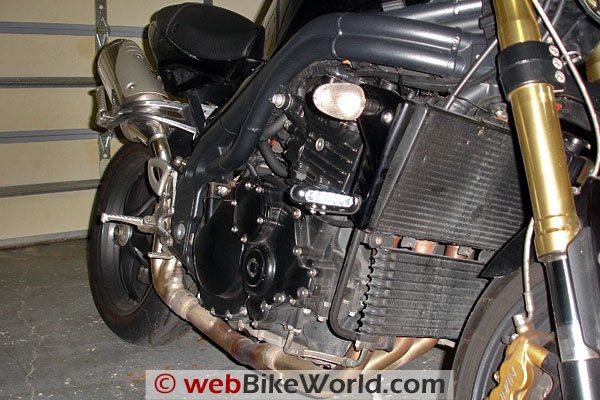
To accomplish this, I found a location which was very wide and would accommodate mounting the lights facing forward. This location also allowed me to use existing bolts without having to drill any holes in my bike.
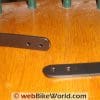
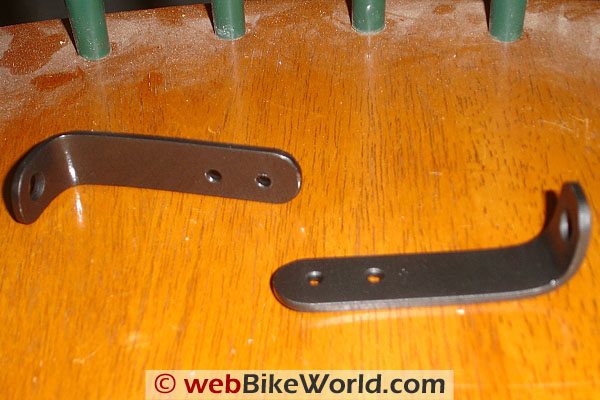
I then created mounting brackets out of 1/8” aluminum bar stock.
I cut the bar 4” long and bent it 90 degrees at 1”. I drilled one hole for mounting the brackets to the bike and two holes for mounting the lights to the brackets. Then using a disc grinder, the corners of the brackets were ground to half rounds.
After grinding was complete I painted the brackets with black Rustoleum hammered finish. Using #6 bolts, nuts, washers and lock washers I then mounted the light brackets to the mounting location on the bike.
Wiring
The PIAA LED lights have two wires coming out of the back. The instructions specify that they should be mounted with the PIAA emblem in the clear lens facing up. In order to do this I removed the two Phillips head screws from the rear, turned the light over and replaced the back.
What this accomplished was that the wires coming out of the back are to the inboard side of the bike where one set would have been on the outboard side, which meant wires would have been almost hanging out in the wind.
I then mounted the lights to the light mounting bracket.
To tighten the light mounting screws with the provided Allen wrench, required me to grind down the length of the Allen wrench to fit between the bike and the inboard screw.
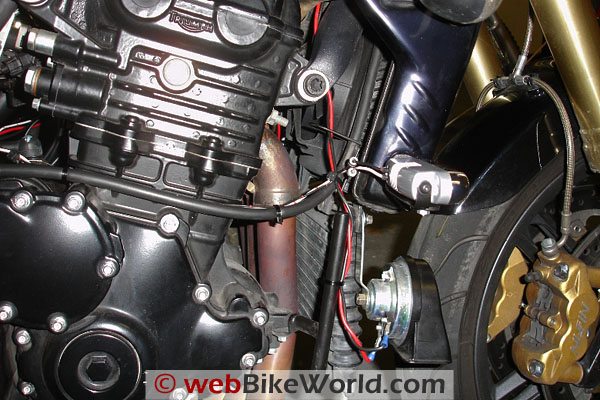
The built in wire guides were adequate for running the provided wires.
What was nice about the wiring that the kit provided was that the wires were already spliced together so that only one wire had to be connected to a power source but two wires came out of it to go to each light.
Included in the kit was an inline splice connector which I connected to the running light wire for the tail light. What this did was allow the PIAA running lights to come on when the ignition key is turned on.
Also, it provided a fused connection for the lights.
As LED’s typically don’t draw much amperage and these lights are all LED’s I didn’t believe that putting this pair of lights on a 10A fuse with the taillight would be too much of a current draw.
I connected the ground wire harness of the kit to the negative battery terminal for a true ground.
Posi-Locks
webBikeWorld also supplied some Posi-Lock connectors (review) with the lights, which are the easiest wiring connectors I have ever used. I wired the harnesses to the appropriate wires coming out of the backs of the lights, wire tied all the wires to appropriate places and the installation was complete.
Conclusion
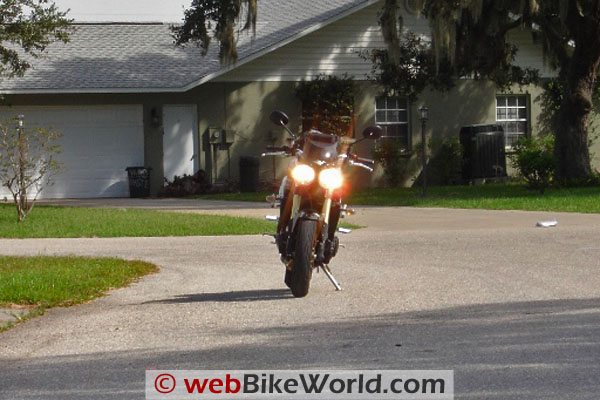
The jury is still out on whether or not these lights make a difference during the day; however, I followed my wife home the other night and she said they made a big difference.
It was not so much the brightness of the lights but the color — these LED lights give off a blue light. I guess the contrast is what will stand out to drivers who are not paying enough attention, and that is all I can really ask for.
See the original PIAA LED lights review article for more information.
ADDENDUM: Although the LED lights appear to cast a blue light, it only looks blue compared to the “yellow” light from the halogen headlight. The halogen bulbs run about 3200K, while the LEDs are around 5000K, near the “blue” or neutral part of the spectrum on a clear sunny day.
Owner Comments and Feedback
See details on submitting comments.


