(Contributed post: How to take and improve your motorcycle photos using Zoner Photo Studio X)
Burnouts are for tires, not for adventures. Have you ever been on a trip with your rig and came back with plenty of photos with no time to edit as you’d like? Your friends pestering you multiple times with remarks like, “when will you deliver and share the shots?” The good news is that polishing and taking photos to the next level can be quick, efficient and a fun thing to do at the same time. And YOU can do it too.
There’s no need to be a professional retoucher or graphic designer. Multiple programs can help you on this journey but today I want to highlight Zoner Photo Studio X. Software that provides the right mix of features focused on the photographer workflow and under one roof. I would like to give you a couple of tips for taking photos first and then unleashing their potential in post-processing second.
Part 1: Everything starts with “pre-production”
To create an album that will be interesting and is happily shared, you will need various ingredients or types of photographs. It actually comes down to two parts. Content and the technical aspect or quality of the photo itself. For content think of the composition. The technical part of the photograph means correct focusing, sharpness and type of light. Start your engine and let’s move on composition tips.
Bike shot
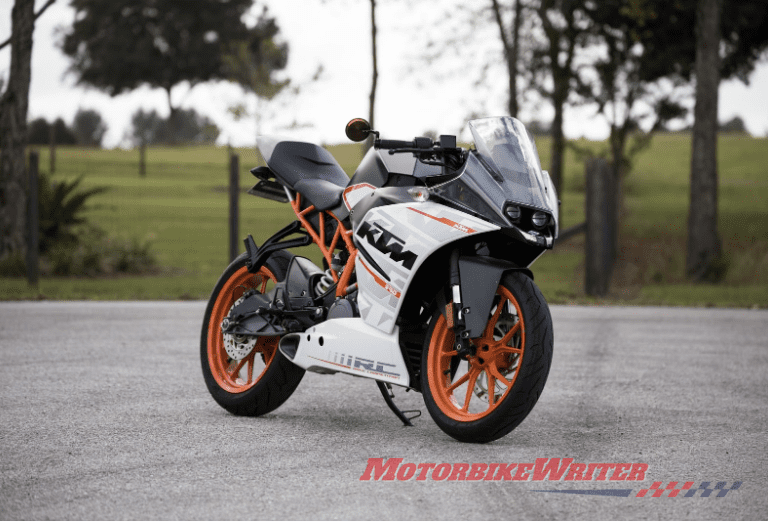
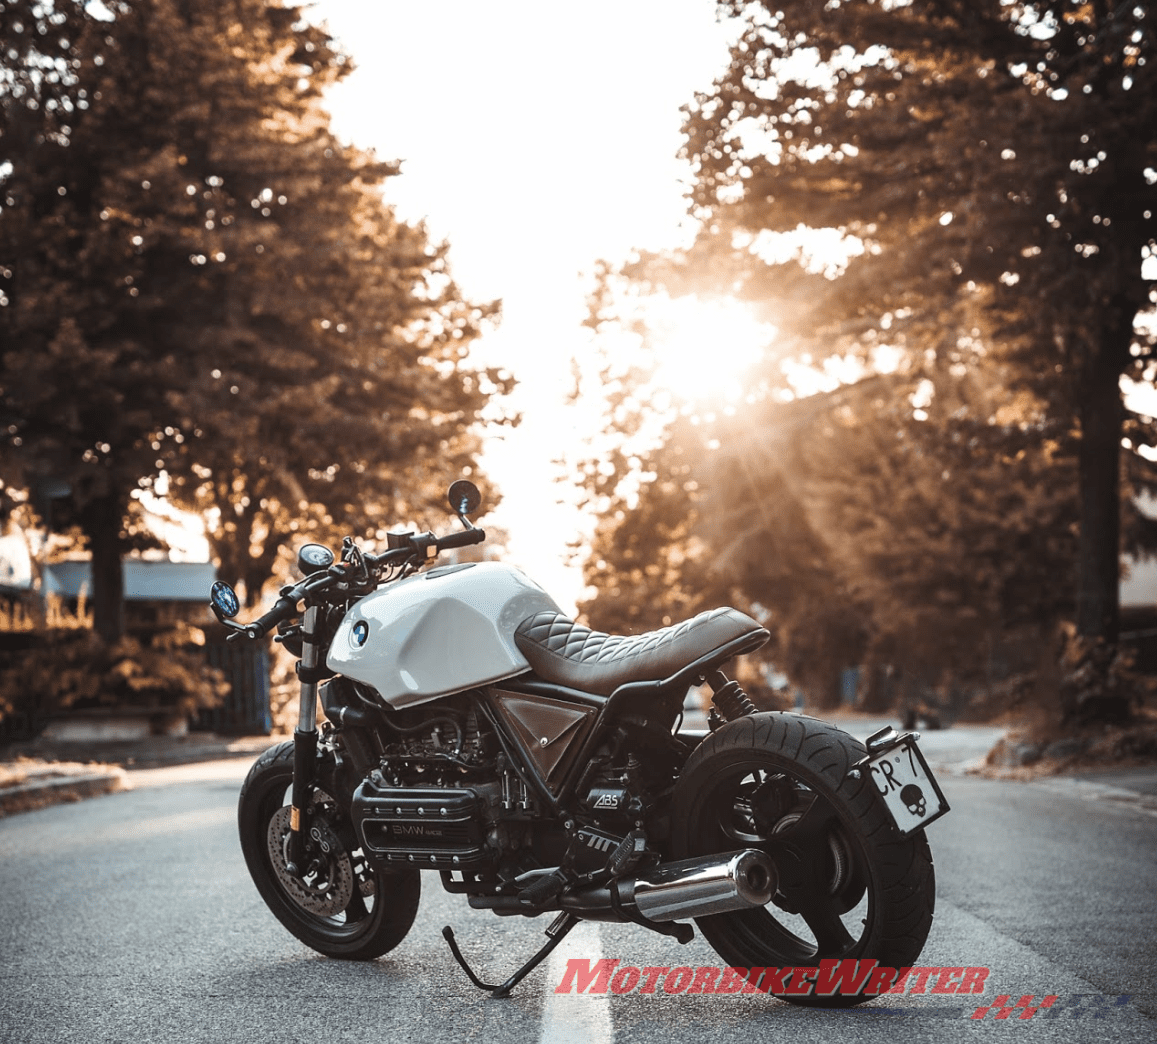
Definitely do not miss this one. A portrait of your motorcycle will always grab people’s attention. Fill up the whole frame with your bike and try experimenting with angles. You will get a more informative picture of your moto when shooting it from above. On the other hand, if you crouch and take a photo from a height that’s below your waistline, there is a good chance that your bike will look bigger than it really is. Who knows, maybe even bigger than the mountains in the background.
Environmental shot
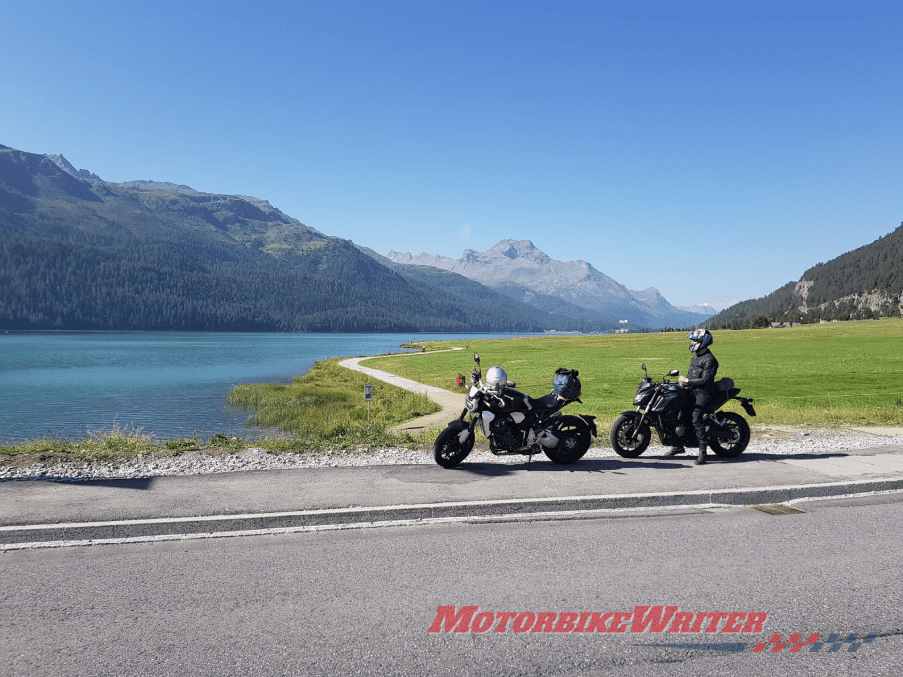
Your bike shouldn’t be the only subject of your photographs. Too many of them and the viewer is bound to get bored. It will also look like images from a sales Catalog, a bit boring, sterile and missing a storyline. On your trip, try to pose your bike next to the road with an interesting background. A cool restaurant, hotel/motel, stunning lake or mountains in the background. Here you can experiment with even more angles and compositions. Don’t frame your bike in the middle of the frame. Try the rule of thirds. The bike does not need to cover a large portion of the frame itself. I’ll let you in on a little secret: photos with the bike taking up only 10% of the image will still get a lot of attention and compliments from your friends ;).
 Don’t forget the details
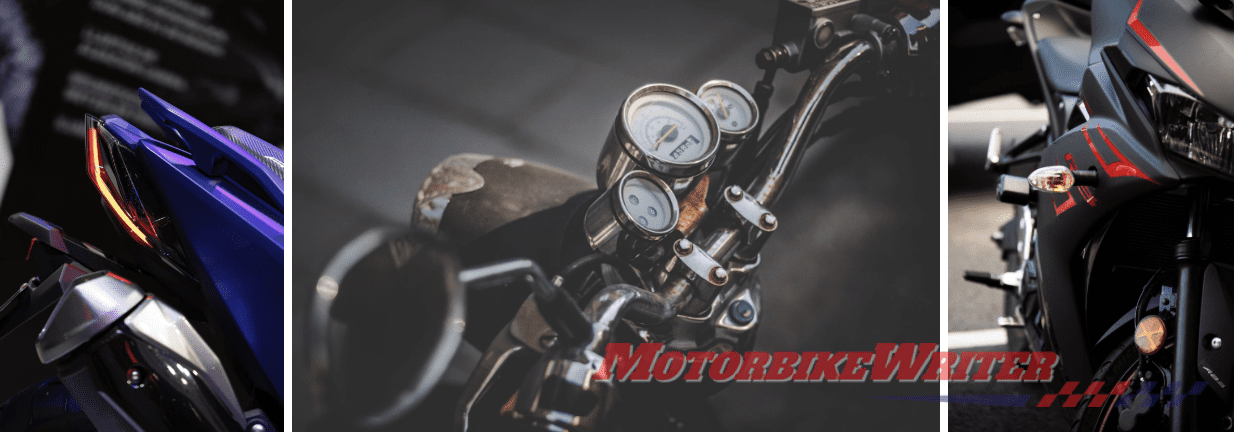
In comparison to the previous environmental shots that give you context are detail photos. Details of the exhaust, gauges, frame, tires and more. They add that pinch of spice and variety into your albums. You can even go as close as making macro shots of leather stitching or the color shifts on the exhaust pipes. With details, a bit of planning can be an advantage for you. Take these photos before your trip at home in your garage or after the trip.
Surprise your peers
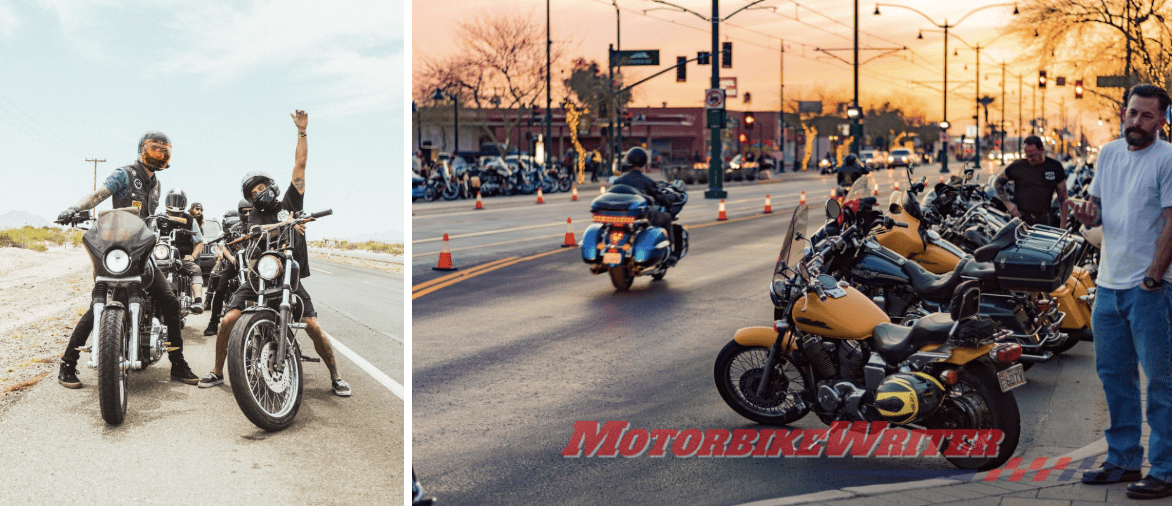
The previous types of photos are essential but you will treasure the most candid shots that capture funny or serious moments from your trip. Have your camera ready at all times. You never know when those interesting moments will occur.
Take sharp and eye-catching photographs
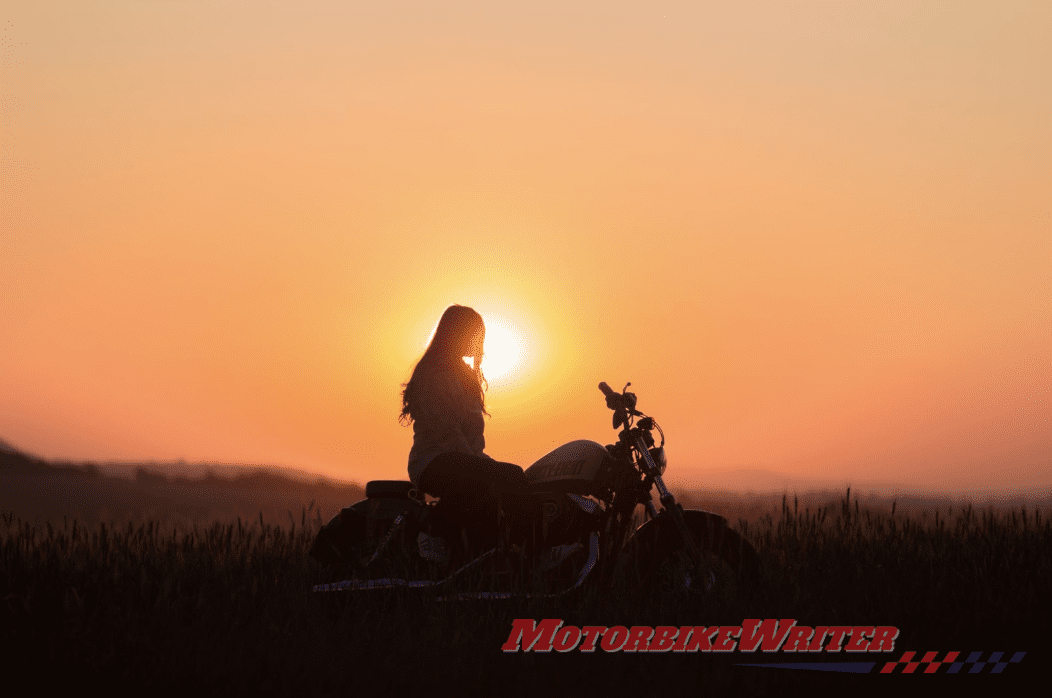
For those sharp photos where you freeze a moment in time, please use the time priority setting on your camera or switch to Sport mode. This way you will tell your camera to pick a fast exposure time in order to photograph moving subjects. Light plays a big role in photography. The sunset will provide you with a warm light that will create a positive atmosphere and can even the average photo into a stunning piece.
Part 2: Tweaking your photos in post-production
Editing photos will give you an edge as it is the icing on the cake that can help correct minor mistakes when taking photos and turning your good photos into exceptional ones. Zoner Photo Studio will help you from beginning to end. From importing, managing and editing to sharing photos, creating short video clips or even ordering printed photo products. The interface takes all of these steps into account and divides the tasks into the Modules.
Manage your photos with ease
In the Manager module, you can sort and work with the metadata of your photos. Add keywords, cull your images using star ratings and if your camera has a built-in GPC function, you can use the Map view to check the exact location.
 Process photos in the Develop module
This is the place where all the magic happens. The Develop module follows a non-destructive editing philosophy. You can easily copy adjustments from one photo to another (similar) series of shots. You will greatly benefit from shooting in RAW format and using the full dynamic range that your camera provides. This way you can even save dark underexposed photos by moving the Exposure slider. Adjusting colours is really easy with the Spring update of Zoner Photo Studio X. With the Color Correction tool you can separately adjust the Hue, Saturation and Luminace of colors or easily unify Hues. You can also adjust the atmosphere and mood of your photos by using Split toning or primary color shifting. You really have considerable control of your final images with few clicks and slider movements. If you want to take it a step further and go even faster, take advantage of the built-in presets that provide most of the popular looks that you find on Instagram. You can save your own presets or download more preset packs from Zoner Photo Studio’s website for free.
Unleashing your creativity in Editor
The Editor module is your friend for all of your heavy editing, photo manipulation like merging multiple photos or even replacing the sky. You can use Photoshop-like layer functionality with masks and filters. Zoner Photo Studio X also has an advanced Liquify feature that you can use for portraits or creative purposes.
Create module
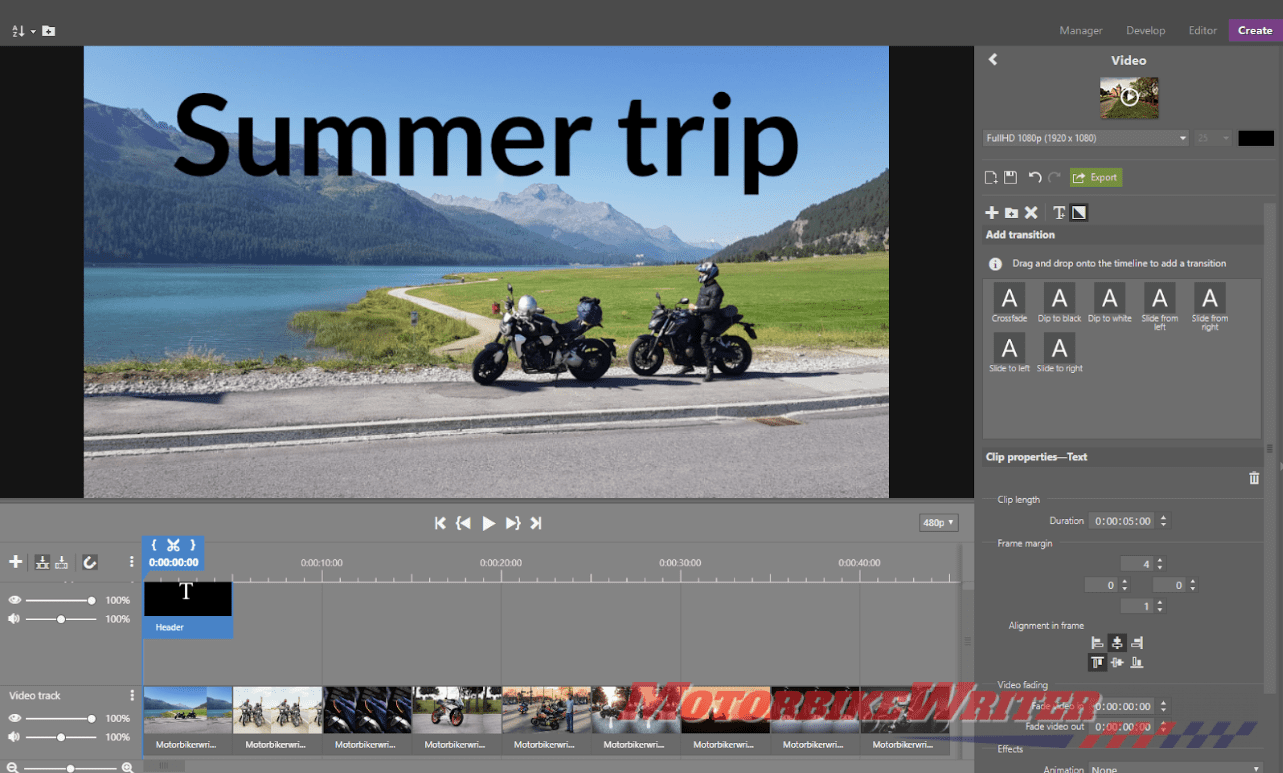
Do you also have video clips and would like to create a short video clip or time-lapse movie? No need to download another program, it’s all possible in ZPS X thanks to a built-in video editor. The Create module also utilizes a user-friendly Collage tool with a content-aware option that will merge multiple photos together without any cropping while preserving the original aspect ratio of photos. In addition, you will be able to order printed photo products like photobooks, canvas prints, calendars and more in this module.
Sharing and how to get started
You can easily export your final photos to multiple formats, you can save your export settings as presets too and use them to speed up your workflow. You can even export multiple presets at the same time If you wish: on your hard drive in full quality, to the unlimited Zonerama online gallery or in a reduced format size for Instagram by pressing a single button in the export dialogue.
Give it a try, you can download a 30 day trial of Zoner Photo Studio X, free of charge without entering any credit card details. For more tips and inspiration you can check the learn.zoner.com portal. My favourite is a series of articles by professional road racing photographer, Milan Kubin. If you prefer more guidance and step by step tips for editing photos make sure that you subscribe to the ZPS X YouTube channel. Let us know in the comments below about your experiences with taking and editing photos.


 Don’t forget the details
 Process photos in the Develop module
