If you have been riding for any time then chances are you have managed to scratch your motorcycle helmet – more than once!
How to repair or improve scratches on your motorcycle helmet?
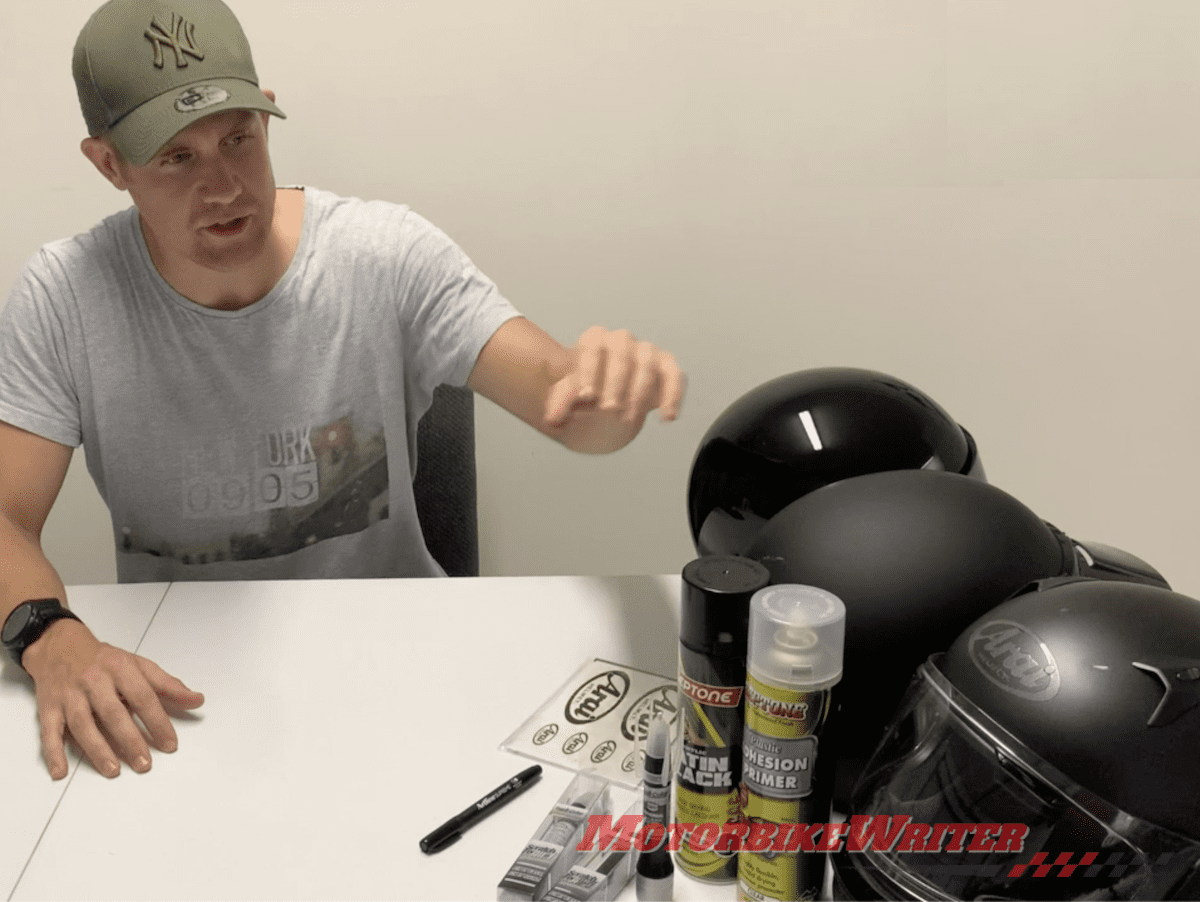
In this article we look through five top tips to help identify, repair or reduce the prominence of scratches on your helmet, more details for each step can be found beneath the video.
Follow these 5 key steps (See disclaimer*):
- Identify if you are dealing with a scratch or a scuff.
- Consider your options for scratch repair carefully – they are:
-
- 2.1 Do nothing – Consider leaving it as you may make it worse!
- 2.2 Renew your gear or get it repaired by a professional – Easiest but most expensive option.
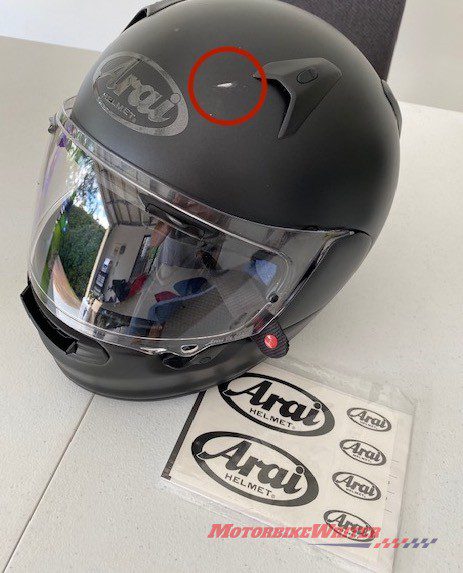
- 2.3 Tactically place a sticker over it – Cheap and effective where scratches can be concealed.
- 2.4 Use a suitable permanent marker – This may not work or endure weathering.
- 2.5 Apply touch-up paint – Effective but potentially tricky blend of art and science.
-
- Test a small inconspicuous area before you bring any chemicals into contact with your helmet to check for any ‘reaction’ with the helmet surface. You have been warned.
- Clean your helmet surface to ensure good adhesion of stickers, pen or paint – if you choose any option other than #1.
- Ensure colour match. Before you paint your scratch, test a small inconspicuous area. Colours may change or reflect light differently when they dry so select carefully and don’t rush it.
*Disclaimer: Consult a qualified expert or retailer if you have damaged your helmet. If there is any question about the structural integrity of your helmet from a road accident, dropping or impacting your helmet you may have compromised its safety performance. Always consult an expert to ensure your personal safety and legal compliance. This article is provided as a guide only for minor cosmetic scratches. We do not advocate modifying your helmet. Following any part of this guidance is done at your own risk – use common sense or live with the scratch! We accept no liability for your action or inaction.
If you are a perfectionist or a fellow OCD sufferer like me, then you like to keep your bike and riding gear in top condition – scratches and imperfections are the enemy. Let’s get into the details for each of the 5 key steps.
1. Scratch VS. Scuff – The first question to answer
There is a world of difference between a scuff and a scratch. The top search result on YouTube for ‘helmet scratch repair’ shows a guy demonstrating how a ‘scratch’ can be removed by rubbing cotton wool doused in lighter fluid! This is, in fact, a scuff which he removes, not a scratch.
A scuff is when you rub up against a surface such as painted wall and the paint rubs off on to the helmet. A common scenario is walking though a doorway and bumping your helmet on the door frame. Fixing a scuff like this is simply a case of selecting a suitable cleaning agent and carefully rubbing off the scuff, taking care to not damage the paint or surface of your helmet.
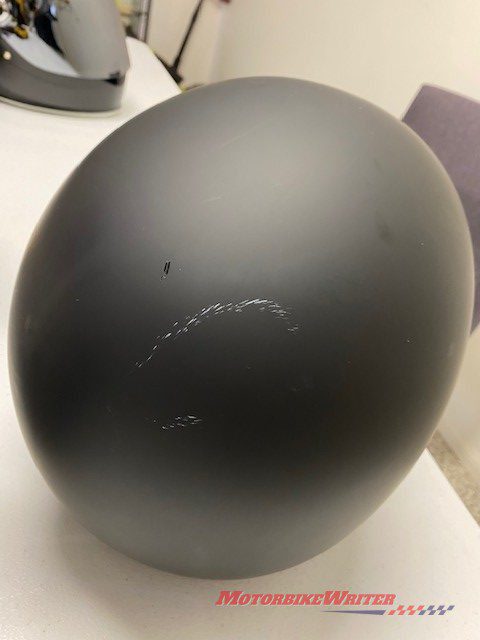
A scratch is very different. A scratch is where something hard, sharp and abrasive removes some helmet paint or clear coat.
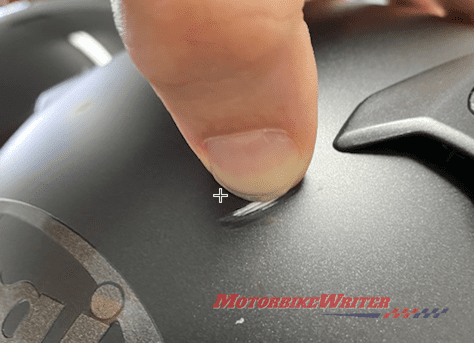
To see if you have a scratch or scuff, gently move your thumbnail over the mark.
If your thumbnail dips into the mark and makes an audible high-pitched clicking sound, it’s likely a scratch. If it sounds dull, it’s probably a scuff.
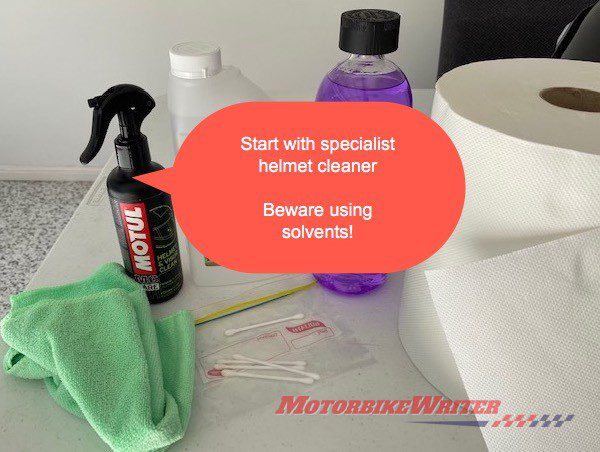
To remove scuffs, try a gentle rub with your finger or a quality microfibre cloth to see if you can remove it. If not, try a cleaning agent that is suited to the helmet’s shell material. Start with a mild specialist helmet cleaner before trying any stronger options. Be careful as solvents are not recommended and can not only spoil the finish, but damage the helmet shell’s integrity. Take particular care with matte or satin finishes. Always spot check in a small inconspicuous area where possible.
WARNING: Never use strong solvents like Cellulose thinners, Xylene or Acetone. They are likely to compromise primary paint and helmet construction materials.
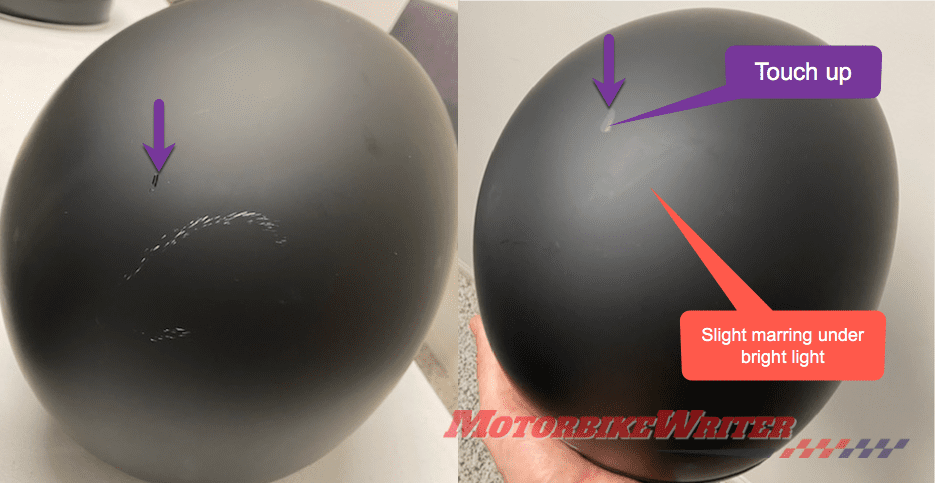
(Note: In the video I used acetone, a thinning solvent, on a matte finish. This is generally a bad idea unless you are experienced or comfortable with the risk of marring. I had already tried specialist helmet cleaner to no avail on the scuff, though I probably should have tried methylated spirits first which is less harsh than acetone. However, I moved quickly and lightly to minimise marring though as you can see in the above image under bright light I did introduce slight marring. Overall though I was happy with the result.)
2. Consider your options for scratch repair – carefully
If there is one thing worse than a scratch it is a bungled of shoddy repair attempt. You can easily make a scratch far more prominent.
Always consider these options before doing anything:
Option #2.1 – Do nothing.
Most people can live with it; I just don’t understand how. Fellow OCDers may need to consult a suitable psychologist, scream into a pillow or seek solace in an alternative means of distraction to avoid the inevitable twitches and sense of discomfort knowing that you have a scratch that has not been dealt with. Alternatively, you may just determine that the scratch is so unbearable, you can afford option 2.2.
Option #2.2 – Replace the helmet.
Other than wear and tear, a scratch is a solid excuse for buying a lovely new shiny, satin or matt lid. Consider giving away the compromised (scratched) article to a more relaxed family member, friend or colleague. (Please make sure if you are giving away gear that it first correctly – helmets need to fit to protect you properly – or just throw it in the garbage, or display it on a shelf and hope the dust will cover the scratch with time).
Option #2.3 – Tactically place a sticker
Some scratches are in a spot where you can easily cover them with a sticker. Be careful though as sticker adhesives vary. You need to ensure that they are compatible with the composition of the helmet shell.
Manufacturer-supplied stickers that often come in packets with your new helmet should be fine.
Be aware that some stickers may cause head rotation and spinal injury in a slide down the road. For these reasons I am not a fan of aftermarket stickers.
Option #2.4 – Use a permanent marker
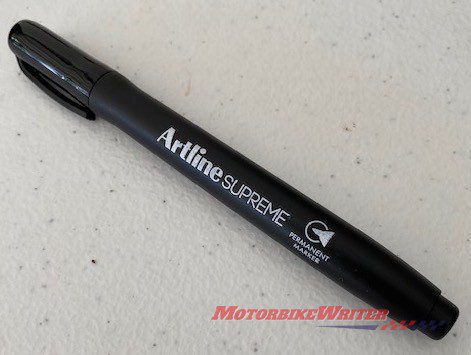
There is a wide range of permanent markers or “sharpies” available at office supply stores that may mask the attention-drawing effect of, for example, a white scratch on a black helmet. However, the effect may not last. Think lip-stick vs facelift.
Make sure you clean the helmet and allow any cleaning agents to completely dry. Test on a small area to see if the marker matches the required colour.
Some black inks may appear quite different with a white background. White primer can show through in a scratch on a black or dark-coloured helmet. In this is the case and the pen doesn’t work, simply remove it with a suitable cleaning agent, ensuring not to remove or damage the original paint.
Option #2.5 – Apply touch-up paint
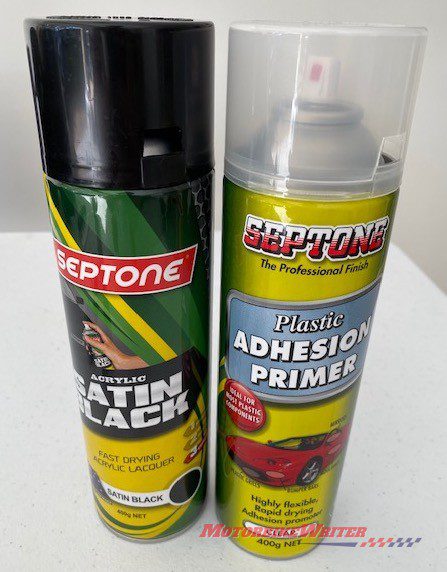
Touch-up paint is one of the most effective and durable options for repairing a helmet scratch. However, care and skill is needed in colour matching; cleaning and preparation of the scratch; priming the scratch (for example spray paint may not adhere to the scratch); and judicious application of paint to avoid runs.
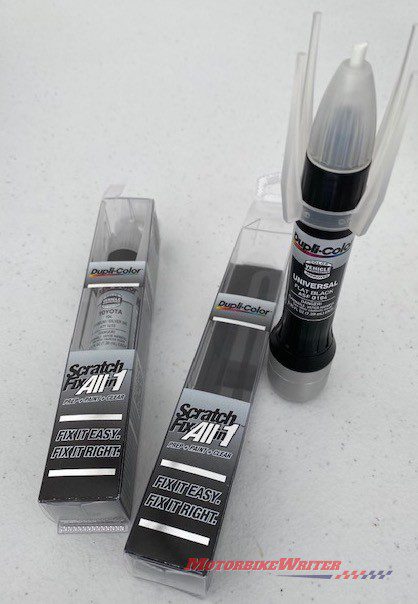
A benefit of a touch-up pen is that you often don’t need to apply a primer. However, you may struggle to find a colour match in a touchup-pen. In which case you could try auto spray paint. I suggest spraying a small amount into the spray can lid or a clean plastic container and use a small applicator to dab on the scratch.
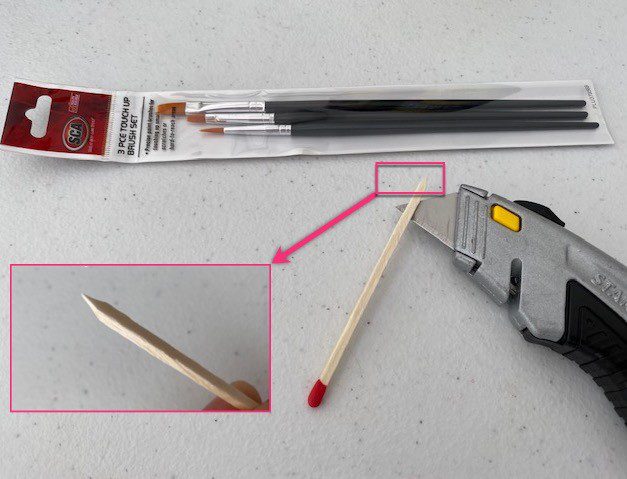
Small artist paint brushes, cotton earbuds or a match stick cut to a angle can be very effective for accurate paint application:
3. Test any chemicals or paints you intend using on inconspicuous area
There are many different materials, coatings, graphics and paints used in motorcycle helmet construction and decoration. There is a significant risk associated with applying chemicals, including cleaning agents, solvents, paints, abrasive products and scouring pads and cloths. You should approach using anything to clean your helmet or repair scratches with great caution to avoid problems.
Find a suitable test area that cannot be readily seen such as behind a lining, under the chin or where the visor would cover in normal operation. Use a cotton bud to apply a small amount of any chemical you intend using to check how the surface material reacts. Leave it overnight and review in the morning for evidence of discolouration, bubbling or any other form or undesirable reaction.
4. Clean and prep your scratch
It may not be easy to see, but your helmet will probably be covered in many contaminants such as grease from your hands, wax from cleaning products and particulates from riding.
Clean your helmet with a suitable helmet cleaner.
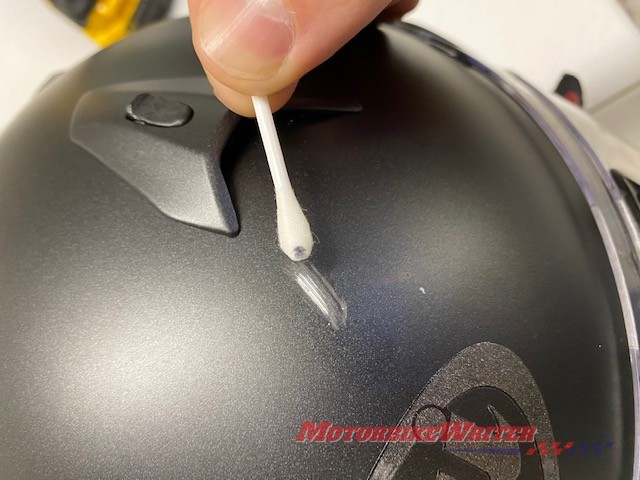
Then clean out the scratch with a pre-paint wipe or cotton bud dipped in cleaning solution, ensuring that you don’t leave any cotton wool fibres on the scratch which can interfere with paint application.
Avoid using harsh solvents as they may strip paint and graphics, or compromise the integrity of the helmet shell. Consider using less harsh options as far as possible.
5. Colour match your helmet
This is where the art comes into play. Matching colours is notoriously tricky. Buy a couple of touch-up paint options and test dab on a piece of scrap plastic, allow to dry and hold up alongside your helmet in a good light to ensure a match. They have the added benefits of not necessarily requiring a primer or clear coat.
Alternatively, you can use aerosol cans given the range of colour options and spray into a lid or small container before applying.
Some paint shops will mix up to your sample. However, they usually only mix significant minimum quantities and matching results can be variable. The paint may also require a clear coat which adds hassle, cost and complexity. In my view, this is the least appealing option.
Painting
Once you have your paint colour-matched, you are ready for painting. Follow directions for prep and application on any paints used and make sure you:
- Apply paint in a well-ventilated place free from dust as far as possible;
- Apply paint at a suitable temperature 20-25C degrees;
- Do not apply paint or dry under direct sunlight;
- Have cleaned and dried the scratch;
- You are working on a stable surface; and
- You apply paint under good lighting.
Once applied, allow the paint to dry in line with instruction on your touchup or spray can; clean any brushes immediately.
- Please share on our Facebook page your before-and-after shots and anything that worked well or failed spectacularly!


