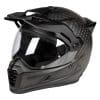
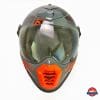
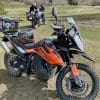
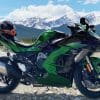
Last year I reviewed the Klim K1R Raw Karbon helmet and although I liked many things about it, the fatal flaw was how loud it was to wear on the highway. Brutally loud, in fact.
After touring the Klim HQ in Rigby, Idaho last September while I was down there enjoying the Cow Tagz XL Rally, I had the chance to try on a few other helmets and learn more about the innovations being made to their line of head protection.
Klim is all about pushing the envelope and taking chances, starting new trends with bold design ideas not often found amongst other mainstream helmet manufacturers. I love their moxie and pioneering attitude!
They don’t let the fear of failure (or criticism from certain wBW reviewers) keep them from innovating.
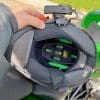
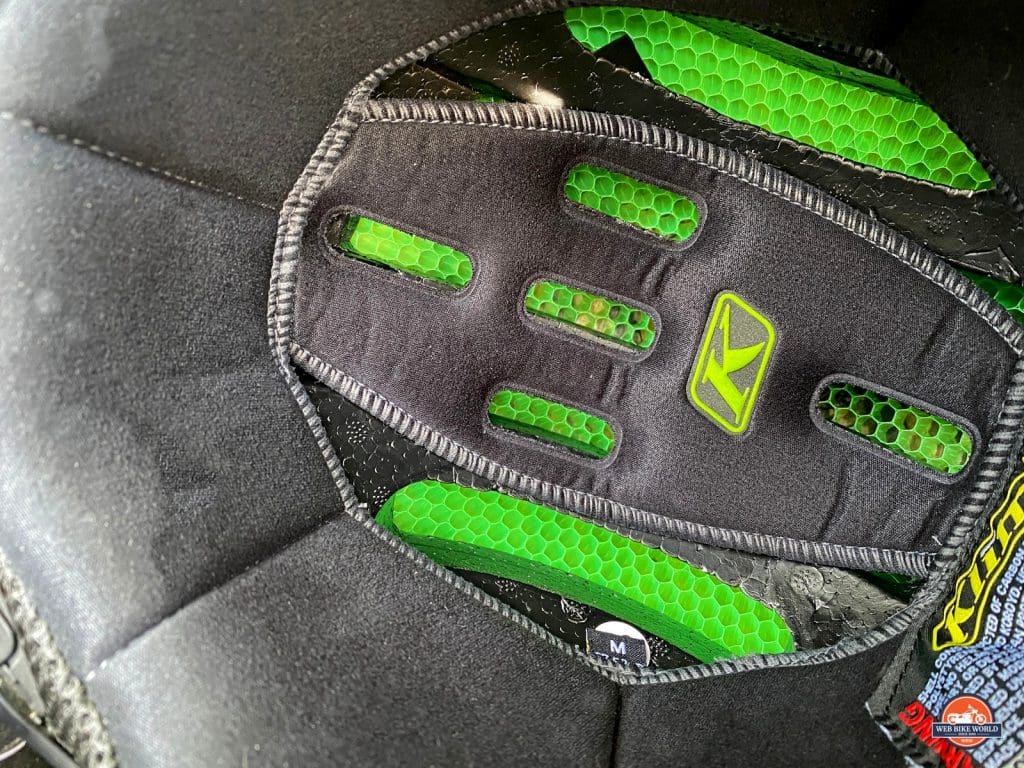
In particular, I was strongly drawn in after hearing about the glowing green layer of material called Koroyd they’ve started integrating into the crown area of some of their helmets.
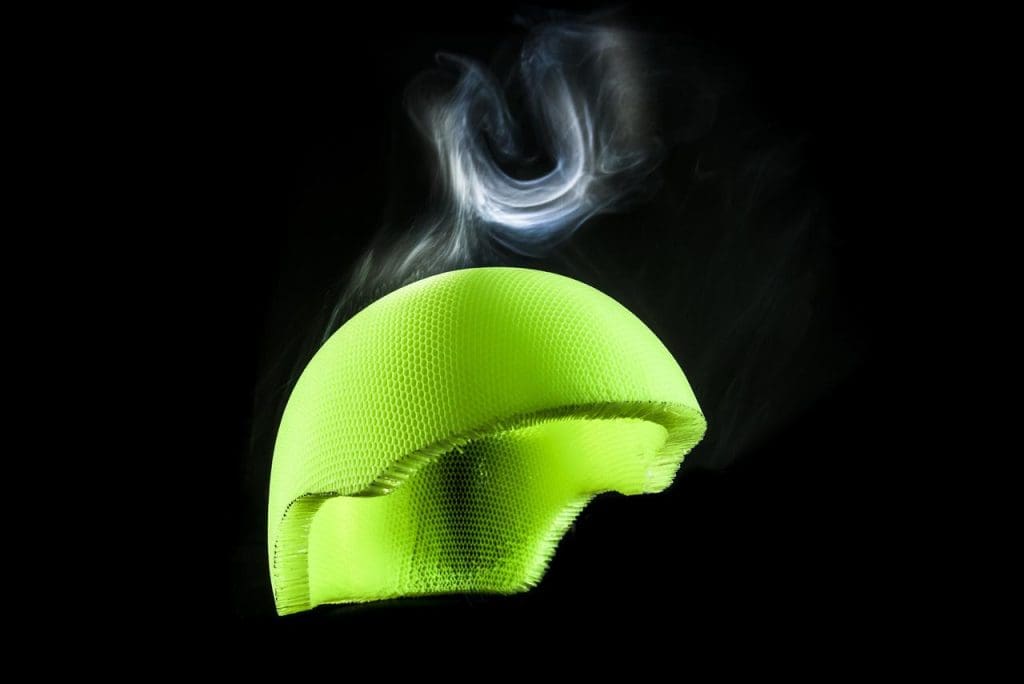
Koroyd looks like dozens of plastic straws fused together into a tightly-knit layer of tubules fashioned out of Kryptonite. Happily, these tubes aren’t harmful to anyone including the Man of Steel. In fact, the opposite is true. Koroyd and Klim claim these straws can protect the wearer as much as 48% better in a crash than the EPS foam found in 99% of helmets on the market today.
Lighter
Additionally, the Koroyd structure is made up of about 95% air (making it lighter weight than EPS foam) yielding significantly better airflow and moisture evaporation throughout the helmet.
Better Than EPS
Koroyd’s performance is practically unaffected by heat or cold (unlike EPS foam) between -58F and 194F (-50C and 90C) and the rate of energy absorption in a crash remains constant. Comparatively, EPS foam will harden after 60% compression and transmit more crash energy to the wearer’s head… say after a second impact on the same area of the helmet.
Unconfirmed As Of Yet
Unfortunately, these impressive claims haven’t yet been verified by an independent testing facility, such as Snell or SHARP. We only know Koroyd infused helmets will pass DOT and ECE standards, but we haven’t seen actual G force numbers from those tests published as of yet.
I knew after hearing such bold claims that I needed to review another Klim helmet with Koroyd in it despite my somewhat disappointing previous experience with their K1R.
The Krios Pro Gets The Nod
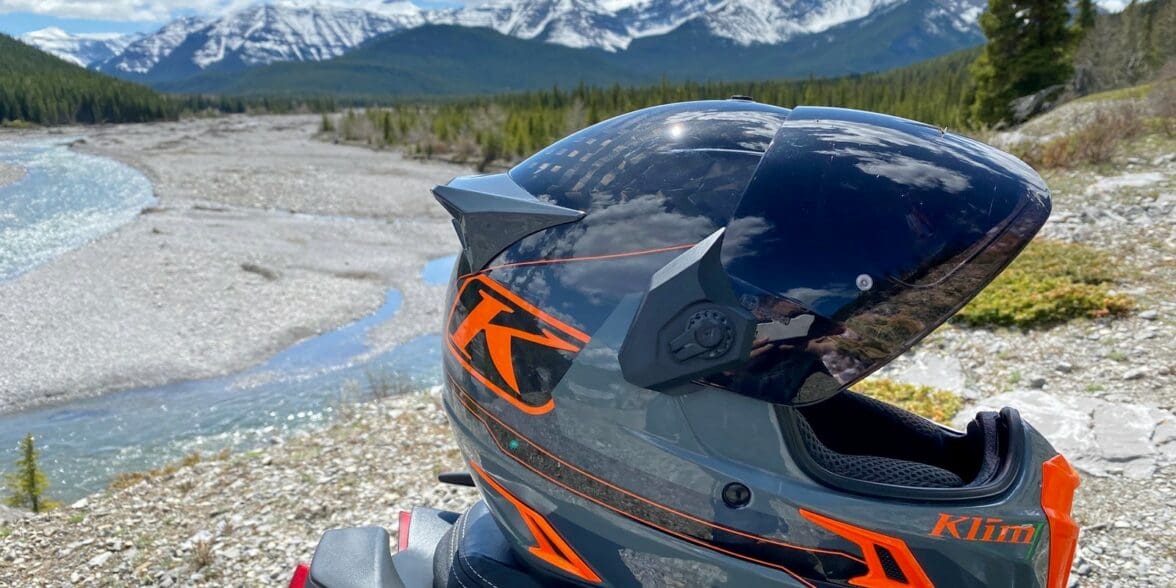
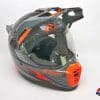
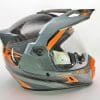
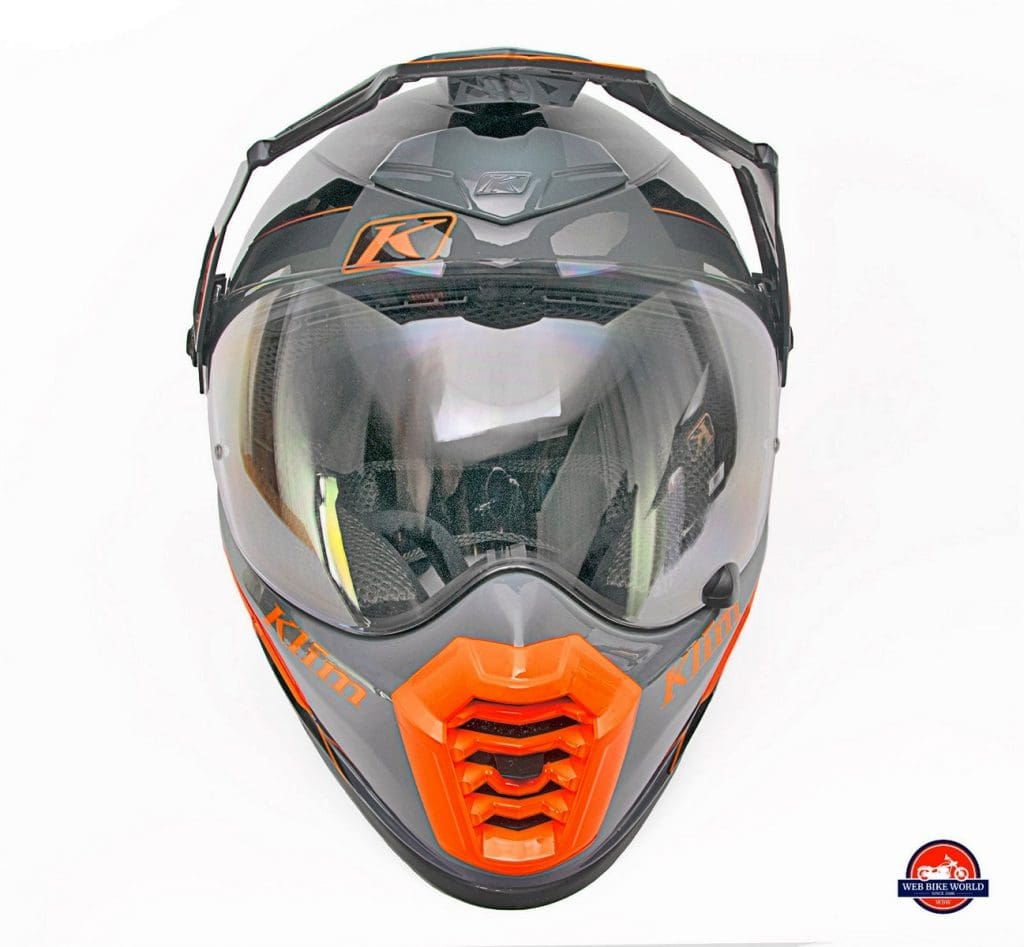
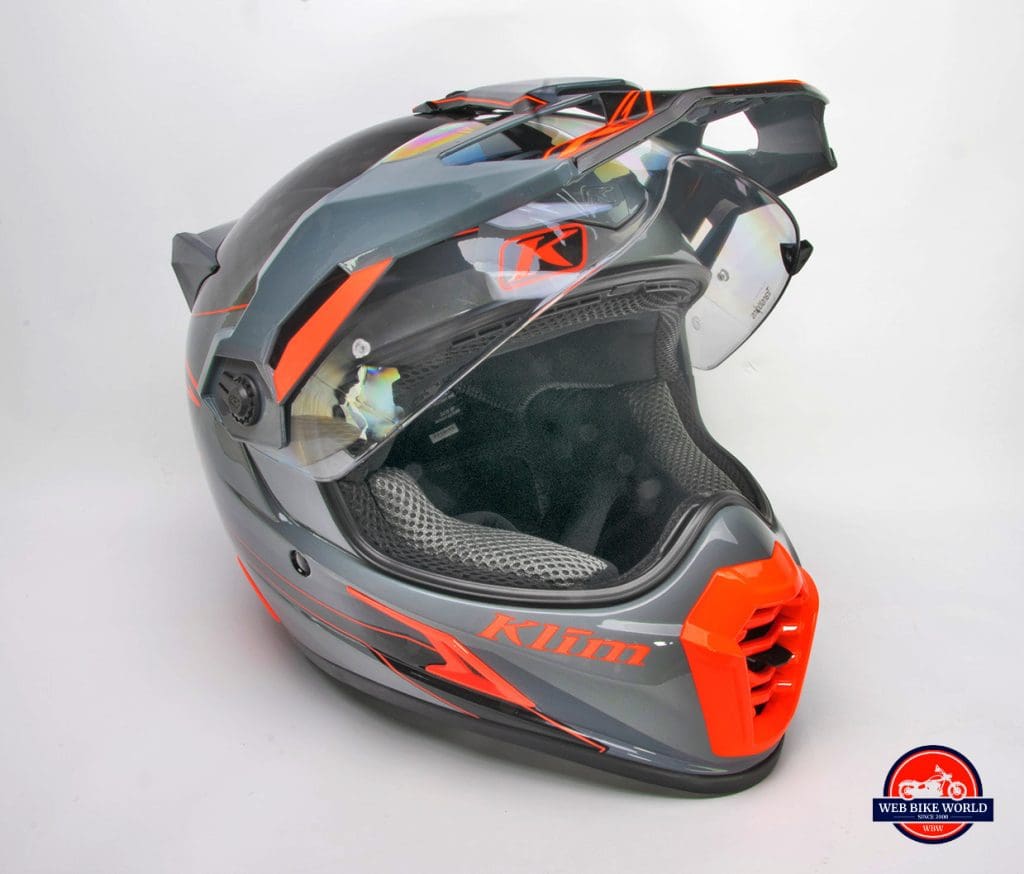
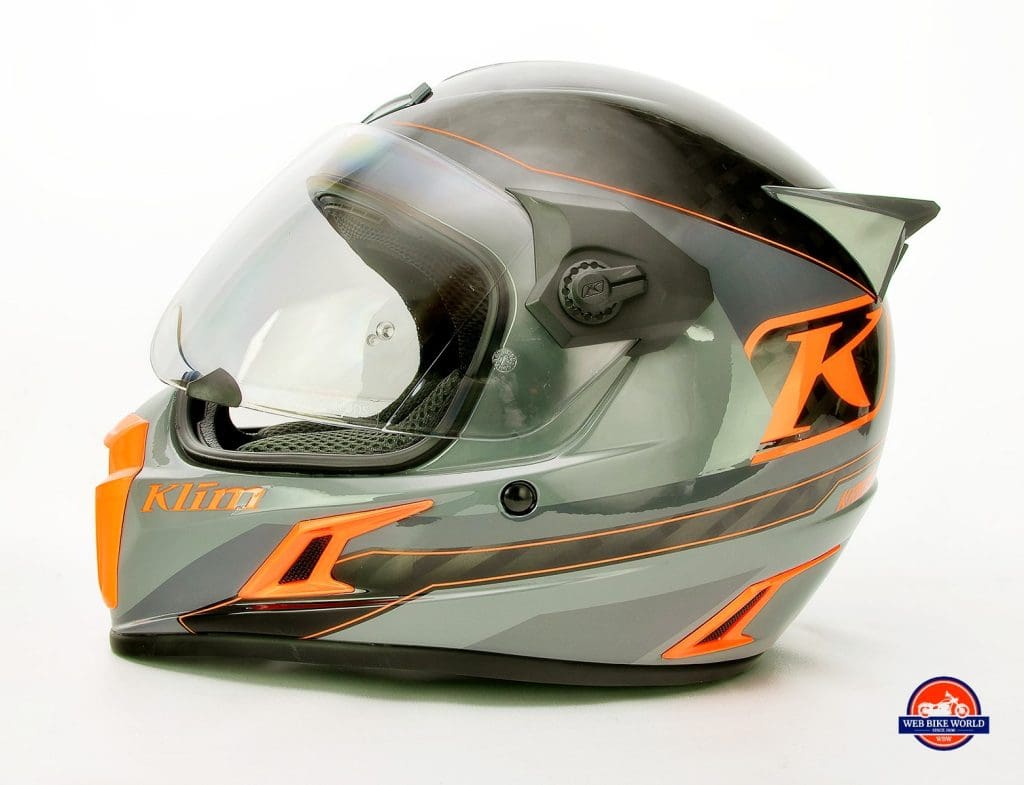
Lukas Eddy is Klim’s Communications Specialist and he made sure to get me a Krios Pro in the Loko Striking Grey color scheme to review at no charge.
I really appreciate that because as you’re about to find out, this multi-tasking and revolutionary helmet is making a strong case to become my new favorite safety hat. Even threatening to pull my gaze away from my current favorite, the Arai DT-X!
Features
From RevZilla:
- Hand-laid full-carbon fiber shell features a wide carbon weave
- Optimized shell resin distribution for weight reduction
- Koroyd technology
- Pinlock-ready Polycarbonate anti-scratch face shield
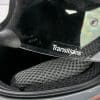
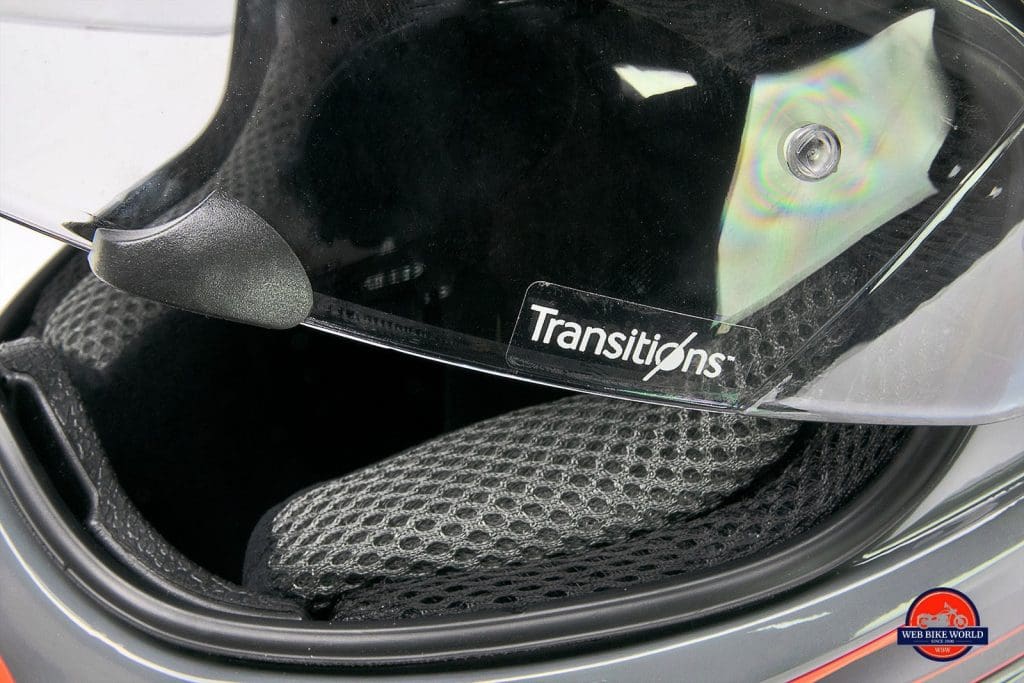
- Transitions Photochromic lens
- Quick-release shield and visor system requiring only a simple, 90-degree quarter-turn to lock/unlock
- Aerodynamic visor and spoiler attributes to stabilize and put riders’ heads at ease
- Refined aerodynamics, vents, liner system for a quieter ride
- Klimatek liner systems utilize adaptive smart foam technology and anti-microbial/bacterial fast-wicking textiles
- Quickly transition from Street to Off-Road or to any of four riding modes without tools
- Klim Radius Goggle compatible
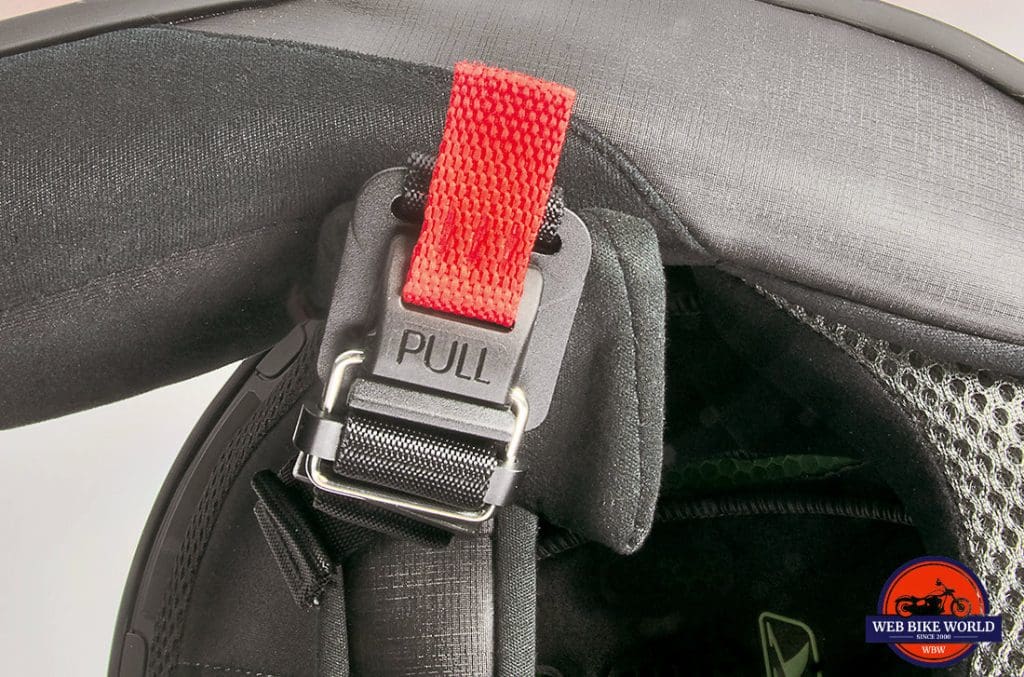
- FIDLOCK chin strap closure
- Sena 10U compatible (sold separately)
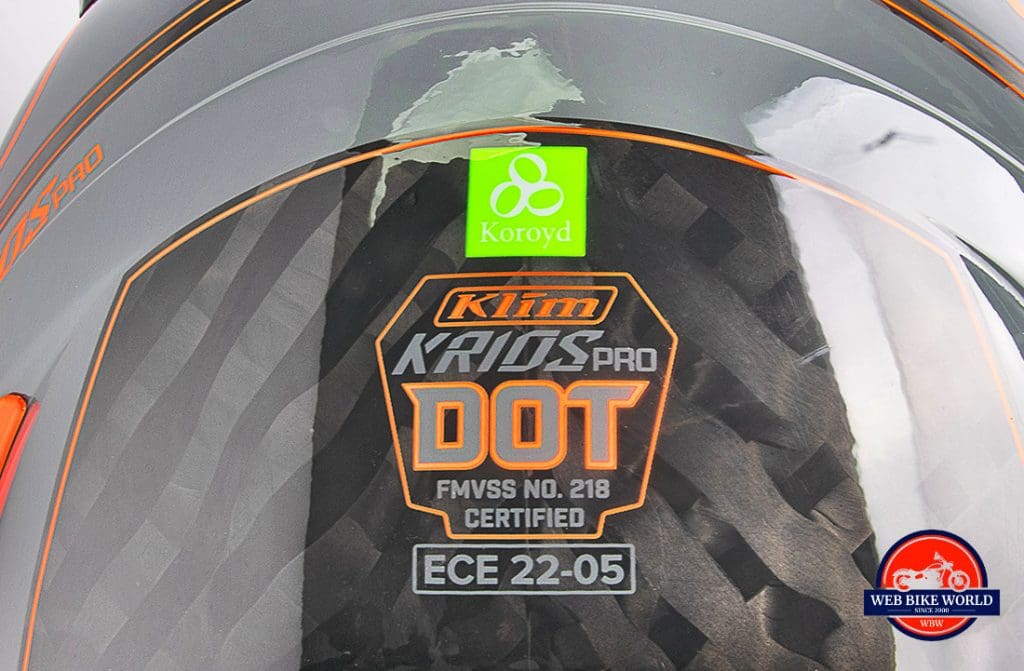
- Meets or exceeds ECE and DOT standards
Design, Fit, & Shape
Most often when I check a helmet sizing chart my 23 inch (58.45cm) circumference head perplexingly sits right between Medium and Large.
| SIZE | HEAD (CM) |
|---|---|
| SM | 55 – 56 |
| MD | 57 – 58 |
| LG | 59 – 60 |
| XL | 61 – 62 |
| 2XL | 63 – 64 |
| 3XL | 65 – 66 |
Rather unexpectedly when I referenced the sizing chart for the Krios Pro on the Revzilla site (the Klim one wasn’t clear to me) it indicated I should get the Large, but only just barely. I’d had a problem before with the K1R helmet ending up fitting too big on me due to a mix up caused by the size chart, and I wanted to avoid that with this helmet.
I had a hunch Medium was the size I should go for instead, but I wasn’t positive.
Only 2 Shell Sizes
There are only 2 shell sizes available and I wanted to avoid going with the Large helmet if possible to avoid getting that hated bobblehead experience. After discussing the sizing with Lukas, we settled on the Medium and that was the right call.
These helmets seem to fit big, so if you’re at the lower end of the size chart (like I am) then choose to go backward.
Obviously Lukas doesn’t field all the sizing questions at Klim, but there is an online chat option available on their website or you can phone in to get answers.
Donning and Doffing
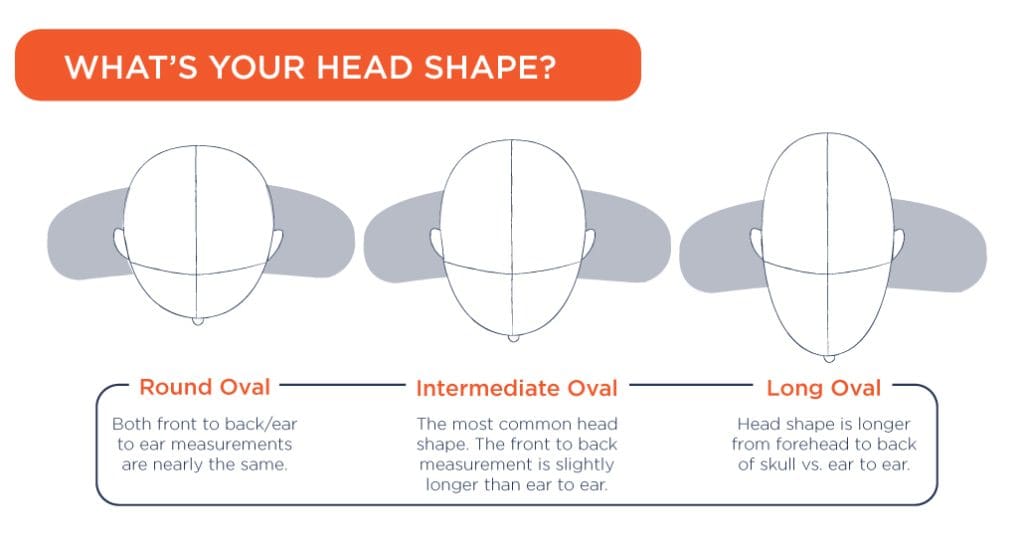
The neck roll padding on the Krios Pro isn’t particularly bulky, but installing my round-oval shaped head into this intermediate-oval shaped helmet takes a moderately determined effort. Lukas informed me these helmet interiors have a roundish bias and I would agree with that based on my level of comfort wearing it.
Already Broken In?
After my head slips inside I find the interior padding conforms right away and the embrace of the Krios Pro provides above-average comfort. There aren’t any hot spots or pinch points whatsoever, and all areas of my head feel like they’re in contact with the liner padding. The contact patch isn’t overly snug, but it is sufficient to be what I believe constitutes a correct fit. This helmet interior almost feels broken in already and I’ve only just taken it out of the box!
Something’s Wrong
Is it too comfortable to begin with? I was immediately concerned that after hundreds of miles the padding would give too much and not provide the snug fit needed to protect me properly in a crash.
Happily, after more than 600 miles (1000 kms) ridden nothing has changed with regards to donning/doffing or the degree of pressure the interior padding places against my head. This is quite unexpected and speaks to the attention to detail Klim put into selecting their liner foam.
I would prefer the cheek pads to fit firmer but maybe just because all my other helmets are that way. This minor complaint of mine might be a huge hit amongst people blessed with larger jawlines who have difficulty finding a helmet that gives them a cramp-free helmet experience.
It’s Big But Small
Because there are only 2 shell sizes the Krios Pro is a fairly large shelled helmet, only it doesn’t feel big because it’s so awesomely lightweight.
If it weighed even 5 oz more it would lose some of its charm, but Klim really worked magic in making a big helmet feel small with this one.
Interior
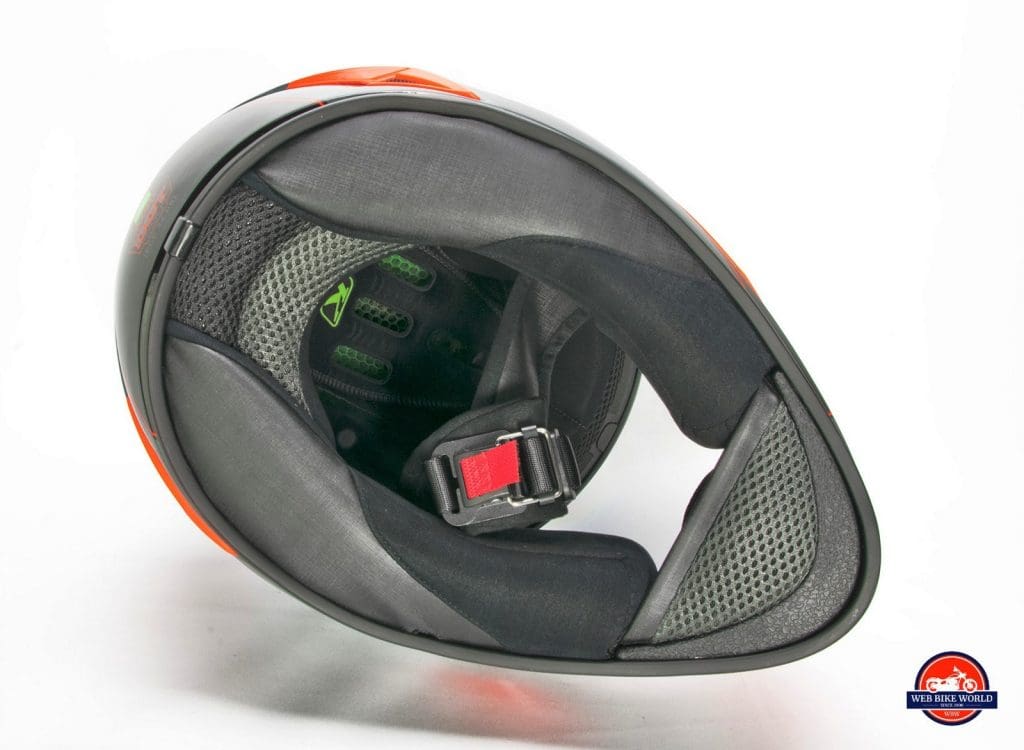
The interior padding on the Krios Pro is in a word: luxurious.
This is a $700 USD helmet and so I would expect nothing less than velvety-soft, washable, anti-microbial, sweat-wicking, microsuede covering every inch of the inside area that makes contact with my face and head. And so it is.
It’s well built and the cheek pads are held in place using velcro instead of plastic snaps that are prone to failure at times. See my review of the Nolan N100-5 if you’d like an example of that.
I did see one person complain about the velcro on the Revzilla reviews which I can’t understand. Velcro is much easier to work with when removing and installing the liners.
Customize Your Comfort Liner
There are different thicknesses of cheek pads and liners available from Klim for this helmet, but I didn’t receive any to experiment with. I’m told you can take them from any other size of Krios Pro and swap them around to get a custom fit.
Chinstrap
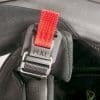
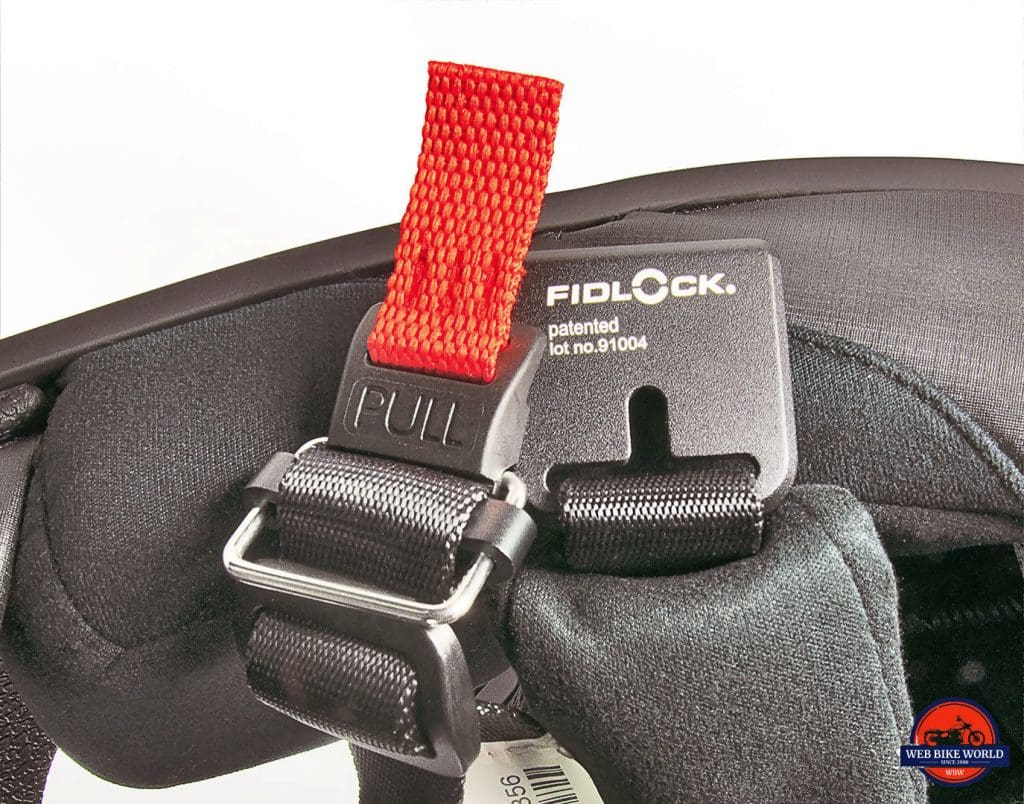
Here’s a feature I was dying to try out on the Krios Pro: the FIDLOCK chinstrap closure!
I trimmed my somewhat out of control beard significantly out of necessity in order to test this helmet. It’s difficult to get the two FIDLOCK halves together while navigating a forest of greying chin whiskers over 6 inches long. Parting with my Chewbacca to enjoy this feature was worth it for me, but should you choose to remain a hirsute gentleman in the facial region you’re going to struggle closing the FIDLOCK gap.
It’s Almost Too Easy
I still find myself overthinking closing the FIDLOCK for some reason. It’s got a magnetic personality only requiring you to get the two halves close together before the law of magnetism takes over and closes the strap securely. The secret is to do less work rather than more. Once you get that through your head it’s super quick to attach or release the strap.
Strong!
The magnet doesn’t hold the strap closed– don’t worry! All it does is bring together two grooved halves with opposite angled tracks that naturally lock in place together. It’s been tested thoroughly by ECE, DOT, and proven to hold up to 450lbs (200kg) of weight!
See it in action in this video:
It’ll Last Forever In Theory
I reached out to FIDLOCK directly via email and FaceBook messenger to gather intel on how long these magnetic chin strap closures last. The answer received from both sources was totally reassuring, especially given that helmets are supposed to be replaced every 5 to 8 years of use (which few people admittedly follow).
Longevity Questions Answered
Marc Schneider, FIDLOCK Quality Assurance Manager, sent the following to me:
“I can put your mind at ease regarding the lifetime of our magnets, they will not lose their magnetic power. The reason is that they are made from neodymium, which is a long-time staple.
The pull-tap is a standard solution without any problems during testing, also we didn’t have any claims in the past.
We’ve also some other interesting solutions in the bike market, for example, the magnetic fasteners used for the ventilation system of jackets from REV’IT are from us. As a lot of magnetic-mechanical-systems use our patented technology, we also developed smart solutions together with a lot of brands, for example, the magnetic tank bag from SW-MOTECH (I saw that you reported about them on WebBikeWorld) or Hepco & Becker. Another application is the bionic neck support from Alpine Stars for motocross.”
Keep Your Helmet Out of the Oven, Please
Amelie, who responded via FaceBook messenger, echoed Marc but did concede the magnetism can be weakened if the magnets reach temperatures above 80 Celsius or 176 F. She mentioned FIDLOCK has already taken action and covered the magnets with a protective, heat shielding plastic to help ensure it’s less likely to reach 80C and negatively affect their magnetism.
My reaction to this news? Uhhh… it’s good to hear about these preventative measures?
The official highest recorded temperature on earth is now 56.7°C (134°F), which was measured on 10 July 1913 at Greenland Ranch, Death Valley, California, USA. Even at that record-setting temperature leaving your helmet inside a parked car for several hours wouldn’t be enough to hit 176F although it would get hot enough to melt all the plastic off the Krios Pro (120F).
I think the FIDLOCK will handle my riding habits just fine going forward so long as I avoid the temptation to use it as a cake baking pan in our convection oven.
Styling: I Think It’s A Beauty
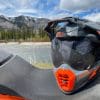
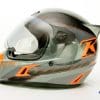
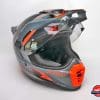
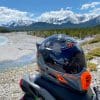
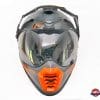
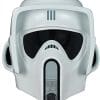
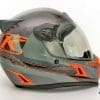
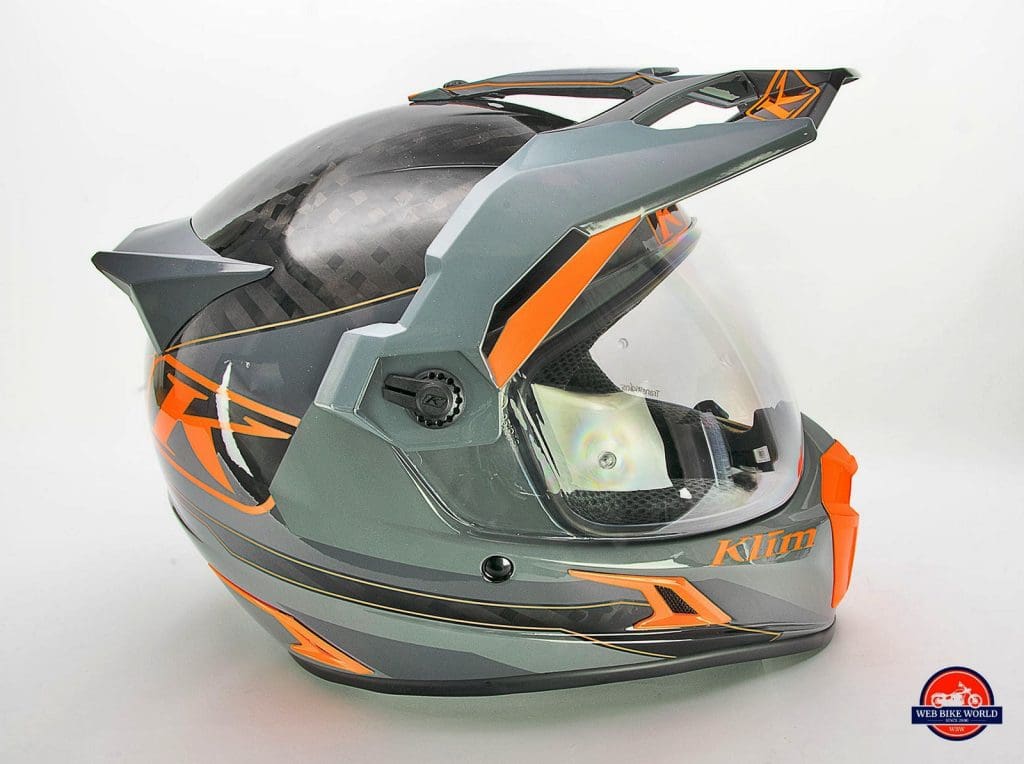
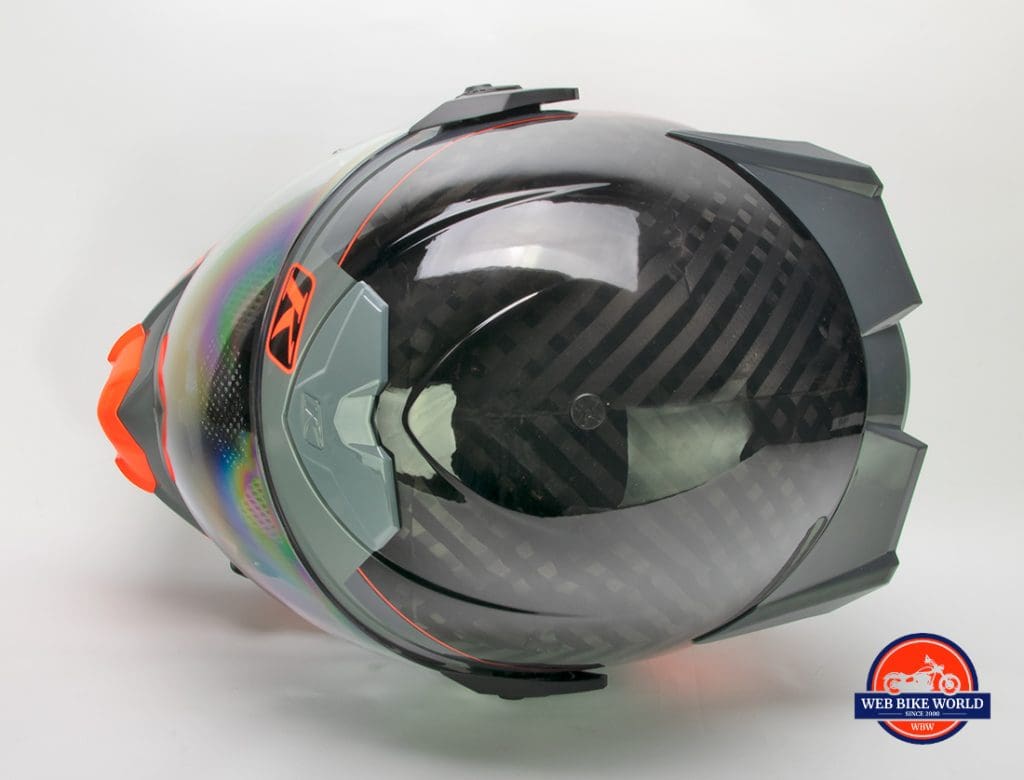
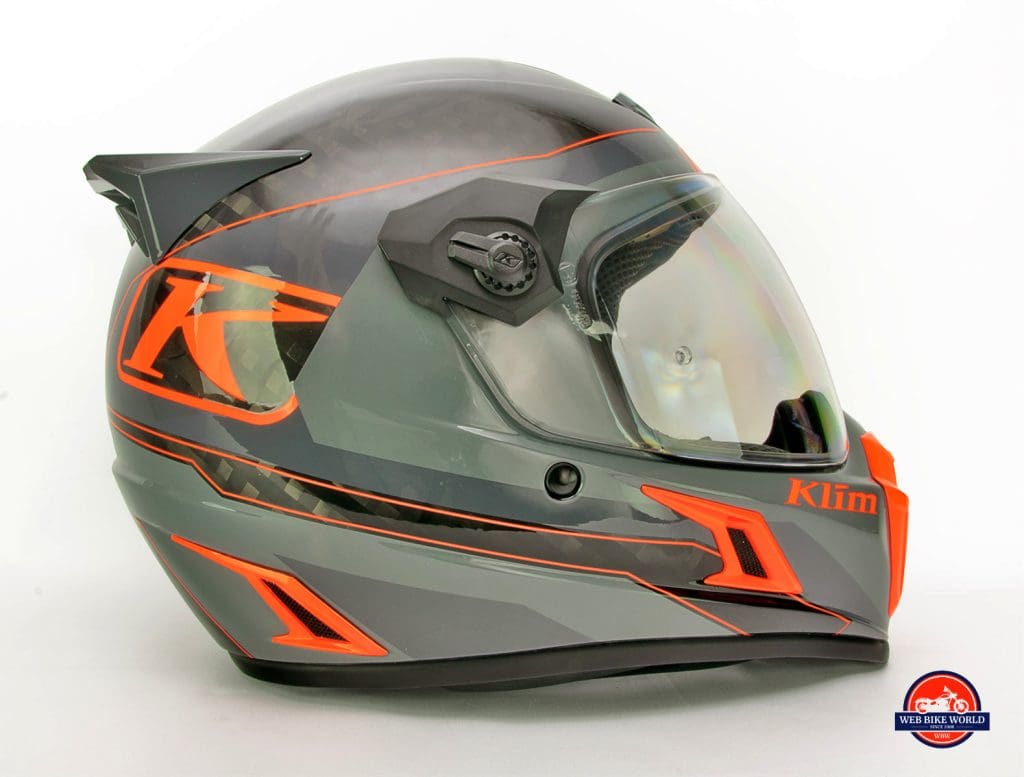
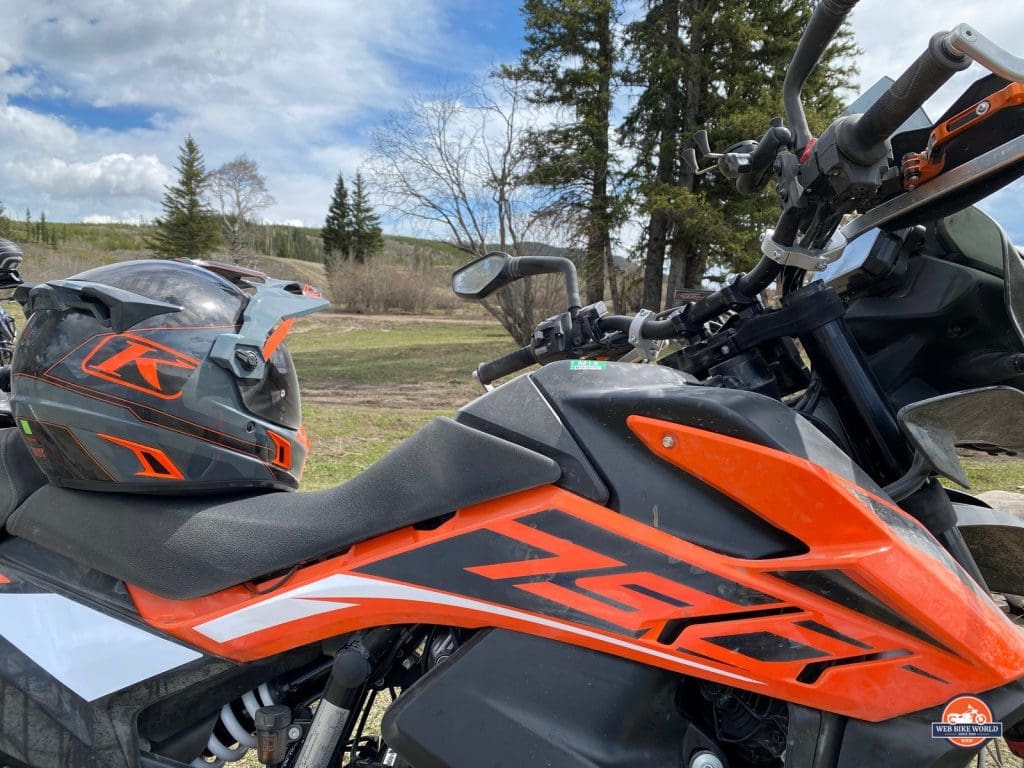
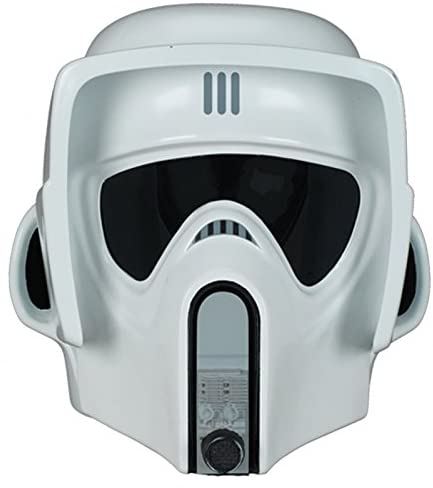
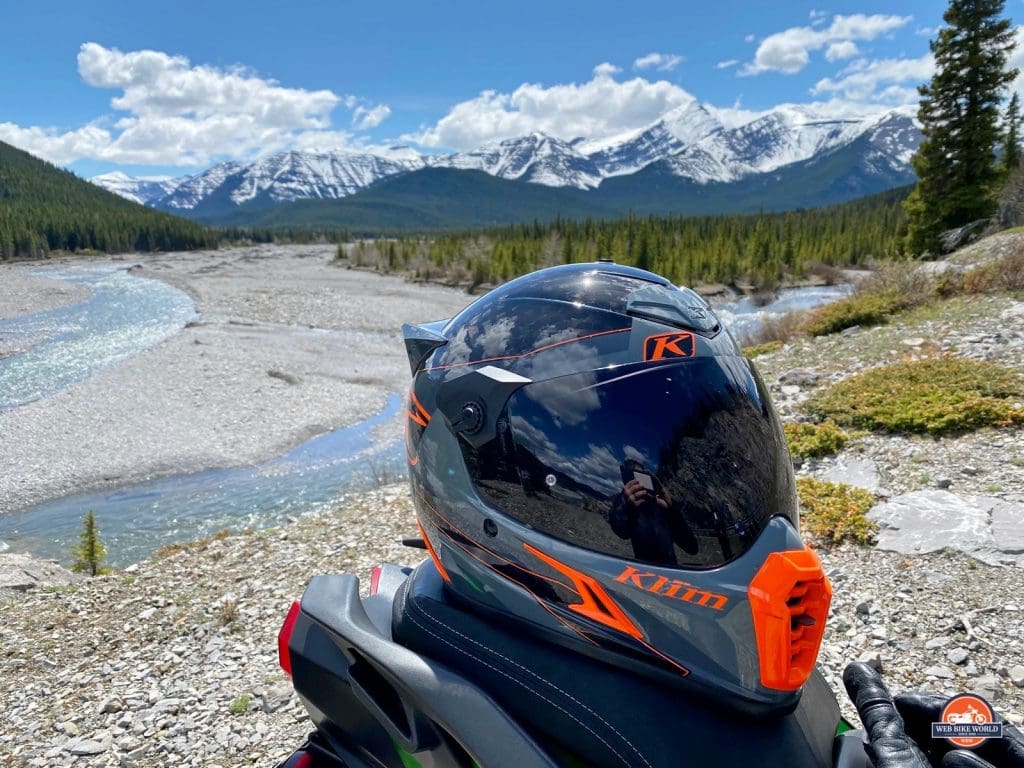
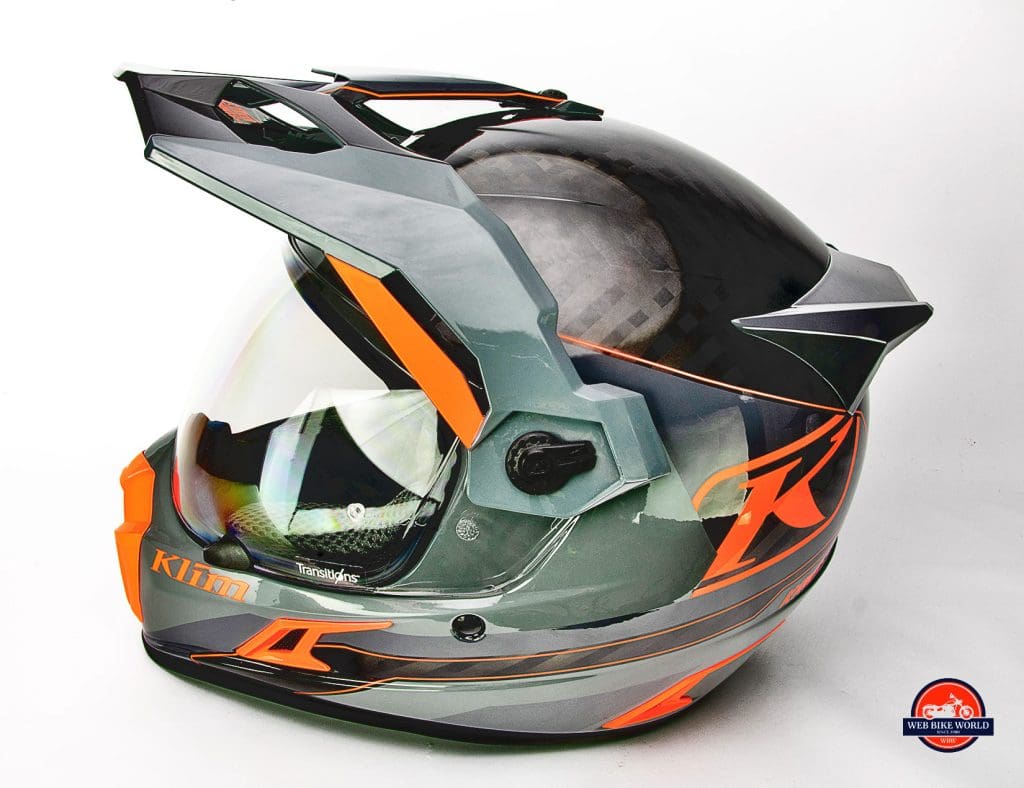
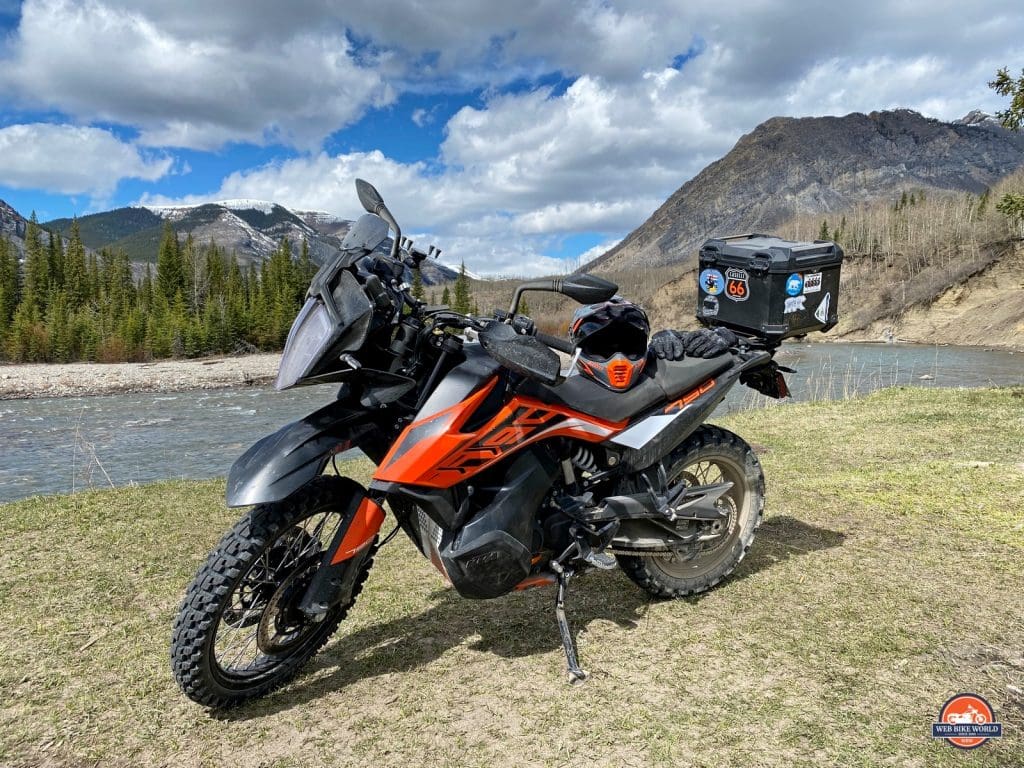
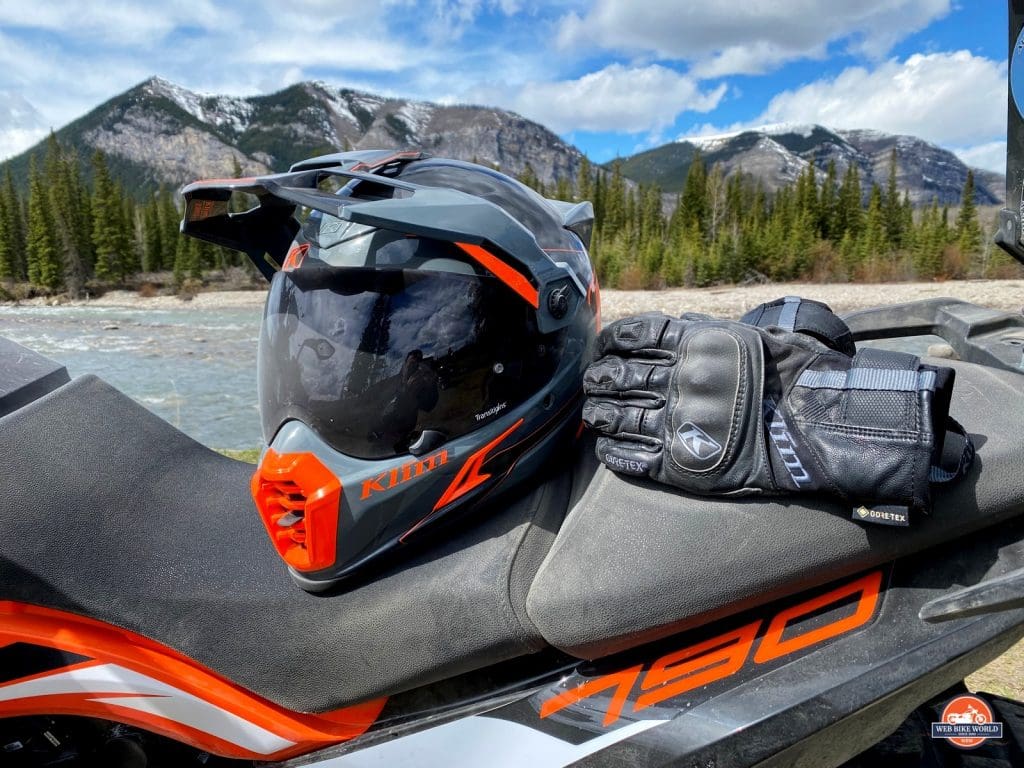
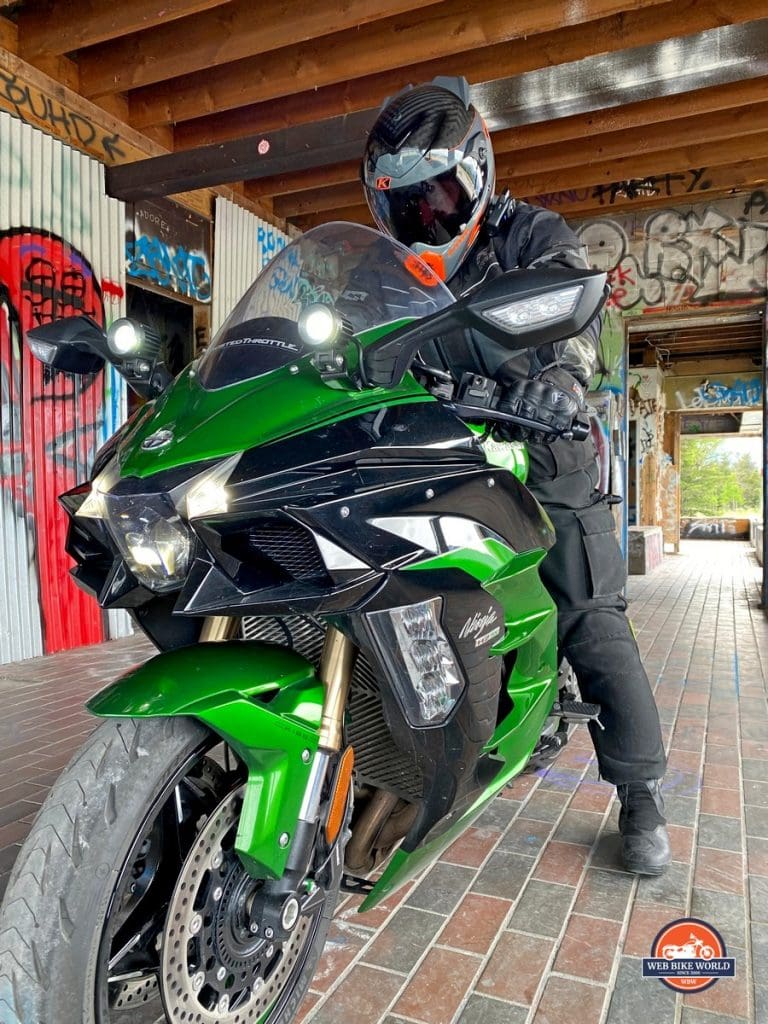
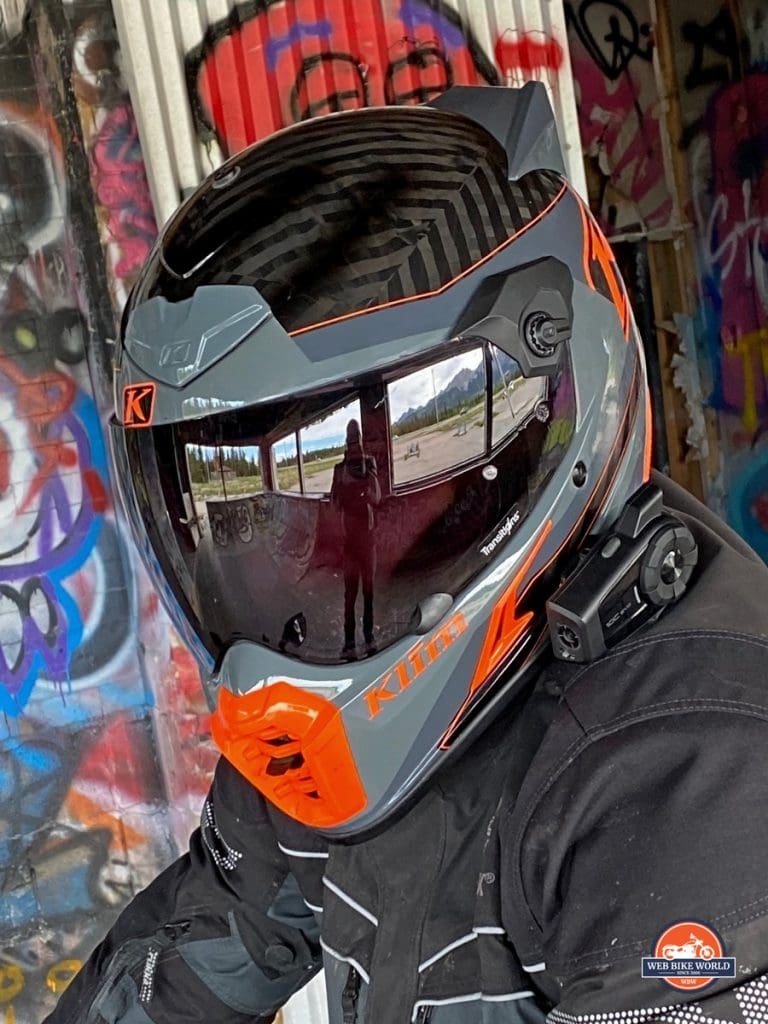
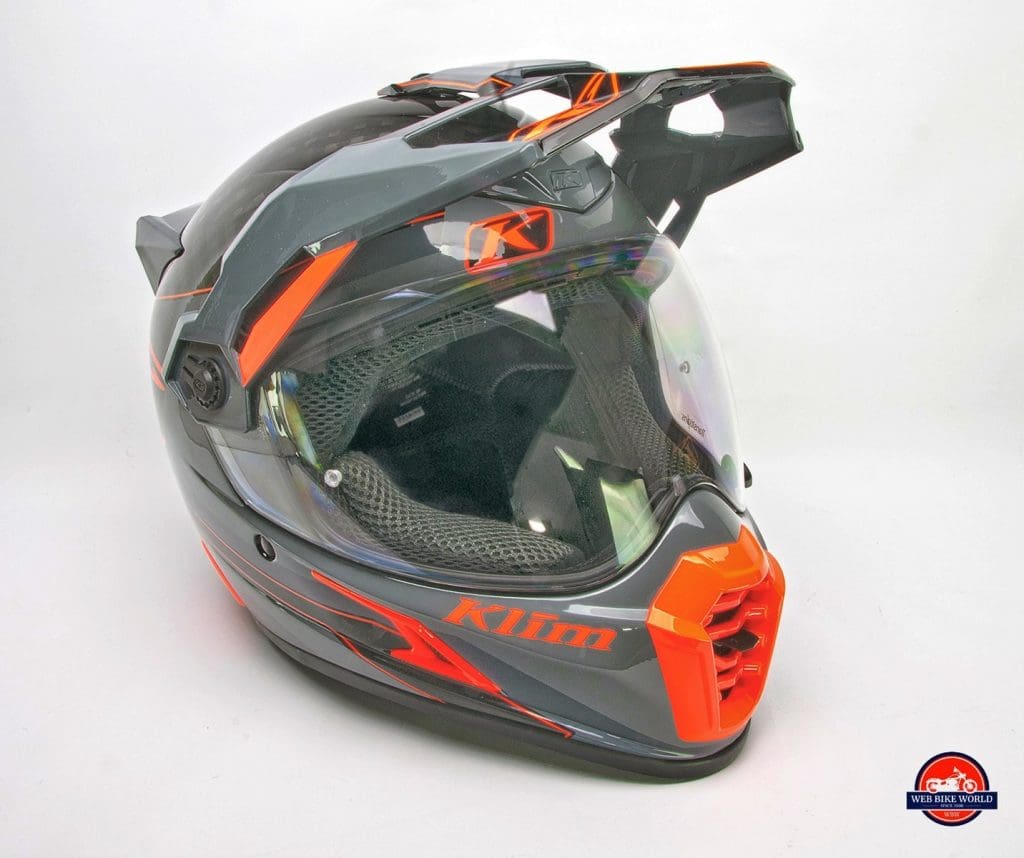
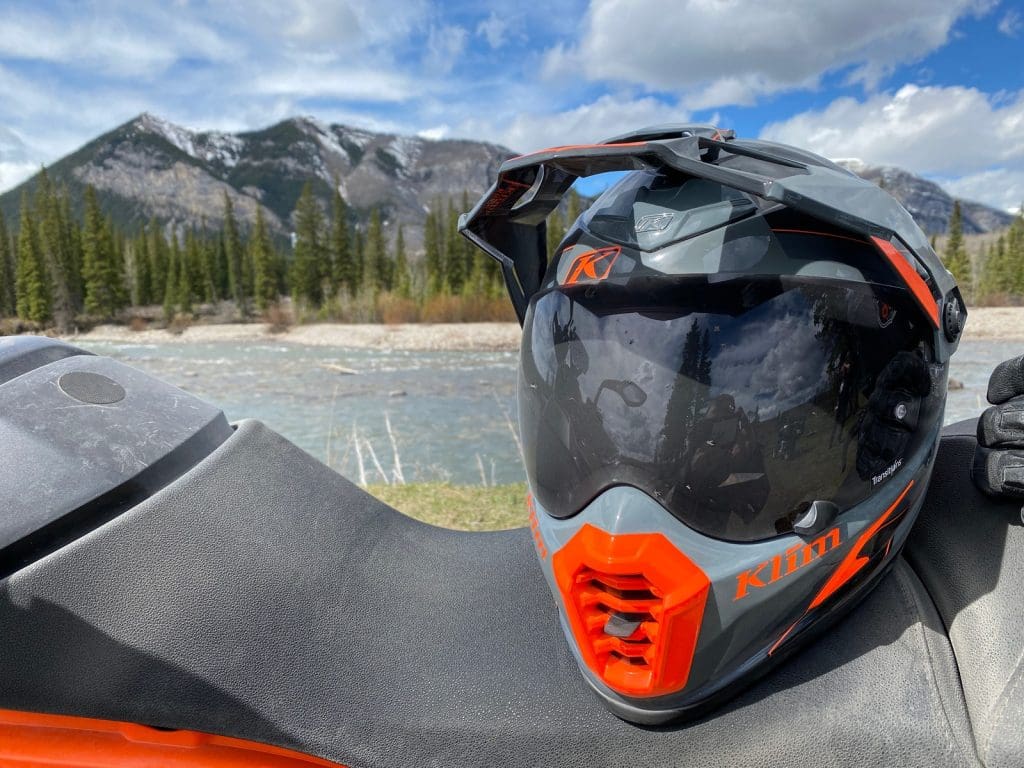
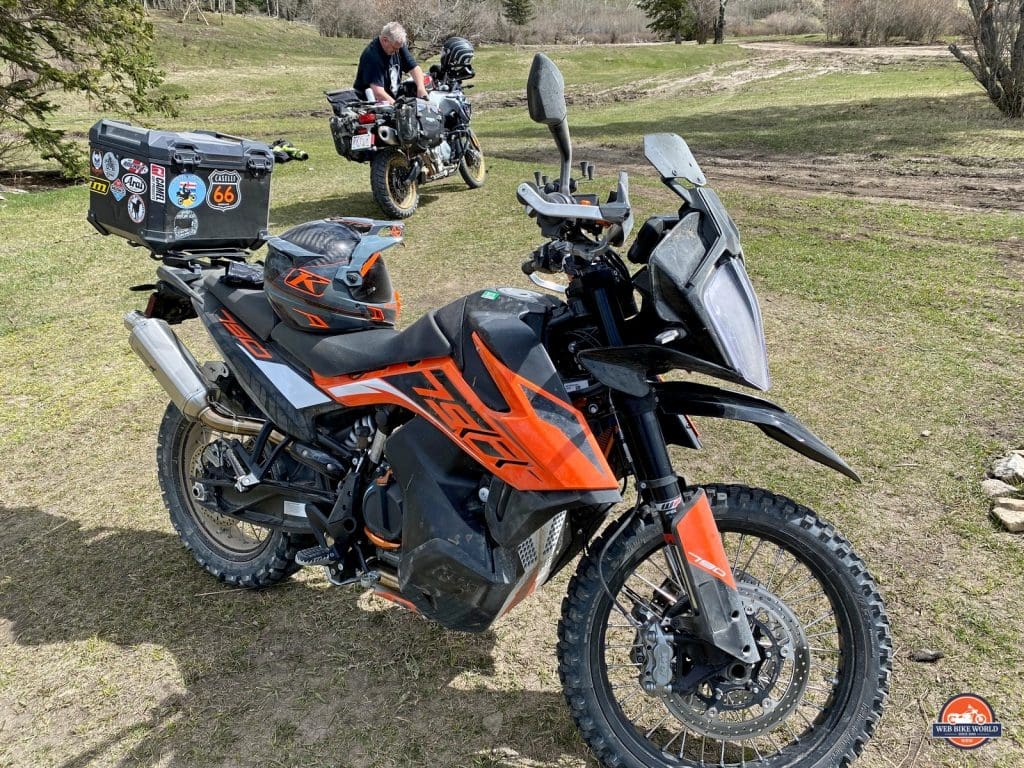
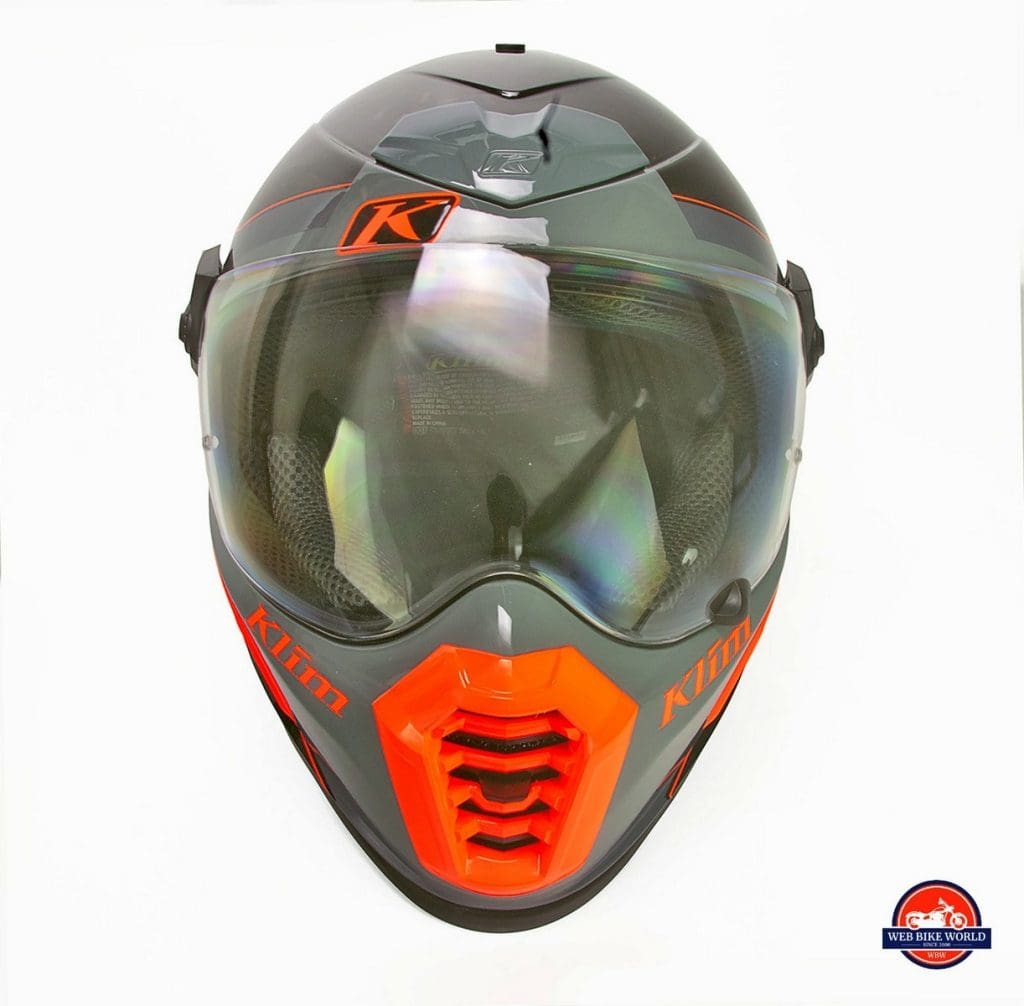
The combination of wideband carbon fiber latticework, grey and bright orange on the Loco Striking Grey color scheme hits a styling note with me. Is it because it matches my 790 Adventure perfectly or perhaps it plays nostalgic by reminding me of the Scout Troopers helmets from various Star Wars films?
There’s no denying the Krios Pro draws plenty of lust-filled stares from onlookers when out in public, though I’m sure some people aren’t a fan.
I recently had a complete stranger ask me about it while standing in line at a gas station waiting to pay.
Disjointed Carbon Fiber Seams?
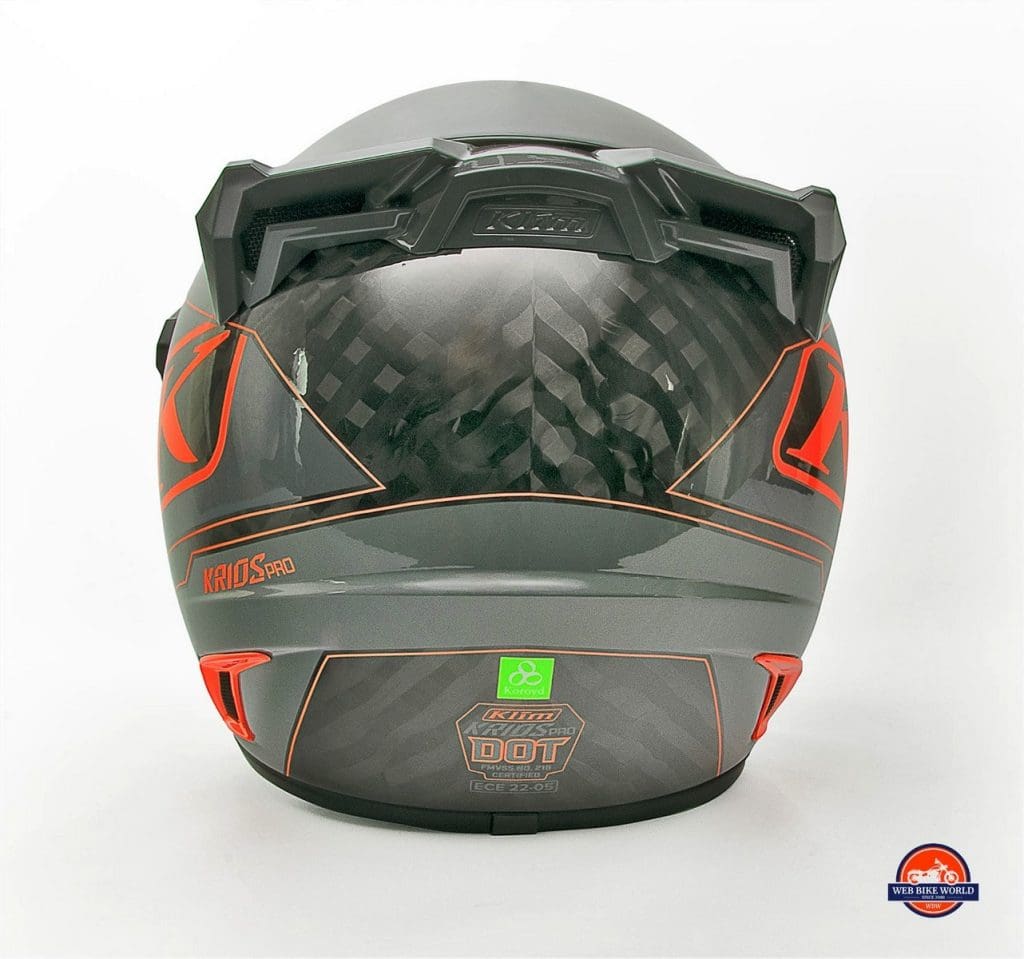
Speaking of the alluring carbon fiber weave, I can’t help noticing the exposed pattern on top and in the back is hardly uniformly laid out on this helmet. It looks sloppy to be blunt.
It’s easy to spot misaligned seams and wobbling lines in the bands on this helmet. I did a little digging to figure out whether this is a potential problem when it comes to shell strength and determined that it’s not – provided the seams are reinforced on the backside with special sealing tape.
My tour of the Arai factory last year taught me that the wider band carbon fiber weaves are stronger than the smaller, round strands, but more reading on my part has indicated that it’s not just about the shape of the bands and has a lot to do with the weave pattern.
Still, I’m confident this helmet would do well in a crash because I’ve heard from some people on social media who have walked away unscathed after ditching their bike while sporting the Krios Pro.
Neckroll Blemish
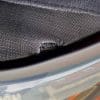
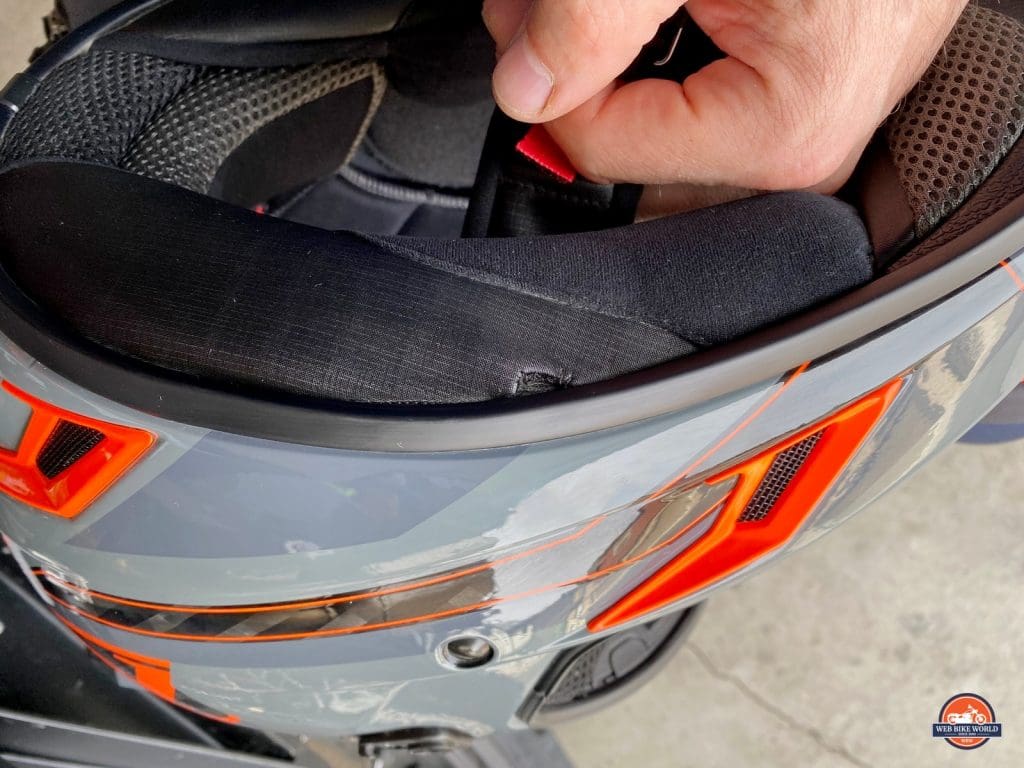
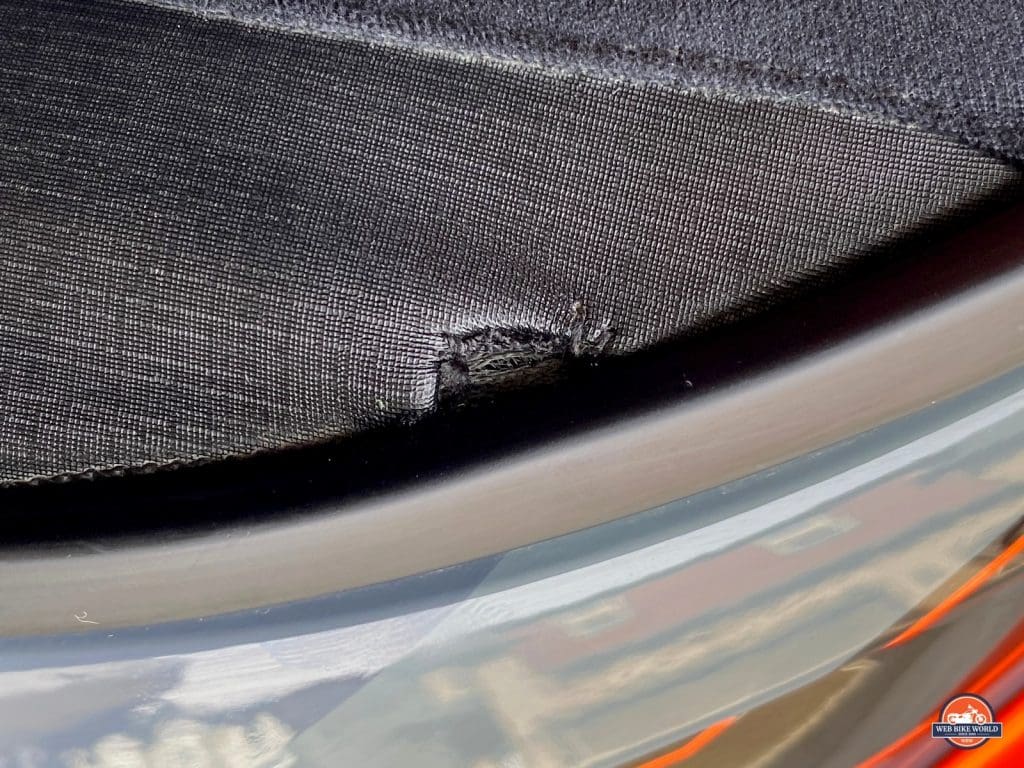
My helmet also came with what looks like a melted hole on one side. I thought initially it was a blemish, but it turns out that this is a hole specifically made for installing the SENA 10U. It fooled me, but I was corrected by one of our readers in the comments below.
Thanks for keeping me honest.
The Weight Is Over
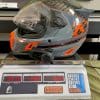
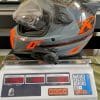
I weighed this helmet before installing my Sena 10C EVO in it. 3.1lbs or 1406 grams. I was so excited that apparently I forgot to take a photo to share. Sorry, I’m unwilling to remove the Sena to get that photographic evidence now. You’ll just have to take my word for it.
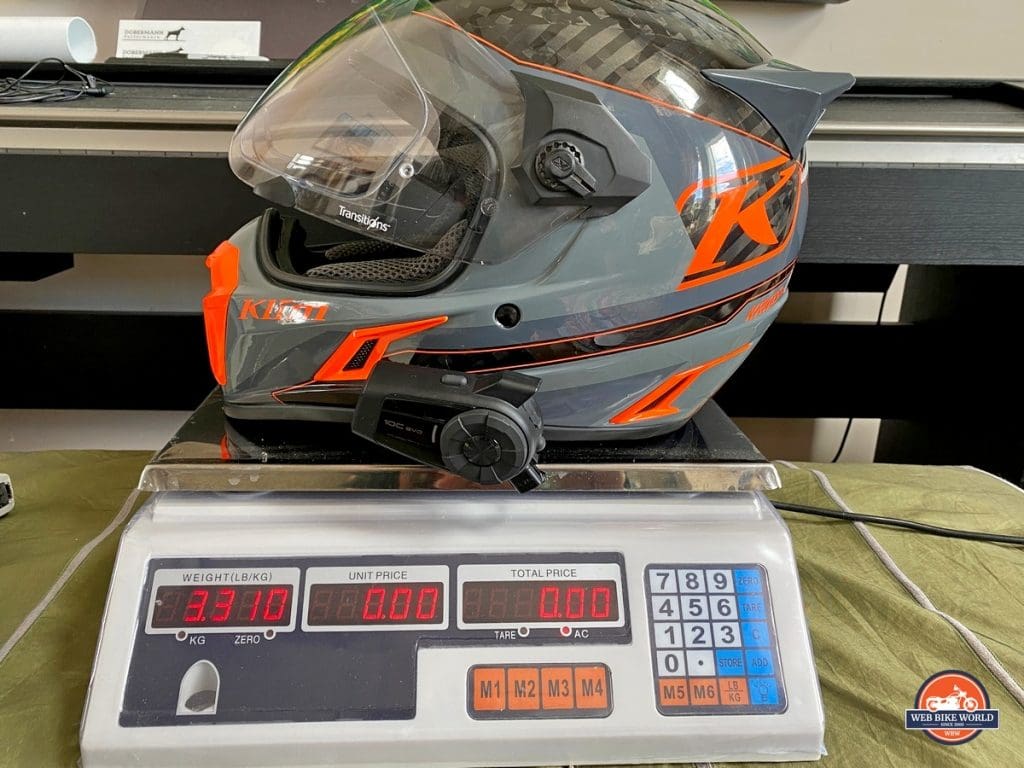
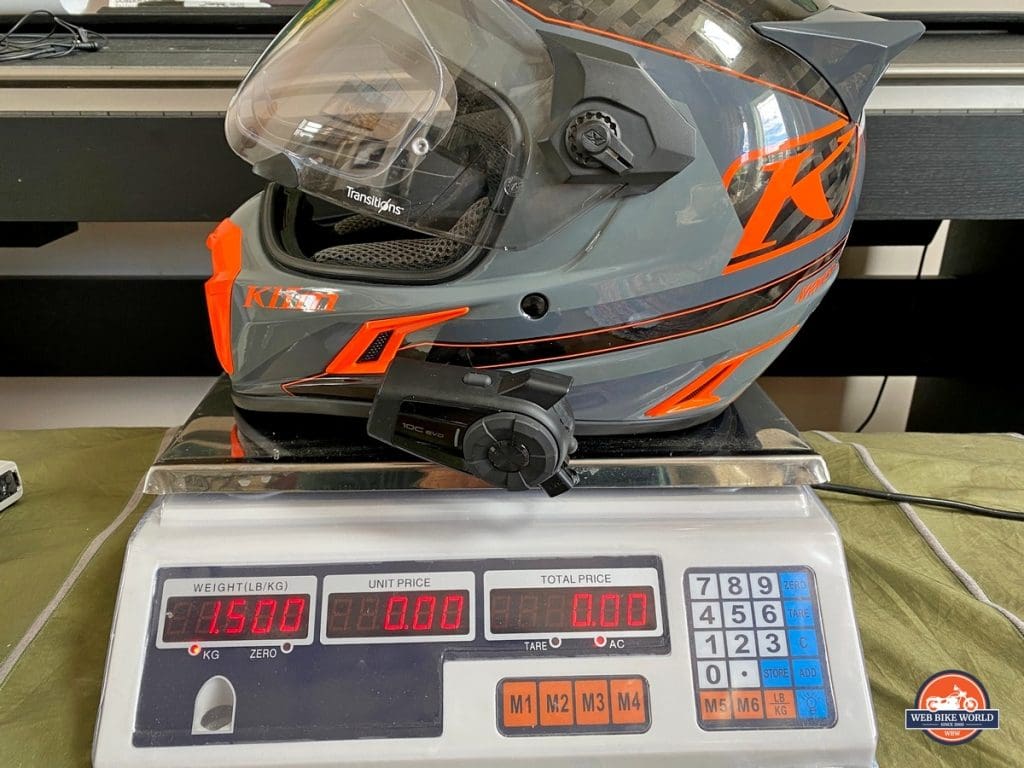
With the Sena installed, the Krios Pro still checks in at 3.3lbs or 1500 grams. There are some lighter helmets on the market, but so long as any helmet sits around the 3lb mark I’m content.
I can’t convey properly using words just how significant that low mass is when it comes to rider comfort. On any other helmet, this would rank as the best attribute, but on this one, believe it or not, there are other more impressive features to discuss.
Transitions Visor and Field of View
The Klim K1R helmet I reviewed last year also had a Transitions visor on it, so I thought I knew what this one would be like on the Krios Pro. I wasn’t all that satisfied with the one on the K1R.
On the K1R the visor would tint nicely in the sunlight, but I found it never went clear enough when I would ride into a dark tunnel or while wearing it on an overcast day.
This auto-darkening visor on the Krios Pro seems better or possibly I’m going blind? Either way I can say it works very well and I feel comfortably shielded from the sun’s rays while out wearing the helmet.
My helmet came with an additional non-Transitions, clear visor, but I haven’t felt the need to road test it, even when riding at night. I’m enjoying the Transitions visor despite the fact I know you only get a few year’s worth of tinting/untinting before the effect lessens or disappears altogether. Some luxuries are worth the cost and this visor is one of them in my opinion.
Nothing Lasts Forever
Yes, you’ll likely need to replace this $149.99 visor with a new one before you hit the recommended 5-year replacement interval for the helmet itself, unfortunately. At least, that’s the price of the one to fit the previous “non-Pro” generation of Krios helmet. I couldn’t find a listing to buy one specifically for the Pro model on Revzilla’s website.
Oh ya, set aside another $29.99 for a new Pinlock lens too as I’m doubtful any human could transfer it from the old visor to a new one without wrecking it. At least I’m sure I can’t.
Sun Peak Issues
The helmet comes with a detachable sun peak which when installed makes you look like a badass adventure rider I freely admit. But after trying it for one full day of riding I quickly ditched it for a few reasons I’ll get into later.
One reason why had to do with the Transitions visor tint getting messed up whenever the visor was lifted and left open for more than a minute. I found the sun peak would shield the visor from the sun’s UV rays in certain spots while allowing it through in others.
This would cause the visor to untint in certain spots, and when I again lowered the visor I found myself reeling for several minutes because of the bizarre pattern left in my field of view. Diamond-shaped gaps of untinted patches inlaid with the larger tinted area aren’t something anyone would enjoy looking through.
Scratch & Fogging Resistance
I’ve put a lot of miles on this helmet now in temperatures ranging from lows near the freezing mark to a high of 32 Celsius (89F). I’ve ridden through torrential rain, down dusty gravel roads and even off-road.
Through all that the visor has satisfied me with its ability to resist scratching. Yes, I have managed to put a couple of very fine lines on the outside from wiping away rain with my gloved hand, but any visor would have succumbed to scratching with that kind of treatment from what I’ve found.
Fogging
This helmet visor fogs up like it has a boiling tea kettle on the inside IF you don’t install the provided Pinlock 120 lens. It’s sorely needed but does solve the fogging issue fully. A good move to make if your riding strategy involves being able to see at all. If you prefer riding using primarily feel or ESP you’ll do just fine without.
Installation of the Pinlock on this visor was more challenging than most I’ve tackled due to how wide and large it is. I was very uncomfortable bending out the sides of the visor the amount necessary to get the Pinlock lens to center itself and seal uniformly. In hindsight, I may have been smarter to get a helper involved in the process.
I did blunder a bit and manage to flatten out one corner of the silicone bead in the process to my dismay. Luckily that flat spot hasn’t led to any leaks or fogging to this point and I’m hoping my luck holds in that regard. It might actually be a thicker spot of silicone that came from the factory that way and isn’t my doing. I don’t care so long as it doesn’t leak.
That Border Is Obstructing My View
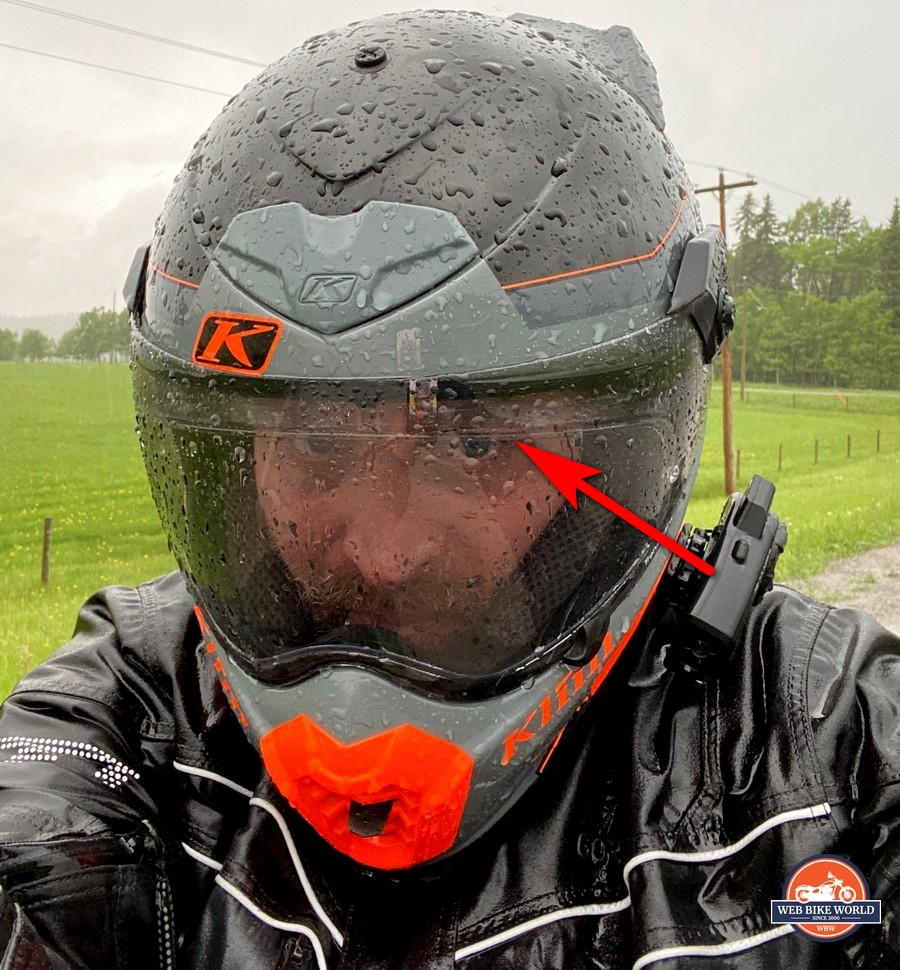
The Pinlock lens isn’t quite tall enough to reach the top edge of the visor and it bugs me sometimes.
As you can see in the photo above, with my head tilted down in a more sporty riding position that upper edge gets right in my field of view. I’ve tried tilting the helmet upwards on my head to alleviate it a bit, but the better solution would be to build a different sized Pinlock lens specifically for this ultra huge visor.
Hopefully, Klim realizes this is a problem and addresses it on the next generation of Krios Pro.
Easy-Off & On
The quick-release latches are cleverly designed on the Krios Pro. They consist of rotating handles that lock the visor and sun peak to the helmet with only a 90-degree twist of the wrist. You don’t need any kind of tooling or extreme force to remove or install the visor or sun peak as a result.
Klim even provides a second set of these locks with the helmet in case you lose one or two. I haven’t managed that yet, neither have they fallen out or come loose from vibration or rough handling during my testing.
Dusty Riding Conditions
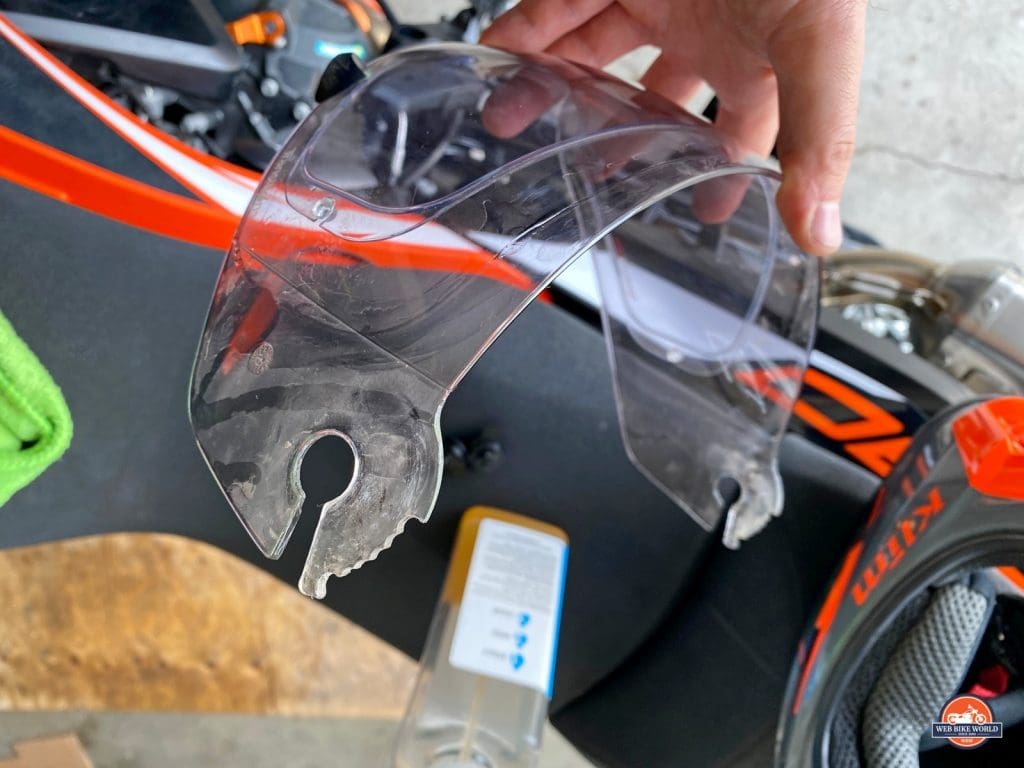
There is a potential problem with the locking mechanism if you ride in very dusty conditions as I did the first day I took the Krios Pro out on the road.
I went for a great adventure ride out to the Yaha Tinda Ranch which is a historical site here in picturesque foothills of Alberta. That ride entailed many miles of gravel travel which showed me these lockers can seize up solid when fine grain, silty talcum powder dust is thrown in the mix.
In order to free up the rotating lockers for removal of the visor for cleaning, I had to spray in a lot of liquid to flush the dust out. That did solve the issue thankfully, but for a minute there I seriously wondered whether I would be able to get the visor off without breaking anything.
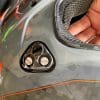
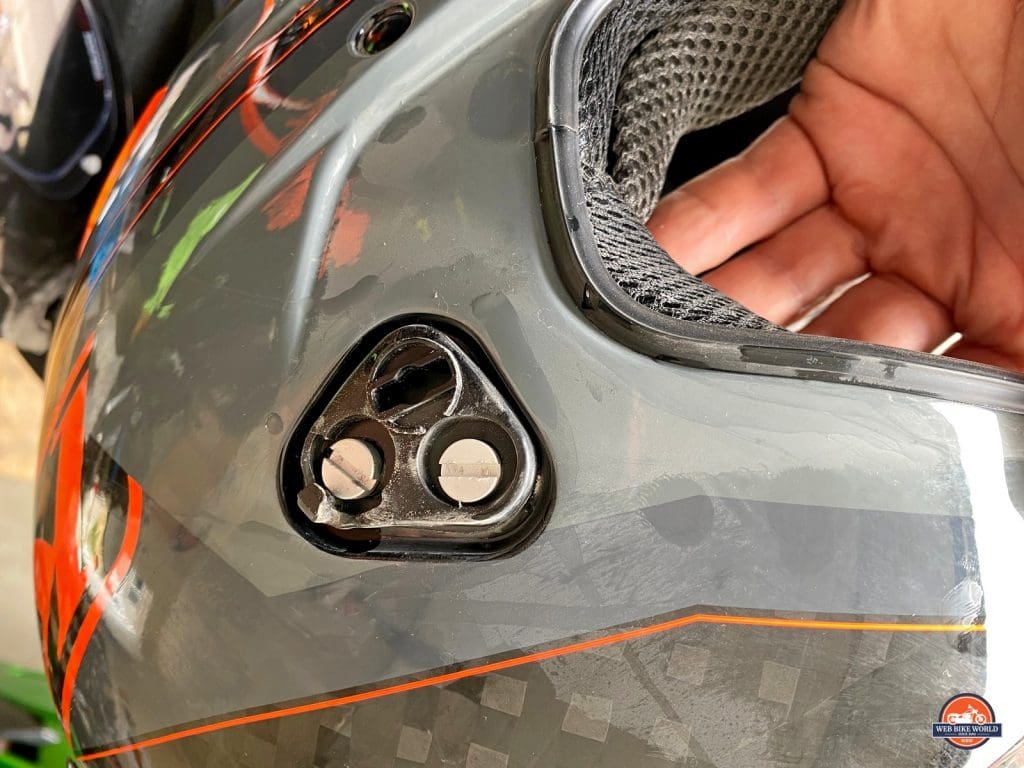
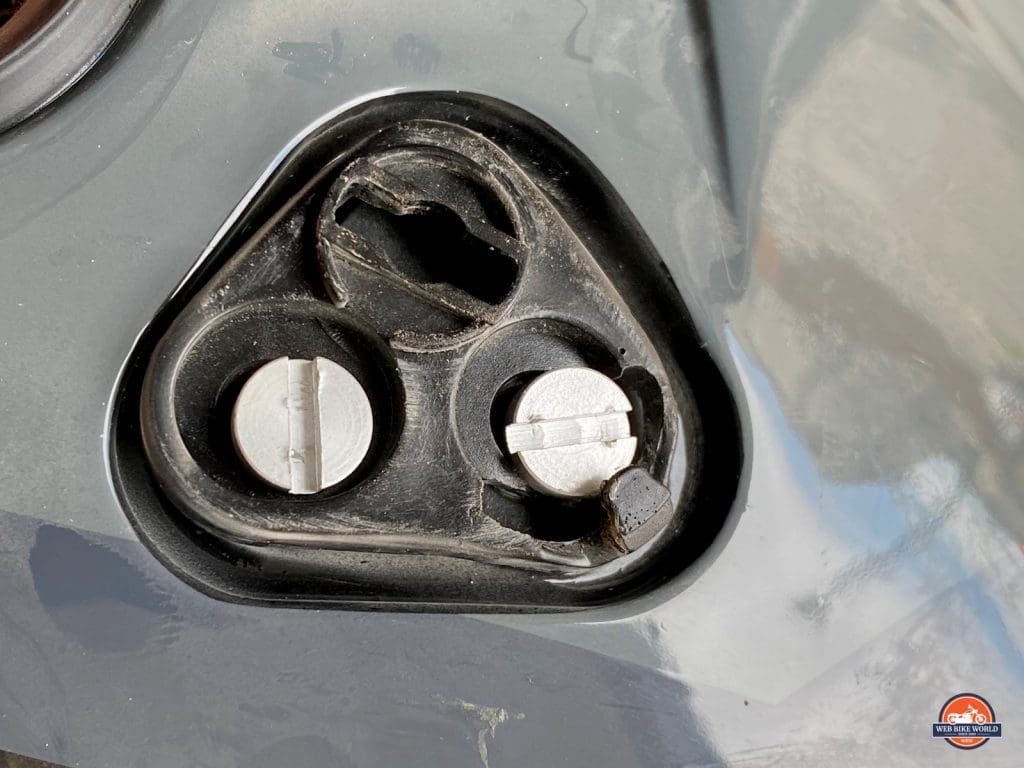
You can see in the photos below how the dust got into the mechanism where it wasn’t wanted.
Choose Your Setup Correctly
If you plan on riding in extremely dusty conditions it would be a better idea to remove the visor and instead use the specially designed Klim Radius Goggles. With that in mind, I’ll take the blame for allowing the dust to get in rather than blaming the design. I didn’t really think about using goggles because I wasn’t sent a pair with the helmet and don’t have the Radius ones in my arsenal of off-road equipment.
There are four configurations for this helmet depending on the riding environment you find yourself in.
A Minor Knit Pick About Quality Control
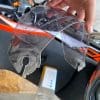
If you look at the screw heads (photo below) in the visor mounting mechanism you’ll note the small dents in the slots indicating the assembler of this helmet used a flat screwdriver that was too small for the fastener. Not a huge deal at all, but something I noted in my inspection of the helmet and a training issue for the Klim QC department to address.
Optically Good
The visor clarity on the Krios Pro is what I would rate as “good”. I think some other helmets I’ve tested have had perhaps slightly better clarity, but I have no real complaints about this one. I’m actually surprised it’s not worse looking through such a massively curved visor.
Viewport Size
Here’s an area where the Krios Pro shines brightly out of necessity being that it’s an adventure helmet. Klim clearly has injected much of their off-road helmet knowledge into building this Krios Pro.
The elongated “nose” on this Krios Pro facilitates excellent peripheral and all-around vision. It’s such an open and airy feeling that I have greater confidence riding off-road where seeing everything at a glance is critical in quickly picking a good line.
I feel almost like I’m wearing an open face helmet peering out from within the Krios Pro. When I look down to fetch my wallet out of the front pockets of my riding jacket I have no issue seeing inside without removing the helmet. With many other full-face offerings I’ve worn it’s a big problem and I get frustrated while performing this mundane task. It’s become my standard method of measuring a helmet’s field of view ever since I first noticed the irritation. I suppose if I gain 20 lbs of “Dad bod” I may have to find a different method, eh?
Full marks for this design, Klim.
Visor Action & Positioning
The visor has 6 detented positions between closed and fully open.
The first open position is located about 1.5” above fully closed. I would have preferred to see the first position be about ⅛” or just barely cracked open instead. I enjoy that “popped” position to allow a small amount of extra air to enter, but luckily this helmet doesn’t need it as I’ll explain later when I discuss ventilation.
The action on the visor is perfect otherwise. I get so tired of helmets with visors that “CLUNK” loudly when moved from one position to the next. That smacks of a cheap build and yet I so often find it on premium-priced helmets. This one is subtle and sooo smooth to move open or closed. It’s how I would demand it act if I was Klim’s CEO Justin Summers.
Bravo!
Visor Water Leakage?
99% of the helmets I’ve tested have leaked when exposed to heavy rain over a prolonged period. It’s the degree of leakage that I use to judge them now because non-leakage is nearly as rare as hen’s teeth.
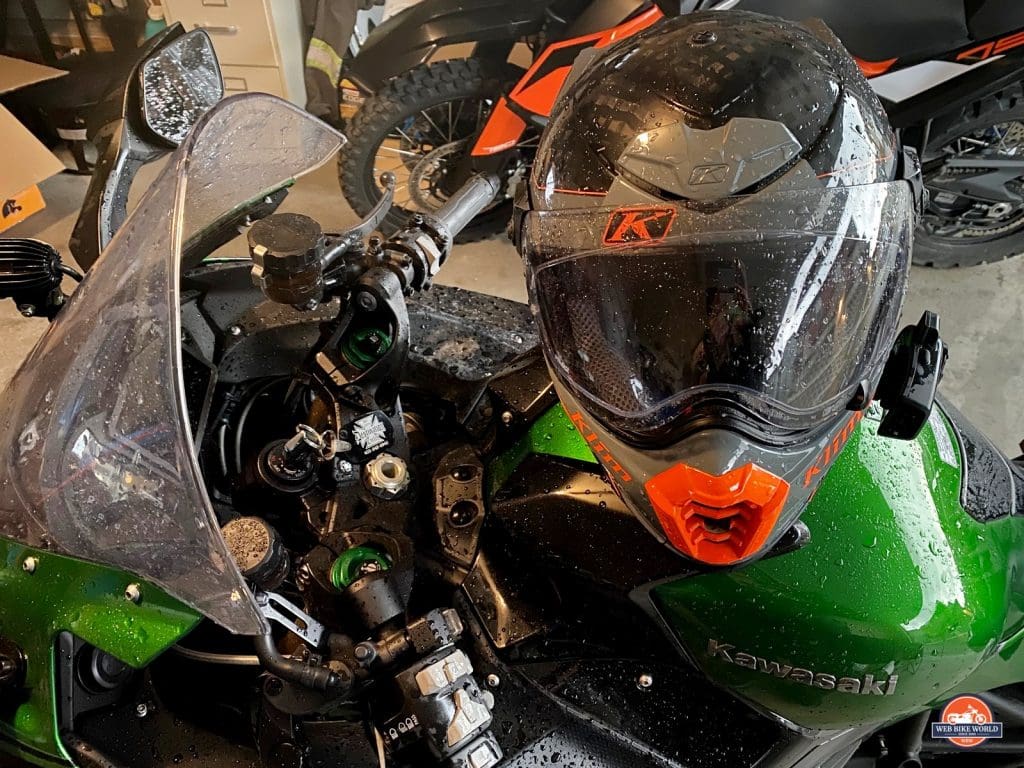
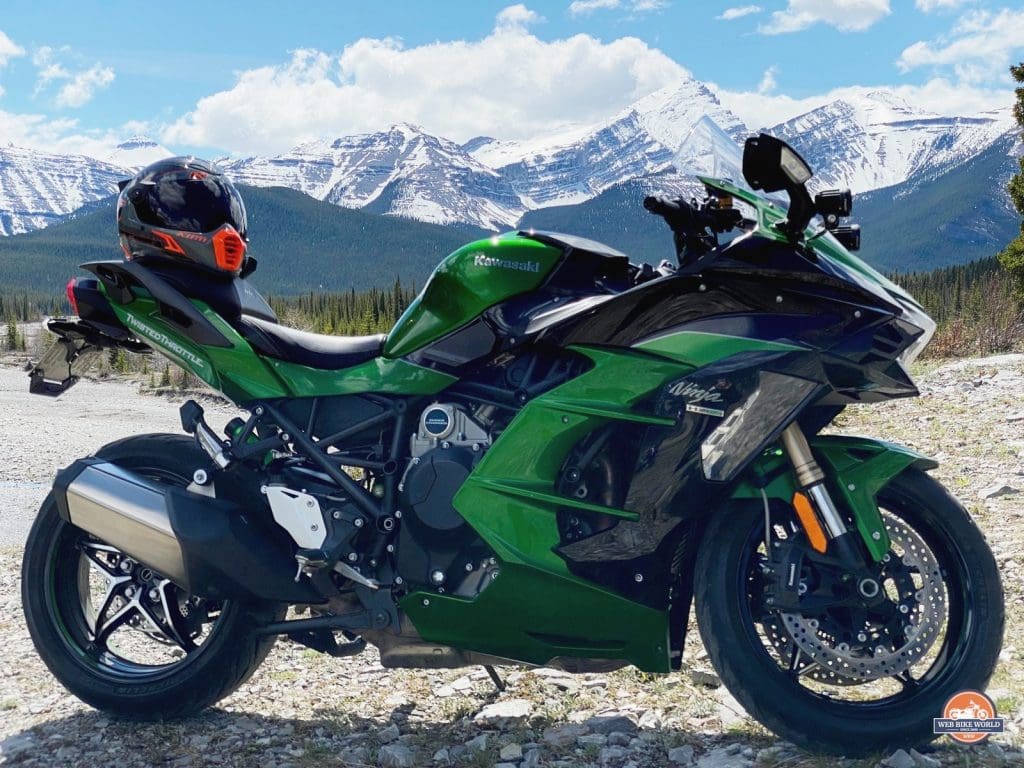
It took me a while to get out in the rain with the Krios Pro, but when I finally did, wow did I ever get the treatment from Mother Nature. Two solid hours of high speed riding on my Kawasaki Ninja H2SX SE showed me that while the Krios Pro visor will leak from the top left side, the water intrusion was so minimal that it almost doesn’t count.
Very well done Klim! From my experience, it’s the performance of the visor that is most noticeable from one helmet to another. The expensive and well-built ones more often tend to make me smile while the more economical ones tend to leave me frowning with a rain-soaked face or streaks running down the inside of the lens.
Ventilation
I’ve never given a perfect score before in the ventilation category for a helmet, but the Krios Pro is in a class by itself thanks mainly to the Koroyd. It lives up to the hype and I’ve never been so comfortable in high temperatures while riding slowly than with this lid.
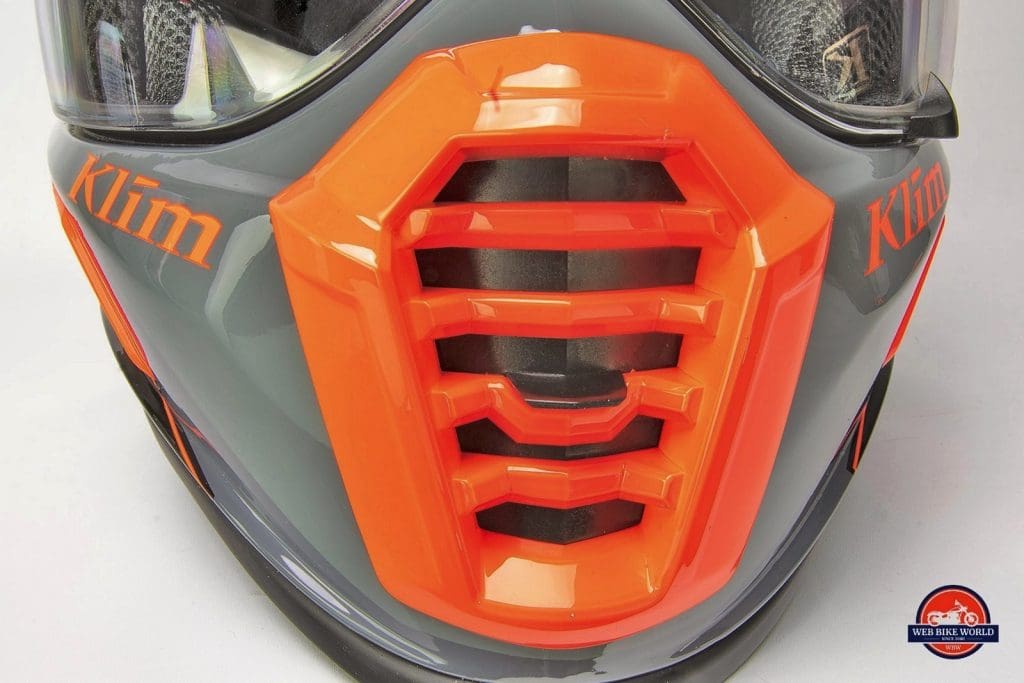
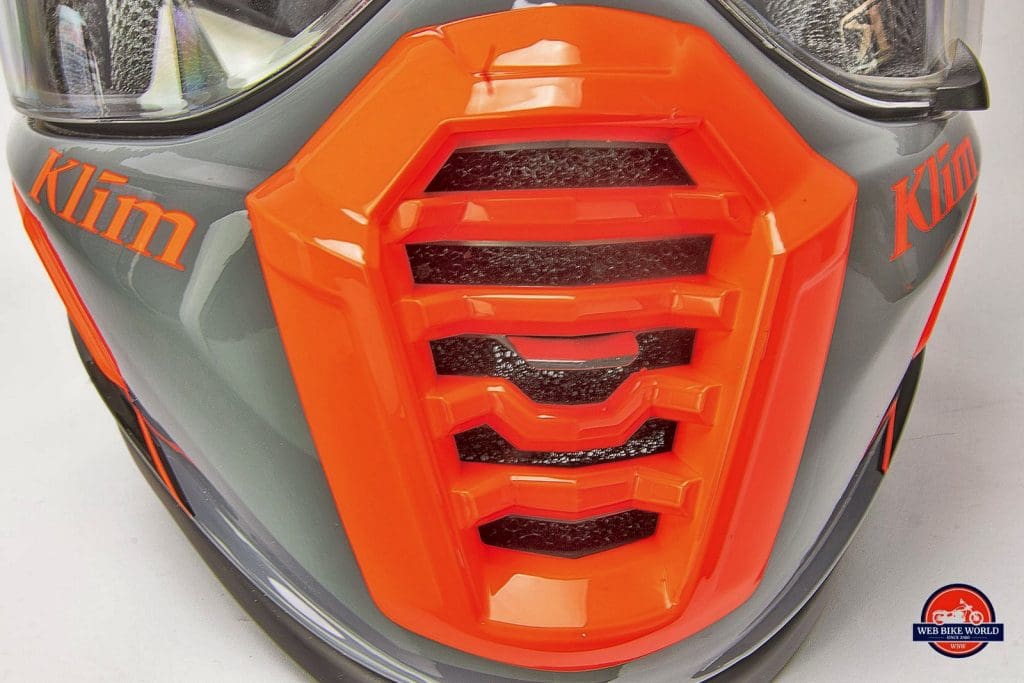
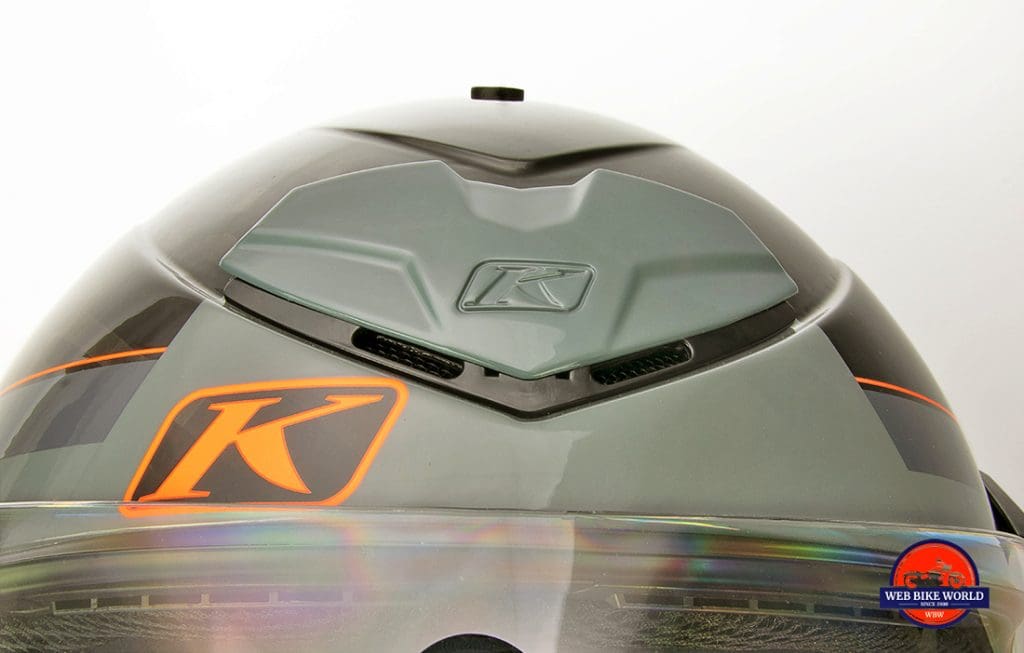
The Krios Pro chin bar vent flows as much air while closed as many helmets do while open! While open, air flows perfectly around the nose and mouth area without riding up high and drying out my eyes. I found my head actually getting uncomfortably cold if I didn’t close the vents in temperatures at or below the 12C or 53F mark. Normally I always leave at least one of my vents open until ambient temps get close to freezing.
Somehow air is also channeled at the inside of the visor to help the Pinlock keep it unfogged and to my utter disbelief, I feel cooling around my temple area on both sides! Never, ever have I noticed that in another helmet before. I thought it would be impossible to get airflow up there, but Klim and Koroyd have done it.
Wow!
Upper Vent & Exhaust Ports
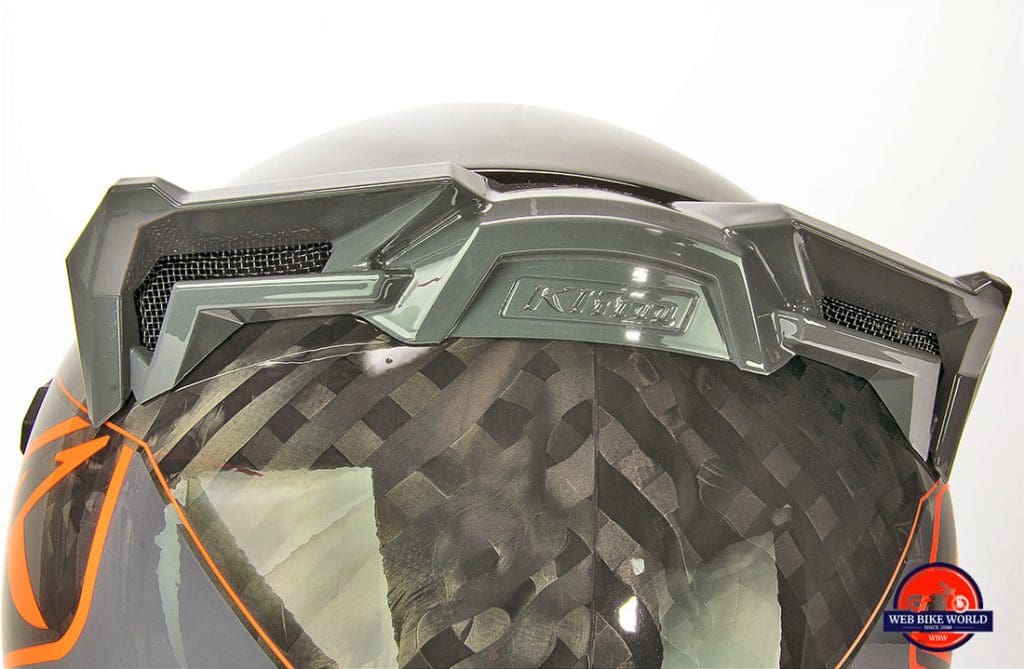
The upper vent is a little less impressive than the chin bar one when it comes to air volume flow, but again the Koroyd makes up for that by allowing perspiration and heat to dissipate beautifully off my head and out two large vents on the rear while riding.
I’ve thought long and hard about it and no other helmet has even come close to providing the same level of general headspace cooling.
Both actuators are easy enough to find with a gloved hand and manipulate provided they aren’t stuck closed or open. Yeah, that happened to me.
More Dust Intrusion Issues
Remember the issue with the dust in the visor locking mechanisms? It also became a factor with the chin bar and upper vent slider mechanisms. They both seized up on me and I tried spraying cleaner and WD40 penetrating oil to free them up again. It did work, but only about 75% of the time would the vents slide freely after running in the dust.
It caused the black lever arm used to actuate the chin bar vent to bend instead of sliding the blocking plate up or down and I wondered if this had occured in colder weather might the arm have snapped right off? This design could use some fixing so I’m docking points from the design area of scoring but not the ventilation one.
It’s worth noting that the dust didn’t seem able to freely pass through the filters on either of the vents on that dusty road. Neither did I get much water coming through them when I rode in the rain.
All It Took Was Copious Amounts of Rain
Happily, all it took to get things moving reliably again was riding in the rain for 2 hours. After that, both the upper and lower vent sliders are moving like new again. They both have detent positions in fully open or fully closed which I feel gives sliders more longevity and a positive locked-in setting that can be relied upon.
Out On The Road
I’ve logged well over 700 miles in the Krios Pro now and feel confident that I understand fully what it offers the wearer out on the road.
Wind Noise
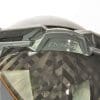
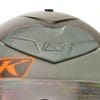
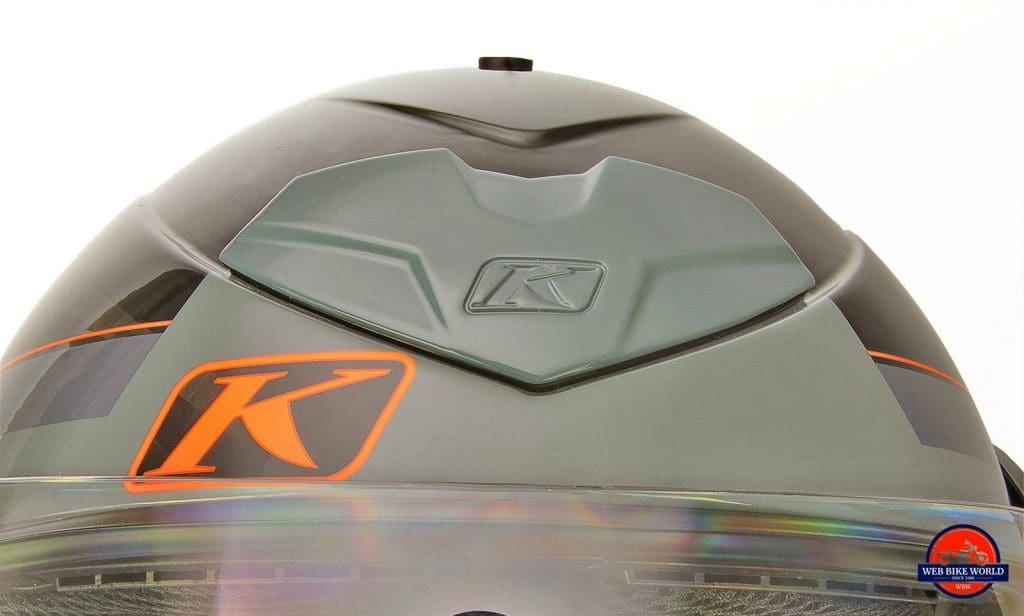
The exterior shell shape is fairly smooth with grooves and lines being muted other than the massive rear exhaust vent housing that reminds me of the “shopping cart handle” spoilers seen on owner-modified Honda Civics. Friends don’t let friends install Formula 1 style spoilers on front-wheel-drive Civics. Please… let’s all do our part to stop this insanity.
Unlike oversized Civic spoilers, this exhaust port housing actually does positively affect performance because it pulls hot air out of the helmet interior really well.
The bright orange chinbar intake vent is difficult to ignore as well, but otherwise, Klim claims to have been very focused on keeping an aerodynamic shape with the goal of having this carbon fiber helmet to be a quiet one.
Standard Positioning Is Best
When I face directly into the wind with my head held level as it would be on a standard style riding position motorcycle the Krios Pro is at its quietest.
Yes, it’s still got a slight low roar to it even in perfectly clean air above my windshield, but it’s nowhere near as deafening as the K1R was. It’s also noticeably quieter than the AGV Sportmodular Carbon helmet that I adore. Carbon fiber helmets tend to transmit sound more readily than fiberglass and plastic shell helmets from what I’ve noticed, so the Krios Pro is actually impressively quiet in comparison.
If I tilt my head forward into more of a sport rider position, the exhaust port spoiler (or maybe it’s the chin bar vent?) immediately catches the airflow and I’m treated to much louder low pitched roar. Needless to say, standard and adventure class riders will enjoy this Krios Pro much more than sport riders for that reason. Having said that, I don’t mind wearing it while riding my Kawasaki Ninja H2SX SE at all.
EPS As Sound Insulation
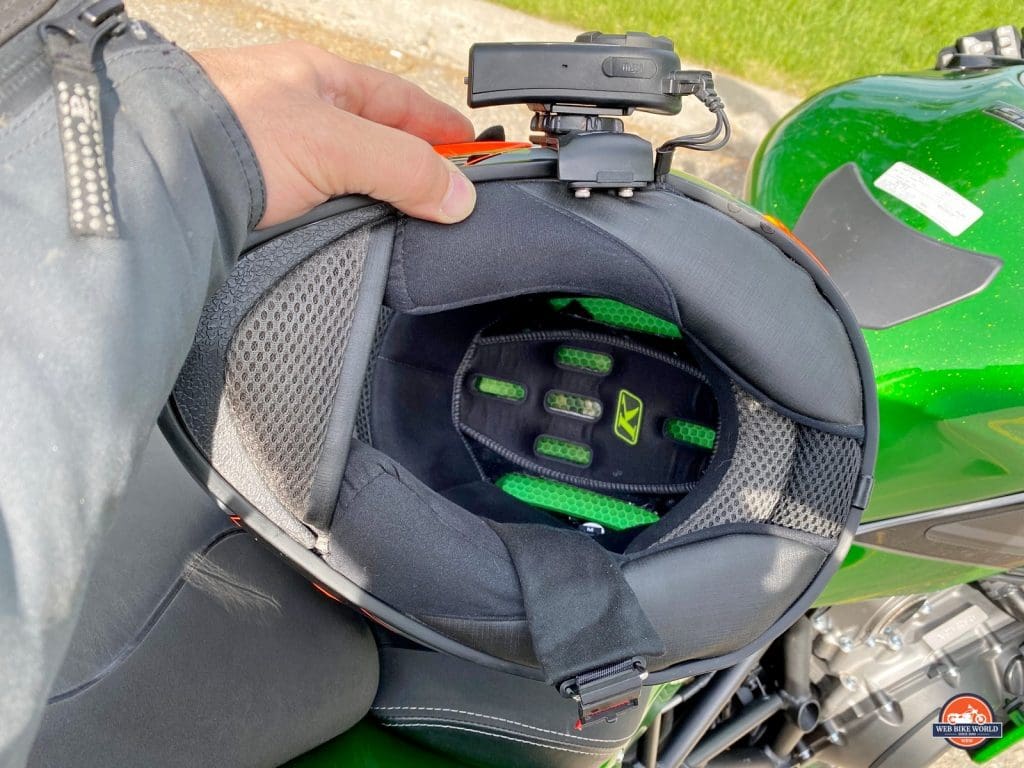
This helmet has the Koroyd liner installed closest to the outer shell, but additionally, there’s some EPS foam between the rider’s head and the Koroyd. It’s also found around the cheek areas where the Koroyd is absent. This isn’t about cost-saving measures so much as about soundproofing.
If there was only Koroyd and no foam the helmet would be much louder according to the people at Klim I asked about it. Future helmets are planned to feature Koroyd exclusively but will need something else in-addition to keep wearers from being tortured by wind roar. Possibly electronic noise reduction?
Sena 10C EVO Installation
The Krios Pro is designed to integrate the $299 Sena 10U Bluetooth communicator as was the former Krios helmet before it.
Word on the street is pretty unanimously saying the 10U isn’t a desirable communicator, and since I don’t have one handy, I opted instead to try and install my Sena 10C EVO. I had to cut a couple of notches in the plastic edge of the left cheek pad in order to route wiring out to the camera from the speakers/mic harness, and the rubber pad on the mounting clamp had to be removed in order to wedge it in between the shell and the inner EPS foam, but otherwise, the installation was business as usual.
The Krios Pro doesn’t have any speaker pockets on the inside liner per se, but I found using the velcro backing that came with the Sena speakers I easily stuck the speakers solidly to the microsuede material exactly where my ears sit to obtain an ideal audio experience. I can hear my music or friends over the intercom well over 80 mph in the Krios Pro. I also installed the foam speaker covers on to the Sena tweeters to cushion any rubbing against my ears. It’s worked perfectly and I’ve experienced zero discomfort from the Sena 10C EVO presence in the Krios Pro.
I’m confident I could install almost any other clamp-on style Bluetooth communication device in this helmet as well.
Microphone Installation
I installed the non-boom style mic on the inside of the chinbar as I prefer to do. Boom style microphones always seem to get in my way. I stuck it right at the topmost point of the inside of the chin bar in front of where my nose points. No wind noise gets picked up there and people can hear me speaking clearly although I do get some popping “P”s due to how close the microphone is to my mouth.
Check out this video I shot about riding in the rain to get an idea of how well the Sena works in the Krios Pro.
Lift & Pull
With other adventure style helmets I’ve tested I found pull caused by crosswinds has been a problem due to the longer beak and sun peaks hanging off those helmets.
As I mentioned before, the sun peak was removed from the Krios Pro after only the first day of riding because, despite the fanciful aerodynamic styling of it, the darn thing really grabs the wind and creates an awful pressure point on my forehead. That pressure went away completely once the peak was gone, and unless I’m going to be riding strictly off-road, it’s fair to say the sun peak will remain on the shelf unused.
Lift hasn’t been an issue at all for me during testing but during those rare times when I’ve ridden my Ninja at very high speed, I find the helmet tends to start wiggling from side to side because the cheek pads aren’t firmer. I’m not talking about regular highway speeds though… this only happens at ludicrous speeds attained by 998cc supercharged motorcycles if you get my drift.
Klim never intended the Krios Pro to be a track day helmet so this isn’t really something to hold against it.
Got Hi-Viz?
There’s a grand total of zero reflective decals, piping, or stitching to be found anywhere on the Krios Pro – this is something I would hope Klim would consider adding in the next generation. Having said that, the bright orange accents on this Loco Striking Grey specimen do grab the eye in daylight at least.
It’s too bad that the helmet isn’t see through because the fluorescent green Koroyd would fit the bill for greater visibility.
Final Verdict?
This is my new favorite helmet and the one I’ll be reaching for whenever I go out riding. Its design offers me the flexibility of wearing it for my adventure riding exploits just as well as my sportbike usage.
My list of helmet priorities runs in this order: protection, weight, comfort, ventilation, eyeport visibility, noise management, and ease of use. The Krios Pro scores very high in all those categories.
It’s Not Perfect
The Krios Pro isn’t perfect. I’ve pointed out several flaws and areas I would improve upon, but the net result is that I’m more comfortable wearing this helmet than any of my others AND I feel equally as safe wearing it should I crash as with any other.
What About Arai?
I’m on record strongly saying I believe Arai builds the safest helmets as a result of touring their factory last year. If that’s the case how can I reach for the Krios Pro instead of my Arai DT-X, you might ask?
The answer is Koroyd. The Krios Pro’s secret weapon.
I’ve looked at the data on their website and I’m convinced enough by what I see to say it makes this carbon fiber Klim helmet just as protective in a crash as the Arai helmets are, despite lacking the Snell homologation. I’m hoping soon enough to see independent testing confirm the claims made of forces being 48% lower than EPS equipped helmets to really know I’m right.
There’s More
Further to that, I can see so much better wearing the Krios Pro than I can wearing the Arai DT-X. It should help me avoid being in a crash at all, in theory.
Koroyd should make any helmet significantly better overall than EPS foam when it comes to ventilation and comfort, too.
While I was interviewing Mr. Arai, I specifically asked a question about whether they had investigated using it versus EPS foam in their helmets, but he was skeptical about it being better than their custom-built, multi-density EPS foam formula and hesitant to explore it at that time.
Sorry Mr. Arai, but now that I’ve worn and tested a Koroyd helmet, I’m even more excited about the product claims. I sincerely hope Koroyd gets adopted widely amongst all manufacturers… even if it only protects to the same degree as EPS foam.
Having said that, if Arai starts installing Koroyd in their helmets I would again lean towards wearing my DT-X for daily/street riding. For adventure riding I’d want the XD-4.
The “High” Cost
The Krios Pro costs a lot of money. $699 USD is not chump change, but if you go to the Revzilla site and search for dual-sport helmets in order of descending price, you’ll find the Krios Pro isn’t the most expensive one in that class by almost $100.
Arai, Schuberth, and Shoei helmets all come in more expensive than this terrific Klim helmet. None of those more expensive options come with a transitions visor, FIDLOCK chin strap, or a Koroyd crash liner.
Relative to the competition, the Krios Pro is kind of a bargain.
– Jim
Pros
Cons
Specs


