Introduction
Since early 2018, I’ve made an airbag vest part of my riding gear. I decided to invest in an airbag vest after I spent 2017 using a race collar from EVS as a way to help prevent/reduce neck injury in the event of a crash. I’m willing to admit, as I get older, I care more about potential injuries.
After a year of wearing the race collar, I started looking into airbag vests. Airbag vests aren’t exactly new to the protective gear landscape having been around for about 30 years, but they’ve seemed to linger on the horizon, rather than at the forefront of motorcycle safety gear.
Looking into how airbag vests and airbag jackets worked, I found most of them not only protect your chest and back but many designs will immobilize your head (when wearing a full face helmet) enough to help reduce/prevent neck injuries.
I was sold! But which one should I get?
The old guard of Helite and Hit-Air use physically tethered systems which rely on a lanyard attached to the motorcycle to activate the airbag. Dainese and Alpinestars introduced systems a few years ago that use electronic sensor packages to determine when a crash is occurring and deploy the airbag. Both systems have their strengths and weaknesses.
Mechanical systems are less expensive and often the user can easily repack a Hit-Air or Helite device and replace the compressed air cartridge. Assuming the airbag isn’t damaged, the rider can continue on their merry way. These airbag systems are typically in the form of a vest that goes over existing riding gear or the airbag system is integrated into a jacket for an all-in-one solution.
Dainese, Alpinestars, and now Klim, offer electronically triggered (non-tethered) systems. These systems can be used with dedicated apparel as well as most other jackets assuming they offer enough room for deployment. In the case of Dainese (D-Air Smart Jacket), one can even use their system on top of a jacket.
Note: Helite recently released their own electronically activated airbag vests, the e-Turtle and e-GP Air, but they do not appear to be available yet in North America. I’m sure once they become available we’ll have a look at these as well.
The In&Motion Connection
The Ai-1 vest was developed through a partnership between Klim and In&Motion, the latter of which is responsible for the technology and airbag hardware in the vest. At this time Klim is the only supplier in the USA but In&Motion has partnered with other manufactures in markets outside the USA.
Those manufacturers include Ixon, Furygan, Held, and RST which is a good list of well respected riding apparel manufacturers. This in itself makes me feel good about the “street cred” of a company that I’m just hearing about for the first time.
Who is In&Motion?
In&Motion is based in France and was founded in 2014 by three engineers, all graduates of the engineering school ECAM in Lyon. In&Motion specializes in airbag protection systems not only for motorcycle riders but also for equestrian riders and skiers. The company has grown to twenty staffers at the time of this writing which may not sound like many but I’m going to speculate their small size has provided the necessary agility required to come to market so quickly with their products.
Their airbag systems have been used on the track at many levels including MotoGP, Moto2, BSB, and others. Much like the systems from Alpinestars and Dainese, racing based systems were the first iteration of their airbag technology and the basis for the current line of street-based systems like the one present in the Ai-1. You can read more In&Motion and their technology on their website www.inemotion.com.
The Ai-1 Airbag Vest
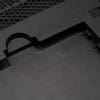
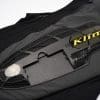
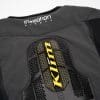
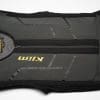
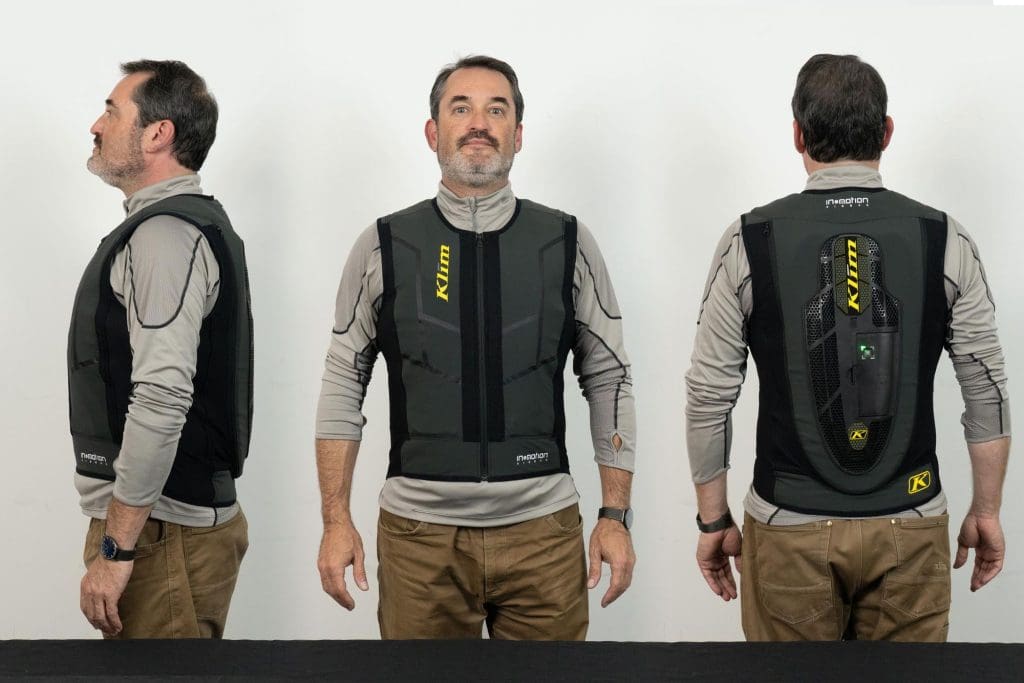
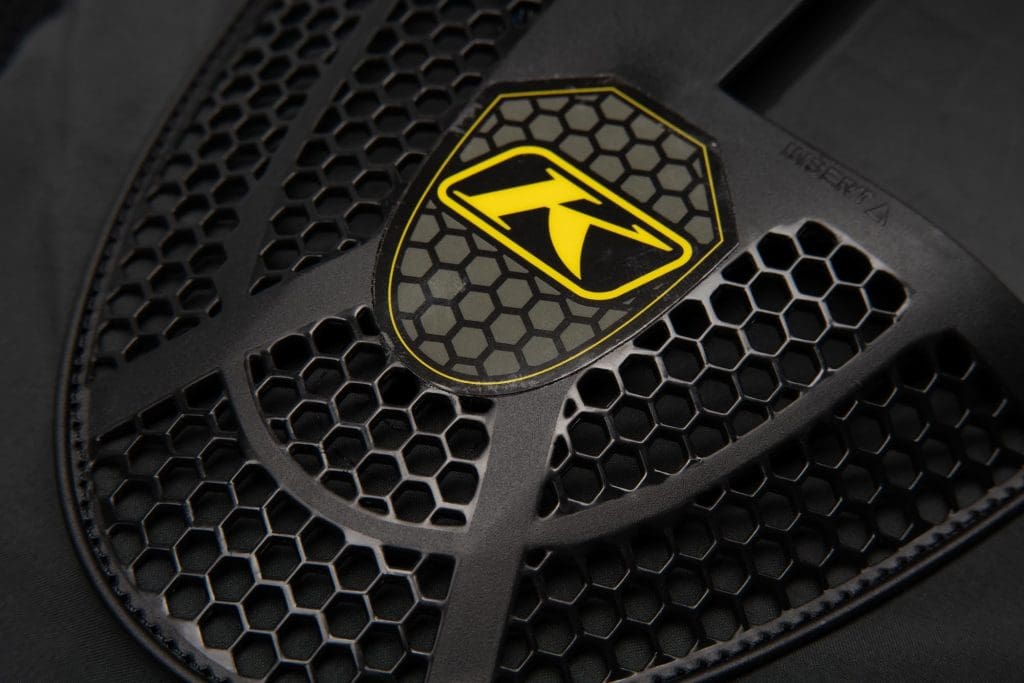
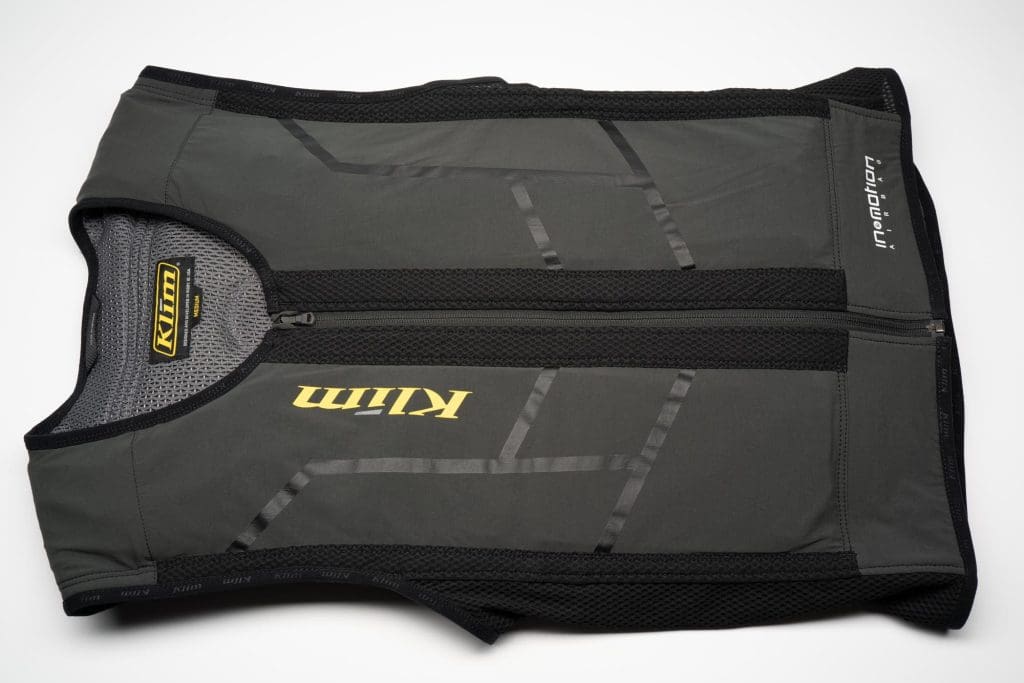
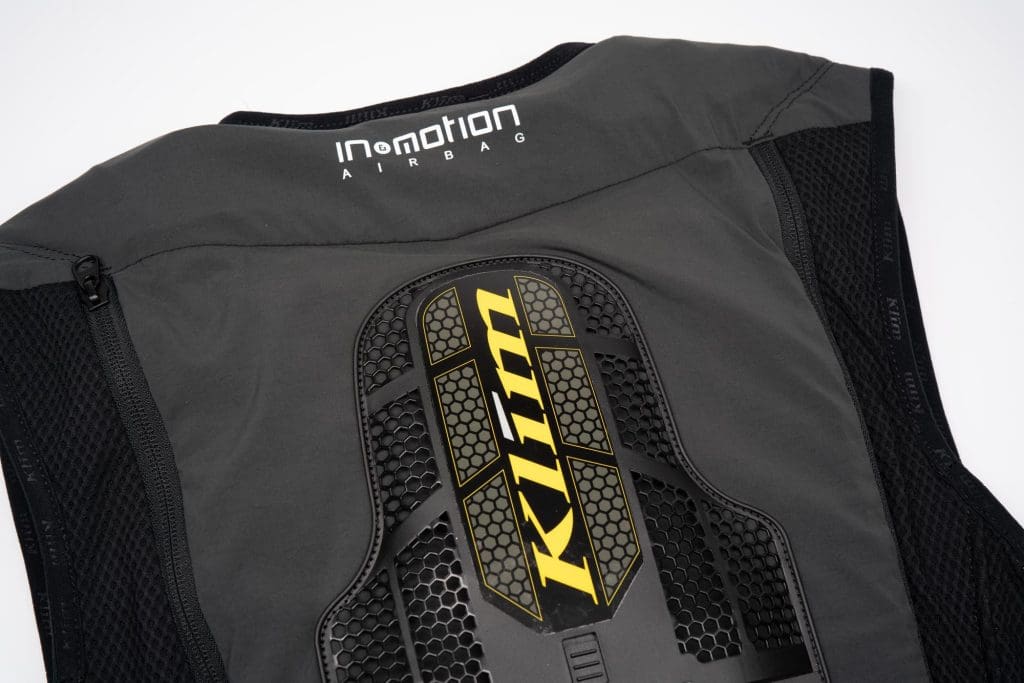
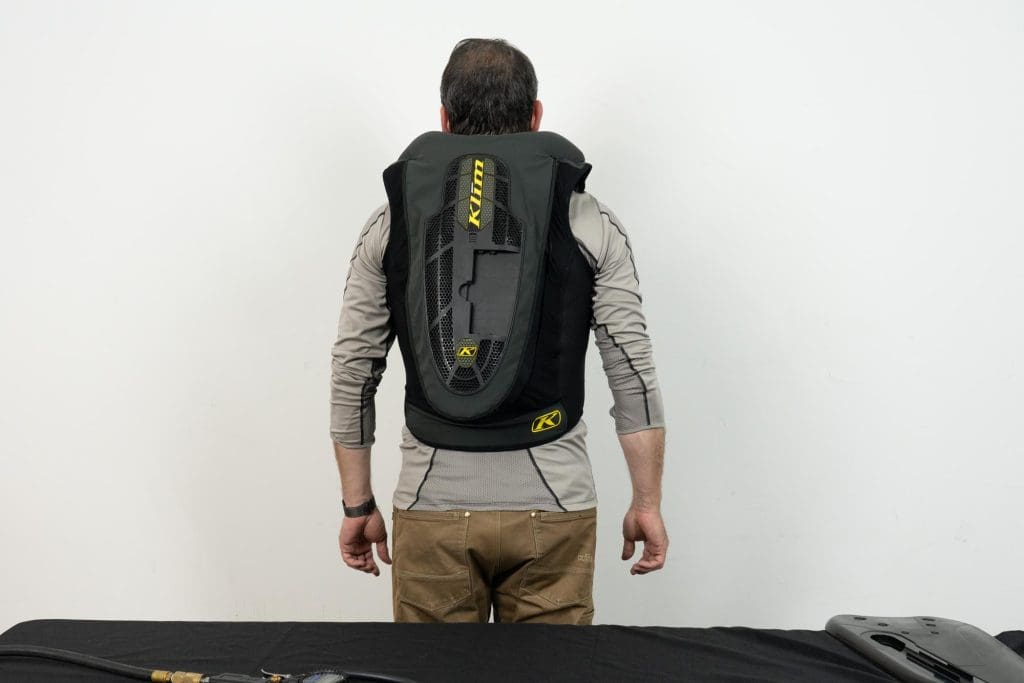
From the front, the Klim Ai-1 appears to be rather basic and unassuming with the dark gray color giving the vest a subdued look. The back is where the action is. A thin, perforated plastic shell gives the appearance of a technical piece of armor although it is really too thin to offer much protection itself.
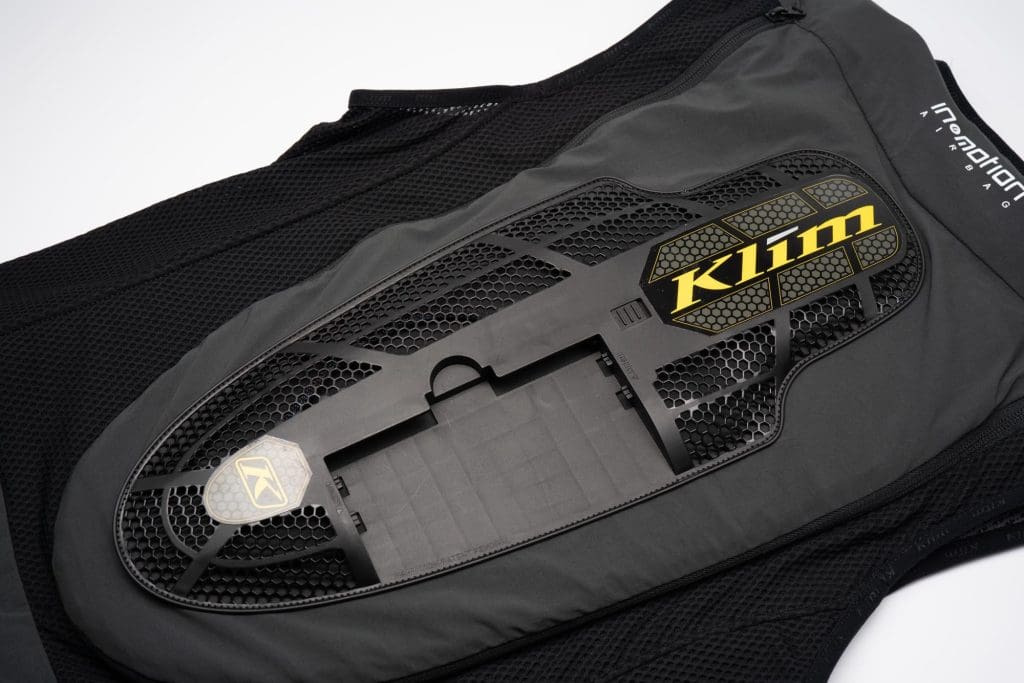
That’s OK because it’s what’s underneath that counts. The plastic shell is there to support the electronic sensor package for the vest. It’s attached to a large flap of nylon material that unzips to access the back protector and gas cartridge within.
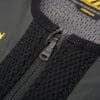
The main closure of the vest is a zipper that has one of the best features I’ve seen on a zippered jacket, vest, etc. The zipper pull is spring loaded so it remains flat against the vest once one lets go of it. It’s a small feature but I wish all riding gear zippers worked like this. I would point out that the zipper pull itself could be a little larger for easier use when wearing gloves.
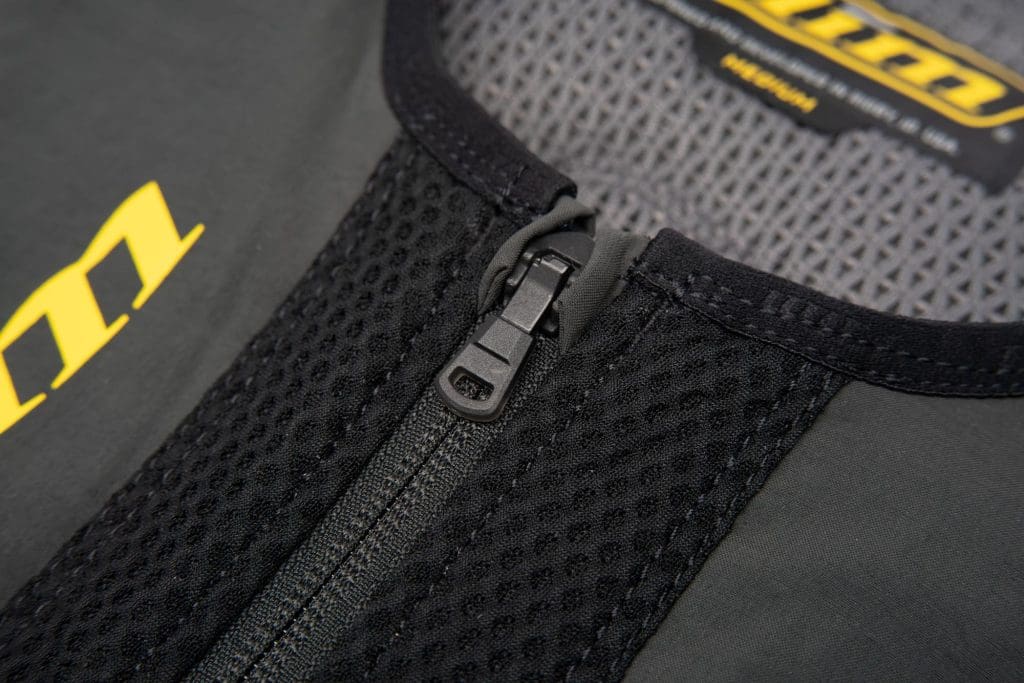
On either side of the zipper is a one inch (24mm) strip of 3D mesh running the length of the zipper opening. More of this mesh surrounds the back panel as well around the internal protector. The sides of the vest employ a thin, stretch mesh that allows the vest to increase in size by additional six inches ( 15.25cm) with this size medium version. This works to help keep the vest close to the body while keeping it comfortable.
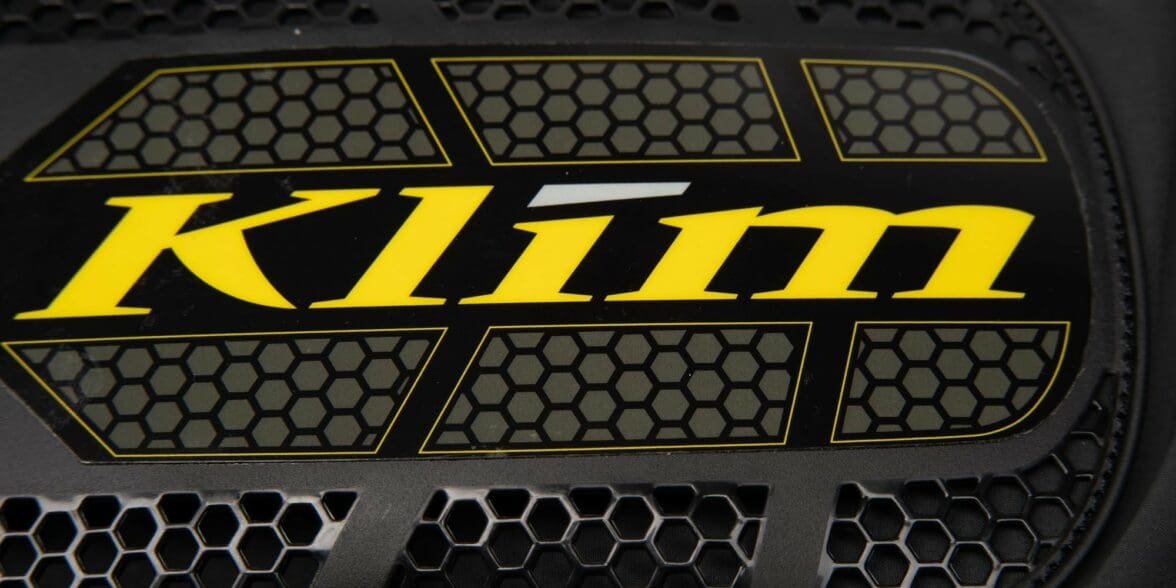
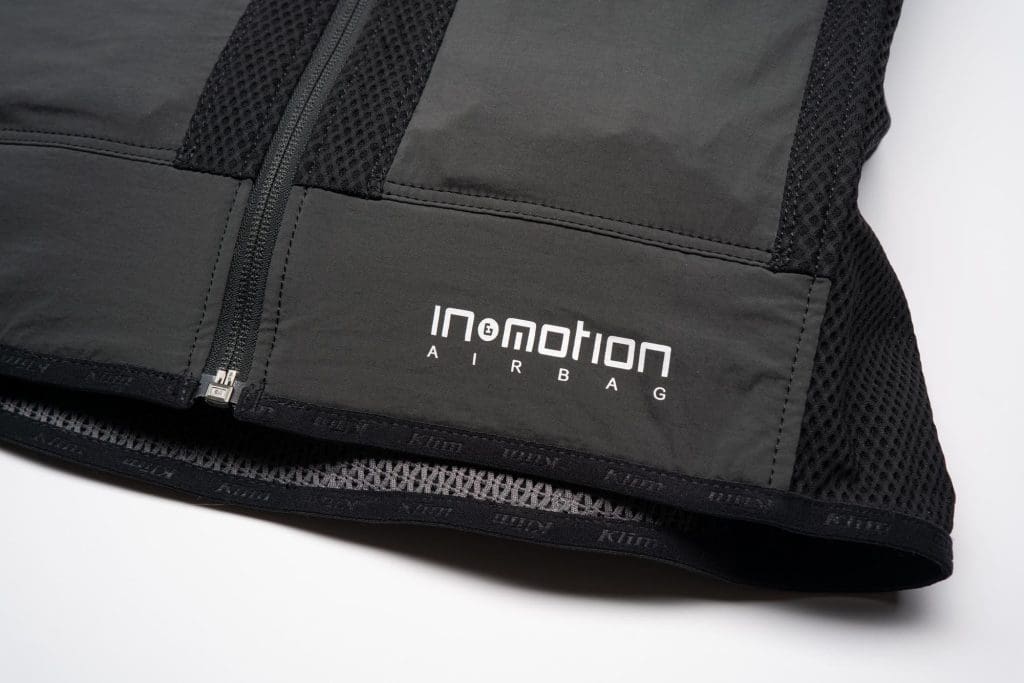
Klim branding is in place with a KLIM logo on the front and back in yellow while the back gets two additional “K”’s for good measure. In&Motion is also represented by a logo at the lower left front and one behind the neck. Of course with the vest designed to go under other apparel, so the branding is mostly moot.
A Note About Water-Proofness
Klim points out that this vest is not to be worn where it can get wet. The electronics package is not sealed against moisture so it should not be exposed to heavy rain. If one is wearing a waterproof jacket this should do well to protect it but if one gets caught in the rain while wearing a mesh jacket this could be an issue. Keeping a rain jacket on hand is likely a good idea just in case.
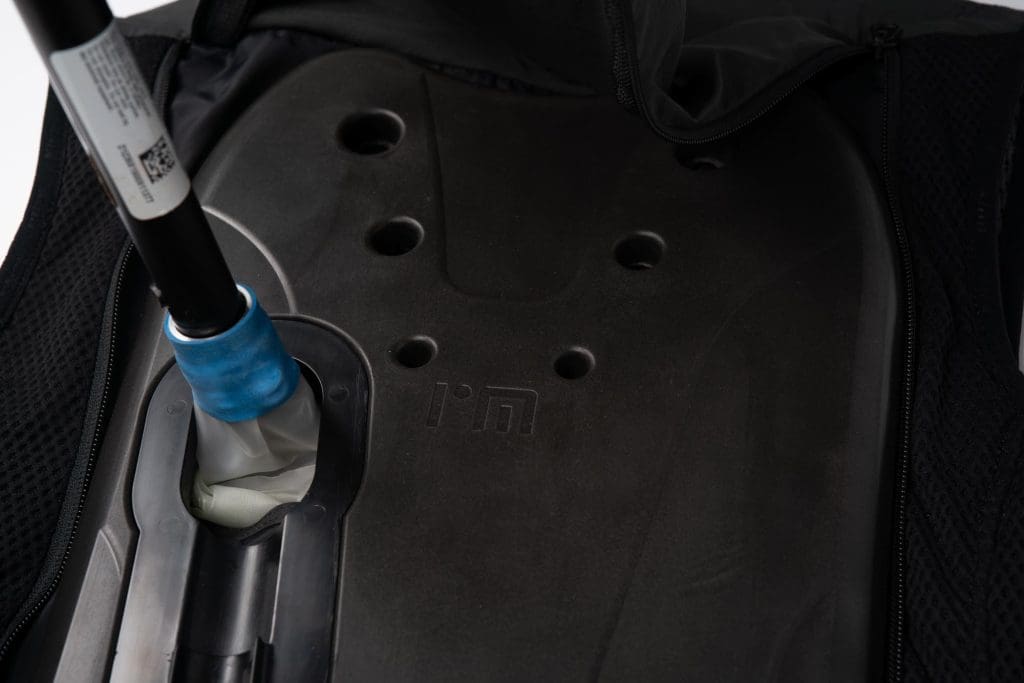
I’d like to see a future iteration that has weather sealing and a waterproof connector so that riders don’t risk damage to the electronics when riding in the wet. Seeing as there is an increase in the potential for a crash when riding in the rain, it only makes sense to want the extra protection of a device like this in wet conditions.
Construction
The exterior of the vest is a mix of nylon and lycra (84% and 16% ) with a smooth gray material running over the shoulders. It also covers most of the back both under, and on top of, the back protector with a plastic panel on the very top/outside.
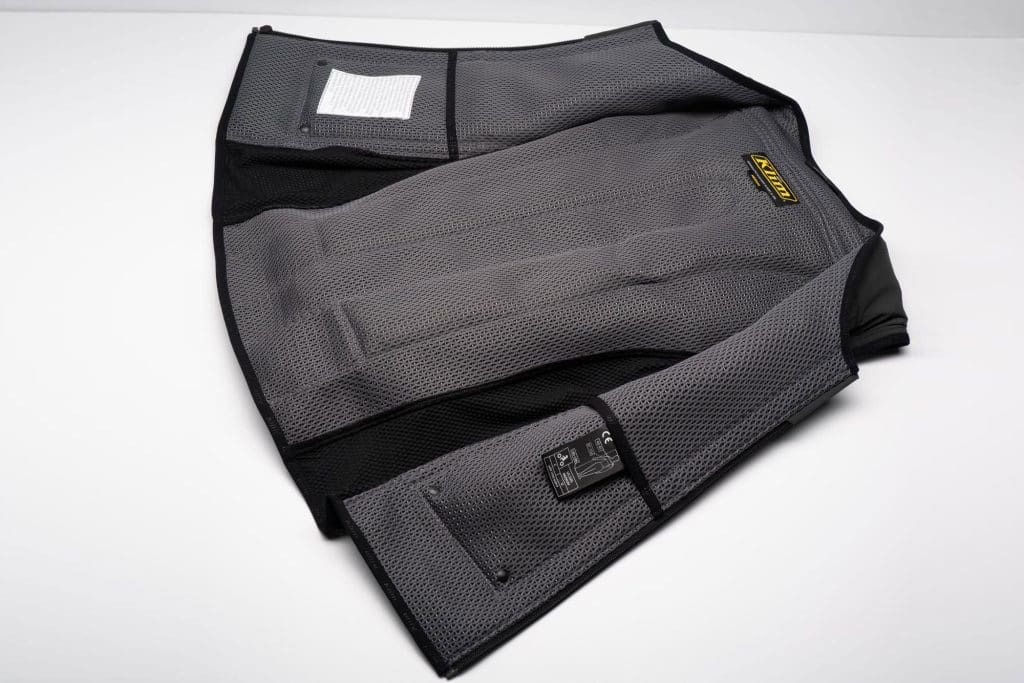
Other areas of the back are made from a multi-layer (3D) mesh while the sides use a much thinner mesh material that stretches to provide a snug fit and also provides room for airbag inflation. The interior is lined with a gray 3D mesh in all areas except for the side panels and includes some polyester in the mix making it a nylon, polyester, and lycra blend at 80/10/10 respectively.
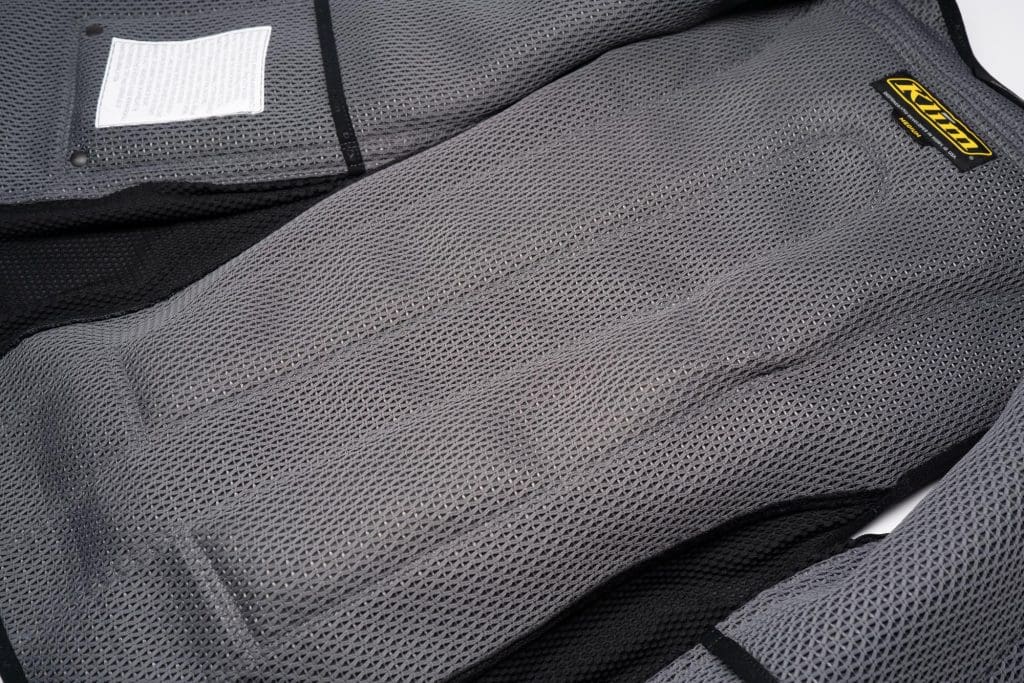
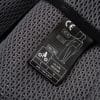
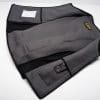
There are no storage pockets but there are openings on the inside of the front panels for inspecting the airbag. Looking at the inside of the back one can see the space where the rear portion of the airbag is located. The twin spaces sit on either side of the spine and run almost all the way down the back.
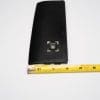
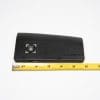
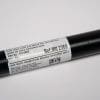
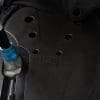
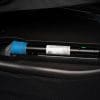
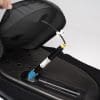
Speaking of the back, opening the rear panel reveals the back protector along with the gas cartridge and the attachment to the airbag itself (seen in blue). A wire is connected to the canister and runs up into the nylon flap where it connects to the In&Motion hardware. This can be disconnected from the cartridge so that the back can be fully opened.
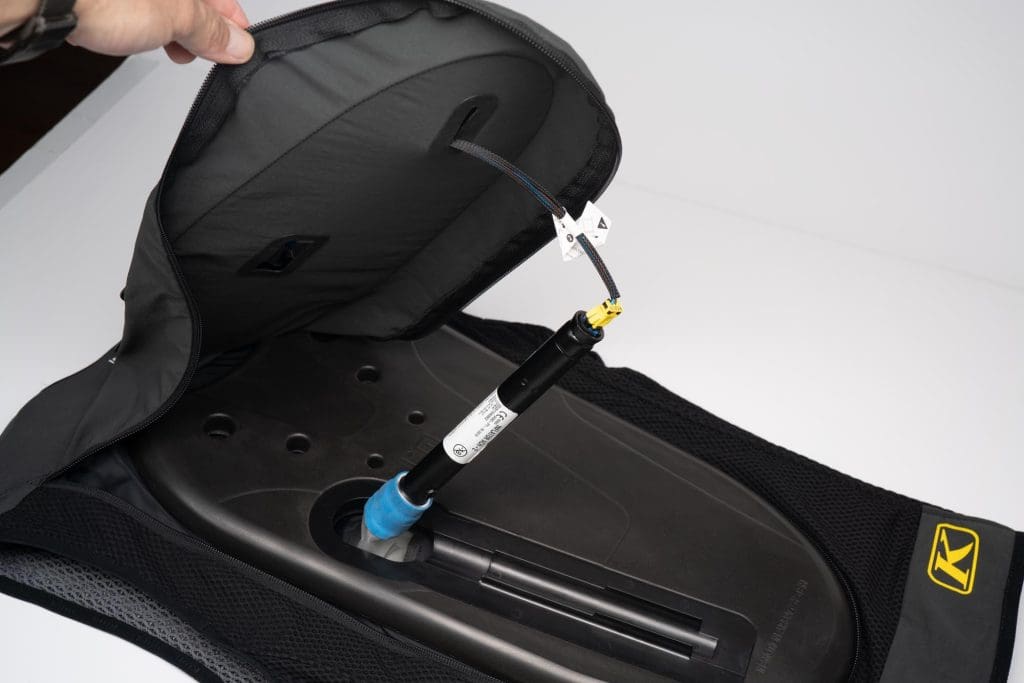
The cartridge fits into a clip embedded in the back protector itself. I like the design here as it keeps the hard metal tube on the side facing away from the body. It does, of course, make a portion of an otherwise pliable back protector rigid where the cartridge rests.
All this hardware adds up to a vest that weighs in at 3 lb 5oz.
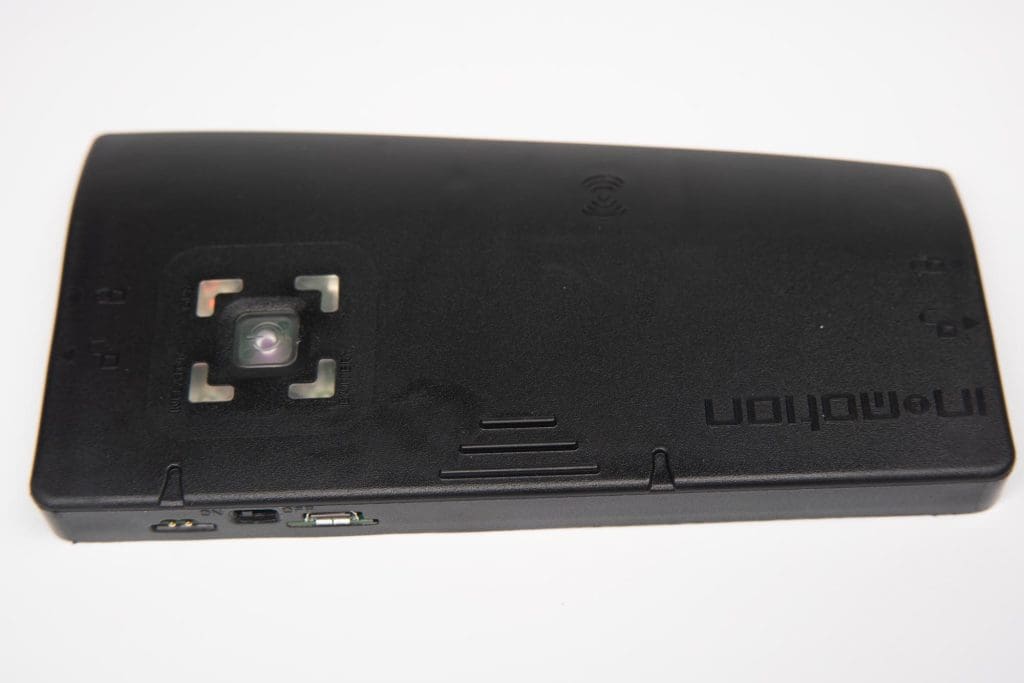
Overall, the Ai-1 is well constructed with straight and even seams throughout. The only area that concerns me is the “over protector” panel at the back where the electronics module plugs in. The “feel” of the box and the plastic in this area doesn’t feel the sturdiest.
Maybe it’s because the plastic is designed to be flexible rather than rigid, but it doesn’t give the impression of a finely crafted item. Installing and removing the electronics isn’t a very graceful operation which also detracts from the sense of build quality, however, it does stay secure once in place.
Does any of this prevent the vest from doing its job? Probably not, but good fit and finish can go a long way to improving confidence in a piece of protective equipment.
Protection Level
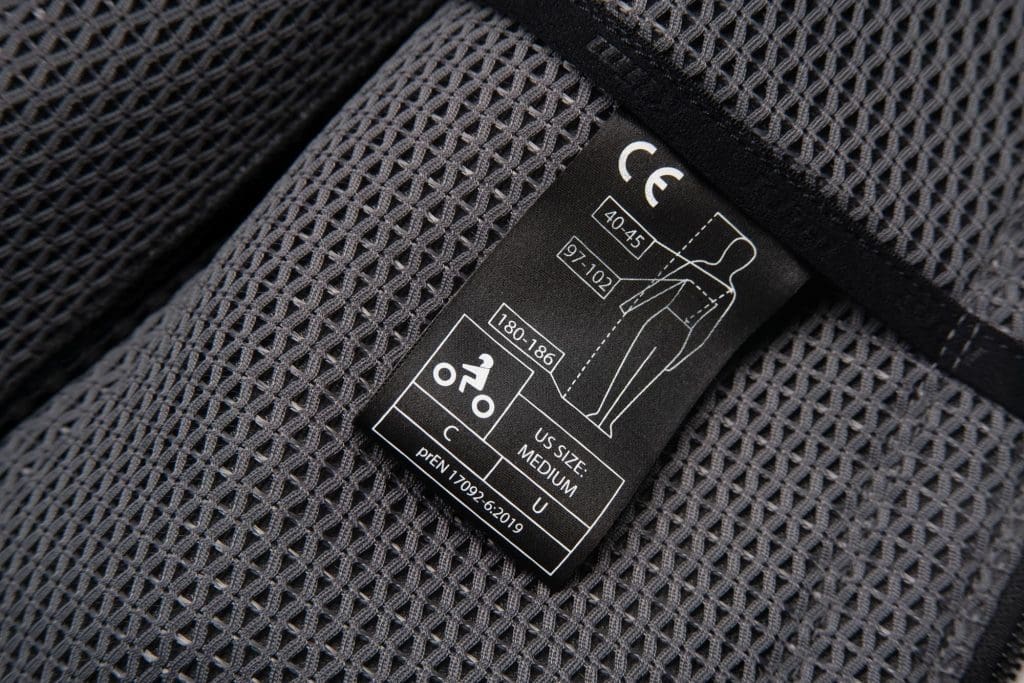
The Ai-1 vest includes a CE level 1 back protector which provides protection whether or not the airbag is inflated. The vest itself is designed to be worn under other riding gear that provides abrasion resistance so I wouldn’t expect it to offer much protection in a passive way excepting for the aforementioned back protector.
Of course, the whole point of the vest is the airbag but how does one evaluate the protection level? Thankfully, the SRA in Europe has tested several motorcycle airbag devices and rated them. You can think of the SRA rating as akin to the UK SHARP rating scheme used for helmets.
Klim claims their vest has received a 5 Star rating from SRA. While I didn’t see the Klim Ai-1 called out specifically in the listing at the SRA website, I do see the Furygan, Held, and Ixon airbag vests that all use similar In&Motion technology and hardware. Each received a 5 Star rating which is the highest available. (Google translation here)
Below you can see what the vest looks like fully inflated from both the front and side (don’t look at the open flap hanging down on the back). There is excellent coverage of the front and very good coverage down the back. I would like to have seen a little more protection in the back closer to the tailbone as my Hit-Air MLV-C provides.
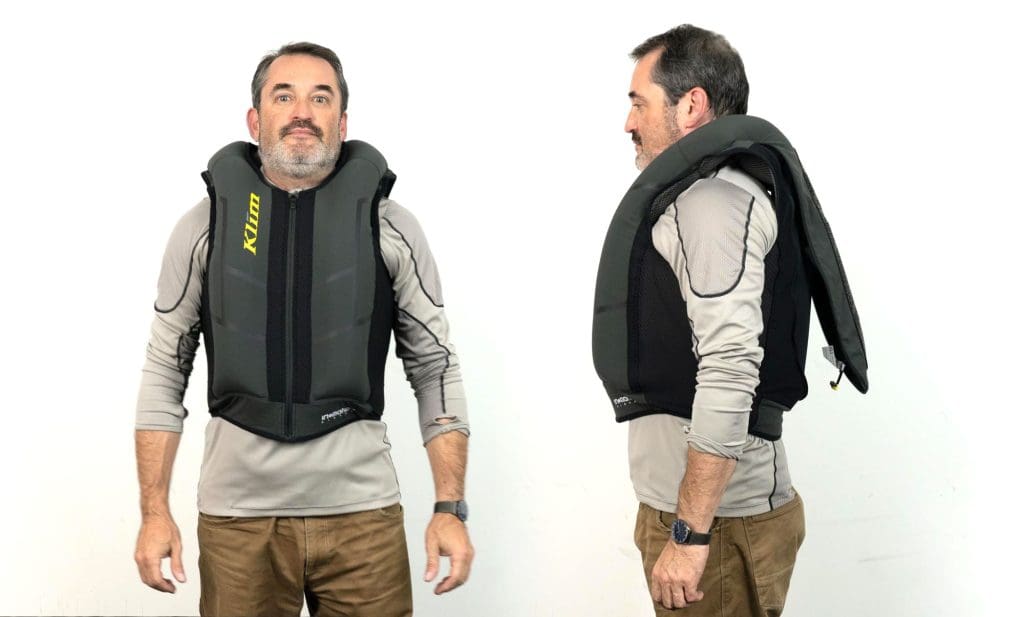
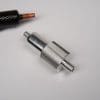
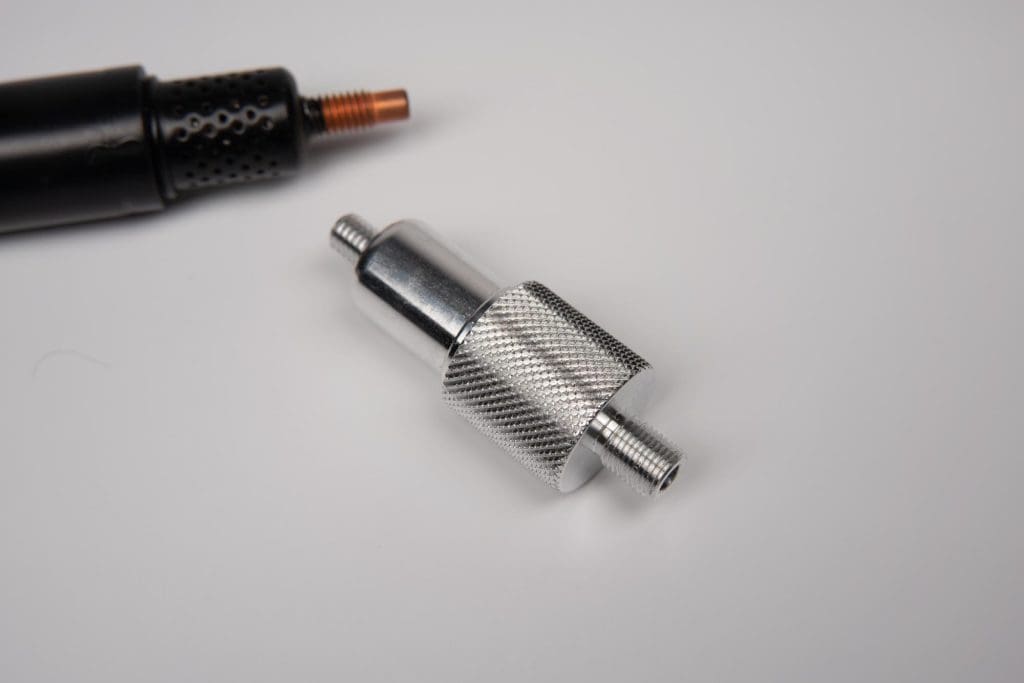
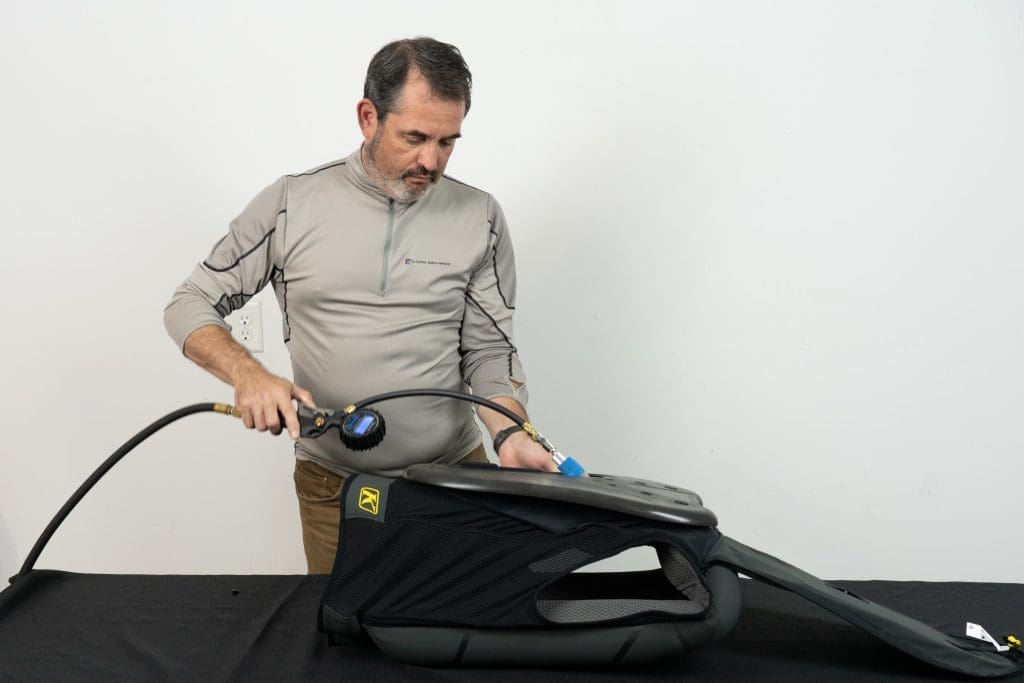
Note: I used the Schrader valve attachment to inflate the vest to 5 psi in order to demonstrate how it looks fully deployed. I didn’t want to waste the $99.00 gas generator and frankly, there are a ton of videos out there of the vest being set off.
I really appreciate how much coverage there is around and behind the neck. This seems to be much more comprehensive and thicker than what some other “under the jacket” vests appear to offer. It should be noted that Klim states that one should not wear backpacks or other similar items in conjunction with the Ai-1 as it can reduce/inhibit the performance of the vest.
You can view the video below to see a crash test and notice how the vest starts to inflate very quickly. Looking at the four second mark (and again at sixteen seconds) in this video one can clearly see that the vest has begun to inflate before the rider has even left the seat. With a tethered solution, the rider has to move several inches out of the seat position before the airbag is triggered.
Fit and Comfort
I was fortunate when I found out I would be reviewing this vest as I was able to provide my measurements directly to the folks at Klim. Having a 41.5” chest and looking at the size chart, I would have likely chosen the size large (42-44) instead of the medium (38-40) that they sent me. This worked out perfectly since, as I mentioned earlier, there is a lot of stretch to the fabric on the sides. As such, the vest fits snug but still has some room left to stretch a bit more.
I would suggest that if you are between sizes you probably should go with the smaller size as the Ai-1 is designed to fit close to the body. Of course, contacting the seller and discussing your measurements would be the best way to ensure you get the right fit.
Comfort
This is a subjective topic so keep in mind that comfort level will vary based on each individual’s body type, type of motorcycle, etc. With that said, I’ll give the Ai-1 and solid “OK” for comfort.
Need more info? I thought you might.
The overall fit is snug and I prefer close fitting gear for my riding apparel so that part is good. The interior 3D mesh has some nice cushion to it so it feels comfortable against whatever base layer shirt I’m wearing. I would not recommend wearing the vest in direct contact with the skin as I think it would be scratchy AND since it cannot be thrown in the washing machine I’d say just don’t do it.
One thing that does take some getting used to is how the back protector feels. The protector itself is a pretty pliable piece of viscoelastic material that would conform to one’s shape quite easily in most circumstances. However, since the argon canister and the clip that holds it are embedded in a portion of the protector, it loses some flexibility.
By itself, it’s pretty comfortable but I found with a jacket on, one gets a “board strapped to the back” feel. I liken the feeling to a standalone back protector that one might wear under a racing suit. On the plus side, it does serve as a good reminder to keep one’s back straight. My posture when riding has never been better!
Ventilation
Airflow and protective features always seem to be working against each other and it’s true in the case of this vest. It is sort of unavoidable that an airbag vest will reduce airflow since, in order to have an airbag, the device has to contain airtight materials. Looking at the front of the vest, all the space with the smooth, gray nylon material, will be blocking airflow. Even if the material were perforated, the airbag contained within would certainly prevent airflow.
Fortunately, the strips of mesh flanking the zipper are more than just for show. As I approached 40 mph I could feel the air coming through this location in the front when wearing a mesh jacket. Thanks to the nature of the interior mesh, I could feel the air flow in through the front and around to the sides of the vest. It’s not a wind tunnel but it does allow for some airflow.
Any time one adds some more kit to the riding gear, you’re likely to block airflow. Even my Hit-Air vest, which has a fairly open design, ended up blocking a good portion of the ventilation on my mesh jackets. One has to weigh risks and benefits as they see fit.
Jacket Compatibility
Before purchasing a vest like this, one needs to be certain it will work properly with the riding jacket(s) that will be worn over it. Jackets will need to have enough internal space to allow the airbag to inflate. As such, race cut or other snug fitting jackets that fit very close to the body may not offer room for proper inflation.
Klim has put together detailed instructions on how to verify jacket compatibility and I’ve blatantly copied it from the owner’s manual below.
To verify that your jacket on your body is compatible with the airbag vest, measurements must be taken. You can check the compatibility of your jacket or vest yourself by following the protocol below:
Take the following measurements without wearing the vest:
- A) Measure around your chest in cm | in inches (e.g. 100 cm | 39 inches)
- B) Measure around your waist, at navel height, in cm | in inches (e.g. 90 cm | 35 inches)
- C) Add these 2 measurements, then divide by 2 (e.g. 100+90=190 and 190/2=95 cm | 39+35=74 and 74/2=37 inches)
Measurements of your jacket or coat:
The following measurements are taken while stretching the jacket. All the elastic fabrics and elasticated parts in the direction of measurement taking must be fully stretched. Place your closed jacket on a flat surface.
- A) While stretching the jacket until the elasticated parts and fabrics are taut, measure the width of the jacket under the armpits in cm (e.g. 58cm | 22 inches)
- B) In the same way, while stretching the jacket fully, measure the width of the jacket at navel level in cm (e.g. 52cm | 20 inches)
- C) Add these 2 measurements (e.g. 58+52=110 cm | 22+20=42 inches)
Your jacket is compatible with the vest if the difference between the first (95cm | 37 inches) and the second result obtained in C (110cm | 42 inches) is greater than or equal to 13cm | 5.2 inches. If you are not sure, ask your local reseller for advice.“
It is also important to note that the vest is not compatible with most one-piece suits or any case where one has a full zippered connection between the pants and jacket. I say “most” as Klim does say that their Hardanger suit has been tested and is compatible.
I wondered what the big deal is at first but then I realized the airbag going around the neck is substantial so when the airbag is activated, the jacket is going to lift a couple of inches (at least) which will pull up the pants as well and this could create… ummm, discomfort in the crotch area if there is not enough room.
In my case. my jackets are compatible including my Knox Zephyr, AGV Compass, Aerostitch Cousin Jeremy, and Aerostitch Transit. The latter two of can’t, or at least shouldn’t be zipped together to their matching pants. I am curious though if the Aerostitch ellipse add-on might provide enough room for deployment without risk of “personal” injury. I will come back and provide an update after talking to Klim about this since I already have this accessory for the Cousin Jeremy two piece suit.
Activating and App Setup (and paying)
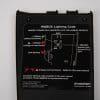
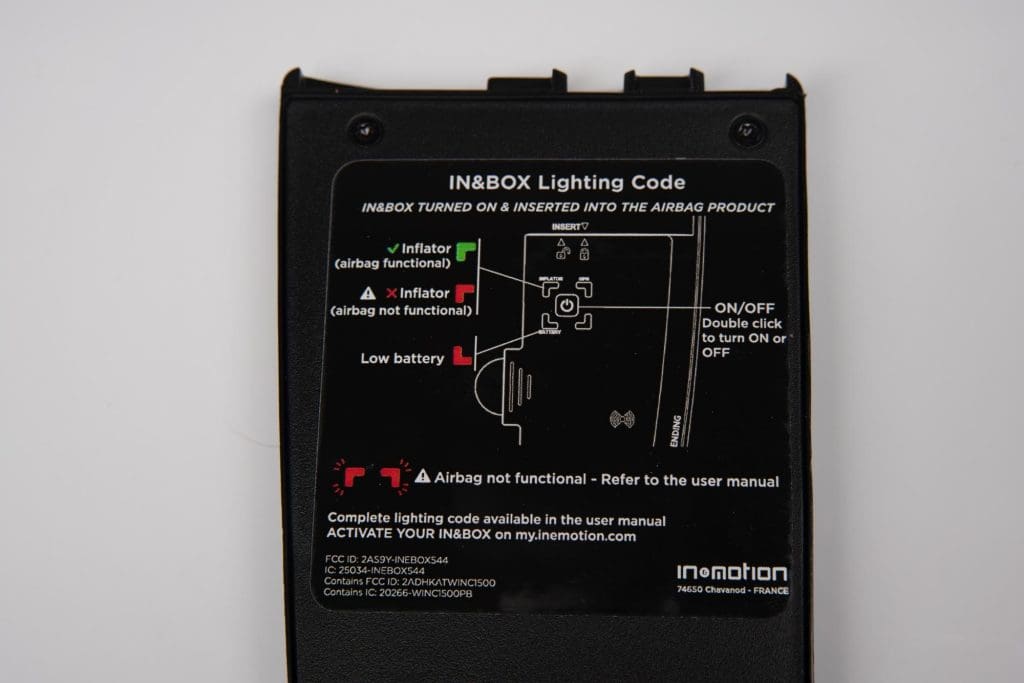
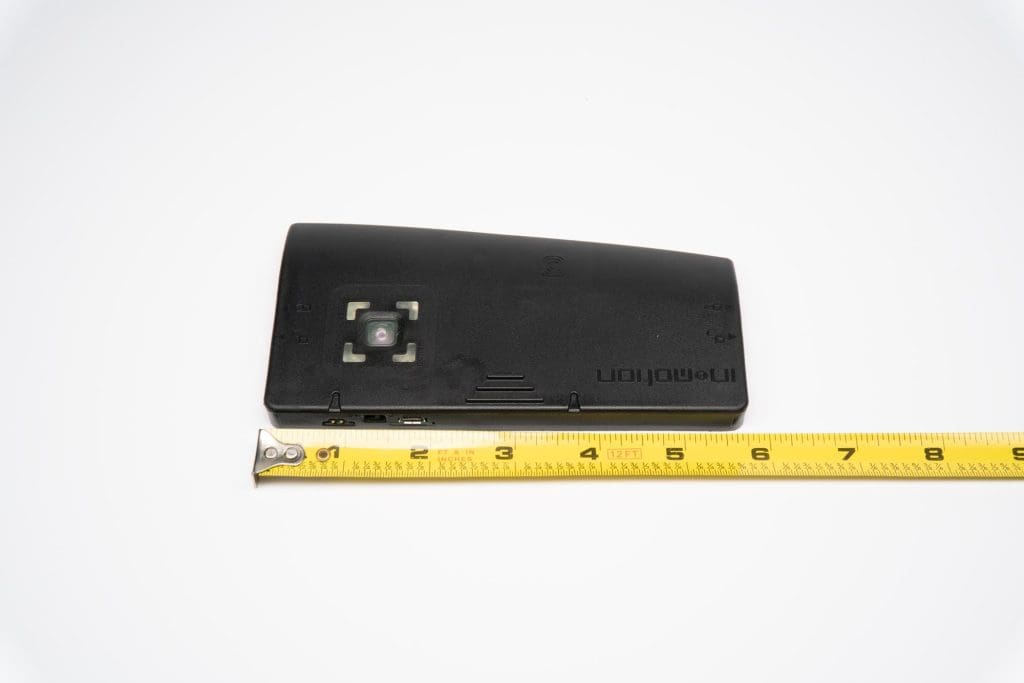
Before setting out on one’s first ride with the Ai-1, the electronic sensor package (referred to as the In&box ) needs to be set up and activated. Before doing any of this, it is recommended that the device be fully charged. A micro USB cable is provided in the box so it can be plugged into whatever USB outlet you have handy.
Create an Account
While the box is charging you can go ahead and create an account with In&Motion. This can be done on your mobile device but if you’re like me and hate typing a bunch of info into a small touch screen, you can go to https://us.inemotion.com/en/ and create your user account. You can also go ahead and choose your payment method for activation.
Payment
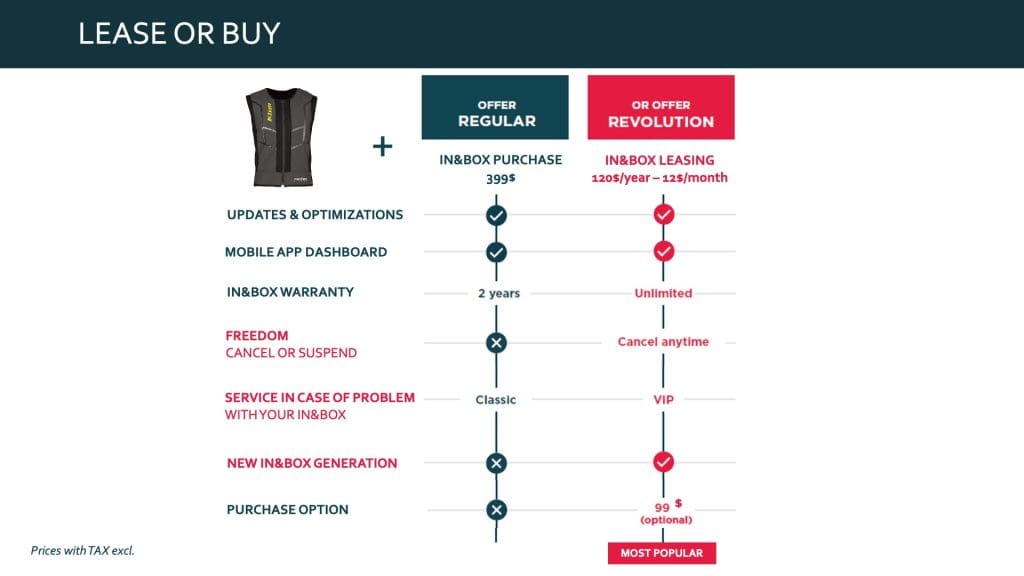
Yup, I said payment. In order to activate the In&box one has to pay for it. This can be done in three different ways. There is a month to month plan that runs $12.00 a month or one can save a little money and pay for the year at one time for $120.00 saving you $24.00 for the year. The other option is to purchase the In&box outright for $399.00.
Now before you stop reading, hang with me for a minute.
I think we’ve run into the most divisive aspect of the Ai-1 vest at this point. I get the idea of paying for the In&box, subscription or otherwise, might rub people the wrong way. Personally, I’m not that offended by it.
Yes, the vest costs $399.99 itself and now we’re paying additional fees to activate it? The fact is the overall cost is pretty much in line with the other electronically deployed options out there. The Dainese and Alpinestars latest street riding vests run $699.00 at the time of this writing.
Factor in other considerations like whether or not one has to send the vest to the manufacturer or dealer for inspection after a deployment, the cost of replacing a cartridge(s), and other costs, and I think the three main choices in these types of vests all come out to a similar cost.
I believe that costs are going to add up for any of the latest generation airbag vests, at least until they become more popular so demand can bring the price down. This latest generation is already several hundred dollars less than the early street oriented electronically activated airbag vests.
In my case, I chose to go with the $12.00 a month plan (full disclosure, I’m paying for the subscription myself). I did this since I didn’t know if I would want to keep the vest long term and this plan would allow me to easily drop the subscription if needed.
While not implemented in the United States market yet, there will be the option to suspend the service temporarily. For instance, if you live somewhere where it’s not reasonable to ride during the winter, you can stop paying for the service during that time. Once this option is available we’ll update this article with the details.
What’s Included
So as not to reinvent the wheel, I have grabbed the graphic provided on Klim’s website and placed it below. I feel it makes the most sense to do the leasing option based on the features that come with that plan. For those that want to own the In&box outright, the option is there.
Download the App
Now it’s time to go ahead and set up the app on your mobile device. The app is available through the Apple app store and Google Play and can be found under the name “My In&box”. Once the app is installed go ahead and log in using the account information you set up earlier. You can also create an account from here if you haven’t done it already.
Connect the App and In&box
The device has both Bluetooth and wifi built-in allowing the In&box to be set up by a mobile device with the My In&box app installed. Once the app is installed one needs to pair the box with your device.
Sometimes these setups are fussy but connecting the app to the box went very smoothly using my Google Pixel 4a Android phone (Android ver 11). I didn’t have any iOS devices on hand to test so Apple users may have a different experience.
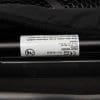
In&Motion has simplified the setup through the use of QR codes and Barcodes which the app can read which reduces the typing required to perform the setup. There is a QR type code on the label for the In&box and the vest itself has a serial number with an accompanying barcode. The latter is located inside the left side internal opening so if you don’t see the label have a look inside to find it tucked in this space. You’ll also find a barcode on the gas cartridge.
 |
 |
|---|
Once connected, the mobile app displays information which includes the battery level, update status, and wifi network. The wifi is important as when set up properly, the In&box will have direct access to the In&Motion servers. This allows the box to download updates whenever it is turned on and near your network but it can also upload riding data.
This collected data will be added into the data pool In&Motion uses to update and improve the algorithm used to deploy the airbag. I like this idea of every time I ride, new information is gathered to help make the device more effective at detecting a crash situation.
Note: I imagine that some people may not like the idea of a device that has access to GPS sending data about their rides. If you are concerned about these types of privacy issues, this type of safety device might not be for you and it might make sense to look at a mechanical/tethered system instead.
Battery Life
The battery is rated for about 25 hours of use and I believe this is a reasonable estimate. The battery level of 34% shown in the screenshot above is after having taken five rides of around ninety minutes to two hours each. Plus, all the time setting up the app, taking these screenshots, and about 18 hours where I forgot to turn the box off after my ride and didn’t discover this until the following day. It seems like even if left on, it must drain the battery less when it can tell you’re not moving as it should have been completely dead by my calculations.
Care and “Feeding”
Should you be in the position of having set off the airbag, the vest will need to be inspected and the argon canister replaced. Thankfully one can do this without having to send the vest in to Klim or In&Motion assuming two factors.
- This is only the first or second time the airbag has been deployed. Once the airbag has deployed three times it needs to be returned to Klim to be inspected and reset.
- Testing the vest determines that the airbag is undamaged
Thankfully Klim provides a way for the owner to test the integrity of the airbag on their own. Along with a replacement argon canister ($99.00 USD) is a Schrader valve adapter. This can be used to manually inflate the vest and check that it still holds air.
The mobile device app includes instructions and a video that demonstrates how to install the new argon cartridge. There is also the ability from this page of the app to scan the QR code on the canister to complete the installation and set up.
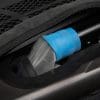
Sharp-eyed readers may note that the instructions mention not to touch the blue connector with your fingers. This appears in the manual as well. I thought this was odd because I assumed they meant the large blue pipe/tubing connector into which the argon canister is threaded. After watching the video included in the app, I see they are referring to the blue connector for the electrical connection. This makes sense as in the video you can see the demonstrator clearly gripping the blue connector at the tubing.
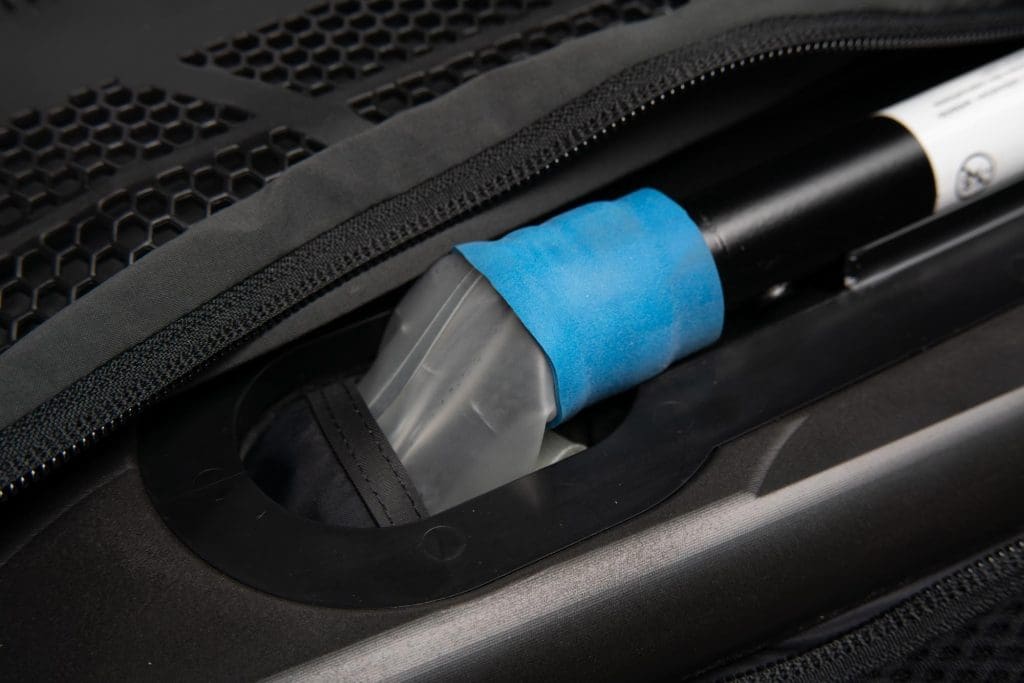
Armed with all this information one can easily remove and replace the gas cartridge, verify the integrity of the airbag, and register the new inflator with the system. All in all, this should take maybe fifteen minutes tops to be back in business and ready to ride assuming the airbag isn’t damaged.
After having been through three activations, the vest needs to be returned to Klim (or other authorized agents) for inspection and potential airbag replacement. The cost of the inspection is only the cost of shipping. If the vest needs repair of some kind Klim will let you know the cost.
Conclusion
So far I’m impressed with the Klim Ai-1. Over the past few weeks, I’m convinced enough that I sold my trusty Hit-Air MLV-C vest. I like how quickly the Ai-1 can deploy since it can start inflating based on motion/GPS detection instead of pulling a physical tether. This can mean a lot depending on the type of crash that happens.
The quick start of inflation combined with a 60ms inflation time convinced me. Of course, the tethered systems have the advantages of no subscription costs, they can be worn over existing riding gear and the reliability of a simple mechanism for deployment. I think the pricing is getting to the point where it’s going to get really tough on the tethered systems in the next generation of these types of airbag vests.
I’ve decided to stick with the Klim Ai-1 for my daily riding gear and I’m looking forward to seeing what the next generation brings especially since the subscription model allows one to get the new generation of In&box after three years.
Pros
- System receives regular algorithm updates
- No tether or other physical connection to motorcycle
- 25 hours of battery life
- Compatible with most jackets (see review for details)
- Owner can replace and reset after an activation (for up to three activations)
Cons
- Cost can be an issue depending on one’s feeling about subscriptions
- Will not work with most one or two piece suits (unless two pieces remain unzipped)
- Replacement Argon canister is pricey at $99.00 (USD)
Specs
- Manufacturer: Klim
- Price (When Tested): $399.99 + service [prices in USD]
- Note: Some retailers are charging extra for the 3XL size but this is not supposed to be how they are priced. Klim has told me they are working on updating this information to their dealers.
- Made In: Vietnam
- Colors: Gray
- Sizes: SM to 3XL
- Review Date: August, 2020


