About the Kenwood Corporation
If you ever dabbled with car audio, then you probably have heard of Kenwood. Kenwood has been around for a long time—a leading developer and manufacturer of consumer electronics and communications equipment. Their USA branch is a subsidiary of JVCKENWOOD Corporation of Japan and is recognized by consumers and industry professionals for providing products known for quality, performance, and value.
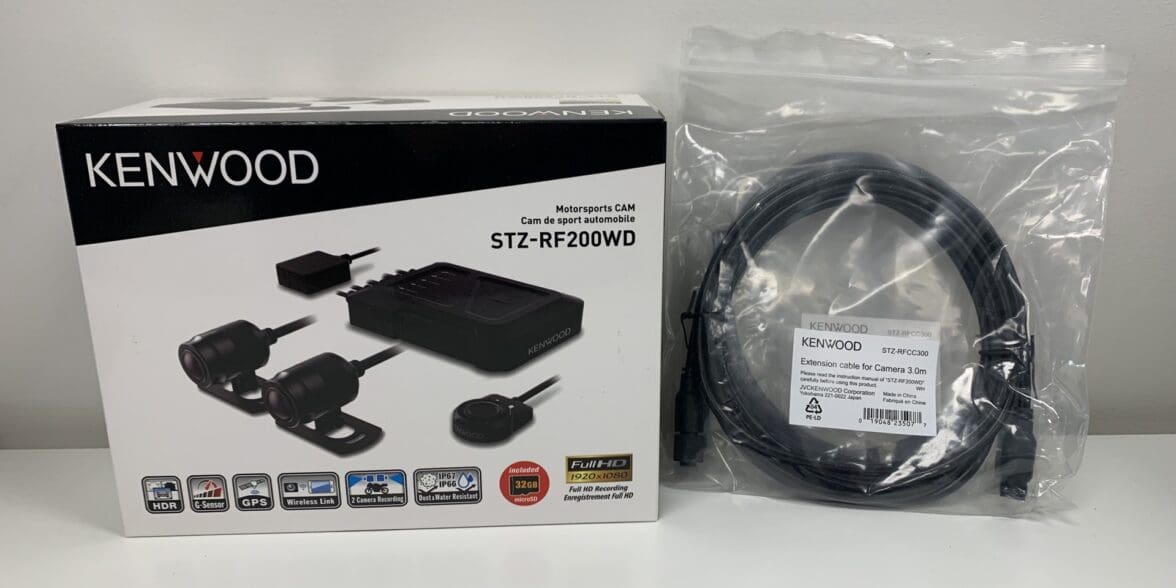
What you might not know is that Kenwood has been in the motorsport industry since 1983. Kenwood has been supplying the SUPER GT series with onboard cameras mounted in the cockpits of GT500 and GT300 cars. It is great to see them utilizing what they learned from SUPER GT and expanding their consumer product portfolio into motorsport with their launch of the STZ-RF200WD Dual Cam System.
So naturally, we were extremely excited when Kenwood announced that they would be releasing a motorsports-grade dual camera recording solution for 2022. Our team started working on getting the initial production models, and we were lucky enough that Kenwood sent over a sample for us to test on our 2017 Triumph Tiger Explorer 1200.
If you want to know more about Kenwood, I highly recommend taking a look at the KENWOOD website.
About WebBikeWorld’s Review Policy
Over the years wBW has reviewed over 50+ motorcycle camera systems for the motorsport market. Our goal is to help riders make informed decisions about the gear they invest in to protect themselves.
There are many ways to get good footage while on the road (focusing on the helmet or motorcycle-mounted cameras). When comparing action cameras we are looking at several factors.
Construction quality matters, because when you’re riding at 80mph or on back trails with mud flying up at you, you want a camera that can handle harsh conditions. Image quality is clearly important, especially if you’re capturing video of epic rides with tons of detail or that is going to be shared on Youtube or Facebook. Camera memory and battery life are another consideration, especially for long open road rides where you want to keep rolling even after a few hours. Then there are the other features—we look to see if the camera system has built-in GPS, waterproofing, 3D capability, and Wifi connectivity, amongst other things.
wBW is funded by our audience. Our reviews may contain affiliate links that earn us a small commission if you make a purchase after clicking them. This is the primary way we fund our website and pay our review team, and it comes at no additional cost to you. We disclose our relationship with brands or manufacturers for transparency. For more information about our extensive review process, see our review policies.
Kenwood STZ-RF200WD First Impressions
Kenwood remains focused on bringing innovative and safety-oriented products to market and continues to evolve and expand its consumer powersports-capable camera systems.
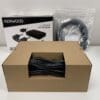
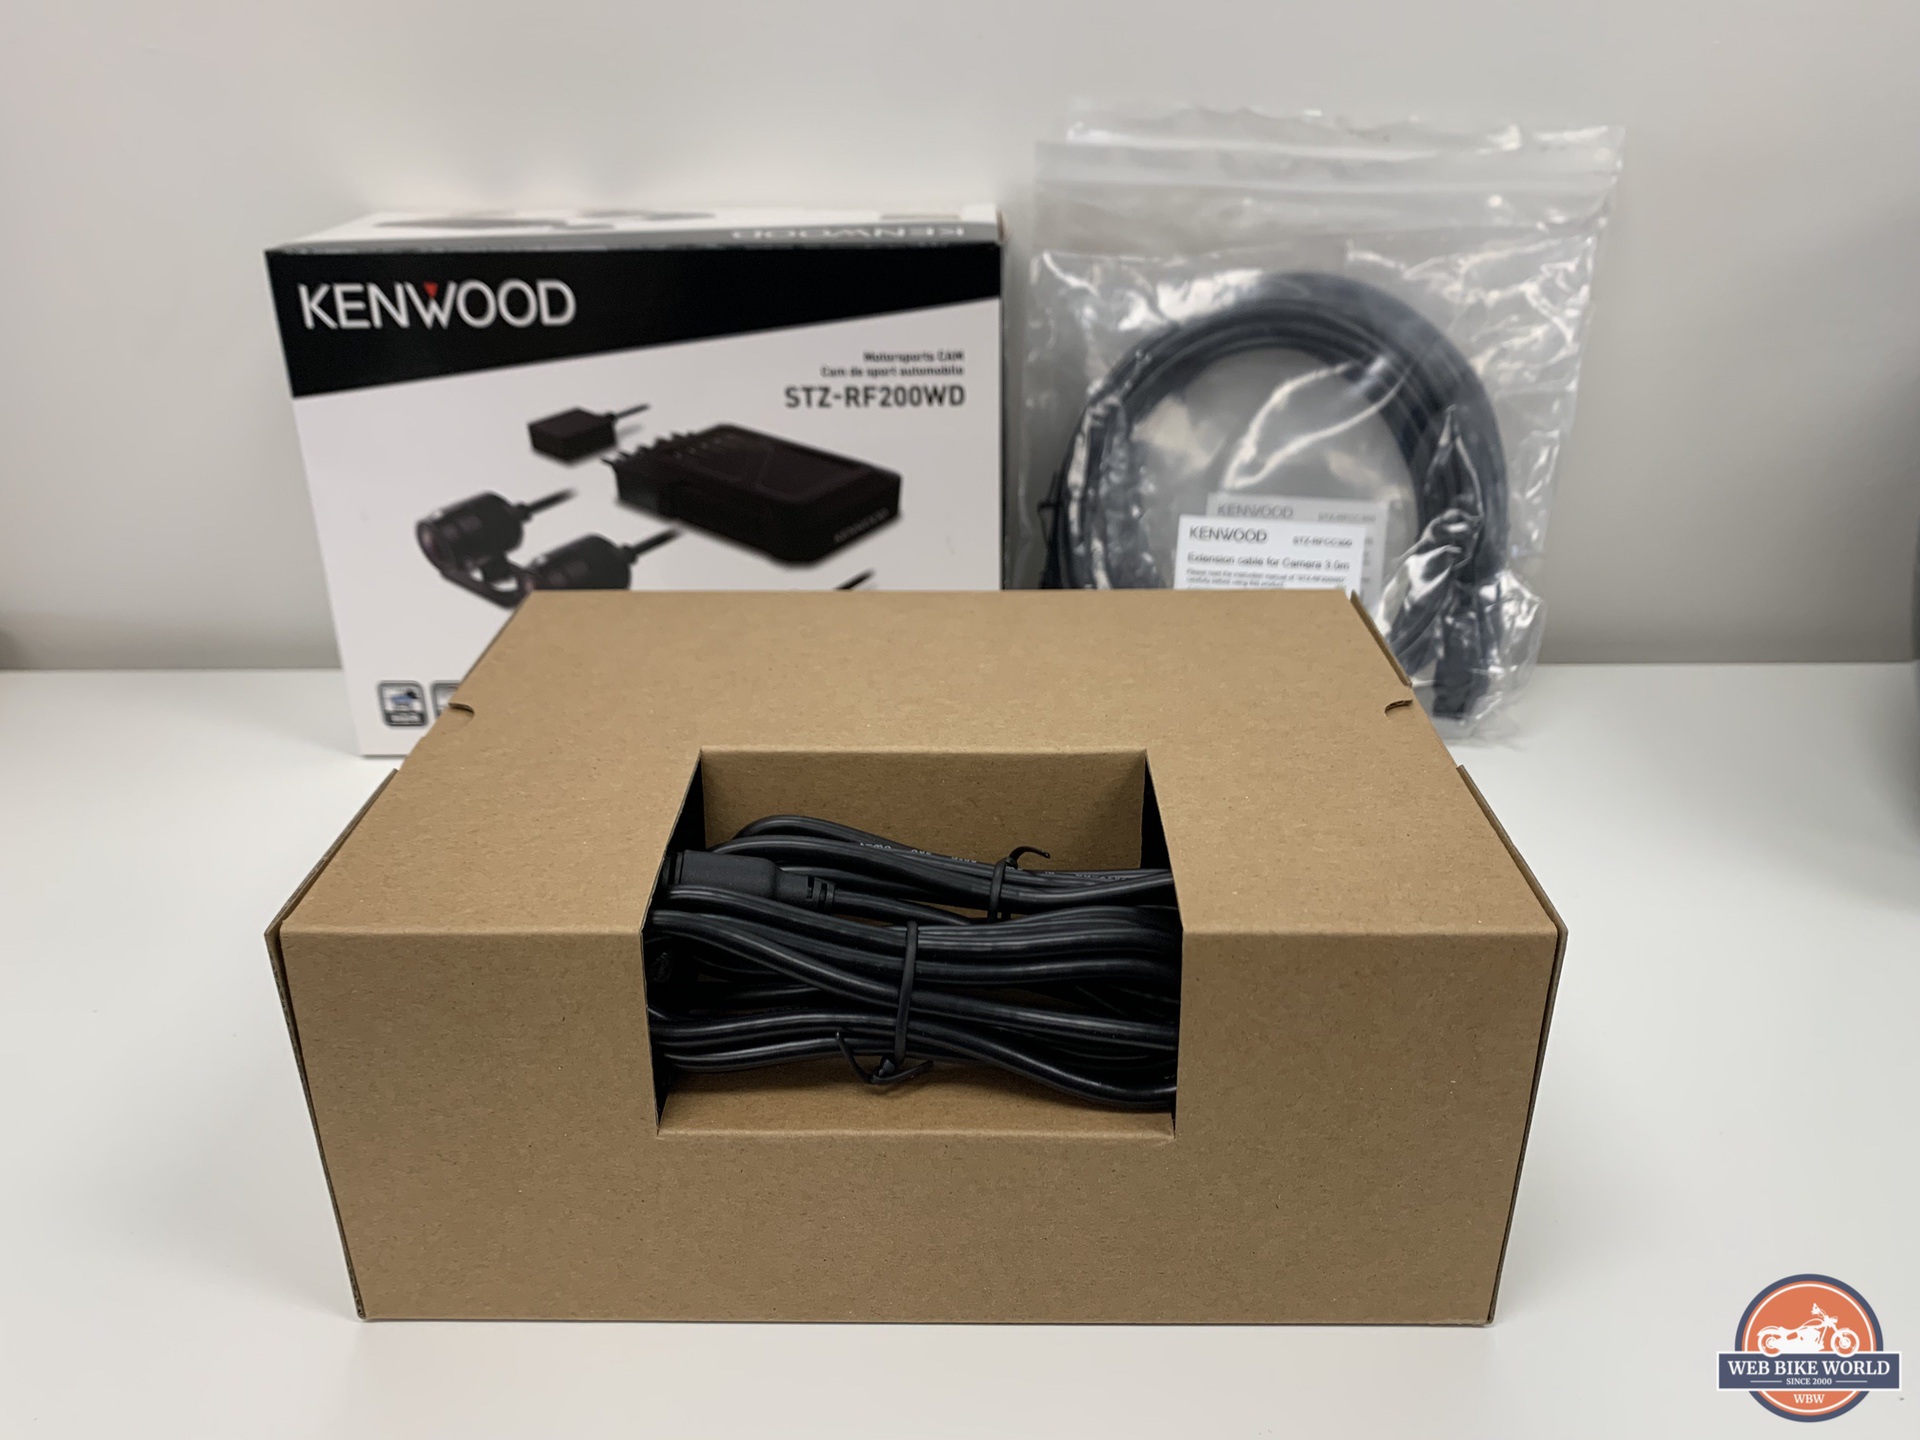
The presentation and packaging of the Kenwood STZ-RF200WD were a bit underwhelming when compared with their competitors, which are usually securely nestled into customized foam layered cutouts. The Kenwood camera system was packed in an inner box with bubble wrap packaging that wrapped each individual component. All parts were still well protected from shipping—however, better packaging presentation would’ve given the unboxing experience more satisfaction for the consumer.
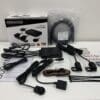
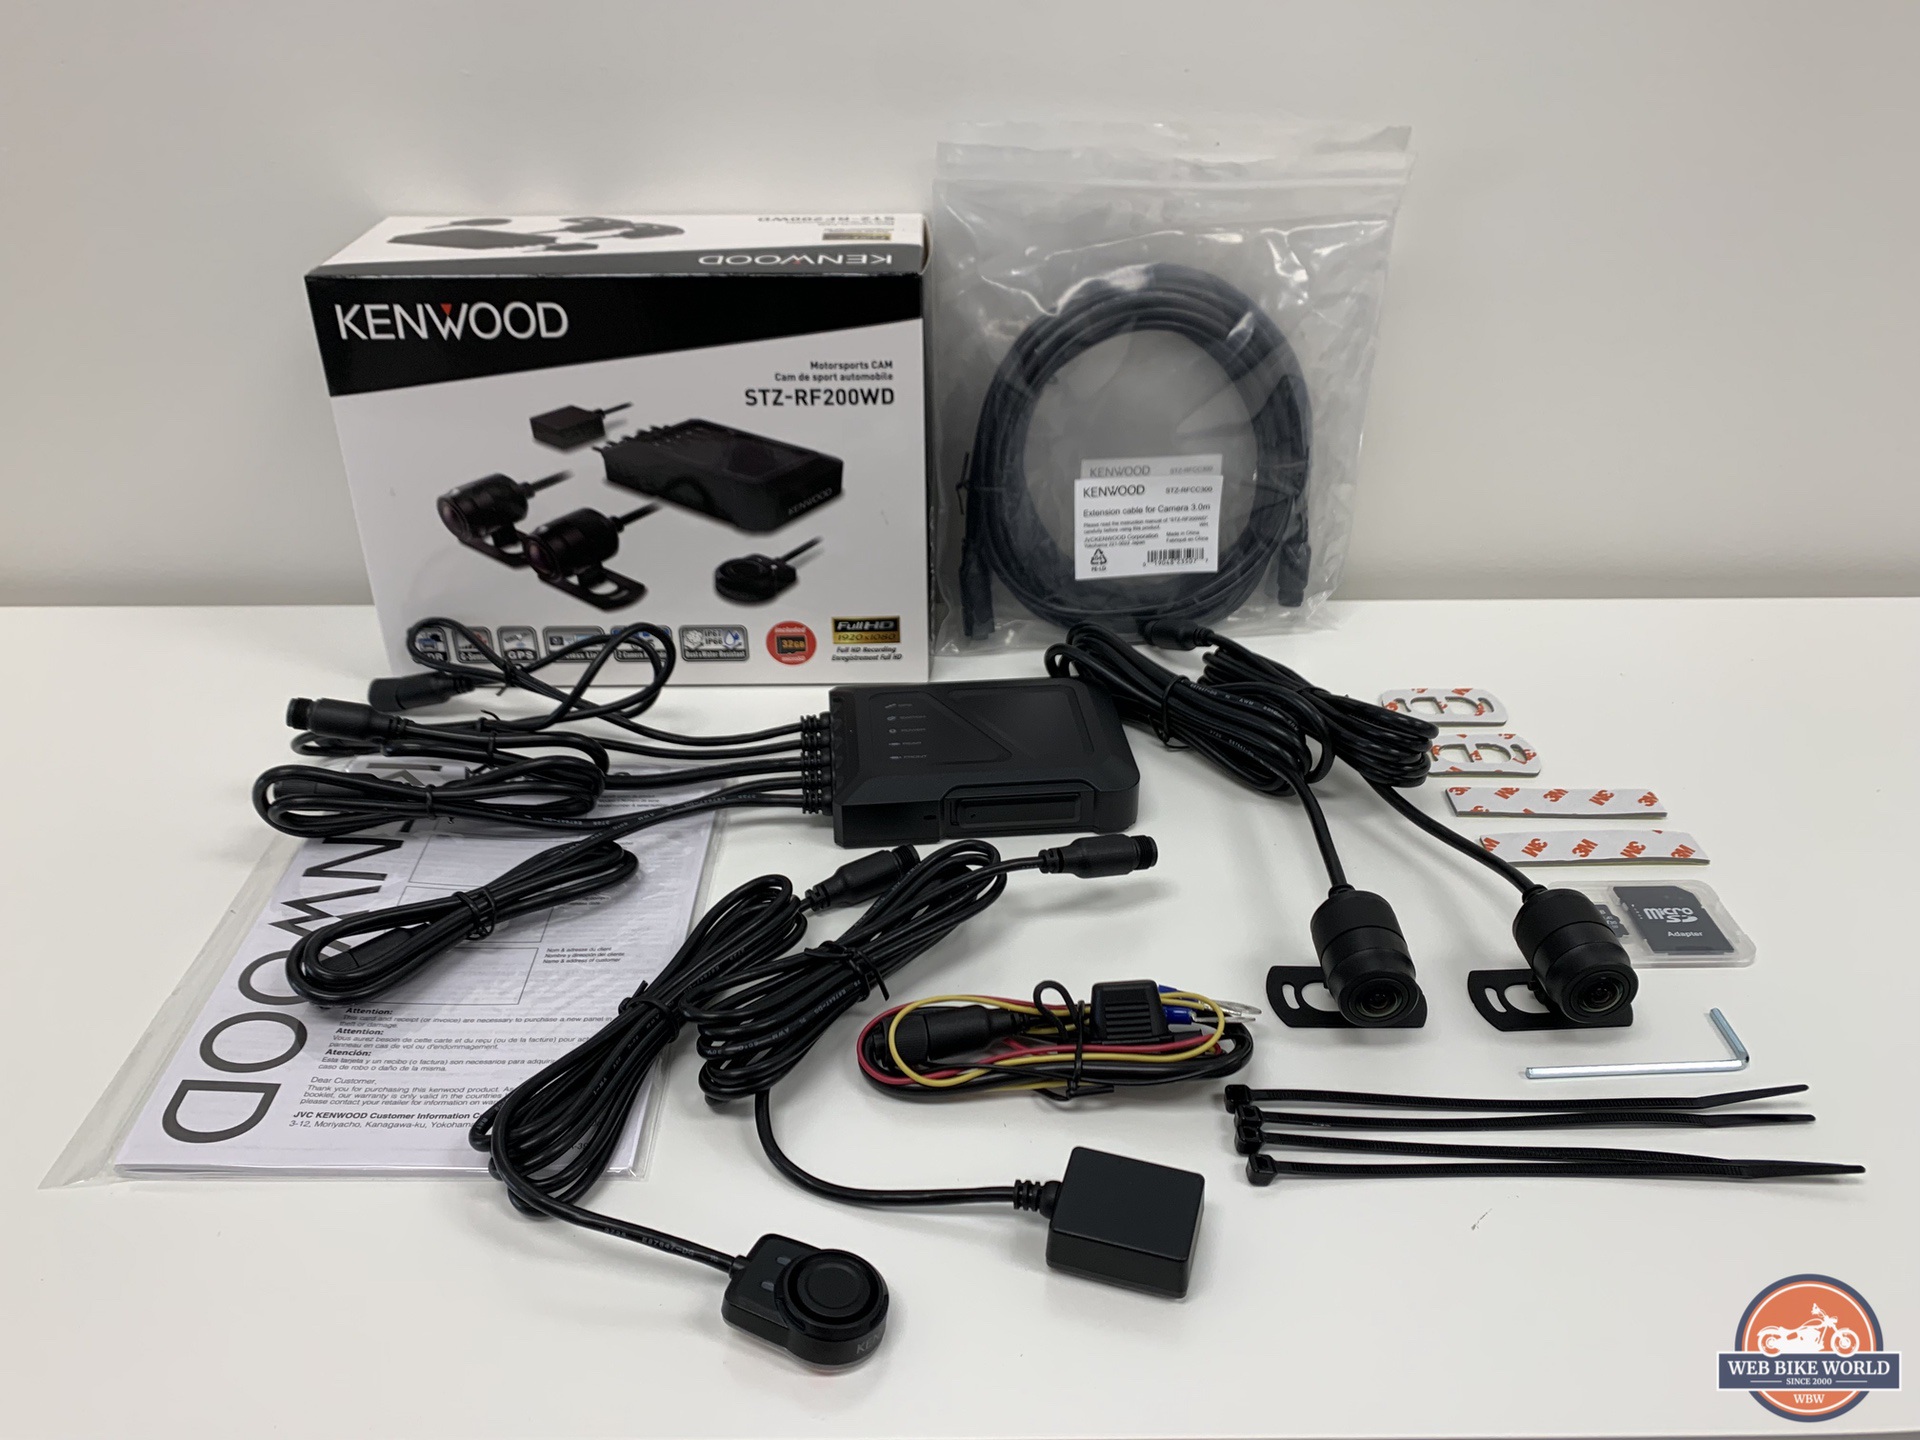
Lifting the camera system out along with the well-bundled cables reveals the remaining kit components, including small bags packed with a comprehensive assortment of hardware pieces, the included 32GB microSD card, and a usable user manual.
Out of the box and packaging, the Kenwood STZ-RF200WD system’s main unit and components reveal the same quality design from their car entertainment side, with everything well-formed and well-sealed. The whole unit feels extremely rugged and ready to take on any adventure you throw at it. These are all important qualities for long-term functionality on motorcycles (especially high-performance adventure bikes), ATVs, or side-by-sides/UTVs.
Kenwood STZ-RF200WD System Components & Features
The entire system is pretty straightforward and self-explanatory, but might be confusing for first-time DIYers. To help you get your bearings, I have broken down the components and their features below.
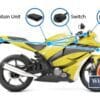
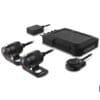
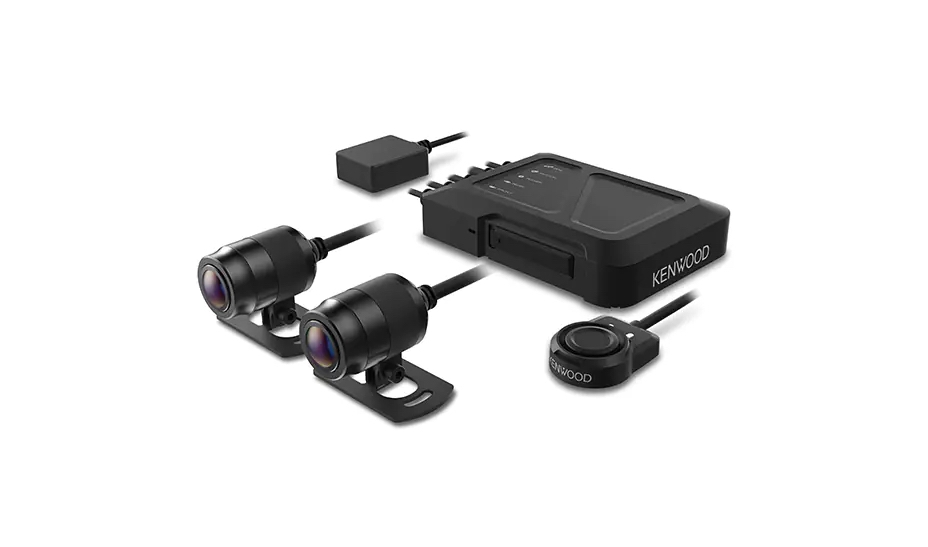
MAIN UNIT – The STZ-RF200WD is equipped with a 3-axis G-Sensor designed to detect a collision and a GPS unit (a separate component) that records speed, latitude, and longitude. The G-sensor is an accelerometer that registers values based on the amount of force applied during an impact. It works by mapping your position to an XYZ coordinate, also known as a 3-dimensional axis. X is the horizontal (left/right) change in motion, Y is the vertical (backward/forward) change in motion, and Z (up/down) change in motion. In case of a collision, the motion triggers the G-sensor, which therefore locks the footage before and after the event has occurred.
The unit houses the CPU, 3-axis G sensor, and where the included 32GB microSD card will sit. Kenwood recommends that the media be at least U1 (UHS Speed Class 1) and V10 (Video Speed Class 10) rated or faster. Media capacity of up to 256GB is supported by the STZ-RF200WD. More details on storage card media can be found in the Video Performance section.
They are all housed in an IP55 case. Although they are not IP66/67, the main unit will be installed under your seat, so IP55 will suffice. For dirt and off-road riders, I would recommend taping the area around the SD card access door to help give it a bit more protection from water or mud.
The main unit is also equipped with a supercapacitor to protect the recorded video files from being corrupted if the power is lost by providing enough power to allow the video file to close properly. This is extremely important in the event of a crash (where your motorcycle will sometimes shut itself off abruptly).
FRONT & REAR CAMERAS – Both front and rear cameras carry an IP66/67 rating, meaning that they can resist high-pressure, heavy sprays of water. They also feature rugged waterproof housing with a sealed lens and integrated connection with waterproof connectors.
The image sensors are 2 megapixels and the camera lenses provide an ultra-wide 195-degree lens viewing angle with an F2.2 aperture. System resolution settings for the front/rear camera pair are: 1080P @ 27.5FPS.
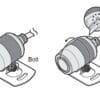
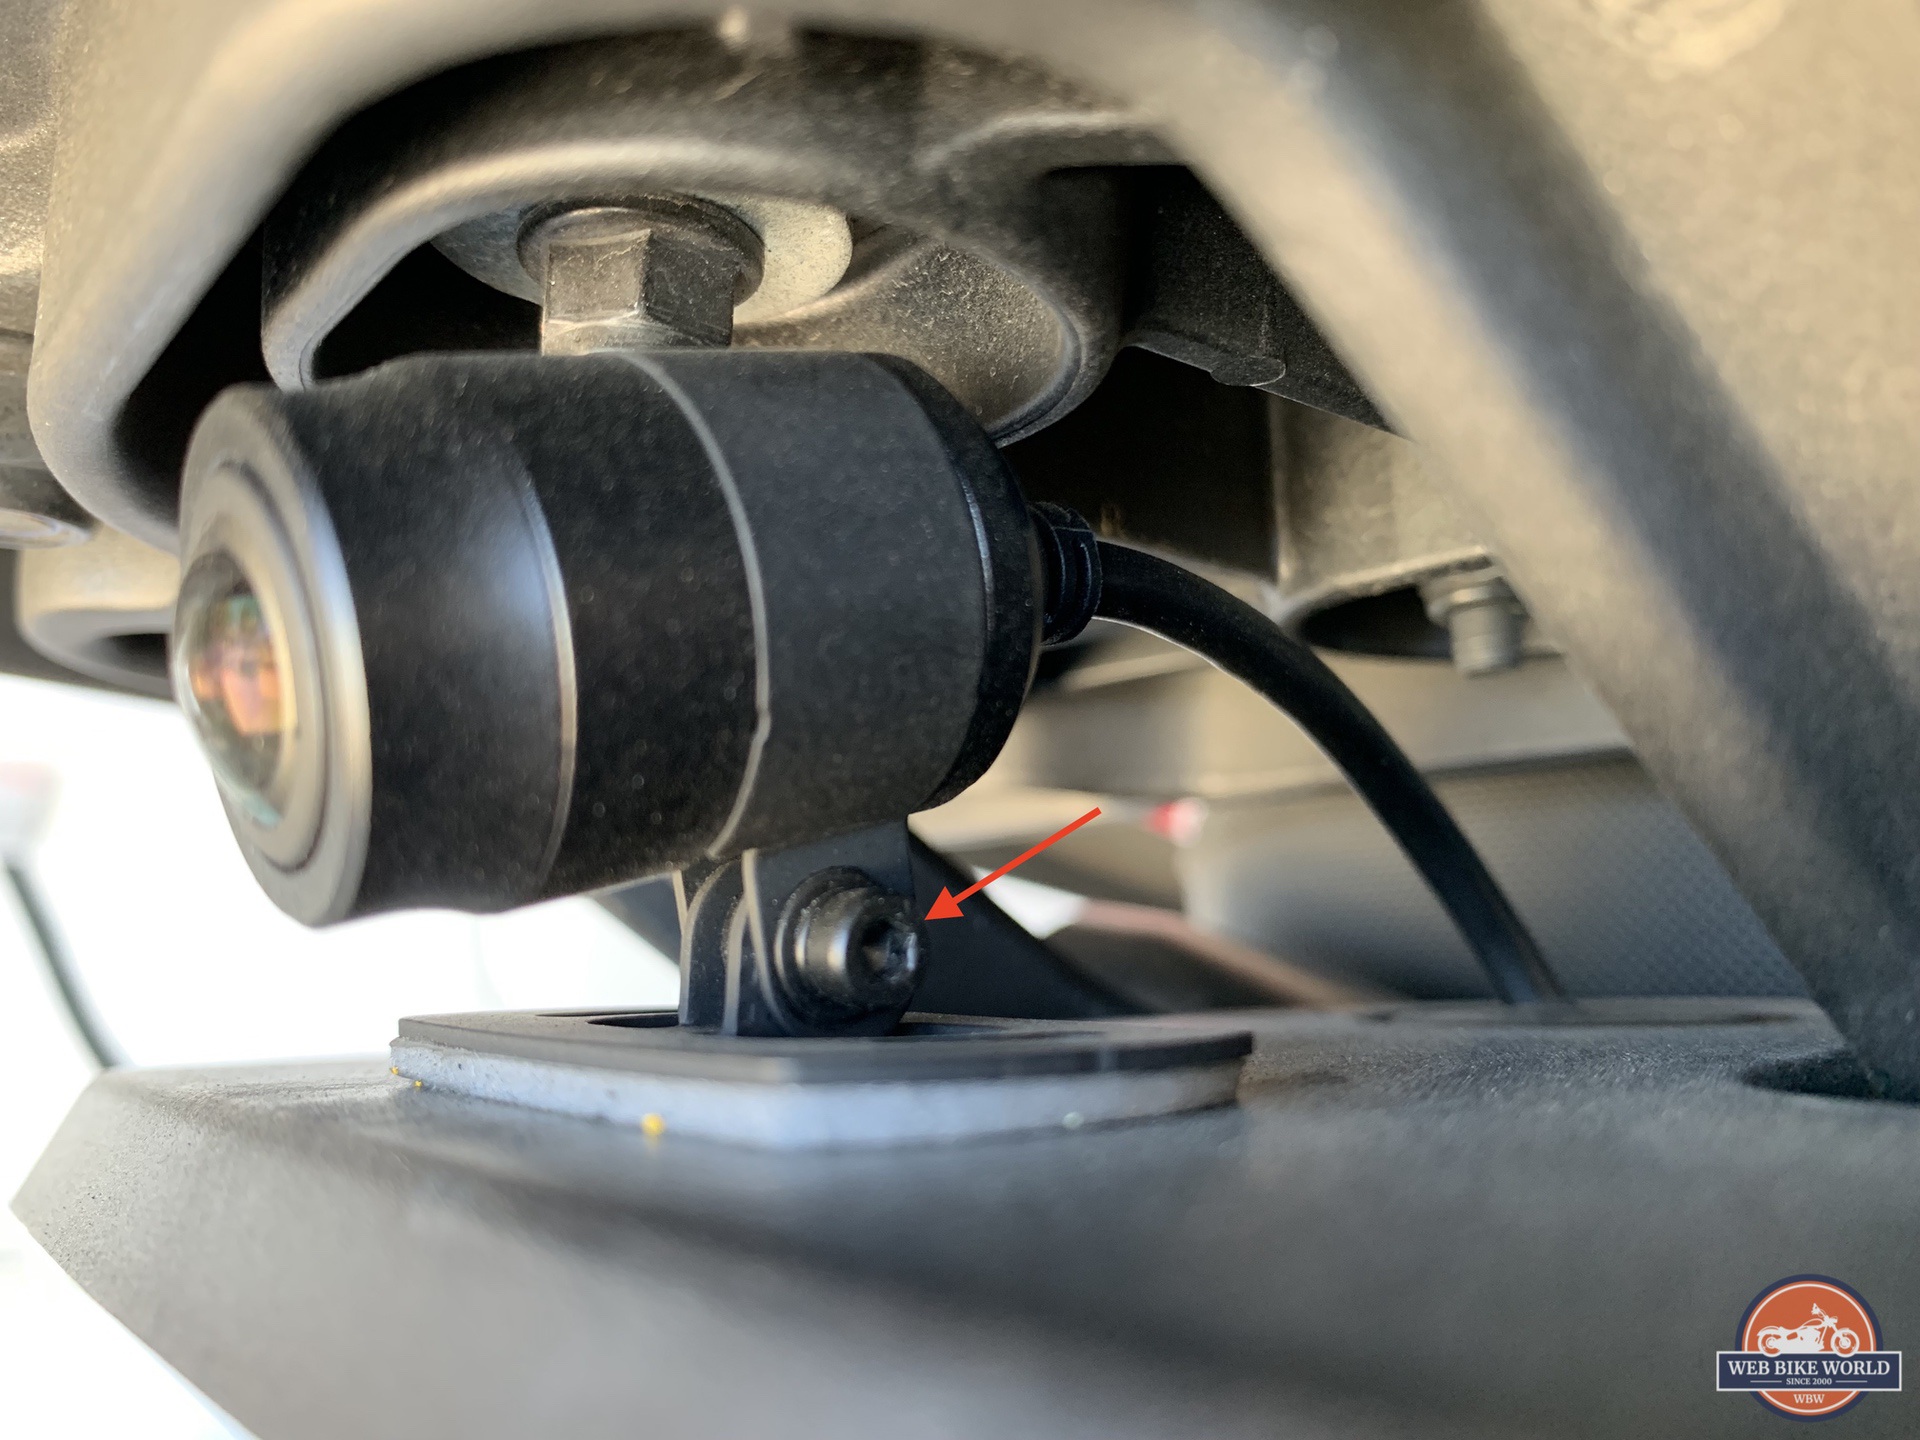
Both front and rear camera mounting hardware are included. The cameras can be adjusted up/down and side/side to help find the perfect field of view with the included hex key. More on the install in the Installation Notes.
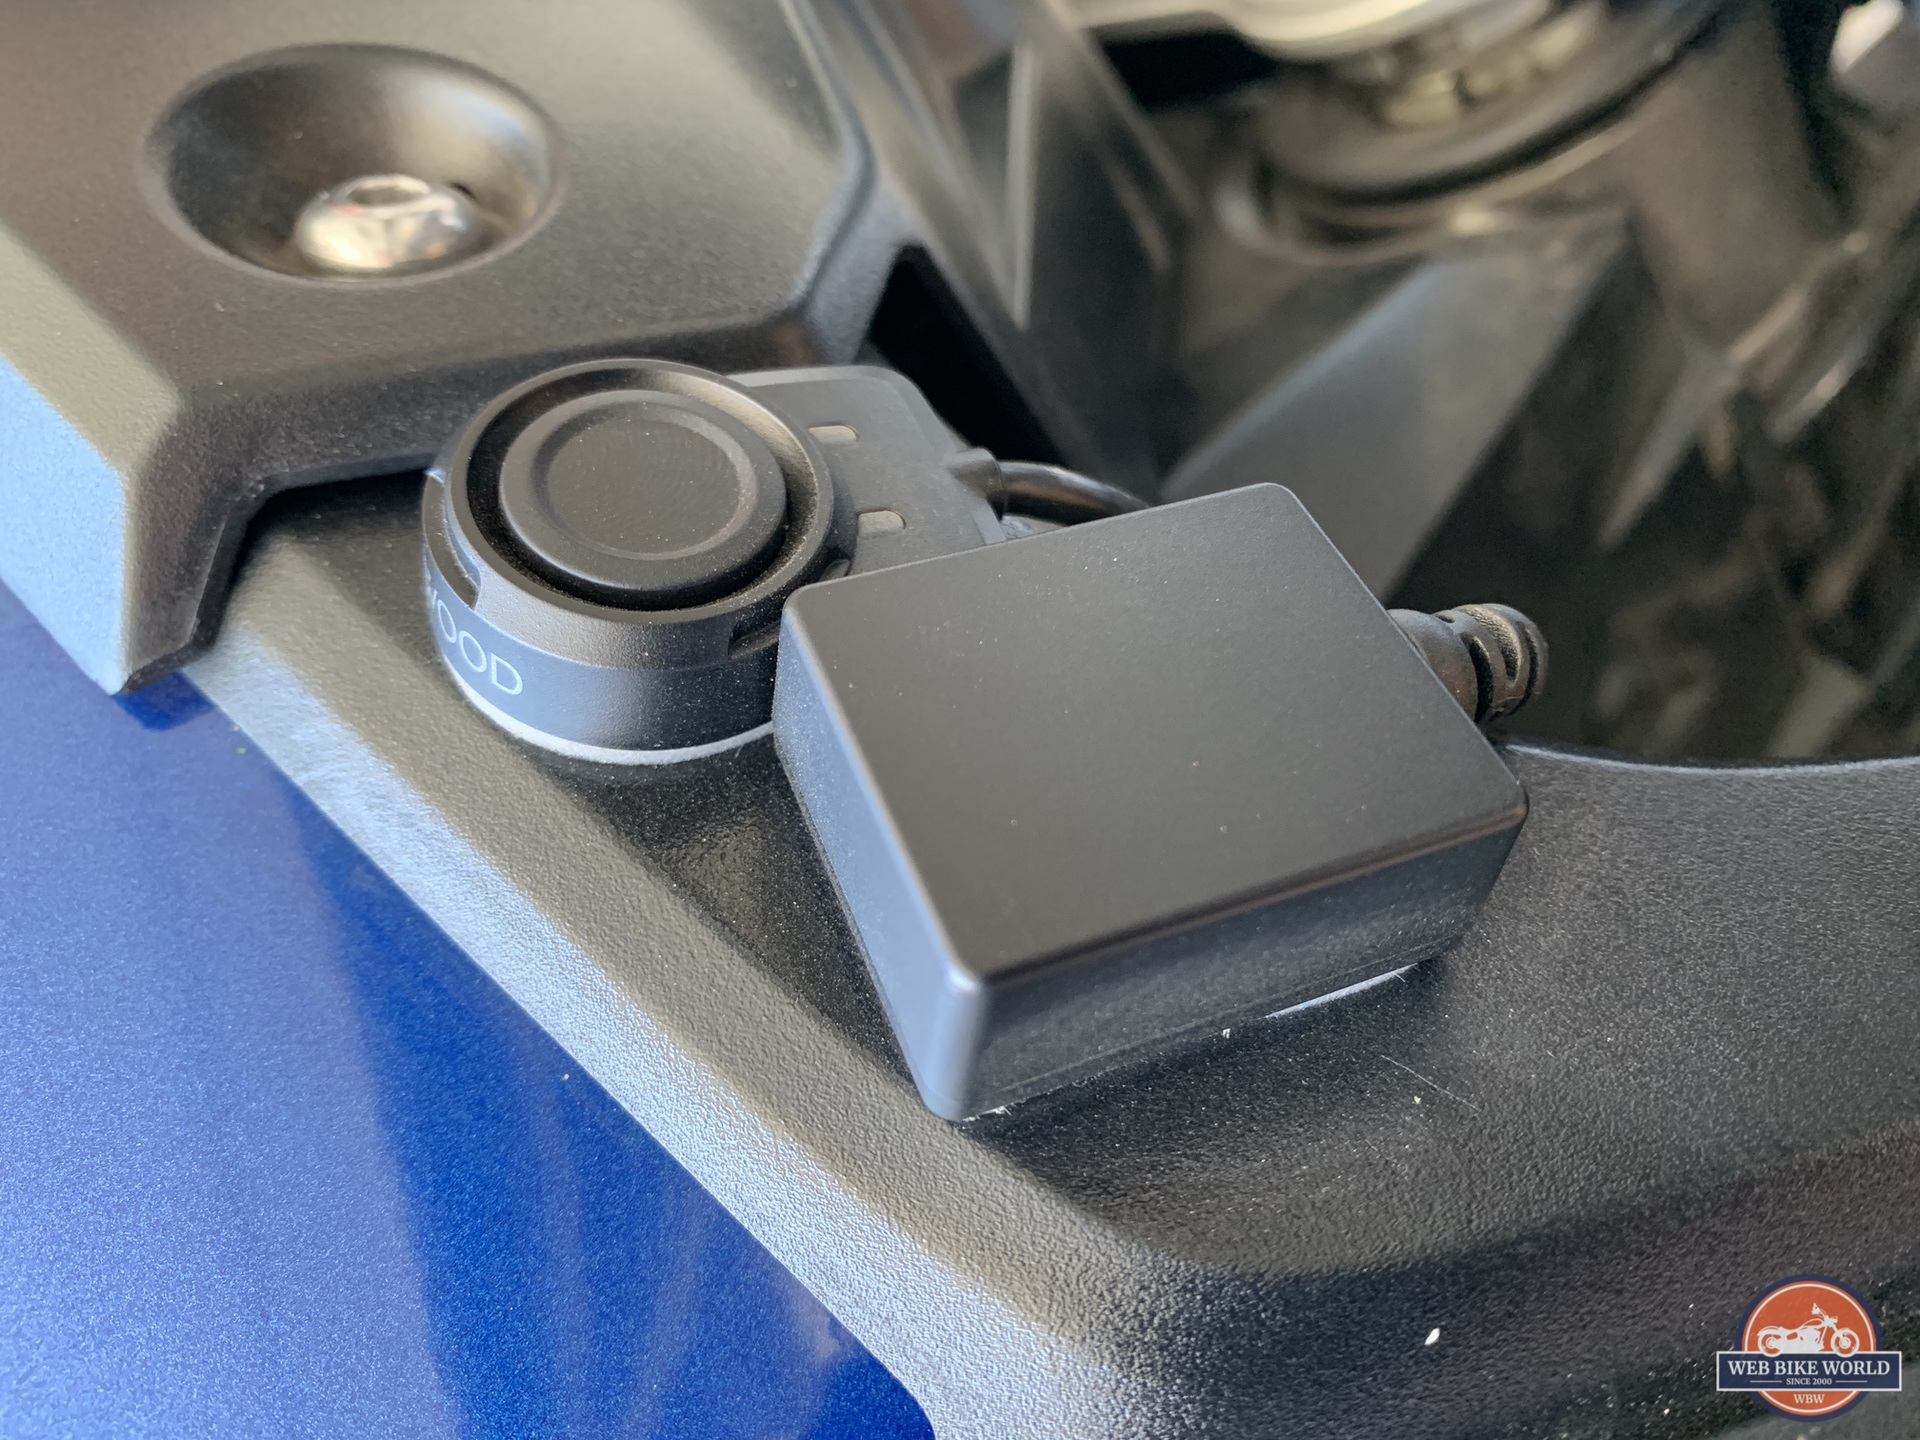
SWITCH – The switch comes in a small, sealed box housing with a Function Button and 2 LED status indicators. The switch also comes with a 3M adhesive mounting pad on the back.
The manual recording will start if the Function Button on the switch is pressed during continuous recording. The recorded files for the manual recording are saved separately from the continuous recordings, so it is easier to find. The Function Button is also used to connect your smartphone to the unit using the wireless LAN connection feature found on the main unit, which we will go over in detail below.
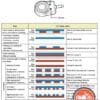
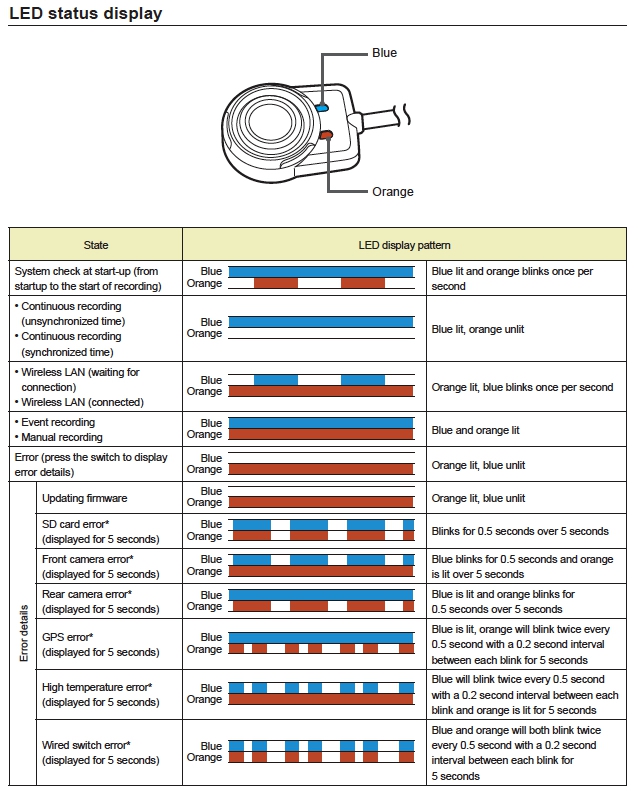
The status indicator on the switch consists of 2 LEDs (Blue & Orange) for the main unit to communicate with the rider. The LED will display a pattern depending on the situation and status. The LED on the switch does a great job. It is extremely bright, and the design helps the rider see from an angle.
One place for improvement is the initial system check on the start-up status display, which should be programmed to come on when the motorcycle is turned on. At the very beginning of the installation, the LED status light took a while to come on when the key was in the on position; we kept going back and forth to see if the power cable was installed incorrectly or if it was faulty. After giving up and grabbing a beer, we finally saw that the blue LED was lit and orange was blinking. Sure enough, good things really do come to those who wait.
Check out the chart for the LED status display. It would be a good idea to save this onto your phone for reference.
GPS ANTENNA – The GPS antenna comes in the form of a small sealed plastic housing with 3M adhesive mounting pad on the back. The GPS feature is compatible with all known Global Navigation Satellite System (GNSS) systems. The GPS module should be installed in a location where it can easily receive satellite signals and angled upward towards the sky to have the best result.
POWER CABLE – If you ever installed a Garmin or USB outlet for your motorcycle, then this power cable provides the same setup. Red goes to the battery’s positive terminal and black goes to the negative terminal. The yellow wire goes to a “switch” wire that powers on when the key is on. Check out the Installation section to see where the yellow wire went on the Triumph Tiger Explorer.
ACCESSORY PACK – The accessory pack came with 4 zip ties, a 32GB MicroSD with an SD adapter, 3M adhesive paddings for the cameras, 3m adhesive strips for the main unit, and the hex tool for adjusting the cameras.
Kenwood STZ-RF200WD Installation Notes
While the installation will vary widely depending on the bike you are installing it on (and how meticulous you are about hiding wires), the Triumph Tiger Explorer 1200 took the better part of a couple of weekends to install, plus a visit to the dealer. Pretty much all the bodywork needed to be removed including the tank and airbox.
To be frank, I am not a mechanic by trade nor am I an advanced garage monkey. So tackling the tank and airbox on the Triumph was just outside of my mechanical abilities. Once installed, however, all the component cables are pretty much out of sight, and cables are routed securely to the frame so there is no chance of anything being caught up in anything else or impacted by heat, etc.
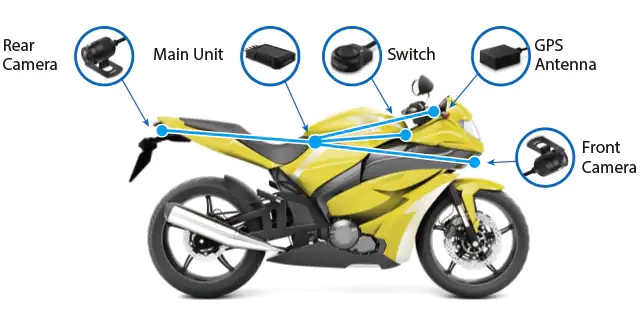
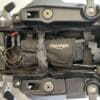
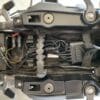
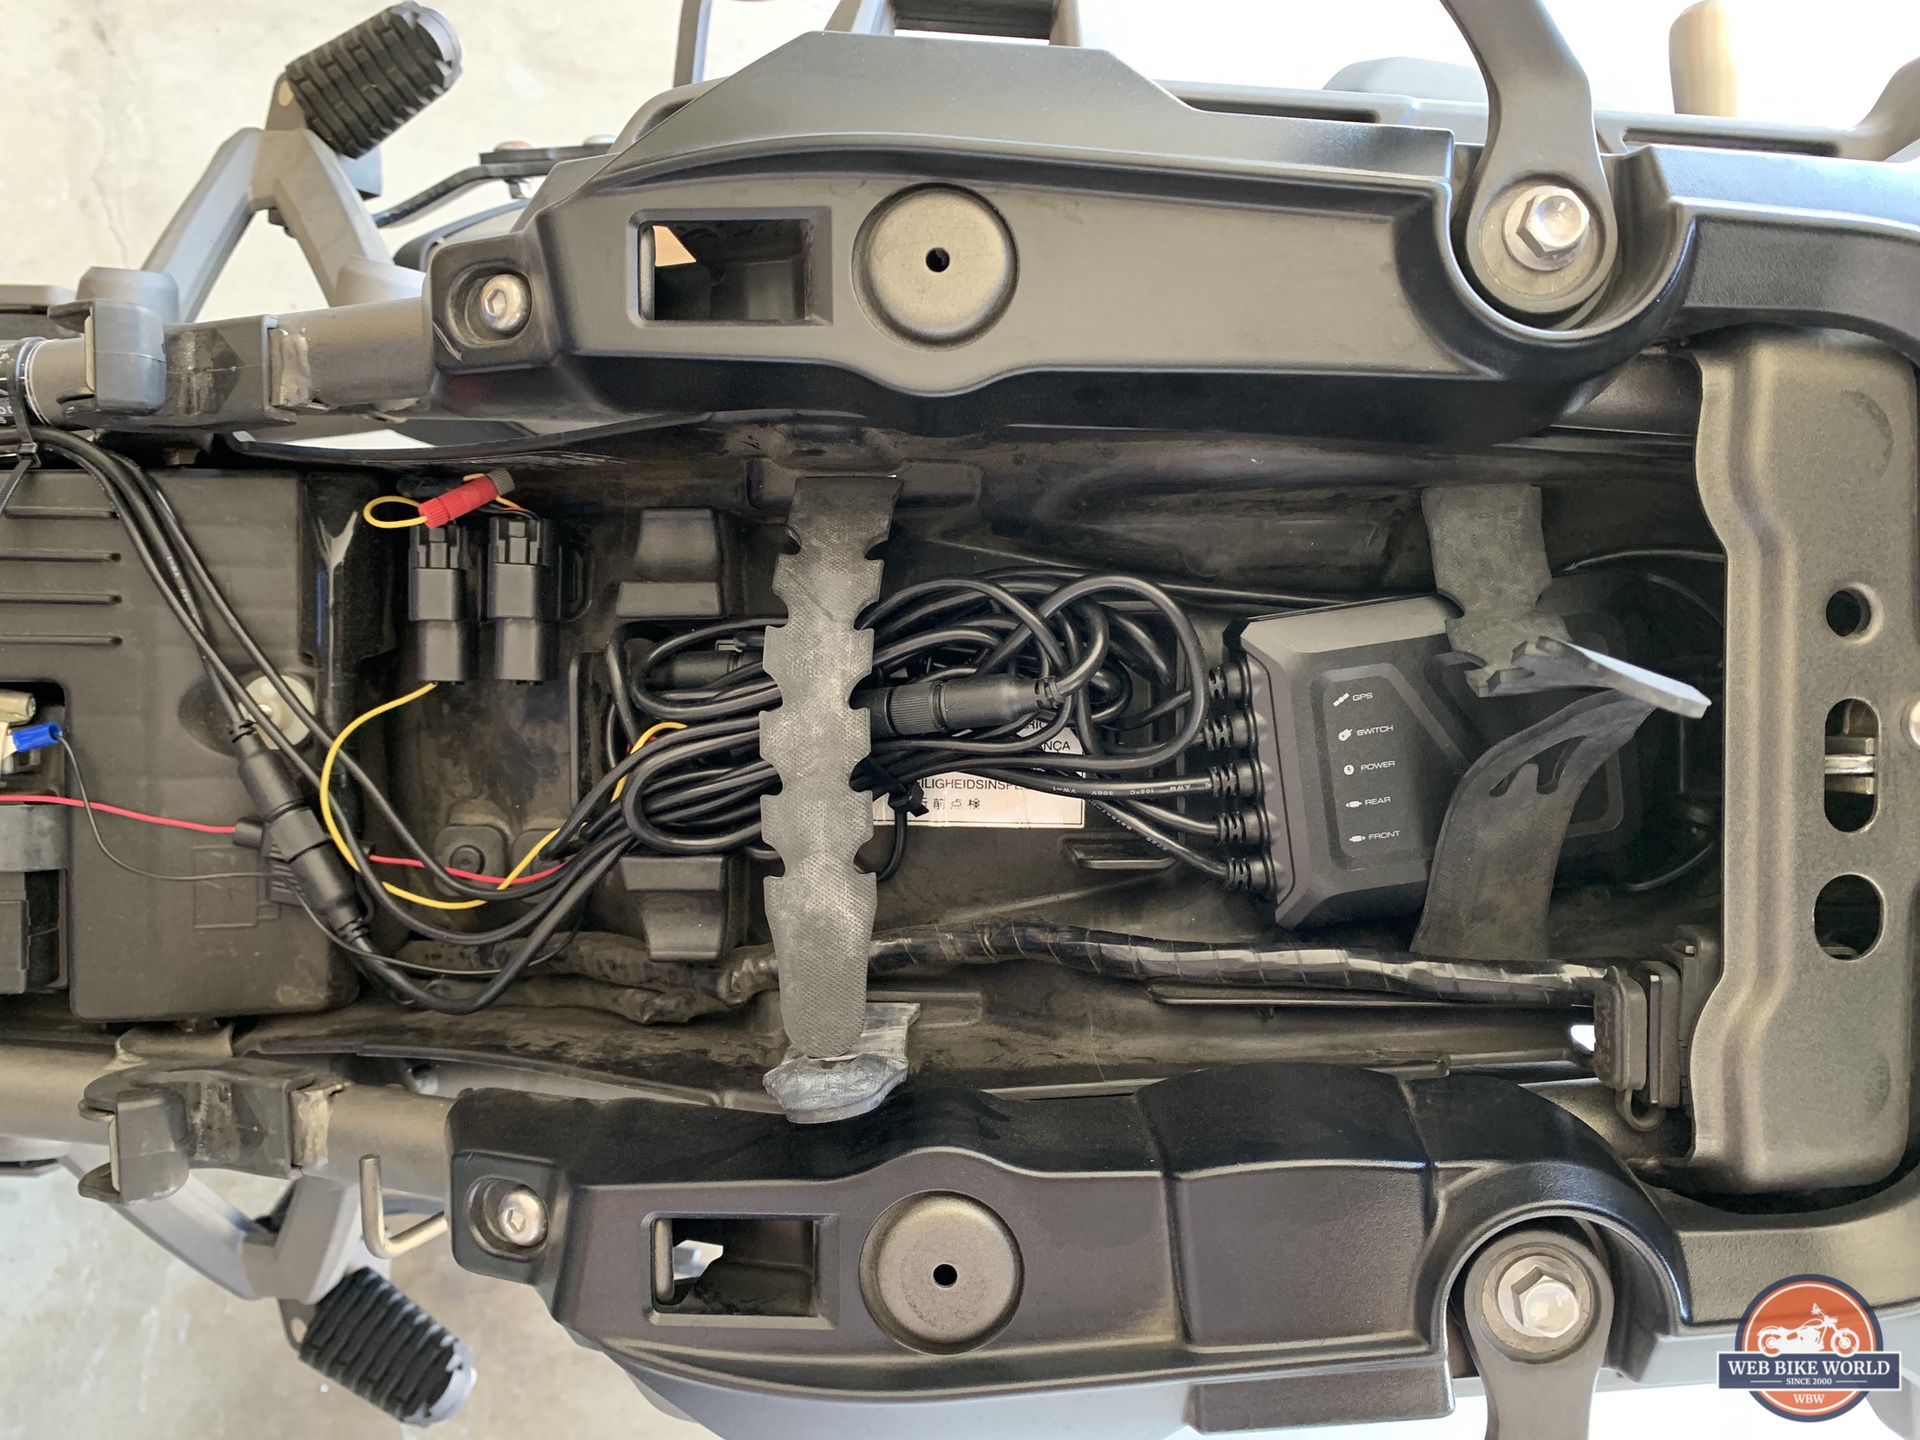
Main Unit – One important item to note is that in order for the system to correctly display the orientation of the G sensor in the embed data, you must attach the main unit with the cable side facing the FRONT of the vehicle. With that said, the Tiger had the perfect space for placement right underneath the passenger seat. With the cables facing the front of the motorcycle, I was able to neatly hide all the extra cables under the tool pouch.
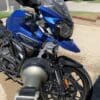
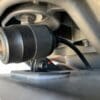
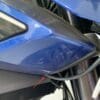
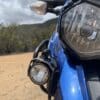
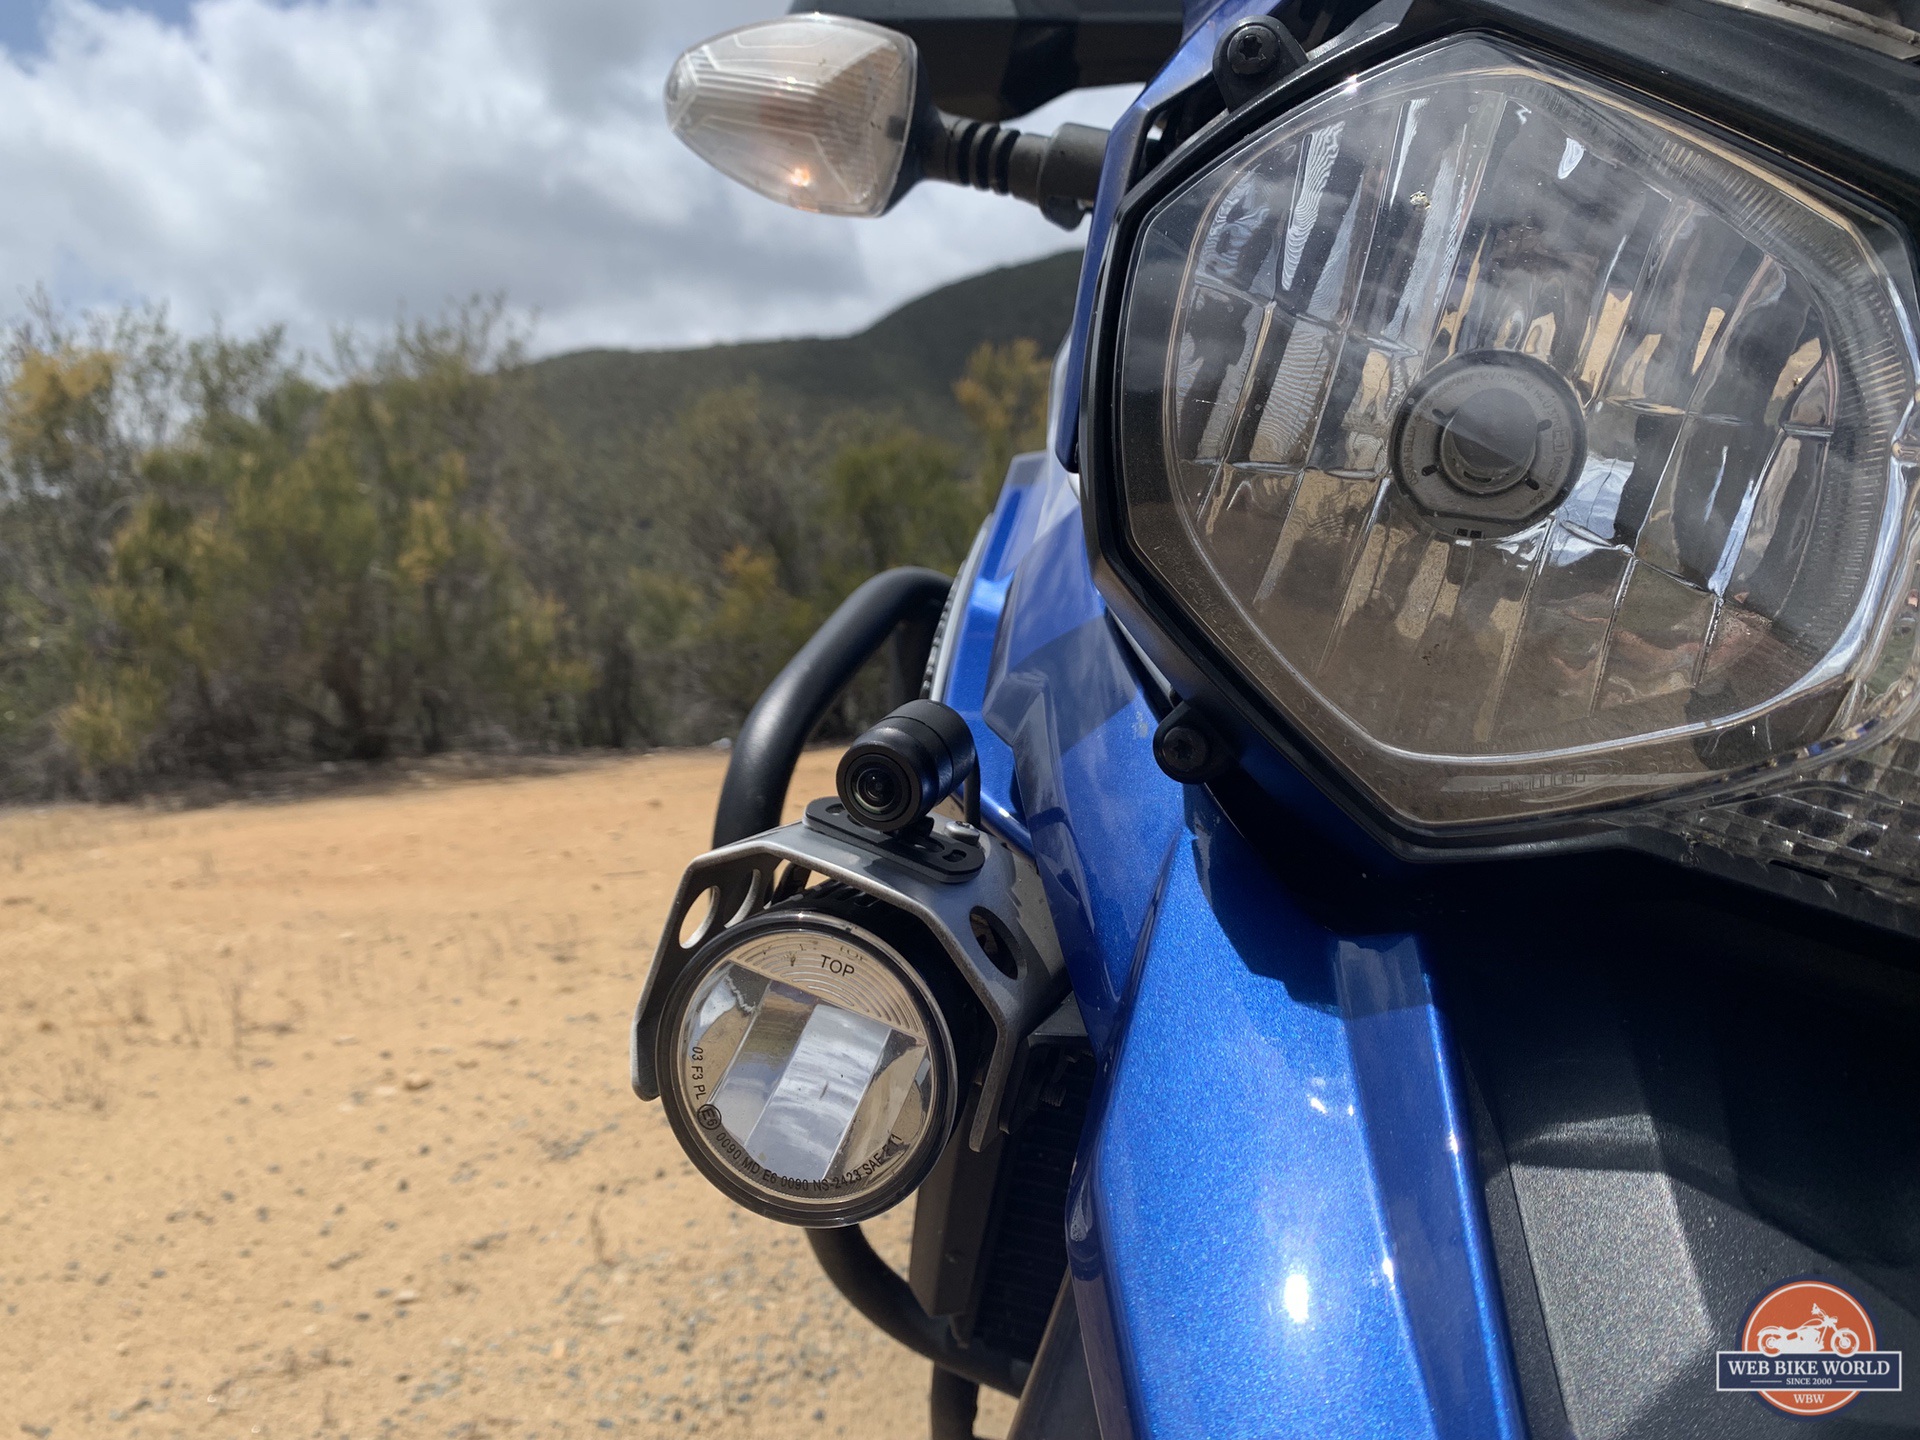
Front Camera – If you’re like me, it probably will take you endless hours to figure out the perfect location for the cameras. For the Triumph Tiger Explorer, I did not want to drill into any of the plastics to bolt it down. I finally opted for the camera to be placed on top of the accessory fog lights. The fog light metal trim had a perfectly flat surface for the 3M adhesive to fully grab on—the last thing I wanted was for the camera to come flying off.
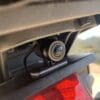
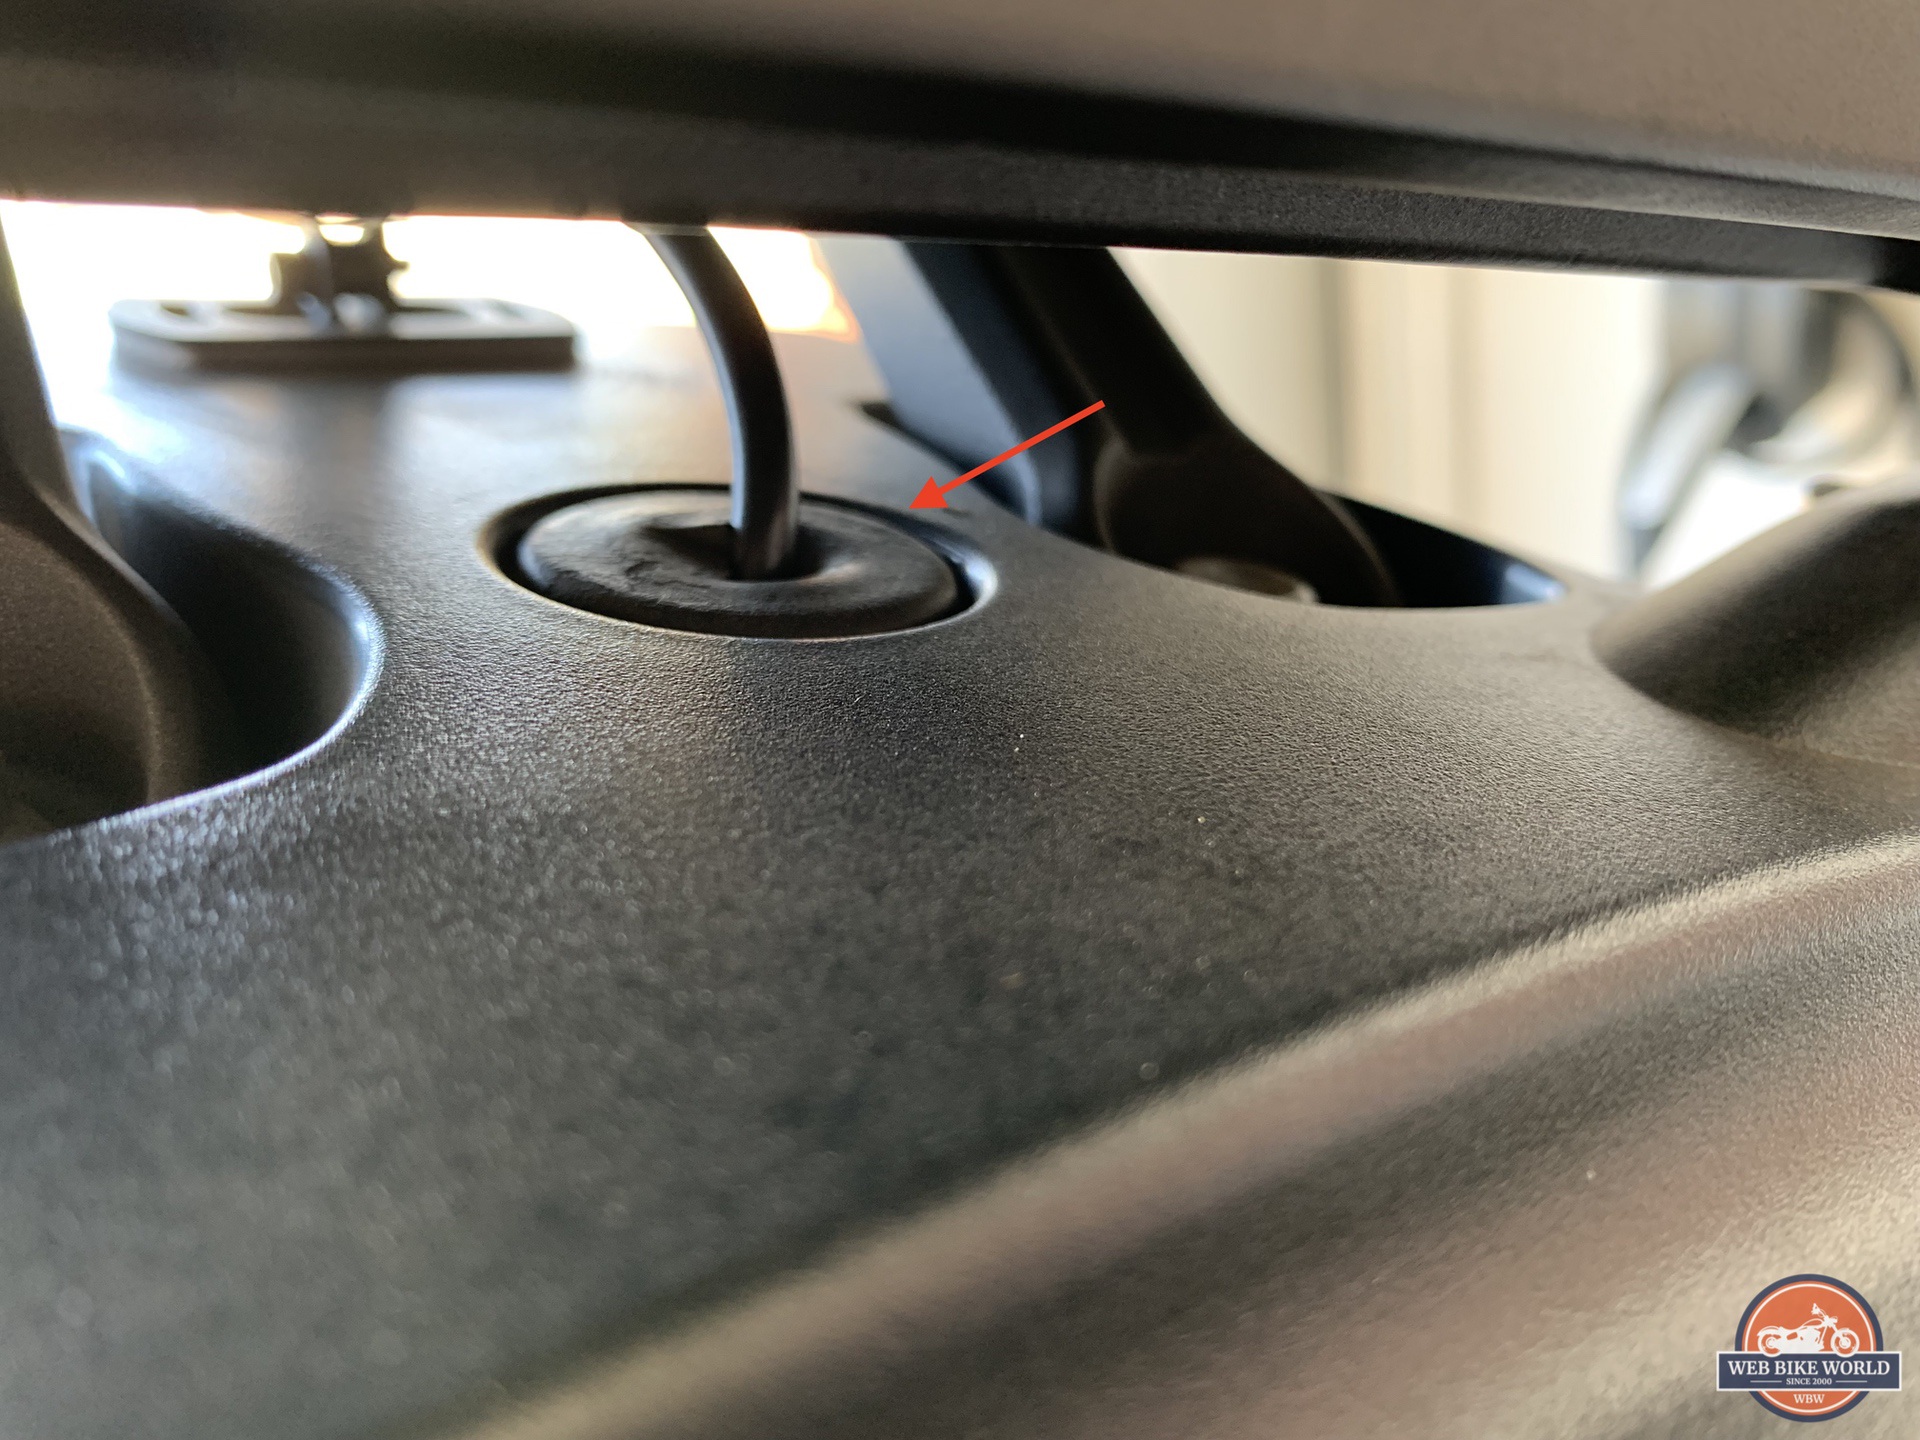
Rear Camera – The rear camera was a no-brainer. Sitting just above the rear brake light on the tail panel. Why? There was a rubber fairing plug in the tail panel where the wire can route without any drilling. It’s like it was meant to be.
This layout is stable and well-protected from the elements as well. The top box’s luggage rack does intrude into the upper part of the field of view. After reviewing the footage from the test rides, however, I am satisfied with the placement, since my main objective for the rear camera was to be able to read the license plates.
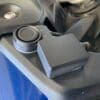
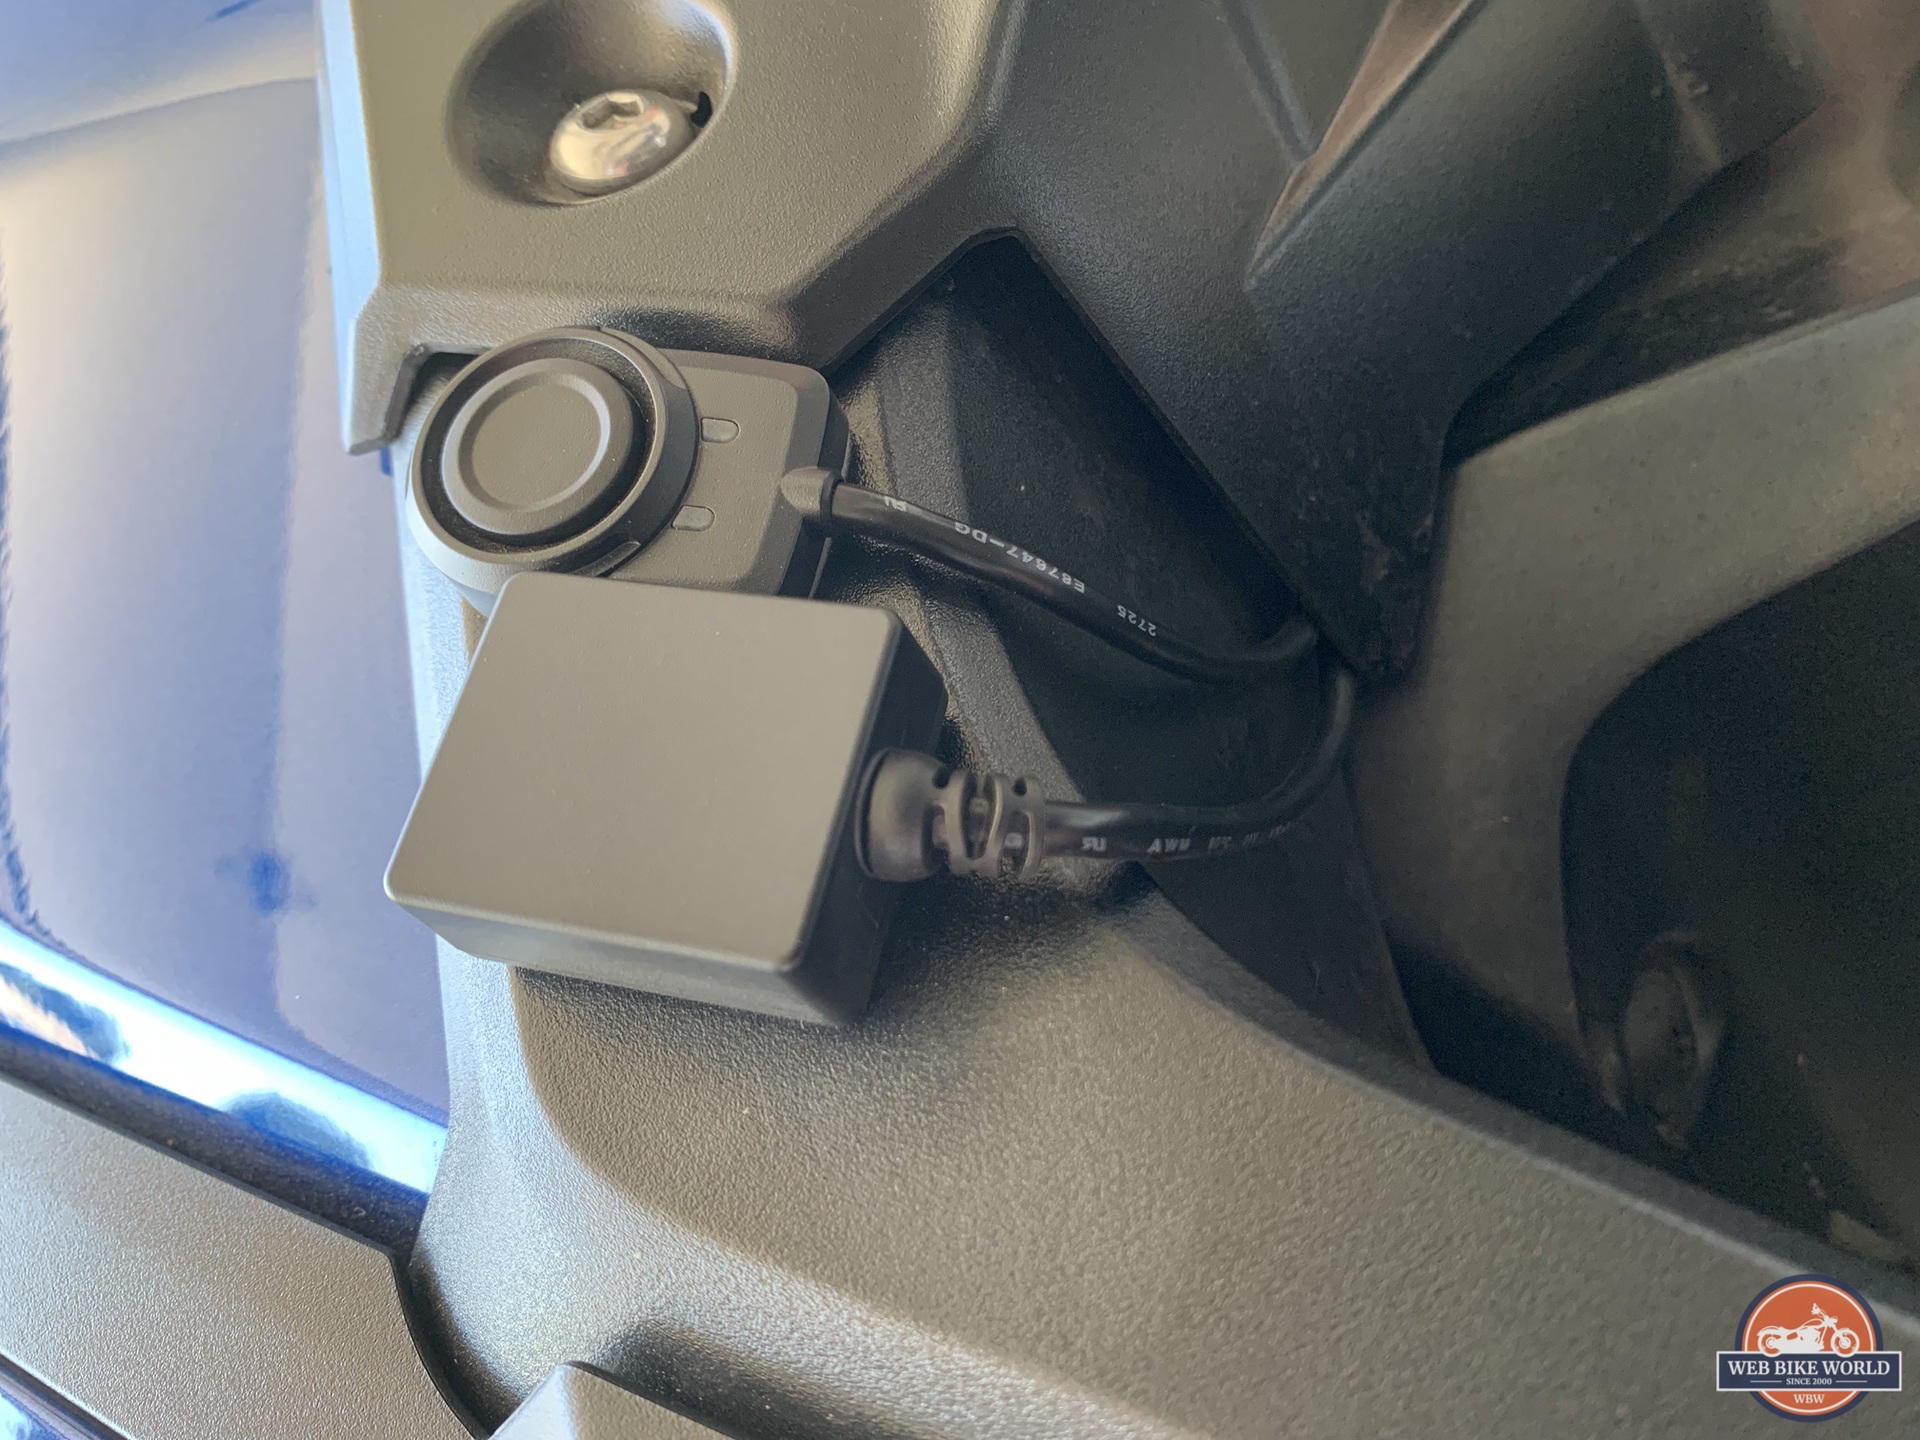
GPS Antenna – The GPS antennae found with most motorcycle systems tend to be a bit weak receiver-wise and clear line of sight positioning works best when they’re mounted in a location where they can easily receive satellite signals. Mounting the antenna module on the top right tank infill black plastic will help with future maintenance if the tank needs to be removed for access to the airbox. If permanent mounting with the included 3M adhesive padding worries you, then a 3M Dual Lock reclosable fastener will do the trick as well.
Switch – The user manual stated to install the switch in a location that is easy to operate. I ended up installing it next to the GPS Antenna to give it a clean stealthy look.
Power Cable – Just like installing a Garmin GPS with a switch relay, the power cable that came with the unit has Red, Black, and Yellow. Red goes to the battery’s positive terminal and black goes to the negative terminal. The yellow wire goes to a “switch” wire that powers on when the key is on.
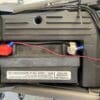
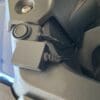
On any motorcycle, this is usually tapped into the positive cable on the tail/brake light. On the Triumph Tiger Explorer, our bikes have two heated seat plugs right under the seat next to the battery.
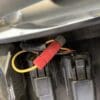
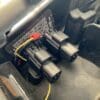
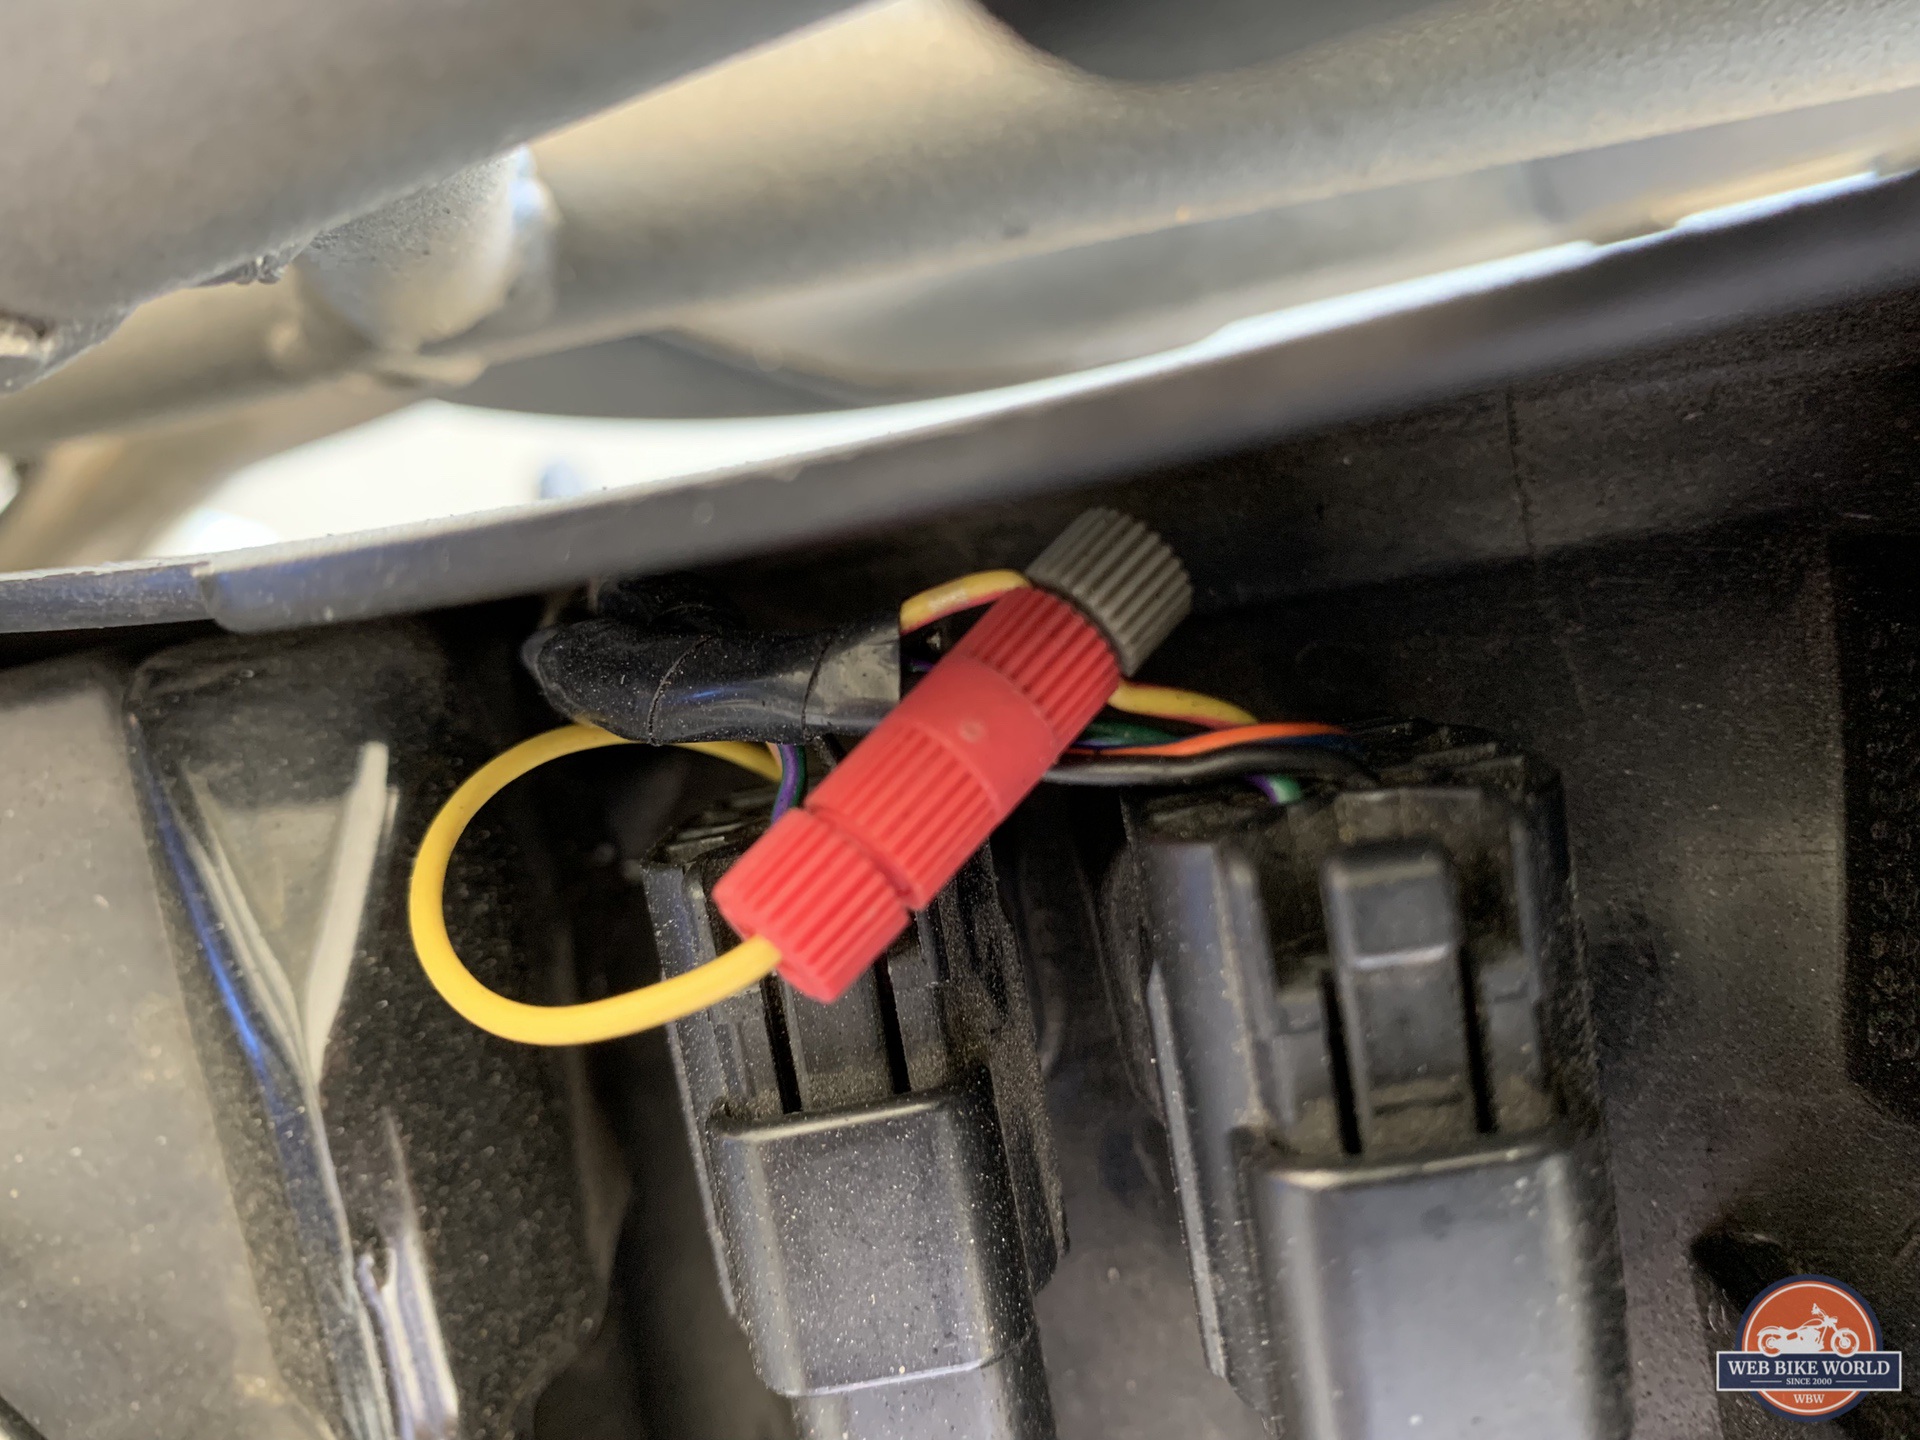
These heated seat plugs do “switch” on when the key is turned to the on position, so it was just a matter of finding which wire coming off the harness was the switched wire. For my 2017 model year bike, it was the bottom left yellow/red wire.
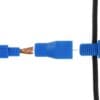
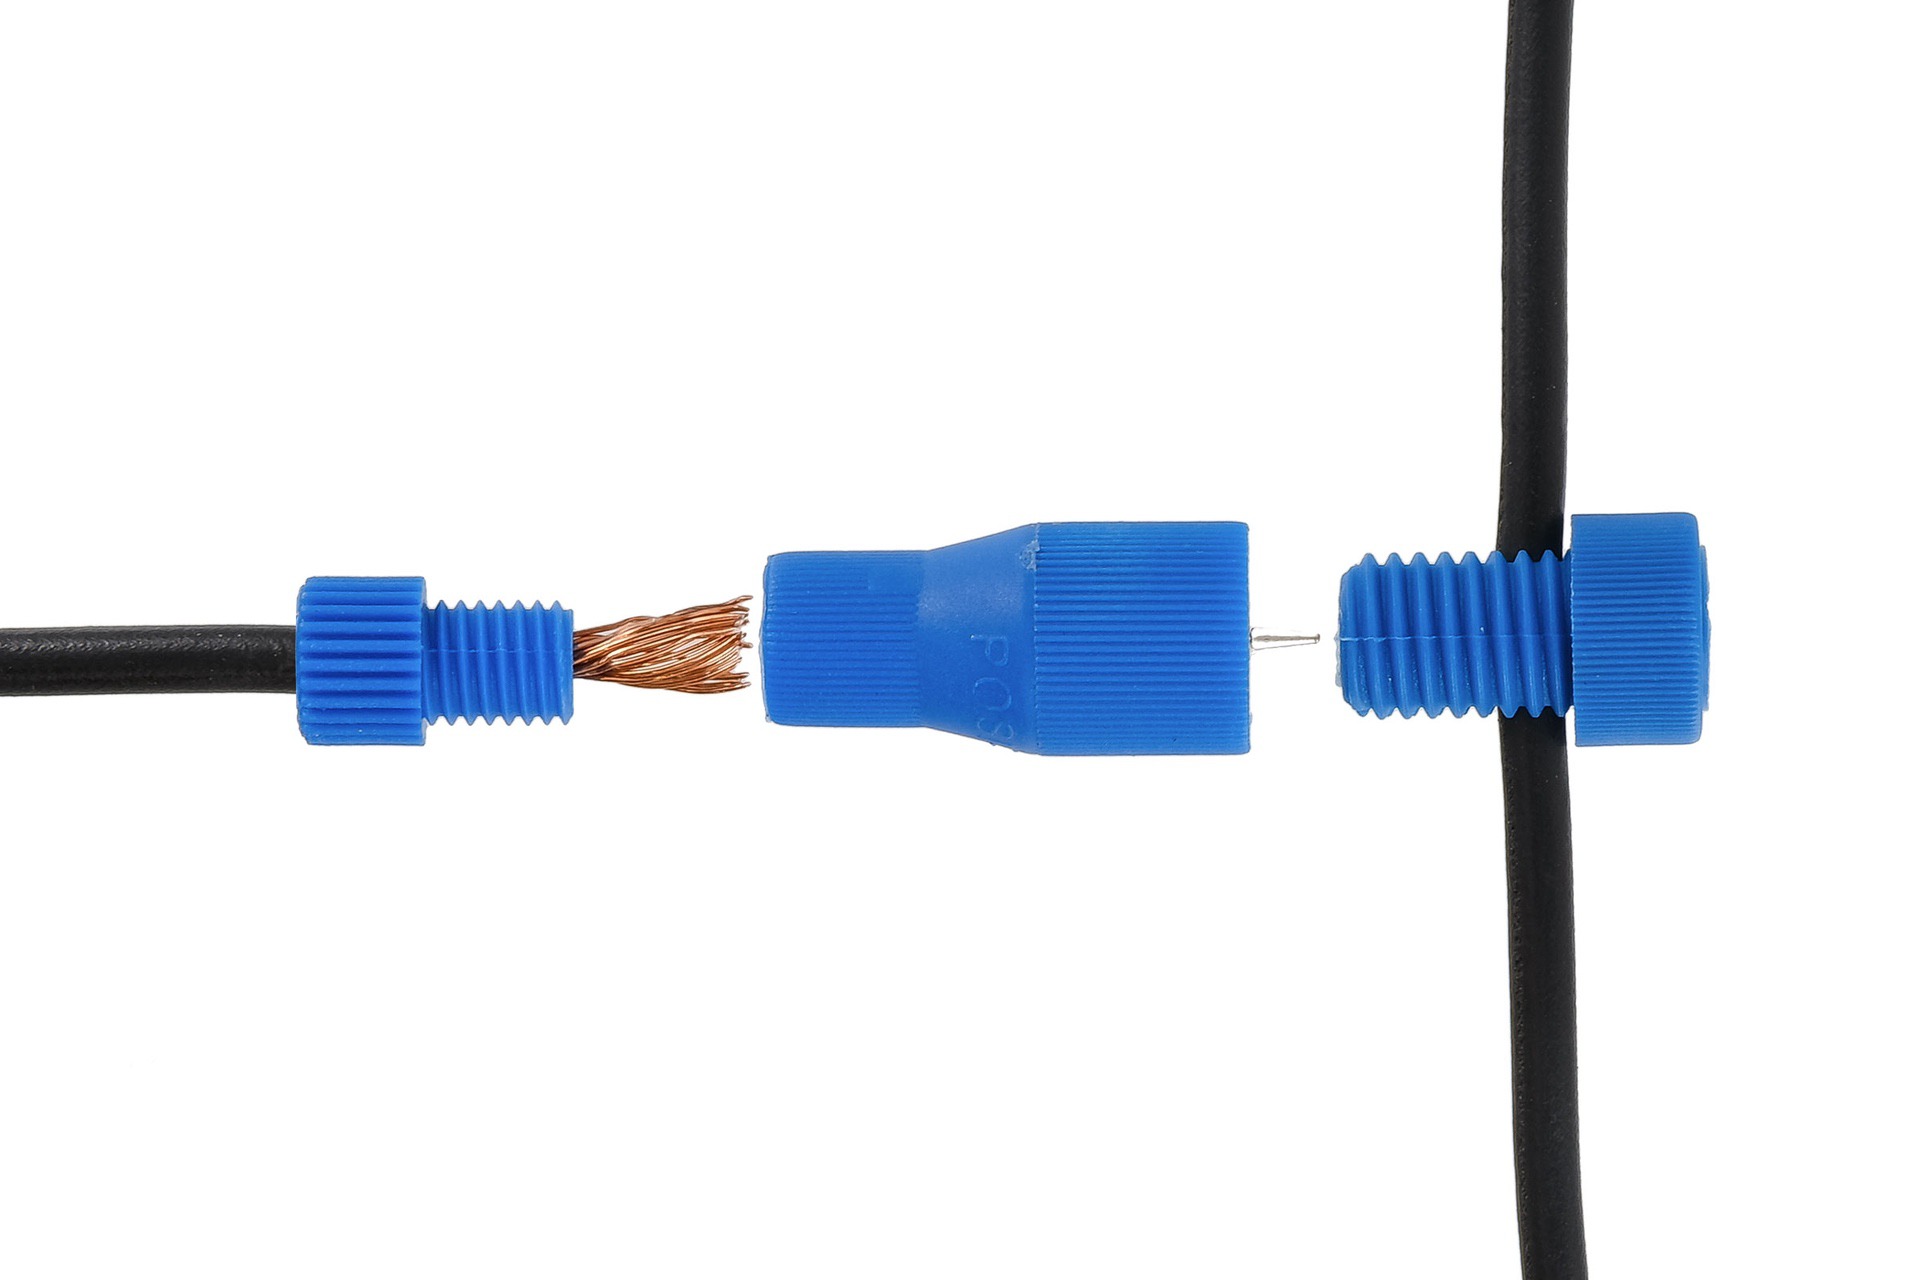
To help save you some headaches down the road, I recommend using a POSI-TAP connector to tap into the switch power wire. They make a great connection, hold on really well, and are extremely easy to install. The camera has been used on and off-road, clocking in over 2,000 miles, and hasn’t had an issue with the power connection.
Kenwood STZ-RF200WD Initial Start-Up & Operation
With the installation completed and a compatible microSD card inserted into the slot, it’s time for the initial start-up test. Once the ignition is turned on and the Kenwood STZ-RF200WD powers up, the system is “hands-off’ with system monitoring provided by the Camera, GPS, and any input via the Function Button.
The only minor gripe I have is the LED status indicator on the switch takes a while to light up after the bike is turned on. The first couple of times, I actually thought there was an issue with the power connection. The tech said it might be due to the heated seat plugs having secondary priority from the motorcycle’s CPU when relaying power, so your situation may vary. However, once it’s on, it goes through the system check and starts recording right away.
Recording Functions
Continuous – this is the normal or default recording mode activated when the system is powered up with simultaneous front and back video recorded per the default or user-selected resolution combination and selected time loop.
The unit will start continuous recording when it is powered on. The default setting is for each recorded minute to be saved as a separate video file. The recording time can be changed with the KENWOOD Motorsports CAM app.
This video is saved to the Normal folder with the letters ‘F’ and ‘R’ used in the file name to identify front or rear media. Media stored in this folder is not protected, meaning that the oldest files will be overwritten as space is required for ongoing video recordings.
Event – during normal use of the STZ-RF200WD system, event recording will start if a sudden force is detected during continuous recordings, like an accident. The unit will record from 10 seconds before a large force affects the bike until 5 seconds after. The unit will return to the continuous recording mode after the event recording has finished.
This video is saved to the Event folder and also has the ‘F’ and ‘R’ identifiers in the file name. Media stored in this folder is protected if the SD card becomes full.
After our long-term testing, I have noticed that under extremely hard braking before a corner, the G-sensor sometimes may think a sudden force has occurred and will record an event. This, however, only happened twice—and after watching the clip, both of those times, I remembered exactly why: entering too hotly into corners.
Manual – if the rider pushes the Function Button on the switch module during continuous recording, a 15-second manual recording will start and the video will be saved in the Manual folder. The LED status on the switch will illuminate both blue and orange simultaneously.
Media in this folder is identified by the letter ‘F’ and ‘R’ in the file name as well. The video in this folder is not overwritten by any continuous loop recording. The Manual mode is a great feature to have. Anytime you see something cool, all you do is “push the button” and it moves the current file into a protected folder.
Cool scenery? Push the button. Animals on the road? Push the button. A car pulls out in front of you? Push the button. Another reason to use the manual recording is to record a segment of your ride that you wish to easily find. Once continuous recording starts piling up, trying to find that one segment of your ride is like looking for Waldo.
The KENWOOD Motorsports CAM App
To get the most out of the camera, you need to install their app, because it allows you to see the cameras in real-time to verify they are pointed in the right direction, gain access to all your footage, and play footage or download it to your phone.
Downloading and installing the KENWOOD Motorsports CAM App is pretty easy. You can find it in your Apple App Store or Google Play Store.
Once this is done, we will need to connect to the unit via the wireless LAN connection. You can achieve this by doing the following:
- Press and hold the Function Button on the switch for at least 5 seconds to switch to wireless LAN mode. The orange status LED will light up and the blue one will start blinking. This shows that the unit is preparing to connect to your smartphone.
- Open the setting on your smartphone.
- Set WiFi to ON and bring up the list of available networks.
- Look for STZ_RF200WD_9_(serial number) and tap to select. If it is not showing up, alternatively, turning the device’s WiFi OFF and ON often helps speed up the scan/search process, as does manually initiating a scan.
- Enter the default password “12341234”, after which the connection is (or should be) made.
Tip: if the device has difficulty discovering the wireless LAN, put the device into Airplane mode to restrict external or internet connectivity and then turn on ONLY the WiFi, after which the wireless LAN ID should appear and be connectable. If not, have you tried turning your phone off and on again?
Note: some iOS and Android devices may present a message like, “This WLAN network has no internet access. Connect anyway?” Just select ‘connect’ and all should be good.
Once connected, head over to the KENWOOD Motorsports CAM App. The layout on the main screen is simple. Getting to know any new system is a good thing (read the manual, use the features). Or just go through this detailed review and you will be able to get your money’s worth from the system. One of the best ways to do this is to get comfortable with the App interface because all the settings and features will be accessible there.
To keep this review concise, an abbreviated explanation of using the KENWOOD Motorsports CAM App is provided below, with a focus on features and settings.
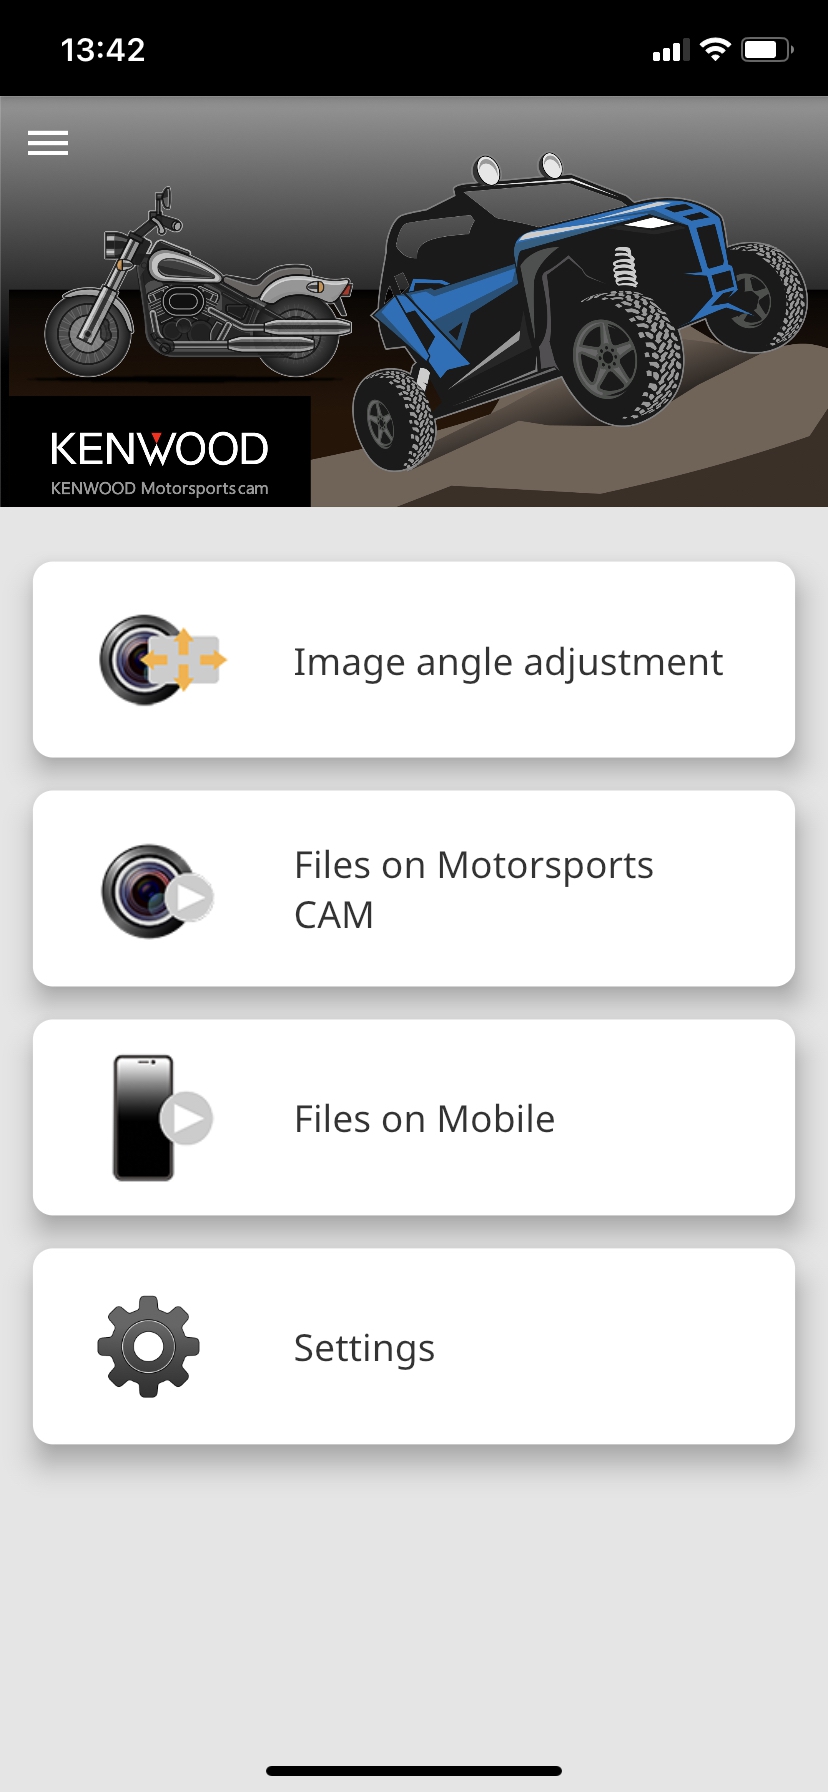
As shown in the screen above, the main screen of the KENWOOD Motorsports CAM App has 4 tiles identifying the functional groupings: Image angle adjustment, Files on Motorsports CAM, Files on Mobile, and Settings. The use of the app is pretty straightforward and easy to understand.
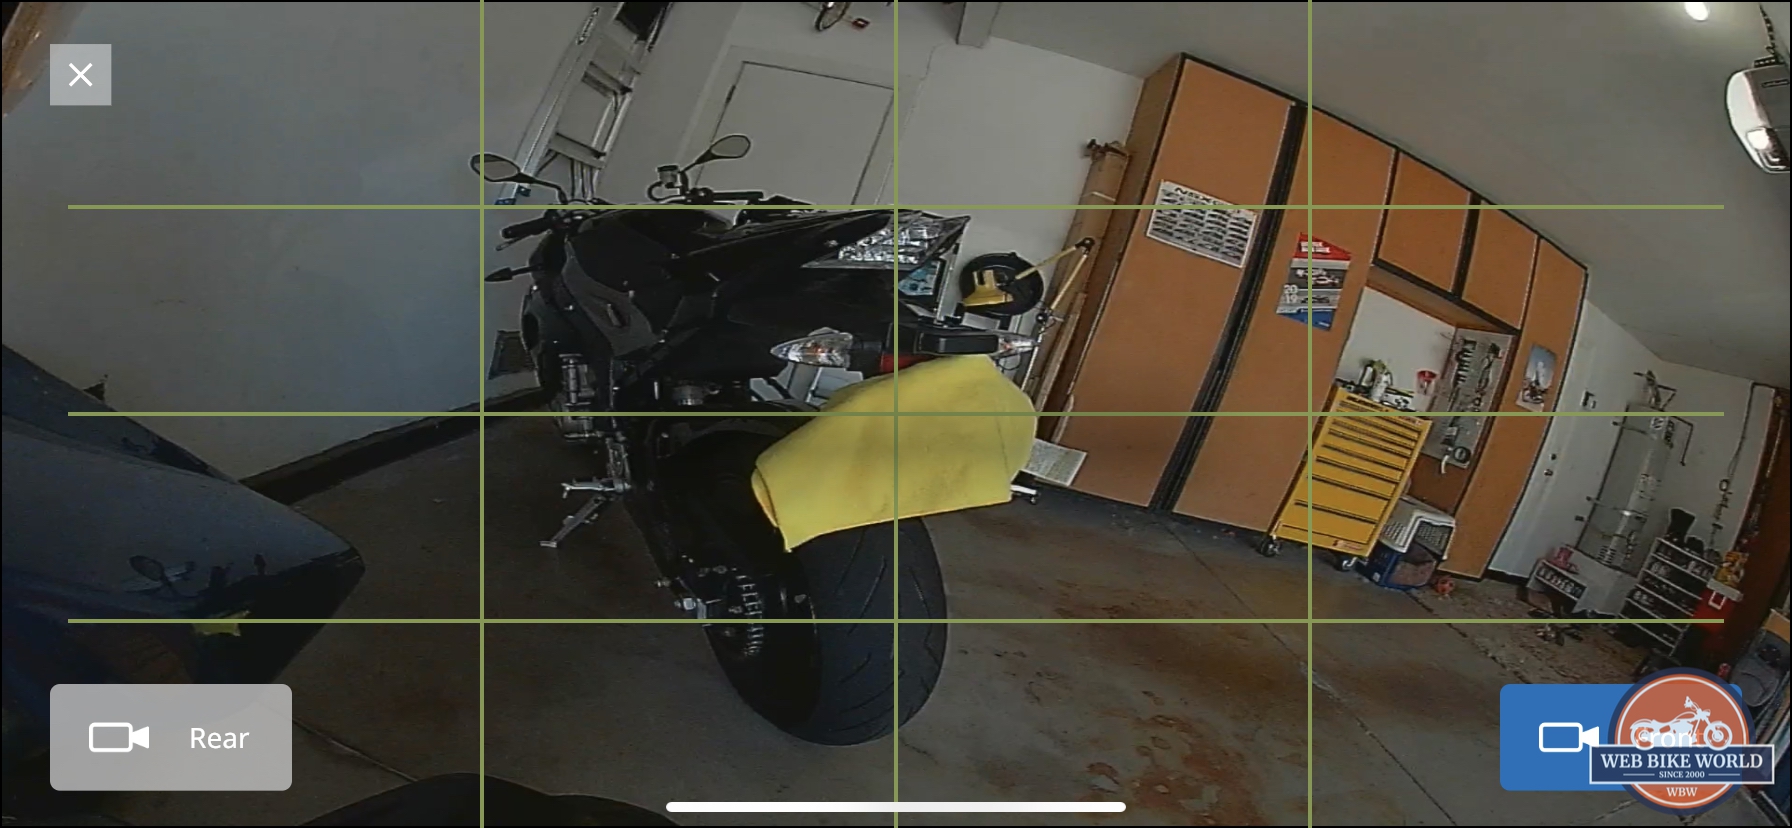
Image angle adjustment – this is where you can adjust the field of view for your front and rear cameras. Once you tap the “Image angle adjustment” it will start with the live feed from the front camera. Tap “Rear” to switch to the live feed from the rear camera. Tap “X” when you are finished with the screen. If it starts with the live feed from the rear camera, the front and rear camera connections are incorrect. Check the camera cable connections again from the main unit.
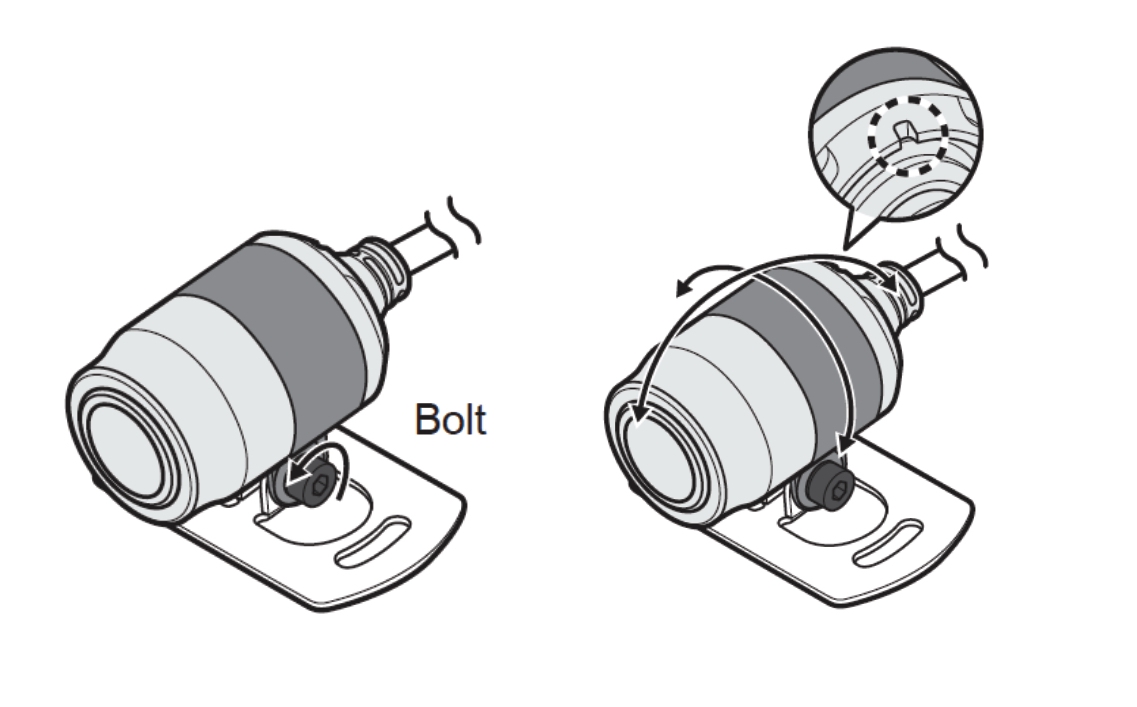
To adjust your field of view, use the included hex key to loosen the bolt on the installation bracket. You can then rotate the camera or up and down to your preferred field of view. Once the adjustment is complete, tighten the bolt which locks the camera in place. Done—easy peasy!
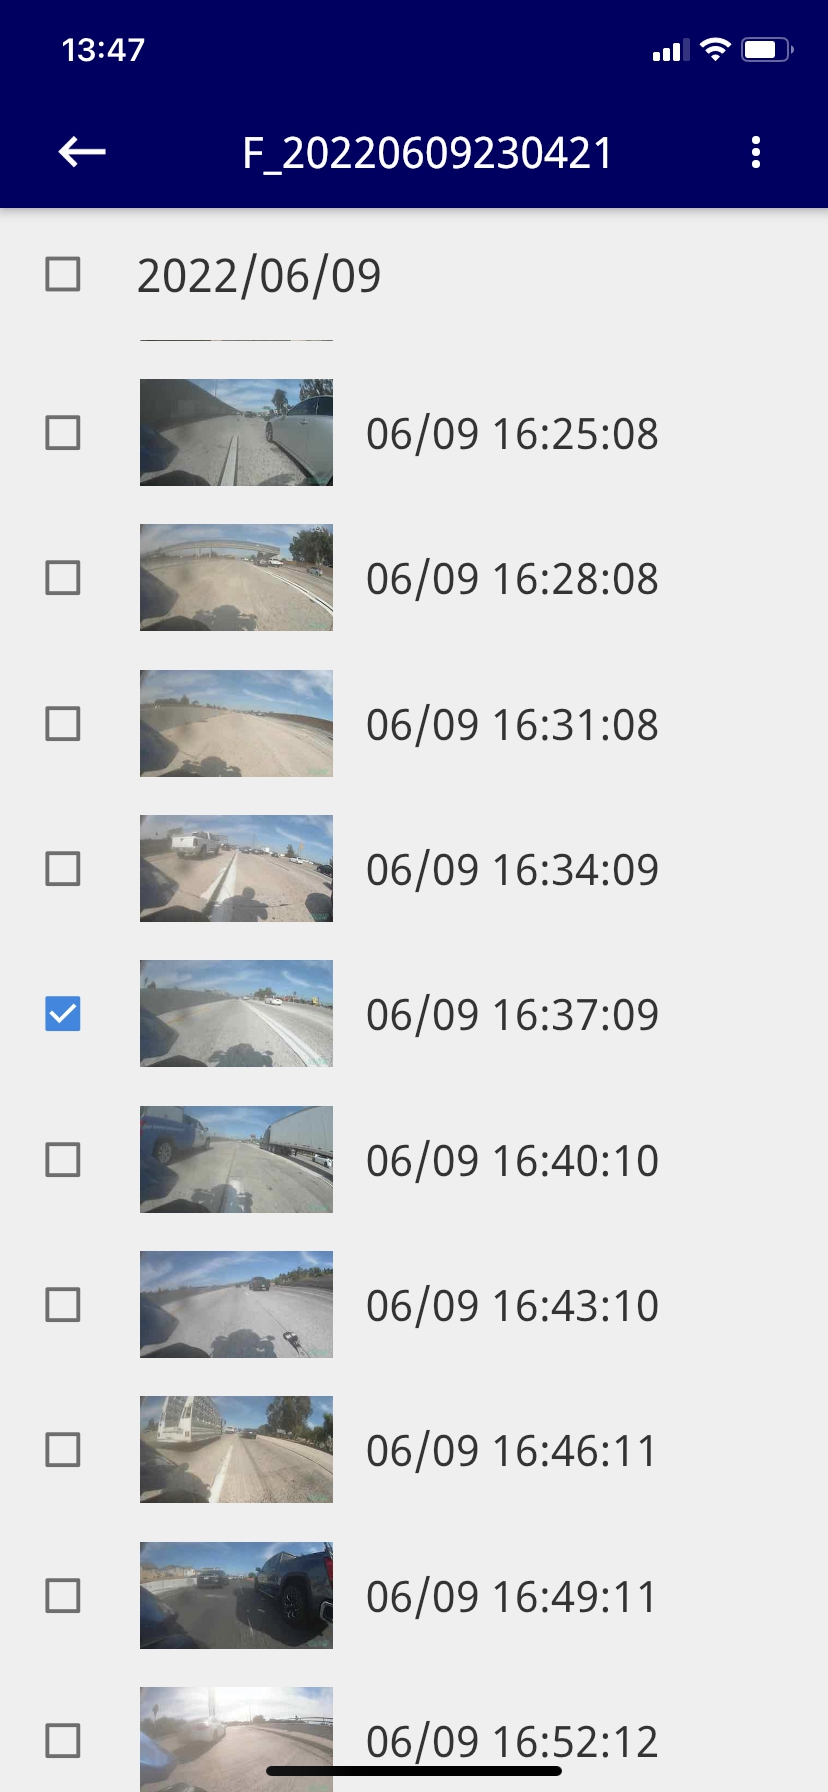
Files on Motorsports CAM – these are media that are on the main unit itself, you can choose to view or download the video from here. The problem with downloading the video through WiFi is that these are big files, so downloading from the camera to your phone using wifi takes a bit of time—and your motorcycle ignition still has to be on, so if you are moving a bunch of files, it takes its toll on the bike’s battery. I’ve found that it’s faster to pull the MicroSD card and view it directly on my computer.
Files on Mobile – these files are what you selected to download from the above option. The video files will also show up on your phone in your native photos app under the MotorsportsCAM album.
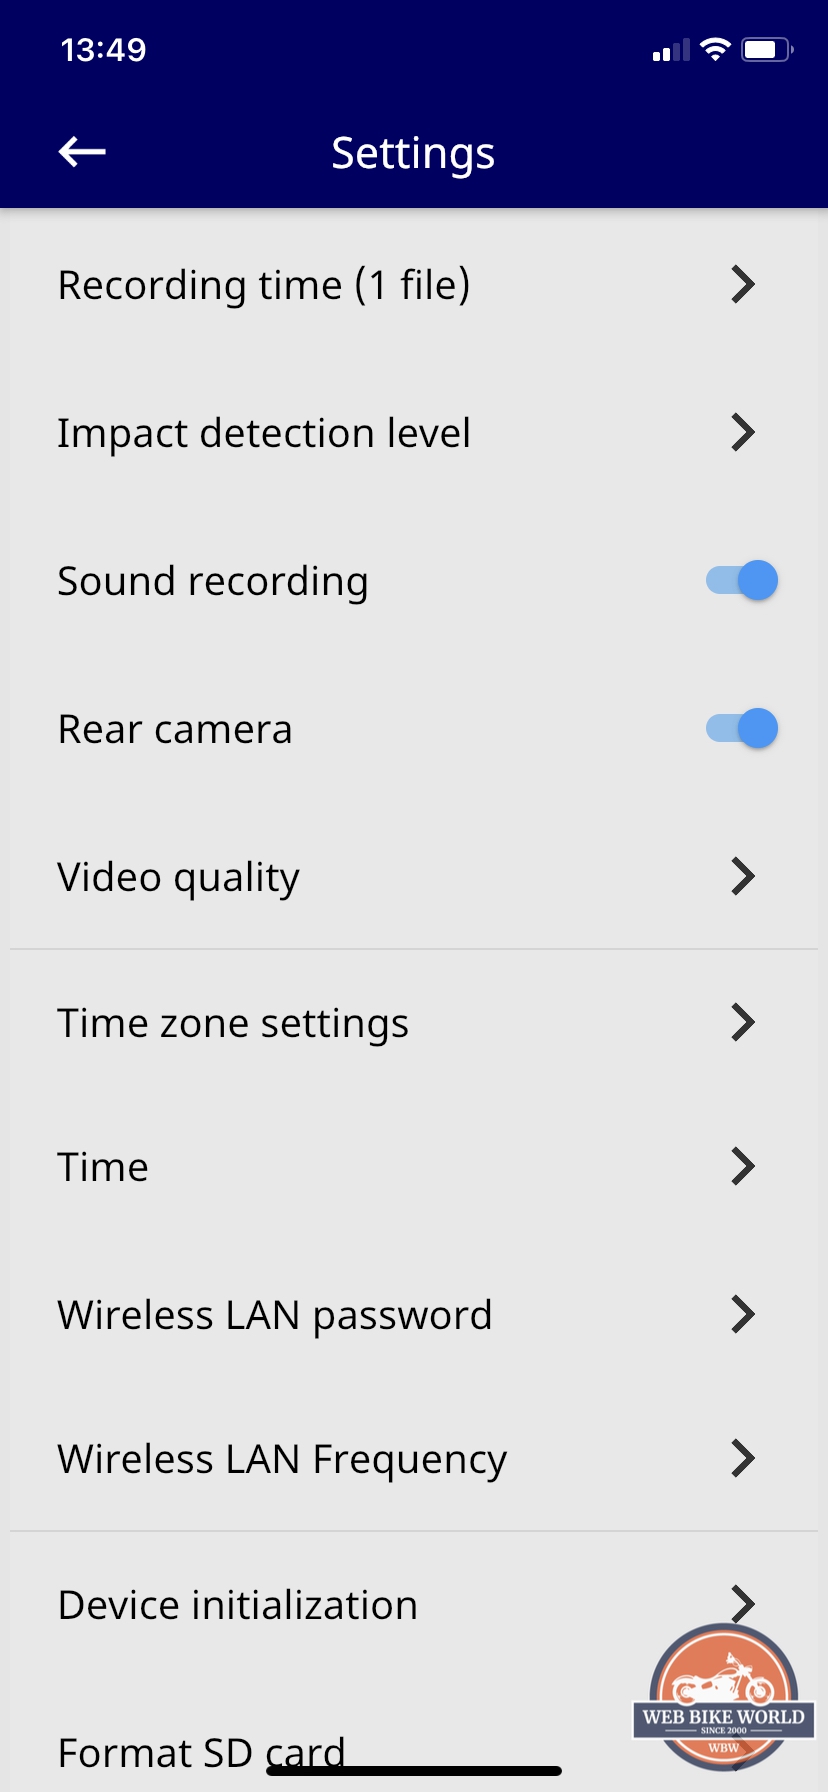
Settings – Scrolling through the settings list reveals the following categories:
- Recording time – sets the time for continuous recording. Possible options: 30 seconds / 1 minute / 3 minutes. The default setting is 1 minute.
- Impact detection level – You can set the detection level for impacts to the bike from 1 (most sensitive) to 5 (least sensitive). The default setting is 3.
- Sound recording – You can set whether to record audio when recording video. The default setting is ON.
- Rear camera – Kenwood gives you the option to set whether to record with the rear camera. The default setting is ON.
- Video quality – There are only 2 options here: Fine or Normal. Default is Fine.
- Time – You can choose to synchronize the time with your smartphone or by time zone.
- Wireless LAN password – This is where you can change the password used to connect to the main unit.
- Wireless LAN Frequency – You can select between 2.4 GHz or 5 GHz. The settings will be reflected when you restart the system. The default setting is 2.4 GHz.
- Device initialization – If anything is wrong, start here. This will revert all settings back to the factory defaults.
- Format SD card – Any time you use a new SD card in a new device, always format the card within the device to make sure it will work properly.
- Display free SD card capacity – exactly what the title says.
- Firmware – This setting only displays the version of the firmware, it does not update from here. For info on how to update the firmware, please see the Firmware Update section.
- Motorsports CAM License Information – if you are into this sort of thing, it is here for your pleasure.
The KENWOOD Motorsports CAM Viewer Desktop Version
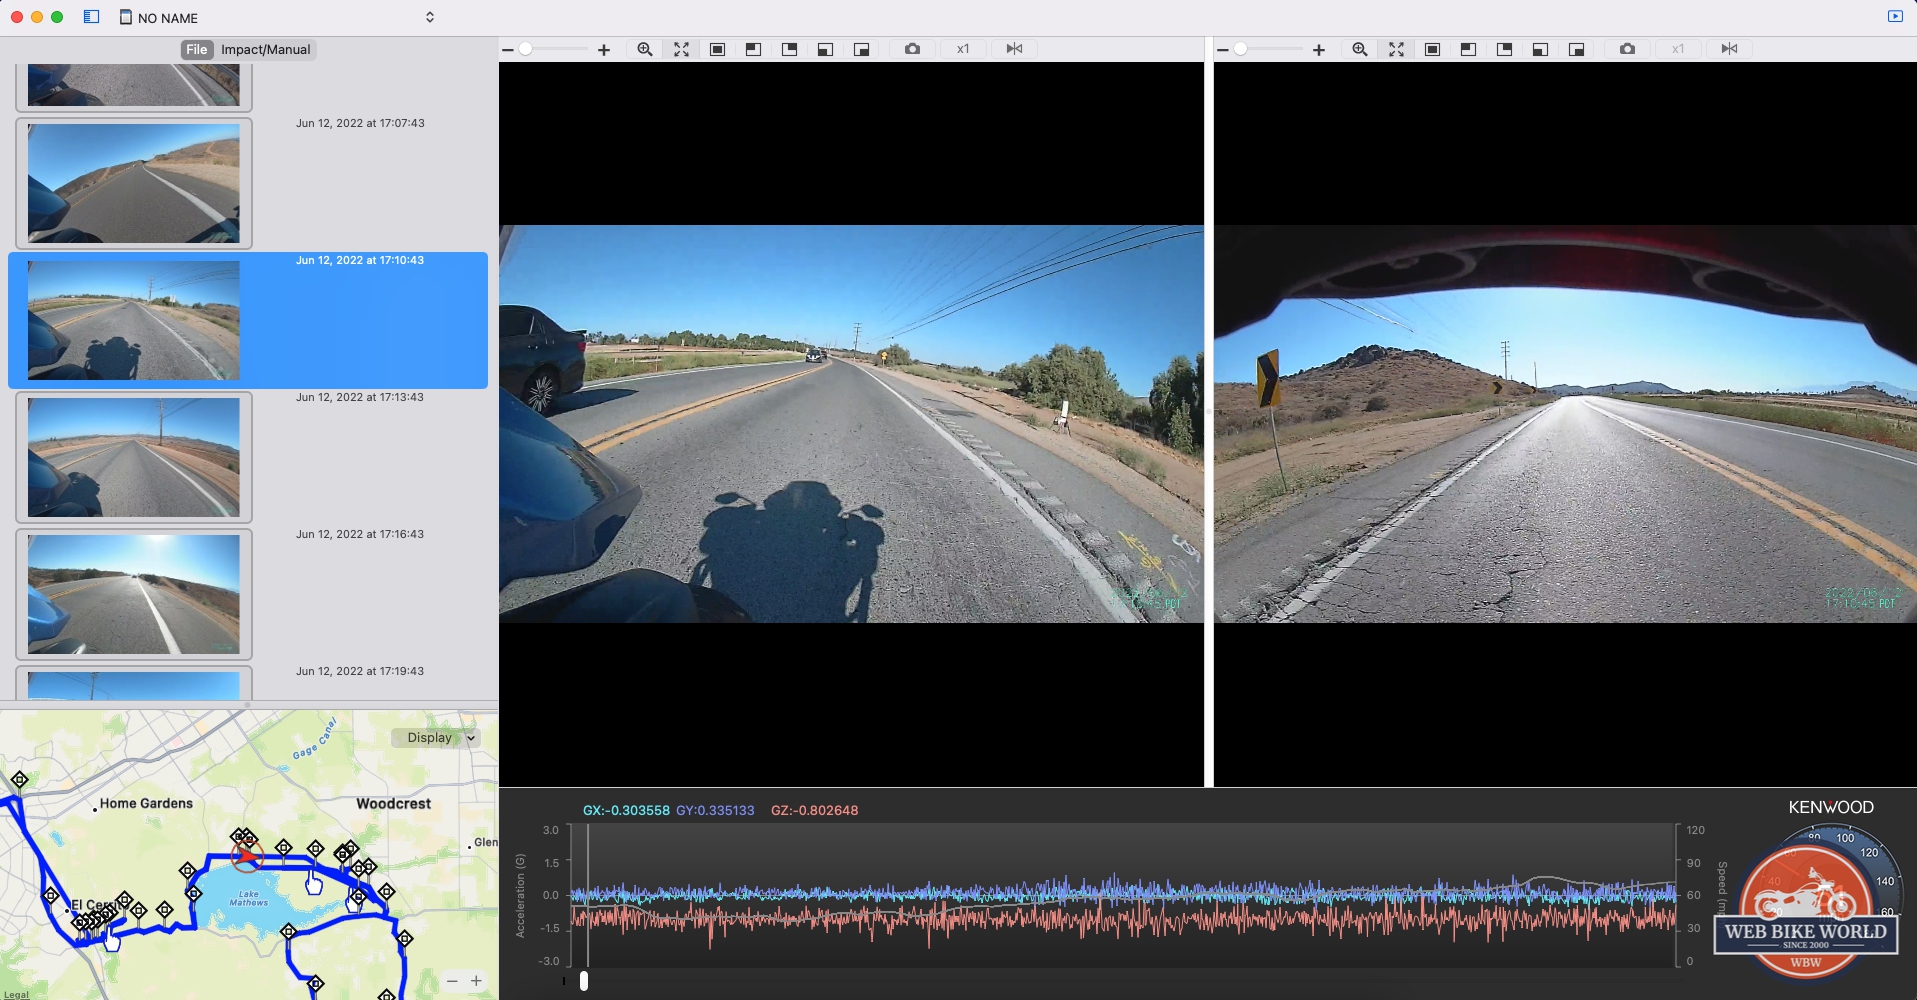
There is no shortage of playback applications on your desktop, but there is only a limited amount of software that will have the ability to playback the multi-channel video, audio, and encoded data coming from the G-sensor. Kenwood provides free software that can be downloaded from their website.
The screenshot above shows a standard Kenwood Motorsports CAM Viewer screen with mapping and G Sensor data displays for the decoded data. We won’t go into the details of using the software today, but you can view the Operations Guide PDF at your leisure.
Firmware Update
The firmware is downloadable from KENWOOD’s Website under the Support tab. Copy the unzipped file to the root directory of any microSD card and stick it into the main unit.
Once the system boots up, the switch’s orange LED will light up when the update starts. The unit will automatically restart once the update is complete and the blue LED will light up back to normal.
The new firmware should now be loaded; you can check the firmware version under Setting → Firmware to make sure.
Kenwood STZ-RF200WD Video Quality
After a couple of months of riding, the STZ-RF200WD is proving to be ultra-reliable recording front and back video; the system turned on and recorded every time. However, the nighttime video quality leaves something to be desired.
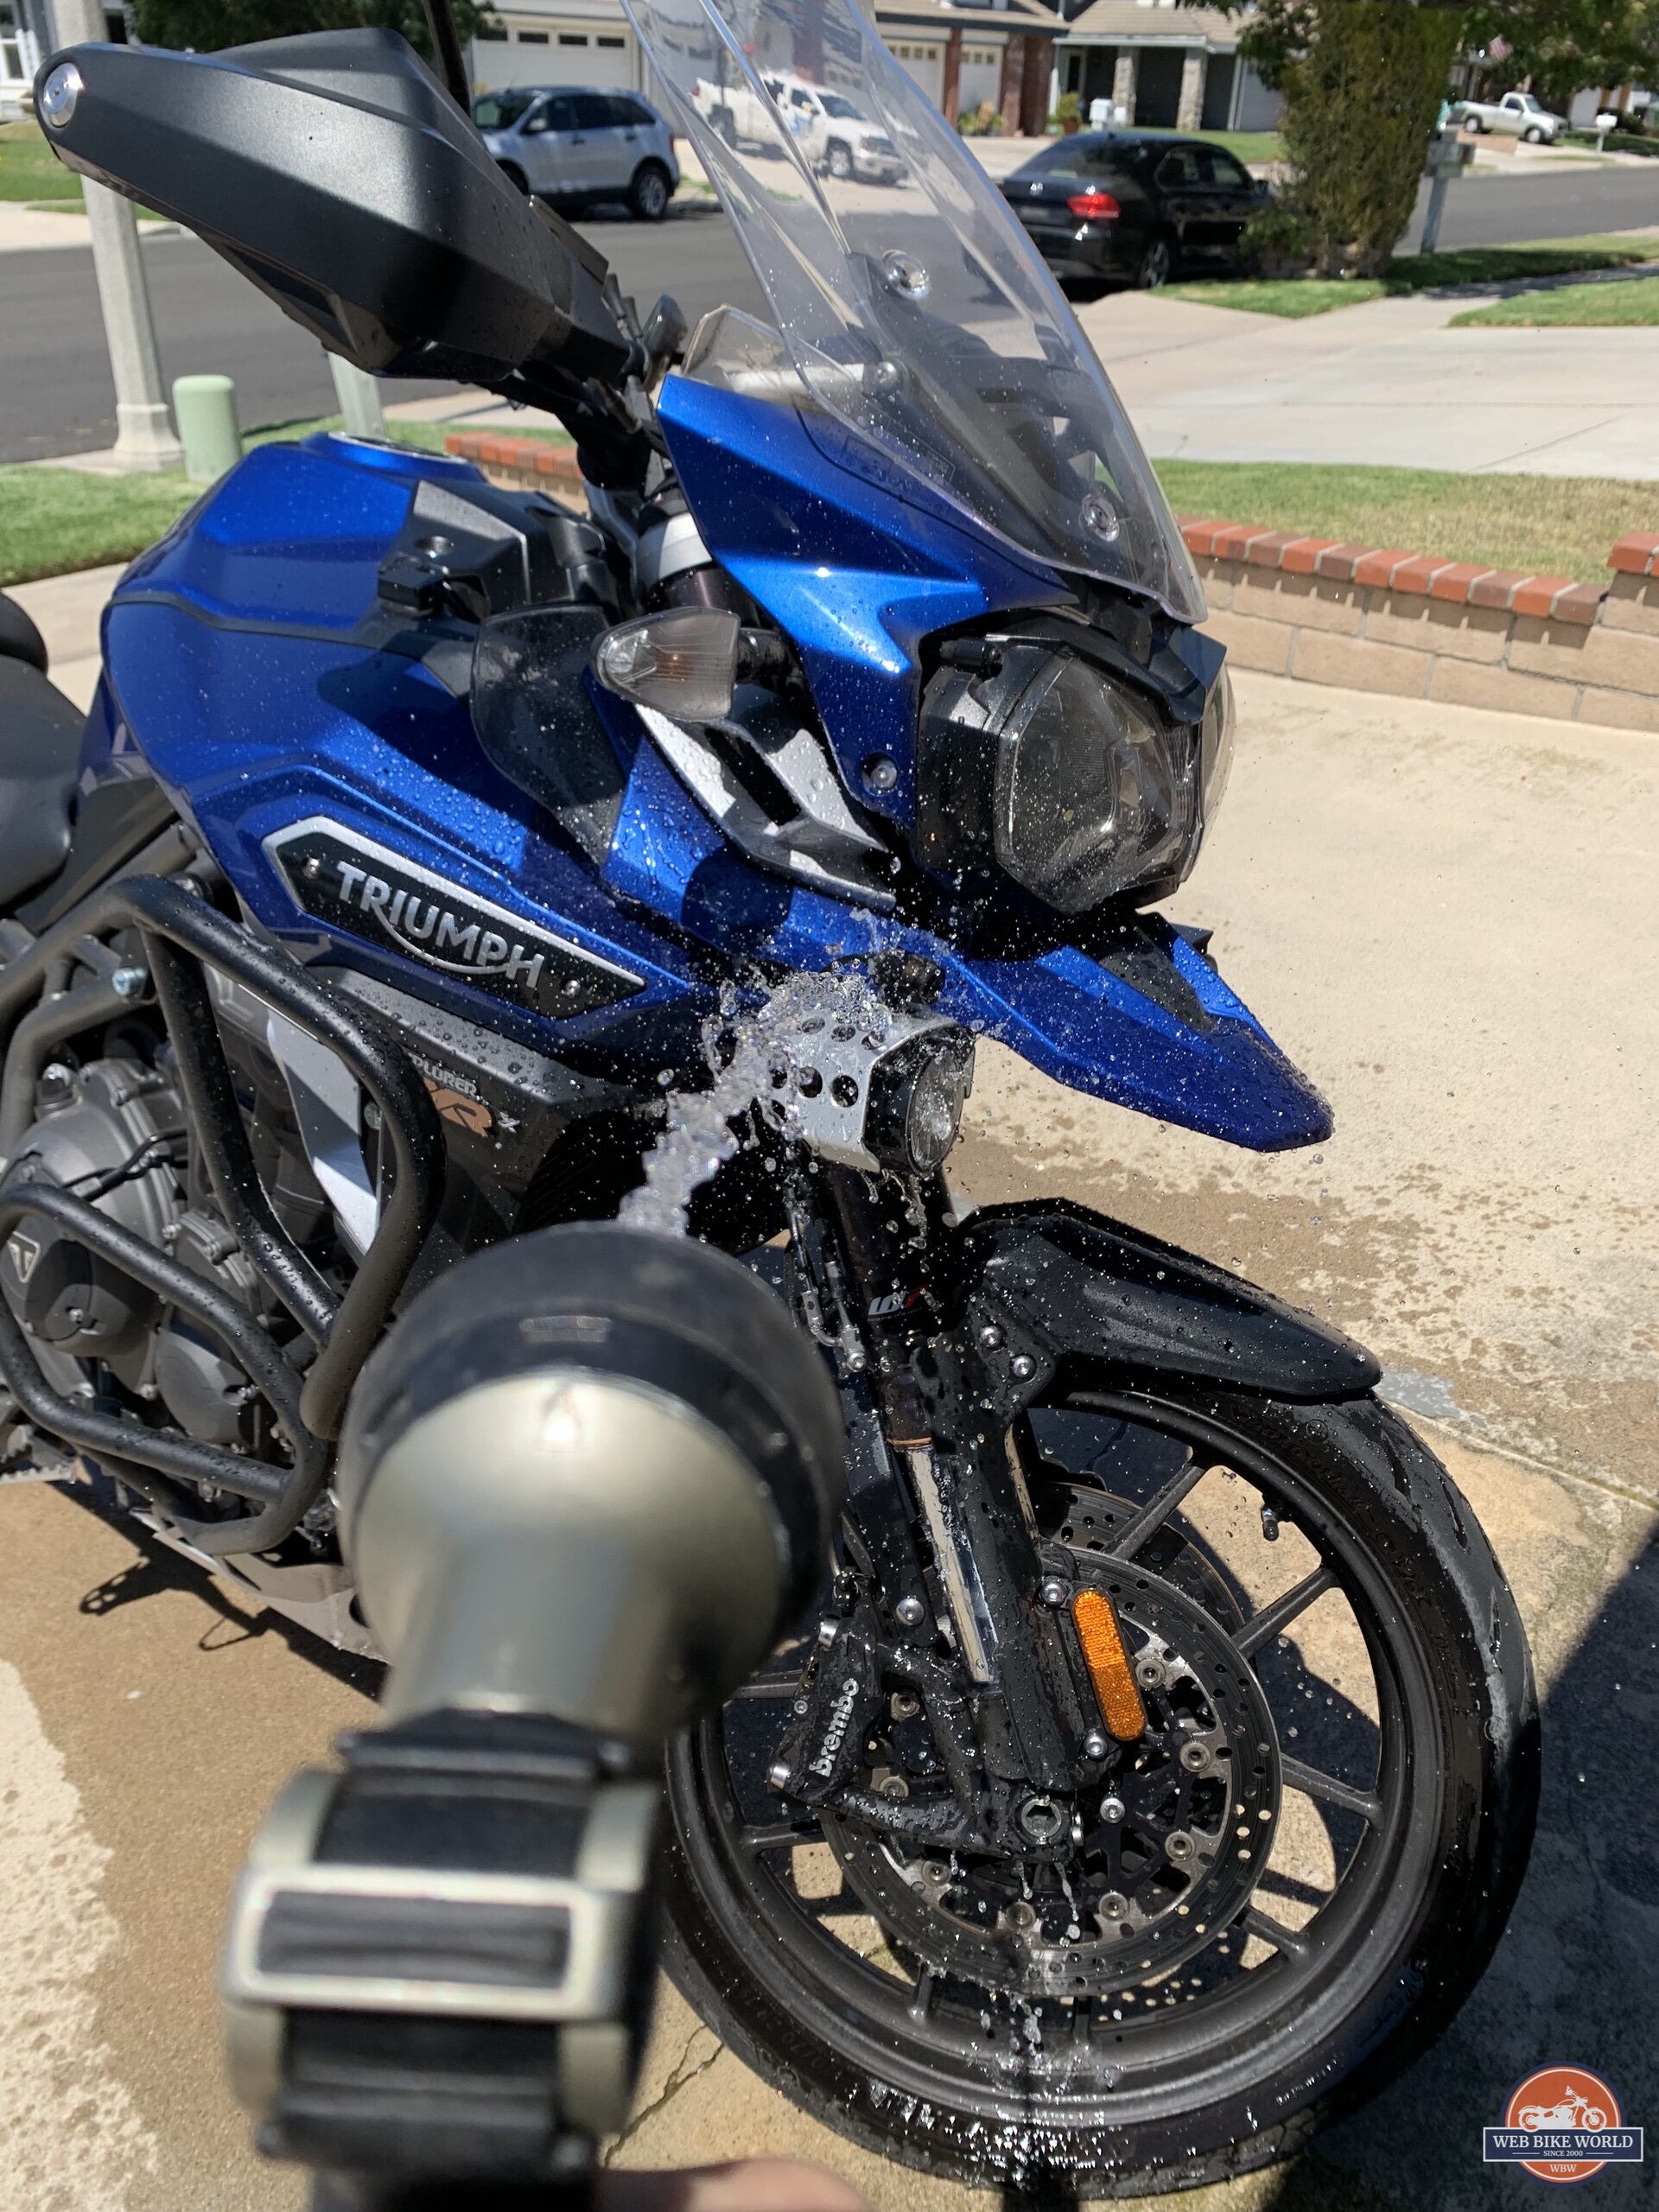
The testing was conducted in Southern California, and rain has not been in the forecast for some time, so no real-life waterproofing test could be done. However, it passed my garden hose test with ease.
Commuting
LA rush hour commuting is its own special kind of nightmare. My commute is about 1 to 1.5 hours, depending on traffic conditions and how many accidents there are that day. This is also the main focal point of systems like these. Having the ability to get video proof of what happened in case of a crash is a good thing in the City of Angels (no pun intended).
I used my GoPro in the past, but I found that to be a PIA for daily commuting with poor battery life and only the front view of what’s going on. Furthermore, sometimes you just forget to turn it on after a long day’s work. The Kenwood Camera System is great because you can set it and forget it until you need it. Check out a portion of my commute, and wait until the end for an exciting LA-style surprise.
Canyon/Twisties/B-Roads
Canyon, twisties, b-roads, etc.—whatever you call them, these are what we live for on the weekends. Testing the camera system in these places is a bit different from testing during normal commuting due to the faster acceleration and harder braking.
The STZ-RF200WD performed flawlessly (besides the 2 times the G-sensor thought I had a crash from extremely hard braking). Adjusting the sensitivity in the app settings should help with that.
Night Time
Unfortunately, the night view leaves something to be desired. From my example below, It would be difficult to make out the license plate numbers of the involved vehicles if something were to happen.
Off-Road
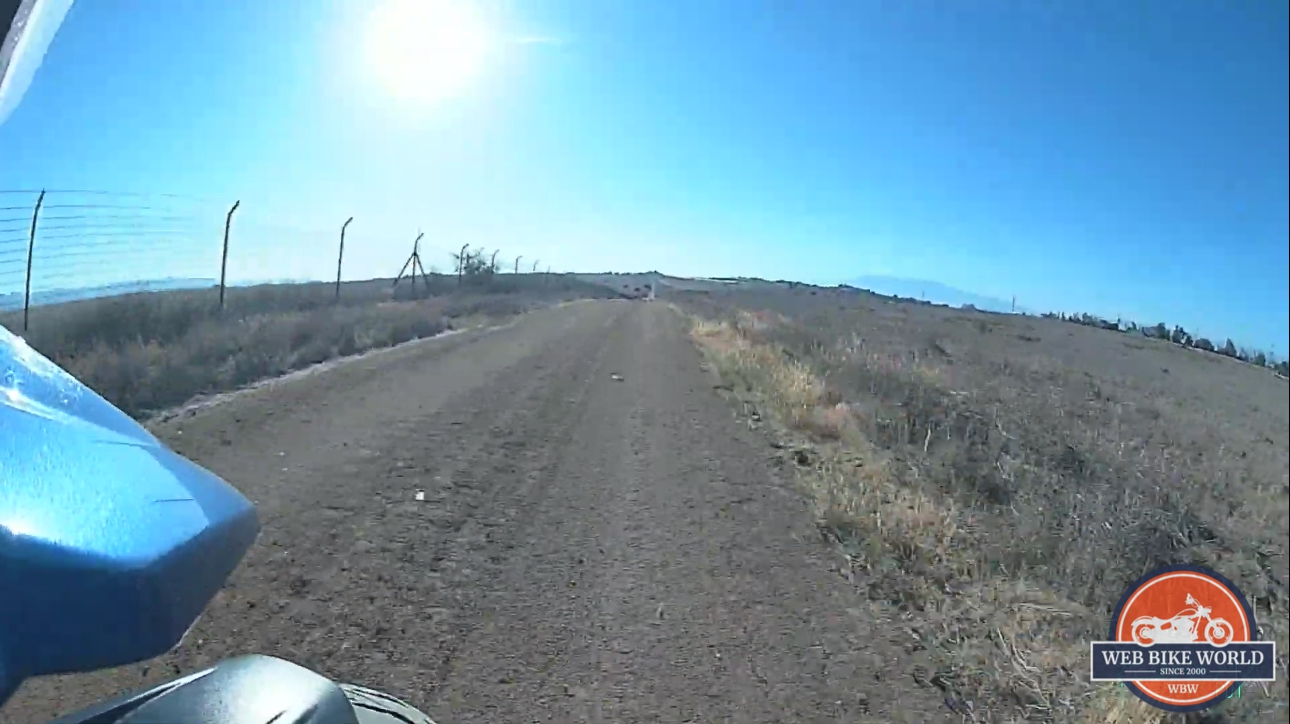
When taking it to my off-road testing track, the Kenwood STZ proved to be reliable with the ground and pound of the dirt surface. Nothing came loose and video/audio worked as advertised.
Overall Video & Audio Quality
The 1080p at 27.5 fps with the 195-degree extra wide-angle lens setting yields good video quality in daylight but mediocre video quality during the night. While overall video quality ranges from good to mediocre under the different conditions, the EIS (Electronic Image Stabilization) does a great job to help smooth and steady the video from the vibrations of the motorcycle and the road.
The 195-degree lenses do introduce some distortion and are a trade-off between image resolution and field of view. With any given combination of camera and lens, the native resolution from the camera is spread over the entire field of view of the lens, determining pixel density and image resolution. The wider the resolution is spread, the lower the pixel density, and the lower the image resolution or image detail. This is what we are seeing here in the Kenwood STZ-RF200WD video quality.
Overall wide-angle distortion is present, especially over the longer deeper views, and the cameras provide passable focus regarding close-up or in-traffic coverage during the day. You really have to get up close and personal to see license plates at night or in low light situations, though.
A big contributor to the excellent coverage provided by the STZ system goes to the proprietary JVC sensors found in both camera lenses to provide high sensitivity, high-speed imaging, and high dynamic range performance for sustained image quality.
The microphone is located on the main unit itself. The only audio setting given is either ON or OFF. Other systems on the market provide more adjustment for the audio, such as steps from 20% to 100%, however, this is not needed here. The microphone on the STZ picks up the mechanical characteristics of the motorcycle perfectly. With the box hidden inside the passenger seat, there is no wind noise to contend with.
BONUS: Kenwood has a YouTube playlist from their users who have submitted footage. You can check those videos out as well.
Storage Media
Mixed brand SD card media from 16GB up to 256GB capacity can be used with the STZ-RF200WD. These cards are microSDXC and rated as U1 (UHS Speed Class 1) and V10 (Video Speed Class 10). The included 32GB microSD worked flawlessly with no reading or writing issues to speak of.
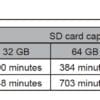
The 32GB is enough if you are only riding weekends or short stints, but for daily commuting Monday to Friday, it is wise to invest in at least 128GB of capacity. My daily commute is over 2 hours, and switching to a 128GB microSD was more than enough recording time.
To help increase recording time, you can change the video quality in settings on the app from Fine to Normal. Take a look at the chart below to see what capacity works better for you.
Conclusion
The Kenwood STZ-RF200WD Camera System is a solid dual-camera system for the powersports community, but I’d call it more of a “dash cam” than an “action cam”—its strengths seem to have more to do with reliability than high performance.
With easy installation, generally good resolution (except at night), and plenty of features, this system is absolutely worth a closer look by anyone in the market for a dual dash cam system—whether you ride a road cruiser or a supersport motorcycle. As a “set it and forget it” system, you can count on it to watch your back (and your front) when you need it.
wBW Specs:
- Manufacturer: KENWOOD
- Pricing: $449.00 USD with free shipping
- Made In: Taiwan
- Warranty: One-year
- Review Period/Date: March 28 to June 17, 2022


