Background
It’s been a long, tough winter here in the heartland. Record snowfall and record flooding have kept us indoors and dampened our spirits. I can’t remember a time when I’ve longed for Spring more than this year. So I was very excited when the GMAX OF77 helmet arrived at my doorstep, heralding the beginning of the riding season and giving me one more reason to get my bike out of hibernation.
GMAX has been around for over 15 years. Rick did a review of a GMAX full face helmet, the GM68S, in 2007 which went on to win helmet of the year, notable for its great value.
They make motorcycles helmets in a variety of styles and graphics and also make helmets suitable for snowmobiling, which explains some of the accessories they sent me. Most of the helmets they offer are very affordably priced. The OF in the name stands for ‘open face’ of course and I’m pretty sure the 77 is for the last year I wore an open face helmet.
First Impression
In all the years I’ve been riding I’ve never owned anything other than a solid colored helmet. Back in the ’70s, it was gold with metal flake. Lately, I’ve been wearing nothing but white helmets. Good for visibility but a bit boring.
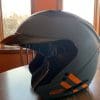
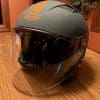
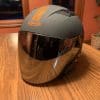
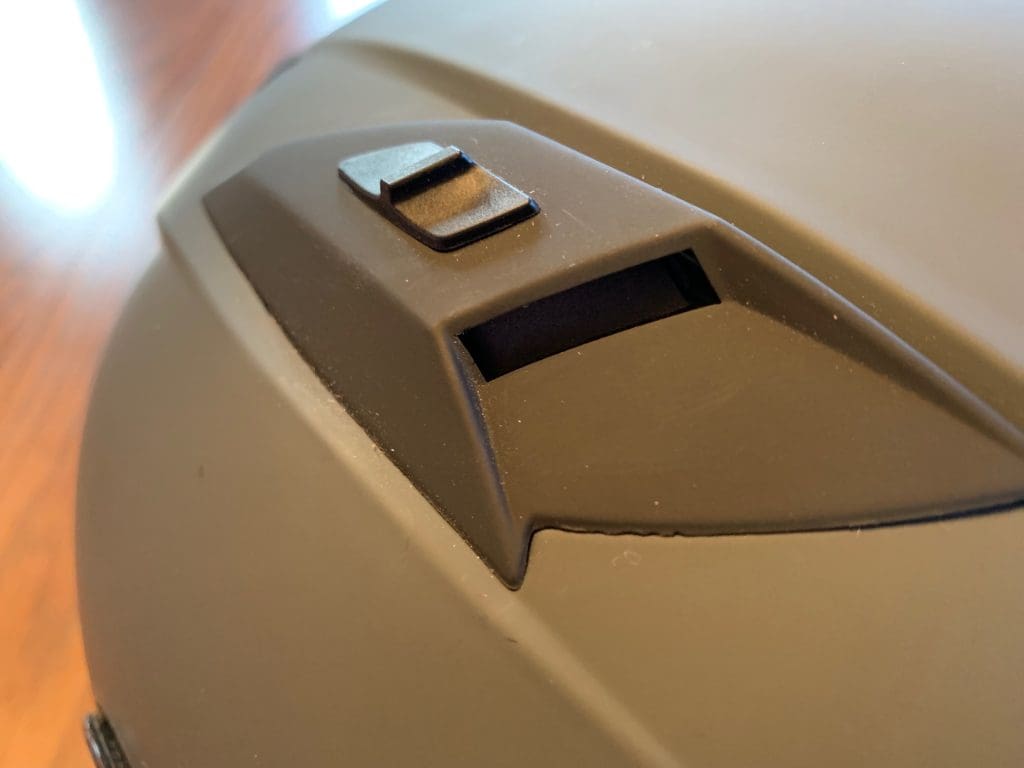
Right out of the box my impression of the OF77 is it’s a nice looking, vintage style helmet. All the components felt solid and fit with tight tolerances. The shell shape is pretty compact and has nice lines to it. The graphics are understated and nicely incorporated, and the vents were all integrated nicely.
The helmet came with a soft grey helmet bag and had a rather simplified instruction manual with the obligatory safety warnings included in the box.
Retro on Retro is In
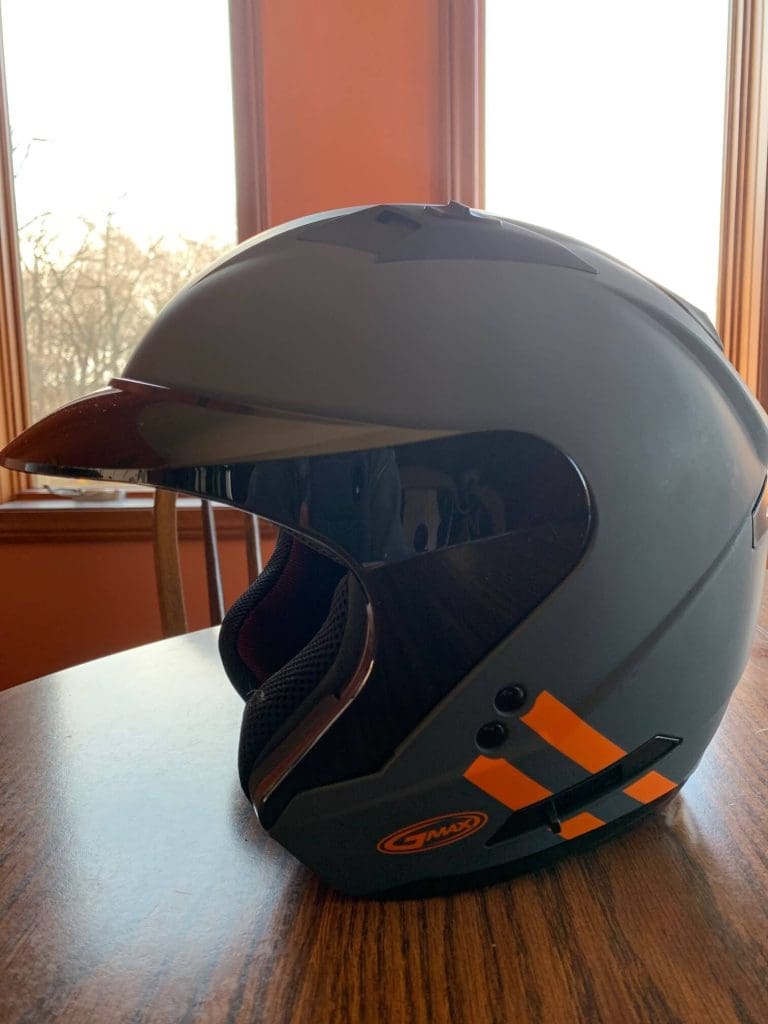
A few days ago I preordered a Ducati Scrambler in ‘atomic orange’. To go with my wild and crazy new ride I decided to upgrade my lid to something a little more exciting (for me) and went with the matte grey/orange in the Downey graphics.
It has that retro vibe that will go perfect with the retro-inspired Scrambler. Orange also seems to be the ‘in’ color this year with nearly every major manufacturer sporting at least one model in orange livery so this is a very timely color choice for GMAX.
Finish & Graphics
The matte finish on the Downey has the unique, almost rubbery, feel common to all matte finishes. It’s soft and smooth with no blemishes or ridges. The graphics are nicely applied, I can barely feel the edges, though I noticed the stripes on the sides were slightly longer on one side.
Durability & Quality
Tolerances are very close and even where the visor fits up against the eye port vents are perfectly aligned and vent switches are snug with a quality feel. In fact, the right one is so snug it was difficult to open for the first few days.
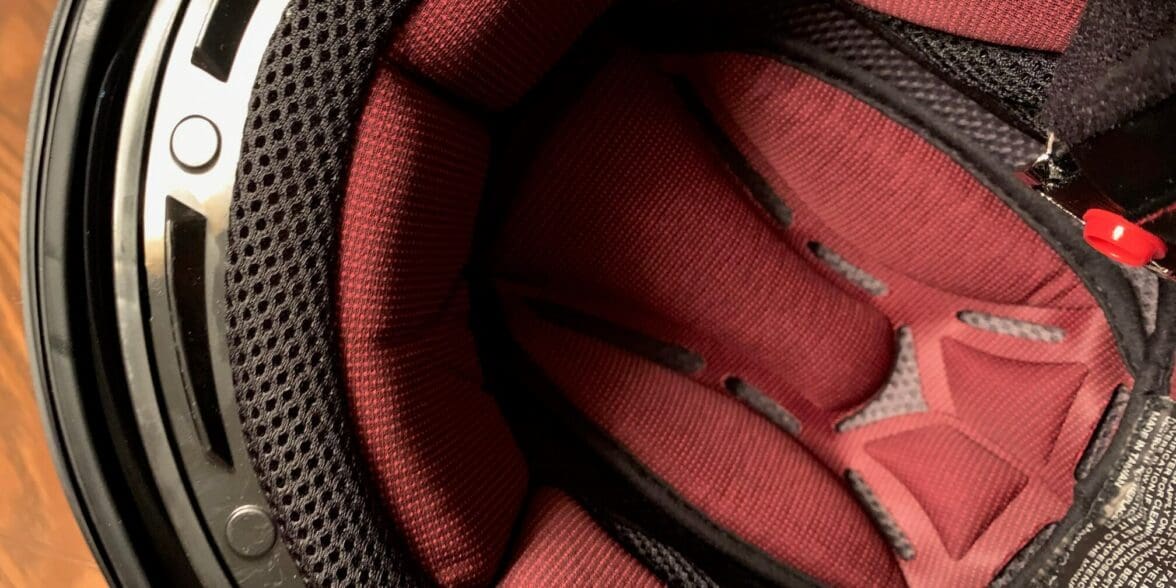
The interior is nicely executed with no flaws or loose threads. Overall I would give it an excellent grade for fit and finish especially considering its price point.
Sizing
Literature that came with the helmet had the tagline “the better fitting helmet” on it. I’m always a little leery of self-proclaimed “better” titles so I was ready to be hypercritical of the fit. The deal is, it is better fitting than most of my other helmets.
The fit is very similar to the Bell SR-2 helmet I reviewed a few months ago. The crown has a very neutral shape and fits my very neutral oval head quite well with no gaps in the front or sides.
Liner
The helmet liner has very generous openings in the padding on the sides, where my ears fit than other helmets I’ve owned. The openings are so big that I thought at first that the helmet was too large for me, but the crown fits snugly and it passed the roll-off test.
Face & Chin Comfort
It also fit my face and chin area snugly without squishing my cheeks and the neck roll fit close to my neck all the way around. After all-day riding, it was still comfortable with no hot spots. Like the Bell helmet, this may fit those with rounder heads a little more comfortable with the extra side to side room it gives you.
GMAX uses a standard size chart with the XS size made to fit a 53-54cm size head. The helmet fits how I would expect an XS to fit.
Construction
Shell
The outer shell of the OF77 is made out of lightweight poly-alloy material. It comes in only one shell size. Having a very tiny XS head this means thicker EPS and padding that could potentially keep me safer but can compromise visibility and make you feel like a bobblehead. Thankfully the OF77 has a huge eye port so visibility is not a problem and the shell is fairly compact and feels very light in motion.
The shell flexes slightly, which actually helps to get it on and off, and carries the DOT safety designation. It does have a plastic lip around the bottom that makes it very difficult to attach an intercom. I ended up having to use the adhesive option to attach my Sena 30k.
Liner
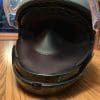
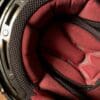
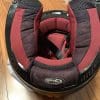
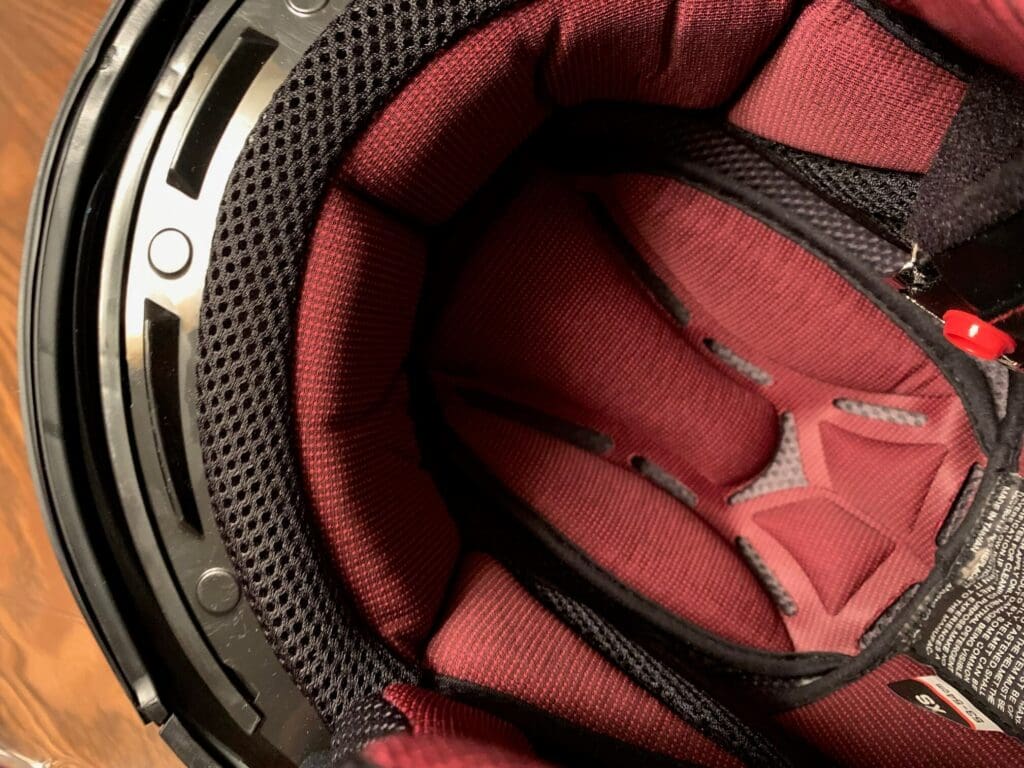
The interior is constructed of SpaSoft DuPont Coolmax interior to keep you cool and dry while you ride. The Coolmax material wicks moisture while charcoal bamboo fibers diminish the bacterial growth that can cause that funky odor. Like all interior liners these days it is removable and washable.
GMAX also sells replacement cheek pads so you can mix and match to customize the fit.
The interior isn’t quite as comfy as the very plush Bell liner but it’s not far behind. The material is very soft and it’s well padded.
 |
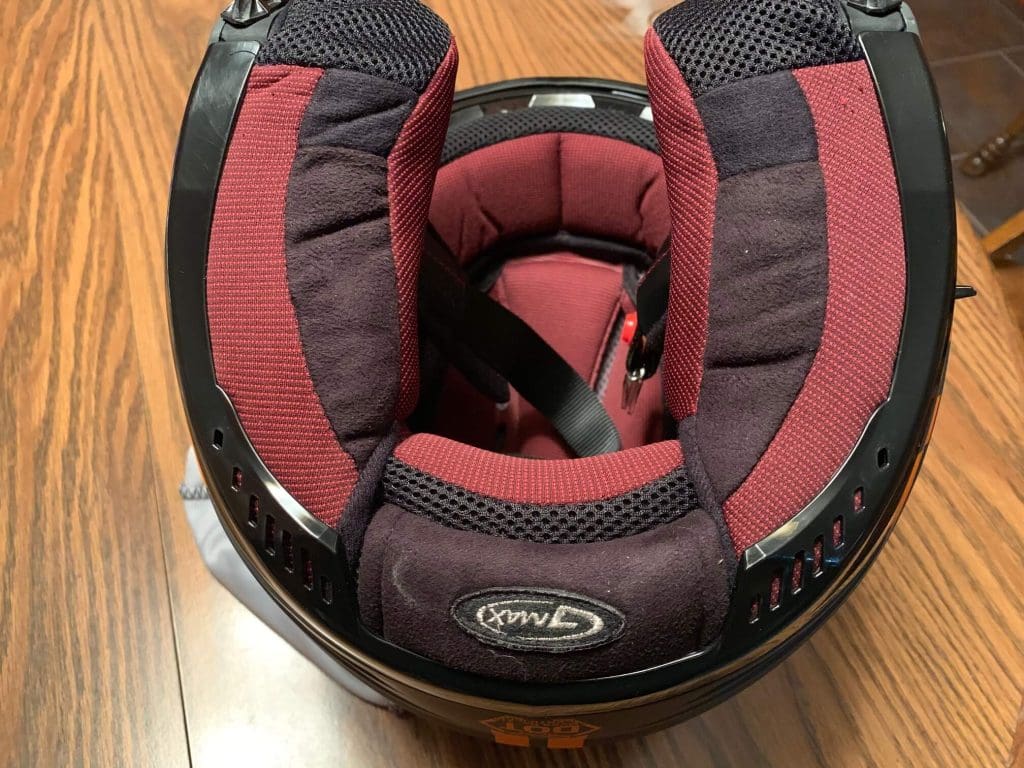 |
There doesn’t appear to be dedicated channels for eyeglasses, but I had no problem sliding the bows through. I was able to slip my regular glasses on without difficulty and they were quite comfortable once on.
It also has room for speakers with a cloth pocket that you can slip the speakers into but that always puts them too far from my ears so I stuck them on top. The liner molds around my SENA 30k speakers nicely.
The neck roll is made of the same material as the interior liner. It is very thick and fits snugly against my neck all the way around. The cushy padding adds to the overall comfortable feel and hopefully minimizes the wind coming up from below. Like most liners these days it is removable and washable. The snaps are red, making them easier to see when you take the liner in and out.
Every Kind of Face Shield
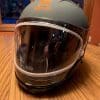
The visor is my favorite part of the helmet. It has very good optical quality and better than average side to side view. Since it’s an open face helmet the top to bottom view is unlimited but even with the optional chin bar, the visibility is exceptional.
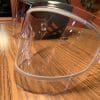
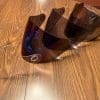
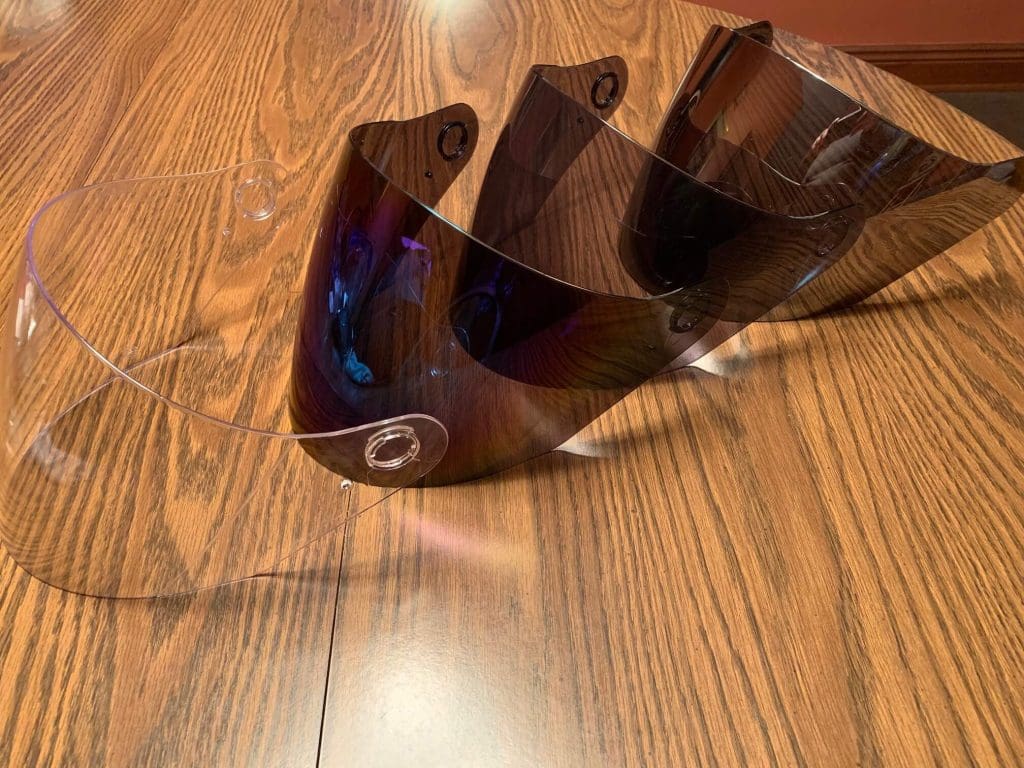
GMAX sent me every optional face shield they make for this helmet including 3 different tinted lenses, 2 double shield lenses and 2 double shield electric lenses for winter use. The clarity and optical quality were amazing on every visor, in fact, the only quality control issue I found was a rough top edge on one of the tinted shields.
The single lens visors do not have a lift tab which you don’t need in the open face configuration. The double lens shields all have a small center lift tab for use with the chin bar. It’s also notable that I couldn’t get any of the double shield visors to fog.
 |
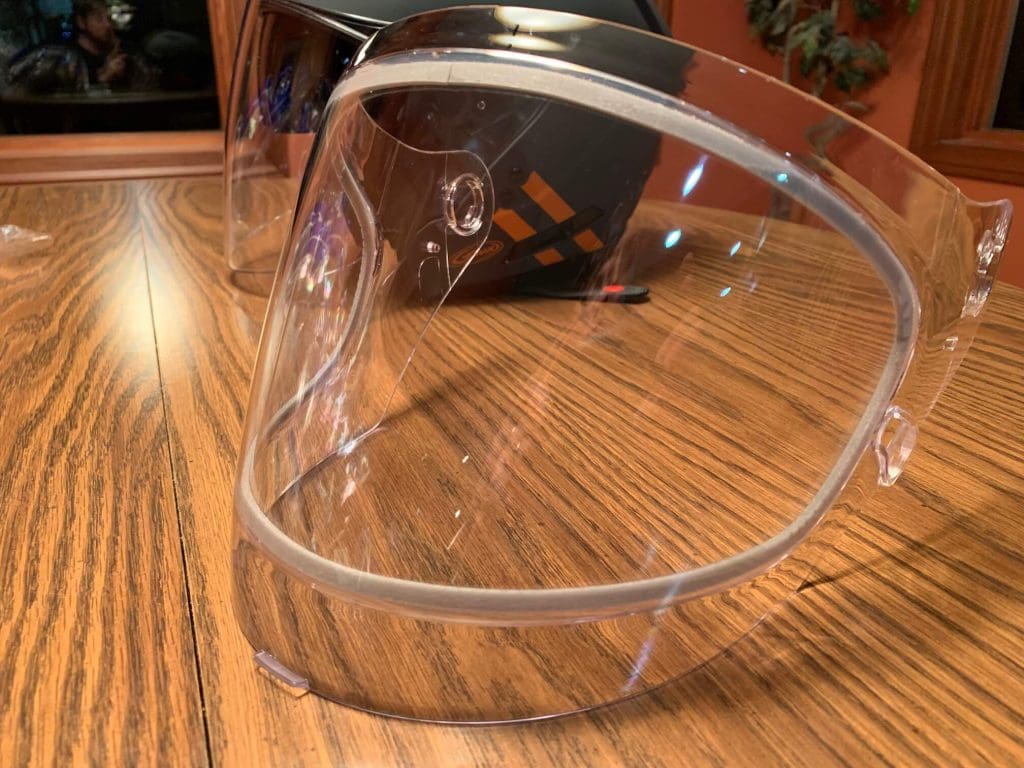 |
The single lenses come in Clear, Tint, Blue Iridium & Silver Iridium The double lens proved impervious to fogging
Safety Feature
There are slots on each side of the eye port that receive the visor when it’s closed, a safety feature designed to keep the visor from flattening if you land on your face. I’m not sure how well they would work but they’re the same material as the rest of the helmet shell and it’s certainly better than if they weren’t there.
Individual Visor Fits
I’ve seen a number of complaints in customer reviews that the visors didn’t fit into the slots properly but I didn’t have issues with any of the visors they sent me when I pushed them down from the center top position.
The single lenses have a little flex and one side occasionally missed the mark If I tried to pull it closed from the side, but it was a lot harder to close that way anyway. The double lens shields were much stiffer and I had no issues with them seating into the side slots.
Sealing & Leak Test
The visor rotates through 5 definite detents. The first detent is almost a full inch but in the ¾ configuration, you wouldn’t need a defogging position since there is already unlimited air coming up from the bottom. All the lenses fit snugly up against the eye port and, drum roll please… they passed the leak down test with flying colors!
Visor Handling & Replacement
With all the extra visors they sent me I found myself changing them much more often than I normally would and thankfully this helmet has a very easy removal system. You just raise the visor up all the way and pull down on the lever on each side and it pops out of the side plate.
To put it back on you just have to line everything back up, snap it back in and push the lever back up. My first attempt at putting it back on I had a hard time getting it all lined up with just two hands but after the first time, I got pretty good at it. I should note that I always have a much harder time getting visors back on than off, something I probably have in common with everyone else on the planet.
Internal Sunshade
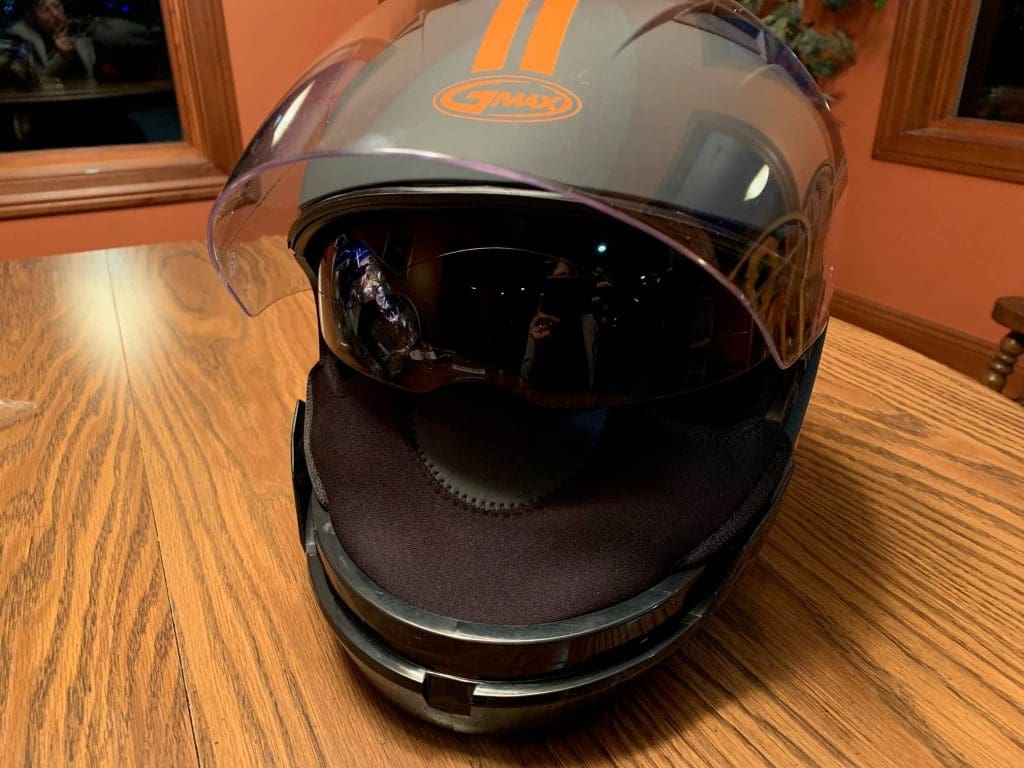
I happen to love having a sunshade integrated into my helmet. It’s so easy to use and saves you the trouble of packing sunglasses. This shade is of average darkness but with as large as the eye port is I would have liked it to come down a little further. There was a lot of light coming up from underneath.
The lever to deploy it is on the left side and is quite sturdy. Even on very expensive helmets, they’re usually kind of flimsy. You can stop it at any position which is nice when you need just a strip lowered for late afternoon shade.
 |
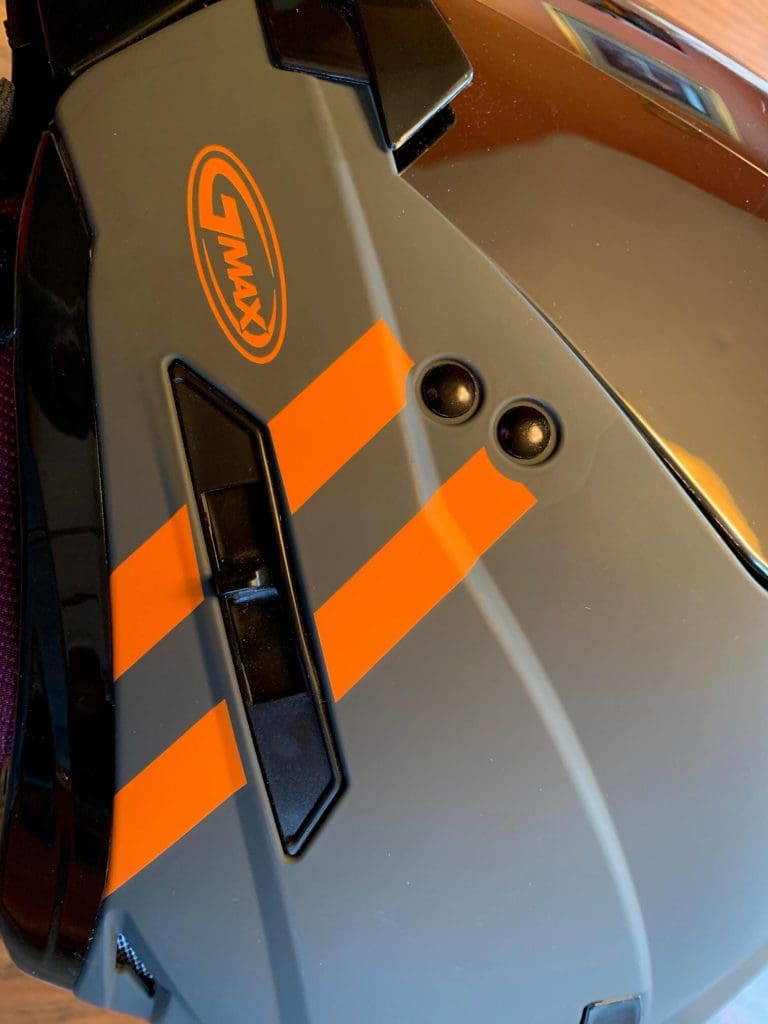 |
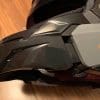
The one problem with the switch is that it takes up a lot of room on the left side of the helmet and makes it very difficult to attach an intercom system. I couldn’t attach it rear of the switch because of a series of ridges that run diagonally just past the back of the switch housing.
I ended up putting my Sena just forward of the switch which worked ok but made it hard to reach the switch tab when it was all the way forward (shade was in the up position).
Like the regular visors, the sunshade has excellent optical quality and is removable (it just pulls straight out when it’s deployed – with a good pull) and can be switched out with an optional amber or yellow shade for cloudy or night riding.
Chin Strap
I’ve never been as enamored of the double D-ring retention system as some of the other reviewers on this site (like on the Scorpion EXO-R710, for example). I have never mastered the art of threading through the dual rings with my gloves on.
On the GMAX they’re actually squared off instead of being the typical D shape (can you still call them double D rings then?) and I think it makes them a little easier to thread the strap through.
The chin strap is well padded and has a snap at the end to hold the extra length of the strap so it doesn’t flap around in the wind. It’s hard to find the snap with gloves on but since I have to have them off to buckle the helmet I just have to remember to snap it before I put any kind of gloves on, including the REV’IT Bastille Gloves I recently reviewed.
Noise Management
Most people buy open face helmets to feel the wind in their face, which may enhance your sense of freedom, but it makes for a pretty noisy ride. I don’t think it helps that we’ve had a very windy early spring.
With the wind coming from every direction under the visor it was quite loud. Putting the optional chin bar on did help. There was a little additional whistling noise when the top vents were open.
I do think that the extra space for your ears probably lets more noise in, and again, noise is par for the course with an open face helmet. With the chin bar, it was quite similar to the full-face Bell helmet which admittedly is not all that quiet.
Ventilation
The OF77 sports 2 top vents, 3 air intake vents along the top of the eye port and 5 exhaust vents. All the vents have visible openings through the EPS but are covered by the liner. I’m not sure this isn’t by design since it diffuses the incoming air and forces it through the EPS channels and out the back. All the exhaust vents are covered with a metallic mesh material.
I’m not sure how you rate vents on a ¾ helmet with all the air coming up from the bottom so I attached the optional chin bar with chin curtain to give me a better idea how the two smallish top vents were working.
I must admit I didn’t feel much difference with them open until I tipped my head forward, then I could feel the cool air over the top of my head. I haven’t had a chance to test them in really hot weather.
The vent switches are very low profile and the right one was very tight and difficult to slide the first few days. They’re pretty difficult to work with gloves on. The vents do close very tightly which is very important if you’re using it for snowmobiling.
Accessories
Chin bar
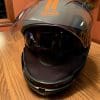
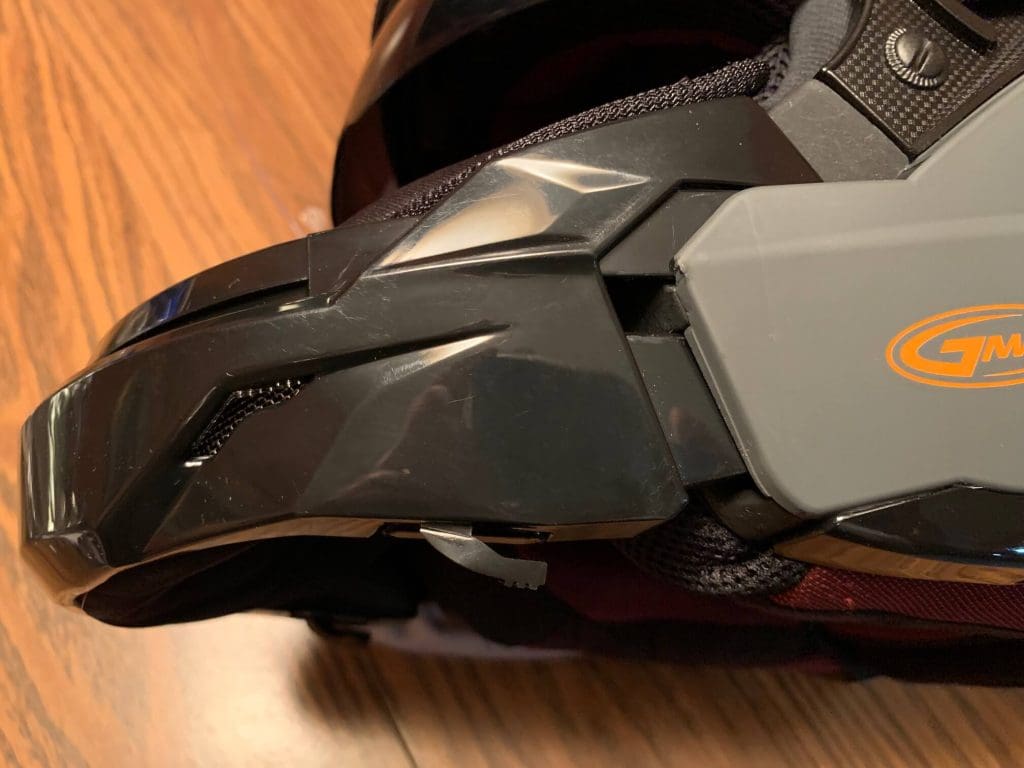
Although the OF77 is advertised as an open face helmet it’s actually modular with the addition of the optional chin bar that you can order for only $15.26. The chin bar appears to be made of a plastic material but it’s thickly padded and feels pretty sturdy when attached.
The attachment points are also thick plastic so you’re making some compromises in safety over a full-face but you probably knew that when you made the choice to get an open face helmet.
There were some complaints that it was impossible to get the helmet on with the chin bar attached but I could do it with my very small head. There is the first click when you attach the chin bar that will keep it in place while you don the helmet. It gives you an extra inch on each side that should help those larger headed individuals.
It does take a firm push to get it all the way seated. You can tell when it’s all the way in because the release levers lay flat against the bottom of the chin bar once it’s fully seated.
The chin bar has an intermediate position to help with donning the helmet
Integrated into the chin bar are a breath guard and a chin curtain. Both are connected to the padding on the inside of the chin bar in one continuous piece.
The breath guard is very large and has a leather piece that goes over your nose which will shape to the contours of your face. It’s designed to keep your face warm during snowmobiling but if you’re a die-hard winter rider this is the helmet for you.
It would be nice if the breath guard was independently removable so the chin bar could be used in warmer weather with the chin curtain. I may have to do some surgery on it when the weather gets warmer.
Small Peak
The OF77 can also be converted to a classic motorcycle cop helmet with the addition of the optional short peak. To attach it you have to remove the face shield. The peak then attaches to the side plates just like the lens. It gives the helmet a different look, ready to pair with your favorite goggles or aviator sunglasses.
LED Light Kits
I’m always looking for ways to make myself more visible with the current epidemic of distracted drivers and GMAX has made it easy to stand out in rush hour traffic with its optional rear LED lights.
 |
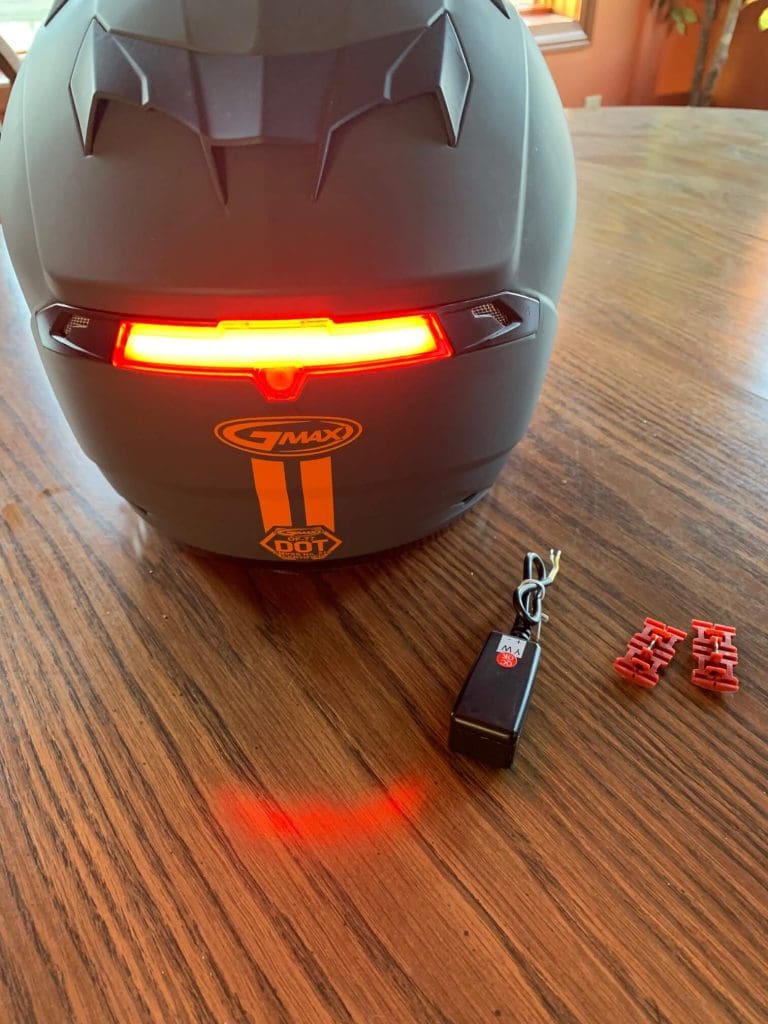 |
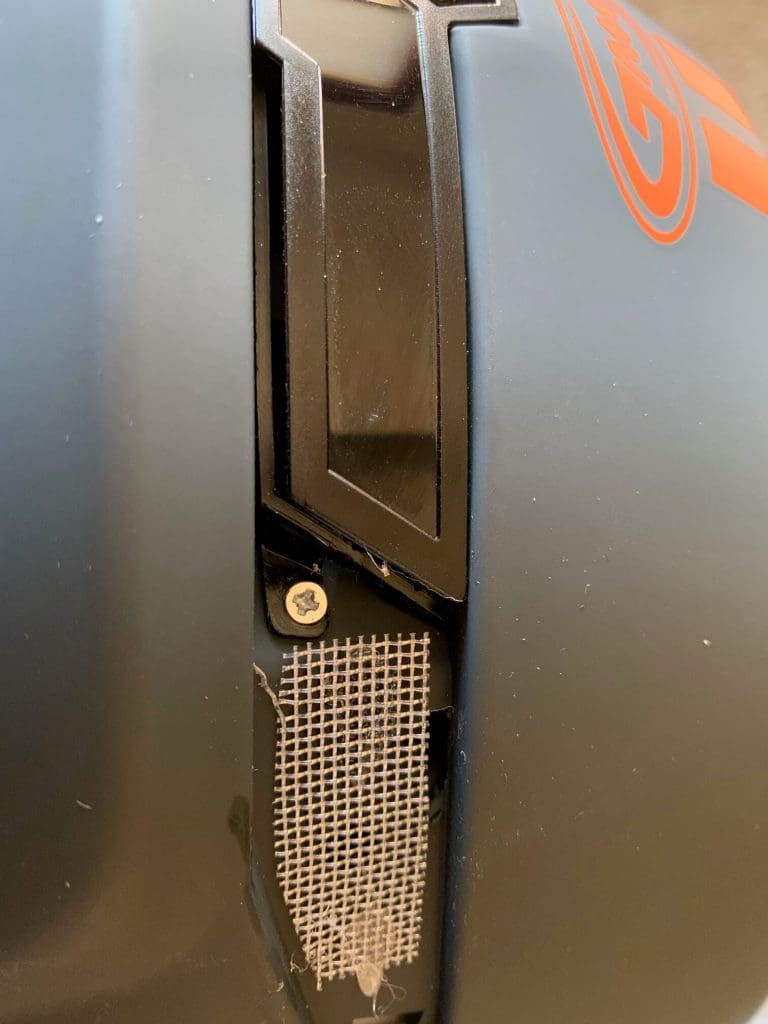
Removing the plastic cover reveals the screw underneath The brake light module and rear light
There are two different options, one that is just a light with three different settings, the other is a brake light that can be configured with your bike and can be rotated through 5 different settings.
I found a video online that detailed how to install the brake light. Installing the light in the back of the helmet is pretty straight forward. You just need to remove the plastic exhaust vent covers on either side and remove the 2 small screws underneath. Watch the video yourself below!
The helmet is prewired, so you just need to clip the light into the end of the wire and put everything back together. The other end of the wiring comes out in a small compartment in the back of the neck roll covered by a flap with a hook and loop closure. The battery pack clips on to this end and fits neatly into the compartment.
The LED light is red and very bright. It can work as a brake light or can be set to always on, or to 3 different flashing patterns. This is ideal for maximum visibility on the road, especially in the event you need to brake abruptly and quickly notifying whoever is behind you to do the same.
Conclusion
I found the OF77 to be a good-looking, comfortable helmet. It’s noisy and there are some safety compromises but that’s true with every open face helmet (more reviews here). I can’t really downgrade it for being what it is intended to be and it’s a heck of a value for roughly $100.
The OF77 retails from $99.95 to $104.95 which I think is a great value for the level of quality and comfort. I give it 4.5 stars out of 5 overall.
Pros
- Unlimited view with multiple visor options
- Comfortable fit with no hot spots or leaks during rides
- Great value for included features
Cons
- Only comes in one shell size
- Difficulty attaching an intercom
- Graphics were uneven on one side
Specs
- Manufacturer: GMAX
- Price (when tested): Solids – $89.96, graphics – $94.86
- Made in: Taiwan
- Alternate colors & graphics:
- Solids – Black, Matte black, White, Wine red, Candy red, & Titanium
- Graphics – Derk & Downey
- Sizes: XS – 3XL
- Review date: April 7, 2019


