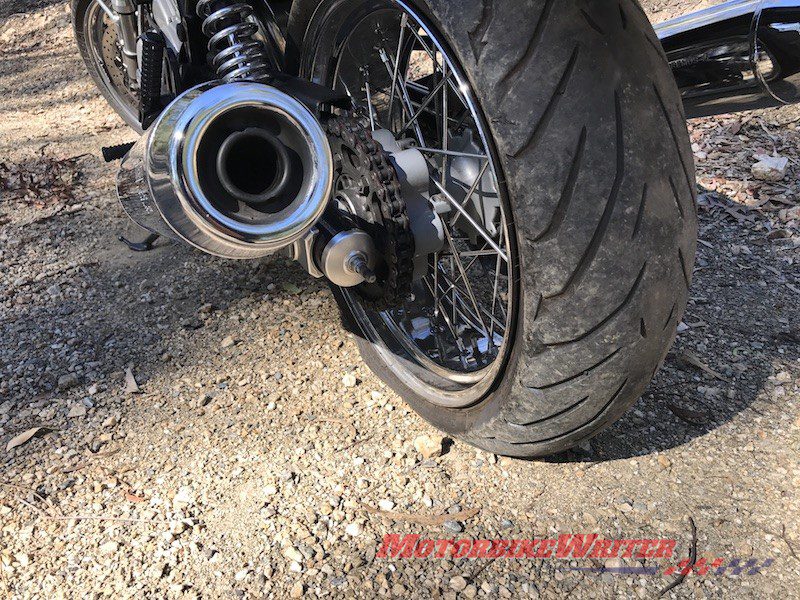
Your motorcycle tyre can cop a puncture just about anywhere, not just out in the country.
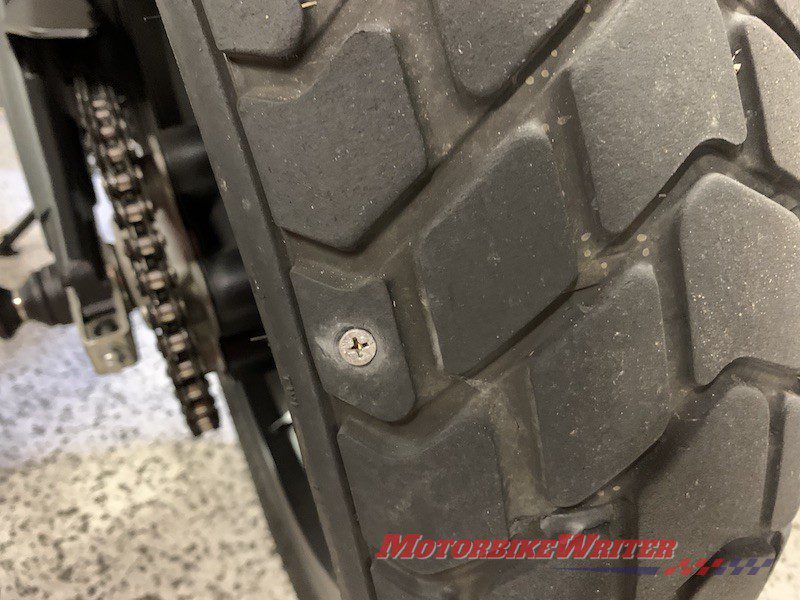
Most of the punctures I’ve ever had on motorcycles have been in the city, picking up nails and screws that have fallen out of trade utes. Riding on the road verge can be a particular trap.
If you are lucky, it will not cause an immediate loss of air and therefore traction and control.
Those with tyre pressure monitors, either factory fitted or aftermarket, will get a warning.
If not, you can sense the loss of pressure through the steering and handling which becomes heavy and vague.
On some occasions, my tyre has picked up a screw or nail that blocks the loss of air and I’ve only noticed it when I’ve done my pre- and post-ride checks. That’s why it’s so important to do these checks before and after a ride.
Tubeless Vs tubed tyres
There are advantages and disadvantages in tubeless and tubed tyres.
A tubeless tyre will often hold the air better after a puncture, allowing you to ride to safety. A tubed tyre will often lose a lot more pressure a lot quicker.
It is a lot more difficult fixing a punctured tubed tyre at the side of the road, but it can be done.
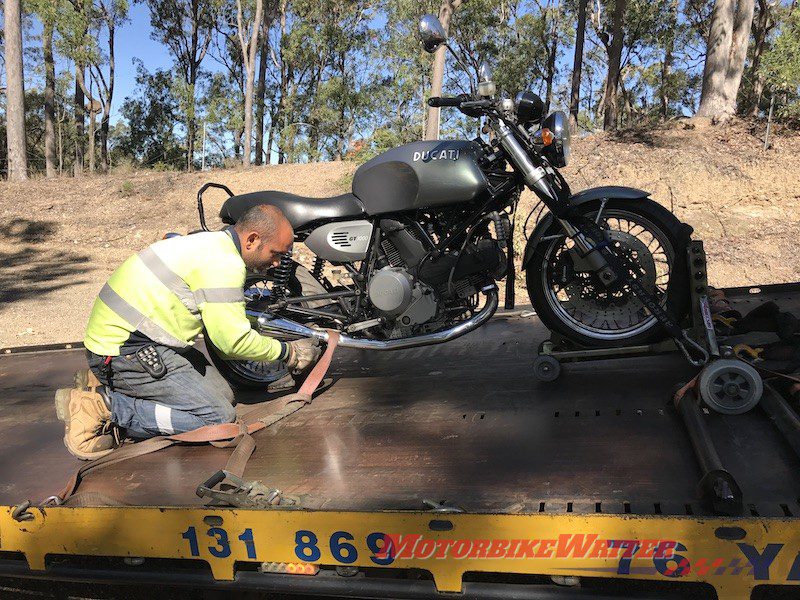
Otherwise, you better have good roadside assist!
If it’s just a small tube puncture, you can fix it cheaply and ride on in confidence. There may be no need to buy another tyre. At worst you may need a new tube.
A tubeless tyre may be easier to fix with a repair kit, but it limits the longevity of the tyre. Even though it is not illegal, it may void your insurance in a crash, so you may need a whole new tyre.
How to fix a tubed tyre
Fixing a tubed tyre requires a lot of tools and usually reasonable luggage capacity.
You will need tyre levers, a puncture repair kit, spanners and a compact air compressor that runs off the bike’s battery as a few canisters of compressed air will not re-inflate a tyre from totally flat.
Rarely can you fix a punctured tube without having to take the wheel off, which makes it extra problematic. In which case, you may need to transport the bike.
Popping the bead of the tyre can also be difficult as they are often cemented in place to stop them slipping on the rim.
On one occasion, we had to ride over the tyre with another bike to pop the bead, severely scratching the rim.
Use the levers to get the tyre off the rim to expose the tube.
To find the leak, spit on any blemishes to see if it bubbles or listen for hissing.
Repair kits include a small piece of sandpaper which you use to rough up the area around the whole. Then apply the cement and place a patch over the hole.
Push the tube back in being careful not to twist or pinch it, put the tyre back on the rim and the wheel back on the bike, reattach the chain if it was the back wheel and pump it up.
It’s a lot of work and difficult on your own, but it can be done.
How to fix a tubeless tyre
Most road bikes and even some adventure bikes now come with tubeless tyres.
They are a comparative breeze to fix.
Usually the hole is easy to find as there is still a nail, screw or other object embedded in them.
Take it out with a screwdriver or pliers.
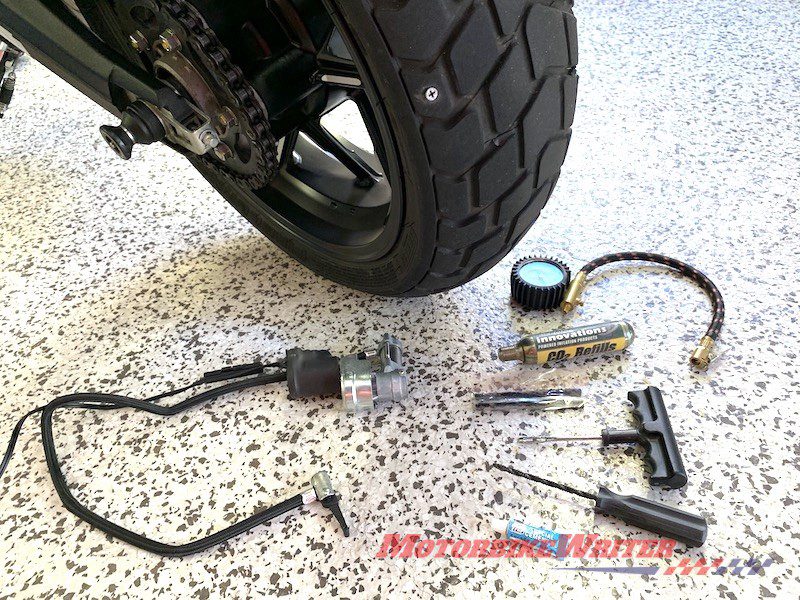
Your repair kit will have a rasp-like tool that you then ream in and out of the hole to rough it up a bit to make a good contact with the cement which you inject into and around the hole.
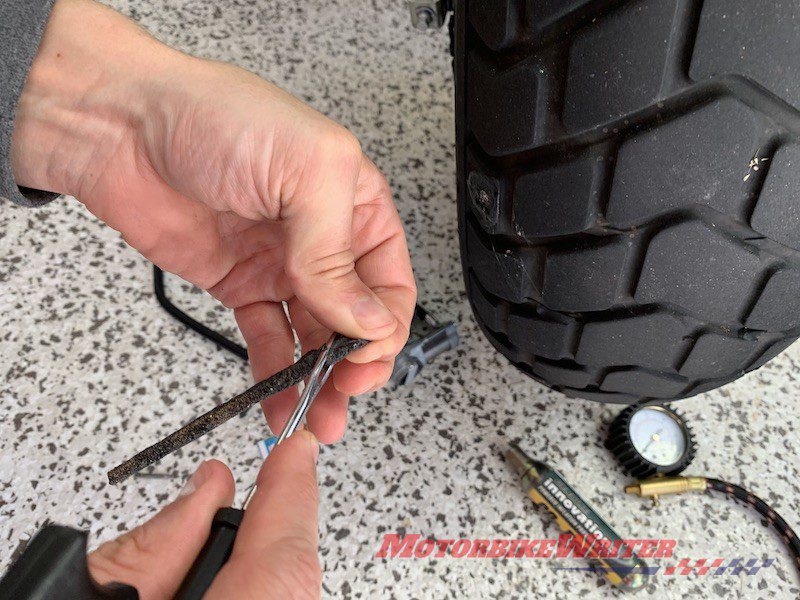
The kit will also have a tool that looks like a big needle and plugs or sticky rope-like pieces to plug the hole.
I prefer the rope version because it seems to fit into irregular holes better.
Thread it through the “needle” tool and then ram it into the hole and pull it out quickly.
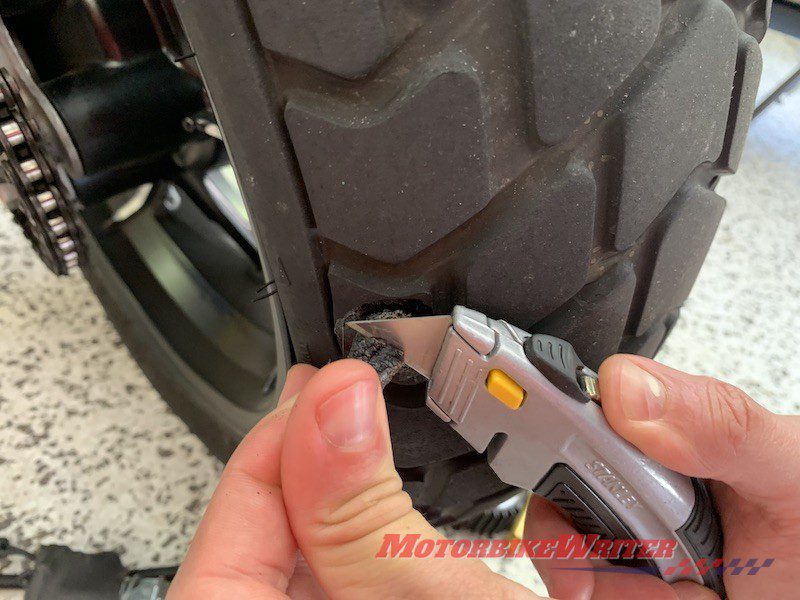
This will leave the plug in place and you can cut off the excess, leaving about 1cm of plug.
You won’t usually lose all the pressure from the tyre as you would from a punctured tube so you may be ale to pump it back up with two or three canisters of compressed air.
It’s important to then ride the bike for at least 15 minutes at about 80km/h to heat the plug so it bonds with the tyre.


