Review Summary
If you’re looking for the main takeaways from this review, here is my summary of the DJI Osmo Action 4 Camera review:
- The DJI Osmo Action 4 retails at $299 for the standard combo and $349 for the motorcycling combo kit.
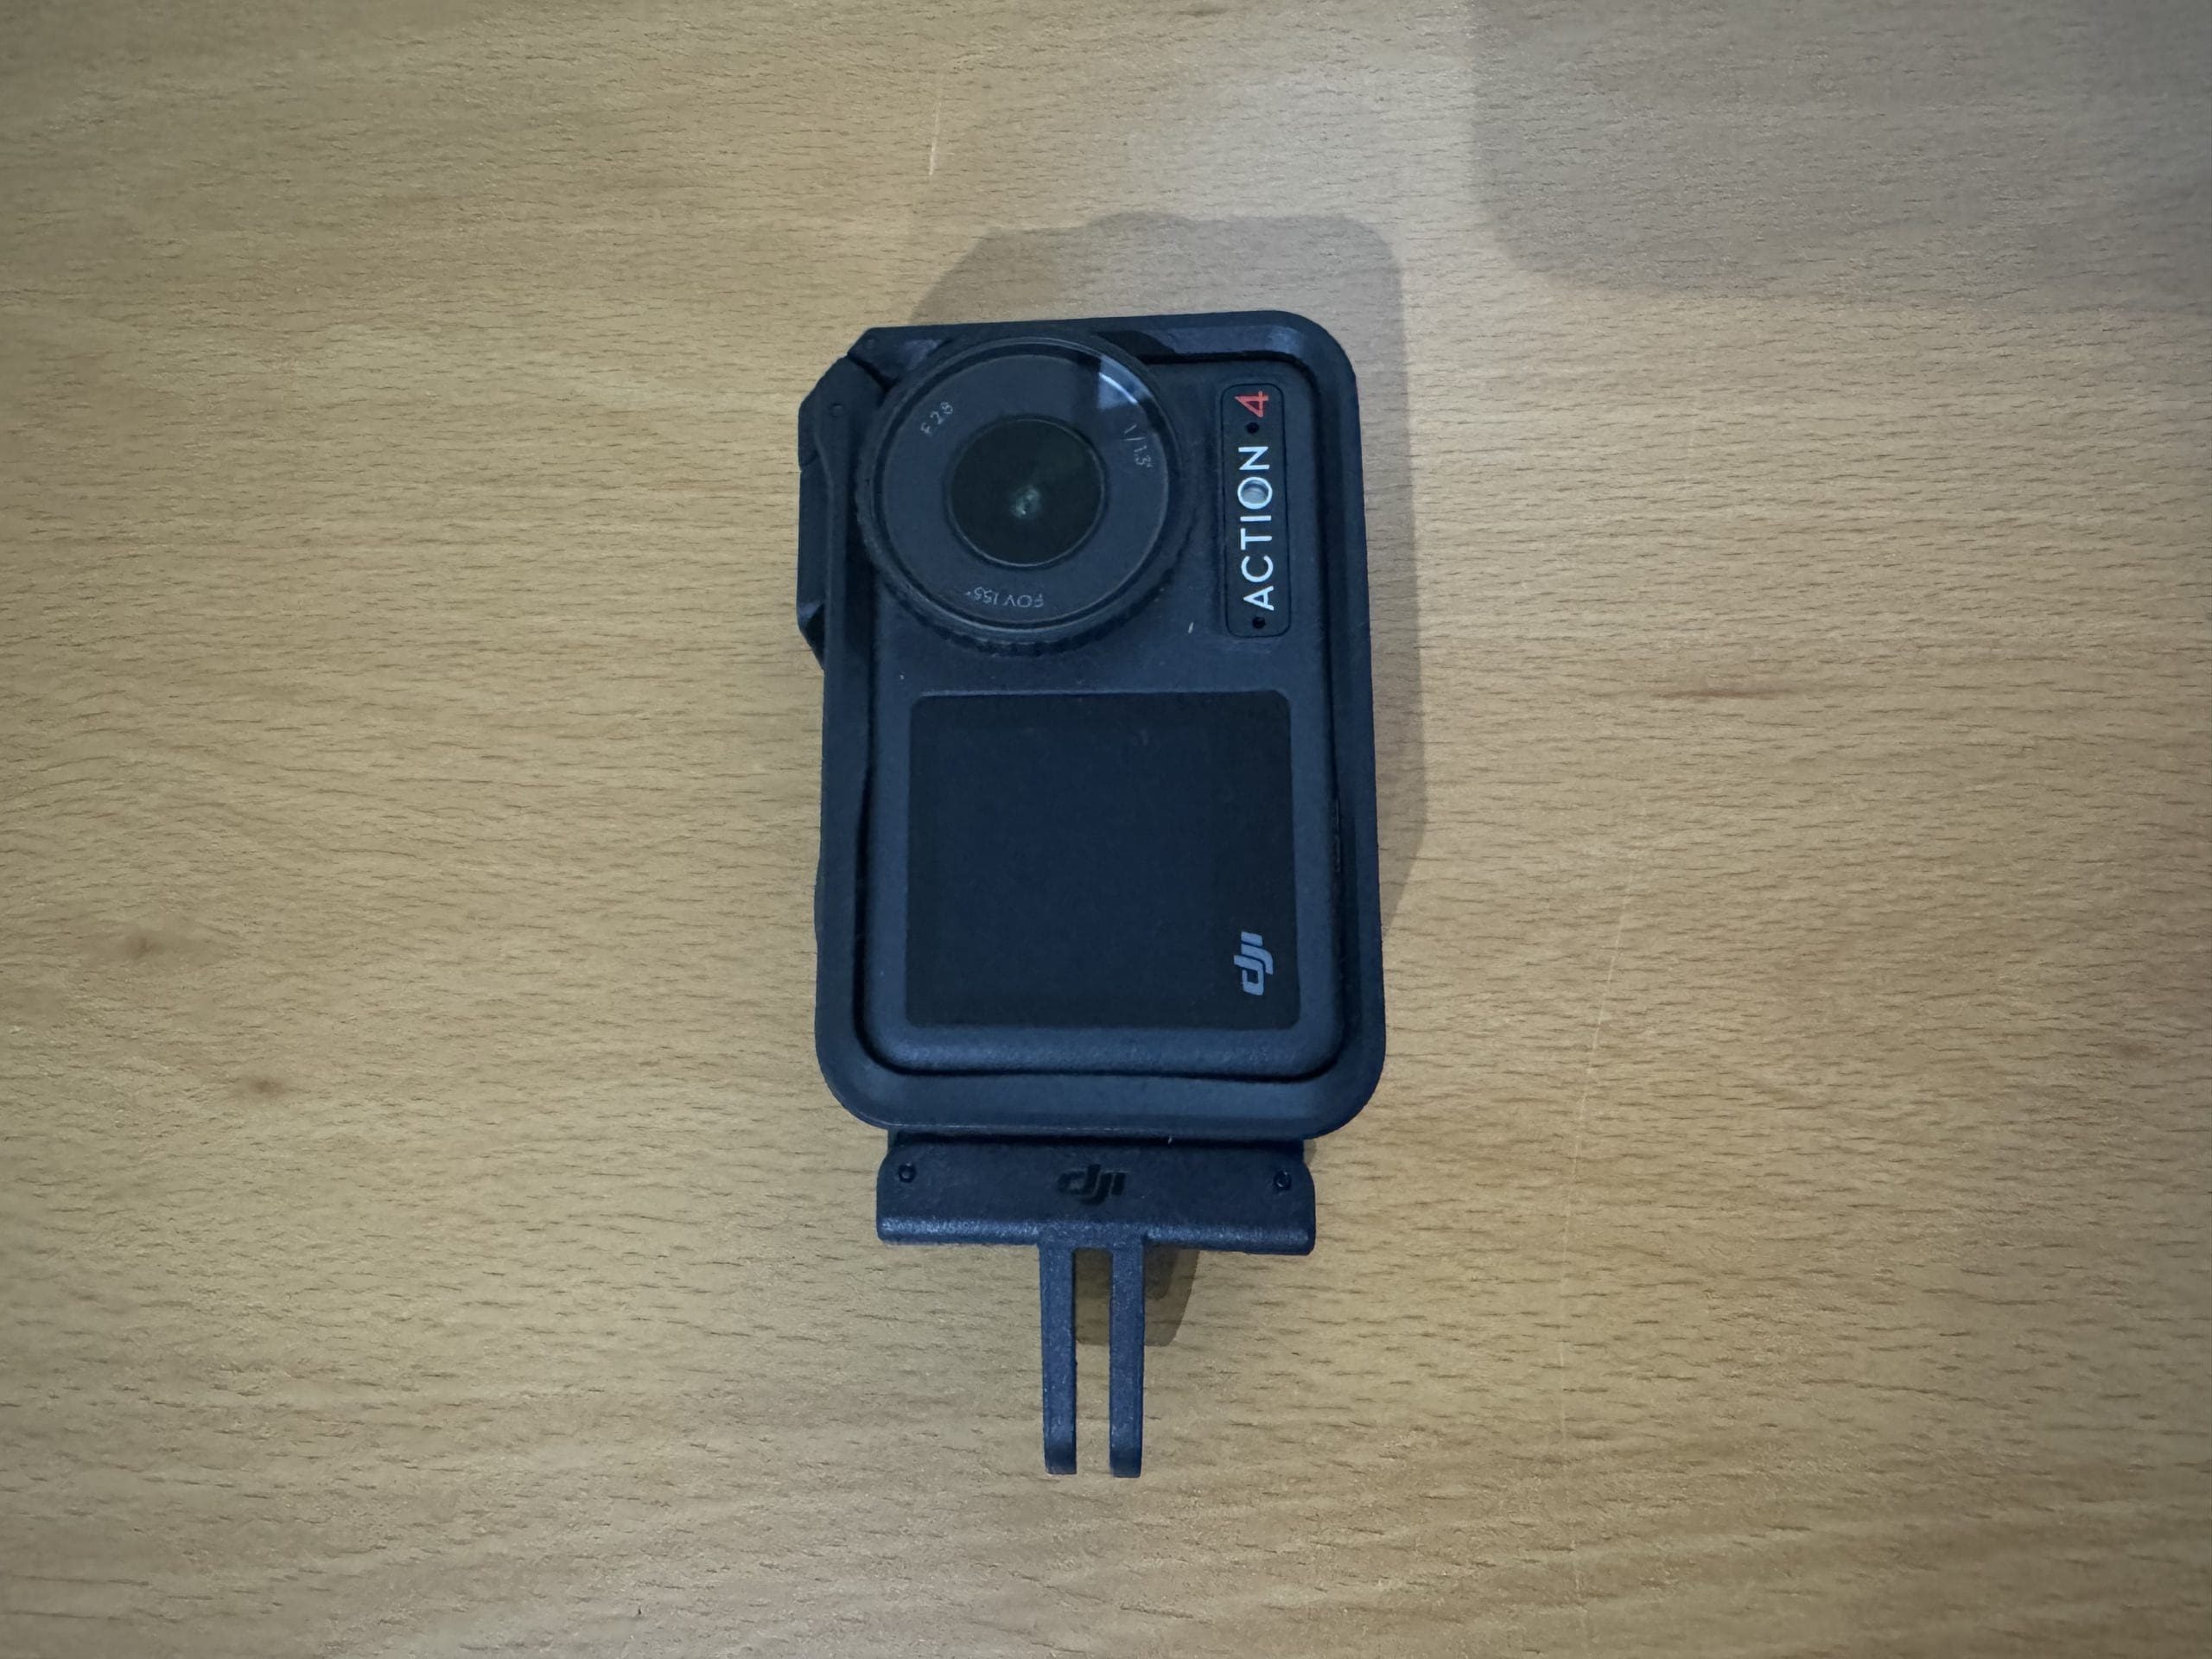
- The Action 4 has a large 1/1.3” sensor that’s capable of shooting ultra-wide 155-degree FOV in low-light conditions
- The close-up focus range is limited to 0.4m
- The DJI Osmo Action 4 is waterproof down to 18m without a case – the best in the industry
- The Osmo Action 4 is capable of shooting at 4K/120FPS
- The camera is very easy to use with dual touchscreens (front and back) and easy-to-navigate menus
- Powerful stabilization settings inject fluid stabilizers into your footage to eliminate camera shake or horizon balancing
- The handlebar mount is ideal for motorcycle use, while the chest strap is tailored more towards cycling
- A helmet chin mount is not included in the combo kit but is available for purchase separately
- DJI Mimo and LightCut are free-to-use apps for additional camera features, mirroring, data transfer and editing
- Overall, the DJI Osmo Action 4 camera is capable of shooting beautiful video while costing far less than competitors top of the line models
DJI Osmo Action 4 – The Ultimate Camera for Motorcyclists?
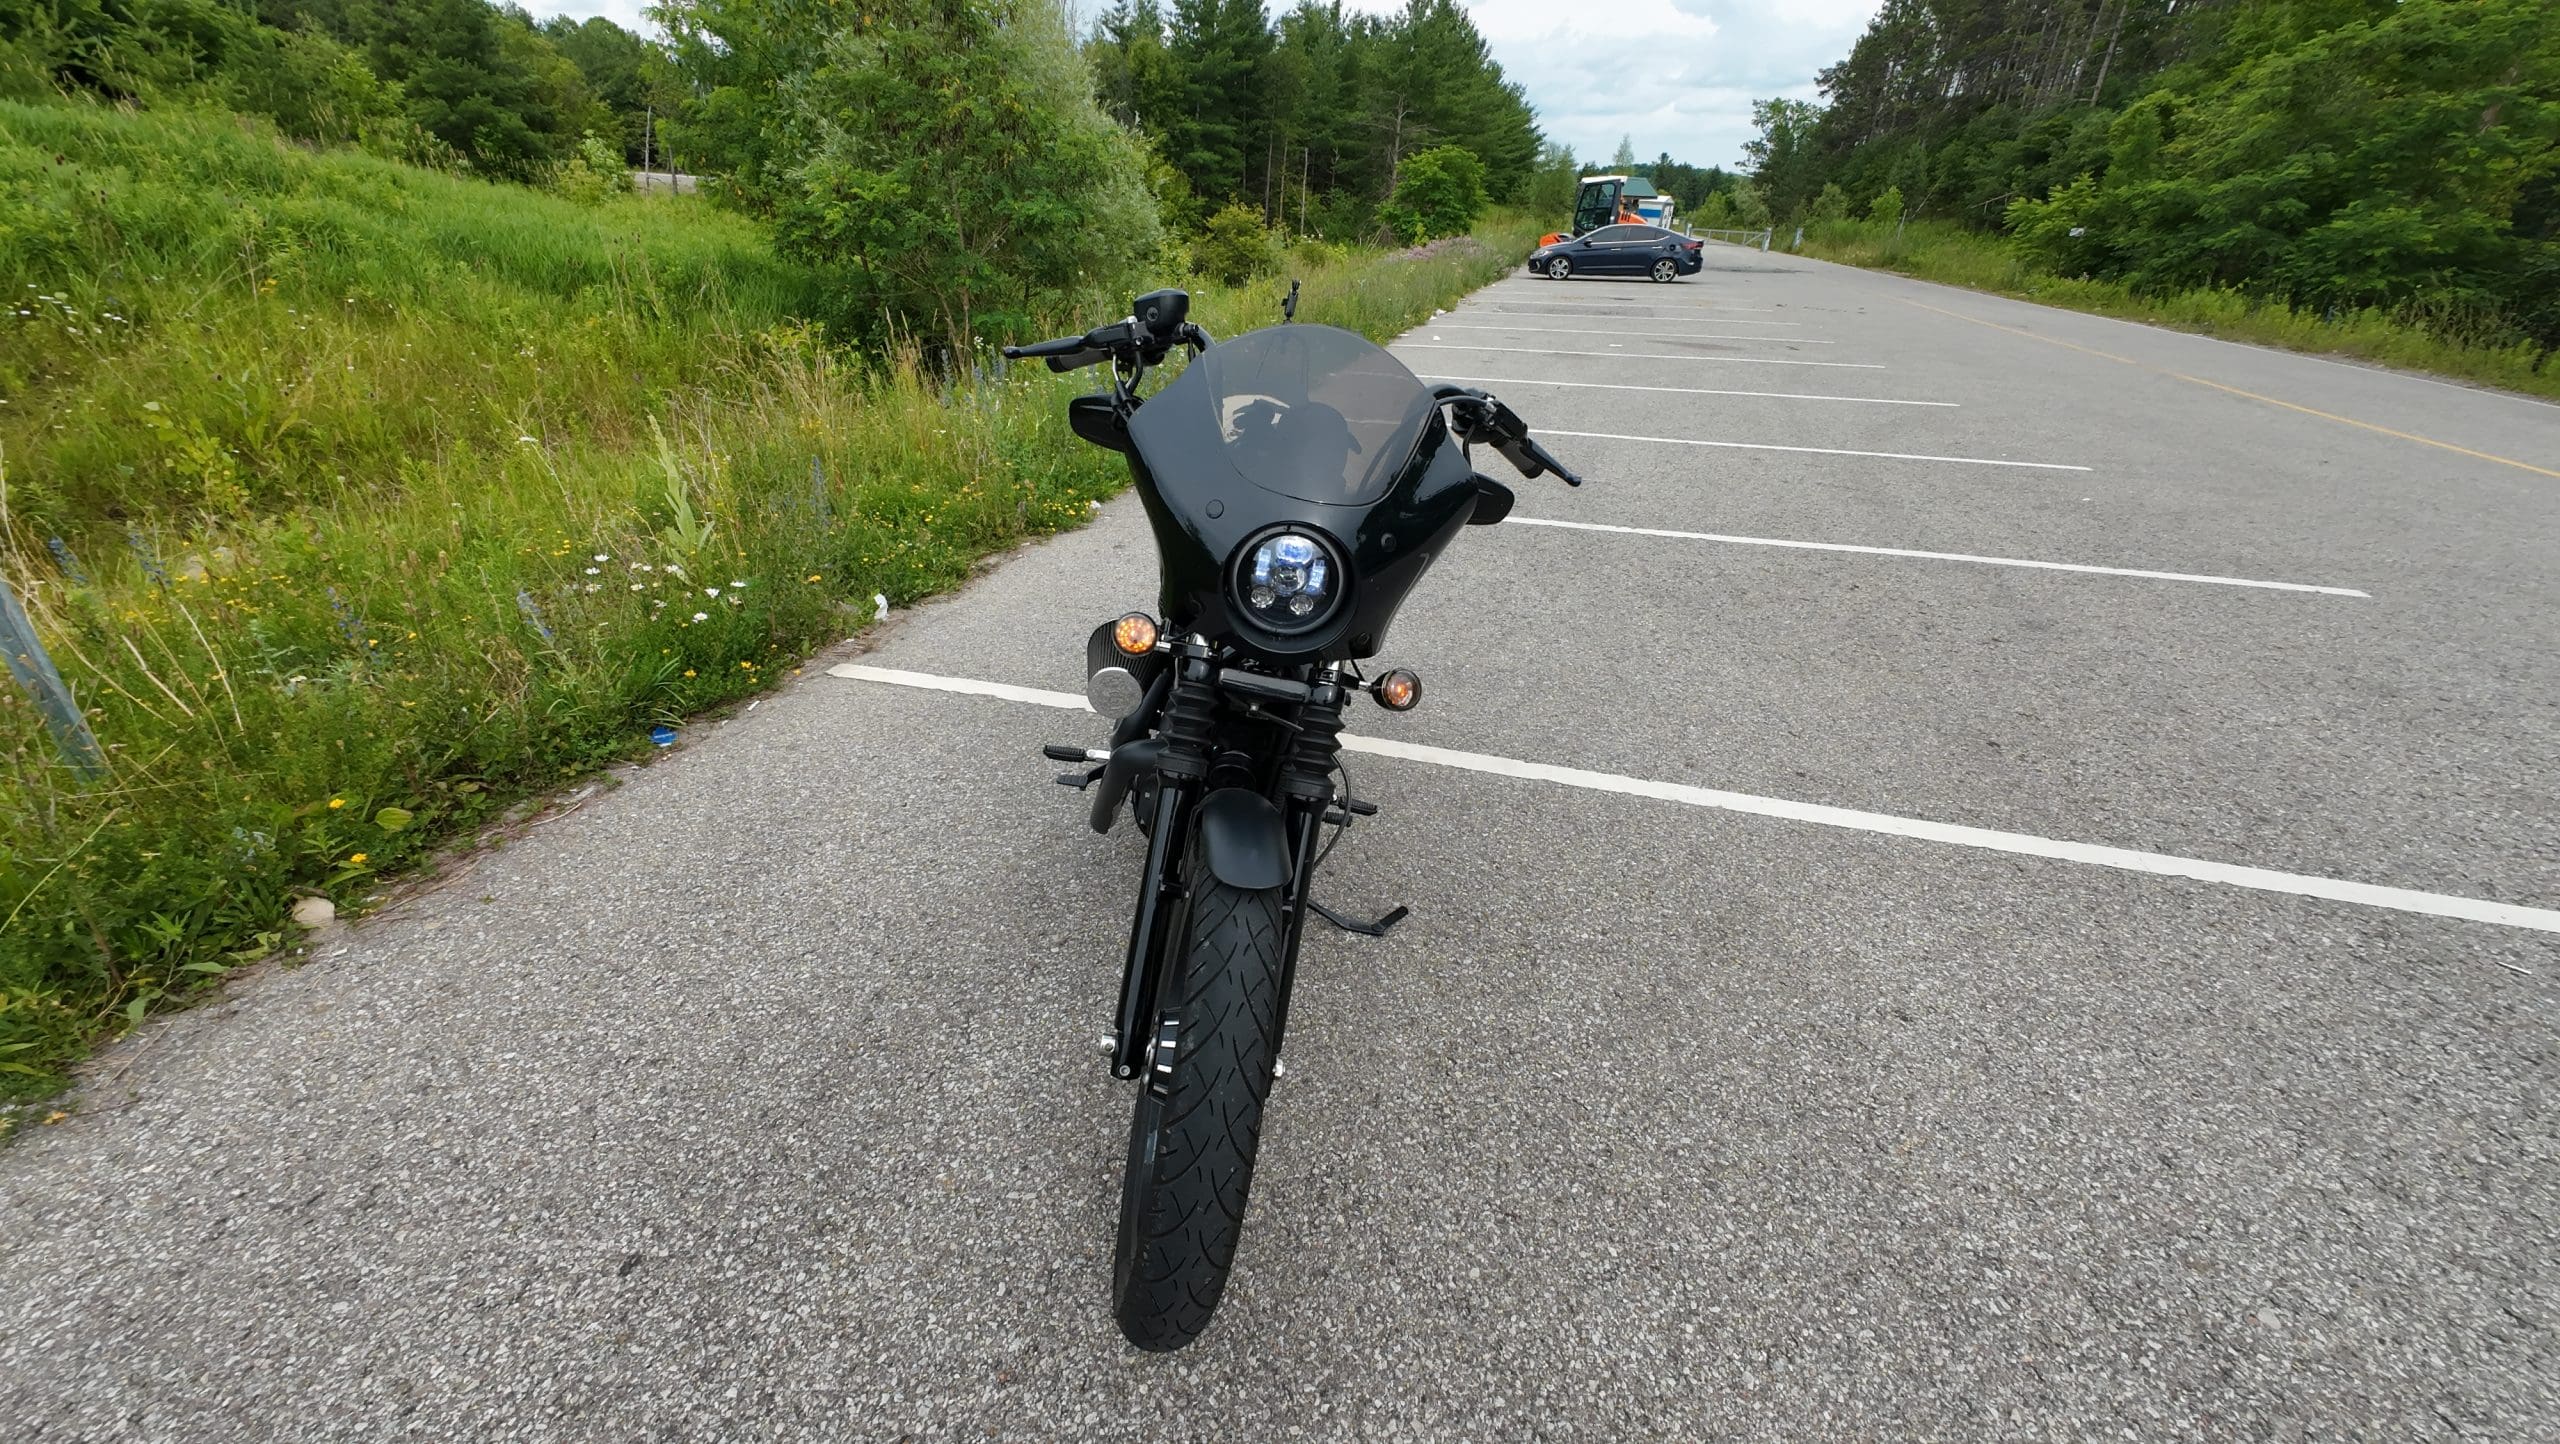
I’ve been lucky enough to receive an Osmo Action 4 camera from DJI, as well as the motorcycle combo kit! This tiny little powerhouse of a camera has been nothing short of impressive over the last few weeks.
What’s more, DJI’s powerful editing software in both the DJI Mimo and LightCut apps made it easy for an absolute novice filmographer (me) to turn raw footage into a work of art (depending on who you ask).
With so many aspects and details to cover, I’m going to do my best to cover everything I feel is important to know, while also giving you my honest opinion on the kit. I’ve put in my fair share of time with this camera before reporting back to you, but it’s simply impossible to have covered everything it has to offer during my review period.
As such, I will continue to update this page with features, pros, cons, and more as I continue to use the device!
What’s In the Box?
Some action camera companies have a standard kit, as well as creator bundles to enhance users experiences specific to the activity. These kits will include all the necessities to operate the camera, as well as various accessories and mounts.
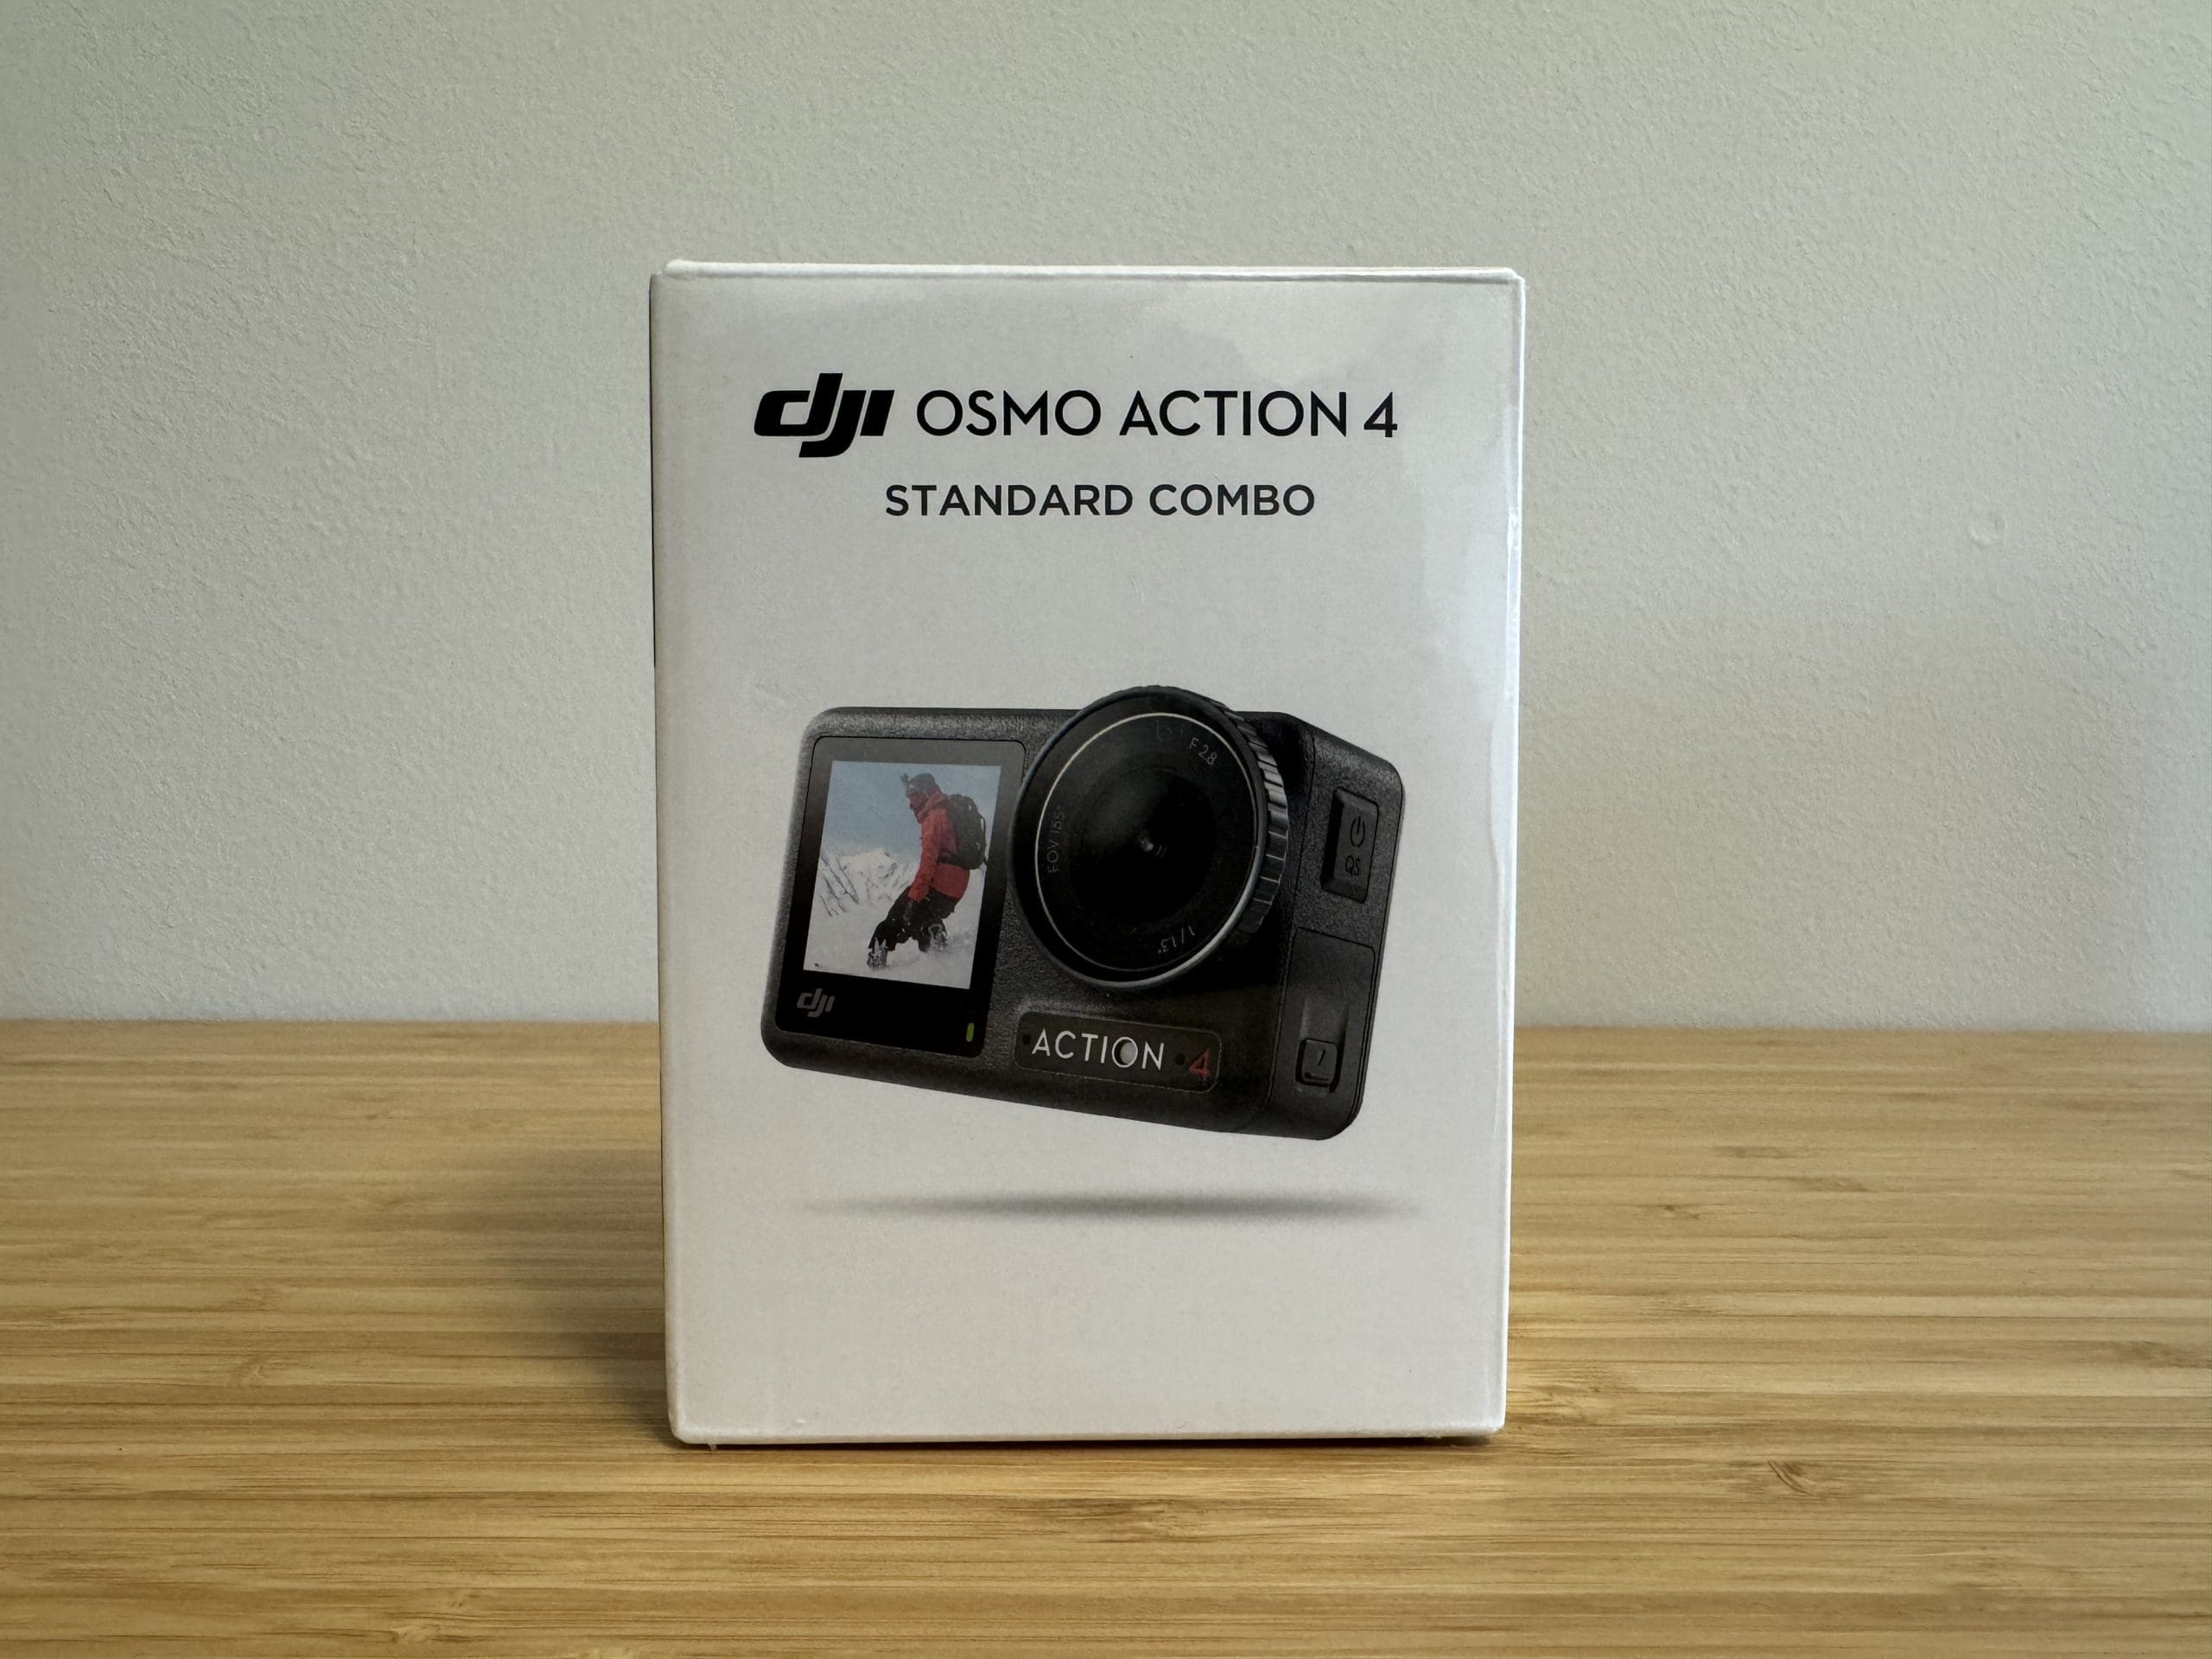
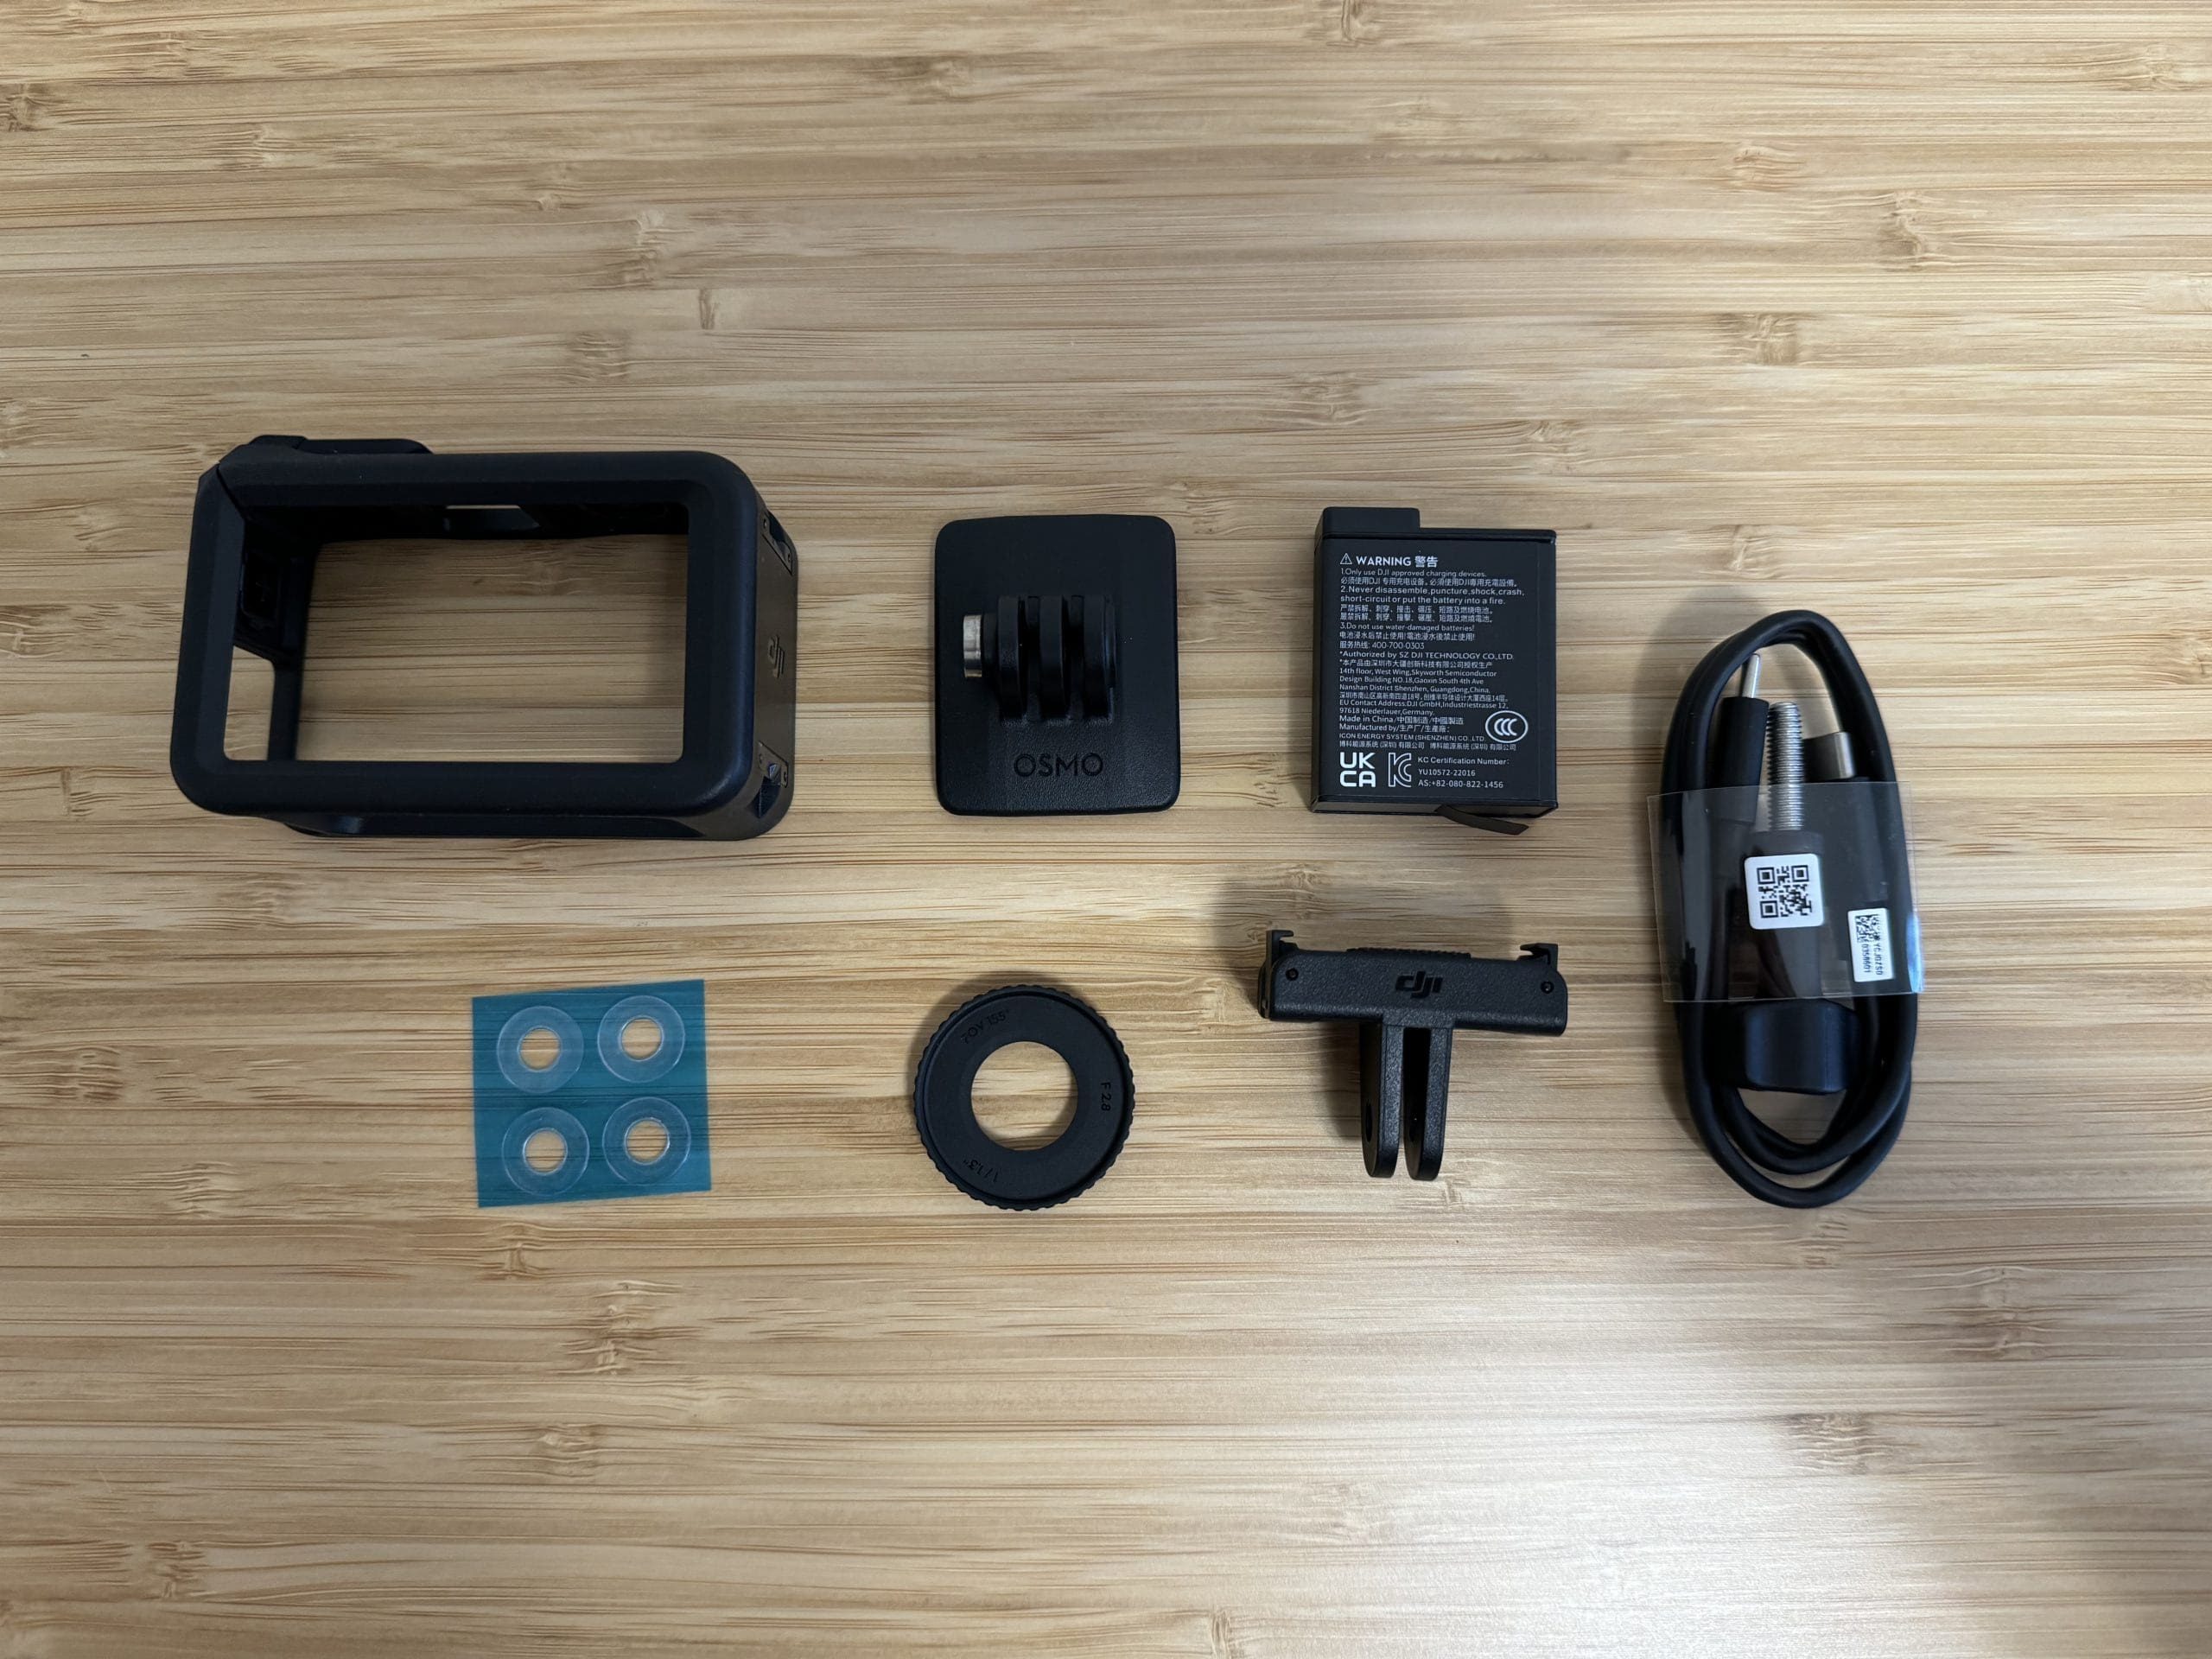
With each purchase of the standard Osmo Action 4 kit, you will receive:
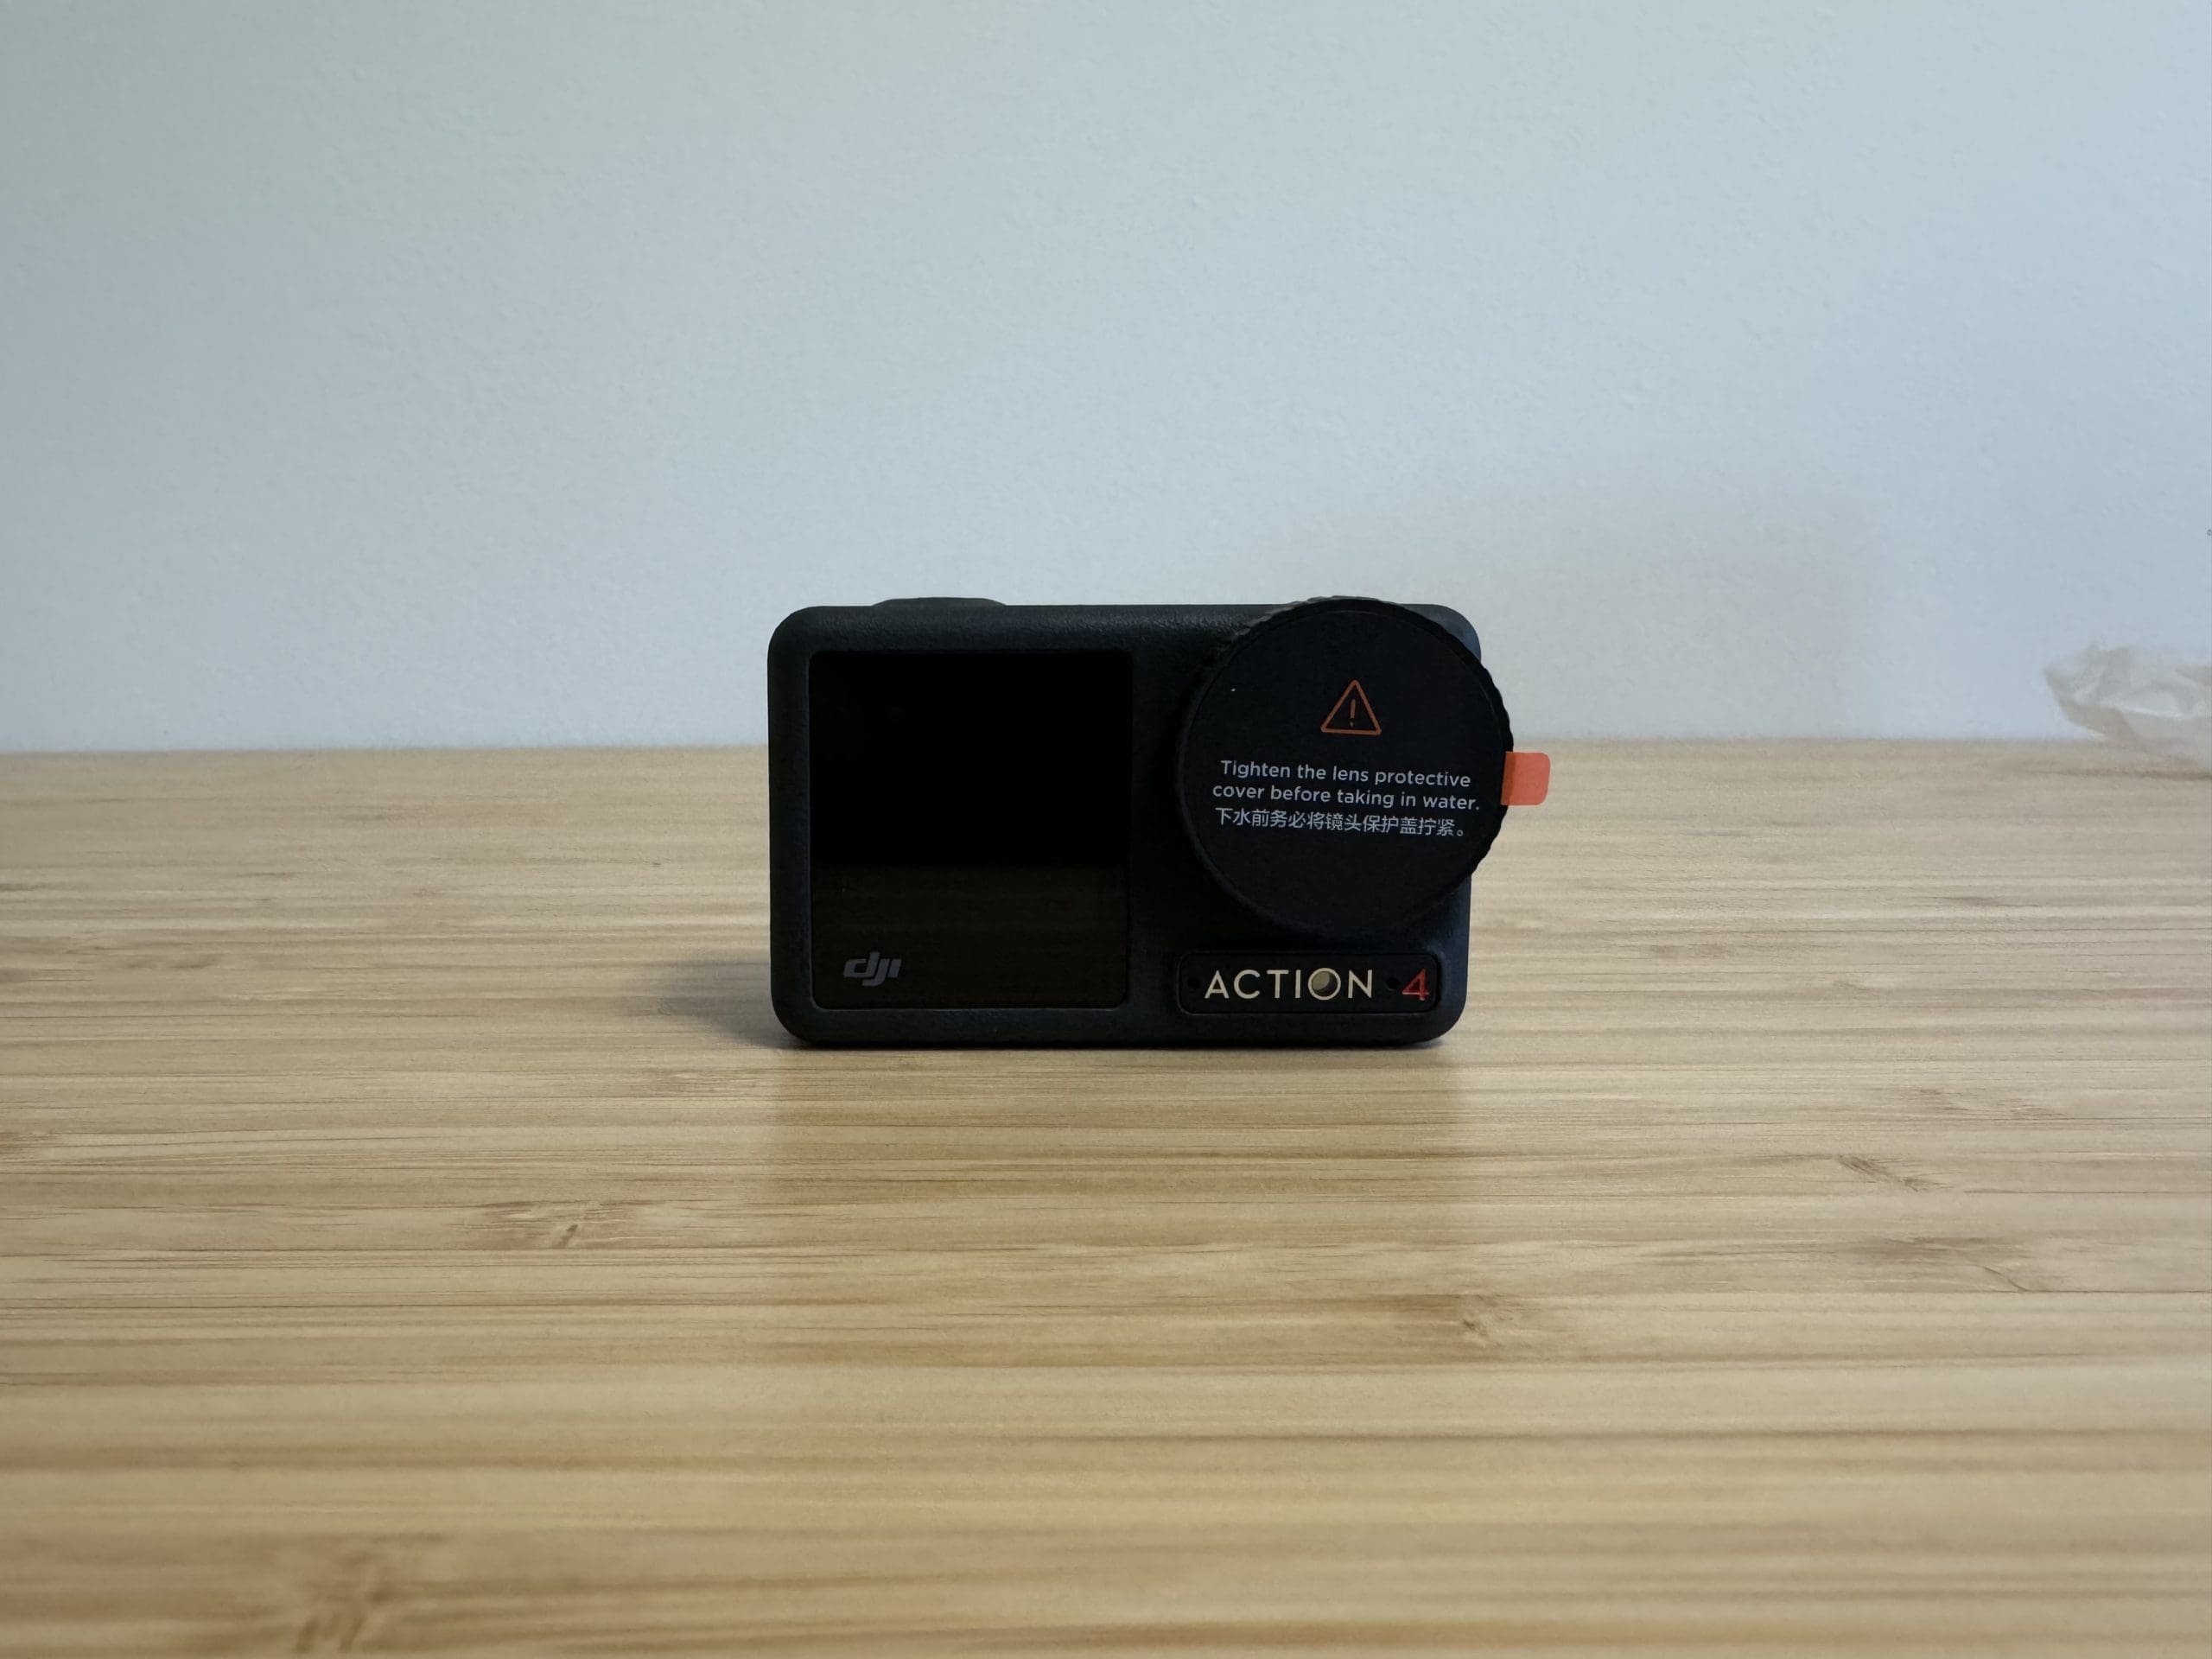
- 1 x Osmo Action 4 Camera
- 1 x Osmo Action Extreme Battery
- 1 x Osmo Action Horizontal-Vertical Protective Frame
- 1 x Osmo Action Quick-Release Adapter Mount
- 1 x Osmo Action Curved Adhesive Base
- 1 x Osmo Locking Screw
- 1 x Type C to Type C PD Cable
- 1 x Osmo Action Lens Hood
- 1 x Osmo Action Anti-Slip Pad
- 1 x DJI Logo Sticker
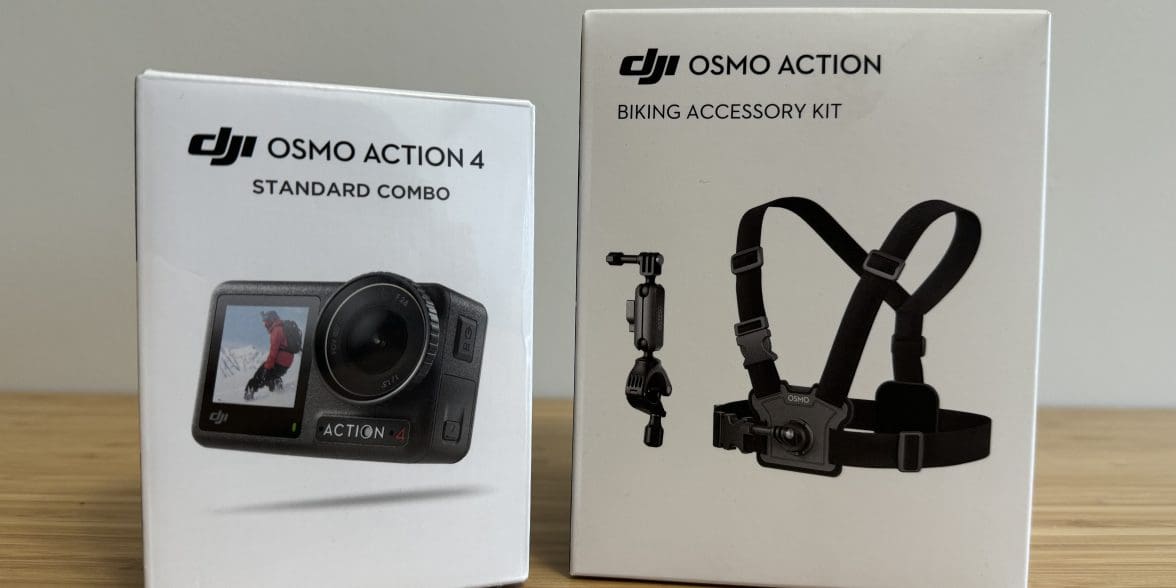
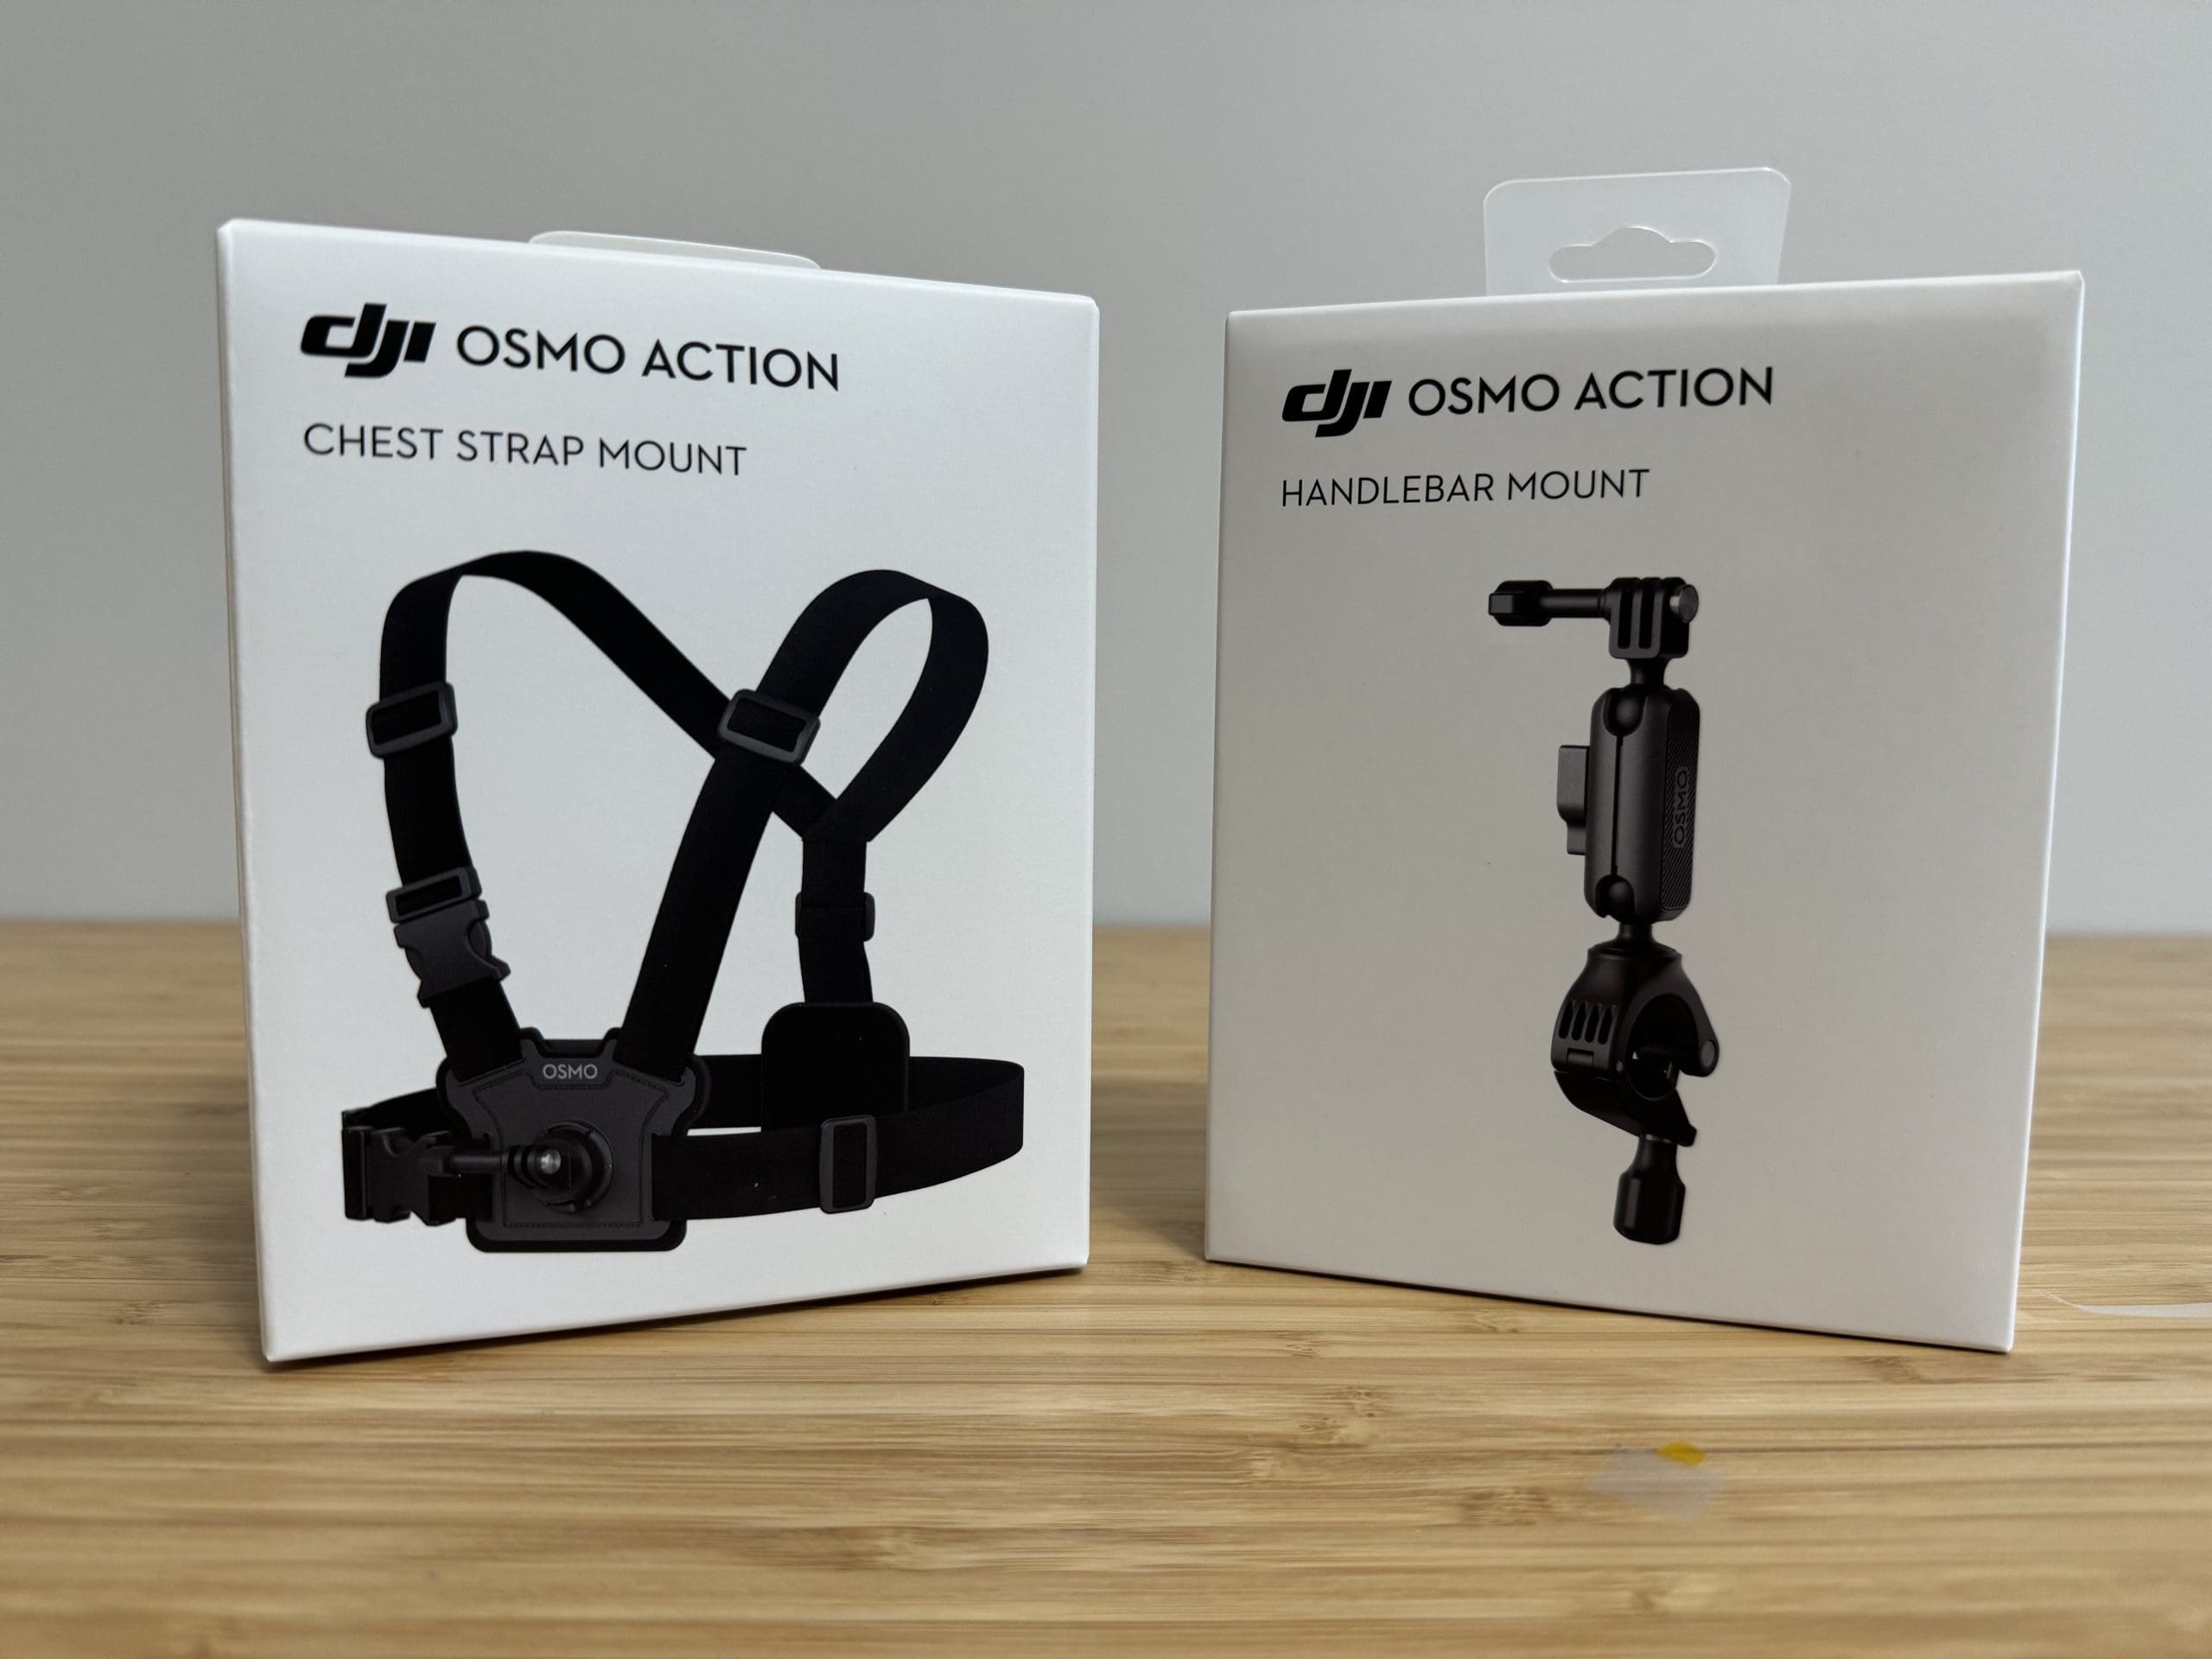
The option exists to upgrade to the Motorcycling/Mounting Cycling Combo. This is the kit that I received for this review, which includes:
- All of the aforementioned parts
- 1 x Handlebar Mount
- 1 x Chest Strap Mount
- 2 x Osmo Locking Screws
It’s important to note that neither of the above-mentioned kits includes a Micro SD card that is required for recording video. This is the only essential piece of equipment that is not included in your purchase.
I will touch on my experience with each of the mounts later on in the review, however, I will admit that I was surprised a helmet mount was not included in the motorcycling kit.
I mentioned this to DJI and they sent me one of their helmet chin mounts for the purpose of the review. While not included in the kit, they are available through the DJI store for an additional $20.
Osmo Action 4 Specs
With the camera and accessories out of the box, it was time to work through the tech specs. Please note that all of the below specifications were taken directly from DJI’s website here. My personal experience is to follow this section.
General Specs
- Dimensions: 70.5×44.2×32.8mm
- Weight: 145 grams
- Waterproof: 18m without the waterproof case, 60m with the waterproof case
- Number of Microphones: 3
- Touchscreens
- Front Screen: 1.4-inch 323 ppi 320×320
- Rear Screen: 2.25-inch 326 ppi 360×640
Camera Specs
- Sensor: 1/1.3-inch CMOS
- Lens
- FOV: 155-degree
- Aperture: f/2.8
- Focus Range: 0.4 m to infinity
- ISO Range
- Photo: 100-12800
- Video: 100-12800
- Electronic Shutter Speed
- Photo: 1/8000-30 s
- Video: 1/8000 s to the limit of frames per second
- Zoom
- Digital Zoom
- Photo 4x
- Video Max 2x
- Slow Motion/Timelapse: Not available
- Still Photography Modes
- Single: Approx 10MP
Recording Options
- Standard Recording
- 4K (4:3): 3840×2880@24/25/30/48/50/60fps
- 4K (16:9): 3840×2160@100/120fps
- 4K (16:9): 3840×2160@24/25/30/48/50/60fps
- 2.7K (4:3): 2688×2016@24/25/30/48/50/60fps
- 2.7K (16:9): 2688×1512@100/120fps
- 2.7K (16:9): 2688×1512@24/25/30/48/50/60fps
- 1080p (16:9): 1920×1080@100/120/200/240fps
- 1080p (16:9): 1920×1080@24/25/30/48/50/60fps
- Slow Motion
- 4K: 4× (120fps)
- 2.7K: 4× (120fps)
- 1080p: 8× (240fps), 4× (120fps)
- Hyperlapse
- 4K/2.7K/1080p: Auto/x2/x5/x10/x15/x30
- Timelapse
- 4K/2.7K/1080p@30fps
- Intervals: 0.5/1/2/3/4/5/6/8/10/15/20/25/30/40 s
- Duration: 5/10/20/30 mins, 1/2/3/5 hours, ∞
Stabilization
- RockSteady 3.0
- RockSteady 3.0+
- HorizonBalancing
- HorizonSteady
Capturing on the DJI Osmo Action 4
Blah, blah, blah enough of the tech specs. If you’re like me and don’t know what half of that means, don’t worry – I’m going to break it down for you through real-life use. The DJI Osmo Action 4 is capable of taking both photos and videos with lots of customizable options for each mode.
Lights, Camera, ACTION!
Shooting video on the Osmo Action 4 is a breeze. It’s really as simple as 1 press of a button and you’re recording. Getting a good shot, however, takes a bit more practice. Thankfully, the camera’s software makes life a bit easier with convenient features such as horizon stabilizers, wide FOVs, and two screens to preview what you’re filming!
Standard, Slow Motion, Timelapse, and… Hyperlapse?
First things first, what type of video do you want to record?
Standard and slow-motion recording is pretty self-explanatory. 99% of your videos are going to be filmed under the standard setting. The remaining 1% may be a mixture of the other features. Slow motion is awesome for those epic action shots and becomes even more awesome when tweaked in the editing software.
Not to be confused with timelapse, hyperlapse involves physically moving the camera over a long distance, capturing frames along the way. While timelapse and hyperlapse are technically photographs condensed together to create a video, I’ve included them in this category as they share much of the same recording modes as the other video options.
Truthfully I didn’t play around much with the timelapse and hyperlapse modes. All of my testing was done on the bike, and used the standard recording mode, with a mix of slow-motion, for pretty much everything I wanted to capture!
Here are two sample videos of footage I captured on the DJI Osmo Action 4 while on a walk with Ashley, and my puppy, Milo. Both are unedited, raw footage. One is in slow motion, while the other was filmed at 4K/120FPS.
Slow Motion Sample: https://youtu.be/t7WfWhMSRIY
Unedited 4K/120FPS Sample: https://youtu.be/CsBXJVuwfY8
Recording Modes
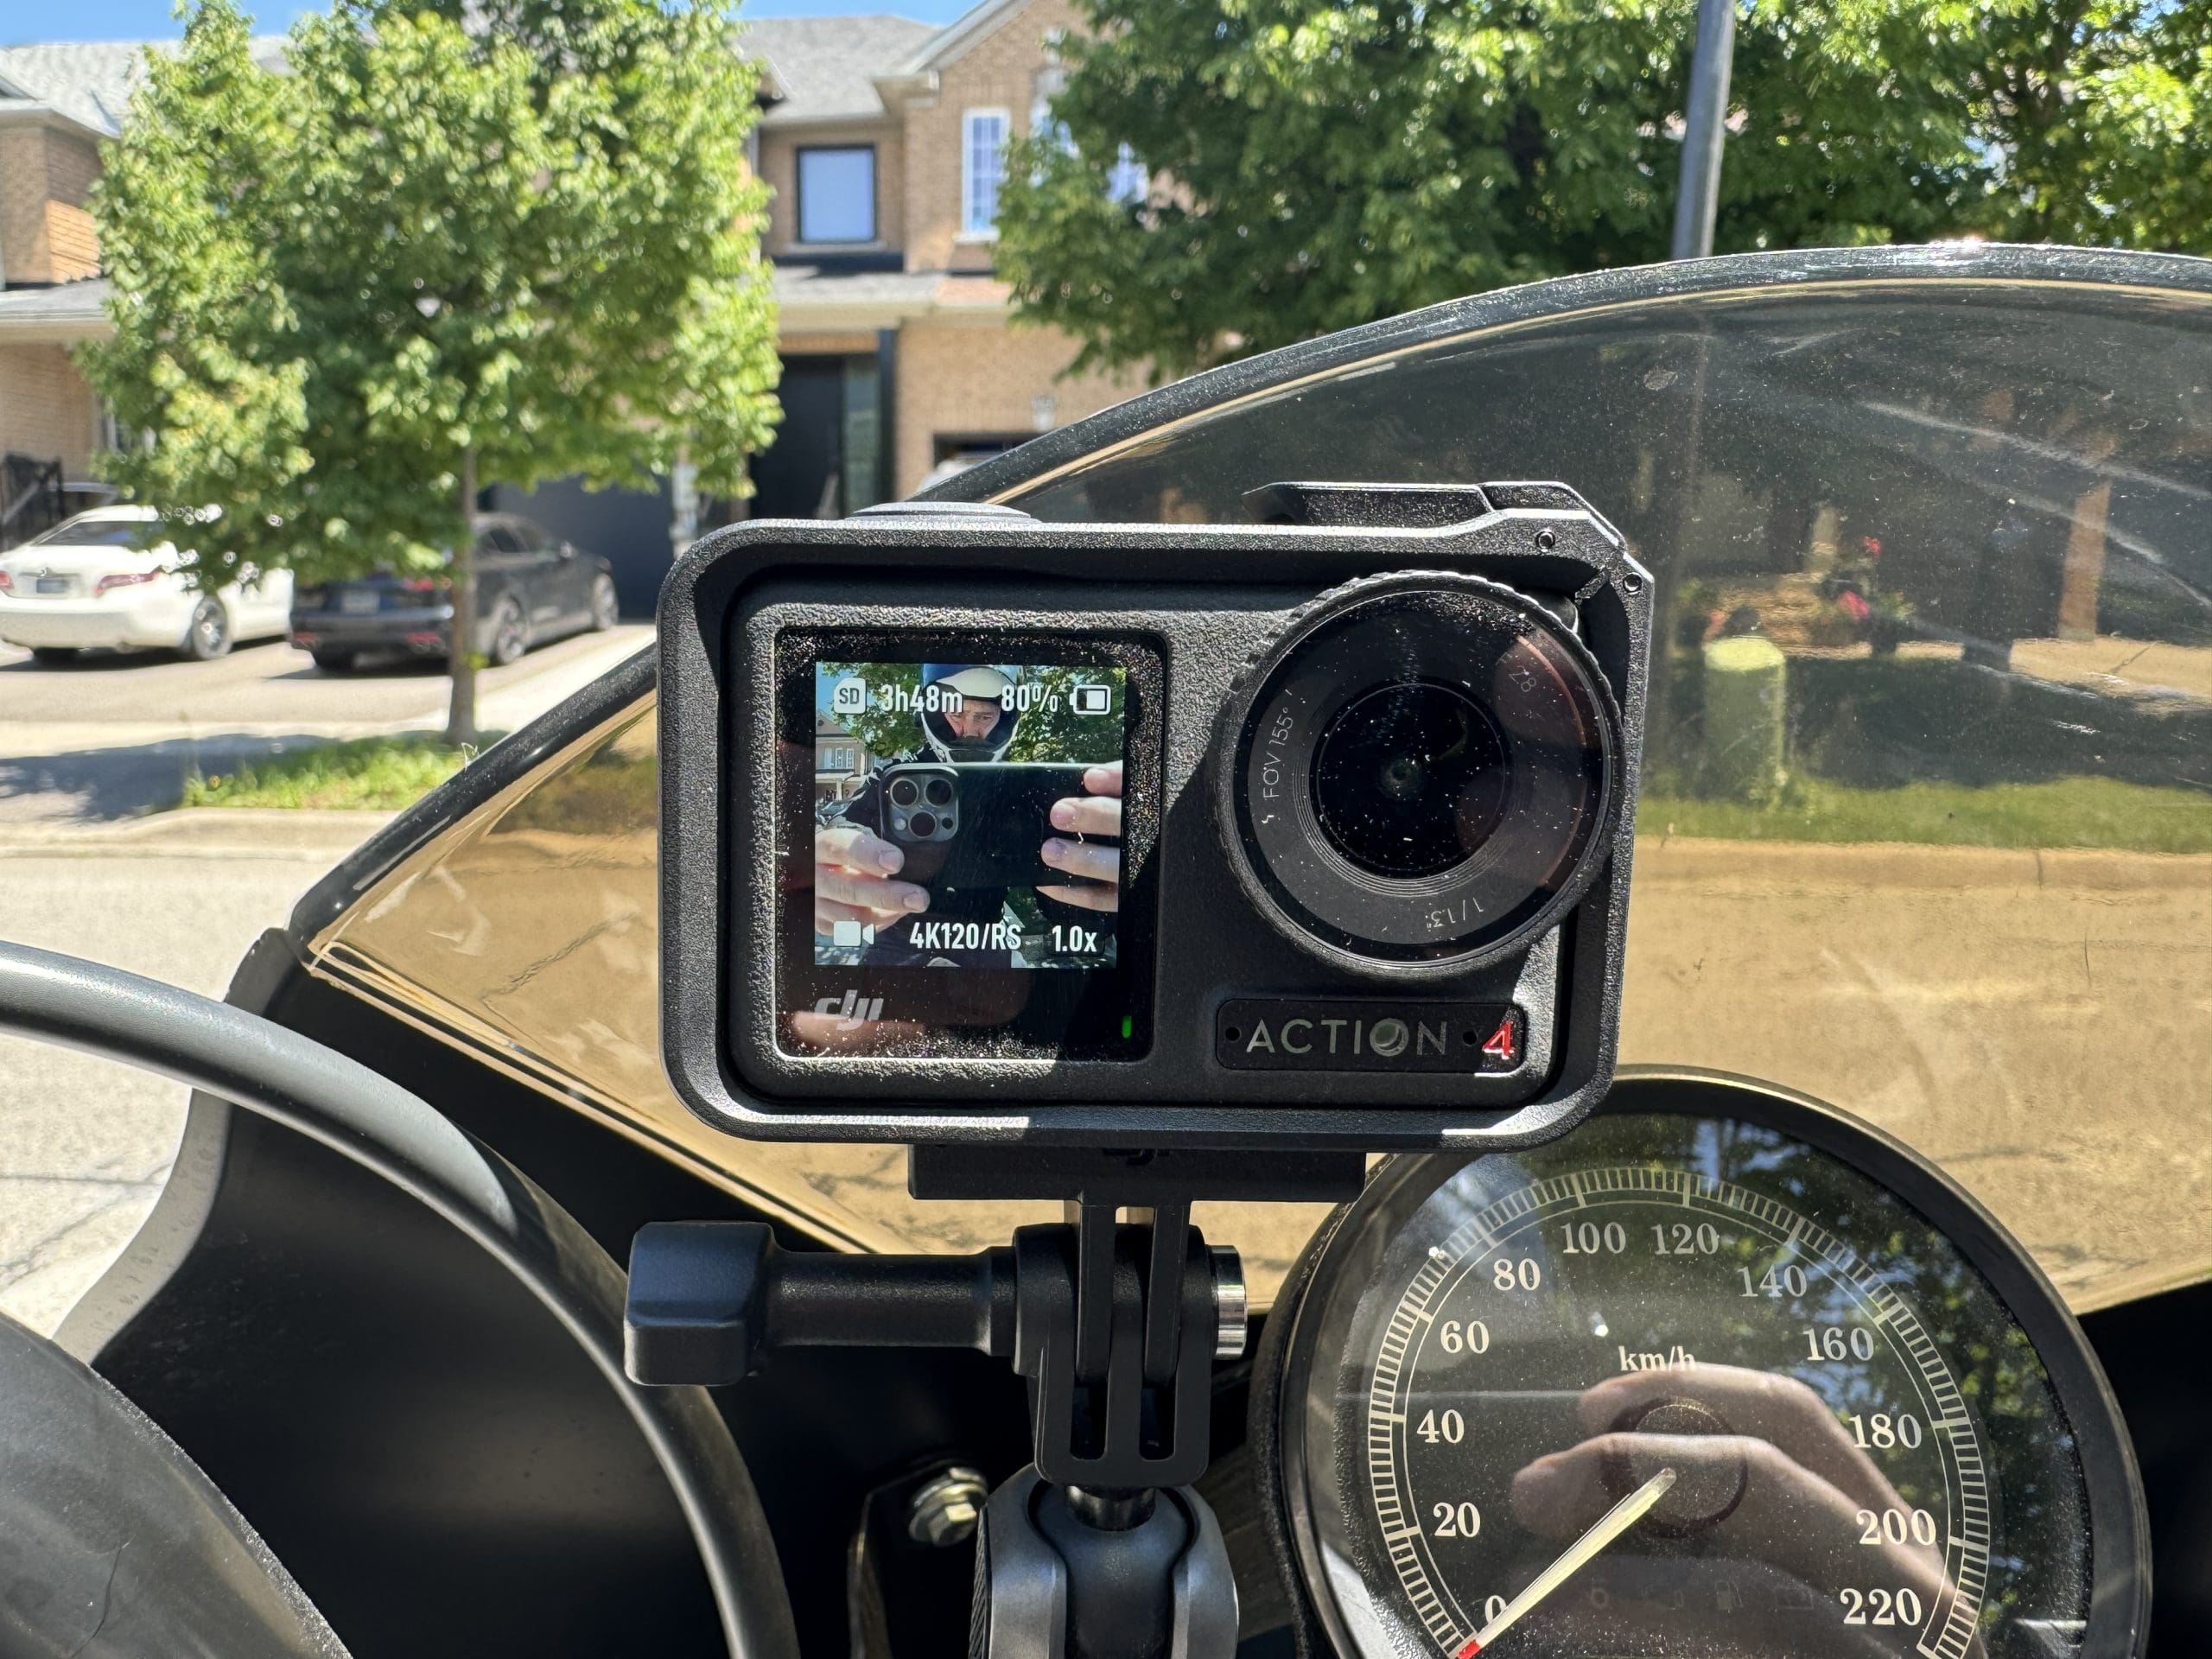
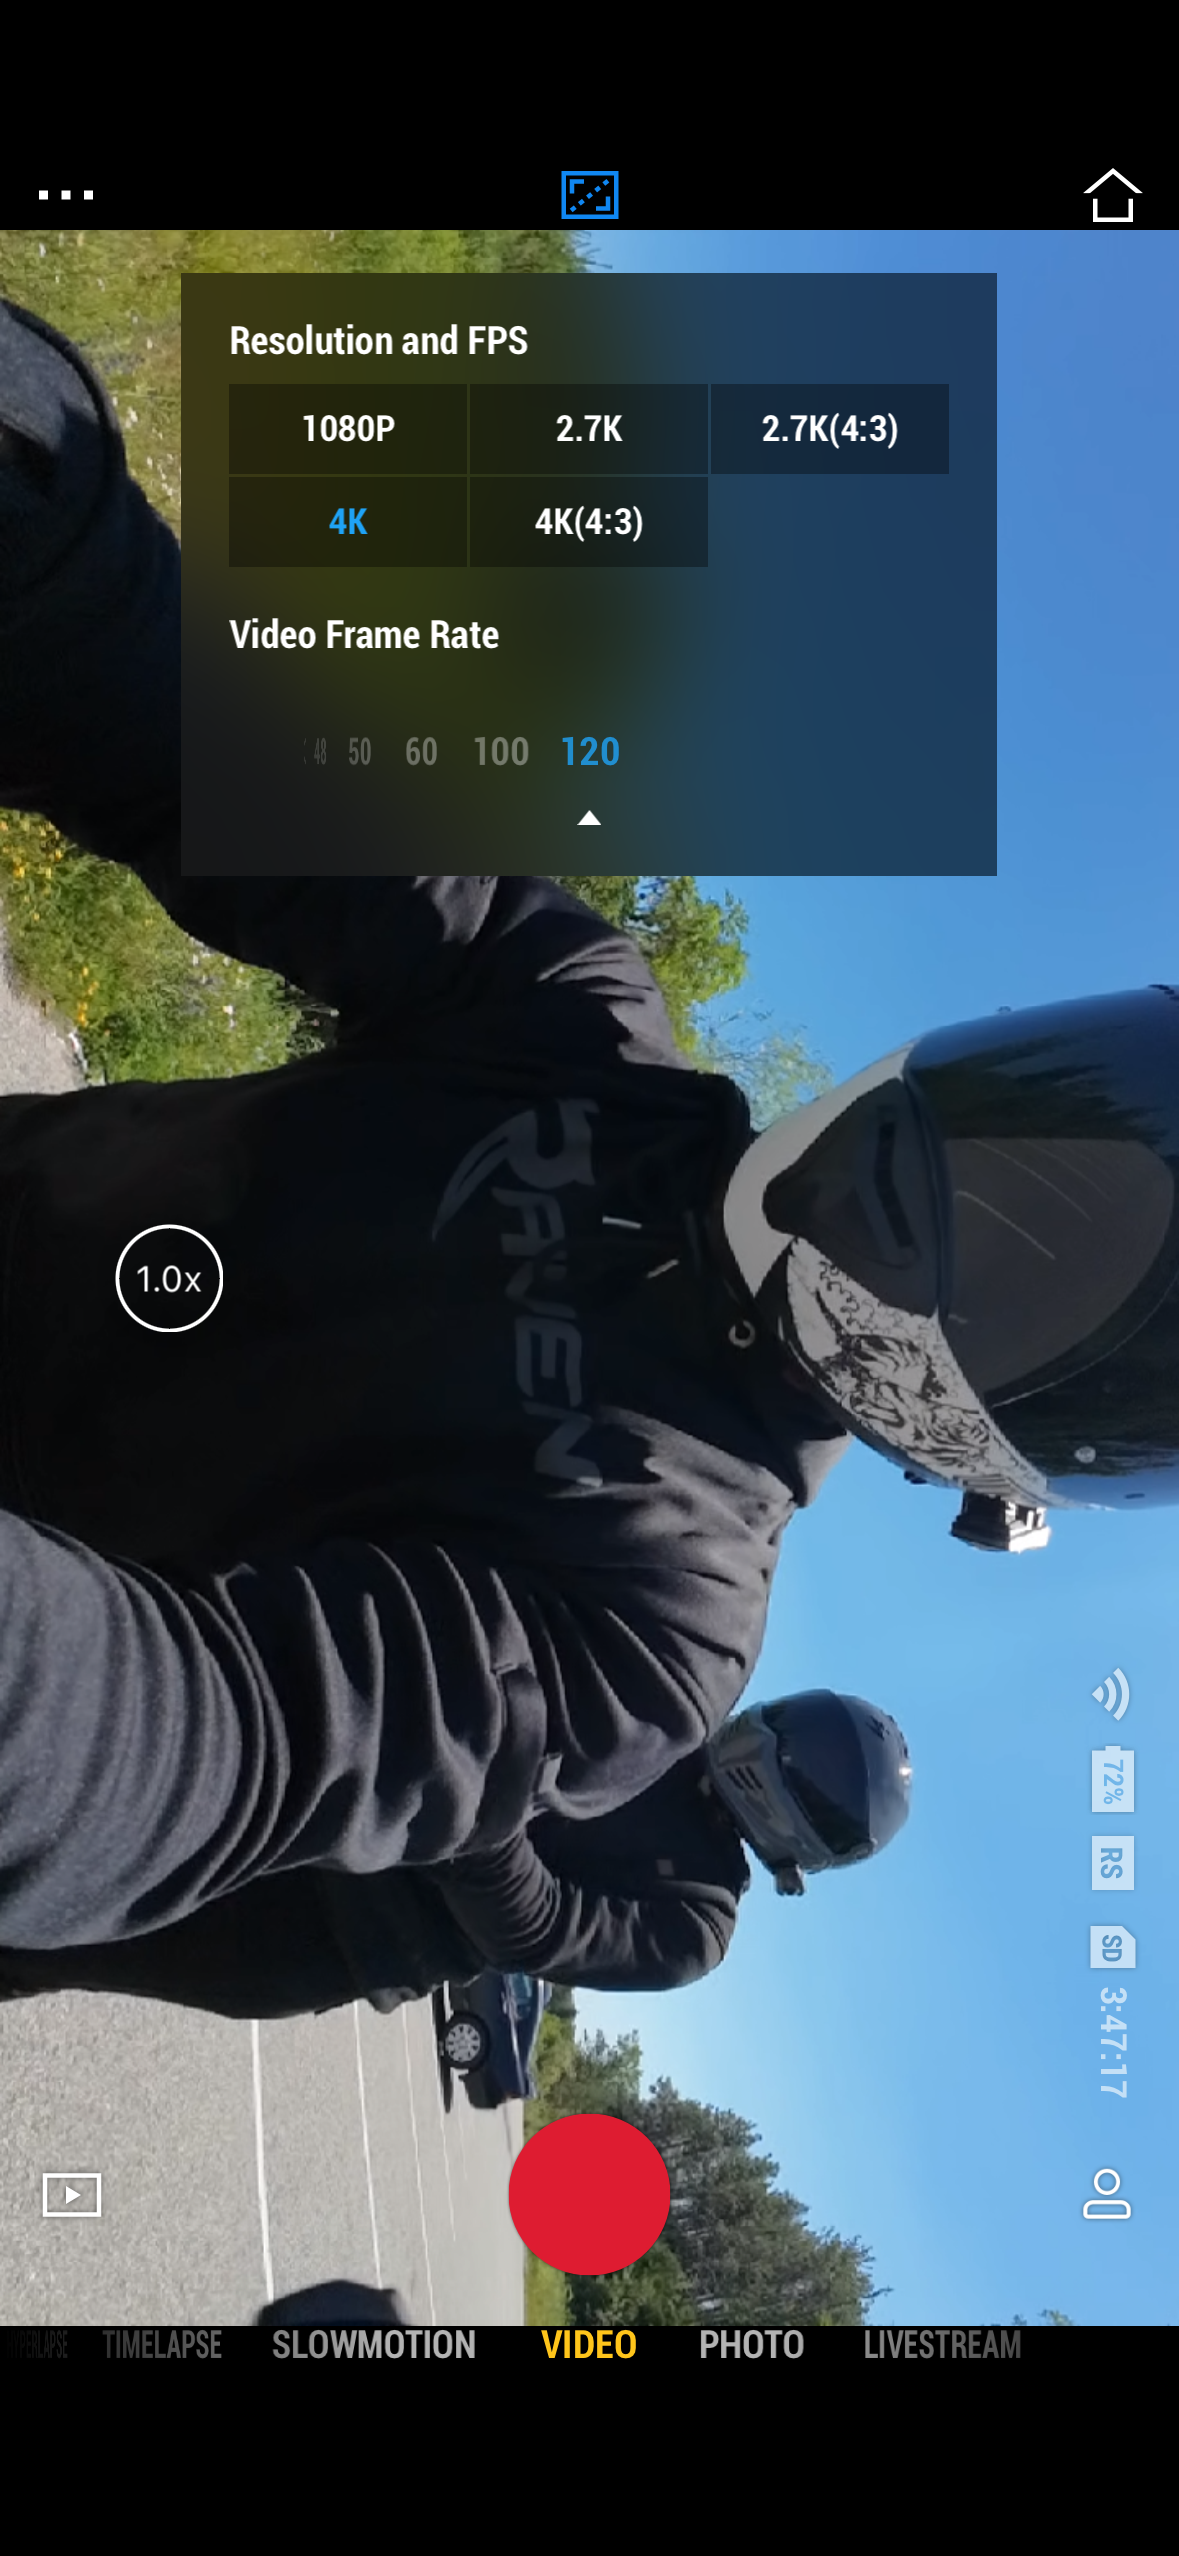
As you can see from the above specs, the Osmo Action 4 is capable of shooting in various resolutions and frame rates. I typically stuck to 4K (16:9) 60fps or 120fps. The reason I cycled between the two is due to FOVs and stabilizing modes. I’ll touch on this a bit later.
For those who may want to save battery, shoot in higher frame rates, or make use of wider FOV’s, switching recording modes is super easy. On either of the camera’s touchscreens simply tap on the bottom to bring up a menu that allows you to swipe to choose the resolution and frame rate.
With the 2.7K and 4K resolutions is the option to shoot in either 16:9 or 4:3 aspect ratios. I typically recorded in a 16:9 aspect ratio as it is more common. It’s also what a smartphone would record in, therefore allowing me to make better side-by-side comparisons.
Field of View
The Osmo Action 4 is capable of shooting video in 4 different FOVs;
- Narrow
- Standard (Dewarp)
- Wide
- Ultra-Wide
For pictures, you are limited to standard or wide FOVs.
Getting the hang of the different FOVs with this camera was tricky as not all options are available in all recording modes. For example, the ultra-wide FOV is only available when shooting at 60FPS or lower. This applies to all resolutions. However, regardless of the FPS, the camera is incapable of shooting 4K video with a narrow field of view. Narrow is only available for 1080p and 2.7K video.
It definitely took me a bit of playing around with the camera to learn the different options available to me in different modes. Because I primarily recorded in 4K, I was entirely unaware of the narrow field of view up until I sat down and really put some time into scrolling through the settings of the camera.
Wide is my preferred FOV on the bike. I found it had the perfect balance between scenery and bike in my footage, all while refraining from distorting the picture. I found that sometimes the ultra-wide view added a slight distortion to nearby objects that looked funny.
At the moment, DJI does not have an option for 360-degree recording. If you’re in the market for a 360 camera, check out our recent review on the Insta360 X4 Camera.
Photography at the Click of a Button
Aside from recording videos, the DJI Osmo Action 4 is capable of taking pictures. Admittedly, this was not intended to be the camera’s primary function. This is made clear by a 10MP still photography resolution. For comparison, the GoPro Hero 12 has a max photo resolution of 27.13MP.
Motorcycling/Mountain Cycling Combo Kit
As I have previously mentioned, DJI offers a kit tailored towards motorcycling and cycling enthusiasts. This kit includes two unique mount options that are intended to give you the best angles for riding.
The kit includes a handlebar mount, as well as a chest strap mount. Oddly enough, the kit does not include a helmet chin mount, which in my opinion provides a better point-of-view shot than the chest strap mount.
I was initially skeptical of the chest strap mount – something I’ll touch more on later. As such, I asked for a chin strap mount for the review as well.
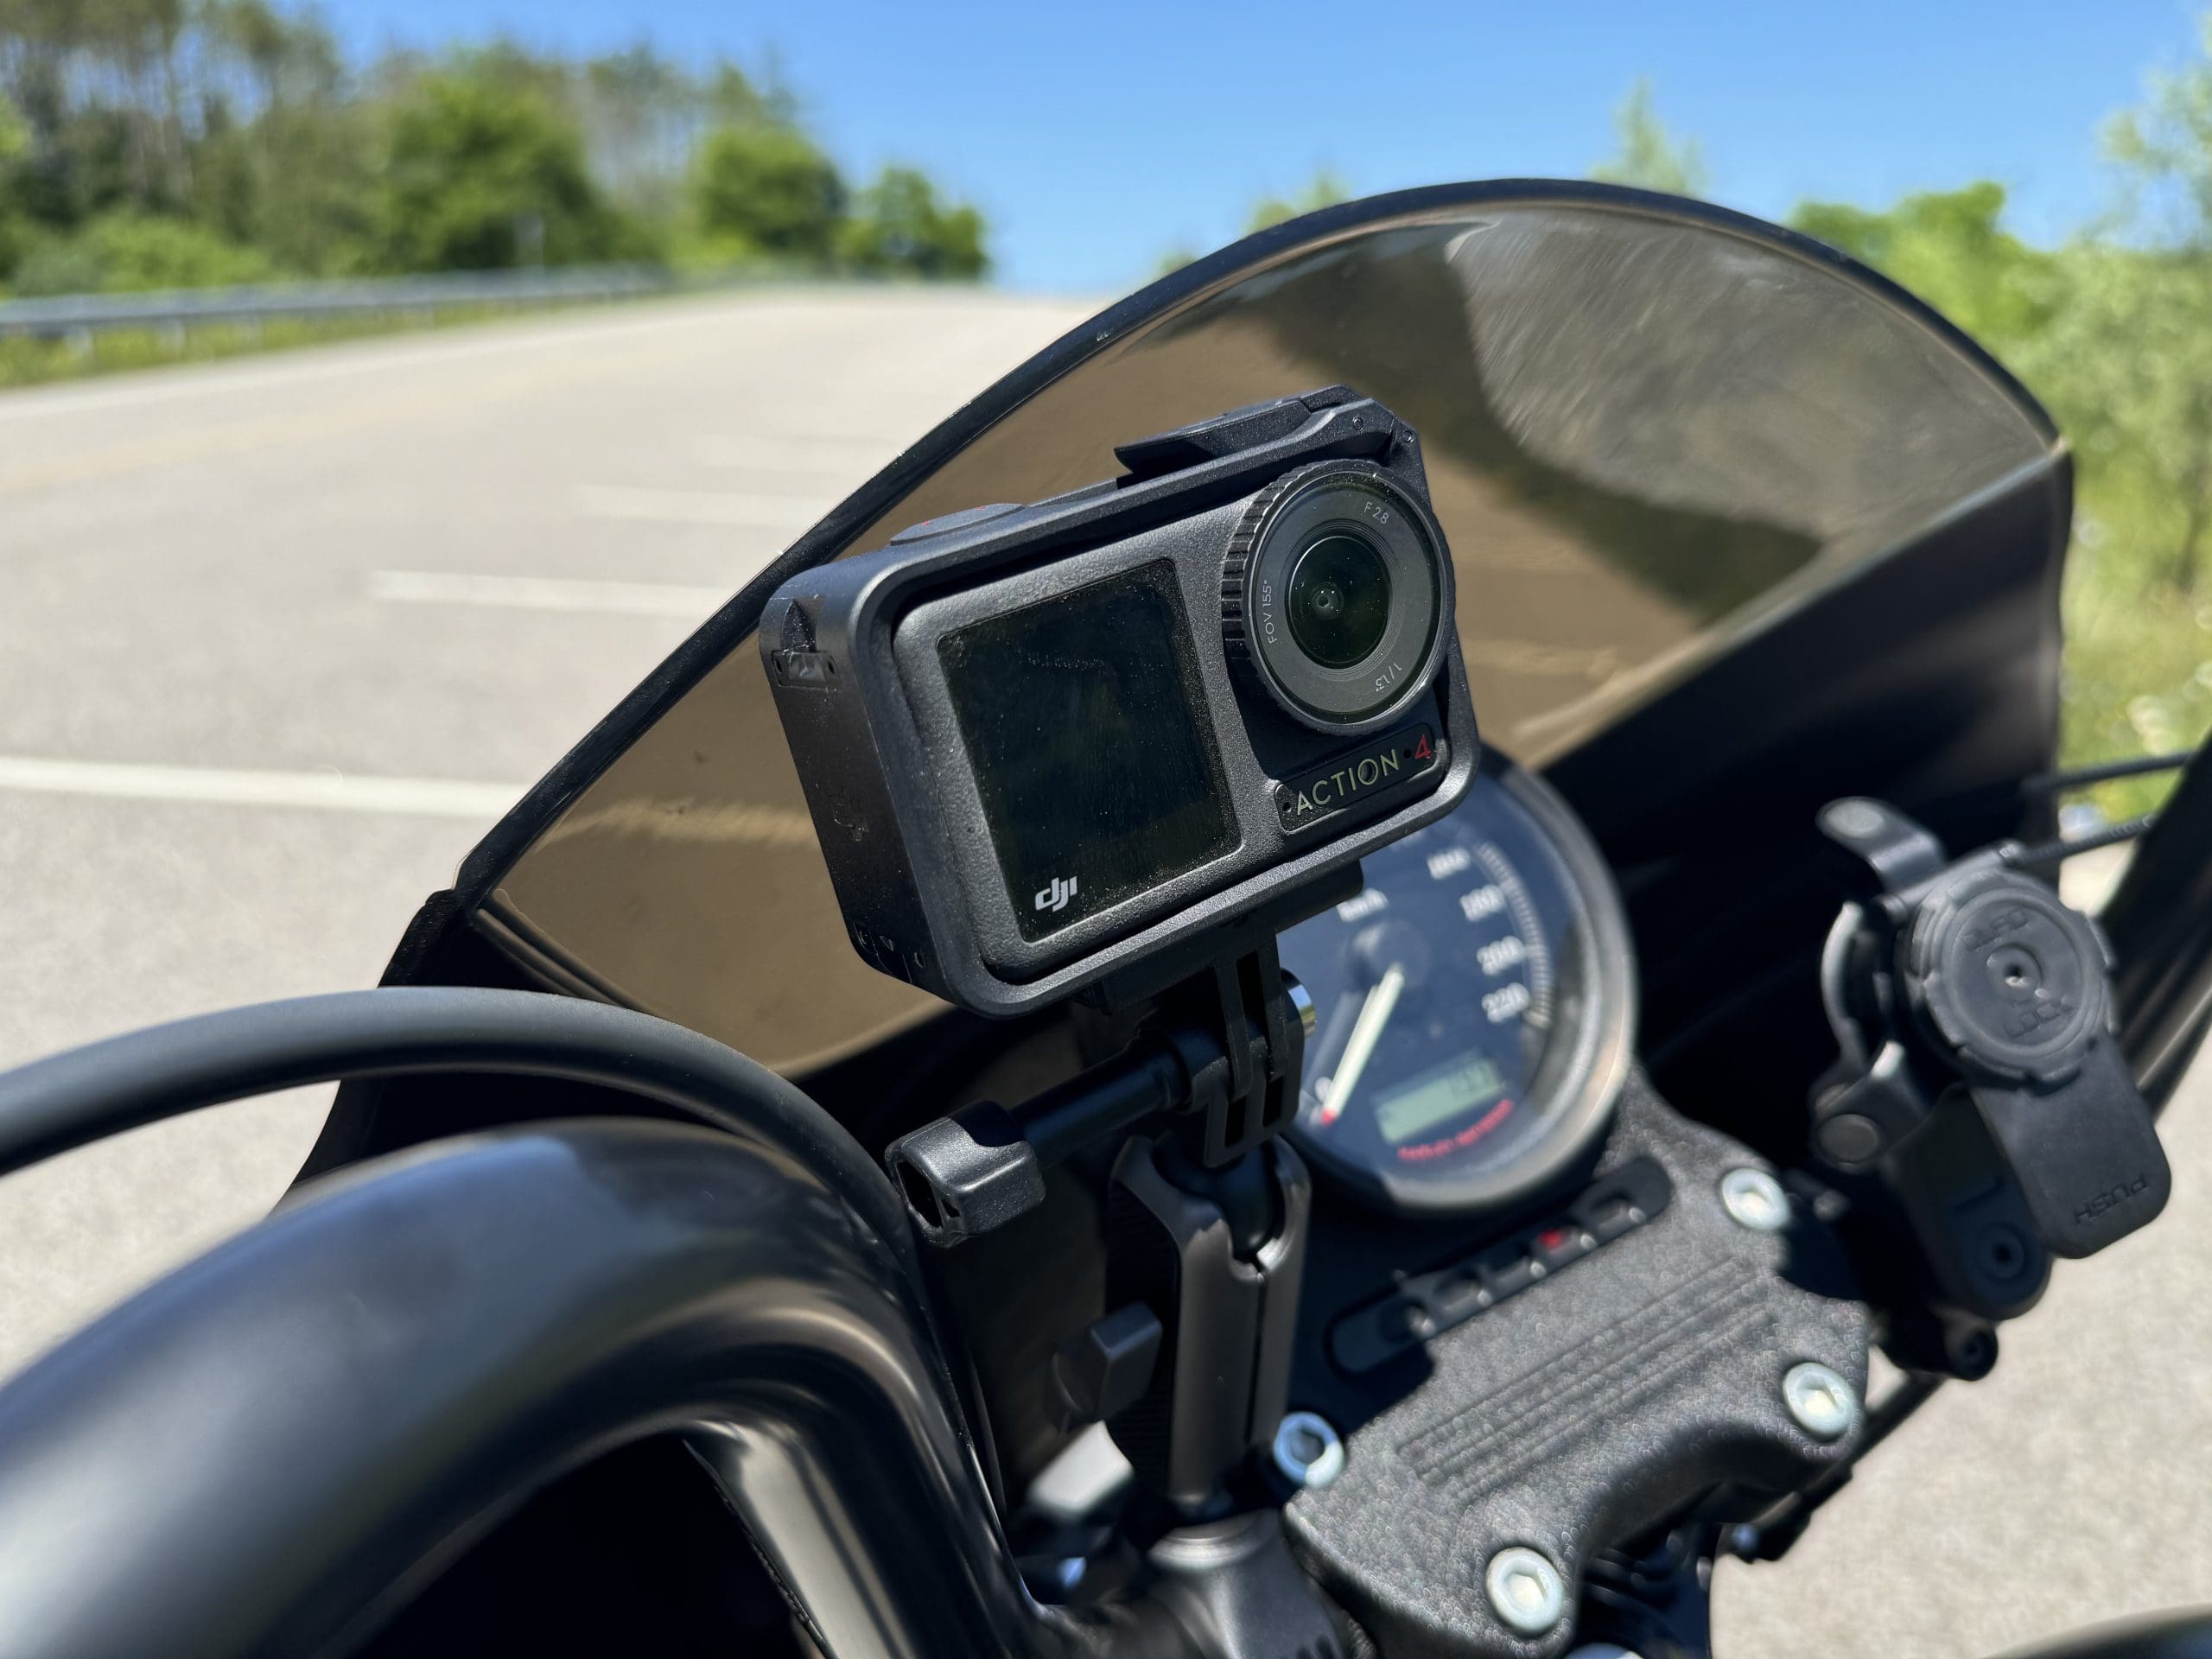
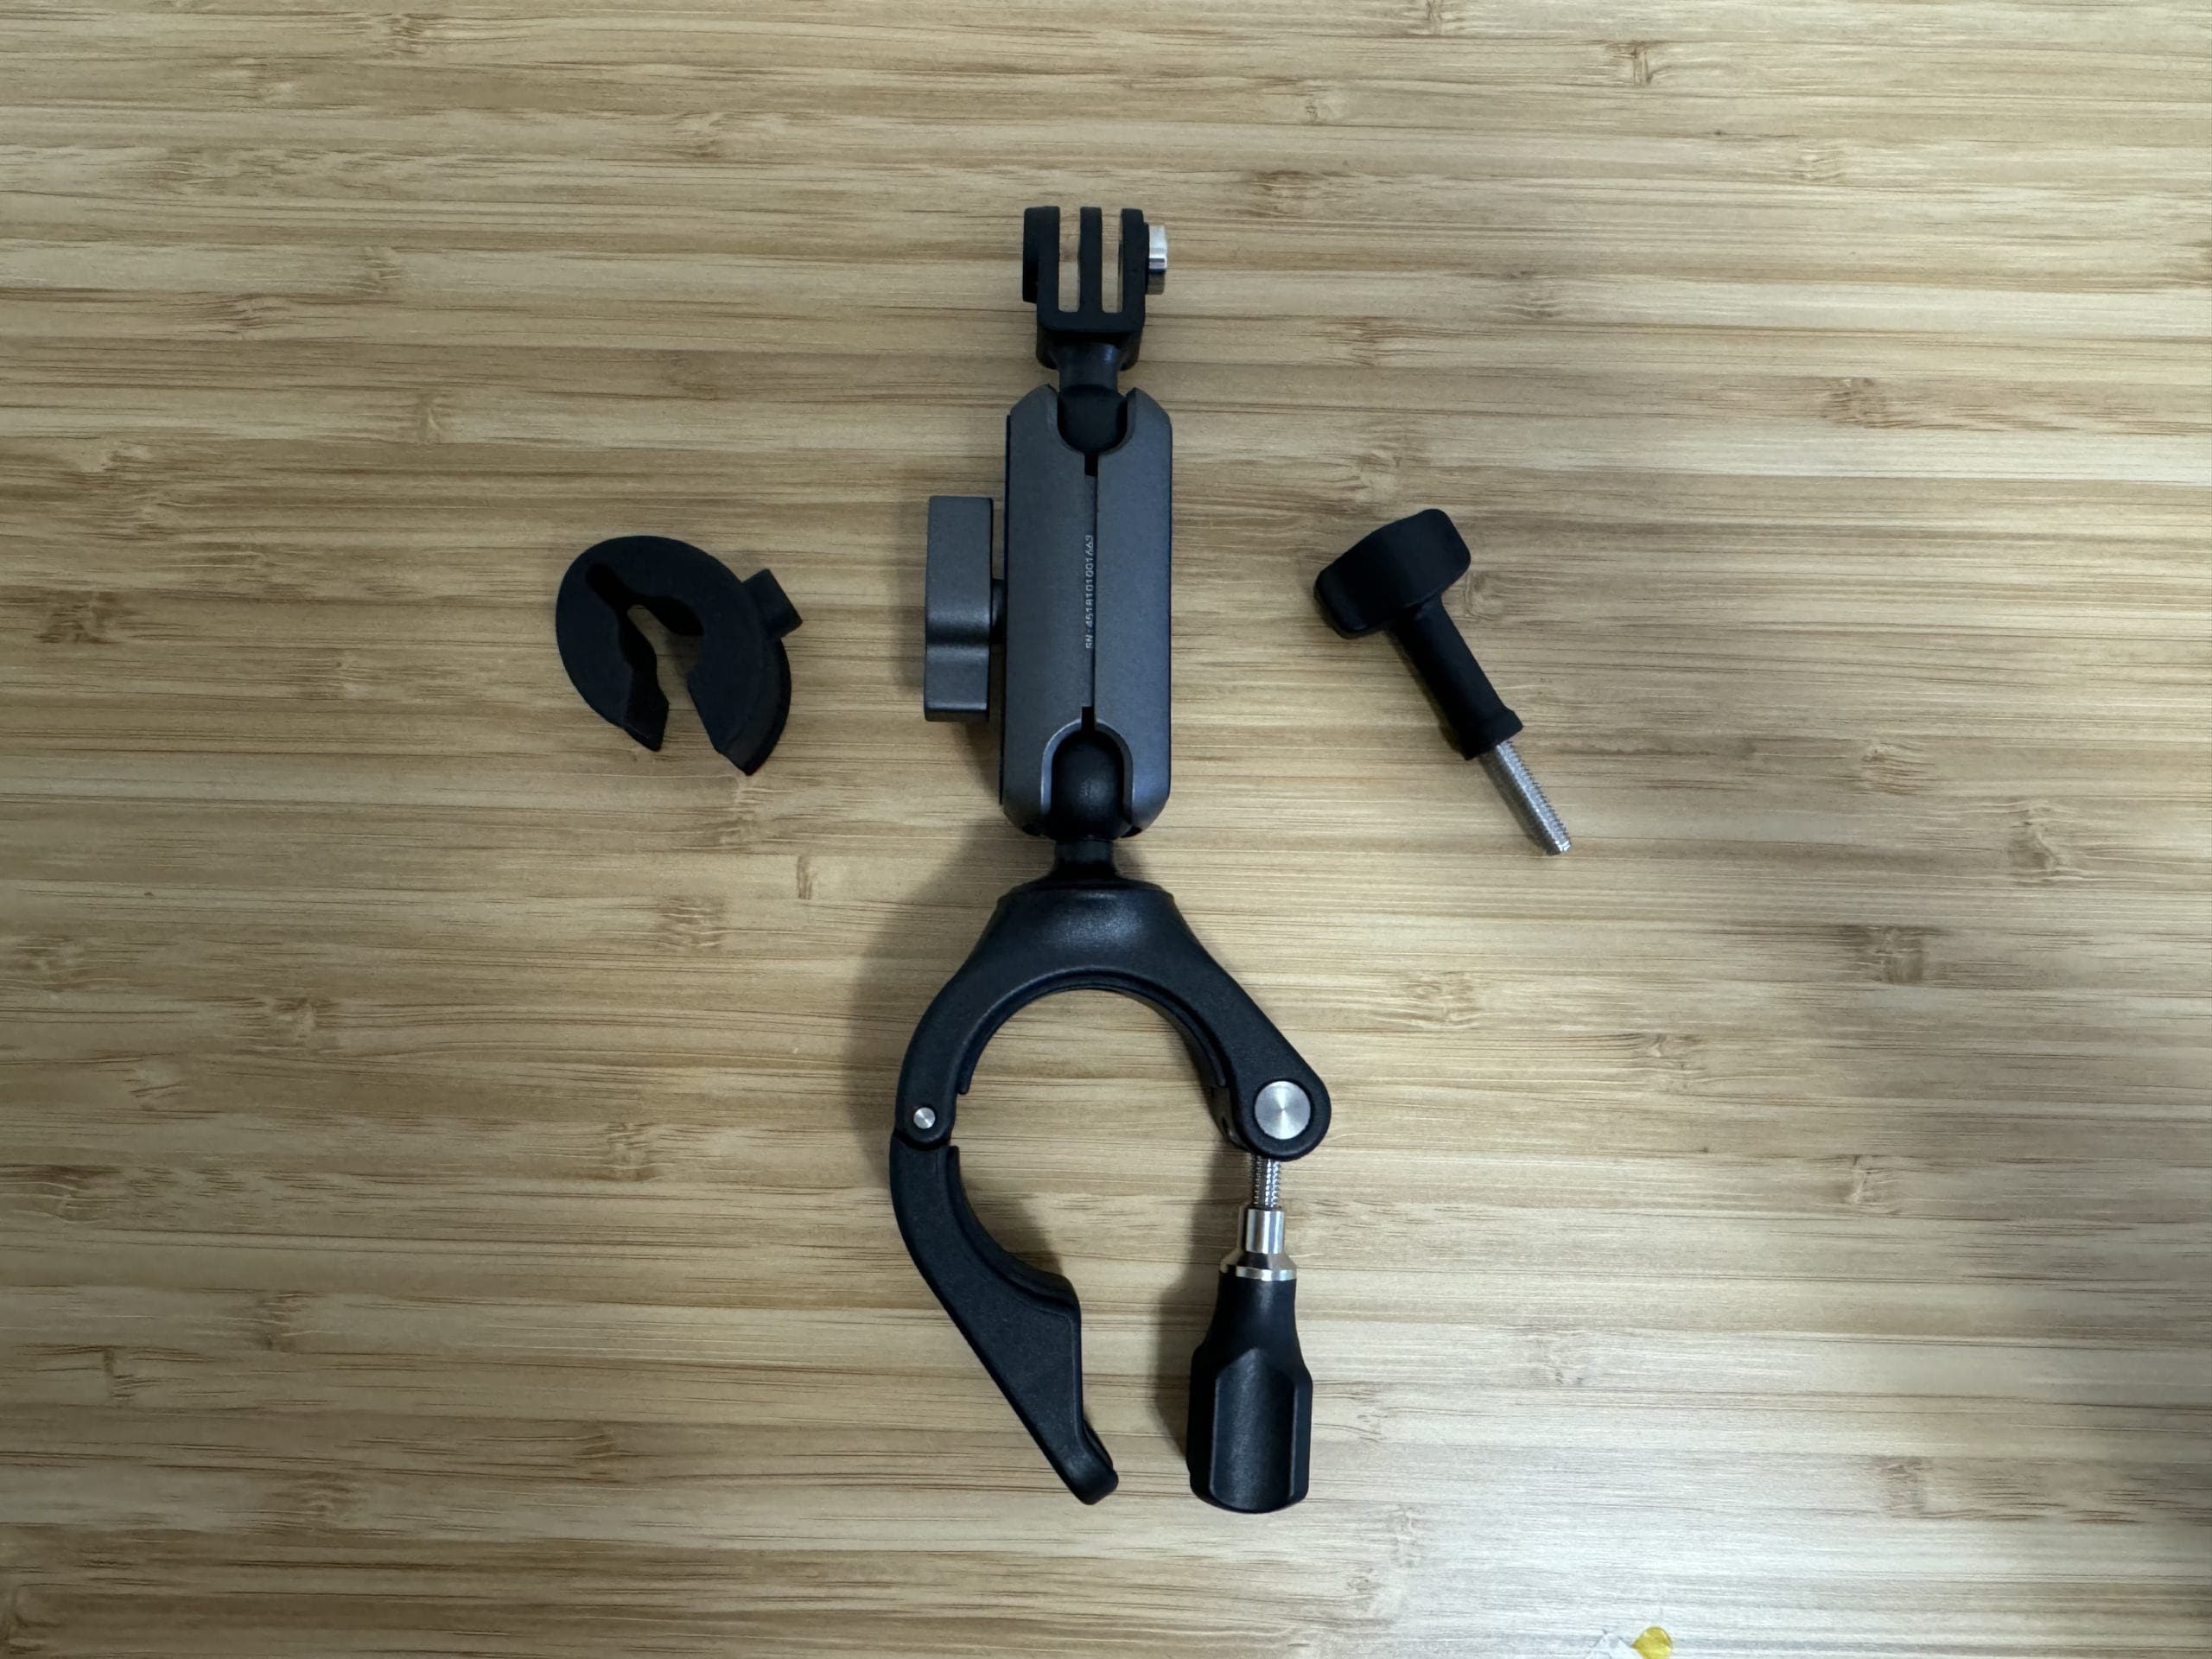
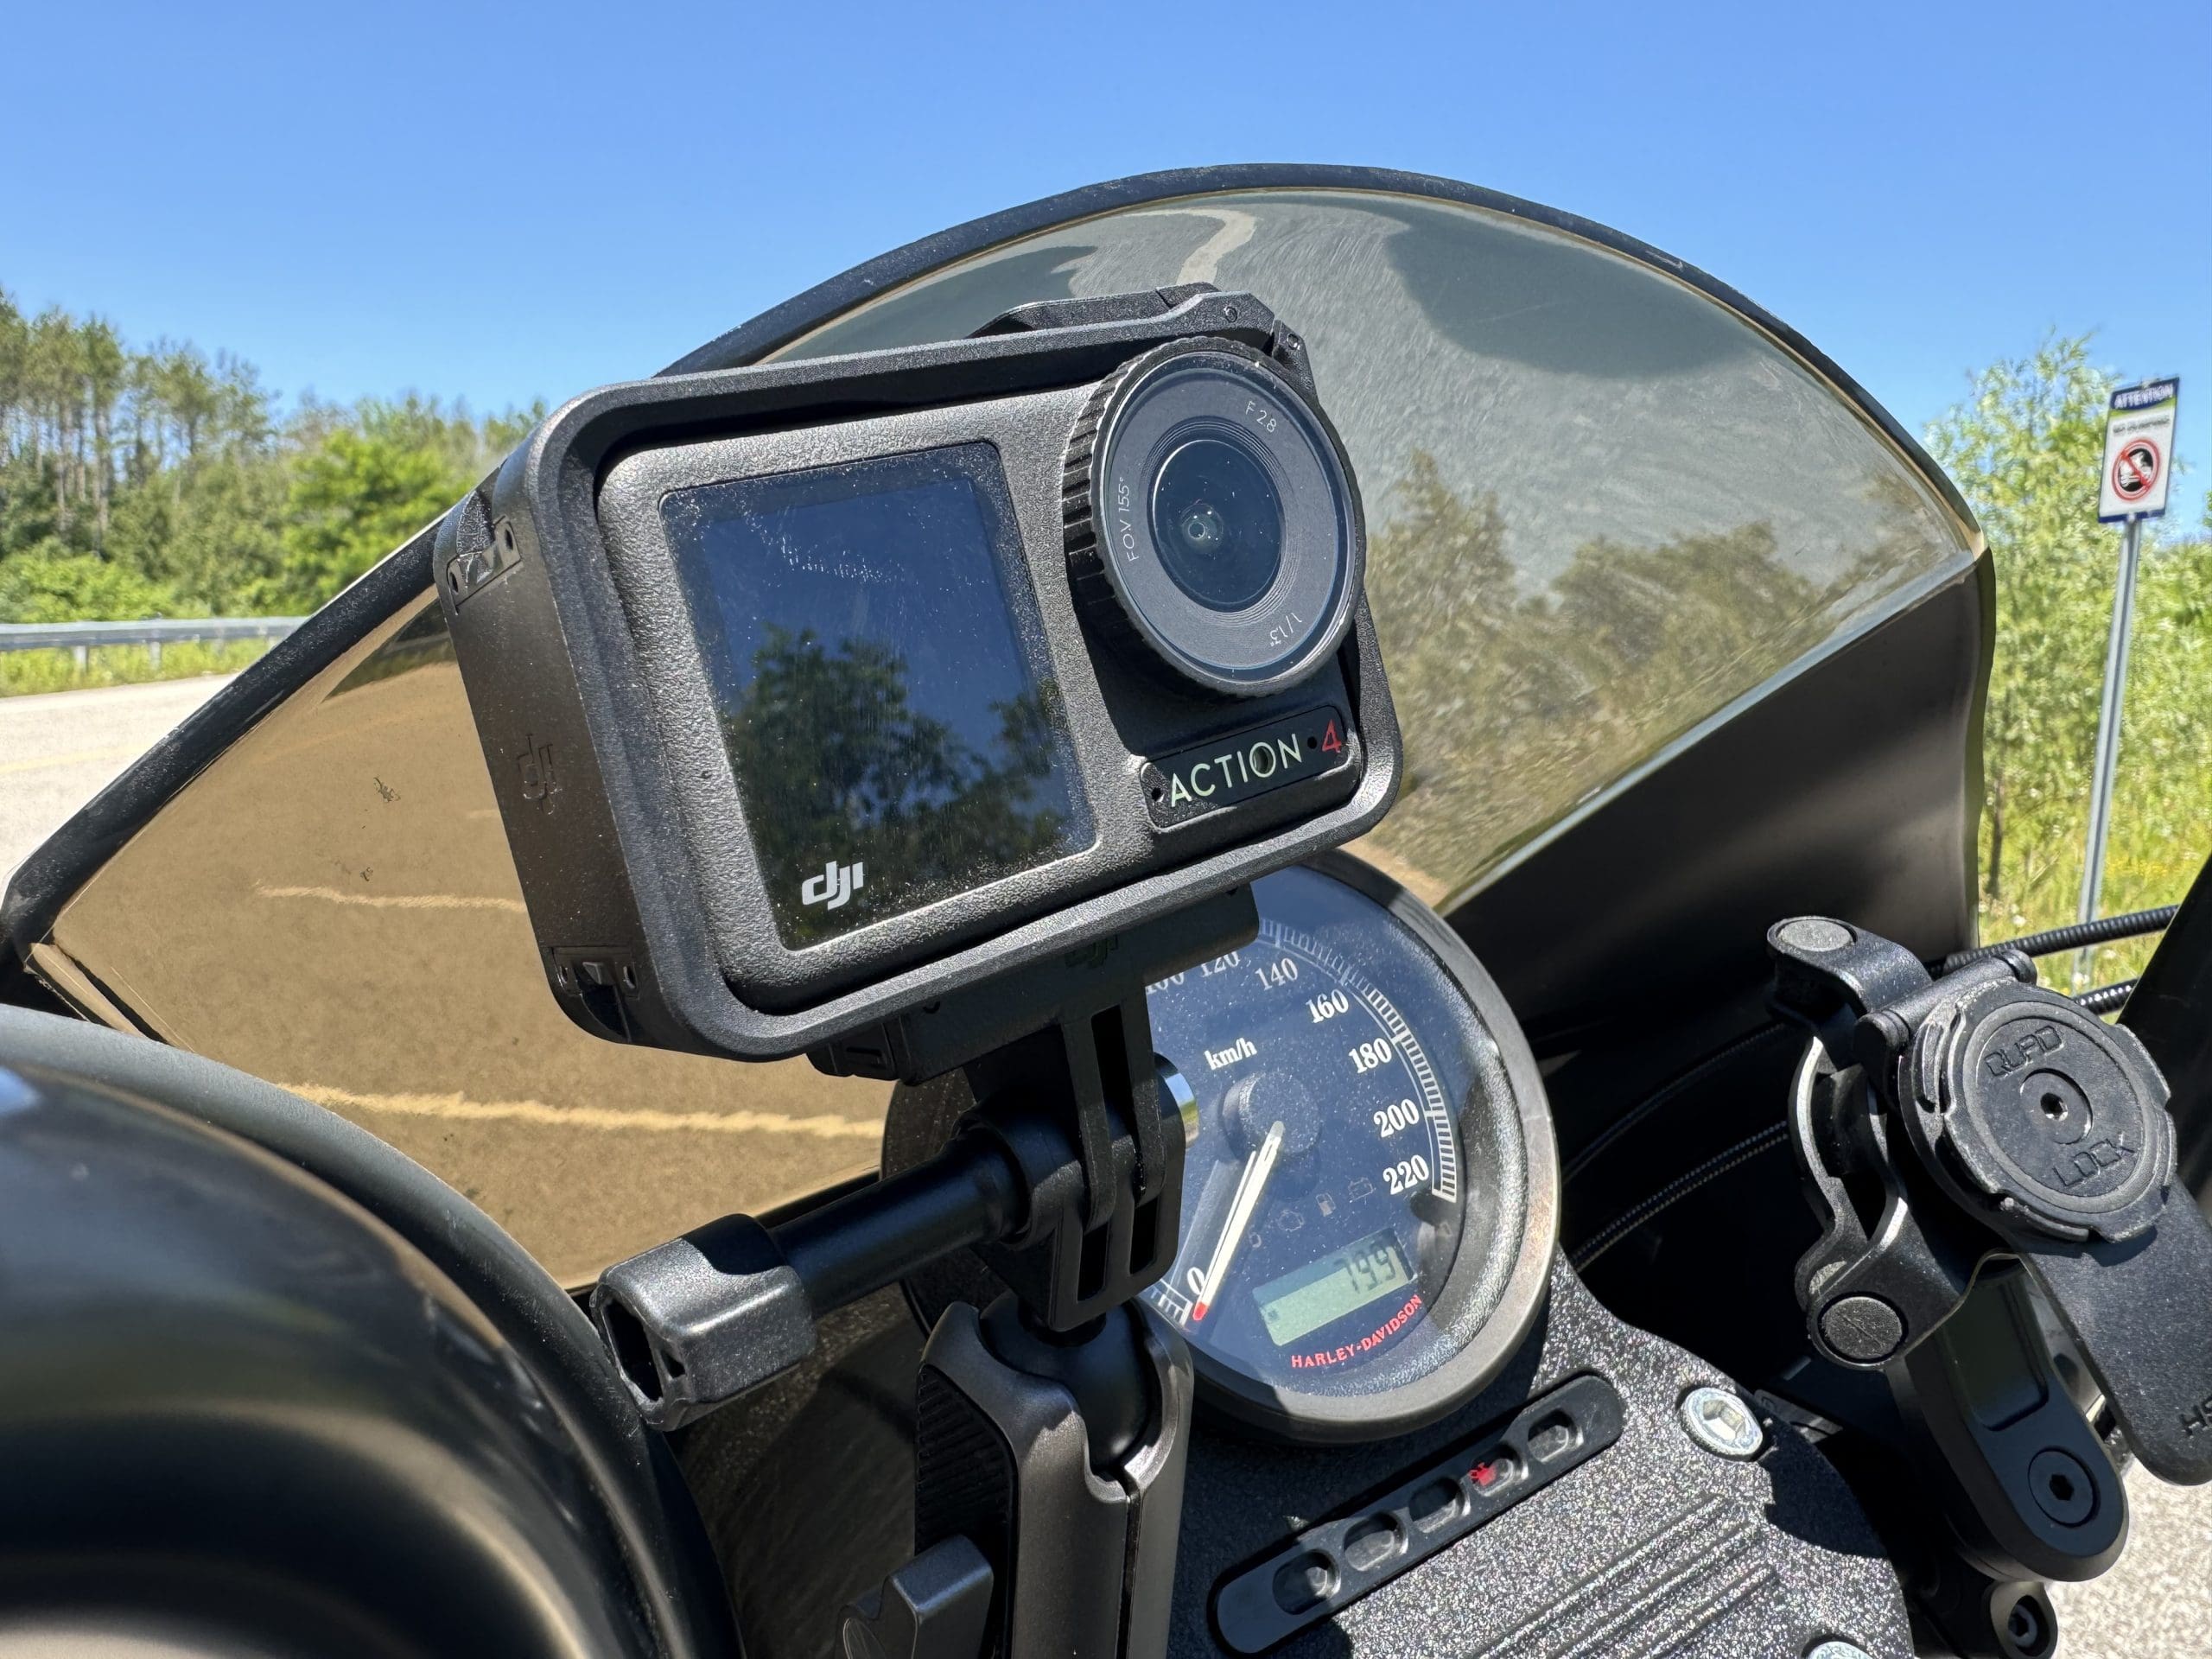
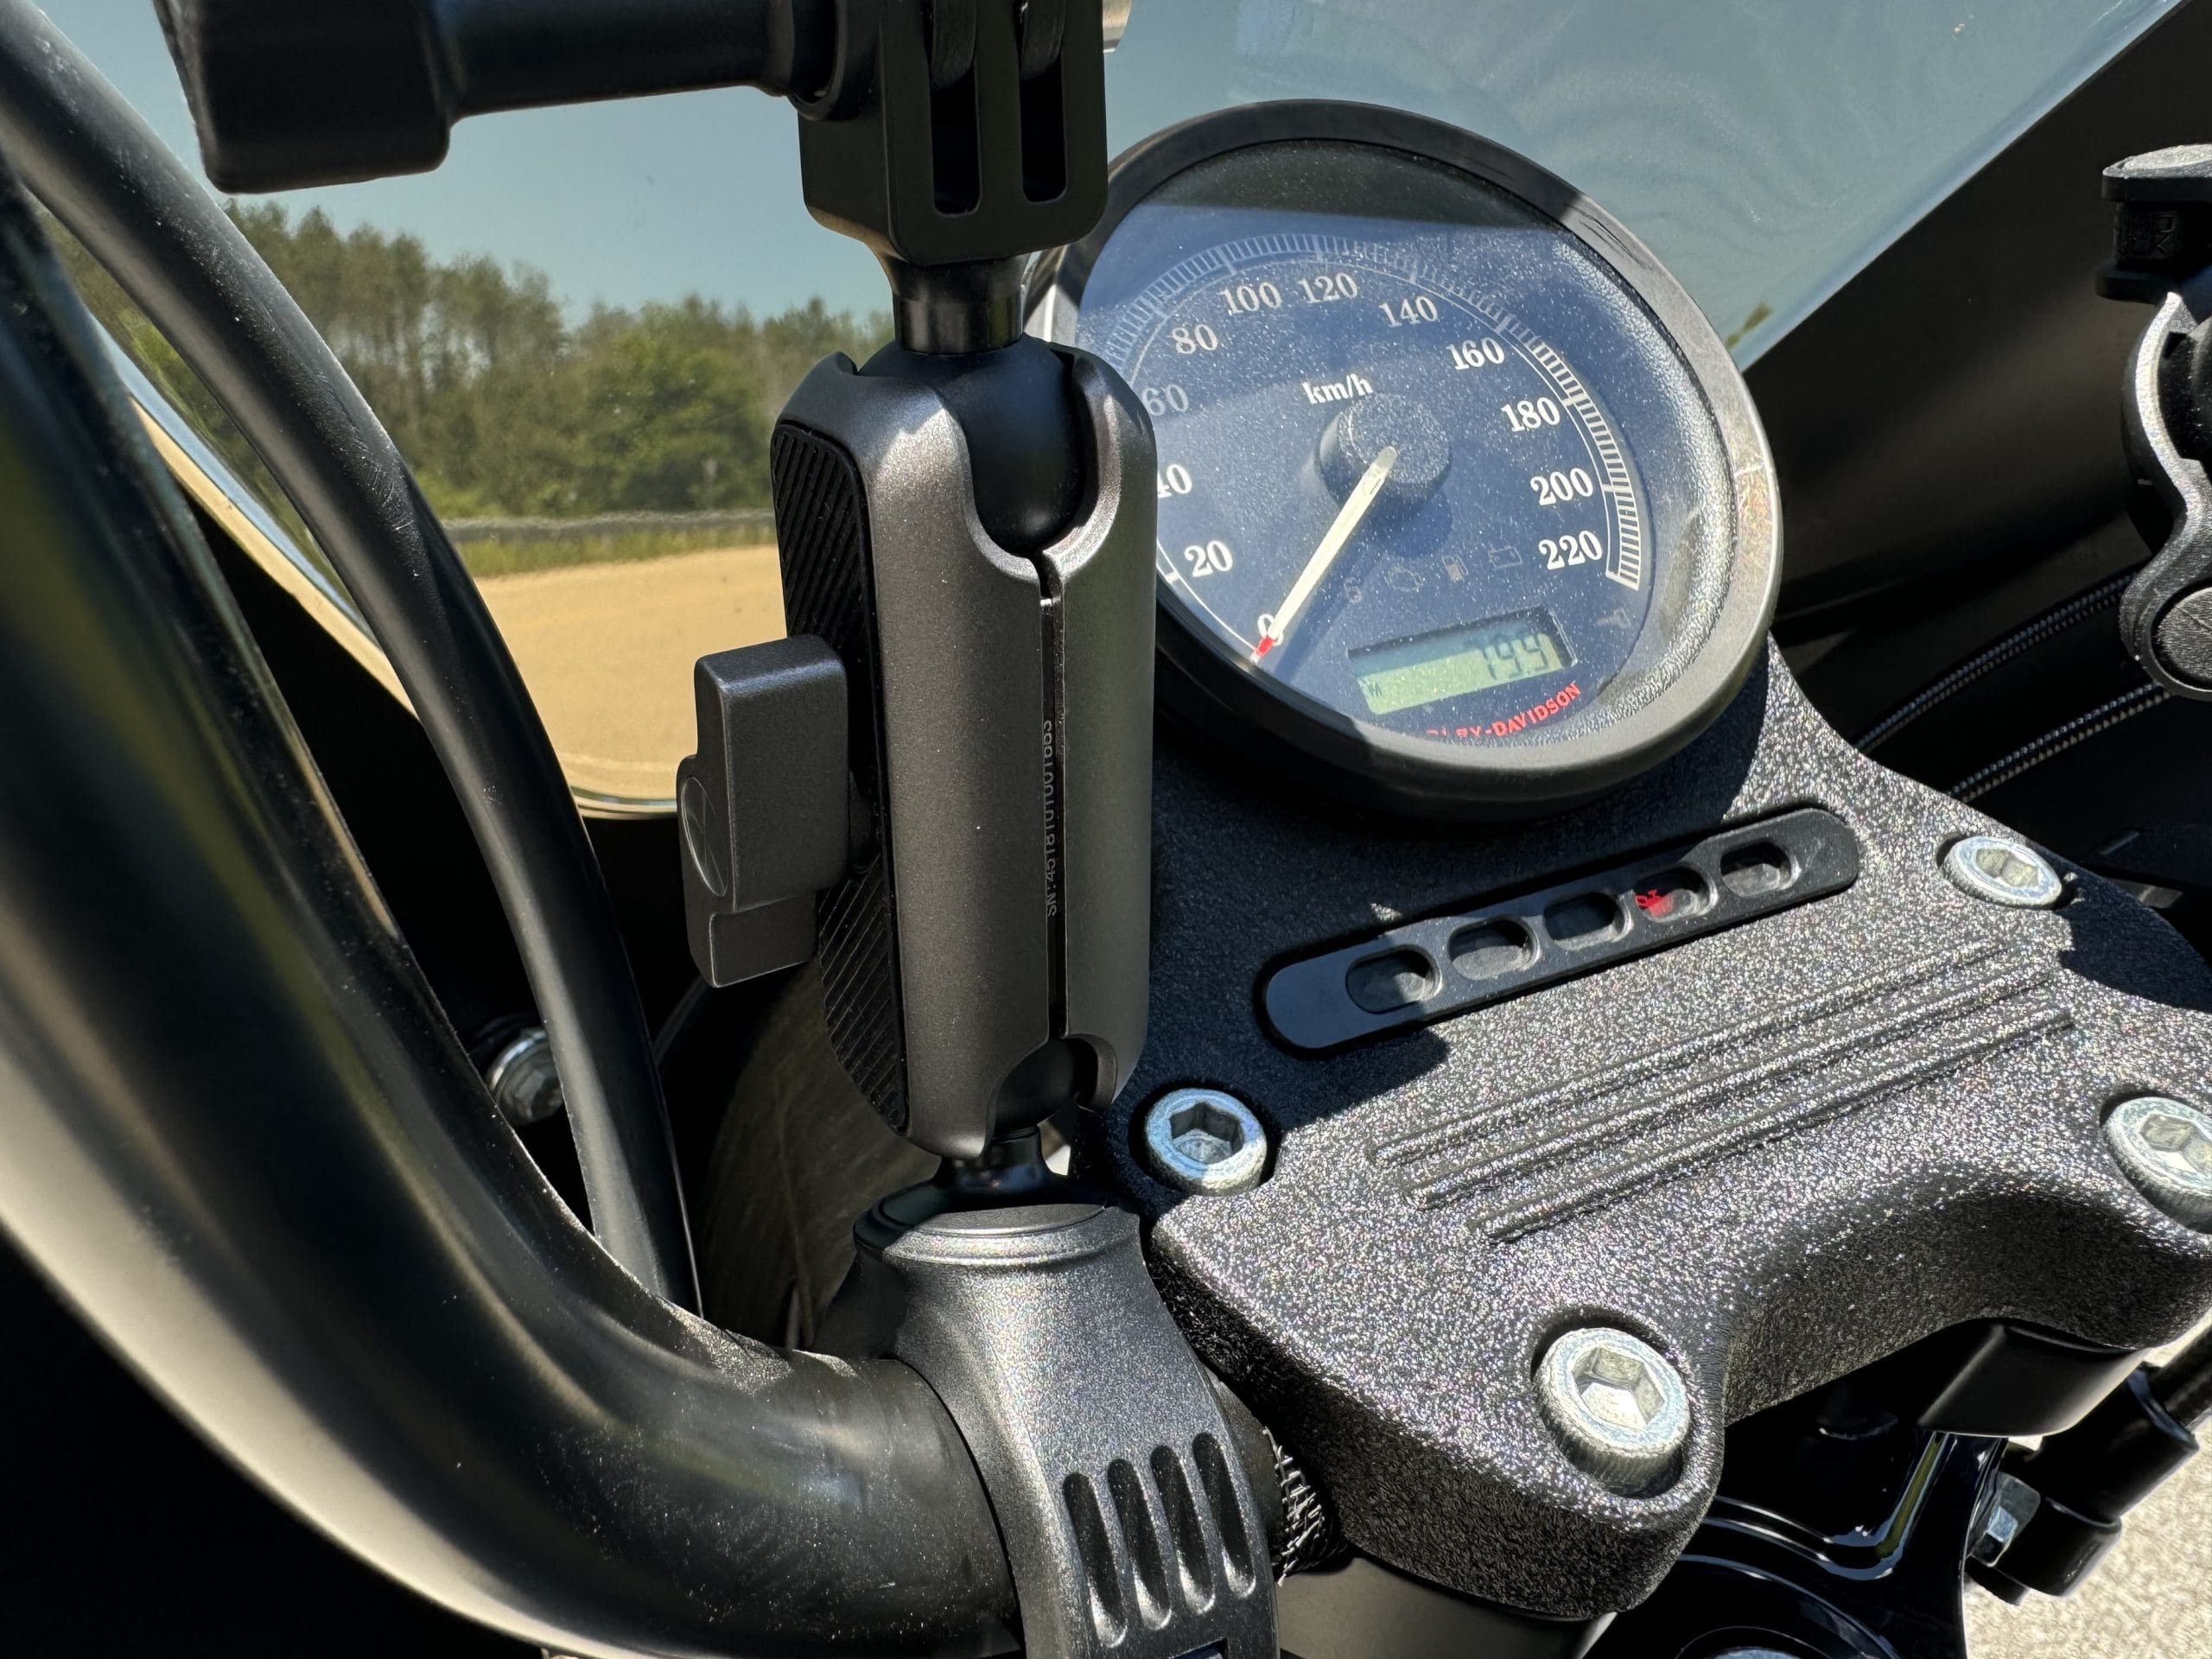
Handlebar Mount
The handlebar mount is extremely easy to use and allows you to capture footage from a wide range of different angles and locations. The mount works by clamping onto a round handlebar with a diameter of 22-35mm, or 8-16mm with the use of the rubber insert provided.
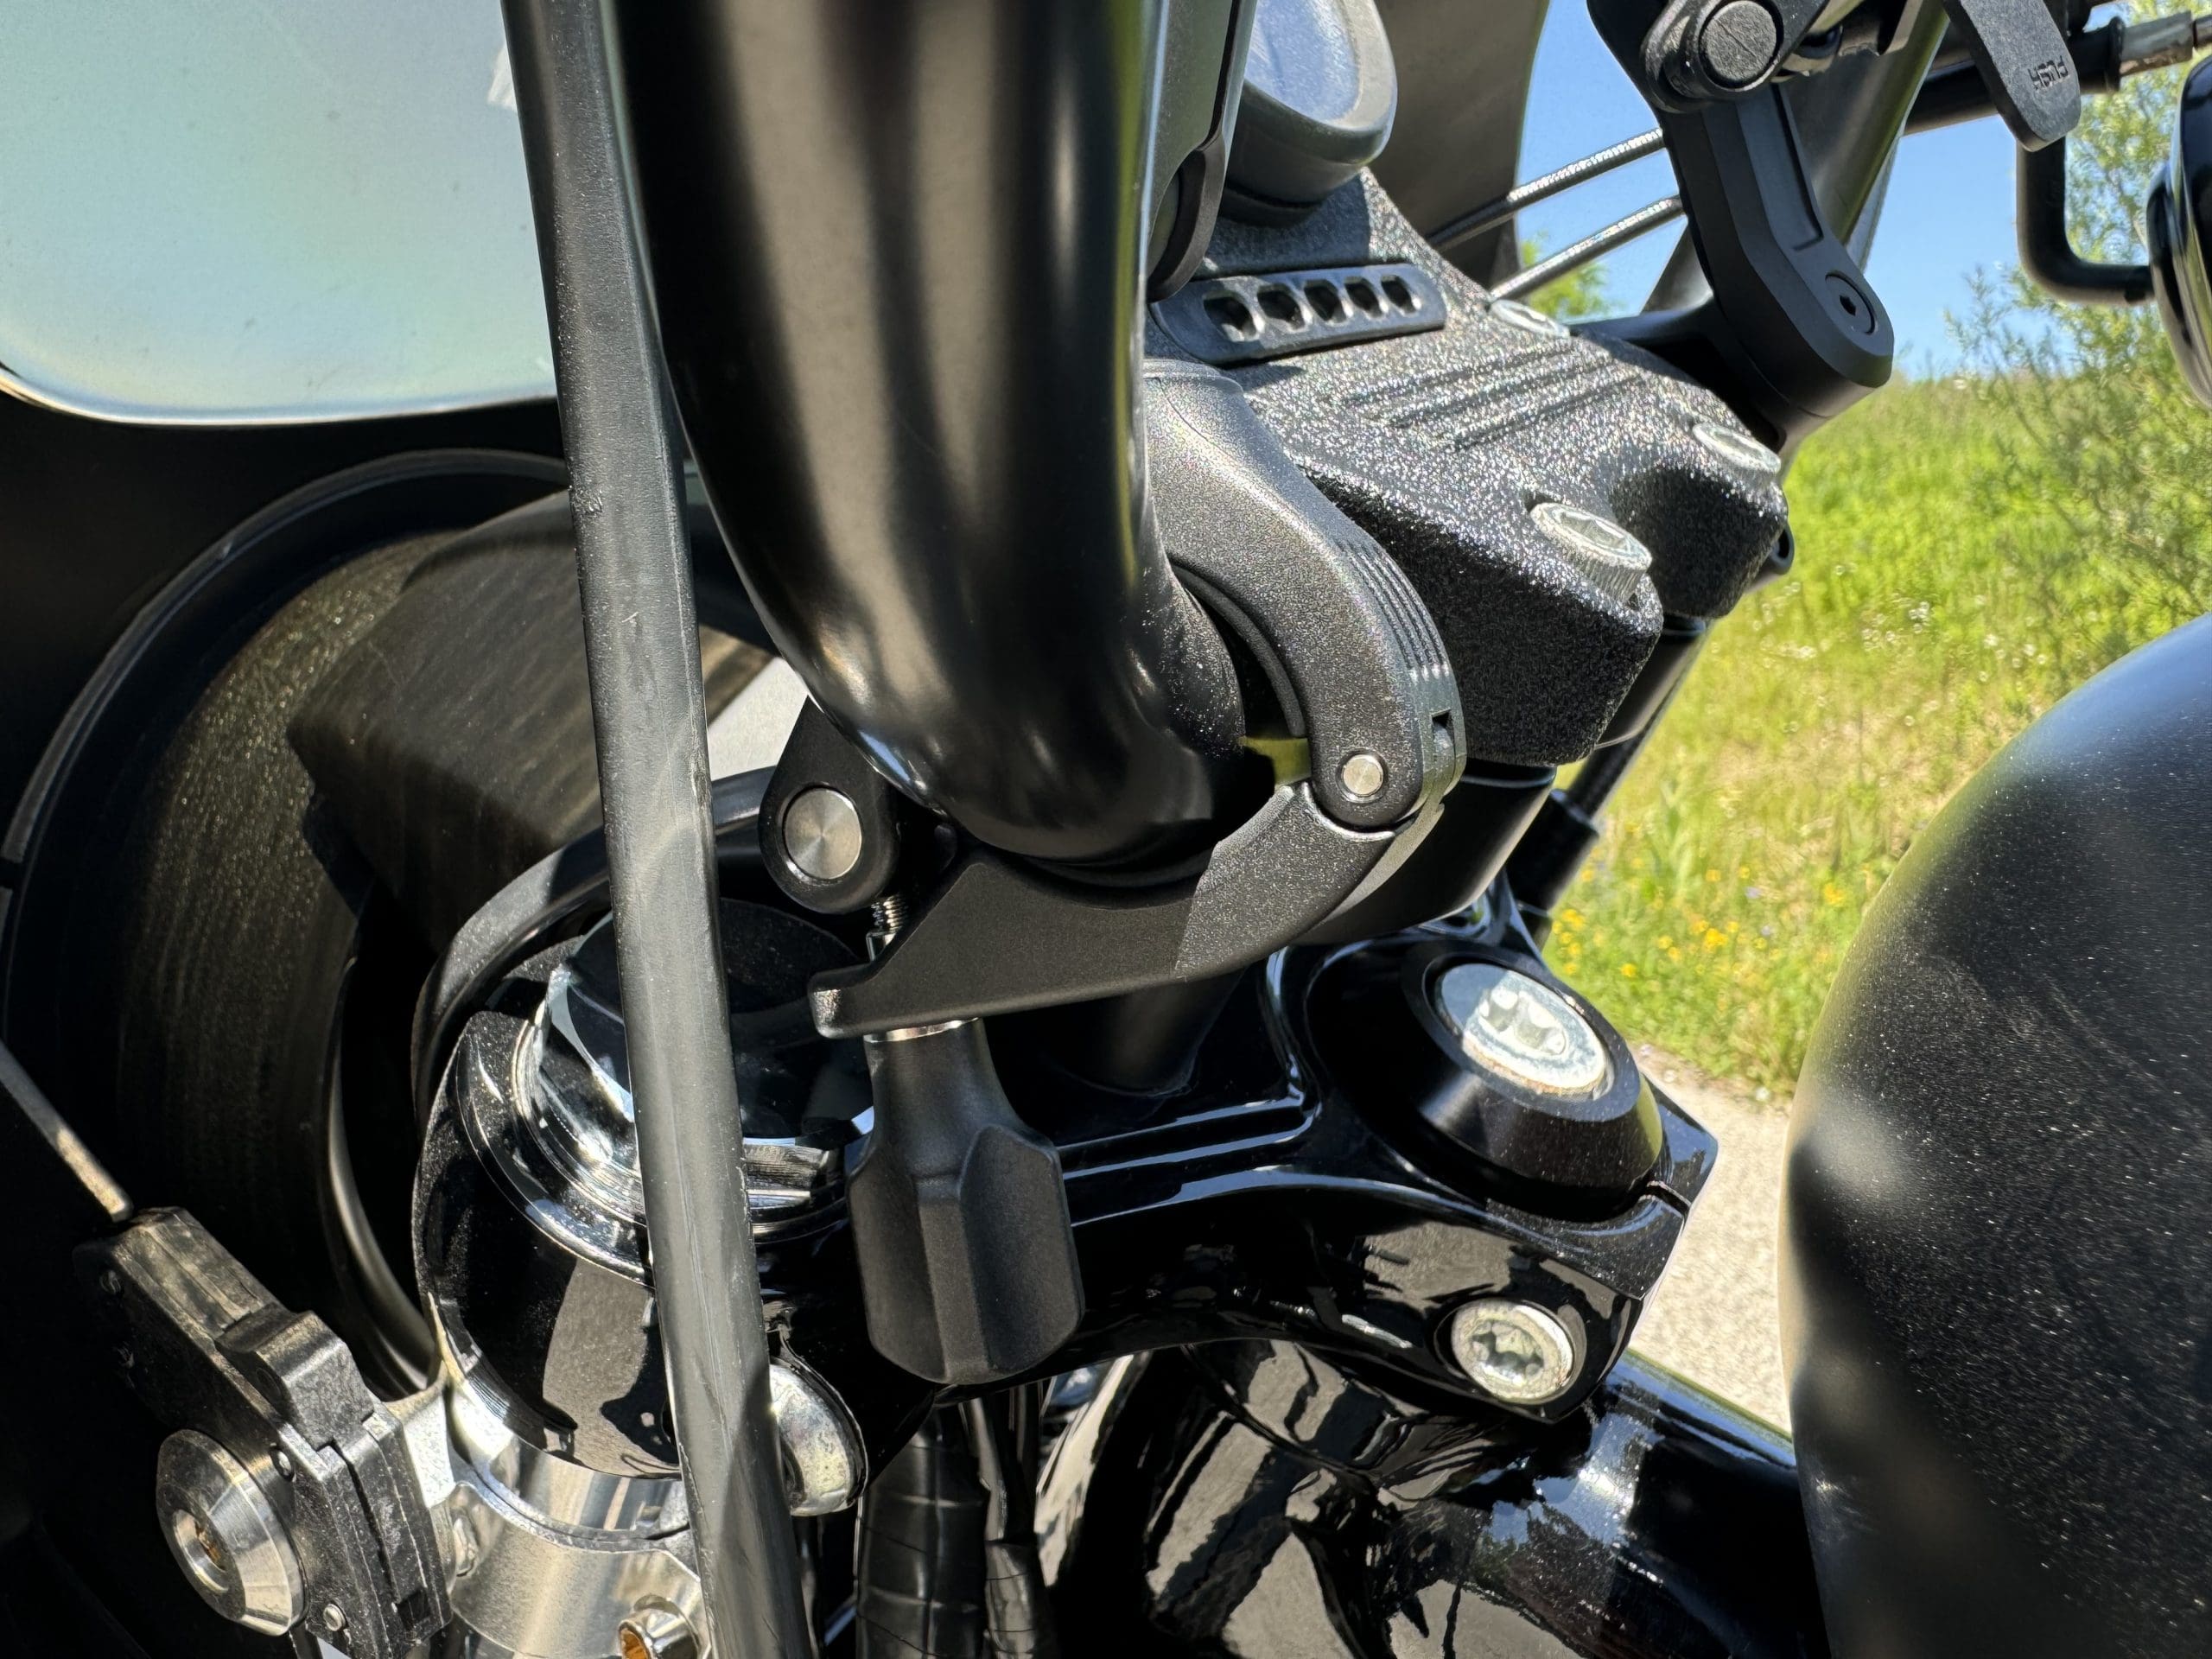
The camera connects to the mount through the typical clevis adapter and locking screw we see commonly used on action cameras. The camera can be repositioned to a suitable angle by adjusting the fastener on the shaft of the mount.
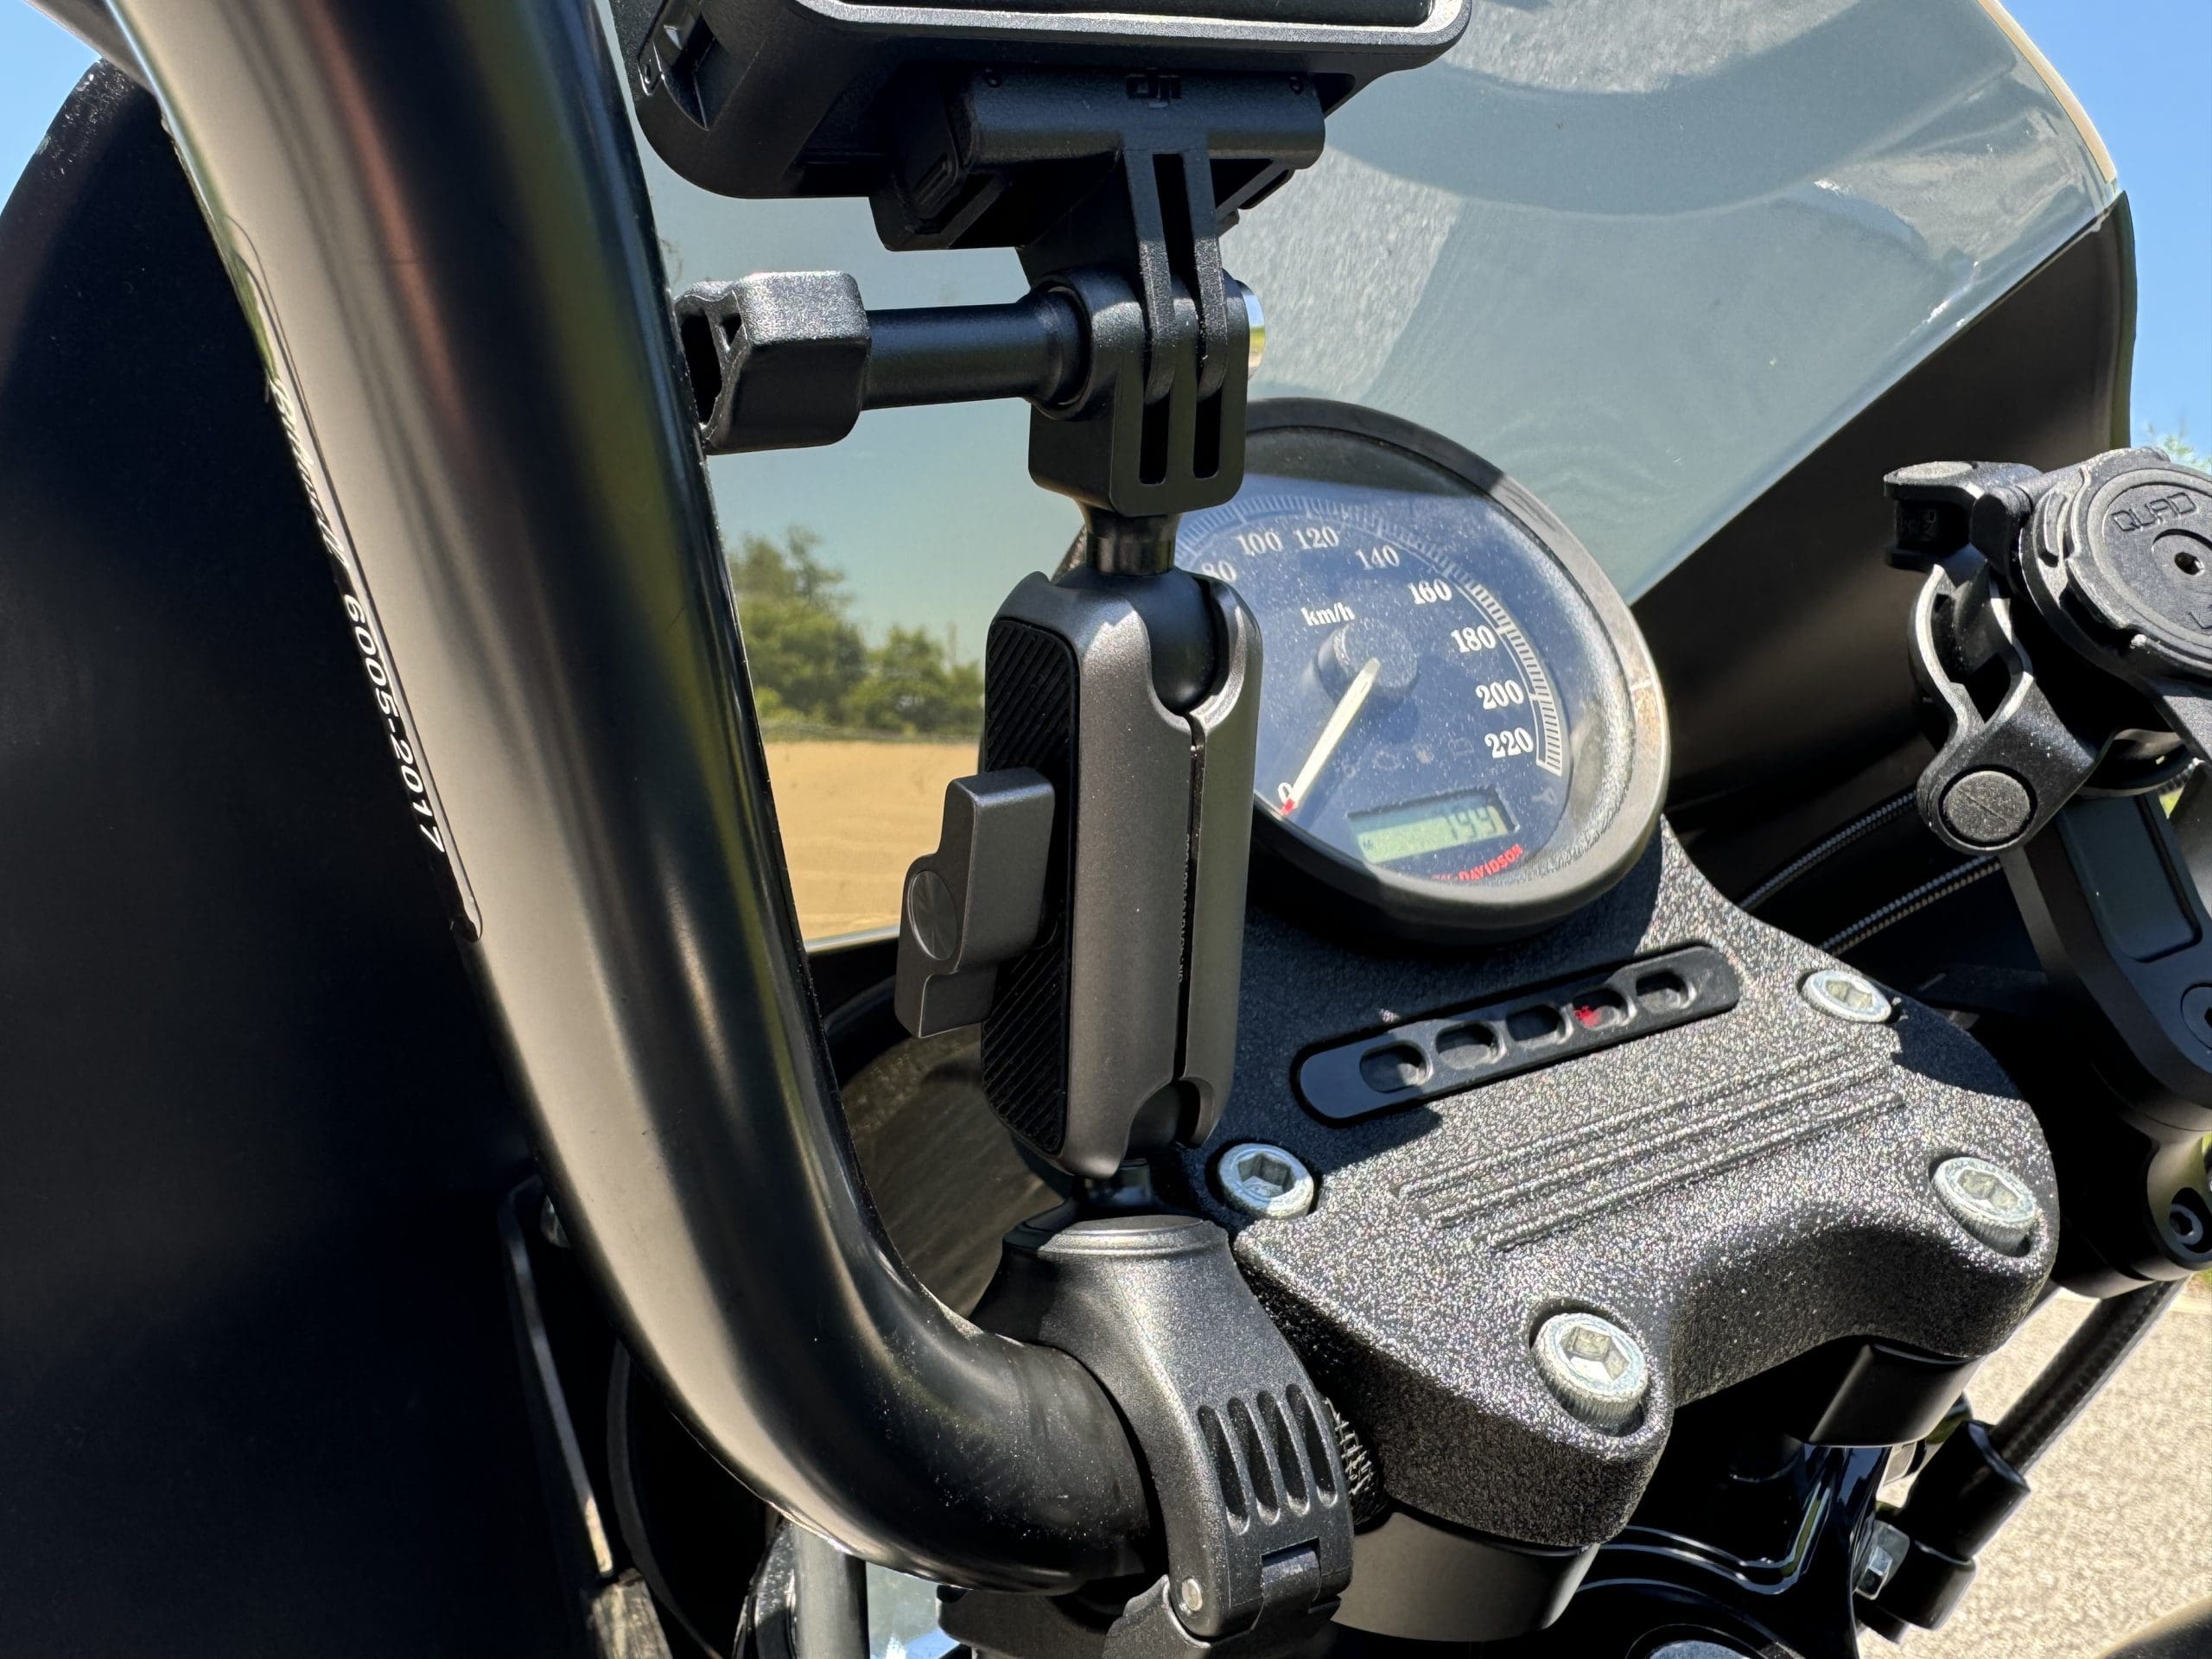
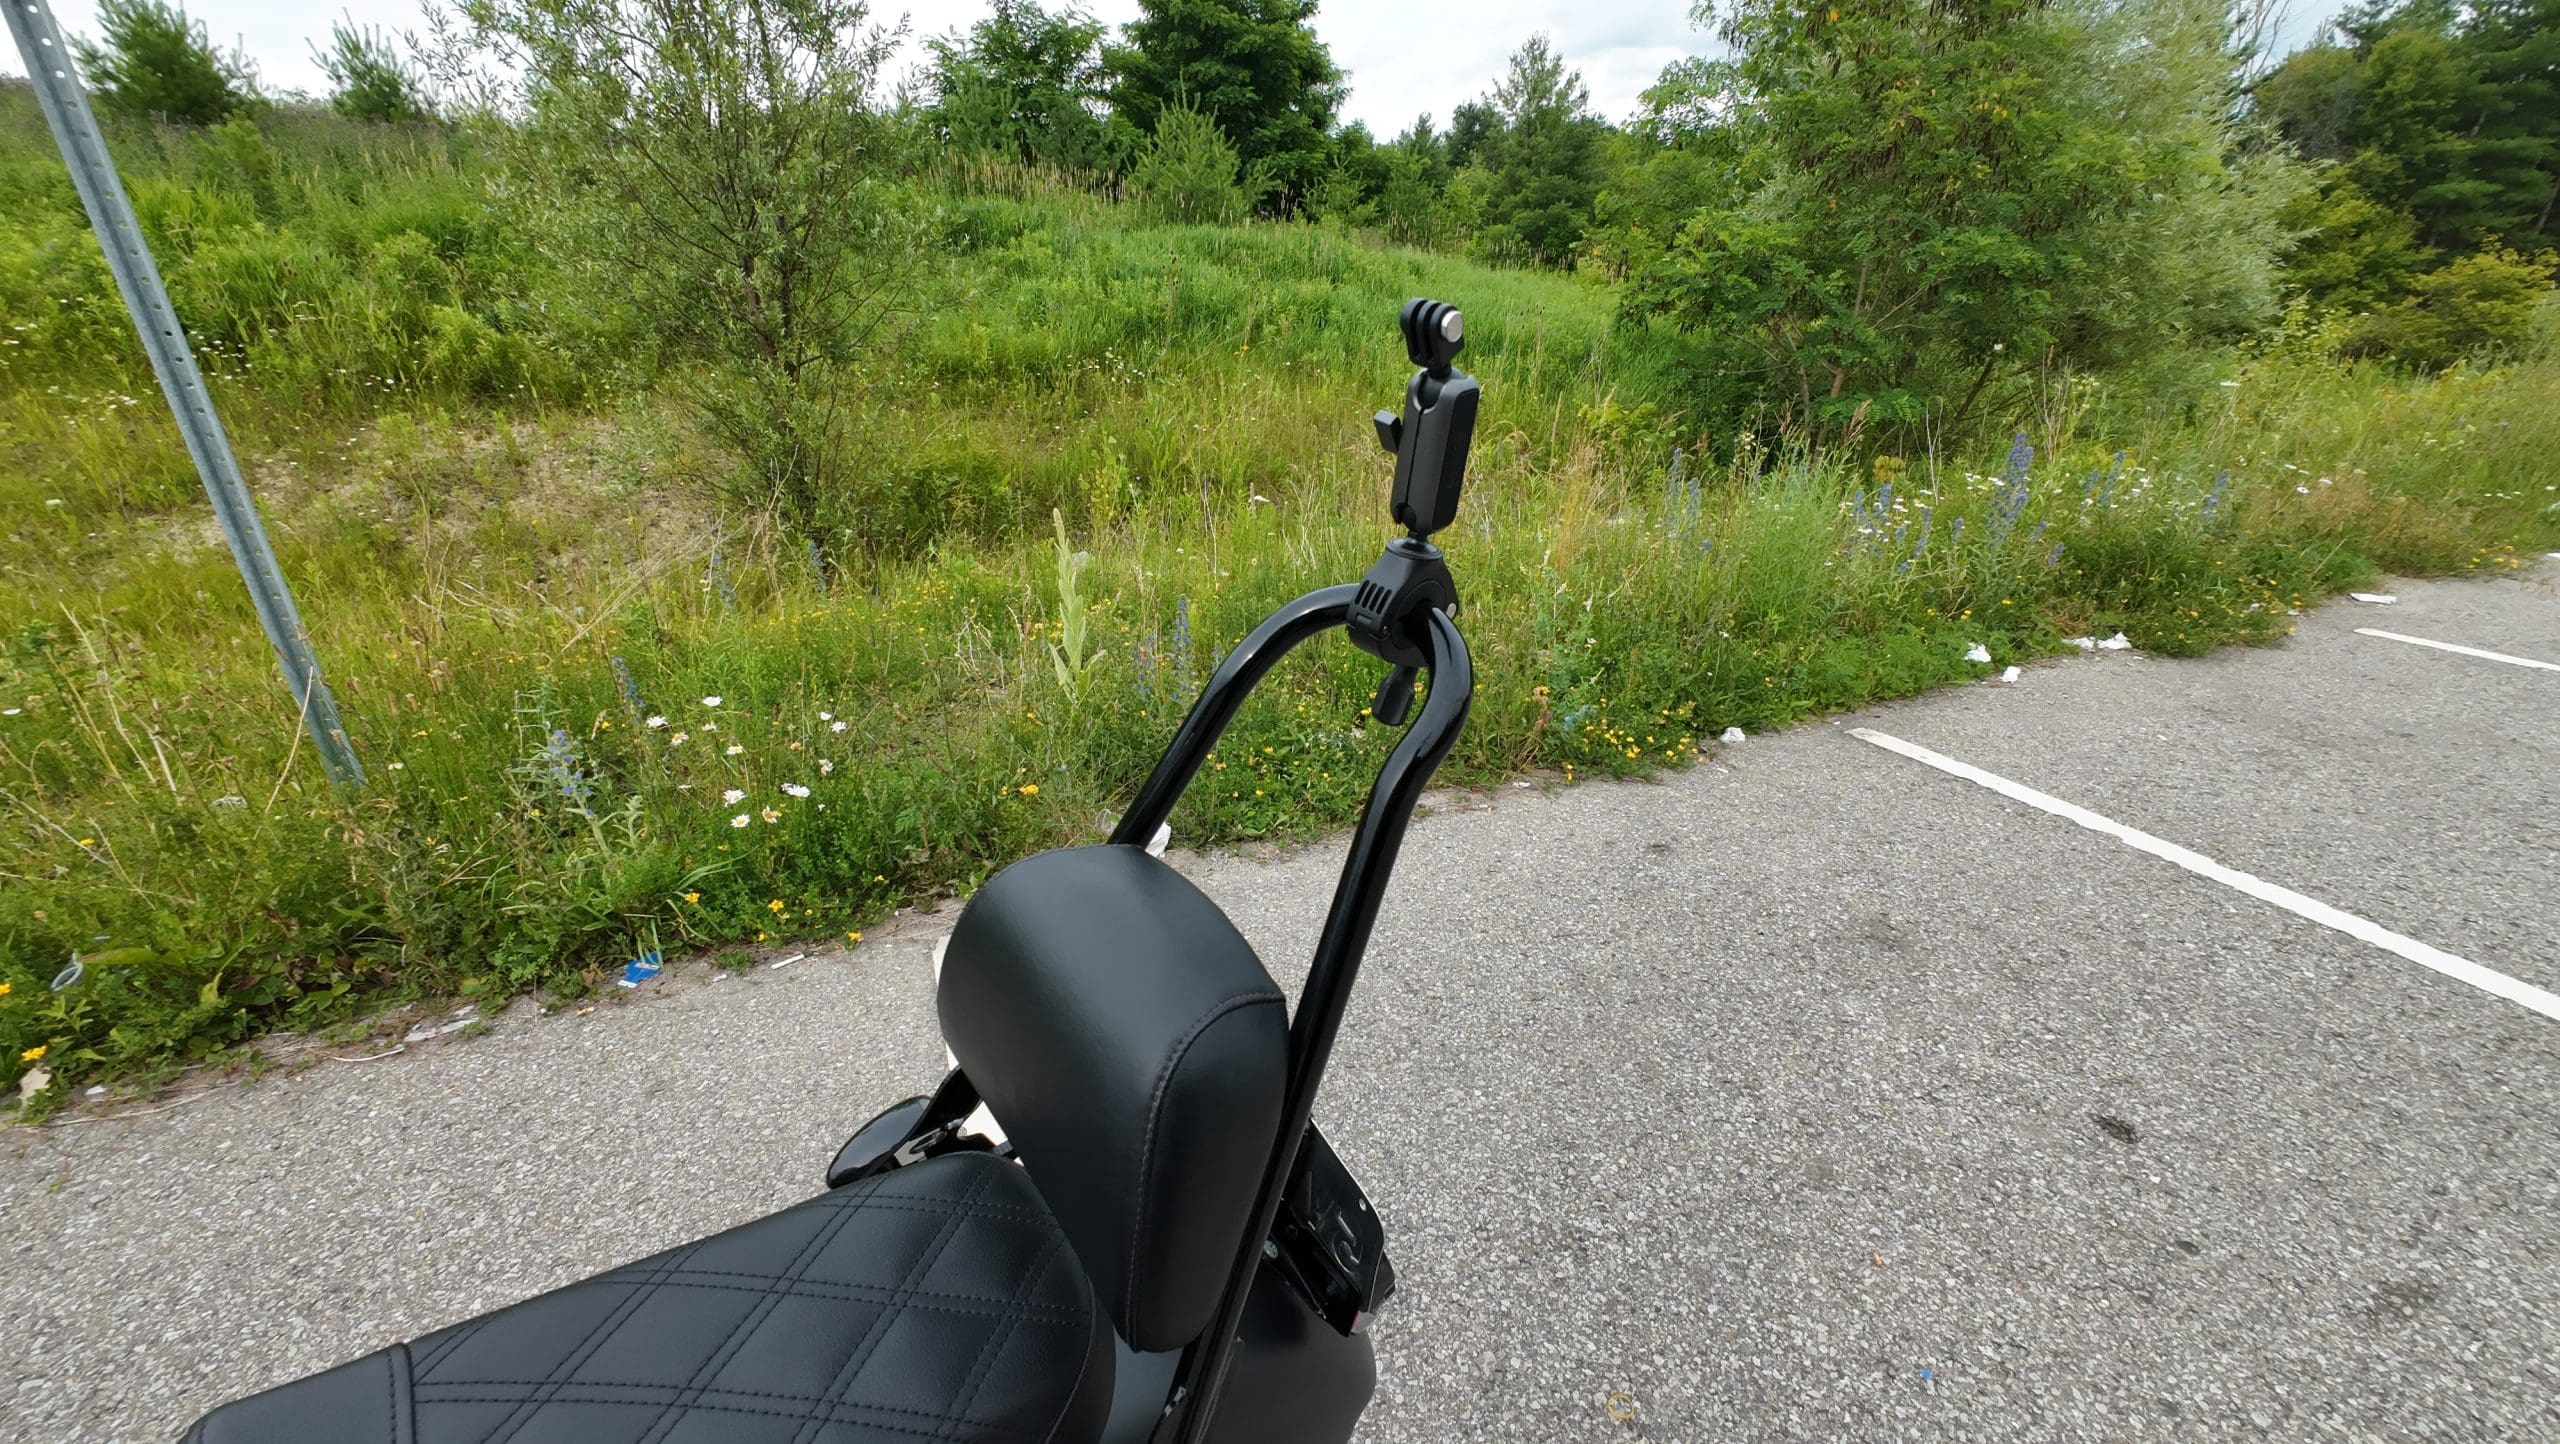
This mount was my favorite out of the two included in the kit. I enjoyed being able to position the camera in numerous different spots to play with different angles and POV’s. The simple clamping system made it so that I could use the mount on locations other than my handlebars.
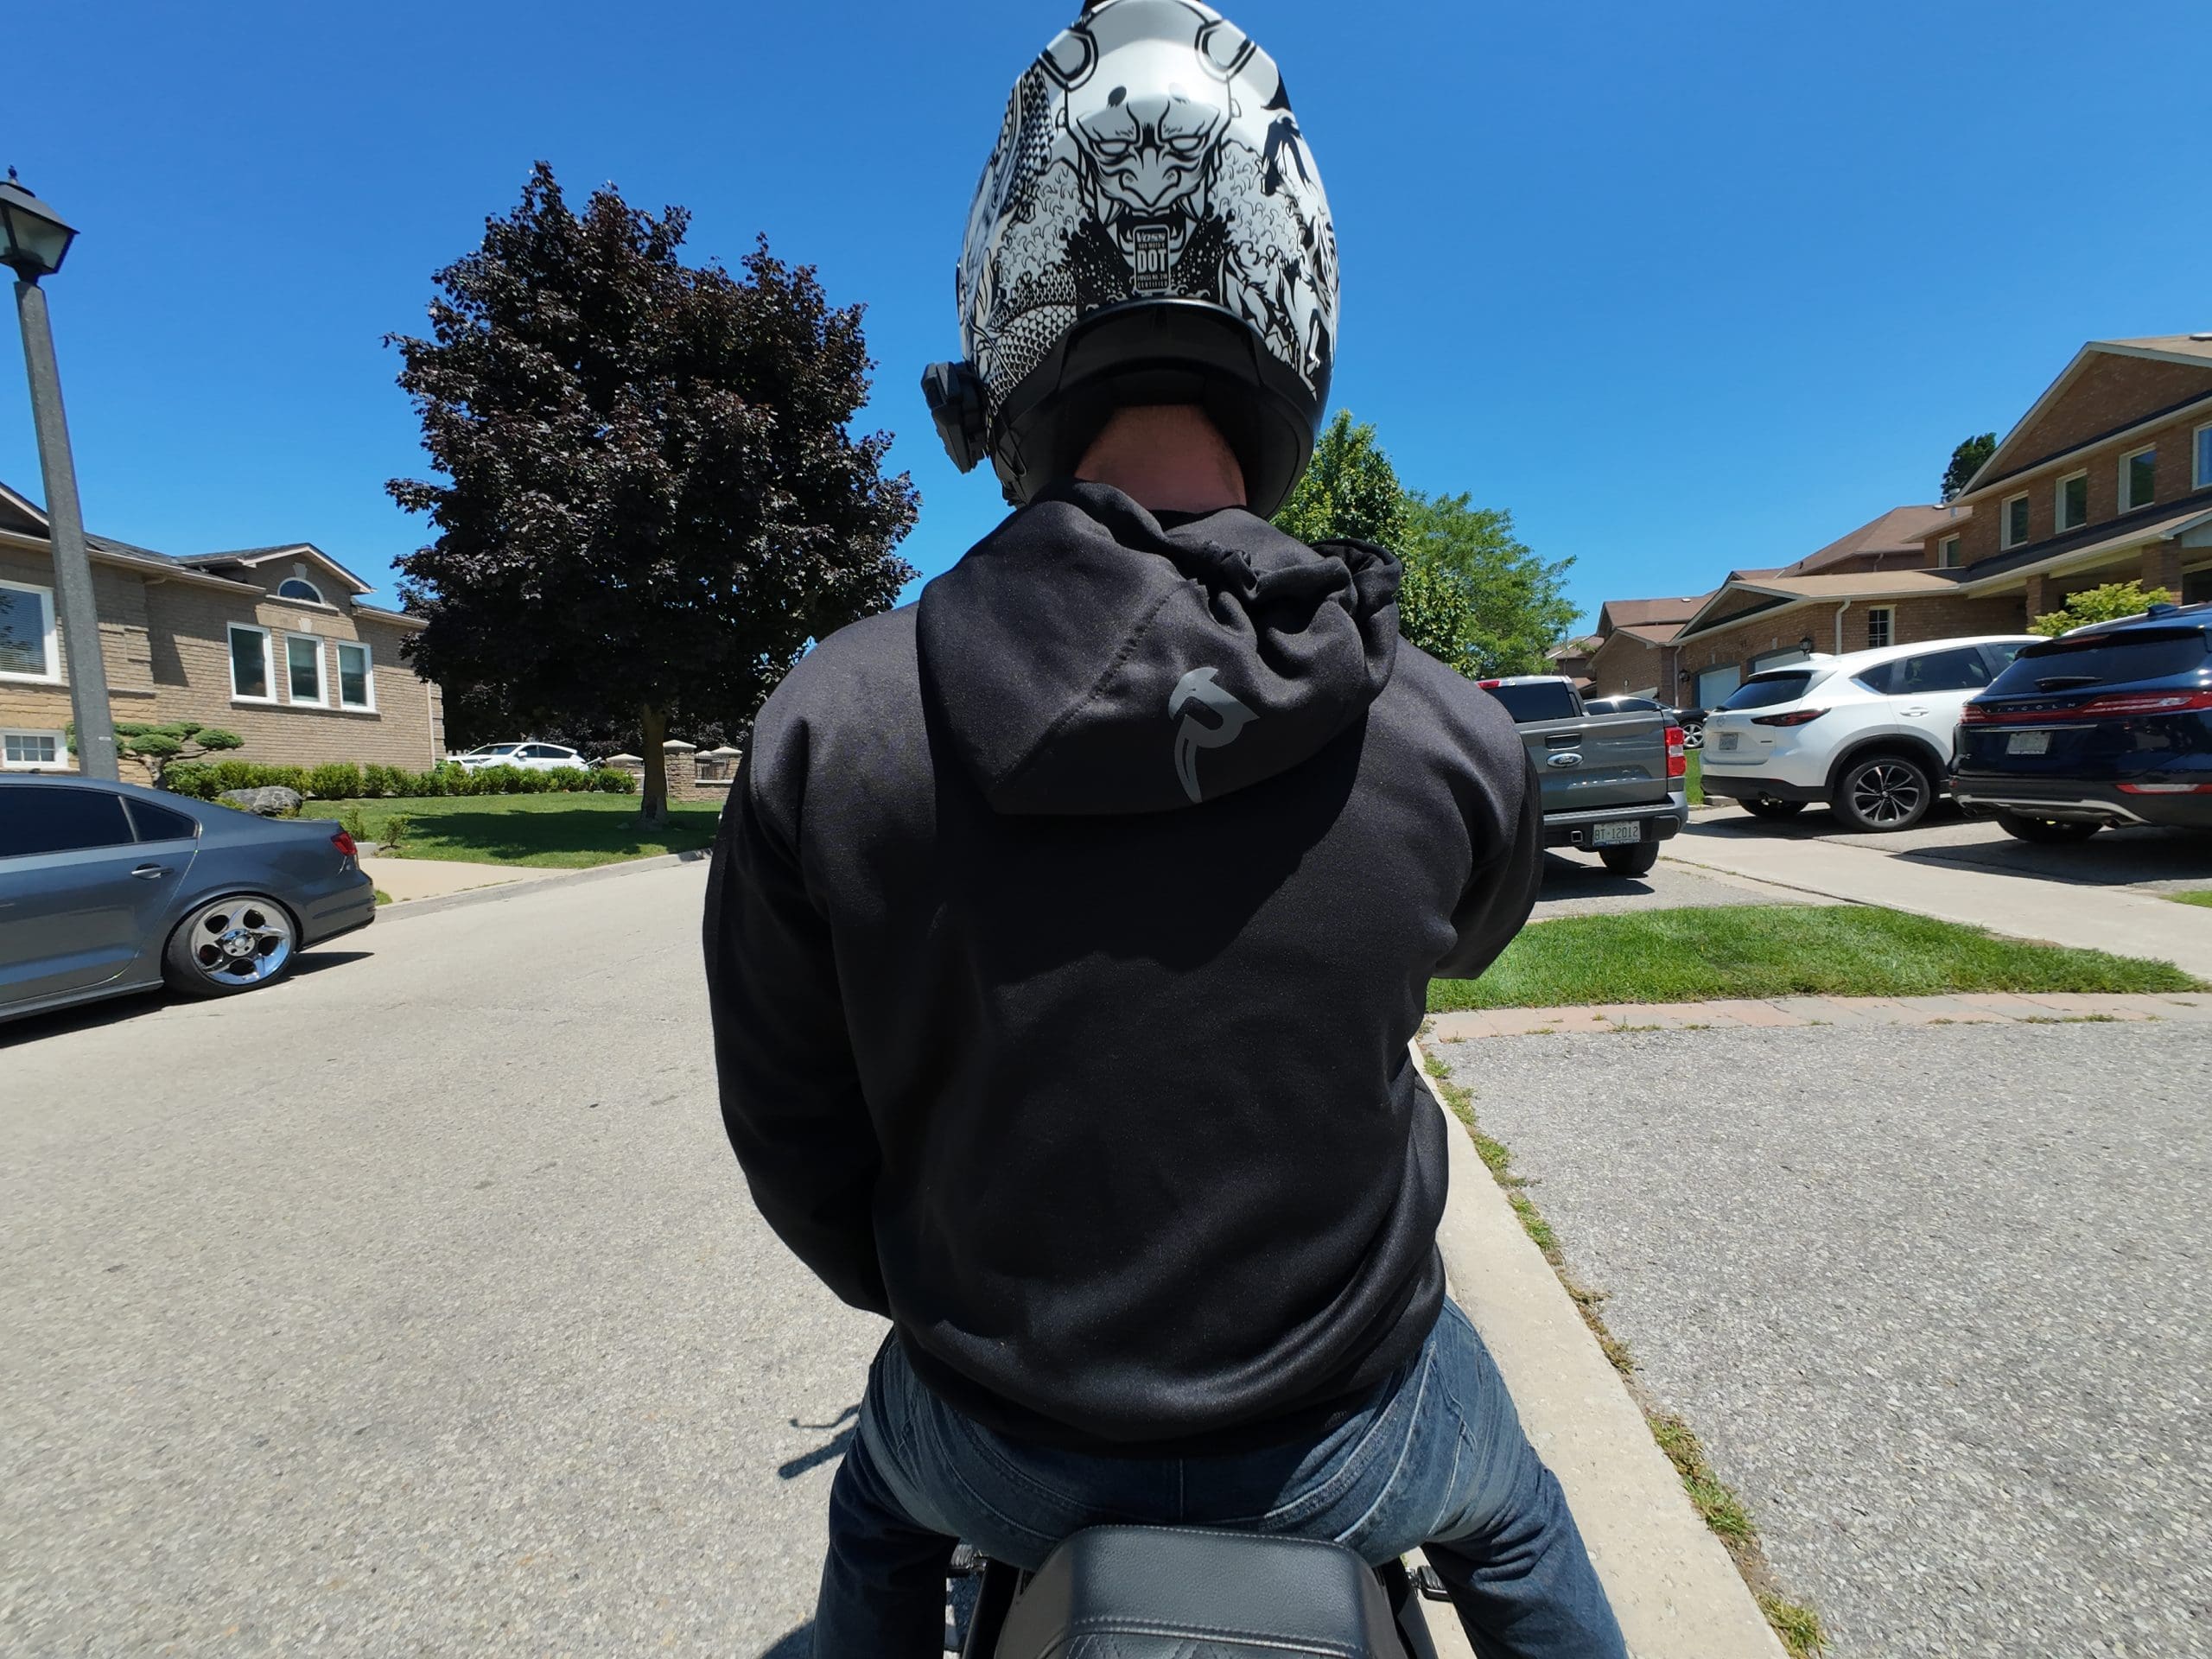
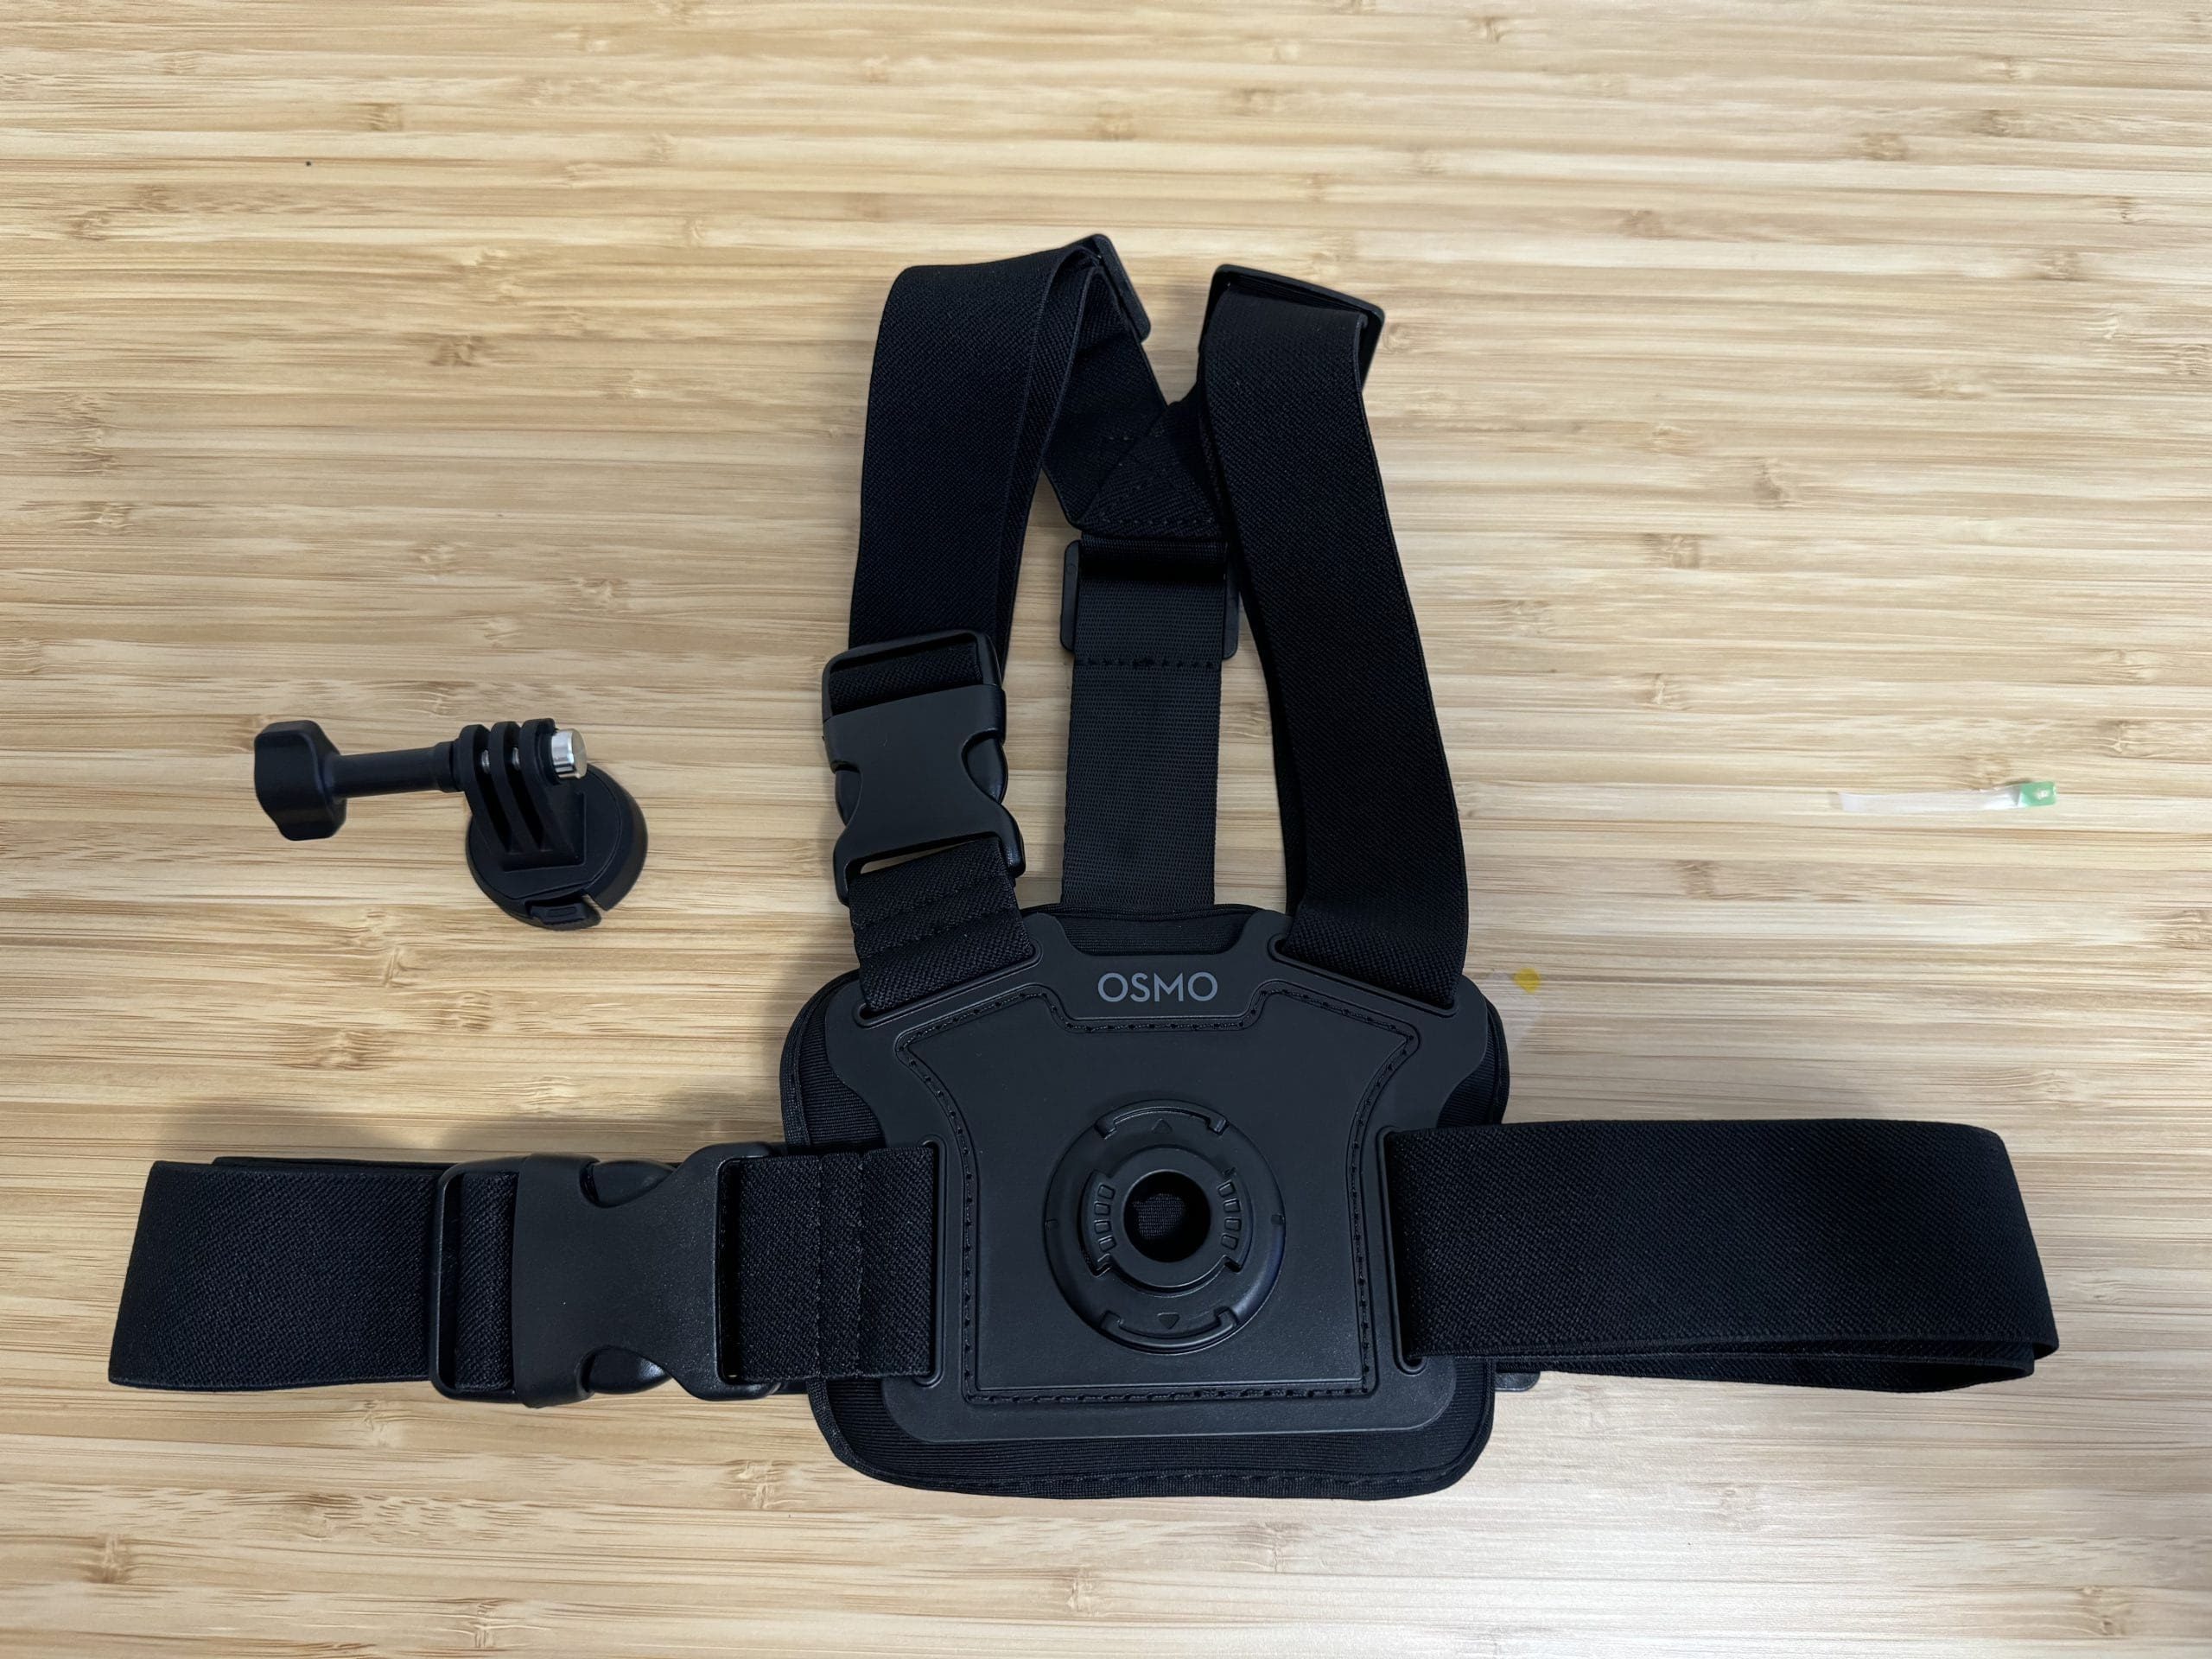
Chest Strap Mount
As mentioned, I was initially very skeptical of this mount. My initial thought was the camera would be mounted in a position blocked by both my fairing, as well as my naturally slightly-forward riding position. While effective for cycling, perhaps not the best option for riding a motorcycle.
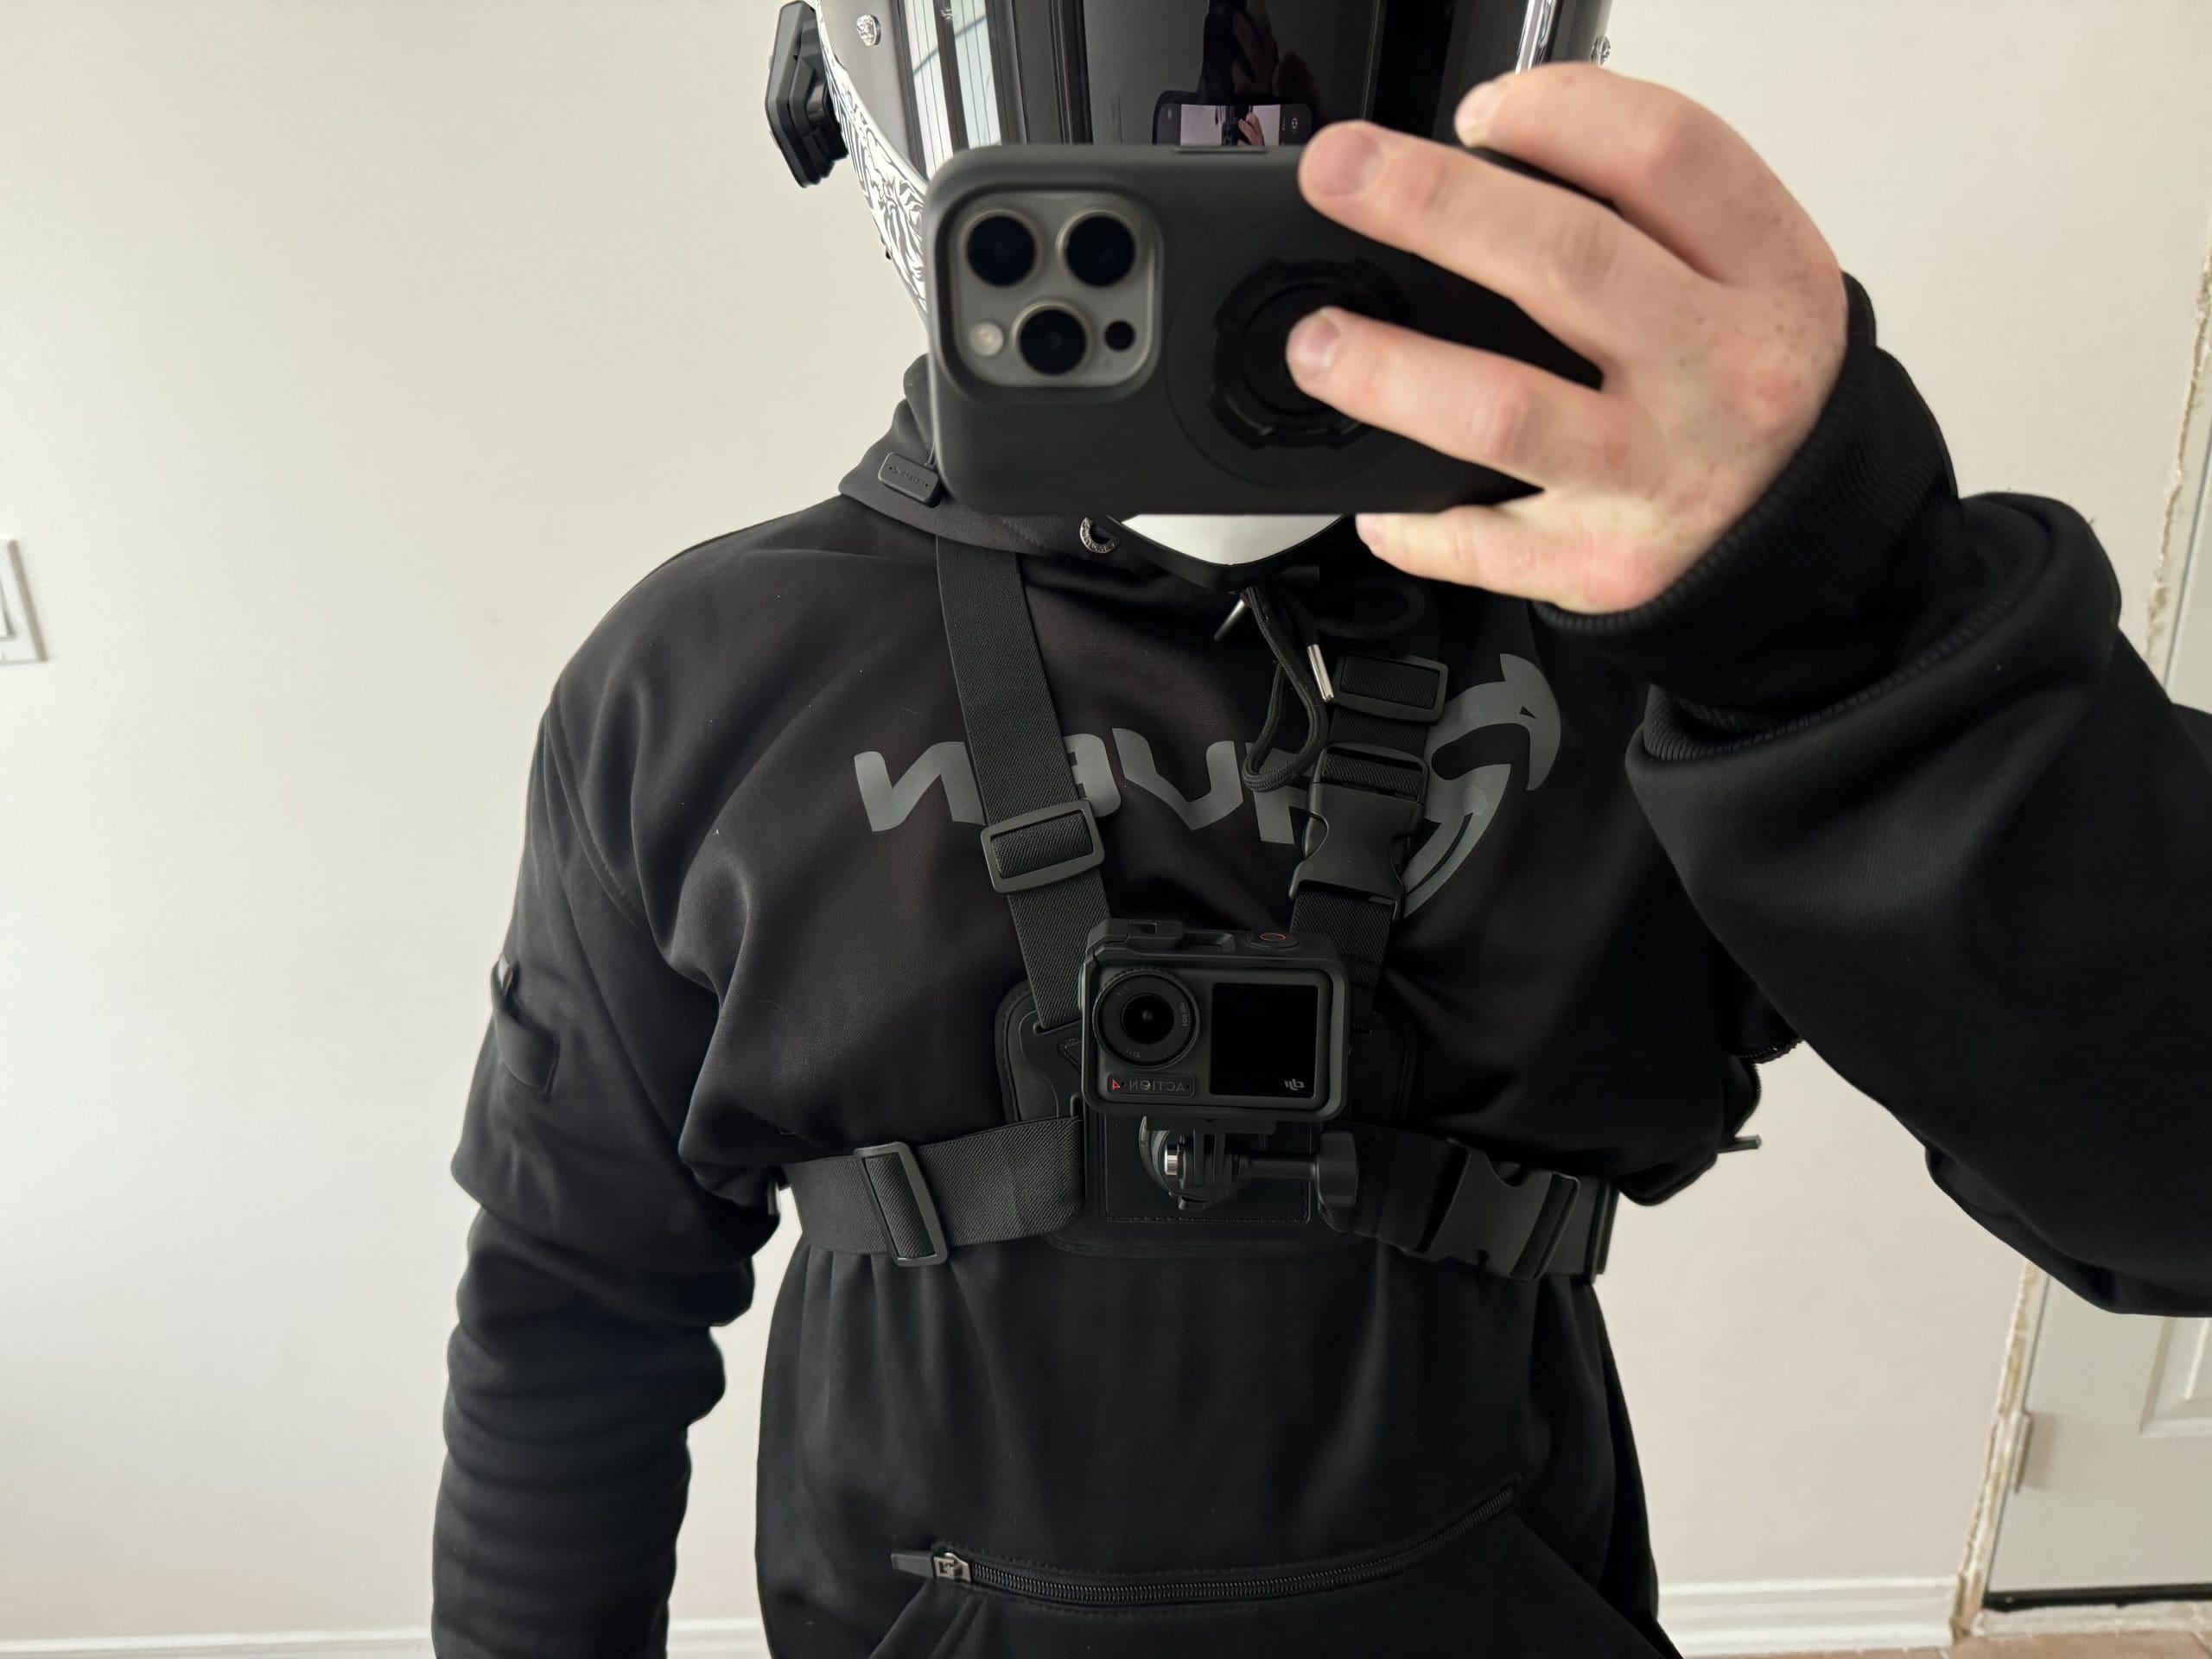
I’m happy that I was wrong – somewhat. The chest strap mount captured some good footage despite my initial concerns. With a bit of tweaking to the camera angle, I was able to capture more than just the fairing. Admittedly, I’d still rather the chin mount included in the kit due to the higher recording angle, but the chest strap definitely performed better than I thought.
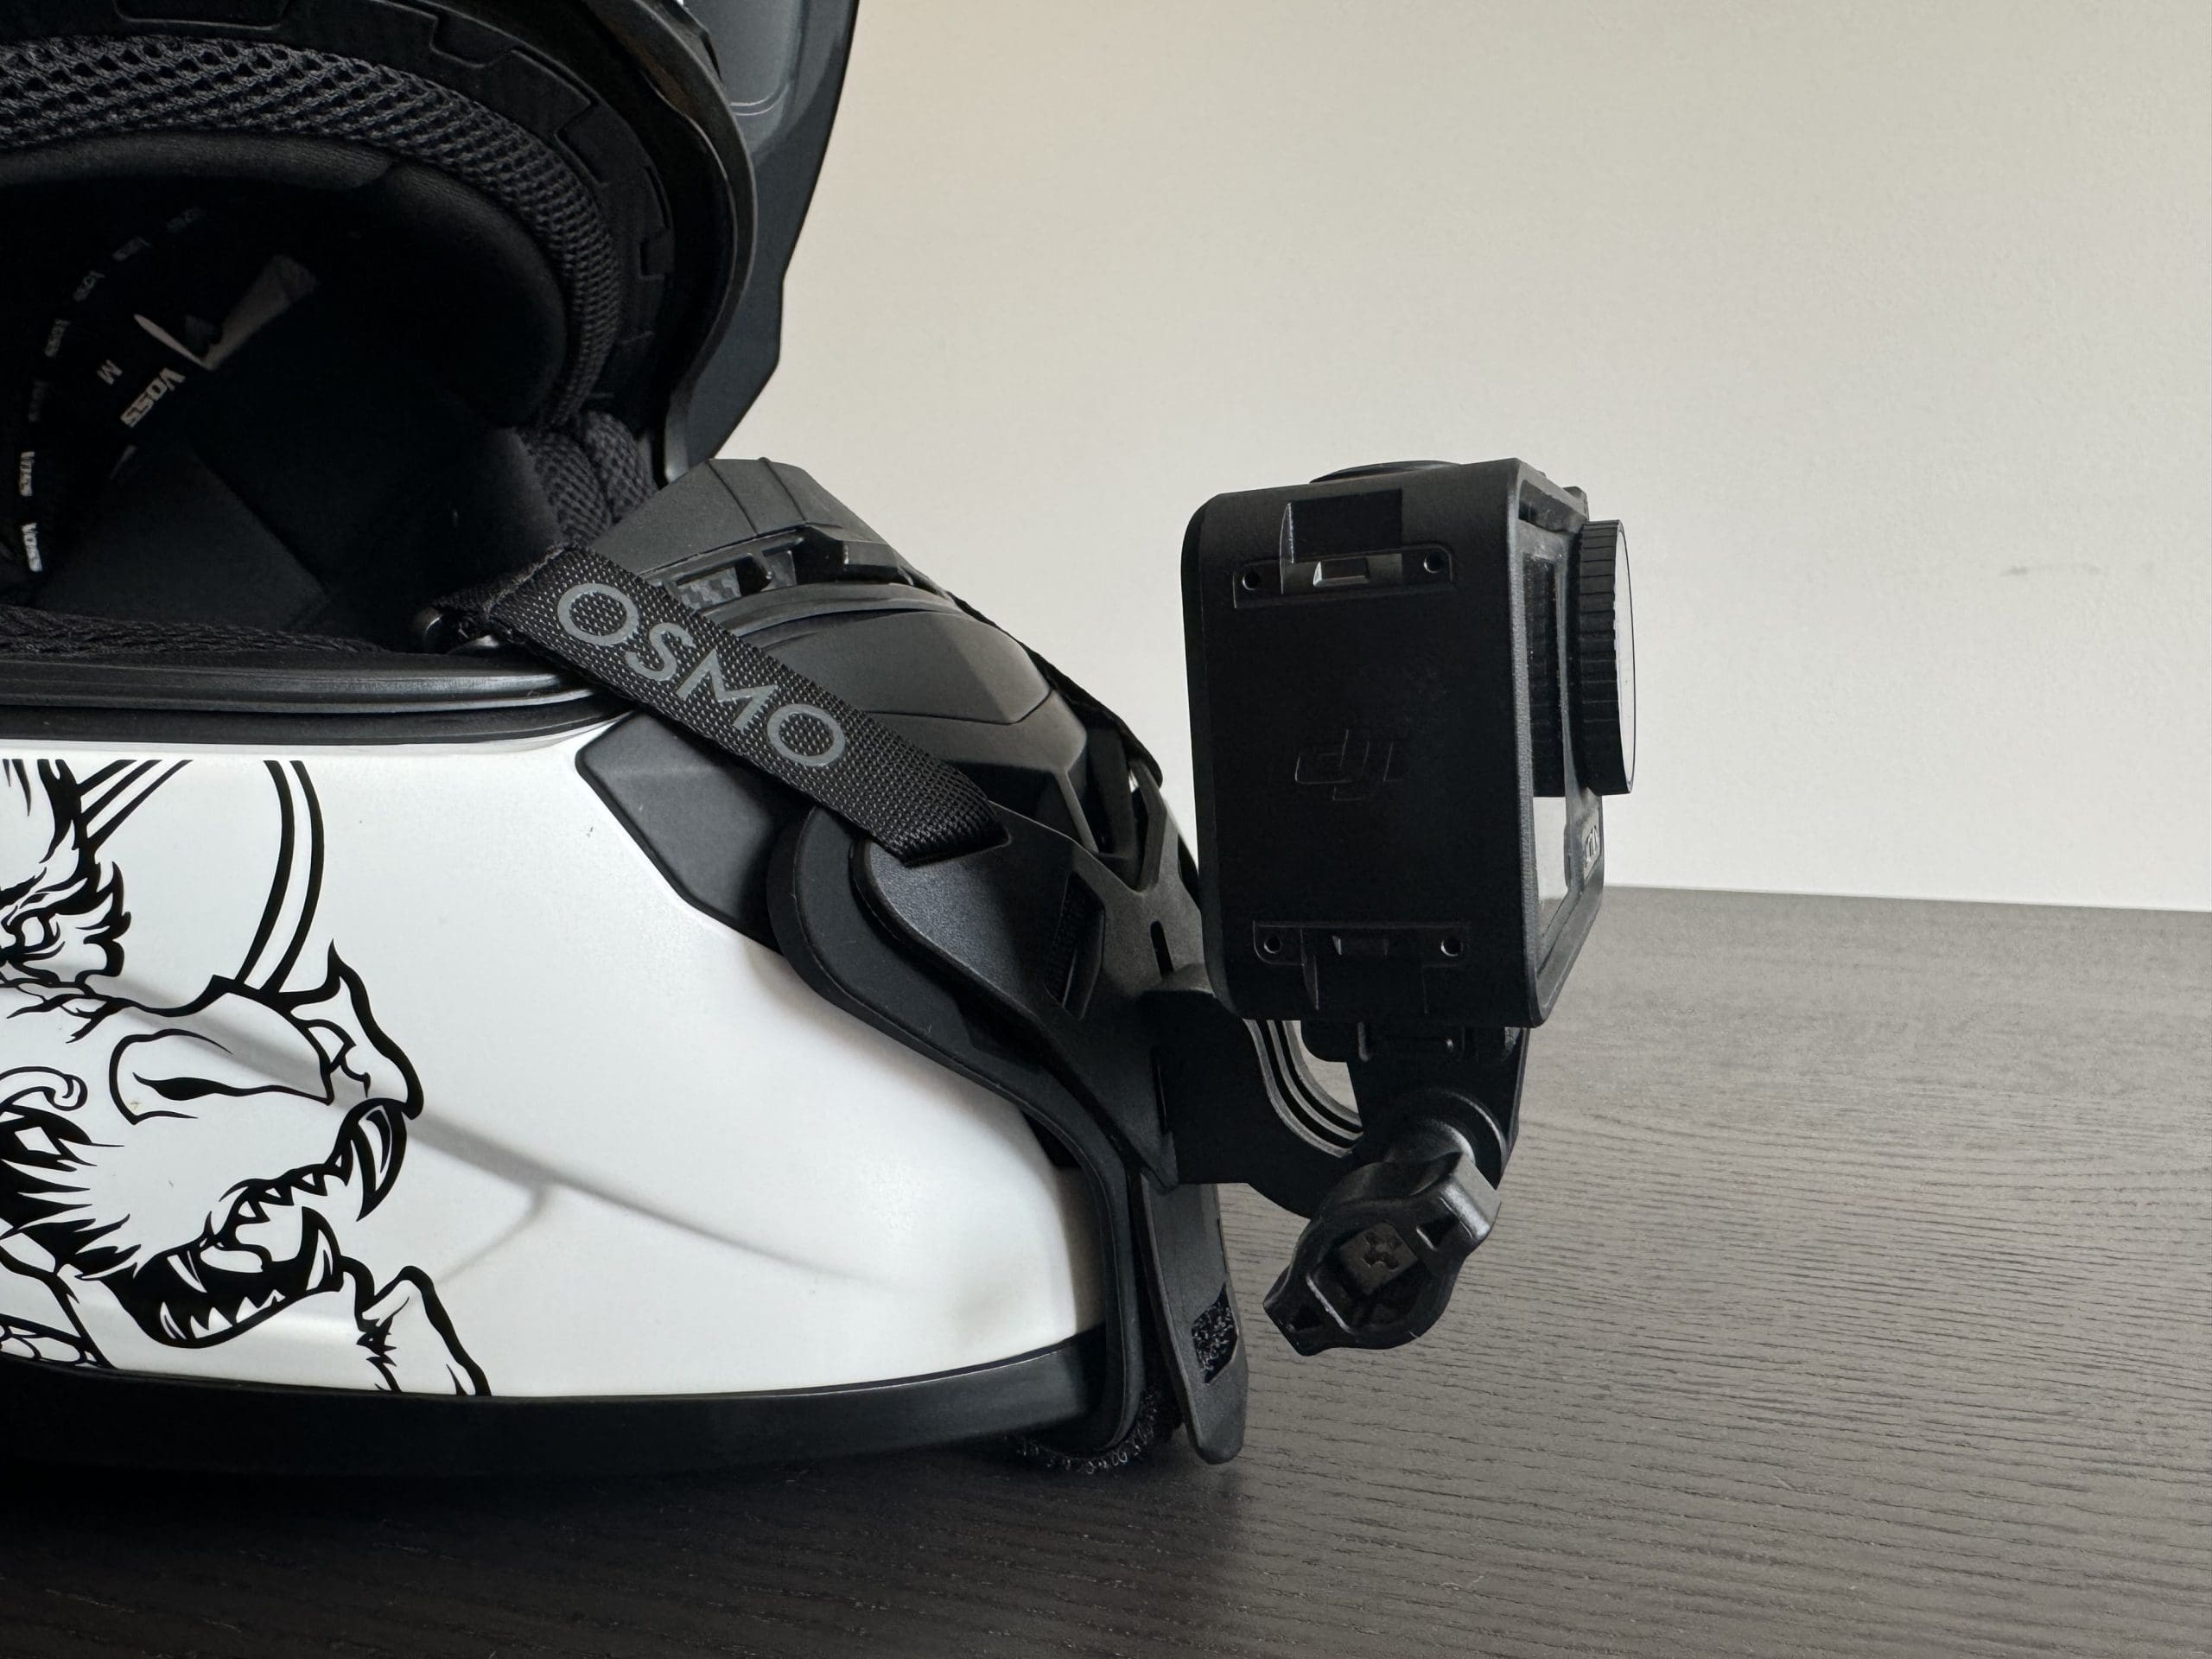
Helmet Chin Mount
For the ultimate rider POV, the helmet chin mount is my go-to. It is my favorite riding mount by far and in my opinion provides the best looking footage. It allows you to capture everything that you would see as a rider at that exact moment.
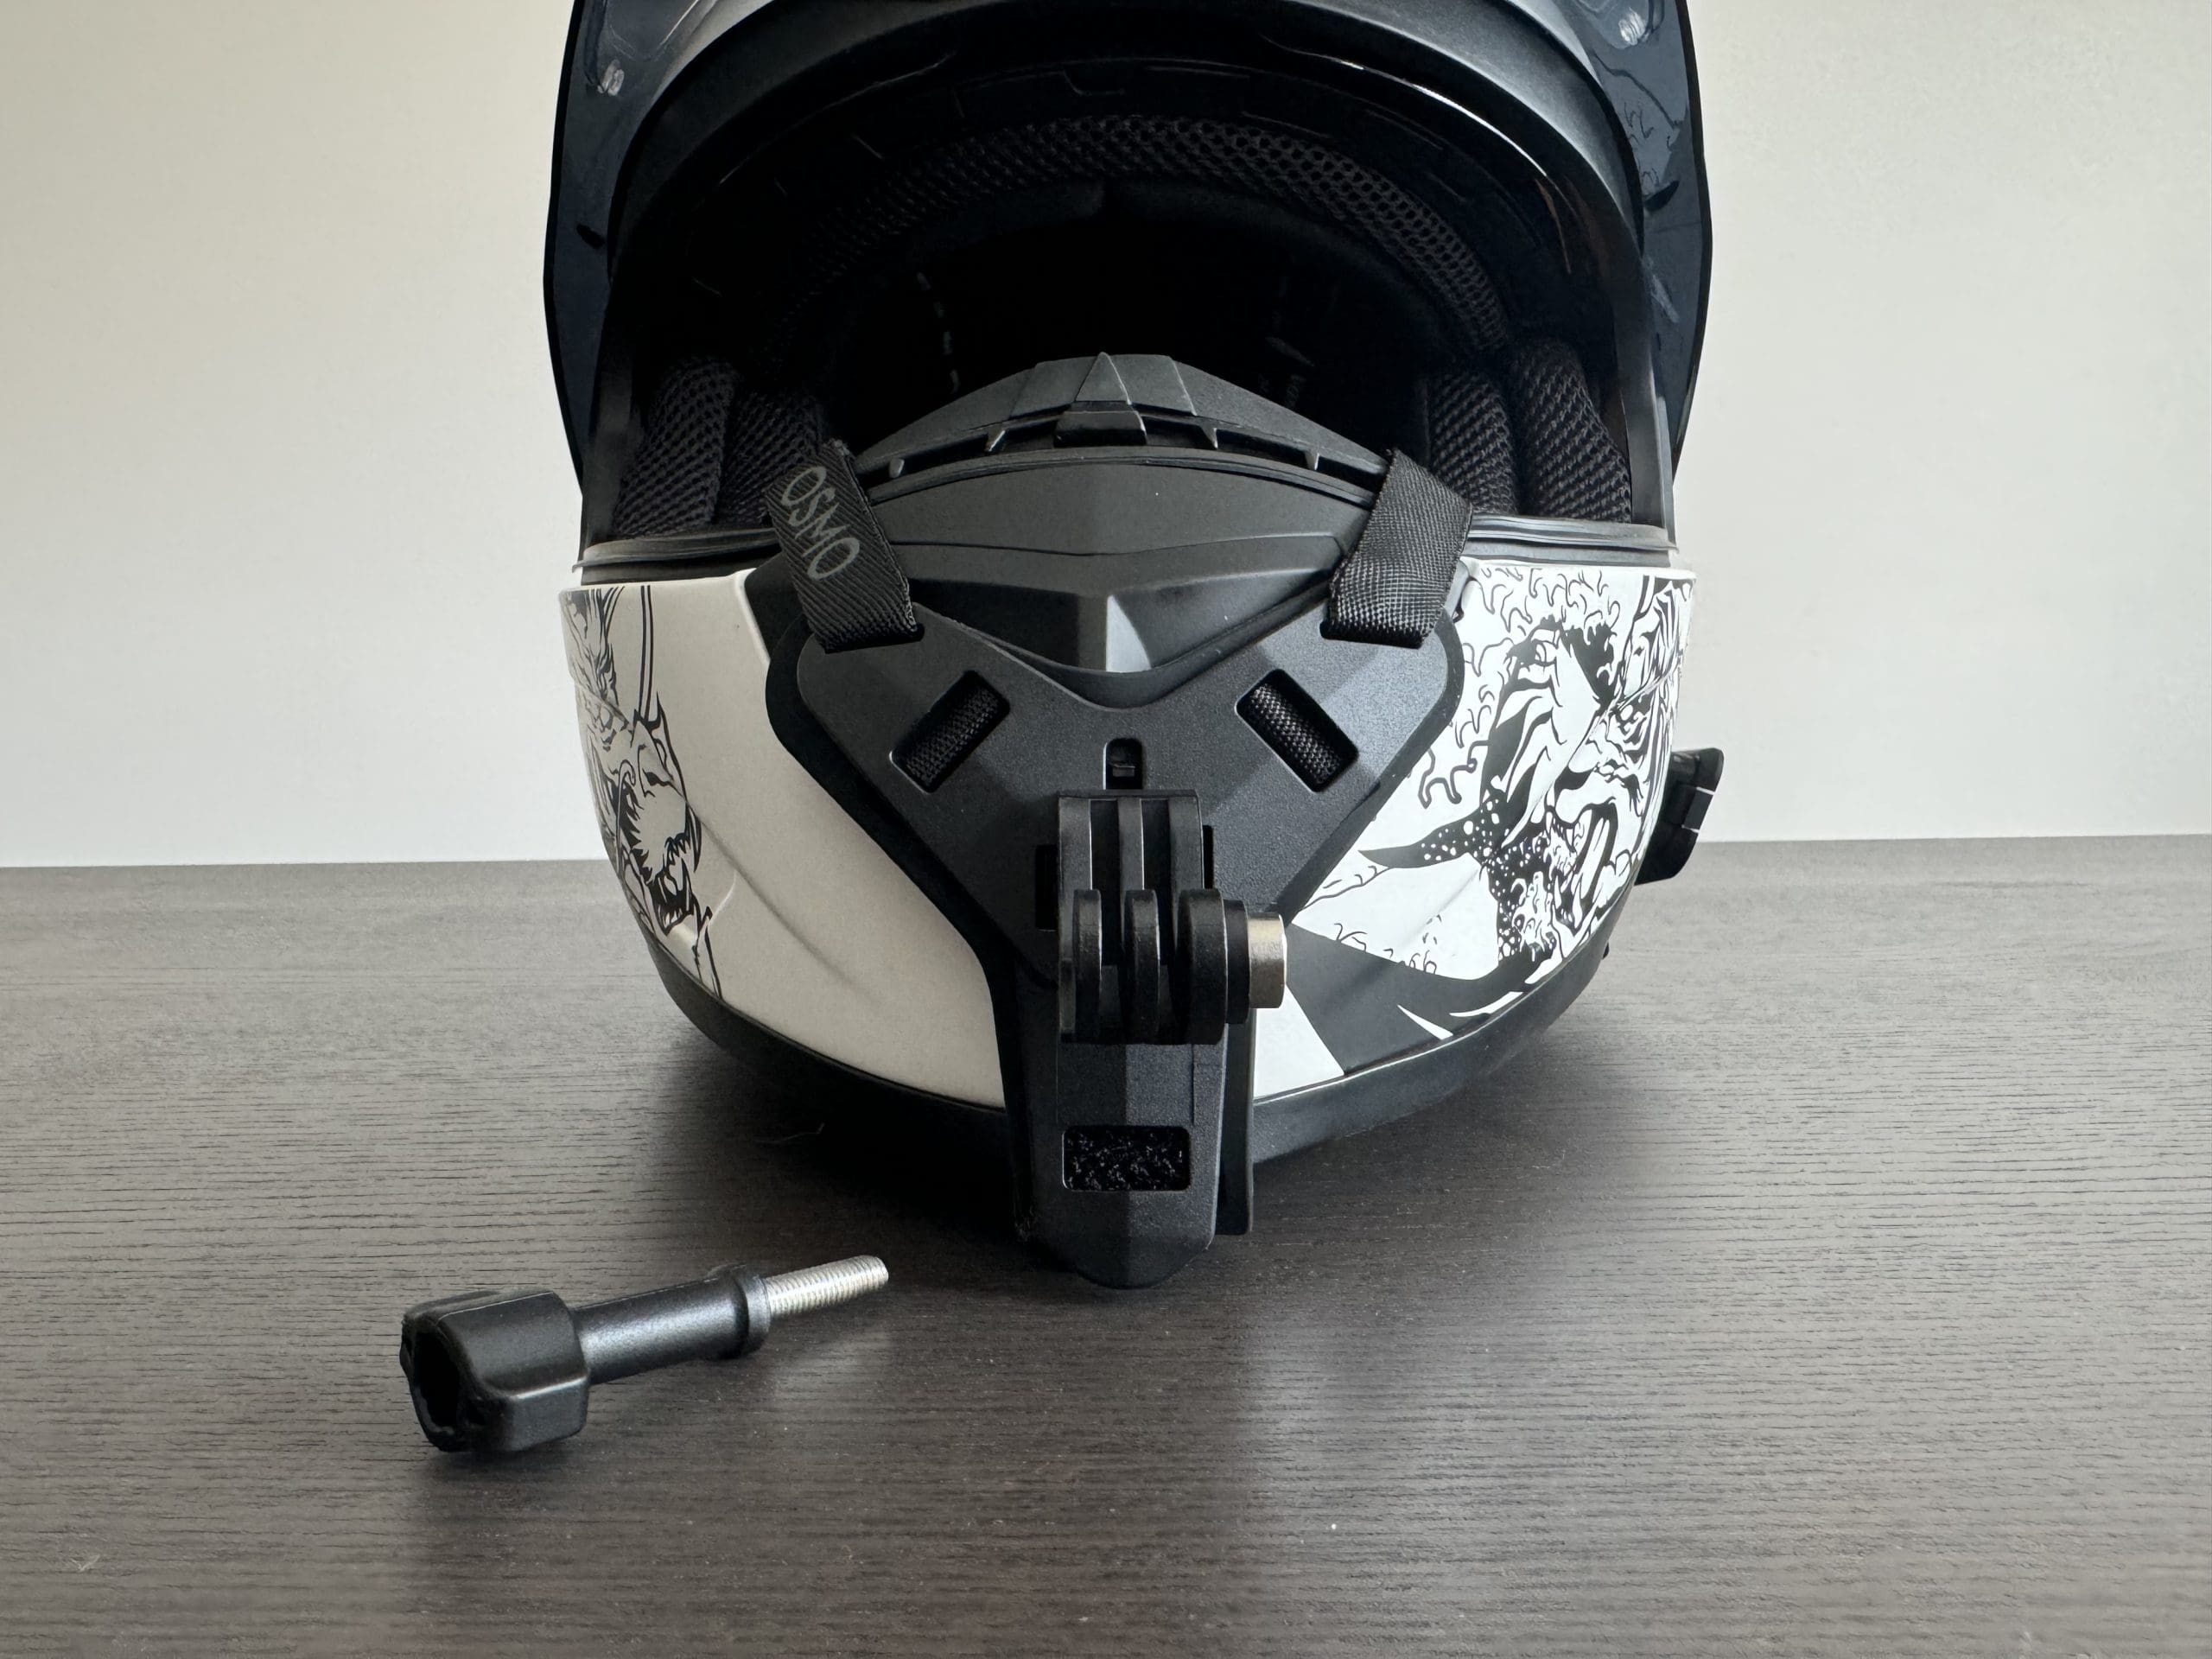
The DJI helmet chin mount wasn’t my favorite design but is a well-made mount. I would have preferred an adhesive-backed mount over the velcro straps, but it held firm and I was able to adjust it so that it didn’t block my chin vent. The installation onto my Voss 989 Moto-V helmet was simple and easy. On the inside, the straps made contact with my chin but after a few minutes of riding, I no longer noticed it.
The video I captured using this mount was cool to watch back. I enjoyed being able to see my hand movement as I pulled in the clutch, cranked the throttle, or jammed on the brakes. It also made for a good reminder to correct some of my poor riding habits, such as watching the landscape as opposed to the road!
Video Samples
Below are video samples of each mount in action. I was consistently recording in 4K resolution, alternating between 60FPS and 120FPS to play with the FOVs. The majority of the footage is unedited, to allow you to see how the camera performs in its rawest form.
Handlebar Mount Sample: https://youtu.be/H0y55GvJyW8
Handlebar Mount Slow-Motion Sample: https://youtu.be/kRCNLPbyjyA
Handlebar Mount Rear View Sample: https://youtu.be/vovp6BZqhEE
Chest Mount Sample: https://youtu.be/_rliAg_neDs
Helmet Chin Mount Sample: https://youtu.be/aWbQFqZo4QM
What the DJI Osmo Action 4 Does Well
There are many great things about the Osmo Action 4. To avoid writing a novel about it, I’ve chosen to highlight a few features that I feel the camera does best.
Recording Video
What may seem like a no-brainer to you is the Osmo Action 4’s exceptional ability to record video. However, in a market flooded with action cameras it’s worth making note of how beautiful some of my videos came out.
Make no mistake – I’m not an expert when it comes to cameras or filming, but I can certainly appreciate good video quality. The wider aperture (f/2.8), 2.4 μm pixel size and 1/1.3” image sensor deliver crisp shots in all light conditions
While not a feature of the camera itself, DJI’s powerful editing app, LightCut, made post-production editing super easy. I won’t touch on it too much, as the app can be used with all DJI cameras, but it’s definitely worth noting some of its features.
For example, the app has a massive amount of AI-recognized templates that will automatically take highlights from your footage and match them with existing templates for simple editing. For a social media page, this feature is priceless as it’ll increase productivity tenfold.
Stabilization
In addition to numerous resolutions and FPS capabilities we’ve touched on previously, the camera has an effective built-in stabilization mode that makes recording while riding possible. Through the resolution menu, you are able to toggle 4 stabilization options:
- RockSteady 3.0
- RockSteady 3.0+
- HorizonBalancing
- HorizonSteady
To break it down for you, HorizonSteady corrects horizontal tilt at any angle, giving it 360-degree capabilities, while HorizonBalancing corrects tilt up to 45 degrees. This is a great feature for action-packed sports and mountain cycling that has you carving sharp angles, doing flips, and other extreme movements.
On the other hand, Rocksteady is a blessing in disguise for filming on a motorcycle. As some of you may know, my Sportster is a clunky, vibrating mess that makes filming a nightmare. If it wasn’t for Rocksteady, all my footage would be littered with camera shake.
Rocksteady 3.0 and 3.0+ used fluid stabilization techniques that make my shots silky smooth, even at 4K/120FPS. The two options let me toggle how much stabilization I wanted in my shots, with 3.0+ having a slightly stronger effect.
Here are two sample videos of the camera’s stabilization capabilities at work. One video is filmed with Rocksteady, and the other is an example of horizon balancing.
Rocksteady: https://youtu.be/6BOwRkfEgSU
Horizon Balancing: https://youtu.be/NDHo1aja24E
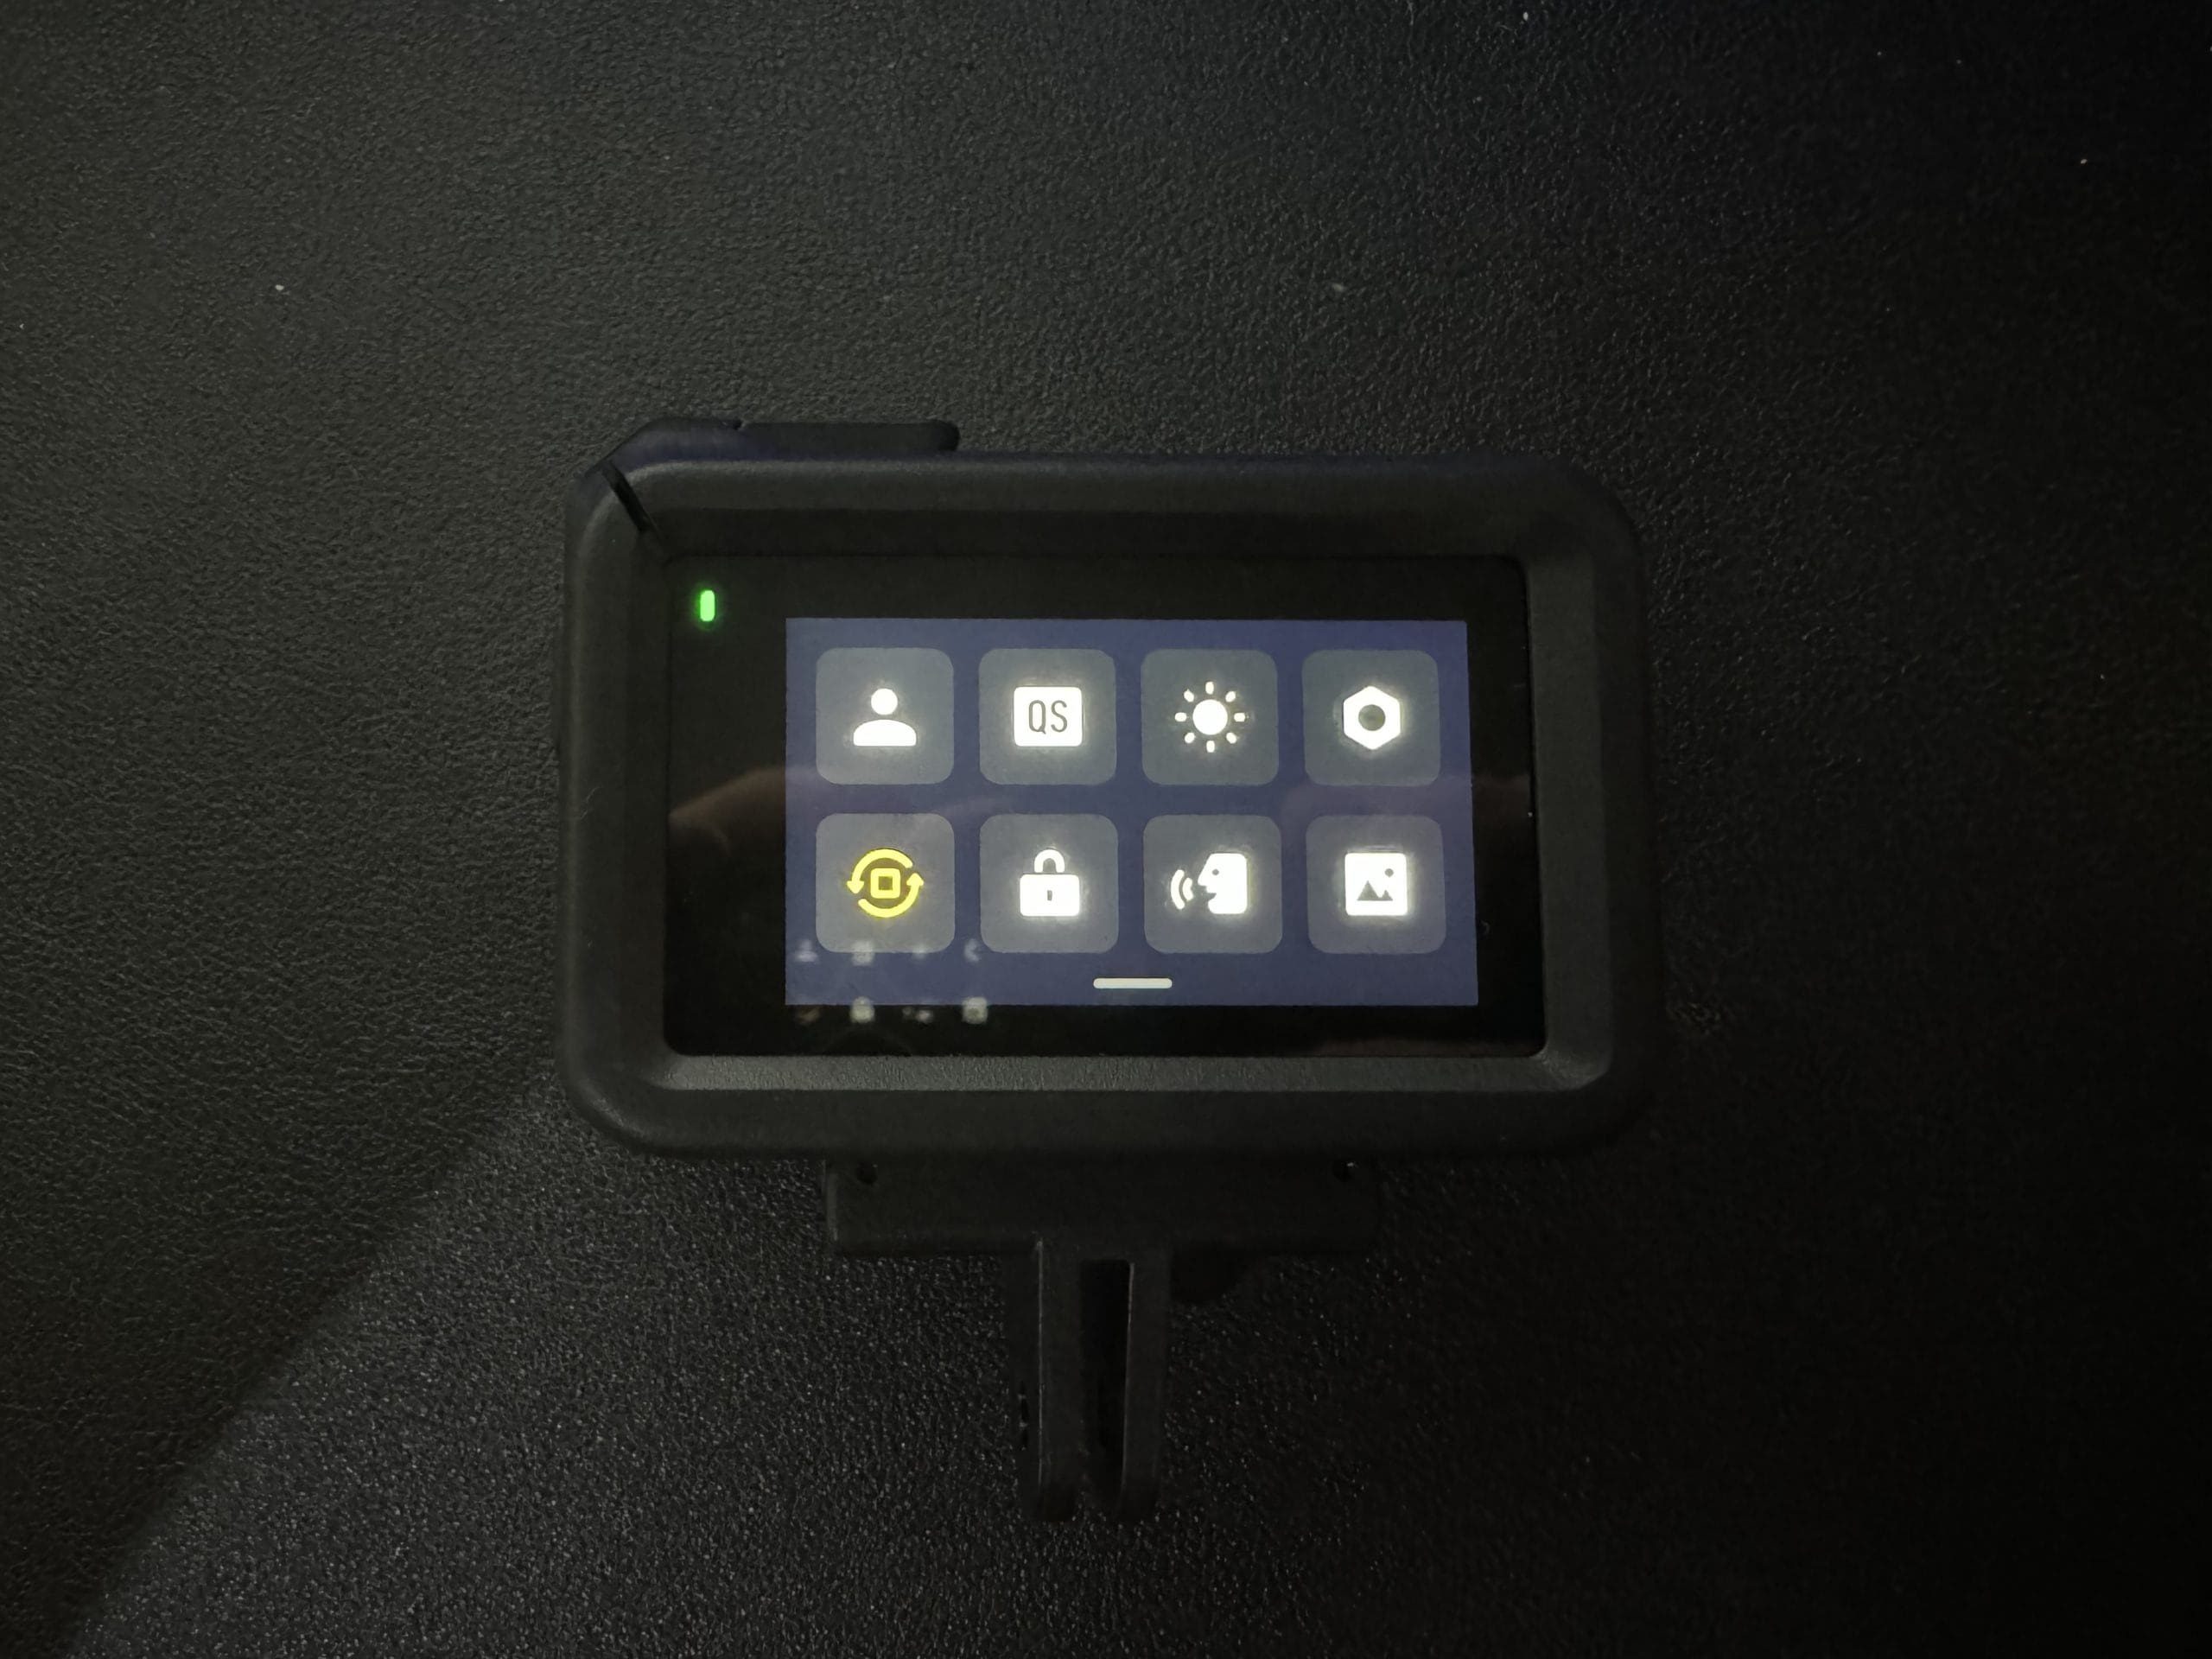
Ease of Use
The DJI Osmo Action 4 is extremely easy to use. The dual touchscreens and intuitive interface allow for quick and easy access to settings, recording modes, toggling FOVs, and more. Every setting is located within menus that can be accessed depending on which way you swipe your finger on the screen.
More importantly for new users, such as myself, the ease of use invites you to try new settings without the worry of accidentally changing something and not knowing how to get back to where you started. This is always a concern of mine when it comes to new tech that I’m not familiar with.
Magnetic Quick Release Mount
The quick-release adapter mount was a first for me, but definitely a must-have. On the bottom of the camera are two clips that the adapter mount fits into, along with the help of a magnet. This adapter connects the camera to your chosen mount.
Traditionally, a locking screw is used to fasten the camera via a clevis mount. While that still exists with the DJI Osmo Action 4, the magnetic quick-release adapter adds an additional layer to each mount that lets you quickly switch the camera from one mount to the other, as well as effortlessly flip the camera from landscape to portrait mode. While on the go, this was a huge convenience for me!
Camera Mirroring & Simple Data Transfer
Like other DJI equipment, the device can be operated through the DJI Mimo app. Once connected, I was able to mirror the camera onto my smartphone. This was a neat feature to have when both screens were blocked from view.
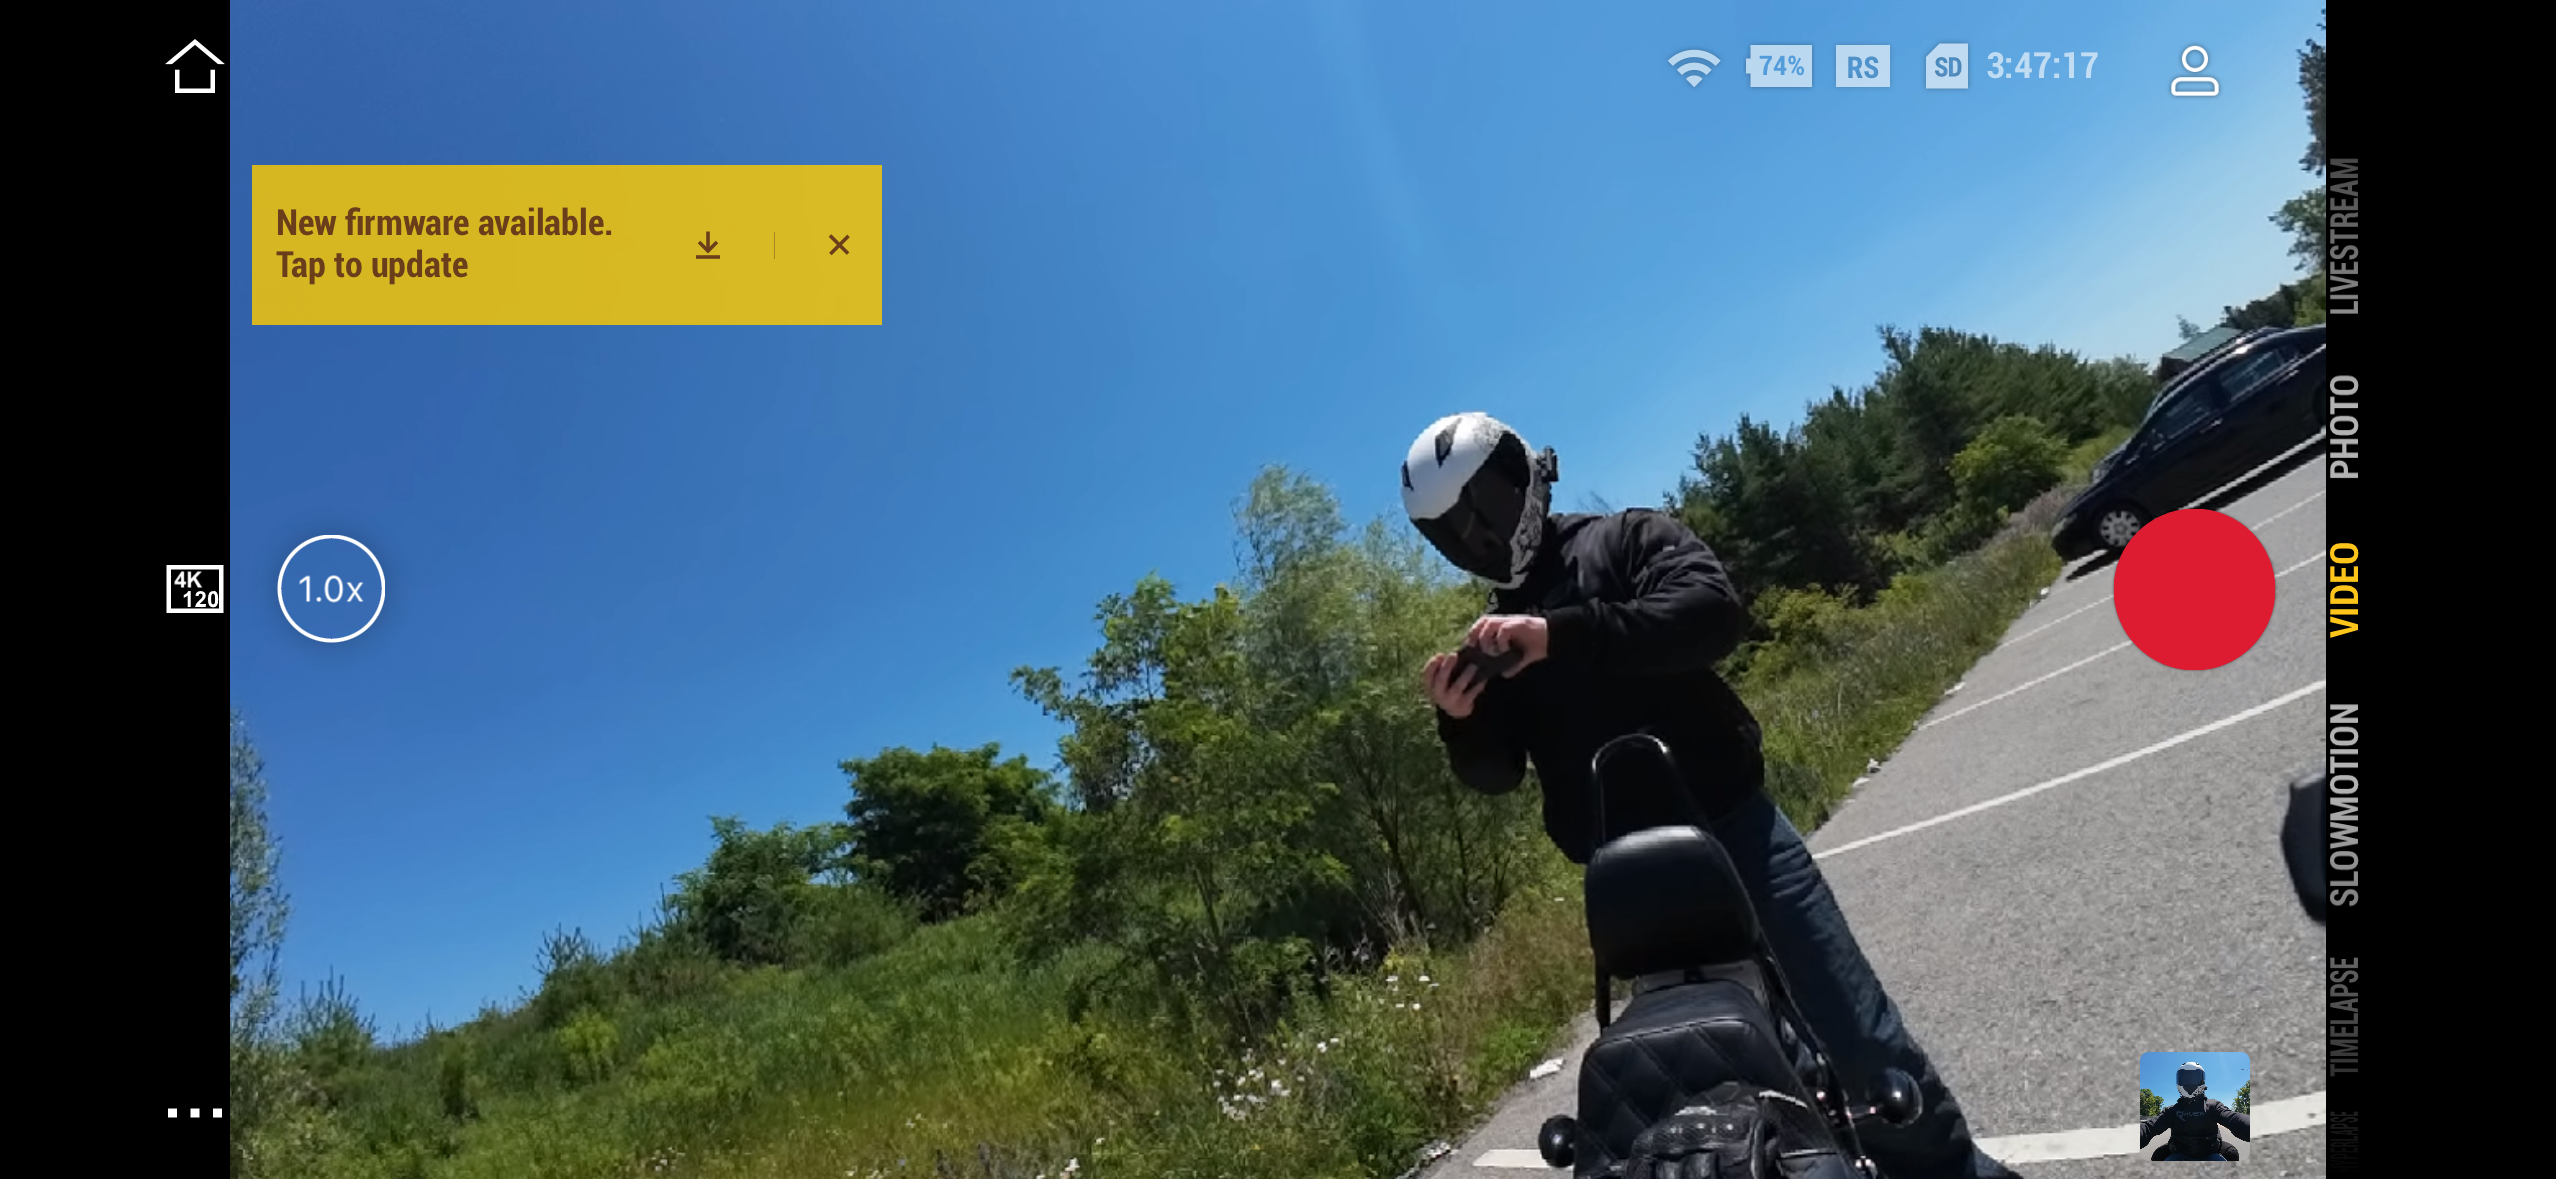
A perfect example would be when I was using the chest strap mount. Because of the location of the camera, I had zero idea what was in the shot, and what was not. With the camera mirroring, I knew exactly what I was filming at all times.
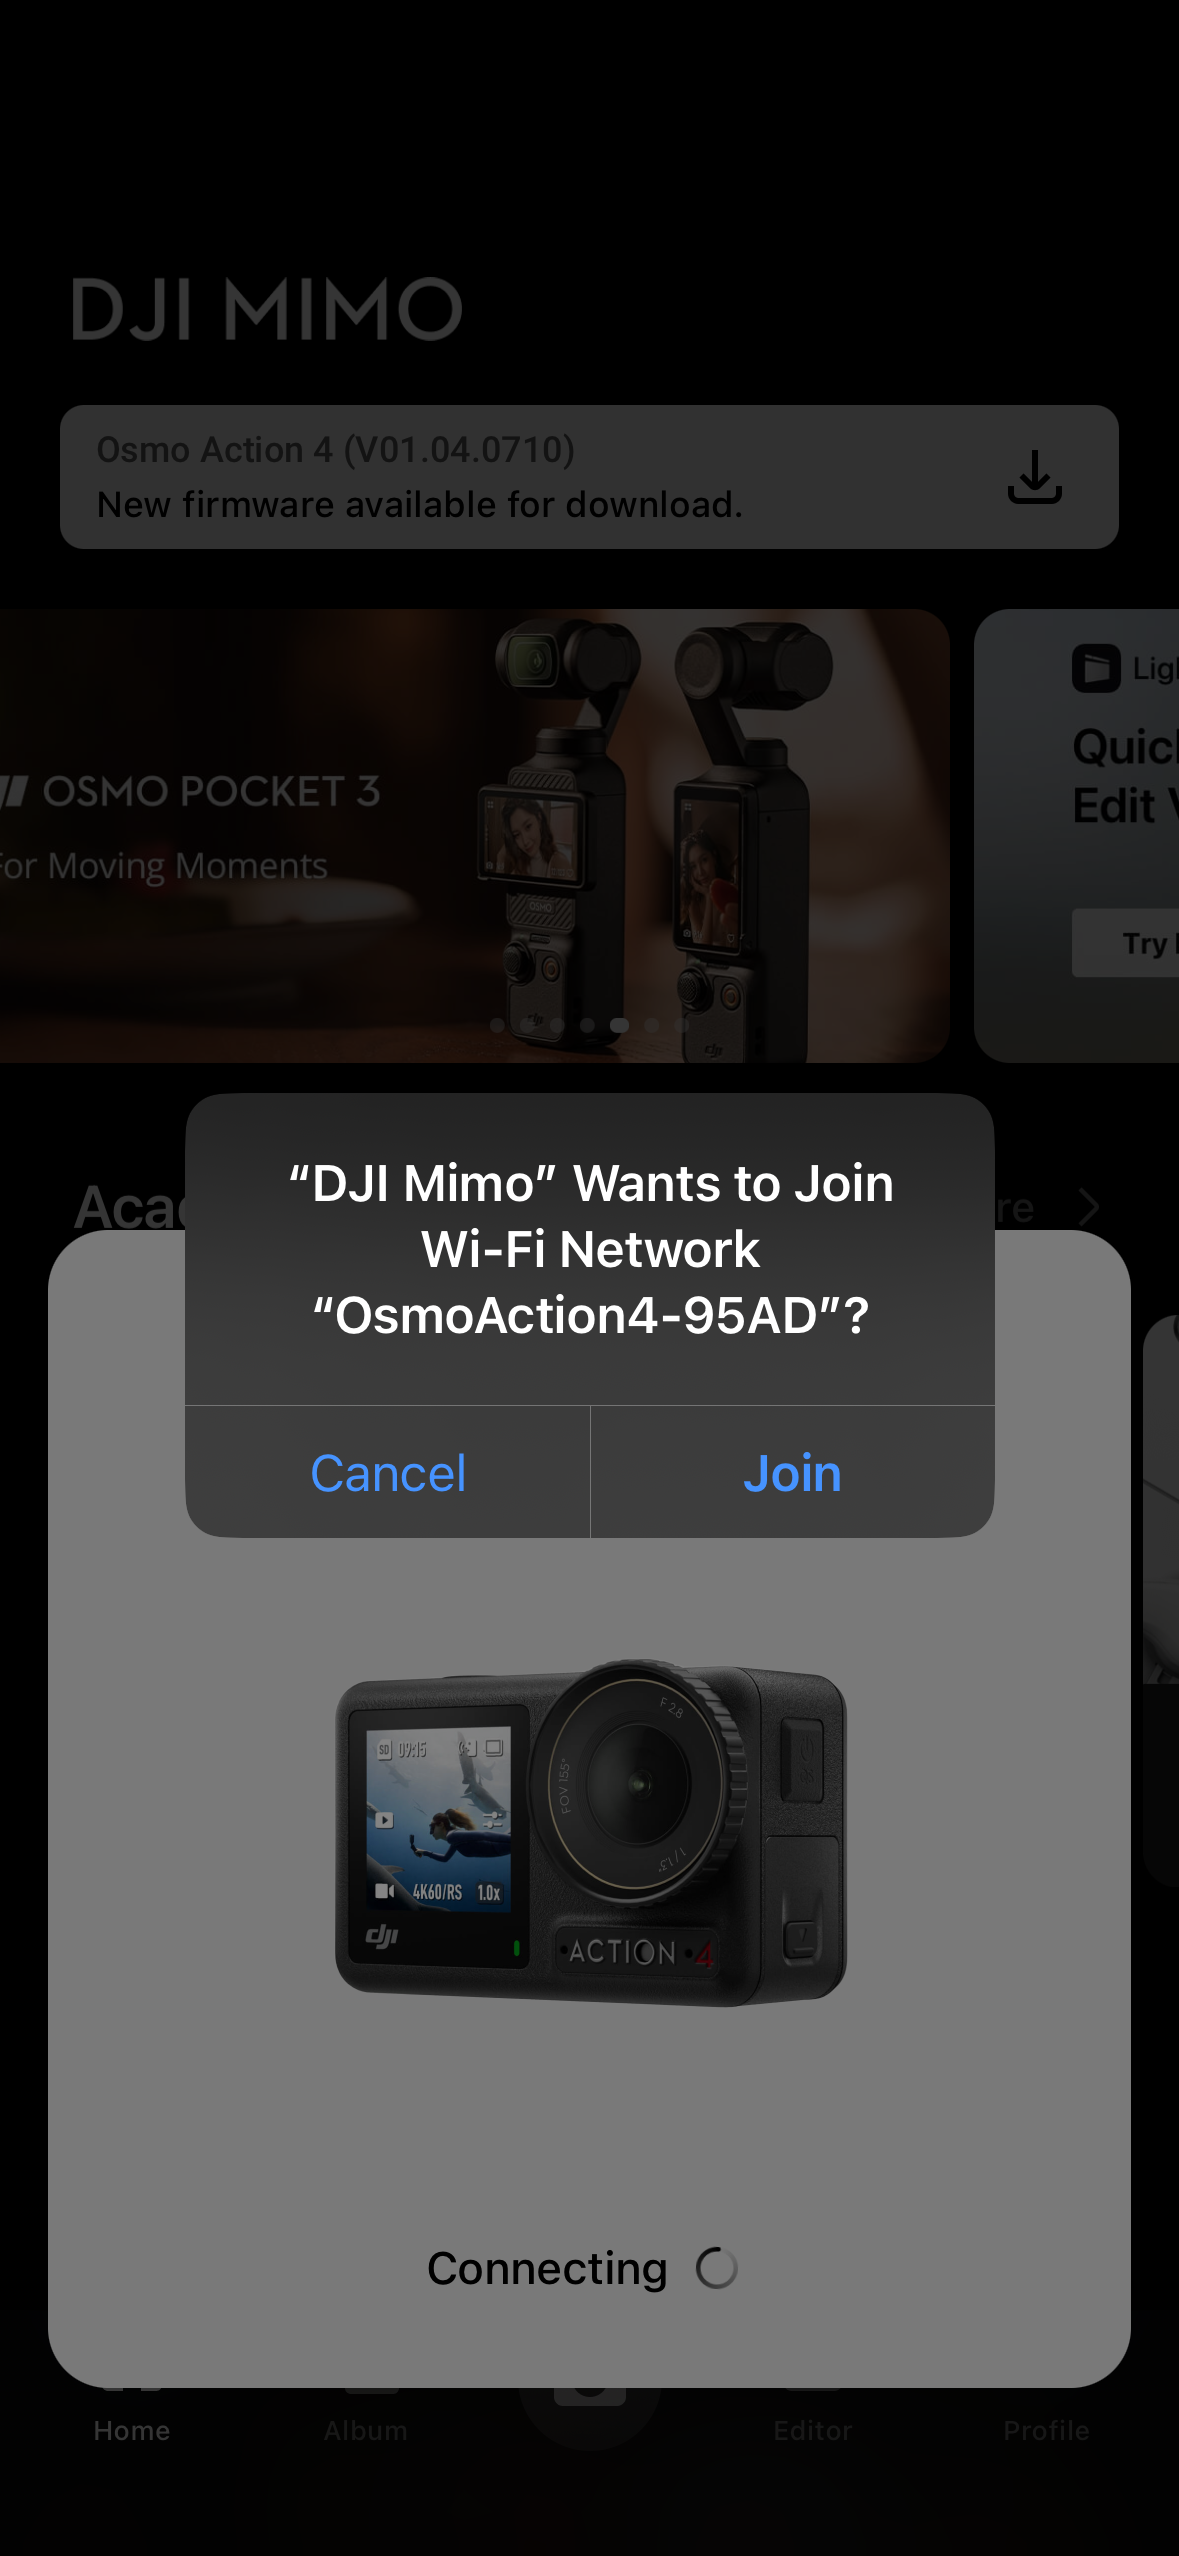
In addition, I was able to effortlessly transfer data off of my microsd card and onto my phone from the DJI Mimo app. This made saving, editing, and sending video far easier and faster than it would’ve been to manually export it off the card.
Low Light Video
Thanks to its large sensor, the Osmo Action 4 performs exceptionally well in low-light situations. This was one of the largest complaints with its predecessor, the Action 3. The new 1/1.3-inch sensor is 25% bigger than the Action 3, with both being larger than GoPro’s newest model, the Hero 12, at 1/1.9-inch. This is a big perk for those who like to ride at night!
Areas that the DJI Osmo Action 4 Can Improve
I have a lot of positive things to say about this camera and very few negative ones. But, as an honest review, there are several areas I’d love to see DJI improve on their next release.
Video Resolution
While 4K video resolution is more than enough, DJI has fallen behind its competition in terms of video resolution. Direct competitors, such as GoPro and Insta360 have already released both action cameras and 360-degree cameras, capable of shooting in 5.3K and 8K resolution.
The Insta360 X3, for example, was released a year earlier than the Osmo Action 4 with 5.7K capabilities. However, it’s important to note that this isn’t an action camera. Comparing apples to apples, GoPro’s Hero 12 action camera was released around the same time as the Osmo Action 4 in 2023, but with 5.3K capabilities.
Max Photo Resolution
Similar to the aforementioned video resolution, I’d love to see DJI up their maximum photo resolution in a future release. With the Osmo Action 4, DJI claims you can take stills at approx. 10MP. This is something I touched on above. With the GoPro Hero 12, however, you can shoot at over 27MP.
Inability to Shoot Close Up
As is the case with almost all action cameras, the DJI Osmo Action 4 has a hard time shooting anything close up. As per DJI’s website, the close focus distance is 0.4 meters. That means, the camera will have a hard time focusing on smaller details for anything closer than that. This could have an adverse effect on your shots as details will be minimal.
Final Scoring
Build Quality – 85%
Over the course of the review, I did not have any concerns in regard to the build quality of this camera. The camera feels as good as it looks. Waterproof capabilities up to 18m without a case are top of their class but comes with it’s unique drawbacks. For one, the door to open the battery compartment is extremely tricky to operate. I imagine this is due to a watertight seal.
On the topic of batteries, the Osmo Action 4 has a solid battery life, but definitely not the best in the market. For comparison, the Insta360 Go 3 has a run time of 170mins @ 1080p/30FPS. With a maximum operating time of 160 minutes while recording at 1080p/24fps, the battery life will be sufficient for the majority of users.
Video Quality – 85%
Strictly speaking from a video resolution standpoint only, the DJI Osmo Action 4 is behind. However, this camera excels over its competition in many other ways which is why I’ve given it a great score for video quality.
For starters, the 4K/120FPS video is beautiful. Unless you’re a professional and/or heavily edit your media, you won’t miss the 5.3K resolution of the GoPro, or the 8K capabilities of the Insta360. With that being said, the Action 4’s large sensor dominates its competitors in low-light conditions. It has great white balancing, a wide range of color depth, and supports 10-bit video.
The Rocksteady 3.0/+ stabilization settings were key to filming on the motorcycle. Without it, I don’t think my footage would’ve been very pleasant to watch back due to the camera shake.
Ease of Use: 90%
The camera is extremely easy to use, especially for beginners like myself. I loved that both the front and back screens were touchscreens. This made it easier to operate while the camera is pointed at you. In addition, I found the settings menus very well laid out and intuitive.
If you want to take it a step further, you can operate the camera through voice control or by mirroring it off your phone. Personally, I didn’t test the voice operation (as I was riding), but I did operate off the DJI Mimo app very frequently.
Customized camera profiles can be set and easily reverted back to by the tap of a button. Overall, I believe this camera has a short learning curve (for basic photography), allowing the user to start producing high-quality content almost right away.
Accessories – 85%
The accessories and mounts for the Action 4 camera are expensive, but high-end. Cheaper alternatives can always be found from 3rd party makers, but you run the risk of damaging your high-end, expensive camera due to a low-end cheap mount failure.
As I mentioned, I would’ve preferred if the helmet chin strap mount was included in the bundle over the chest strap, but, with it being orientated toward cyclists as well, I can understand why DJI opted to bundle it as they have.

A large part of my scoring was attributed to the quick-release magnetic mount adapter. If you’ve used an action camera before, you know that removing the thumb screw to change mounts gets very tedious over time. The quick-release was a huge pleasure to use, and definitely something I’ll enjoy using for many years to come.
Value for Money – 95%
The Action 4 is very competitively priced in the market. Looking at close comparisons, the GoPro Hero 12 retails for $399.99 without accessories. Similarly, the Insta360 Ace retails for $379.99 without accessories. Only Insta360 offers a motorcycle bundle like DJI, but the price is substantially higher with a retail price of $474.
Conversely, the DJI motorcycling bundle retails at $349. If you can make do with the 4K video resolution, the Osmo Action 4 is valued exceptionally well over its competition. In addition, you gain access to DJI Mimo and LightCut which are two powerful apps for shooting, editing, and processing footage.
Your other alternative would be to invest in a budget camera, such as the Akaso V50 Pro SE Action Camera. But, as you can see from Simon’s review, it has a lot of drawbacks and may not be worth the savings.
What’s more, it regularly goes on sale, giving you ample opportunity to score this device at an ever-better price point. For example, as I write this, the camera is currently discounted due to Amazon’s Prime Day sales!
Final Recommendation
Are you on the fence? Buy it!
The DJI Osmo Action 4 is a great action camera for both beginners and professionals. The video quality is fantastic and performs exceptionally well in low-light conditions. Powerful stabilizers turned my shaky riding footage into a fluid, beautiful video. The waterproof capabilities are unmatched in the market, and I really enjoyed having DJI’s apps to edit my video!
The battery life isn’t as long as the competition, nor is the video resolution as high. But, I can almost guarantee that for the majority of us recreational users, the difference in video quality is negligible while the cost savings are more than welcomed.