Wrenching Made Easy
First Impressions
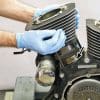
I’ve been using Clymer motorcycle repair manuals on my own bikes for several years and know how good they are. Clear and concise with decent, black and white photos that have helped me keep my ride in tip-top shape.
I used to buy the much more expensive factory repair manuals but got wiser over time switching to Clymer. There’s no appreciable advantage in using the OEM books over Clymer. I find them maybe a little clearer when it comes to photos sometimes, but that’s it.
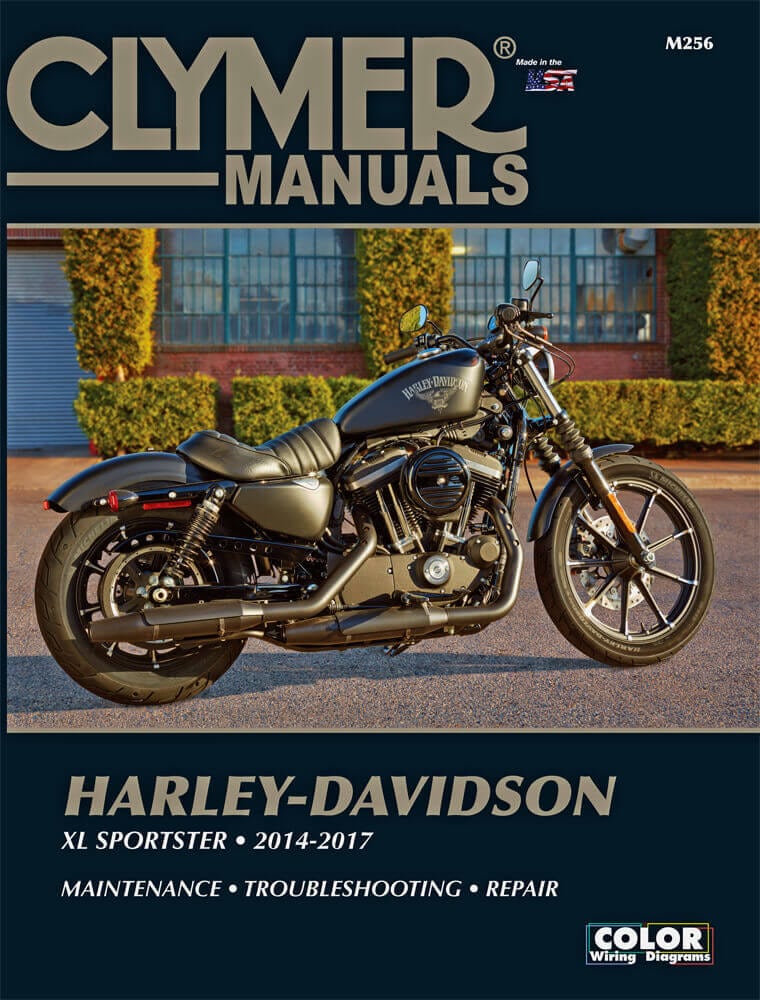
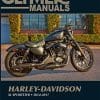
This review is of the brand new book and online service manual (M256) for late model Harley Davidson XL Sportsters from 2014 to 2017 model years. Harley brought in a CANbus electrical system in 2014 on these bikes so having a good manual is pretty crucial in DIY work as a result.
It covers a huge array of Sportsters and since they don’t change much are quite reverse compatible with older models other than the electrical system.
- XL883L SuperLow (2014-2017)
- XL883N Iron 883 (2014-2017)
- XL883R Roadster (2014-2015)
- XL1200C 1200 Custom (2014-2017)
- XL1200CA Custom Limited A (2014-2016)
- XL1200CB 1200 Custom Limited B (2014-2017)
- XL1200CP 1200 Custom (factory custom) (2014-2016)
- XL1200CX Roadster (2016-2017)
- XL1200T SuperLow (2014-2017)
- XL1200V Seventy-Two (2014-2016)
- XL1200X Forty-Eight (2014-2017)
Clymer has also simultaneously released the same quality of book (M255) for 2012 to 2017 FXD/FLD Dynas because of the same “CANbus reason”.
Content Chapters In The Book
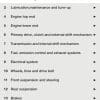
The paperback is a massive 1.25” thick chunk of paper with 14 chapters of detailed and valuable information that’s set up as follows:
- General Information about tooling, safety practices and procedures used in repair
- Troubleshooting common problems a good general and specific section all at once
- Lubrication and Routine Maintenance guidelines, specifications and step by step
- Engine Top End overhaul
- Engine Bottom End overhaul
- Primary Drive, Clutch, and External Shift Mechanism
- Electrical System repairs and explanation of how it all works together
- Wheels, Tires and Drive Belt specifications and repair procedures
- Front Suspension and Steering
- Rear Suspension
- Brakes including ABS information (an especially handy and oft-used section for most people)
- Body
- Index of topics
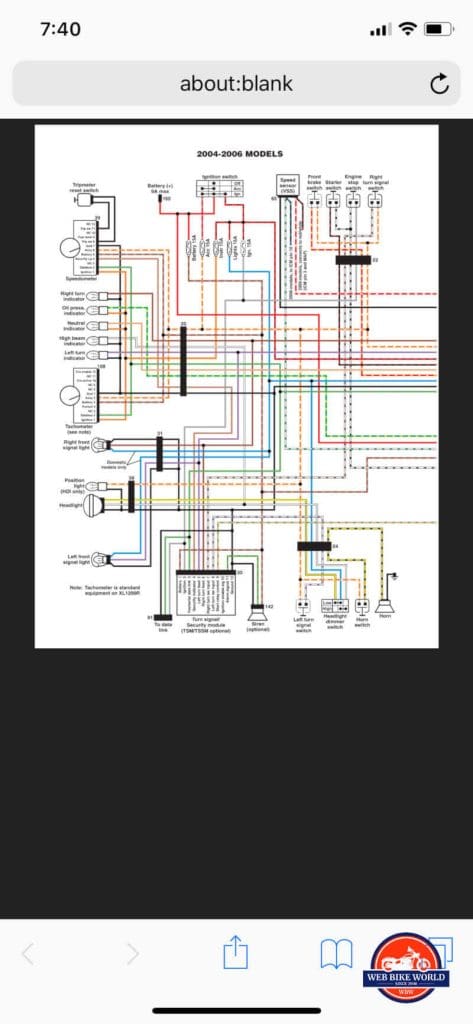
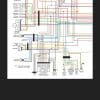
- Color Wiring Diagrams. I enjoy using the online version of this section much more because I can zoom in on my smartphone or tablet to get a real close look.
End of Chapter Reference Page
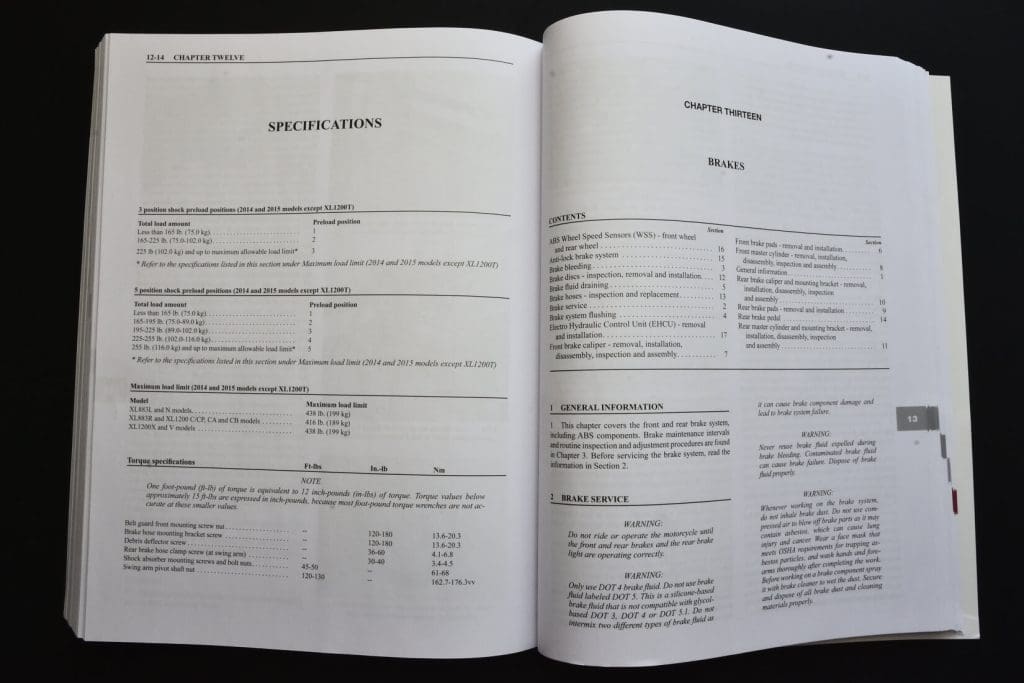
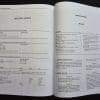
At the end of each chapter is a quick reference page listing information like torque specs, capacities, clearances, etc that I’m always looking for quickly. I really appreciate that feature for times when I just want to know how tight to do up a rear axle nut for example.
*No correlation is made between the Online Manual and the book for whatever reason. For example, Chapter 10 in the book isn’t about rear suspension online.
Let’s Dive Right In
Here are a few examples of what you’ll find in the book that I like. As I said there really isn’t anything not covered in this book but I’ve just chosen a few highlights from it to showcase.
Chapter Two: Starting Circuit Troubleshooting
Determining whether you need a new starter, relay or battery is something many people struggle with when the bike won’t start. This section has terrific diagrams on how to perform electrical testing to figure it out. They let you know what type of meter to use and where to place your leads.
Chapter 6: Clutch Assembly and Disassembly
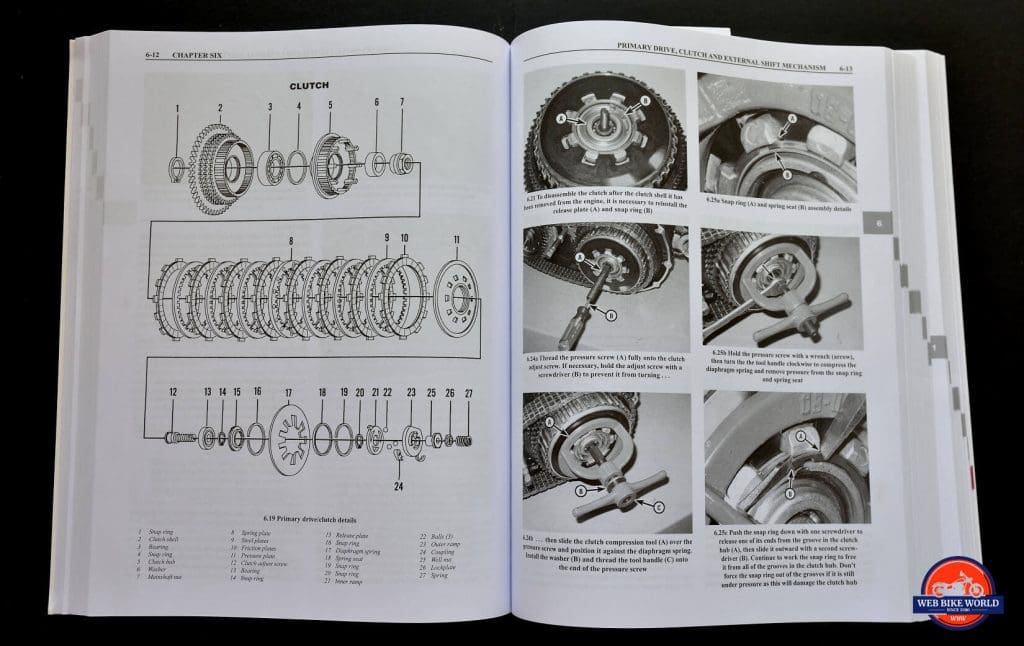
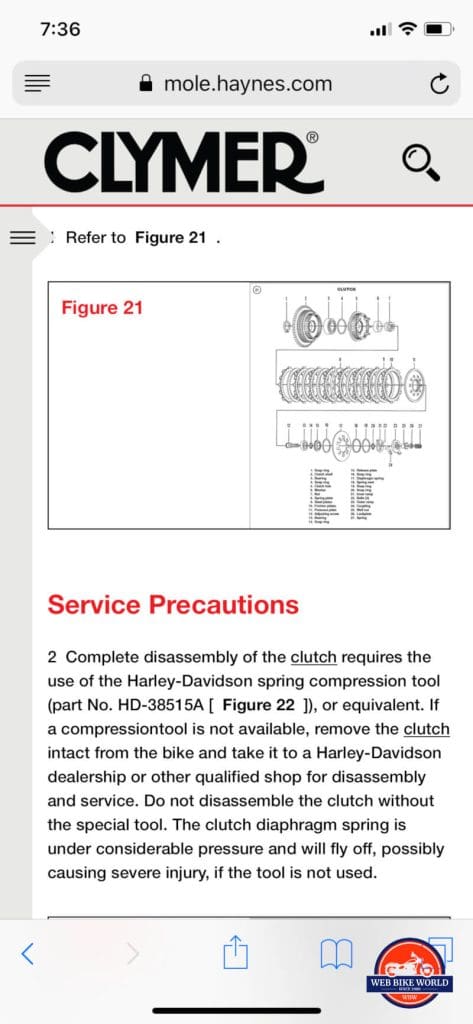
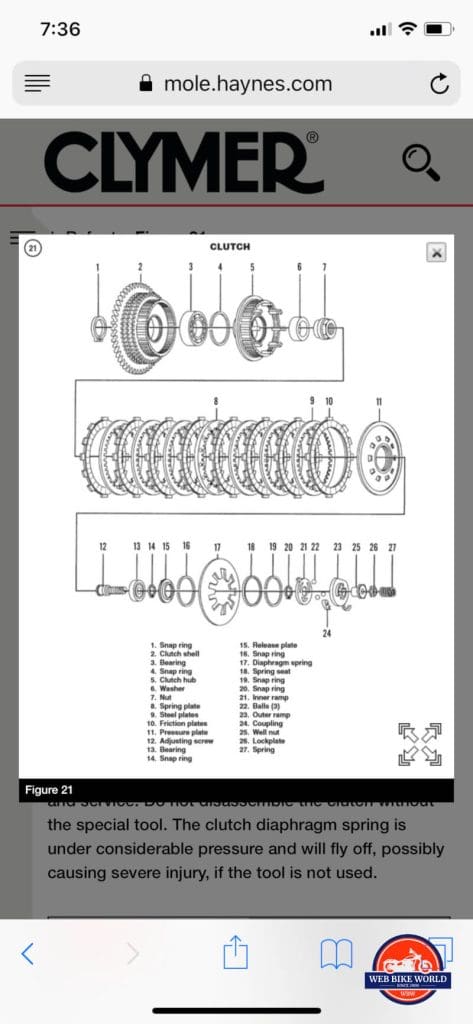
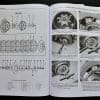
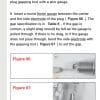
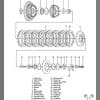
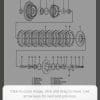
In this exploded view of the clutch assembly, you can see bevels and edges showing how everything goes together in case you take it apart and forget. The step by step photos is clear and easy to use even if they are in black and white.
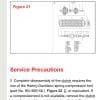
There are good tips in the instructions too that many people forget. For example, they remind you to soak the clutch friction discs in transmission oil for a minimum 5 minutes before installing. Most people think they need to be soaked overnight, but that’s going overboard.
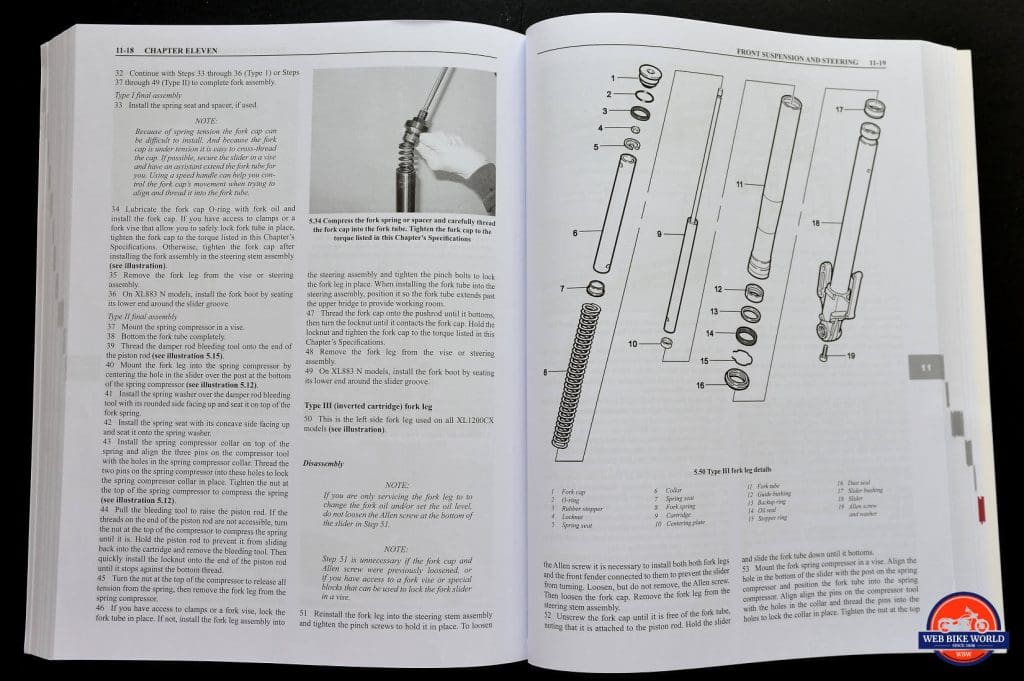
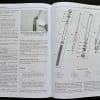
Chapter 9: Rebuilding Leaky Front Forks
Don’t bother paying someone to reseal and rebuild your front forks any more thanks to the exploded view of the fork assembly, tools and parts needed along with technique on how to get it done.
Chapter 3: Maintenance
You’ll wear this one out if you’re anything like I am. I can never seem to remember how much oil something holds or what kind. That’s probably why in my Harleys I just ran Amsoil 20W50 in all three compartments. Keep it simple.
This section is what an owner’s manual should be in my opinion. I love the way torque specs are usually written in the assembly instructions too so I don’t have to go hunting around for them. Torque wrenches aren’t overrated and any time you can tighten a fastener correctly you should do it. Make sure to get your torque wrench calibrated once in a while.
Online Manual
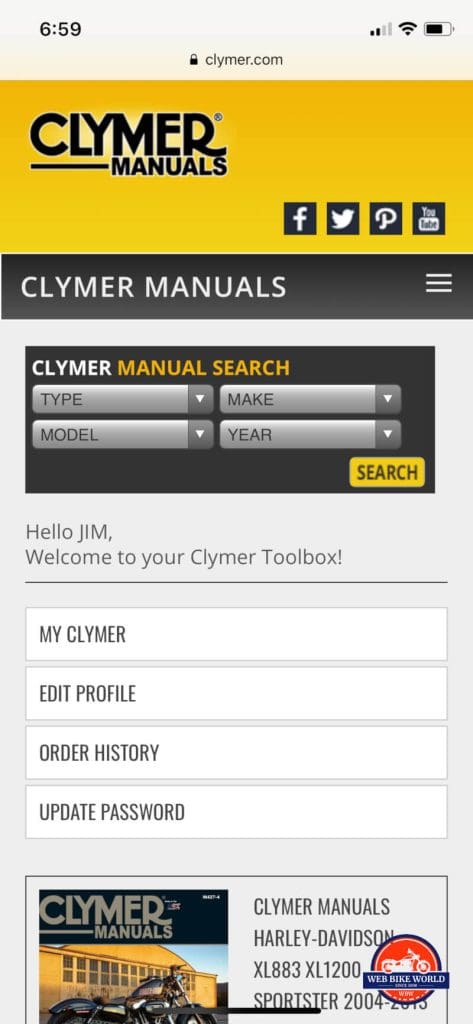
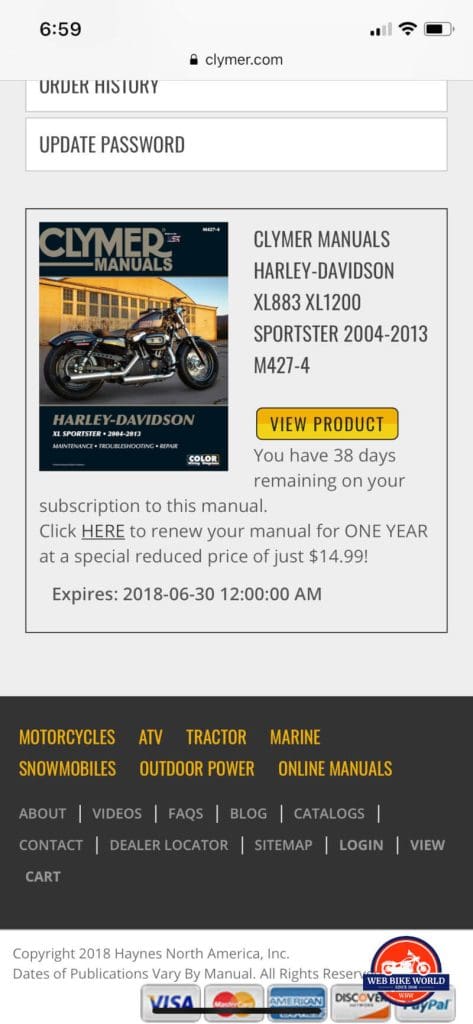
For $26.95 you can access the Online manual and download, print and save whatever you want out of the book. Drop the pages in oil or dirt? No problem, just print another. You have to renew each year but it only costs $14.99 for a renewal.
The Online manual is the stuff mechanics’ dreams are made of. Click and find exactly what you want and fast. I like it a lot, but feel like maybe Clymer hasn’t gone far enough yet.
This could be set up better if it included a 3D diagram of the bike that you rotate and click on the area you want to work on to bring up procedures, specs and parts diagrams featuring factory part numbers.
Clymer, are you hearing this? Link it up with the local dealership parts department (or even eBay) so the user can check inventory, price and how far away your desired part is. It could easily be set up to order the parts at that point as well and provide tracking. It’s 2018 after all!
I would enjoy some video links built into the website as well because photos are good, but the video is king of all for visual people like myself. I always end up looking on YouTube to see how to do something even after reading the Clymer manual, so let’s just make the Online Manual one-stop shopping. It makes sense.
Menus and Content
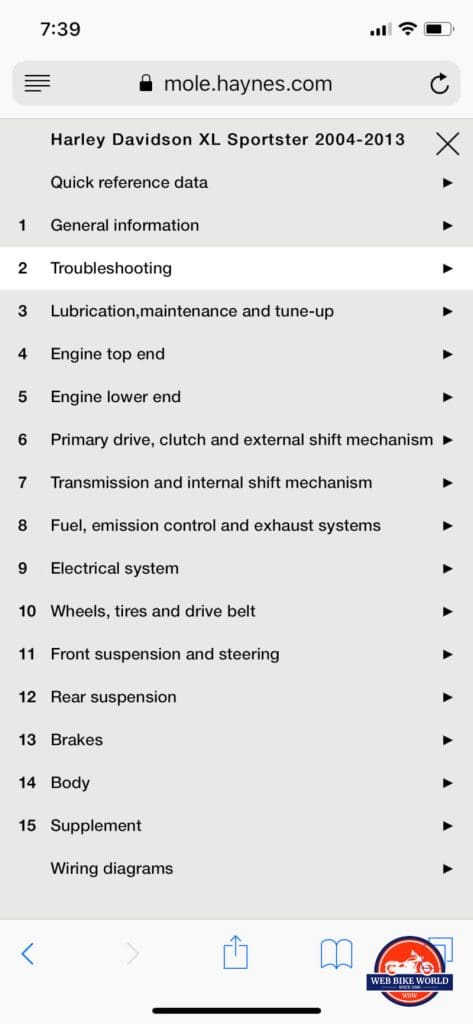
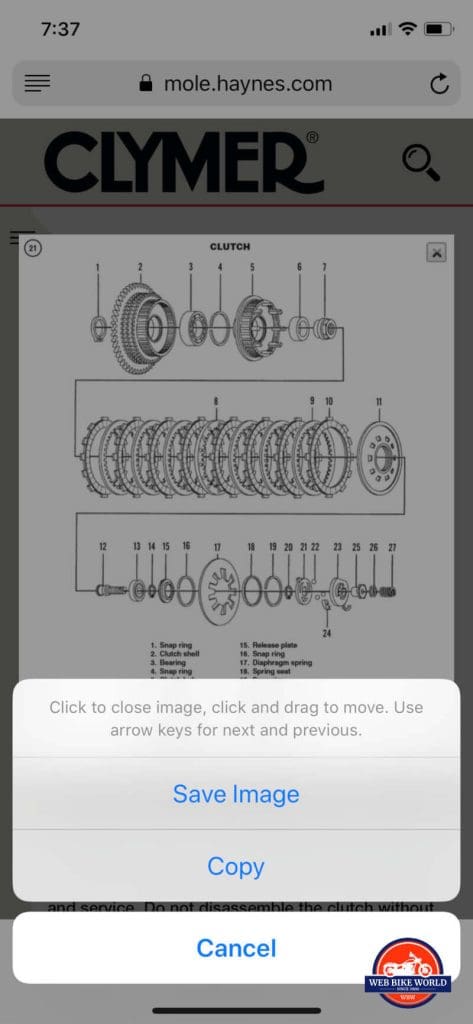
There is a big menu that subdivides into topics beautifully right after you login to the website. Easier than an Index and you can save diagrams and photos from the page in your phone for quick reference later.
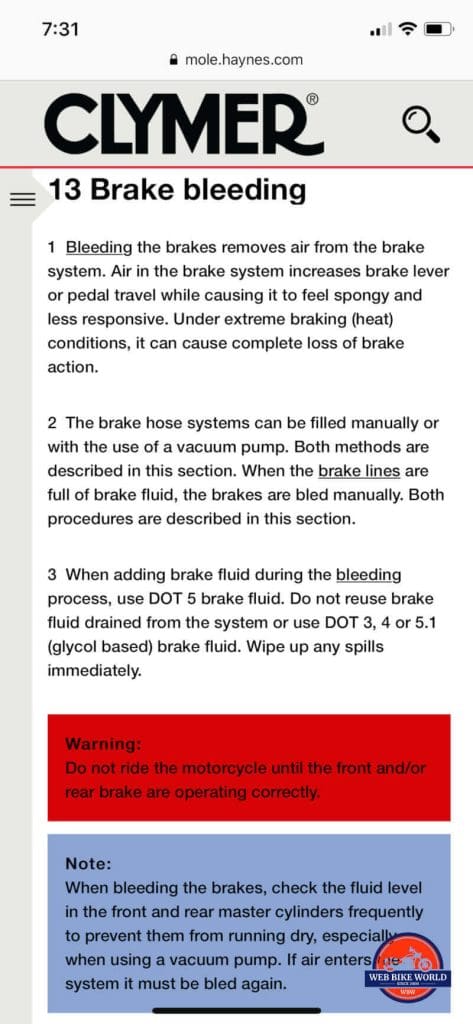
You can see how the diagrams and photos are the same quality as in the book, but there is more color used on the site. Mainly it’s used to highlight warnings that are crucial to follow in order not to damage your bike, but some photos are in color too.
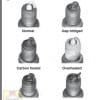
Spark Plugs
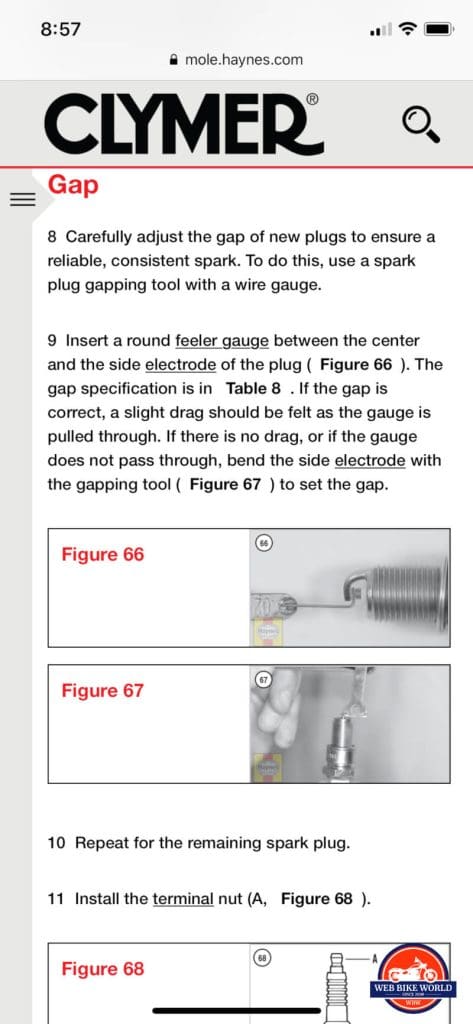
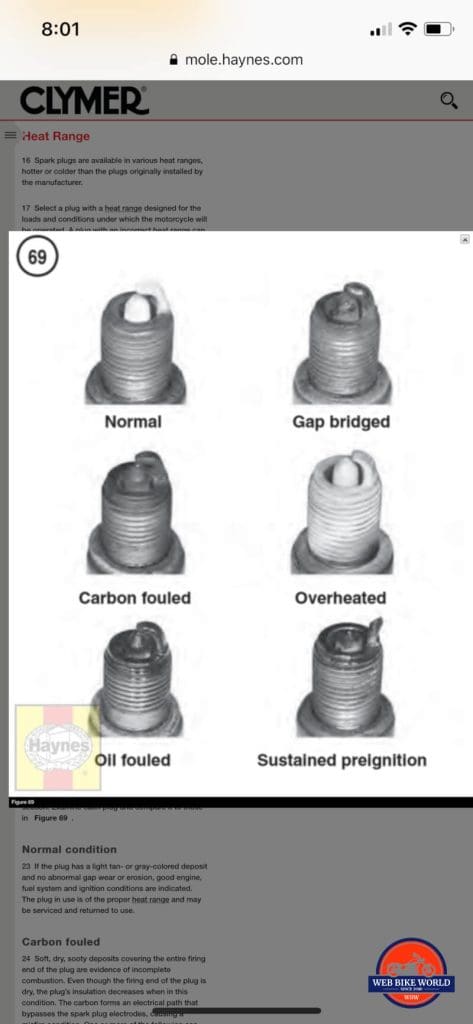
Plugs are an area many people always ask about how to tackle and it’s all set out really well in the Online Manual as you can see in the following photos.
Wiring Diagrams
The photos can be enlarged or zoomed on to see better what’s going on with the site pages. When it comes to the wiring diagrams this is the main reason to go digital since those little wires are tough to see along with the small print used on the ones in the back of the book.
Embrace the future! Go to the website, but keep the book around just in case the robots take over and shut down the internet or something.
The Final Word
Not only will this manual pay for itself the first time you use it and don’t pay labor to a repair shop, it will increase your self-confidence, help you keep your bike running better, longer and make you a smarter, more well-rounded individual if you let it.
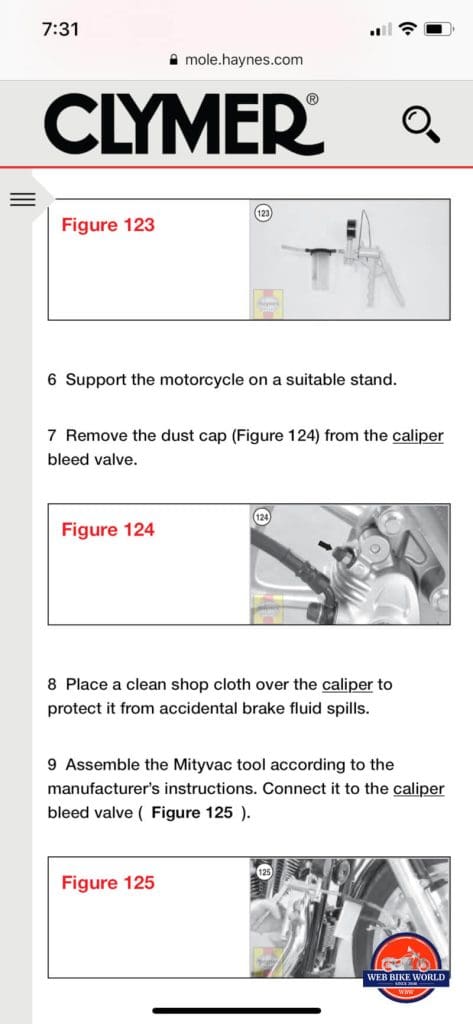
There are times Clymer will show you how to avoid needlessly buying special factory tooling and present a way to build your own or get by without it. In the brake bleeding section, they mention the MityVac bleeding tool which allows a single person to bleed the brake lines but also mention how to do it with a friend without the tool.
Clymer has been putting out books like these since 1945. Fred Clymer’s manuals have been helping motorcyclists ever since then all over the world. Even if you have a bike from back in the 40s or 50s there’s a good chance you can get a Clymer manual for it and get your hands dirty while looking after it.
Pros
- Written in plain English for regular people instead of professional mechanics
- Plenty of exploded parts diagrams, photos, and step by step instructions
- Easy reference page at the end of each chapter with important information on it
- Covers Harley Sportster models 2014 to 2017 when CANbus systems appeared
- Includes full-color wiring schematics in the back of the manual
- Explains basic maintenance all the way up to the most complex electrical troubleshooting
- Provides safety tips, list of tooling needed for tasks and an Index of topics
- Sportsters haven’t changed much over the years so this manual will even work on older bikes to an extent
- Paper copy currently on sale for $41.95 with free US shipping
- Online manual can be updated/corrected by Clymer when necessary
- Online manual is slick, set up for quick reference and ease of use
Cons
- Heavy and thick book (1.25 inches) to lug around
- Photos are fairly small and mostly black and white in the book
- Photos online are often color, clearer than the book at times, but many are still black and white and grainy/low resolution
- Online manual is super easy to use and faster than the book to find what you’re after
- Photos and diagrams can be saved to your portable device for reference later
Specs
- Manufacturer: Clymer Haynes North America
- Where to Buy: Clymer
- Price (When Tested): $41.95 paperback or $26.95 online
- Made In: USA
- Alternative models & colors: Many models
- Sizes: N/A
- Review Date: May 28, 2018


