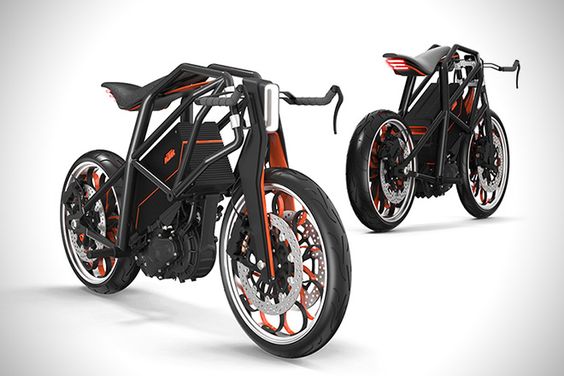
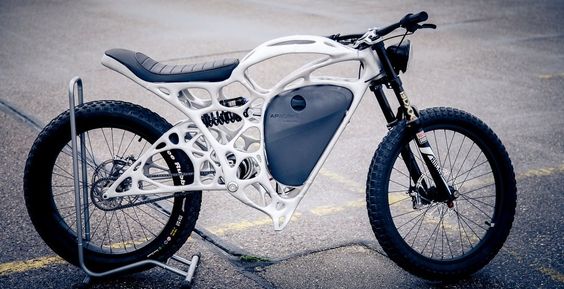
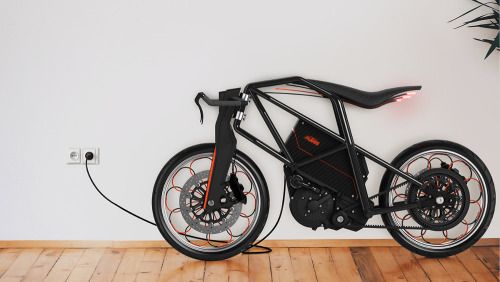
If you’re tired waiting around for the perfect bike to show up in the market, we have good news for you. You might not have to wait for one any longer. In fact, you can build your dream electric bike right in your backyard. Yes, it is possible. There have been many instances where people have built their own electric bikes like Tom Miceli, a 22-year-old college kid, who built one for his project.
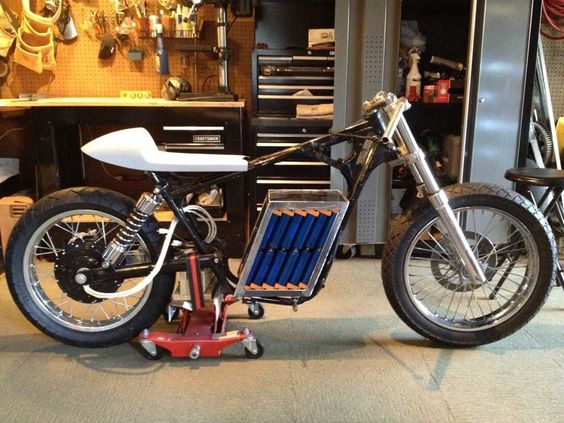
Here are a few simple steps you need to follow in order to build an electric motorcycle:
Research and estimate your budget
This is a very important step. You first need to list down the requirements you want for your electric motorcycle and then determine how much it will cost you.
If you want some idea about the cost, make and model of your vehicle, you can visit a site called EV Album where you can look up various homemade electric motorcycle listings. What your materials will be depends on the type of motorcycle you are planning to make. If you are going for sporty, for example, you should look for a lightweight aluminum frame. There are a few online sites which can help you with determining the range, speed and gear ratio if you are not sure. For example, this site will help you determine your range and speed.
Now that you’ve researched and determined what you need and how you want it to perform, you need to search for a suitable donor bike.
Getting a Donor bike
You need to choose a donor bike based on your needs. This also means that you shouldn’t just take home the first donor bike that you see. If it doesn’t suit your plan, then having it is of no use. Even you are using just a spare-parts bike, make sure they are all in good working condition.
For example, if you want a lightweight bike, a heavy bike won’t be the ideal choice for you. A chopper style won’t work with a Cafe Racer style ride, etc,… Take into account the condition of the chassis. Make sure that the brakes, tires, suspensions are all in good, working condition. You can look online on sites like eBay for donor bikes that suit your needs.
Now you need to strip the bike—remove every part—to start building your own bike.
Putting everything in its right place
The Motor
Considering placing the motor in first. If you want a motor that doesn’t need maintenance, you can choose to buy the brushless motor. Although they are more expensive, they also give you the added advantage of high rpm and more precise control. They also have more power capacity. You can mount the motor at the place where you normally find the gas engine in a motorcycle. Make sure that you connect the motor to the drive shaft. Try to get an overall ratio of 6:1 for good mid-range power and speed. Try to attach the brackets by seeing which ones fit where by a hit and trial method.
Controller
Having a controller helps to vary your DC motor’s speed and power using pulse-width modulation. Choose the controller as soon as you choose the motor so that the two parts work good together. Most controllers can be programmed to get the desired output.
You can mount your controller at the top of the frame where it can be covered by the tank.
Batteries
Most underestimate the power of a good battery in an electric motorcycle. In fact, it is a misconception that a bigger motor will give you more power. Power actually comes from the batteries that you use for your motorcycle. Lithium batteries are good choices to have for your electric motorcycle because they can deliver high current for longer periods of time. Also, the controller and the motor must be able to withstand the current generated by the batteries.
You can put the batteries where the mufflers used to be. It is good to design a mount for your batteries, so that even if you decide to change your batteries later, you can just swap the batteries in the mount.
Charger
It is good to choose a charger that can be mounted on-board. However, the faster your charger allows to charge, the larger and heavier it will get, and you might have to put it in the garage if it gets too big. You can hang the charger on-board near the top of the frame at the side.
Contactor
The contactor connects the batteries and the controller. You can mount the controller at the top part of the frame as well, just as you placed the controller.
Finishing touches
Now that all the major components are more or less in place, you can add finishing touches by painting your bike. Of course, you might have many questions regarding the wires, cables and even about arranging the parts, and you will need a lot of patience, but you can always take help from people who have an idea about this. You might find online communities helpful as well.
Things to remember while designing your electric motorbike:
Remember to choose good cables for your motorcycle. Make sure they don’t overheat during usage.
Always wear safety glasses and work gloves while working for protection. You can also go for mechanic’s gloves. All this will protect you from cuts and scratches. Always wear loose and covered clothing like full-sleeved shirts and long pants. Also wear closed boots to protect your feet.
Keep the battery terminals covered and never work with the power switched on. Keep conducting materials away from batteries and wires. This will minimize the risk of electrical shocks and sparks.
Use lifts or jacks to elevate your motorcycle while working but keep it secure, so that it doesn’t fall off and get damaged.
Test your voltage, amperage and resistance using a multimeter. Make sure that your electrical connections are insulated.
The above steps will help you create a great electric motorcycle!
Style vs. Function
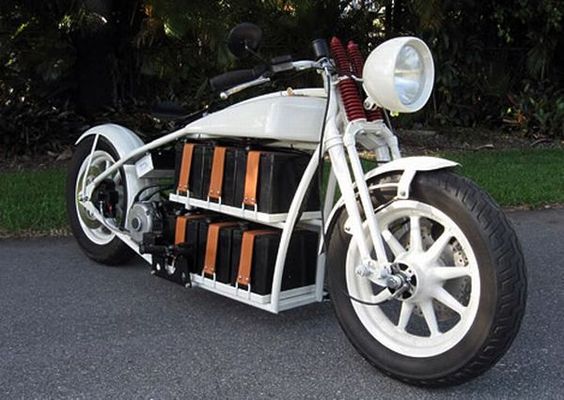
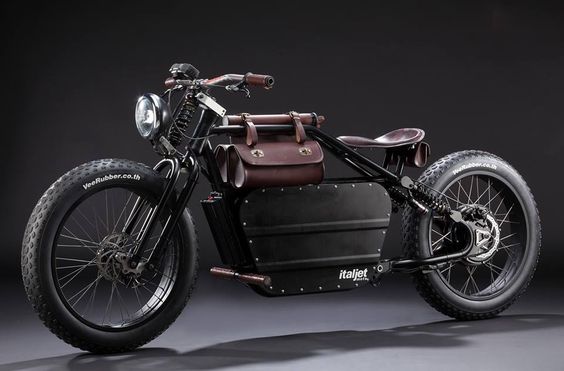
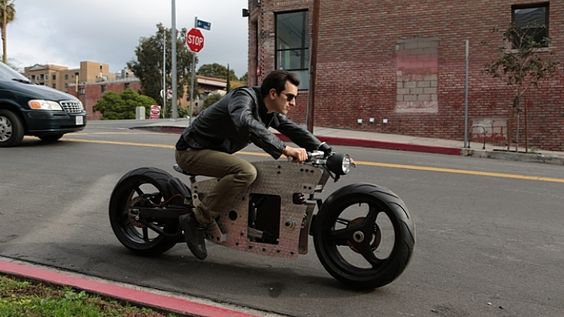
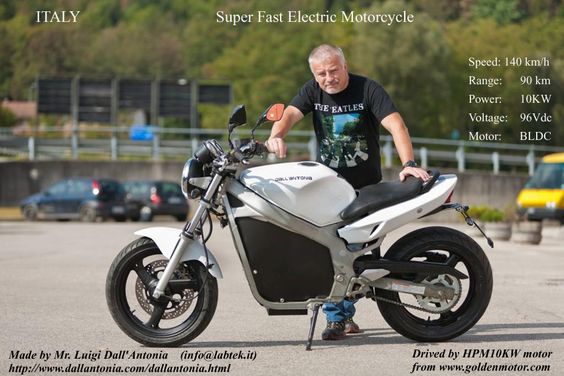
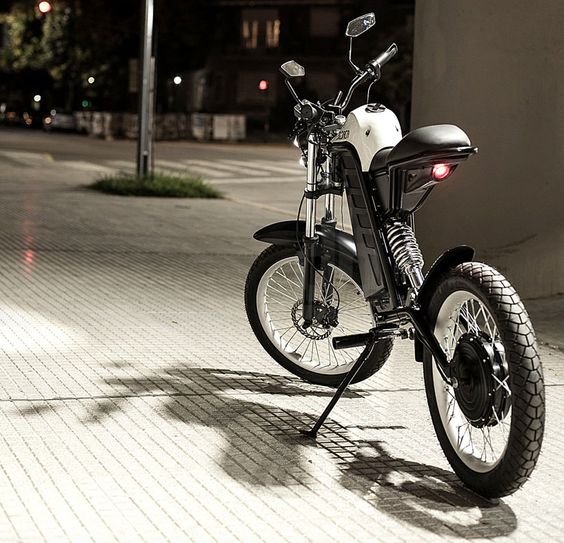
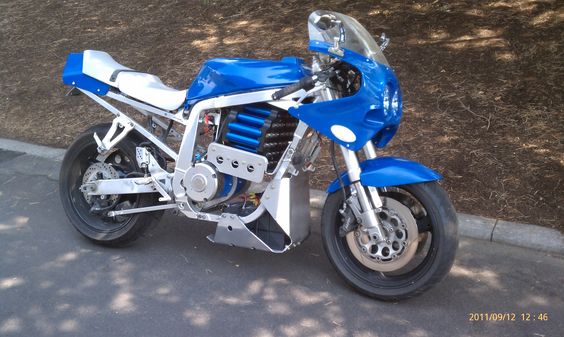
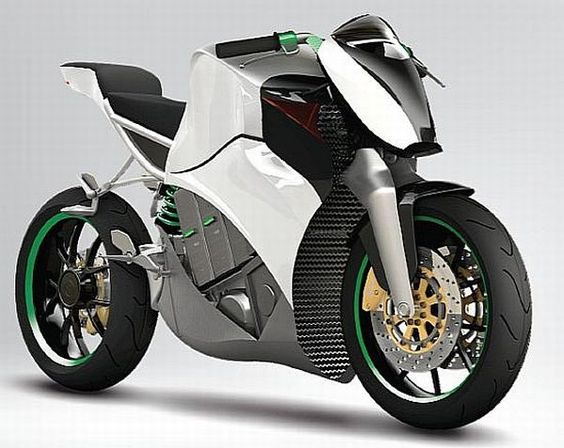
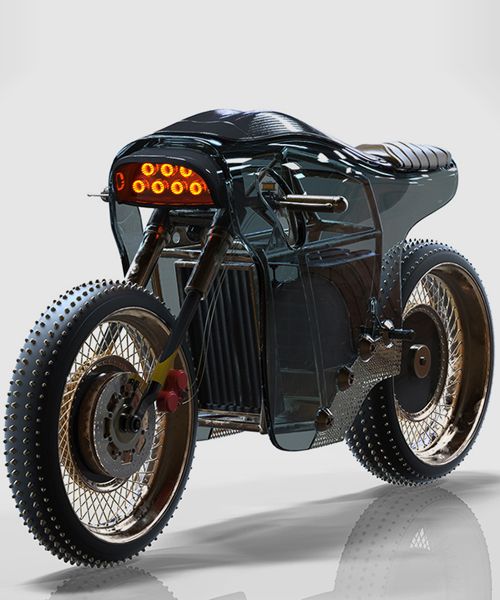
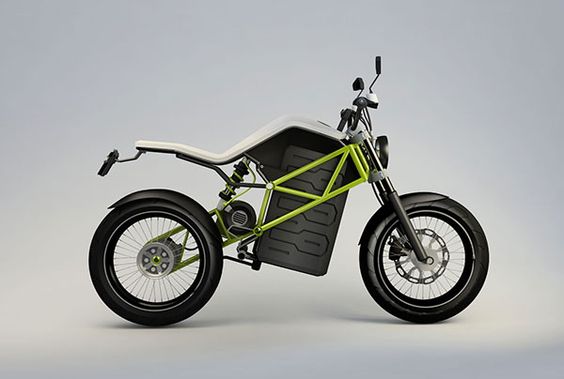
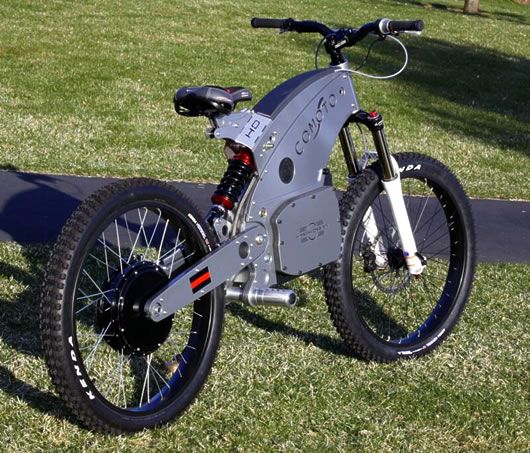
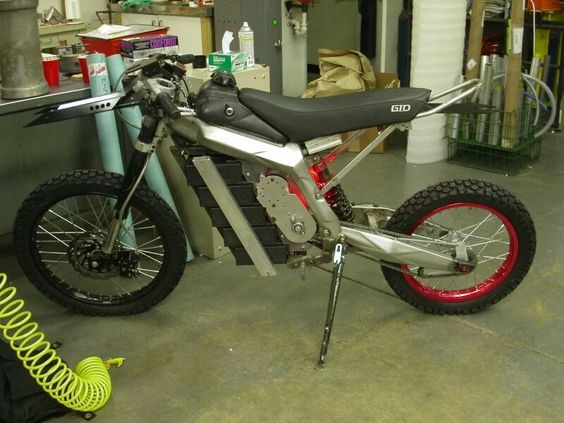
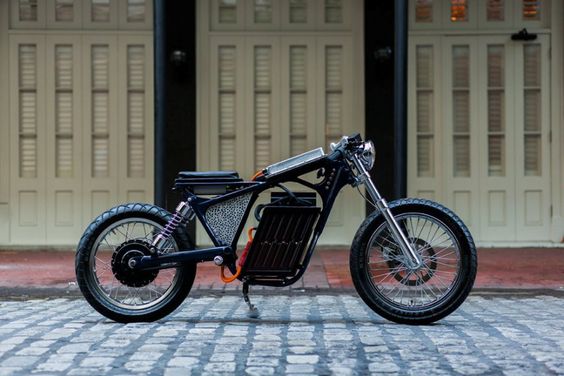
Here are some examples of Electric Motorcycles that have leaned more into the style side of the motorcycle world.


