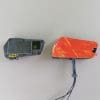
webBikeWorld has been evaluating Bikecomm products since around late 2010/2011, in having reviewed the early Bikecomm hybrid wired/wireless BK-01 and BK02 systems and later on, the standalone HOLA BT systems.
Some of them are still here in plastic storage containers and a couple of them get charged up and used now and then. Especially for Bluetooth information and hands-on training activities where being able to see and show system evolution makes for some interesting sessions.
But there has been a lot of water under the bridge since then and Open Road Solutions, Inc., is focused on a new generation of Bikecomm products.
Founded in 2007, Open Road Solutions, Inc. is a Taiwan-based company with a special interest in the integration of long-range communication Bluetooth audio and RF antenna-oriented products. Their ‘Bikecomm’ brand represents Bluetooth communication applications (product) for motorcyclists.
As Open Road Solutions works towards full marketing of the Bikecomm BK-T1 system featuring BT 5.0, we’ve had a ground floor view over the last couple of months. It has been good to have the insights provided regarding feature development and the ability to participate in some of the testings… another wBW tradition of sorts.
*Note: The Bikecomm BK-T1 products were provided by Open Road Solutions. Inc. for this review.
The BK-T1
The Bikecomm BK-T1 featuring Bluetooth 5.0 is a new generation headset from Open Road Solutions Inc., reflecting a measured approach and the utilization of innovative technologies to produce and deliver a product that is competitive in an ever-growing market.
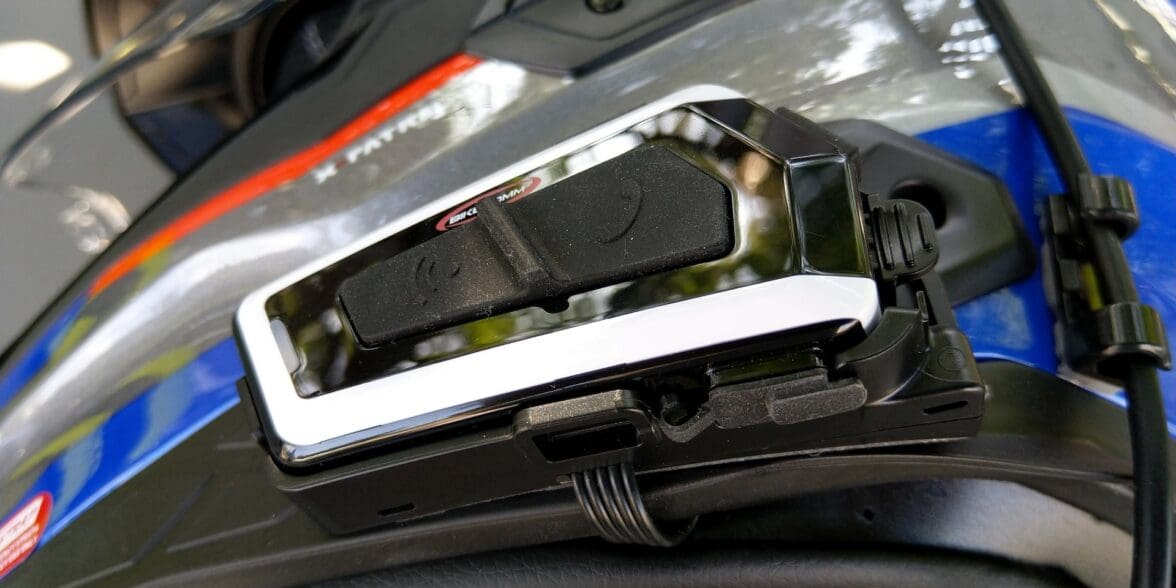
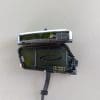
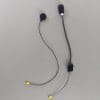
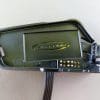
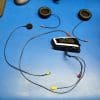
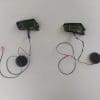
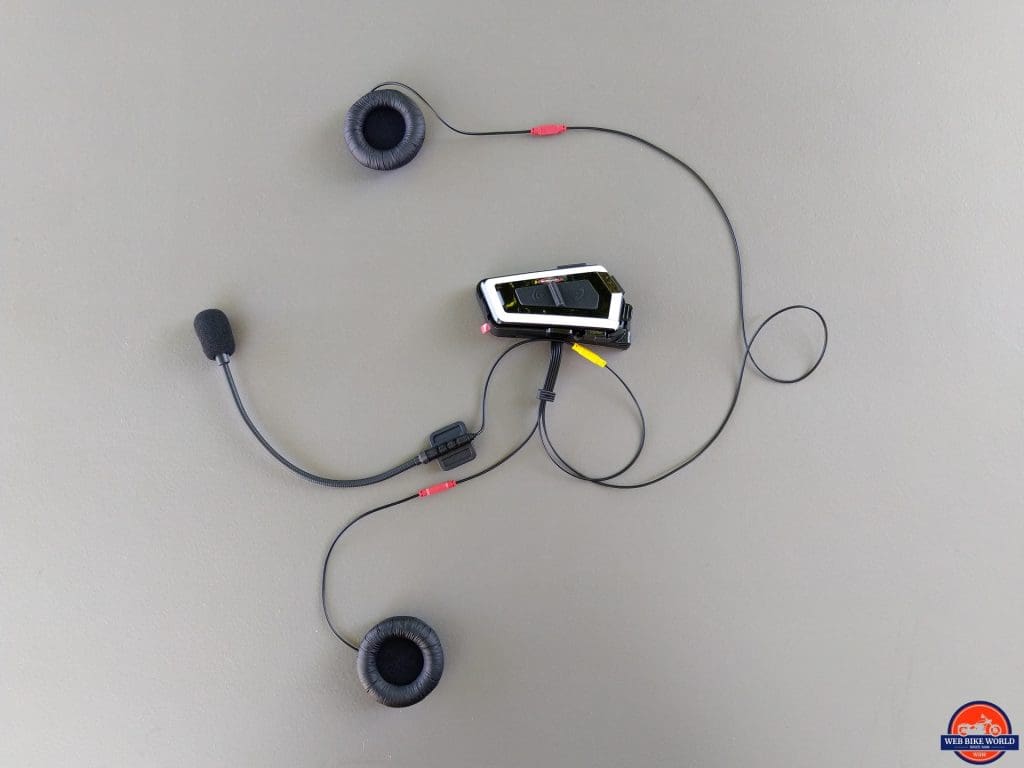
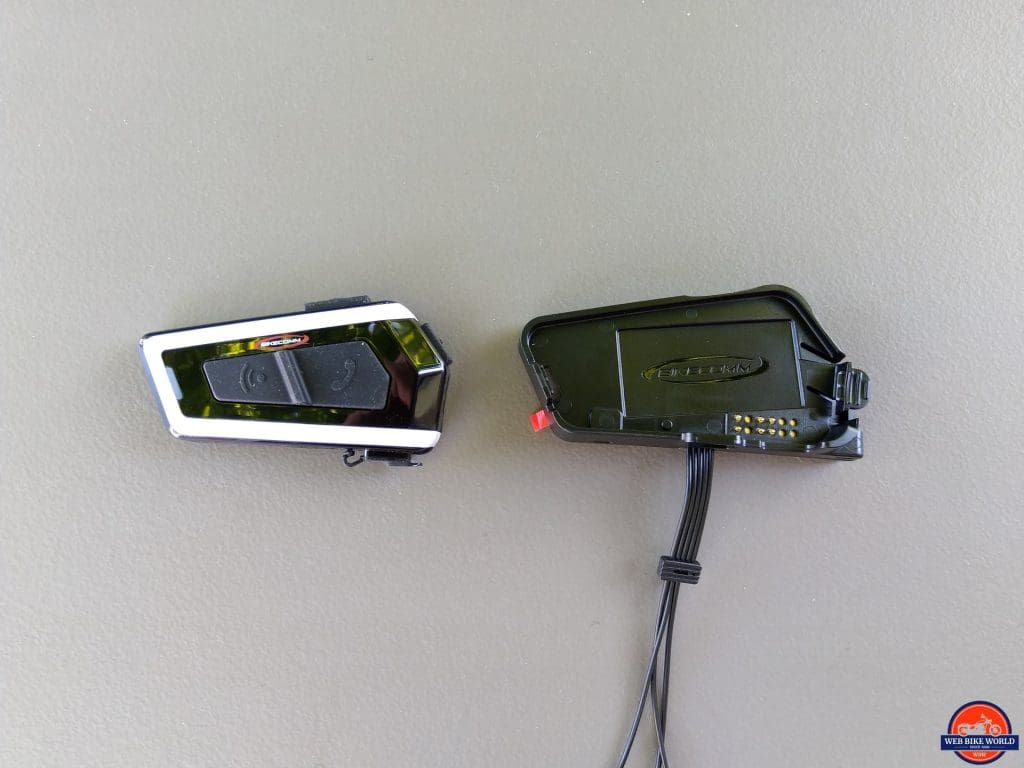
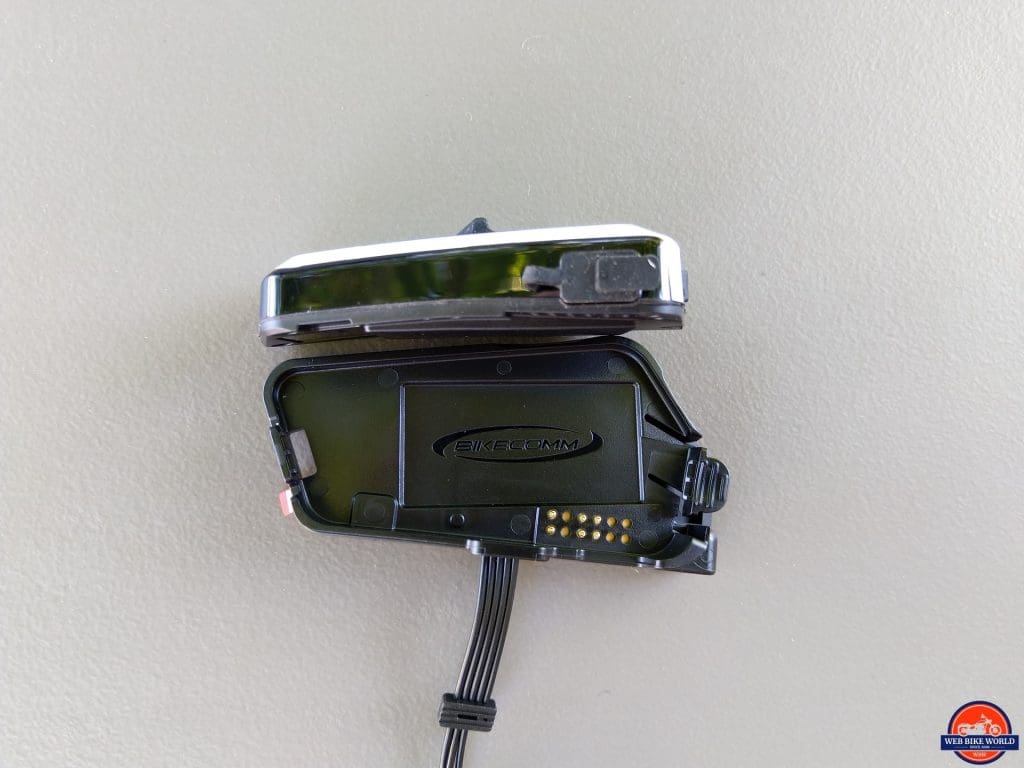
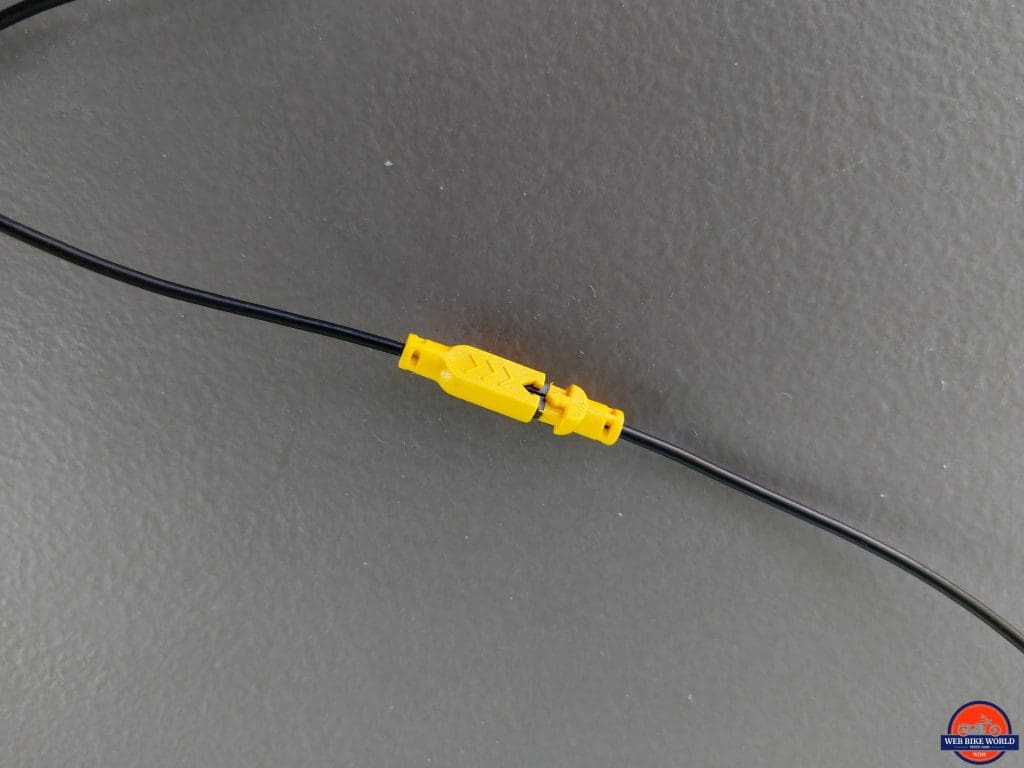
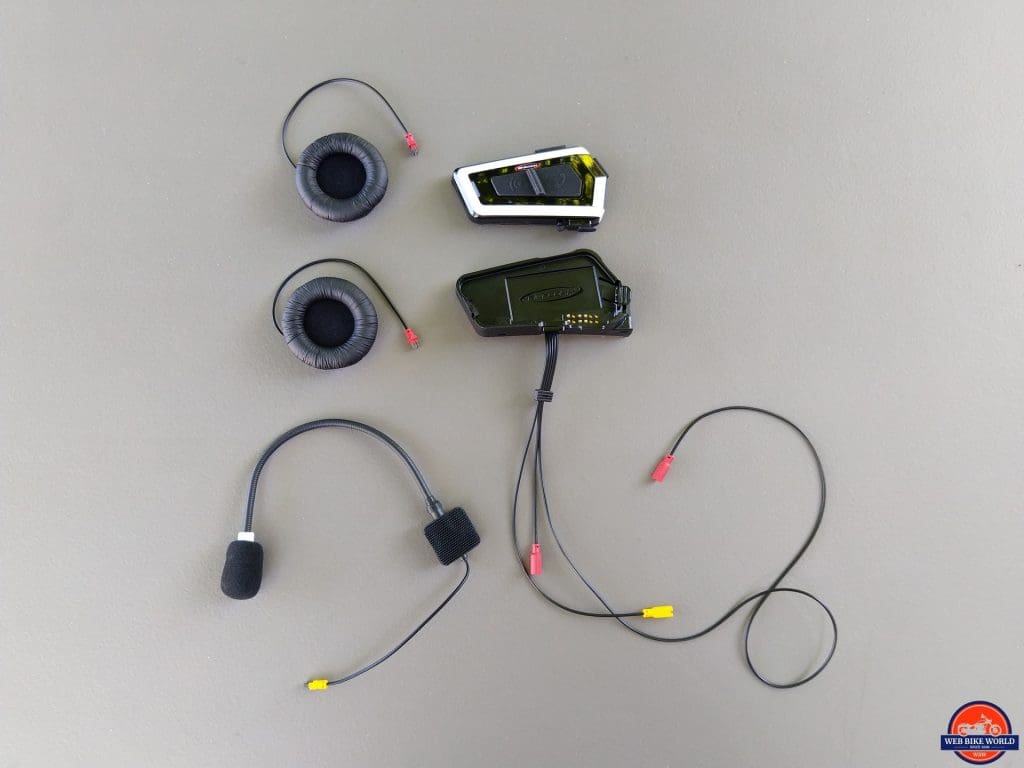
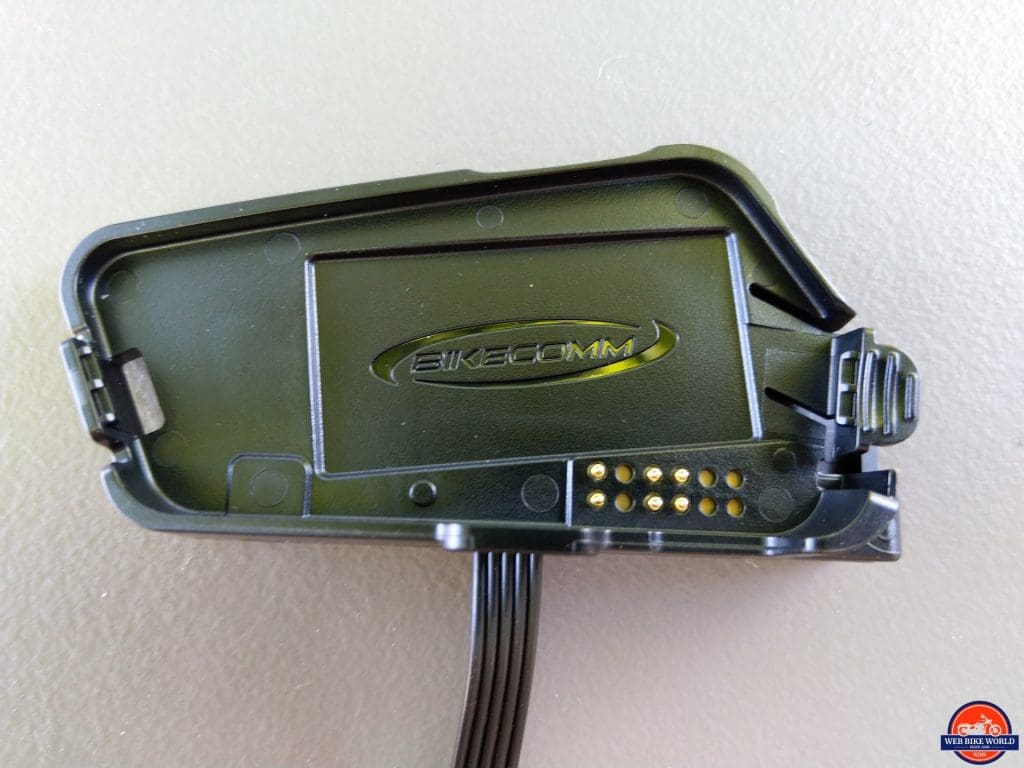
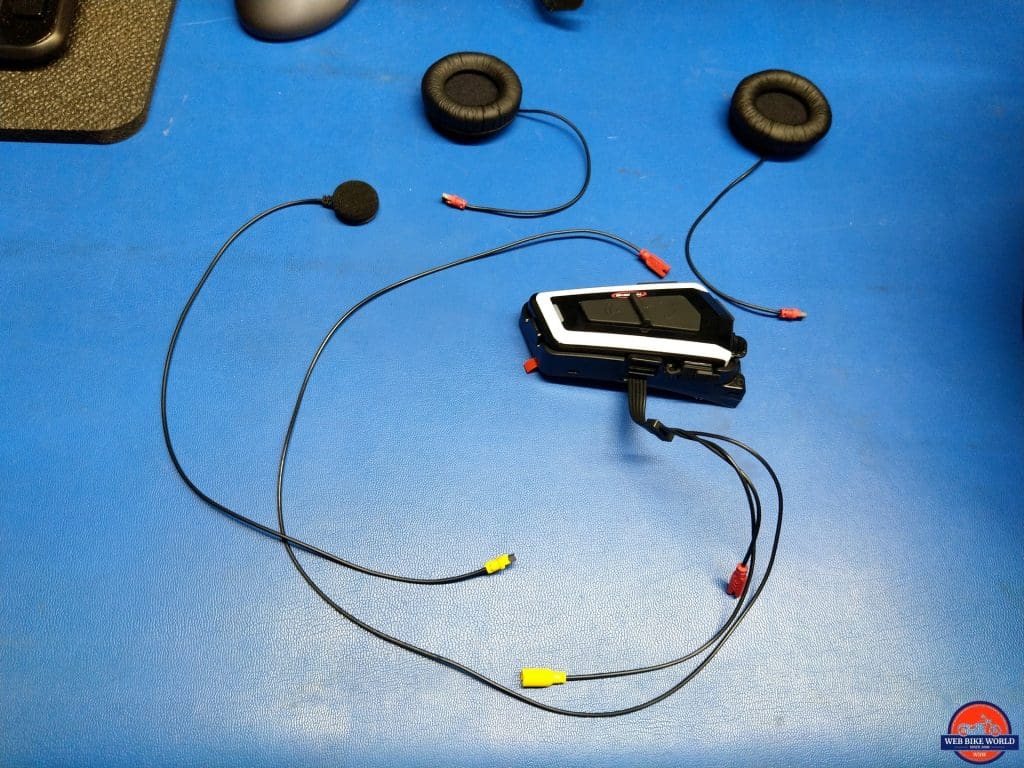
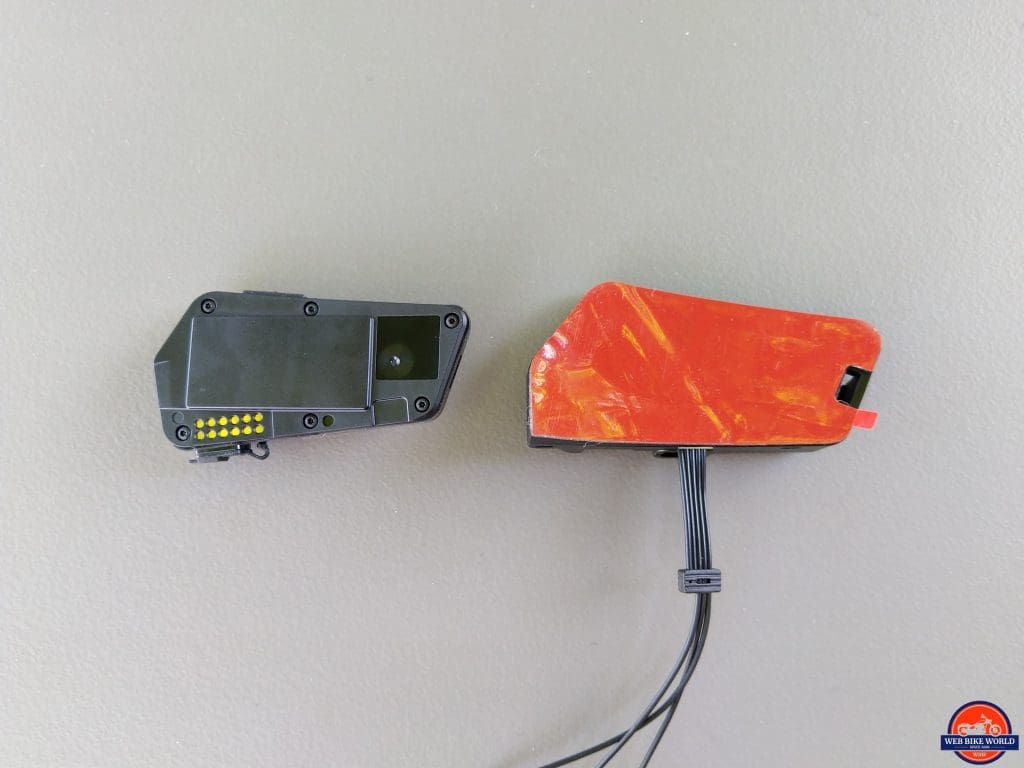
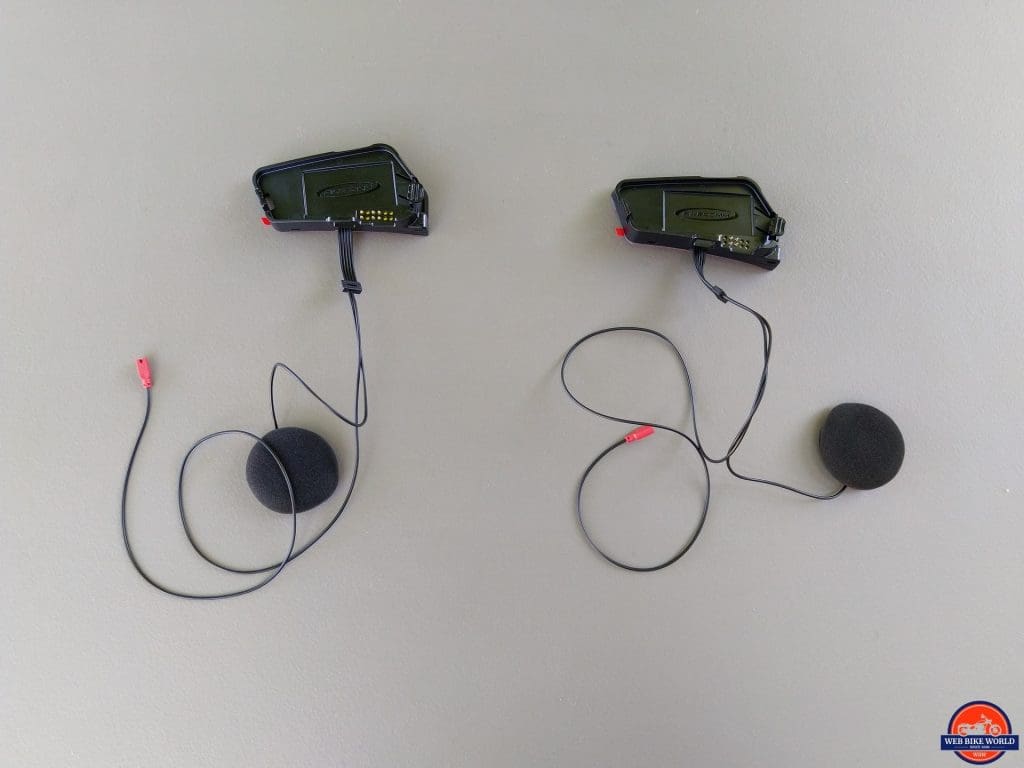
Featuring a styled curved holder with both clamp and adhesive mounts, the slim BT module locks solidly in to, the holder. The speakers and microphone layouts are slightly different depending on the variant, but all have long leads with color-coded modular connectors.
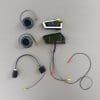
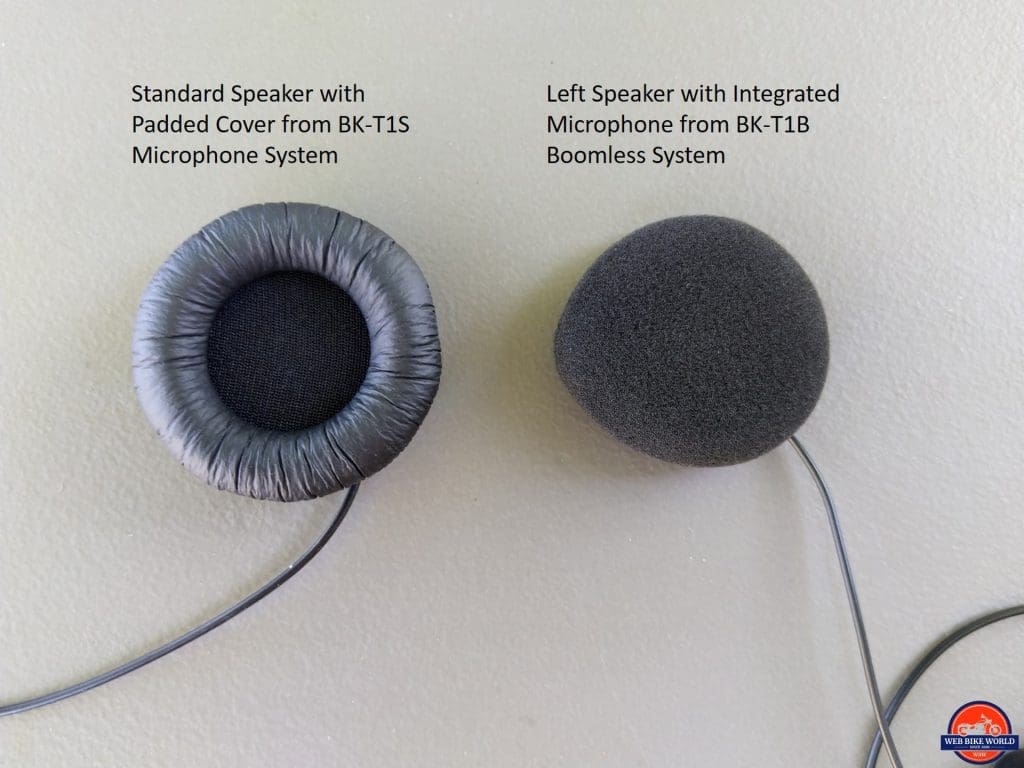
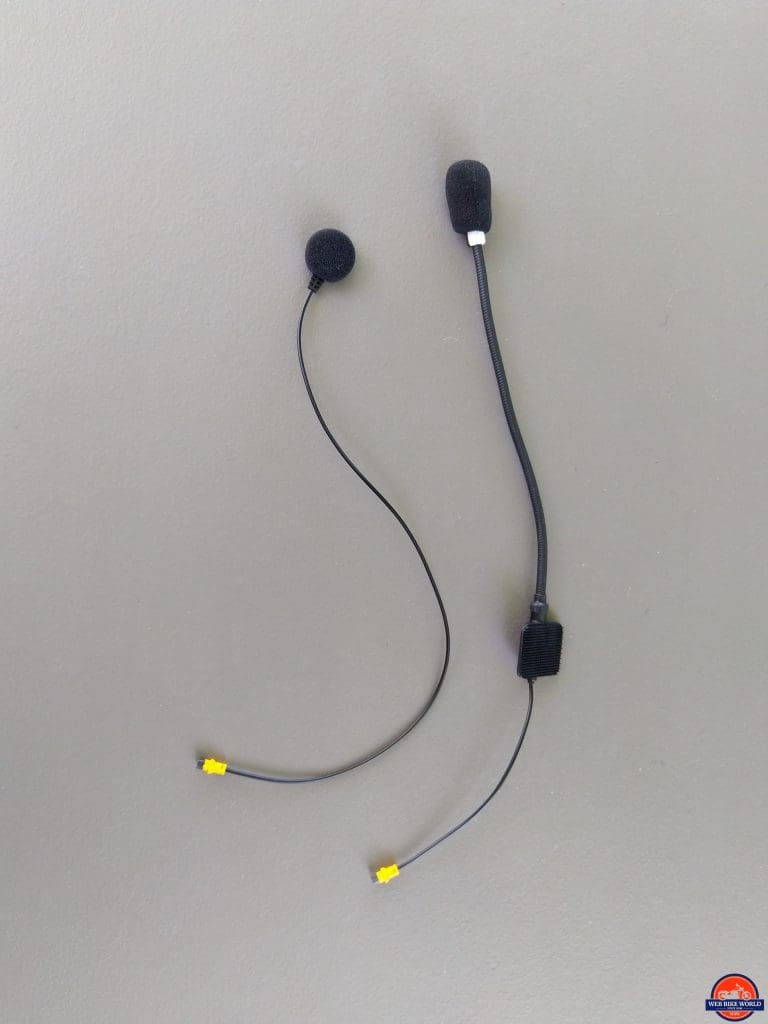
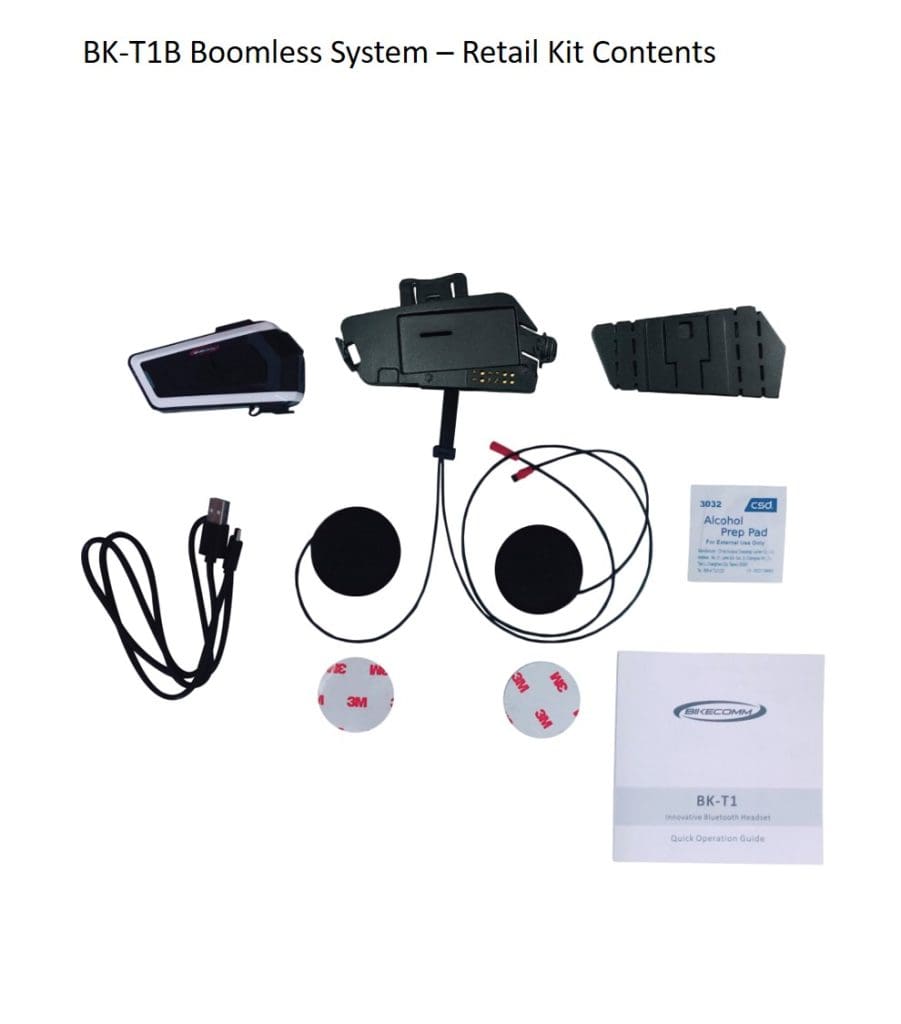
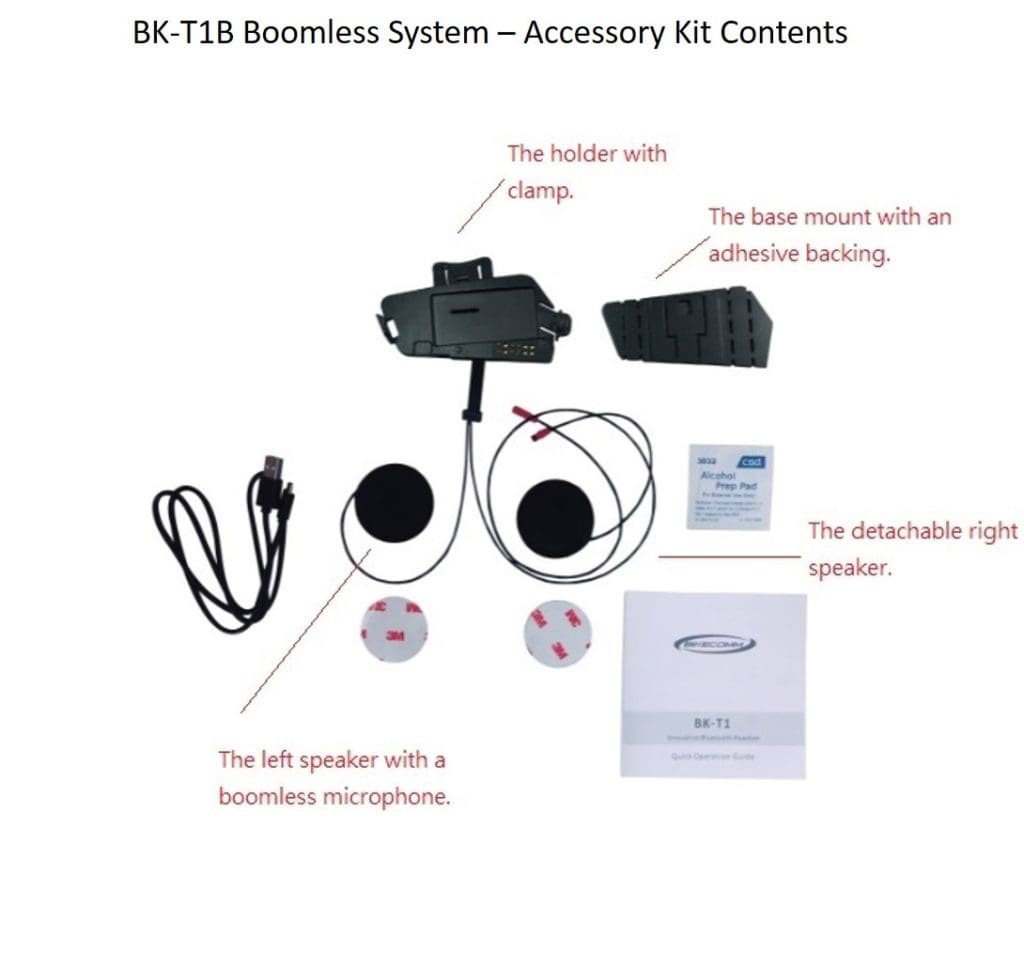
The two variants are the BK-T1S (standard speaker set and boom or thin wire microphone) and the BK-T1B (left speaker with integrated microphone and a separate right speaker).
Specific optional accessory kits for each variant are available – great for replacement parts or to provide second helmet installations. Detailed information on the two variants and the related (optional) accessory kits are provided later.
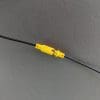
The headset leads use a parallel or flat-profile layout – thin but strong and very easy to work with thanks in large part to the small connectors. On the BK-T1S the speaker and microphone components can be installed separately with the harness then routed in the helmet and the connections made.
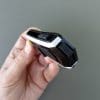
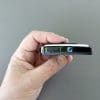
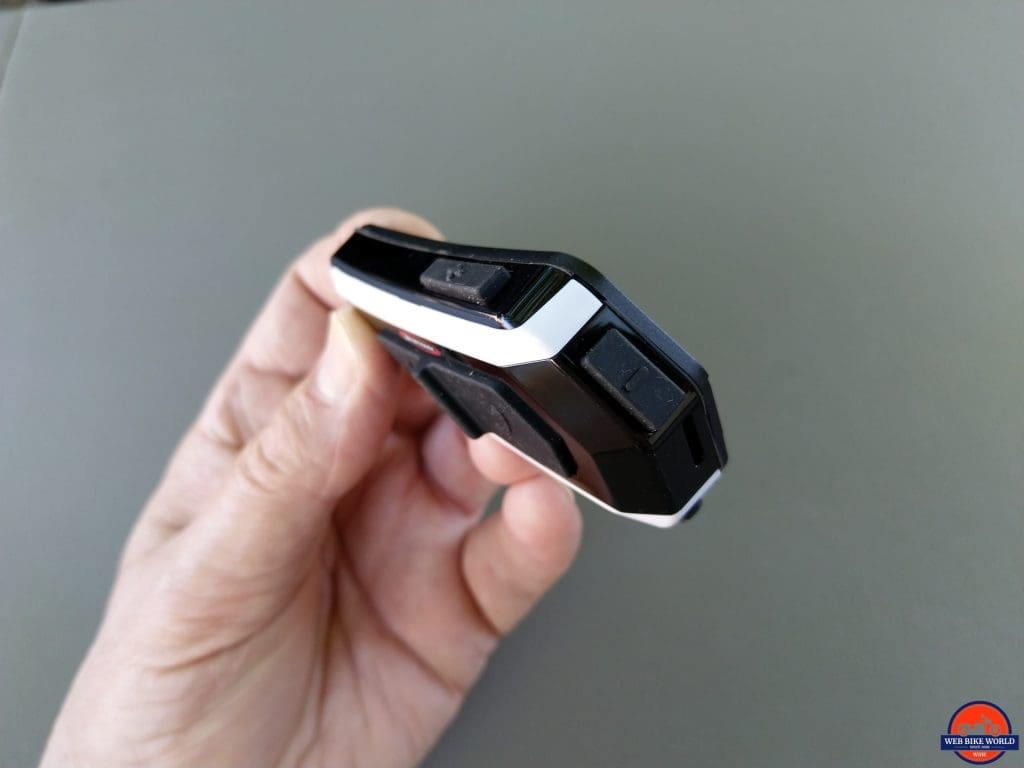
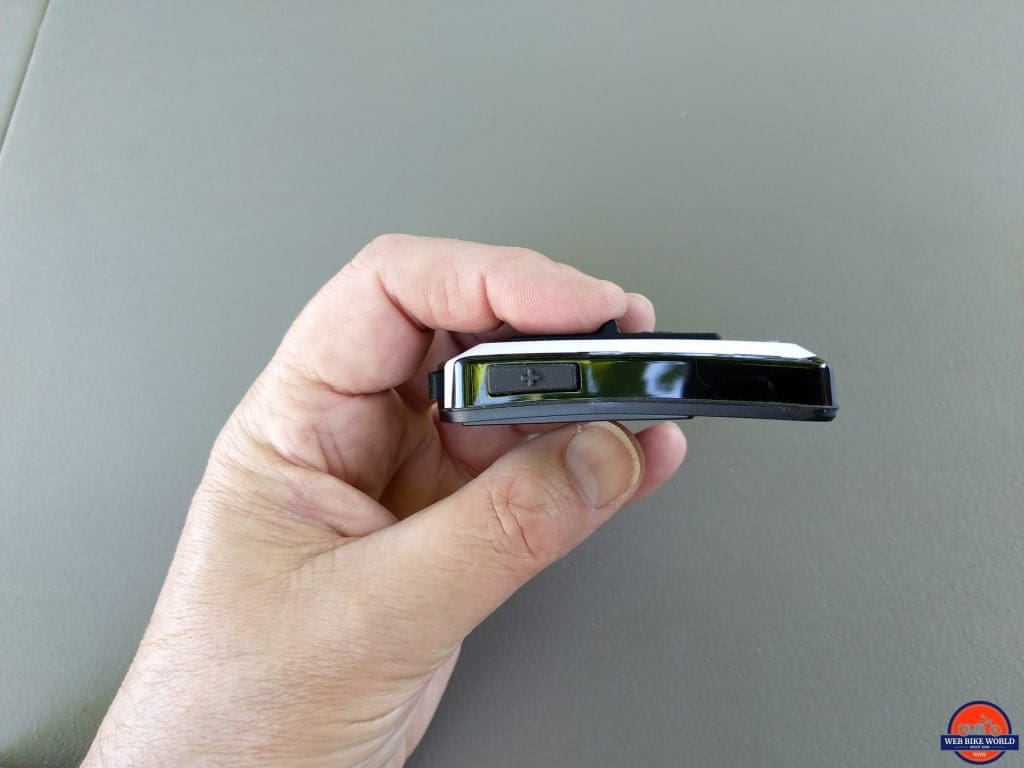
All the components are well-formed and well finished in every regard. The BT module fits precisely into the holder with a sturdy connector pin interface and solid latch engagement and positive release tab.
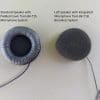
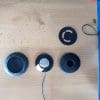
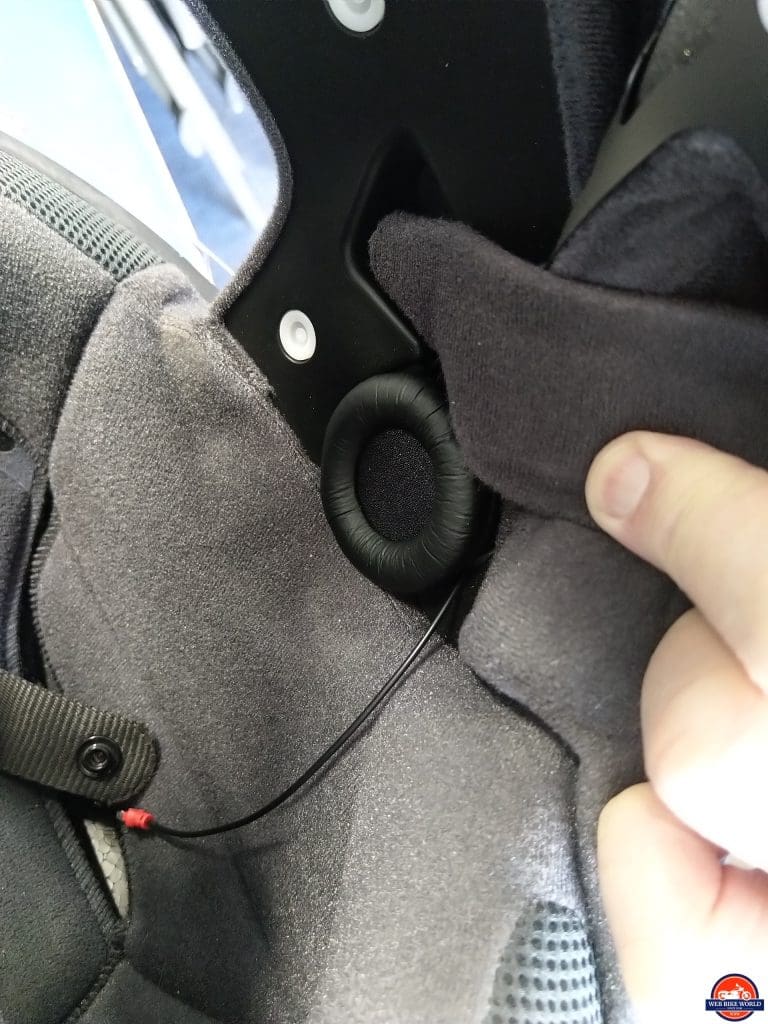
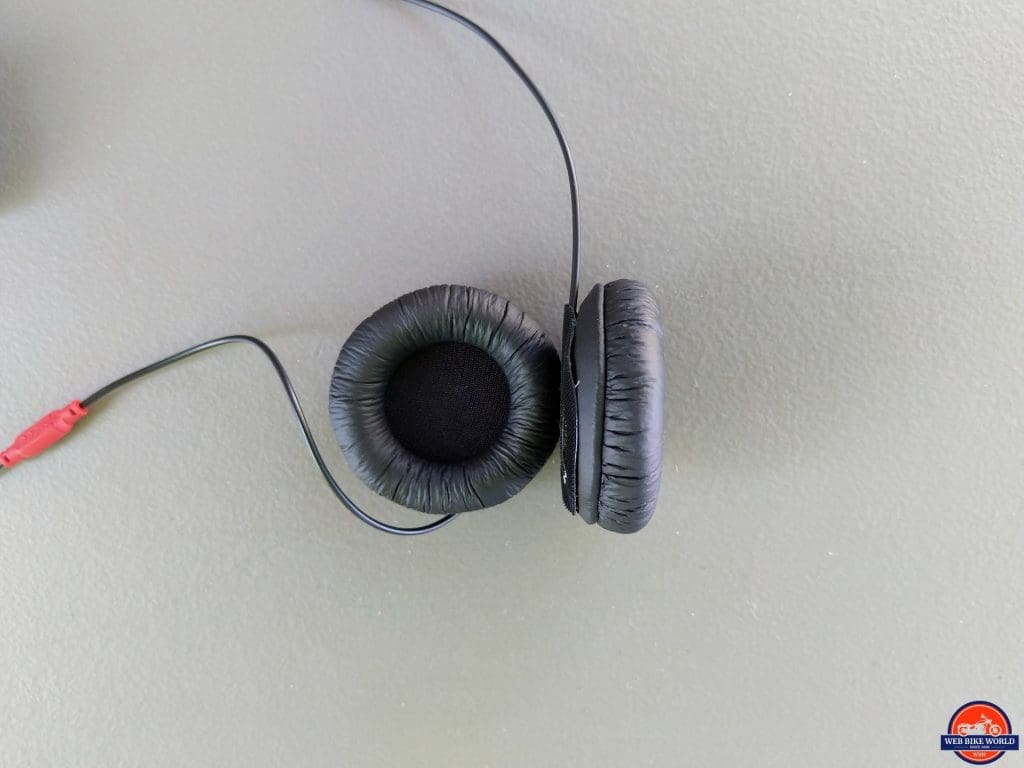
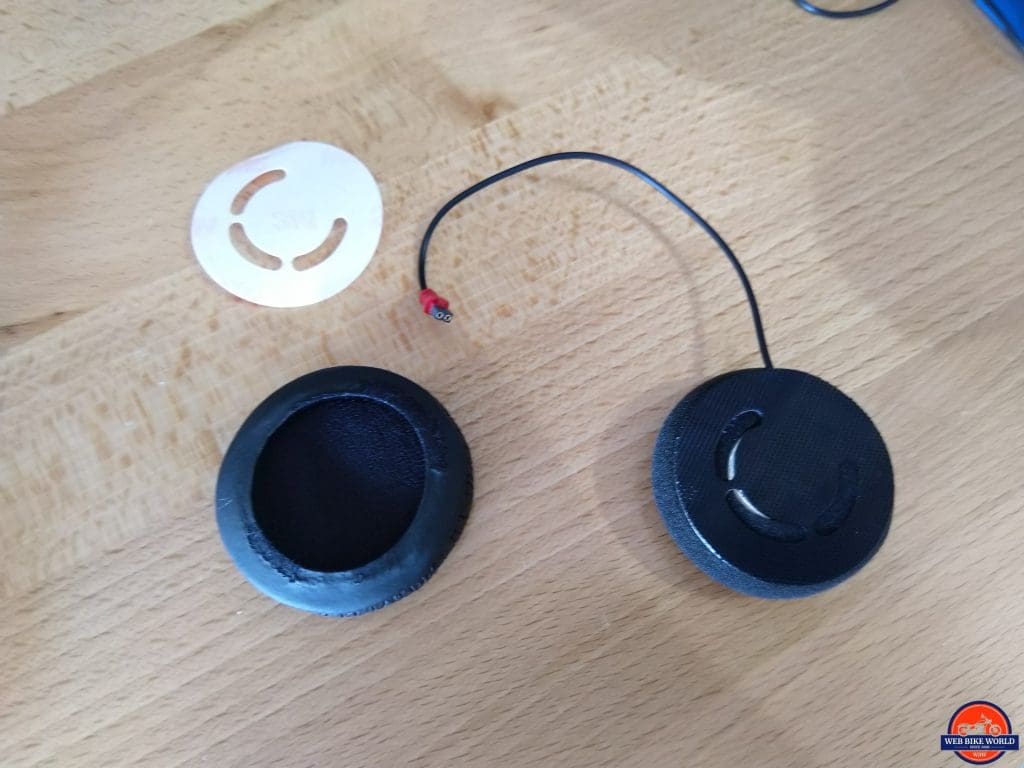
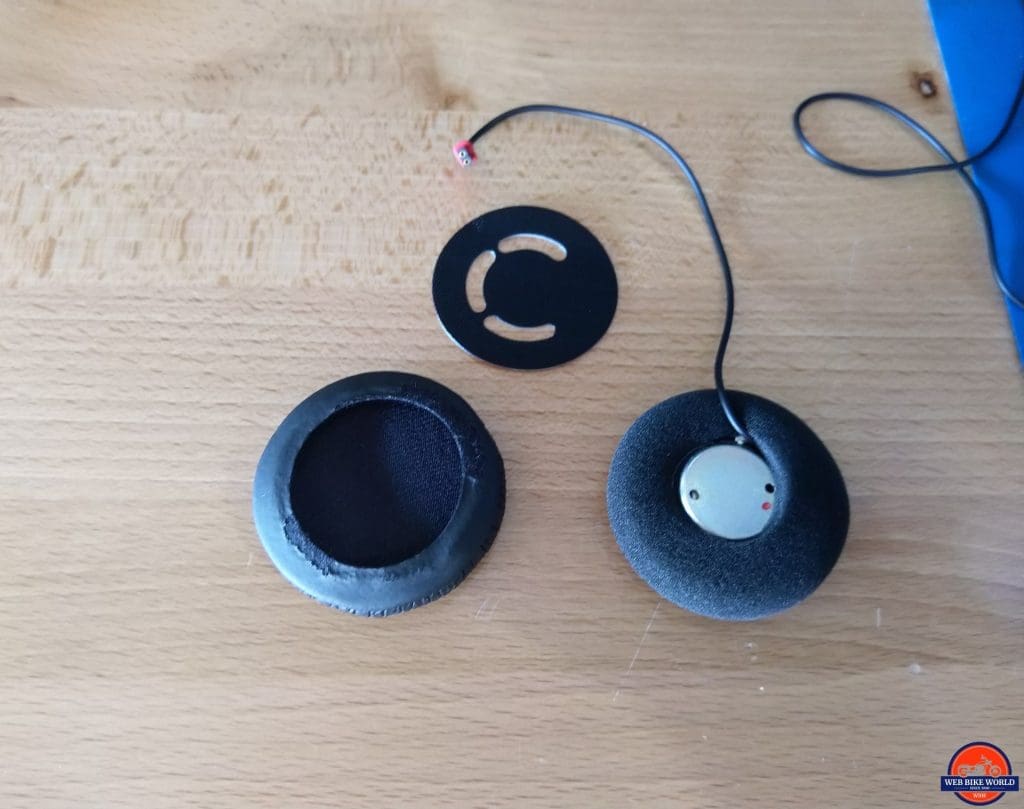
The speakers in the thick padded covers are about ~20mm or 0.78in thick, whereas the speakers in the thin foam speaker covers are ~14mm or 0.55in thick. This quarter-inch or so is very noticeable regarding helmet interior clearances vis-à-vis the ears (seen below).
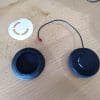
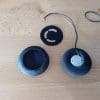
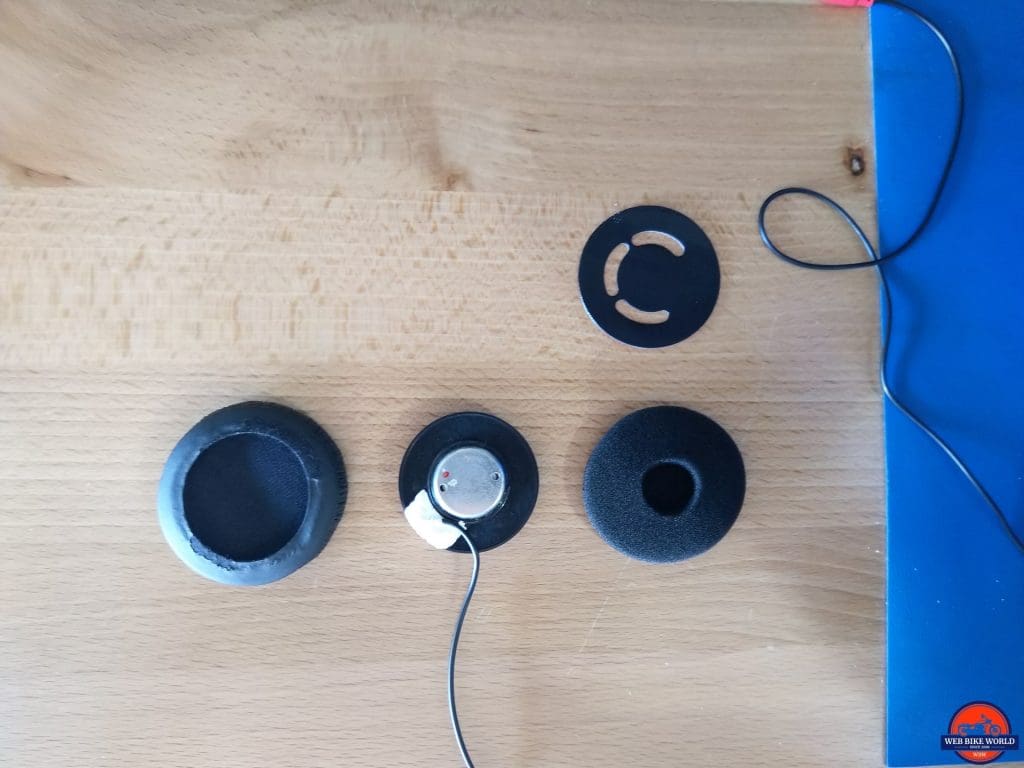
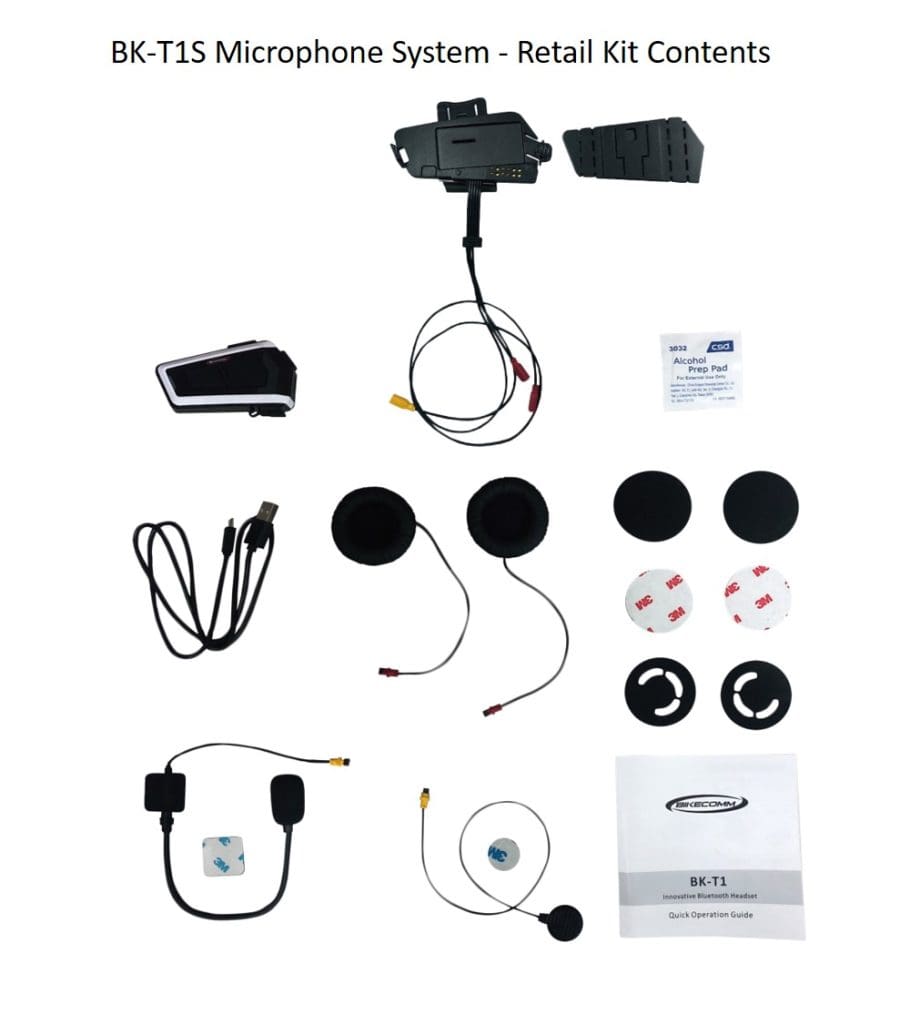
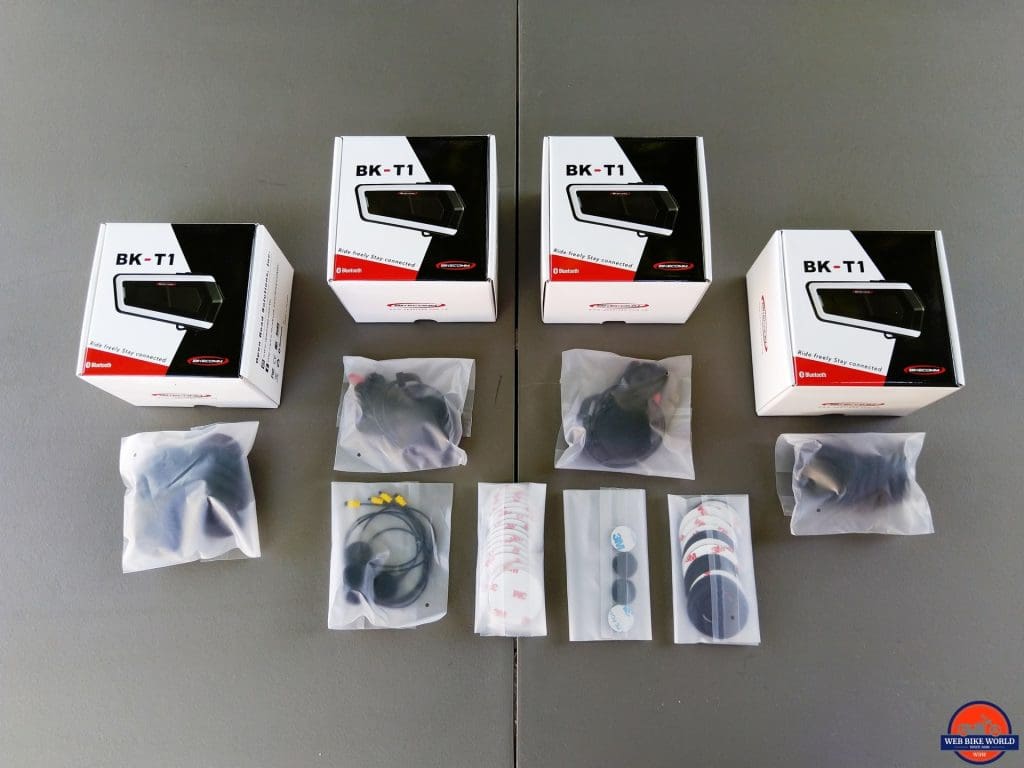
The BK-T1S system kit provides both the thick and thin speaker covers and replacement adhesive backing rings that serve double duty in securing the thick or thin covers over the speakers while providing the ‘hook’ for the round ‘loop’ pads that fit in the helmet recesses.
Along with the thin foam slip-on covers, are new adhesive backing rings that serve double duty in securing the thick or thin pads to the back of the speaker while providing the ‘hook’ for the round ‘loop’ pads that get mounted into the helmet for securing the speaker in place.
 |
 |
Everything needed is provided, allowing the user to select the best combination for fit and comfort, without compromising audio performance. Two microphones, one thin wire, and one boom are included.
BK-T1 Features
(Compiled from Open Road Solutions, Inc. media)
- Bluetooth version 5.0
- Intercom distance – up to 1200m in open spaces
- Conference intercom – up to five additional systems (total of six users)
- Universal Intercom mode
- GPS navigation – hear GPS navigation instruction on headset, shareable
- Mobile phone – auto answer, manual answer, & call rejection
- Dual phones – headset can connect to two cell phones
- Speed dial – three hot-dial number memory
- Voice Mixer (background mode) – able to listen to music in intercom or GPS in intercom mode
- Music – supports A2DP Hi-Fi stereo
- Music Sharing – between two paired headsets
- AVRCP – control music play – pause, track forward, & backwards
- Auto Volume Adjustment – automatic volume adjustment depending on ambient noise
- Wind Noise Reduction – eliminate wind noise when riding at speed
- Voice Notification – indicates headset operation & status
- Firmware upgrade – upgradeable via PC software
- Waterproof – IP67 rated for rain protection
- G-Sensor – as activated, for system input operations
- Charging on the Go – using portable USB power supply or other, USB source
BK-T1 System Options
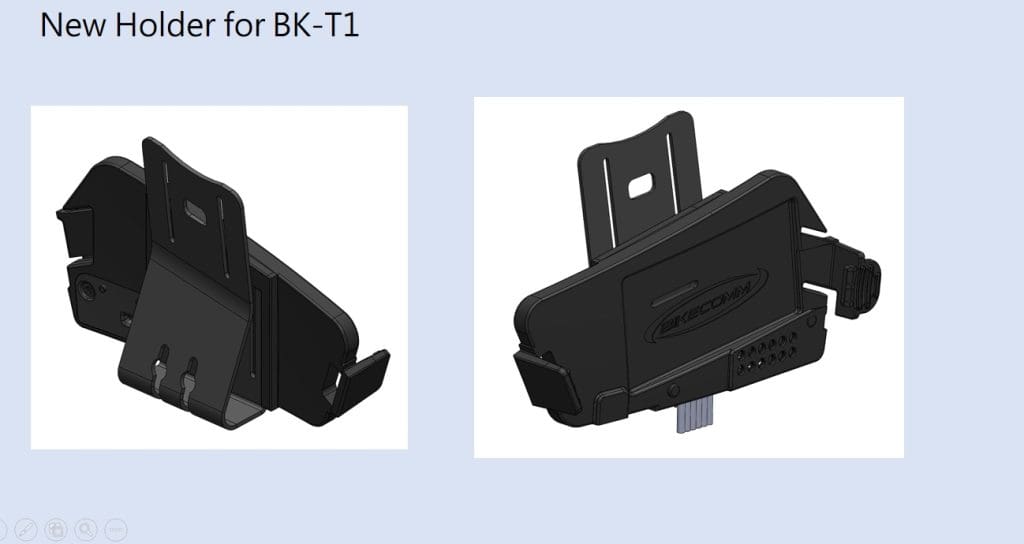
During this review, Open Road identified that some mounting components were being redesigned or upgraded.
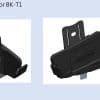
The module and holder have not changed, but there is a new ‘enhanced’ holder layout in that a larger stronger more functional clamp mount or adhesive plate provides mounting options.
As the new components are still being produced, they were not available for the review. But the photos provided by Open Road allow visualization of the revised layouts for BK-T1 system kits and the respective accessory kits. The information provided below is the most current and is or should be close to the packaging to be seen come this November.
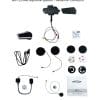
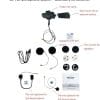
Includes the BK-T1 BT (with FM) module, the enhanced holder with the newly designed clamp mount, integrated harness for left and right detachable speakers, and detachable boom or thin wire microphone. The enhanced holder also works with the included adhesive-backed base mount allowing the user to choose between the two mounting options.
BK-T1S Accessory Kit
Comprised of an enhanced holder with metal clamp mount, a base mount with adhesive backing, micro-USB charging/data cable, left and right speakers and mounting pieces, boom and thin wire microphones, and Quick Operation Guide.
BK-T1B
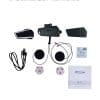
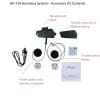
Includes the BK-T1 BT (with FM) module, the enhanced holder with the newly designed clamp mount, integrated harness with the hard-wired left speaker/microphone, and detachable right speaker. The enhanced holder also works with the included adhesive-based base mount allowing the user to choose between the two mounting options.
BK-T1B Accessory Kit
Comprised of an enhanced holder with metal clamp mount and hard-wired left speaker/microphone and detachable right speaker, a base mount with adhesive backing, micro-USB charging/data cable and Quick Operation Guide.
Helmet Installations
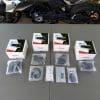
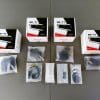
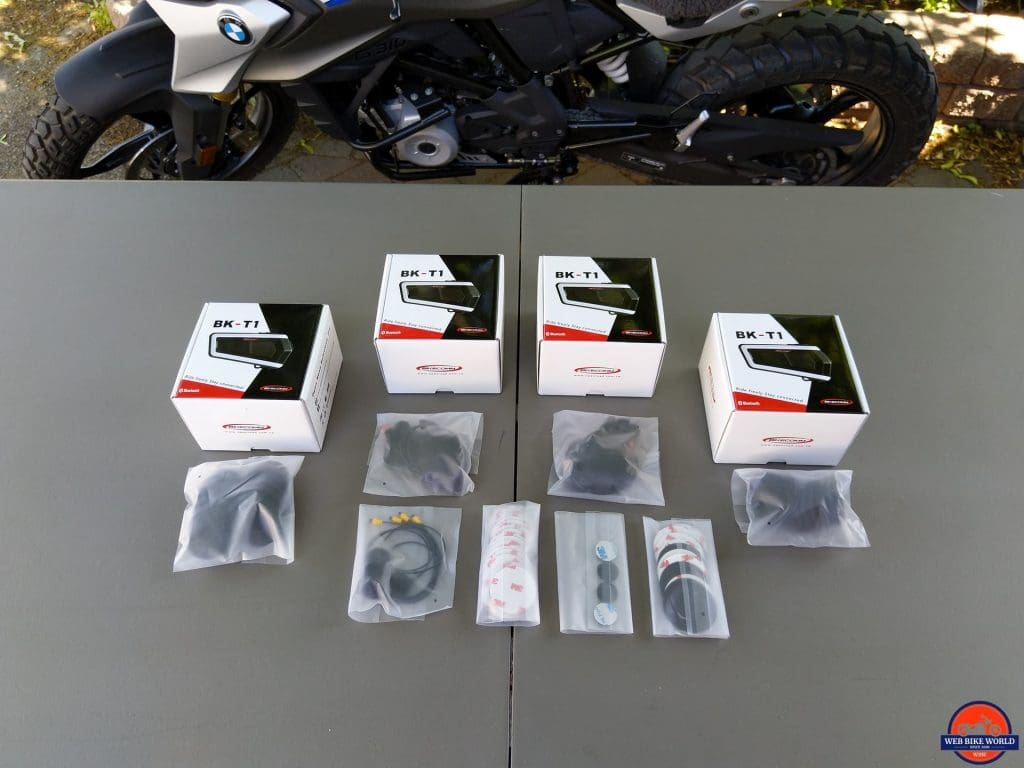
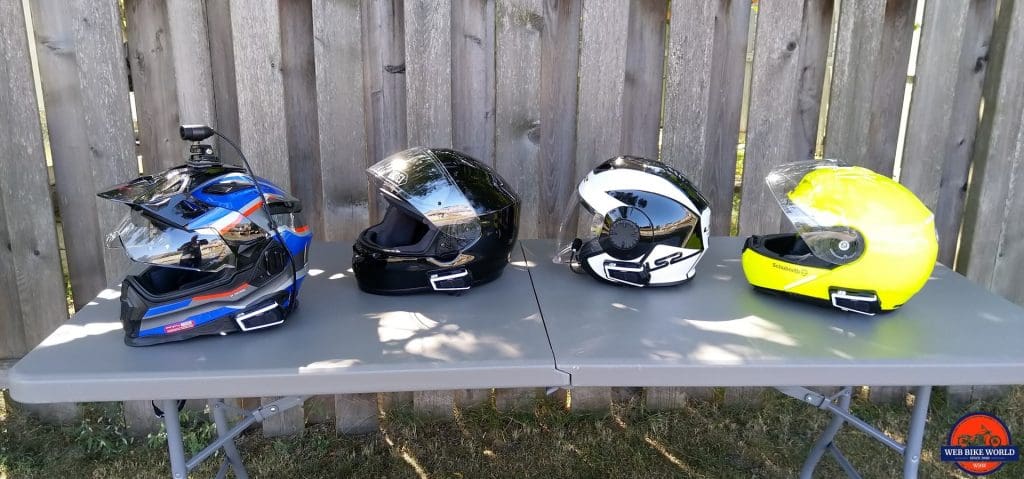
Having four BK-T1 systems and all the accessory pieces provides the means to utilize different helmets of differing styles for added variety right from the start.
And the ongoing mission, if you will, is to fit and use the headsets on as many different helmets as possible and on as many different motorcycles as possible – this is a key long-term approach and something that is always done.
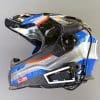
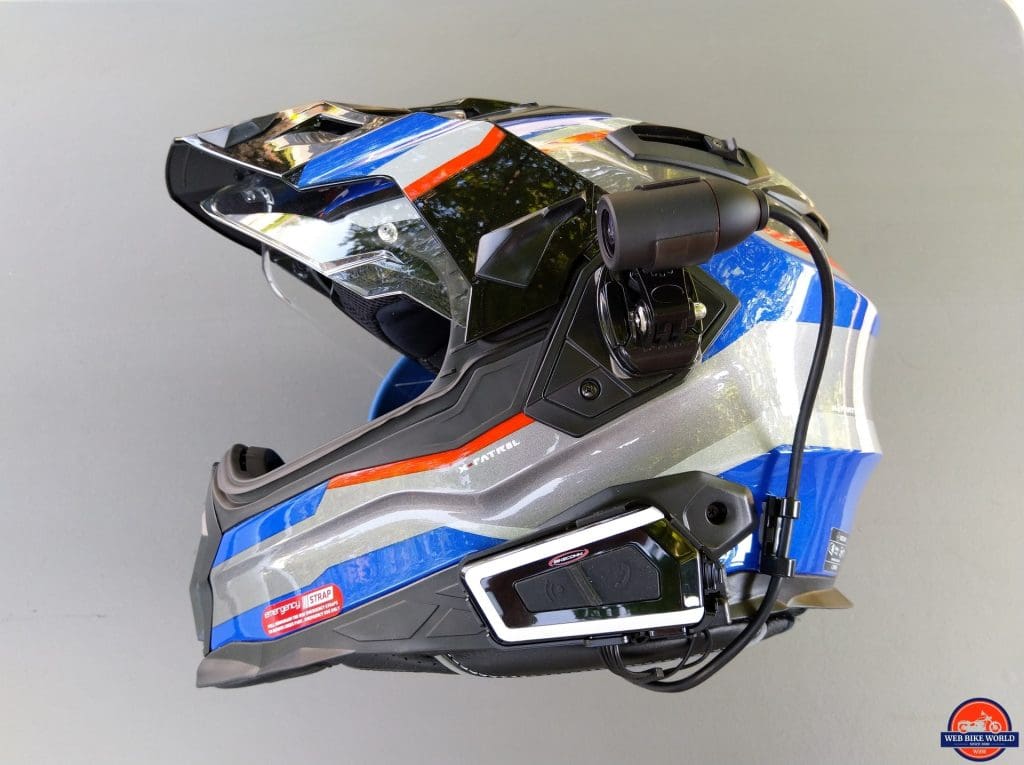
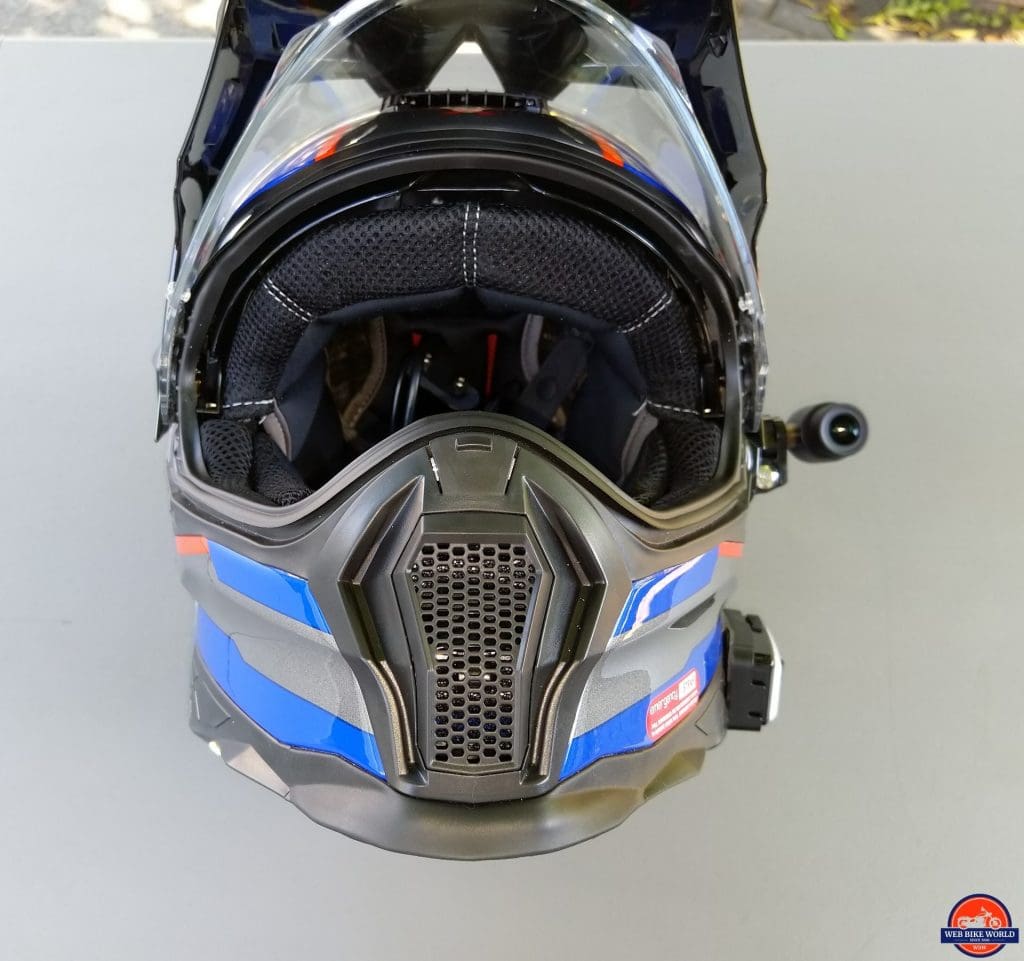
NEXX X-Patrol Helmet
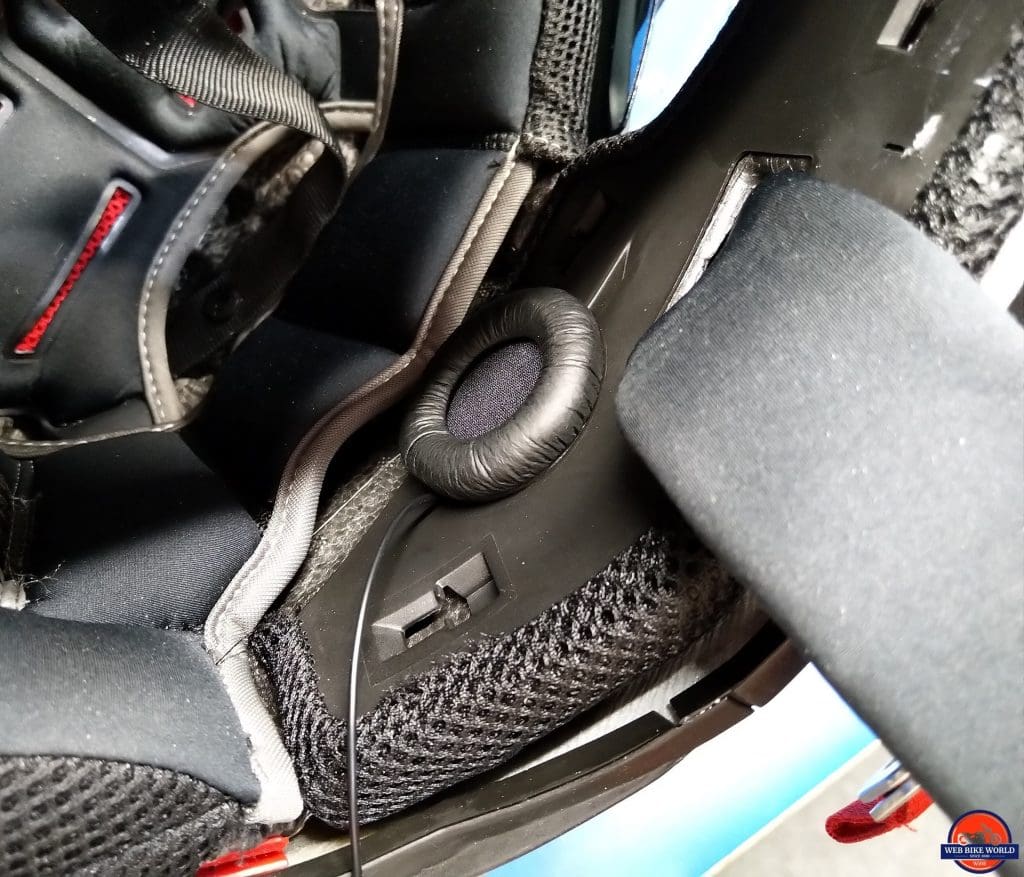
As the first helmet up, options were tried on the NEXX X-Patrol Helmet regarding speakers. The thick padded covers are too thick (as seen below), but we have options.
With the adhesive mount backing peeled away, the padded covers are slipped off and the thin foam covers slipped over the speakers, with new adhesive mount backings applied – done.
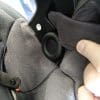
With speaker mounting pads installed into the helmet speaker recesses, the re-covered speakers are oriented for best wire clearance and with a little bit of coaxing slipped into the speaker recesses.
Being able to disconnect each of the components while installing them is good, just don’t forget to connect the speakers and microphone before finishing the internal wiring. One also needs to consider routing and accommodation of the small connectors.
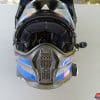
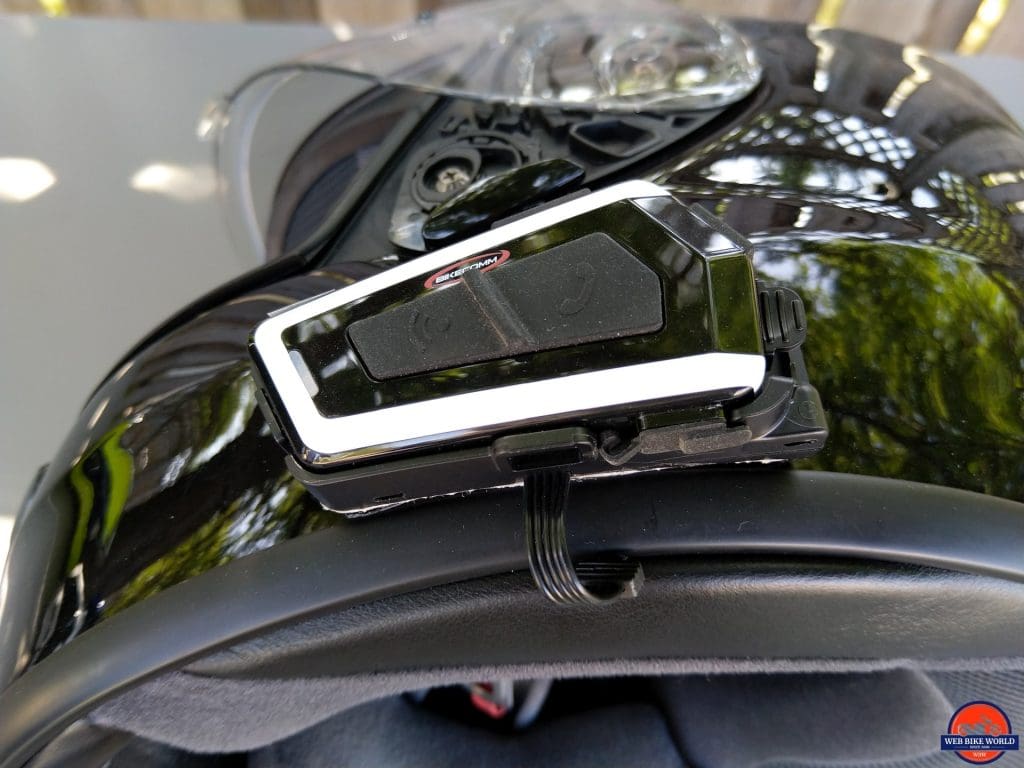
The obtrusive NEXX cover for its BT system is in the way of course. With the BK-T1S holder and its adhesive backing prepared, and some extra 3M VHB pieces cut to fill in some of the gaps, the holder/base is positioned and pressed down to start the 24hr curing – its all very secure.
SHOEI QWEST Helmet
A standard BK-T1S base is used for this installation on the SHOEI QWEST helmet, along with the thin-wire microphone option. The thick padded speaker setup was fine for the occupant as there is more than enough room to accommodate the audio pieces.
The thin wire microphone runs along the inside of the left removable cheek pad and sits secured to the left front of the chin guard – good for audio pickup and out of the way of airflow from the lower front vent or coming in from the bottom.
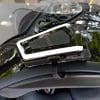
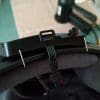
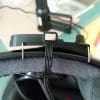
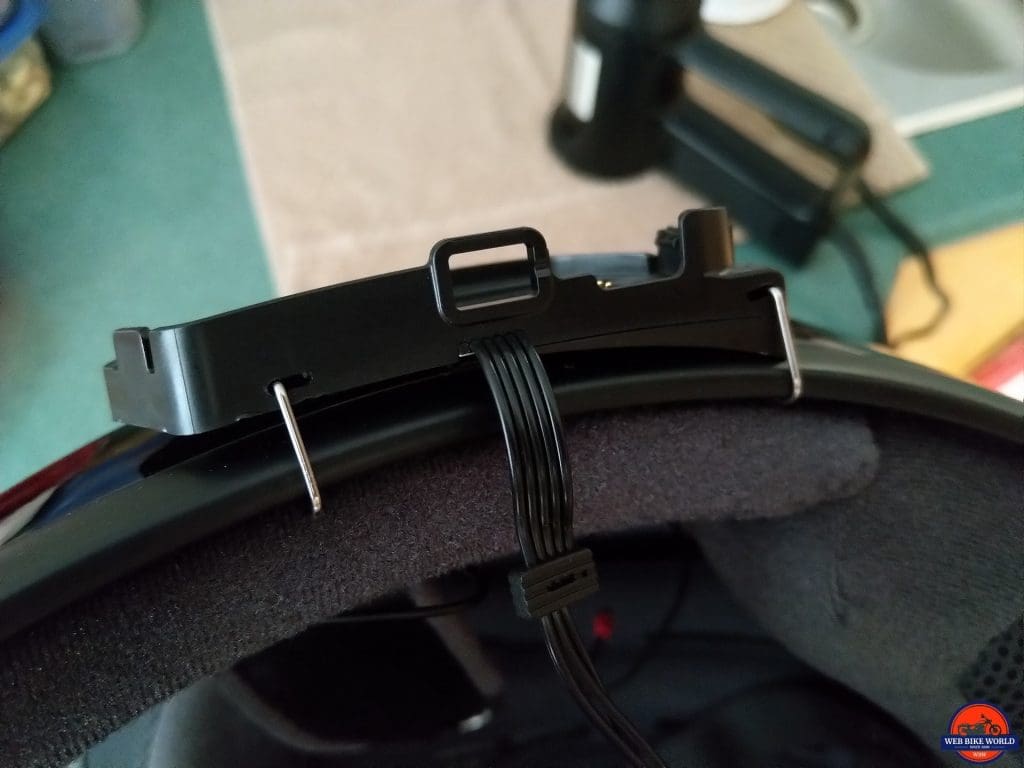
The thin flexible wire insert mount was tried, but it is just too small and poorly shaped to fit properly between the outer shell and inner liner and it doesn’t provide much support for the BK-T1 base on the outside.
 |
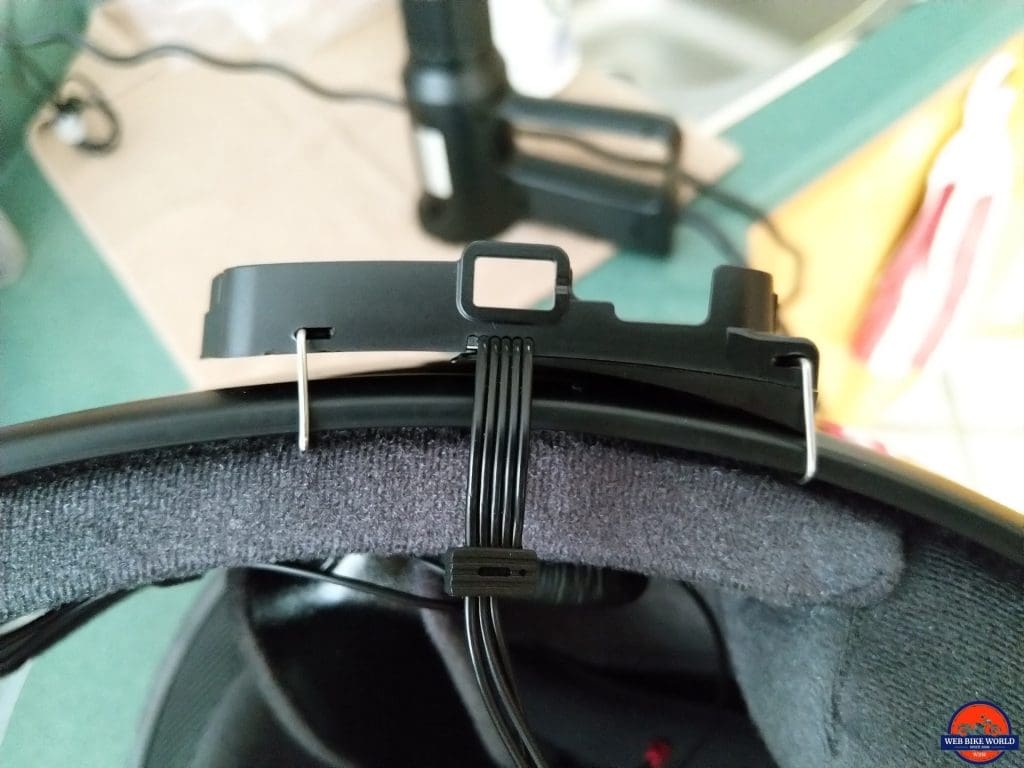 |
This wire mount was also tried on the NEXX X-Patrol with the same verdict. As such, the protective cover is peeled off the adhesive backing on the mounting plate for direct mounting to the outer shell of the helmet.
LS2 VERSO Mobile
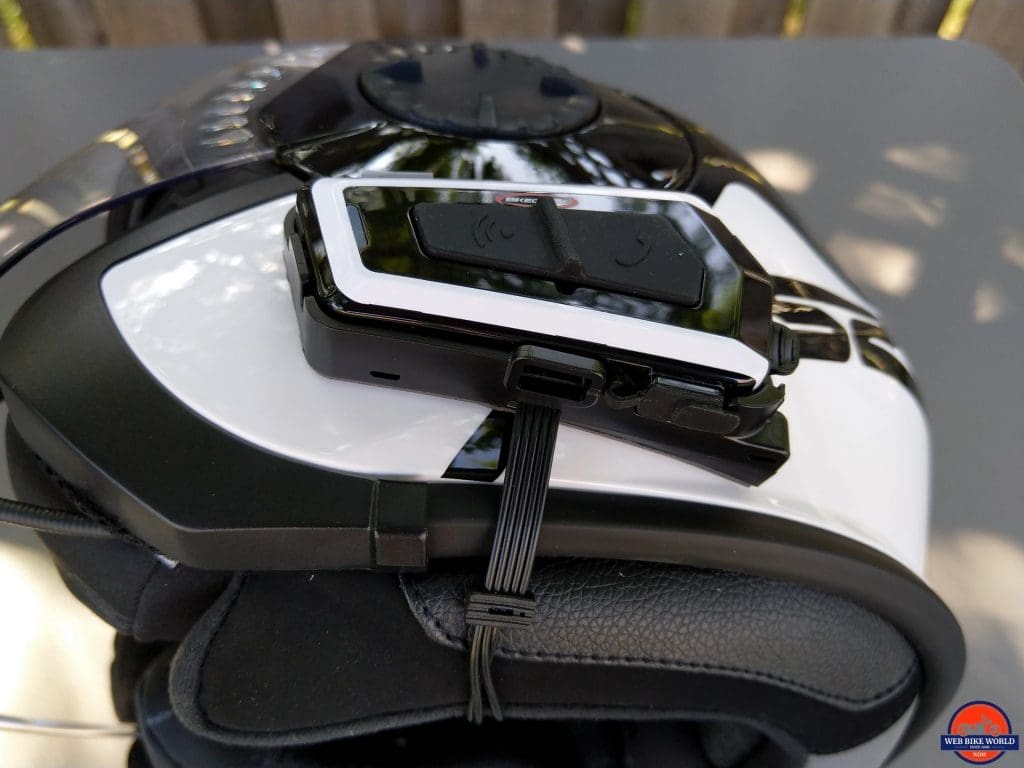
System three goes on to the (impressive) LS2 VERSO Mobile Helmet (currently under review) in White/Black that replaces an aging Bell Mag-9 Sena (without the Sena). The VERSO helmet is three-quarter style with a full-face flip-down shield and integrated sun visor.
Once a placement was decided upon, the holder is secured in place using its adhesive backing. The white face of the BK-T1 goes well with the white of the helmet – more than a few compliments were heard about the look of the combination.
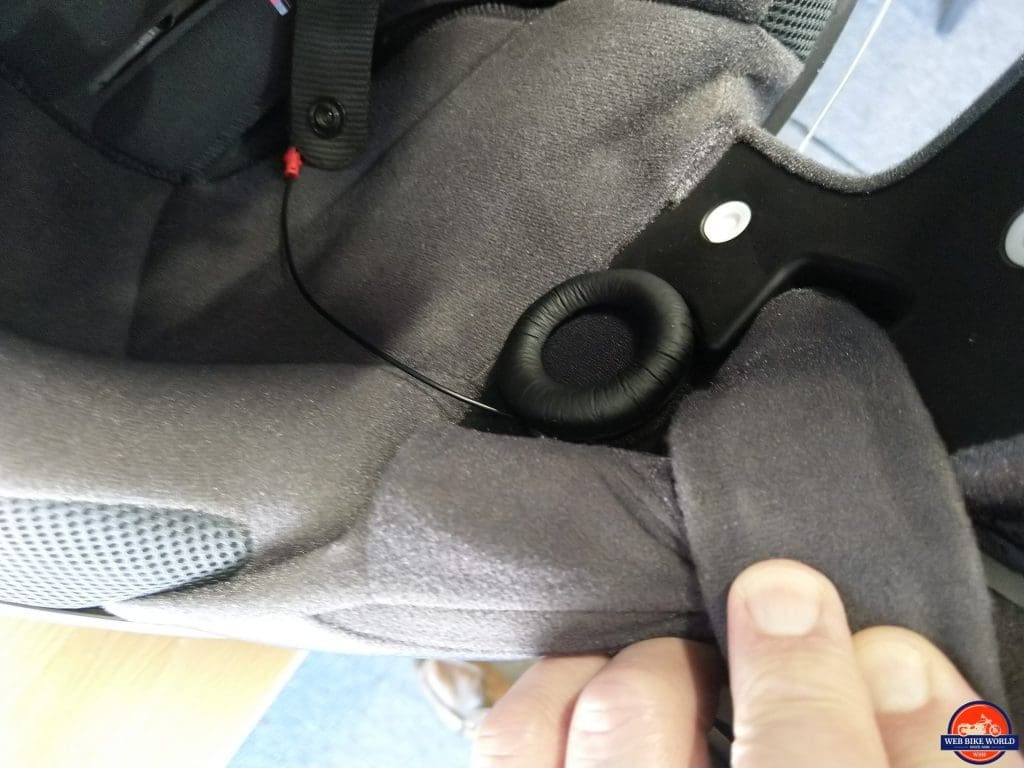
The LS2 interior is easy to work with and it only took about five minutes to install the thinner foam-covered speakers and with some of the provided hook-n-loop pieces the boom microphone sits securely between the inner liner and the cheek pad.
SCHUBERTH C3 Pro
For the very quiet modular SCHUBERTH C3 Pro, using one of the boomless (BK-T1B) systems was the logical way to go as a test setup and for ongoing use, although the helmet is four years old and coming to the end of its life cycle.
The BK-T1B variant provided turned out to be a great option for this helmet. The small bulge of the microphone on the outer diameter of the left speaker is hard to discern under the thin foam speaker cover and both speakers fit perfectly into the left and right elongated (for speaker adjustment) recesses.
With the speakers in place and connected to the routed harness the inside work is done. As is the norm for larger BT system fitment on this helmet, the BK-T1B mounting plate base sits directly behind the back-raised edge of the sun-visor slider frame. The slightly curved base fits perfectly onto the curved outer surface of the helmet.
Device Pairing & Connectivity
Featuring Bluetooth v5.0, the Bikecomm BK-T1 system offers some standard and a couple of unique features and capabilities regarding pairing, connectivity and function. The BK-T1 Quick Operation Guide is well detailed although some additions and updates are expected.
For this section the focus is on identifying specific features, along with relevant function and performance observations. The Intercom Section that follows has all the goods on that specific feature of the BK-T1.
G-Sensor
And no, the G-Sensor feature, that could be overlooked, isn’t. It is a unique and functional input option for some pairing, phone and music operations.
The G-Sensor is enabled/adjusted for sensitivity under the PC-based or app-based BK-T1 Tool Program. This feature provides the means to utilize ‘tapping’ as one of the ‘input’ actions to trigger various functions. This feature is similar, to that used with the UClear Motion series systems.
Section 8 of the Quick Operation Guide has a table listing the various functions for which G-Sensor tap input can be used. Setting input sensitivity to ‘Low’ provides the best input response without inducing any other errors.
Mobile Phone Pairing & Use
With the BK-T1 on, press ‘M’ button until the familiar Red/Blue flashing starts. Alternatively, press the ‘M’ button and ‘tap’ the headset once to initiate pairing mode.
Look for and activate the BK-T1 Bluetooth listing on the device being paired. Once paired, the BK-T1 LED flashes Blue slowly.
Two settings are provided for Mobile Phone Answering Mode:
- Manual: Or (default) mode is set by pressing both ‘M’ and ‘V-‘ buttons together for eight (8) seconds, confirmed by “Manual Answering Mode”
- Automatic: Pressing both ‘M’ and ‘V+’ together for eight (8) seconds activates the automatic mode, confirmed by “Automatic Answering Mode”
In use, both modes proved effective. In Automatic Mode, the incoming call rings for about eight seconds, then it is automatically activated by the headset. In Manual Mode, a single tap on the module answers the call immediately.
If the BT connection between the BK-T1 and device is disconnected, pressing ‘M’ button once restores the connection. The BK-T1 can connect with two mobile phones or two BT devices at the same time, although audio connectivity depends on device feature support, switching and audio priorities.
Three-speed dial numbers can be entered under the Speed Dial Setting tab of the BK-T1 Tool Program. Press ‘M’ button three, four or five times for the first, second or third number respectively. This feature also works well.
GPS/Navigation Devices
With a standalone GPS device paired as per the mobile phone process, the next step is to configure GPS audio volume for audio overlay (set as a percentage) and if desired, GPS sharing (Yes/No) – both from the Tool Program GPS audio setting tab.
When configured via the Tool Program for a 40/60 audio overlay, navigation audio from the connected BMW Navigator VI is heard as a foreground/background audio overlay. And if the GPS audio sharing is set to ‘Yes’, navigation audio will be heard by all intercom connected users.
Intercom
For test and reference purposes, the four BK-T1 modules were identified as S1 thru S4 and labeled physically and electronically as paired Bluetooth devices. This keeps things clearer when testing and deconflicts the use of letters for both the systems and buttons as used in the documentation.
User to User Intercom
This is the simplest form as a 1 to 1 relationship between two users.
To pair devices: With S1 and S2 turned on, press the S1 ‘A’ button until its LED flashes a rapid Blue; now press the S2 ‘M’ button – its LED flashes Red/Blue. They will negotiate, shake hands, and once connected – both LEDs flash a slow Blue.
To activate this 1 to 1 intercom session: Press ‘A’ once on either headset to activate; a two-second push ends the session. And like most BT systems, each BK-T1 can pair with three other headsets. And like other BT systems, the Last-In, First-Out, or LIFO principle applies.
Group Intercom
The relatively simple chaining, by pairs, of multiple headsets using the point to point or 1 to 1 principle (serial-based). To illustrate this, the four provided systems identified as S1, S2, S3, and S4 are used, although up to six systems are supported.
Initial pairing to start: On S1, press the ‘A’ button until its LED flashes a rapid Blue, now on S2, press the ‘M’ button until its LED flashes Red/Blue, negotiation is started, and with the connection made a voice notification “headset A pairing completed” is heard – both LEDs flash Blue.
Add the rest of the group: Repeat these steps between S2 to S3 and S3 to S4. Once done, S1 and S2, S2 and S3 and S3 and S4 are paired. Reboot all the systems as verification.
To initiate this multi-part session: Start with S1 – press its ‘A’ button once to activate the S1 to S2 link, then press the S2 ‘A’ button and wait for the link to S3, finally press the S3 ‘A’ button to open the last linkage to S4. Once all the LEDs are blinking double Blue/single Green, the four-way is active.
Instant Link Pairing for Group Intercom
This is the most advanced intercom feature offered up by the BK-T1 and once built up using the four provided systems, it was the way to go for multi-party comms.
Enter polling mode: With all four systems turned on, put S2, S3 and S4 into pairing mode by holding the back or ‘M’ button for 5-6 seconds until their LEDs go Red/Blue, with a double tone confirmation heard. All three systems go into a ‘polling’ mode indicated by a long tone repeated every three seconds.
Activate pairing sequence: Once all three are in polling or search mode, hold S1 ‘A’ button until its LED goes into a rapid Blue flashing. After five seconds or so, the other units start to respond in a serial or chaining sequence; they had been laid out in a long row, 1 thru 4…
And of course, S4 on the end was the last to pair – it took three tries, switching between the ‘paired’ announcement back to polling indicated by the Red/Blue LED. But after about 20 seconds it came aboard so all four units were paired, with each acknowledging their status by an announcement and their LEDs flashing a slow Blue. Reboot all the systems as verification.
Activate intercom session: With all four systems restarted, pressing the ‘A’ button on any of the units results in activation of a group intercom session within seconds and comms provided between all active units. The system LEDs display a double Blue/single Green sequence.
The automatic recovery feature disconnects and reconnects systems as they go out or come back in to range. Users can join or leave the group by pressing ‘A’ for two seconds. This is a great feature that works seamlessly. The Group intercom supports up to six (6) users with clear communications.
Universal Intercom
A universal intercom capability is provided with the BK-T1 thanks to its Universal Pairing feature. The feature isn’t listed specifically nor is there anything reflected in the current Quick Operation Guide.
In raising this as something possibly ‘missing’, the procedure information (listed below) was provided along with assurances that the documentation oversight is being taken care of.
The following steps (with the BK-T1 and target systems On) detail the Universal Pairing procedure:
- Press ‘A’ button for 7 to 8 seconds until the LED goes to a continuous rapid Blue flashing, a long polling tone is heard every three seconds
- Put the other brand headset into its device pairing mode (not intercom pairing mode), after five to ten seconds, both headsets will beep and/or announce that pairing is successful. The intercom is now live
Universal pairing/intercom mode is indicated on the BK-T1 by the ‘connected’ double Blue/single Green LED sequence. To start/stop the Universal Intercom, press ‘A’ button twice to activate and press it for two seconds to end the universal intercom session.
Systems validated with the Bikecomm BK-T1 Universal Intercom feature to date:
- Sena 20S/30K/10C – partial control from BK-T1, full control from Sena devices
- UClear Amp GO and Motion Series devices – full control from BK-T1 with reboot
- Cardo scalarider Q1/Q3 – single instantiation, cycling headsets requires new pairing
- Cardo scalarider Packtalk devices – not yet tested
- SCSetc S1 & S7 – full control from BK-T1 without reboot
- EJEAS Quick 20 – full control from BK-T1 without reboot
Some additional comments on this feature are provided:
- Stopping the Universal Intercom with 2-second push of the ‘A’ button works but a double push of ‘A’ it does not always start a new session (see above)
- However, pushing the other brand device activation button (like Sena Phone button) often works perfectly to Start or Stop the universal intercom connection, and
- Turning the other brand device Off, then On, works to restore the connection and restart the Universal Intercom session
Intercom Range
A maximum range of 1200m (3900 ft or 1312yds or 0.75mi) is claimed and initial walking and riding tests indicated that this claim is realistic, along with minimal noise or audio degradation, very robust connectivity, and recovery if the link is lost due to distance.
On average, noisy helmet, cockpit and surrounding environments considered, BK-T1 intercom audio from a 1 to 1 or a 1 to 3 configuration remains effective over the long haul with nominal ranges of 1000m + recorded and under ideal terrain and environmental conditions, 1200 to 1400m ranges were realized.
Some decrease in effective range is noted in dense environments (natural and manmade) and over undulating terrain, but again, typically with little audio degradation and minimal noise – this is good.
Connection management and recovery routines built into the systems optimize connectivity as users move beyond and then back into range and/or stop or start participating in a group.
Two Way Radio Feature
This capability is no longer supported by the BK-T1. This is unfortunate. In some markets including North America, longer-range two-way radio communication has a role and between the availability of Bluetooth capable radios and (as) needed PTT components, its all still very viable.
System Audio
The individual speakers are approximately 45mm x 8mm (1.77 x 0.31in) and while not ‘heavy’ in comparison to many other speaker pieces used on other brand headsets, their performance is outstanding – great low to high tone fidelity, audio clarity, and volume without distortion.
They aren’t (fully) up to the audio provided by the UClear Pulse Pro 2.0 headset that is my benchmark for helmet audio, but the BK-T1 headset is very close…
Overall audio performance including crisp clear intercom audio is aided by system noise filtering – a dual-step process that starts at the audio pick-up or microphone point in providing low frequency noise reduction on through to system-based digital signal processing (DSP). It all works, audibly so.
The switching of audio sources is smooth and quite fast overall, with the odd ‘click’ or other electronic noise heard briefly. The audio overlay feature works equally well. It pays to play with the (mix) percentage settings under the Tool Program to find the optimum levels for each audio source.
Music streaming with Intercom audio overlay is smooth – minimal noise or disruption except some intermittent scratching noise or, clicks when AVRCP functions are invoked – planned or otherwise (more on this under Music Sharing).
Less smooth is the Intercom with GPS audio overlay. Navigation audio from standalone systems never seems ‘stable’ (too low, too loud, too scratchy) and its not the fault of the BK-T1. Navigation app audio overlaid on to the A2DP music stream from the paired device is fine.
Voice Notification
Somewhat limited library, but the basic information is usually provided although depending on the connection or function undertaken, especially with multiple BK-T1 systems. Some of the expected notifications were not heard – this seems to vary between systems. It works, but it needs work.
Music Sharing
Music sharing is or has become a ‘standard’ feature of sorts for most systems today. But functionality, e.g. – activation, streaming reliability, and audio performance still varies widely between brands.
Pair two systems to start: The BK-T1 offers music sharing between two paired systems (not using the group intercom modes). As needed, do a one to one pairing and reboot the systems for verification.
Activate Music Sharing: With the two systems restarted and the paired A2DP music stream to Set 1 active, press the ‘A’ button on Set 1 to start the intercom. Once the session is active, press the ‘M’ (back) button on Set 1 for two – three seconds until the “Music Sharing” announcement is heard.
Streaming on Set 1 is (usually) interrupted for a second or two then it resumes (audio can be lower or louder, see note) and within two to ten seconds music sharing activates to Set 2. With an iOS device, it might be slower, with some noticeable switching noise.
(Note – music sharing audio output or volume on either set depends on the current A2DP audio stream volume setting on each of the two systems – it is not governed by the initiating system. But increasing/decreasing the paired device’s output setting does impact the main A2DP stream)
Listeners are treated to excellent outstanding audio. The BK-T1 feature provides a noticeable improvement in audio quality compared to at least three other brands and their music sharing feature – another ‘this is good’.
There were a few hiccups in getting the music sharing started reliably though and after passing this observation back and a few more emails exchanged, a new firmware build was forwarded to try. Once installed on two of the four test systems, it resolved the initiation issues.
However, the process to end music sharing is/was still very much a hit or miss thing – the step required three rapid pushes on the Volume Down (V-), a control that is hard to use at any time, especially with gloves on.
More emails… and a fix will be implemented. Open Road is changing the end music sharing step and will update the firmware accordingly. The step will now be three (3) presses of the front ‘A’ button, a control that is much easier to access at any time with or without gloves. This fix will be in place for the November release. We will test sooner if the firmware is provided.
FM Radio Feature
Shortly after starting this review, the absence of this feature was noted with the Open Road rep who replied that FM is not provided for Asian markets (for understandable reasons) but was being considered for North American markets. And as now confirmed, it will be an included feature for November 2019.
BK-T1 Tool Program
The BK-T1 Tool Program software is available from the BK-T1 Support Page for installation on a PC. Once installed, connect the BK-T1 via the micro-USB connection cable and if detected, the ‘Select COM Port’ box will show the device. Clicking on the ‘Open COM Port’ tile activates the link with current device settings displayed on the Tool Program screen.
There are five tabs on the screen: Speed dial setting, A2DP music setting, GPS audio setting, G-Sensor associate setting, and Firmware upgrade. Each tab has setting selection areas with explanatory notes. Don’t forget to ‘Save’ all change – a pop-up box confirms changes.
G-Sensor Setting – as identified earlier, the G-Sensor setting options (Off, Low, Middle and High) are selectable under the applicable tab.
Firmware Updating
Download the latest compressed firmware file from the support page, then extract and save it to the desired location (ideally a firmware update folder). Now click on the ‘Select firmware file’ tile, go to the folder, select the file, and click ‘Open’.
With the firmware file location showing on the screen, click the ‘Start firmware upgrade’ tile and wait two minutes – done. A new firmware build provided late August (v3.00_B4_FW0) managed to clear up the music sharing issues.
BK-T1 Tool Program App
The app is available for iOS and Android devices from the respective download sites.
Note for iOS users – before using the mobile App, hold ‘A’ button of the BK-T1 and press ‘M’ three times to activate its BLE mode. After using the App, turn the BK-T1 off to deactivate BLE.
For Android users – install, pair/connect, and use the App.
Once the app is installed and the (correct) BK-T1 selected under the Bluetooth menu, launching the app opens up another view of available systems. Check the box on the desired BK-T1 and the device to system link is made and the current settings read in.
Only four of the five Tool Program tabs are available as OTA firmware updating is not a feature of the mobile device app, but it would be nice to see…
Conclusion
This review has been a good opportunity and a fun one, thanks in large part to the fact that four complete intercom systems with accessories were provided. This is the way to ensure that the individual or individuals who do the product reviews have (everything) needed.
With more of everything on hand, the ability to try (more) combinations for installations is facilitated and with more concurrent helmet installations done, more multi-party testing is facilitated, etc., etc., You can’t talk about what you don’t have, or don’t discover…
In giving the BK-T1 a bit of pre-release ‘teething’ space, there really isn’t much to complain about with the current BK-T1 and it should be even better by November. Everything identified in way of issue is addressable via firmware, and we know that is always a work in progress.
With the firmware updates done and further enhancements including the FM radio feature completed, Open Road Solutions Inc., has a great system on their hands with the BK-T1.
Installation in full-face, three-quarter, and modular helmets should not be an issue between the two variants. The (optional) accessory kits provide users the ability to add a mounting plate and headset to a second helmet and move the detachable BT module to it in seconds.
And I would be remiss in not identifying the ongoing support from the Open Road Solutions representative who has been most willing to share information, respond to questions, and share firmware updates – positive synergies indeed.
Bottom Line: Highly recommended. The Bikecomm BK-T1 may not be seen as a mainstream offering, but considering its features like BT 5.0, an impressive BT intercom feature with great range and versatility, and outstanding helmet audio, the system stands out from a very crowded market. Bonus – it is very well priced. Take a close look.
Pro
- Bluetooth 5.0
- Versatile fitment options
- Low profile BT module when fitted
- Well made, well fitting pieces
- Long-range crystal-clear intercom audio
- Music sharing is an audio experience
- Overall outstanding audio performance
- FM radio being added
- Long battery life, quick charging, & charging on the go
- Aggressive pricing
Con
- Mounting footprint could be view as large
- Some routines still shaky but being addressed
- Control sensitivity
- Mobile app functional but lacking sophistication
- Possible conflicts regarding input function & timings
- Documentation needs updating
Specs
- Manufacturer: Open Road Solutions, Inc.
- Manufactured In: Taiwan
- Price: $169.00 USD for BK-T1 Systems, $59.00 USD for (optional) accessory kits
- Fitment: Most popular types of full-face, modular, or three-quarter style helmets
- Warranty: 12 months for headset, 3 months for accessories
- Original Review Date: June-August 2019


