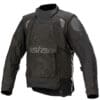
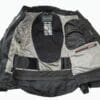
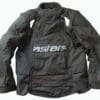
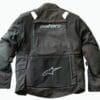
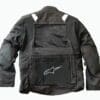
Introduction to “The Decathlete”: The Alpinestars Halo Drystar Jacket
When I was young and started watching the Olympic Games, the athletes who I most admired were the decathletes. Their pole vaulting, hurdle times, javelin throw distances, etc. were never the best compared to those who specialized in only one of those events. But what was so impressive was how they could attain such a high overall level of performance across all of those events.
The Alpinestars Halo Drystar jacket may not be the best in protection, comfort or any of the other things we all seek in a jacket. But it does all of them well. If I had to take only one jacket on a long trip through many temperatures, seasons, and weather conditions it would be the Halo.
Prior to the Halo, the jacket I’ve owned and used the most is the Aerostich Darian. And prior to that it was the Aerostich Roadcrafter one piece. I still own and wear the Darian. It’s a great piece of kit. Won’t be throwing it into the bin anytime soon, but the Halo will be getting some use in its place.
And Now a Word from Our Sponsors
Just kidding. These reviews aren’t sponsored. Everything I review for wBW is an item I’ve purchased with my own money. Web Bike World offers me a small stipend to write reviews, but I choose the gear because it interests me, and what I value most is freedom. That means you can count on me to be objective—I’m not here to get likes and subscribers, or to make money from advertisers. I write because I like to do so for organizations I respect. I have a day job and a place to live that doesn’t depend on likes or views. Sure I’ll spew bullsh!t, but not about things I review.
You can read wBW’s full gear review policy here. Now, back to our regularly scheduled programming.
Halo Broken Down into Parts
Since this jacket has so many things to cover, I’m covering this in sections:
Alpinestars Halo Drystar Jacket Ventilation
When it comes to ventilation, the Halo Drystar Jacket has several unique features:
- An asymmetrical front zipper that allows for a large ventilation window in the center chest area
- A corresponding ventilation window in the center of the back of the jacket
- A waist/kidney belt allowing for the jacket to be worn unzipped
- Removable jacket sleeves
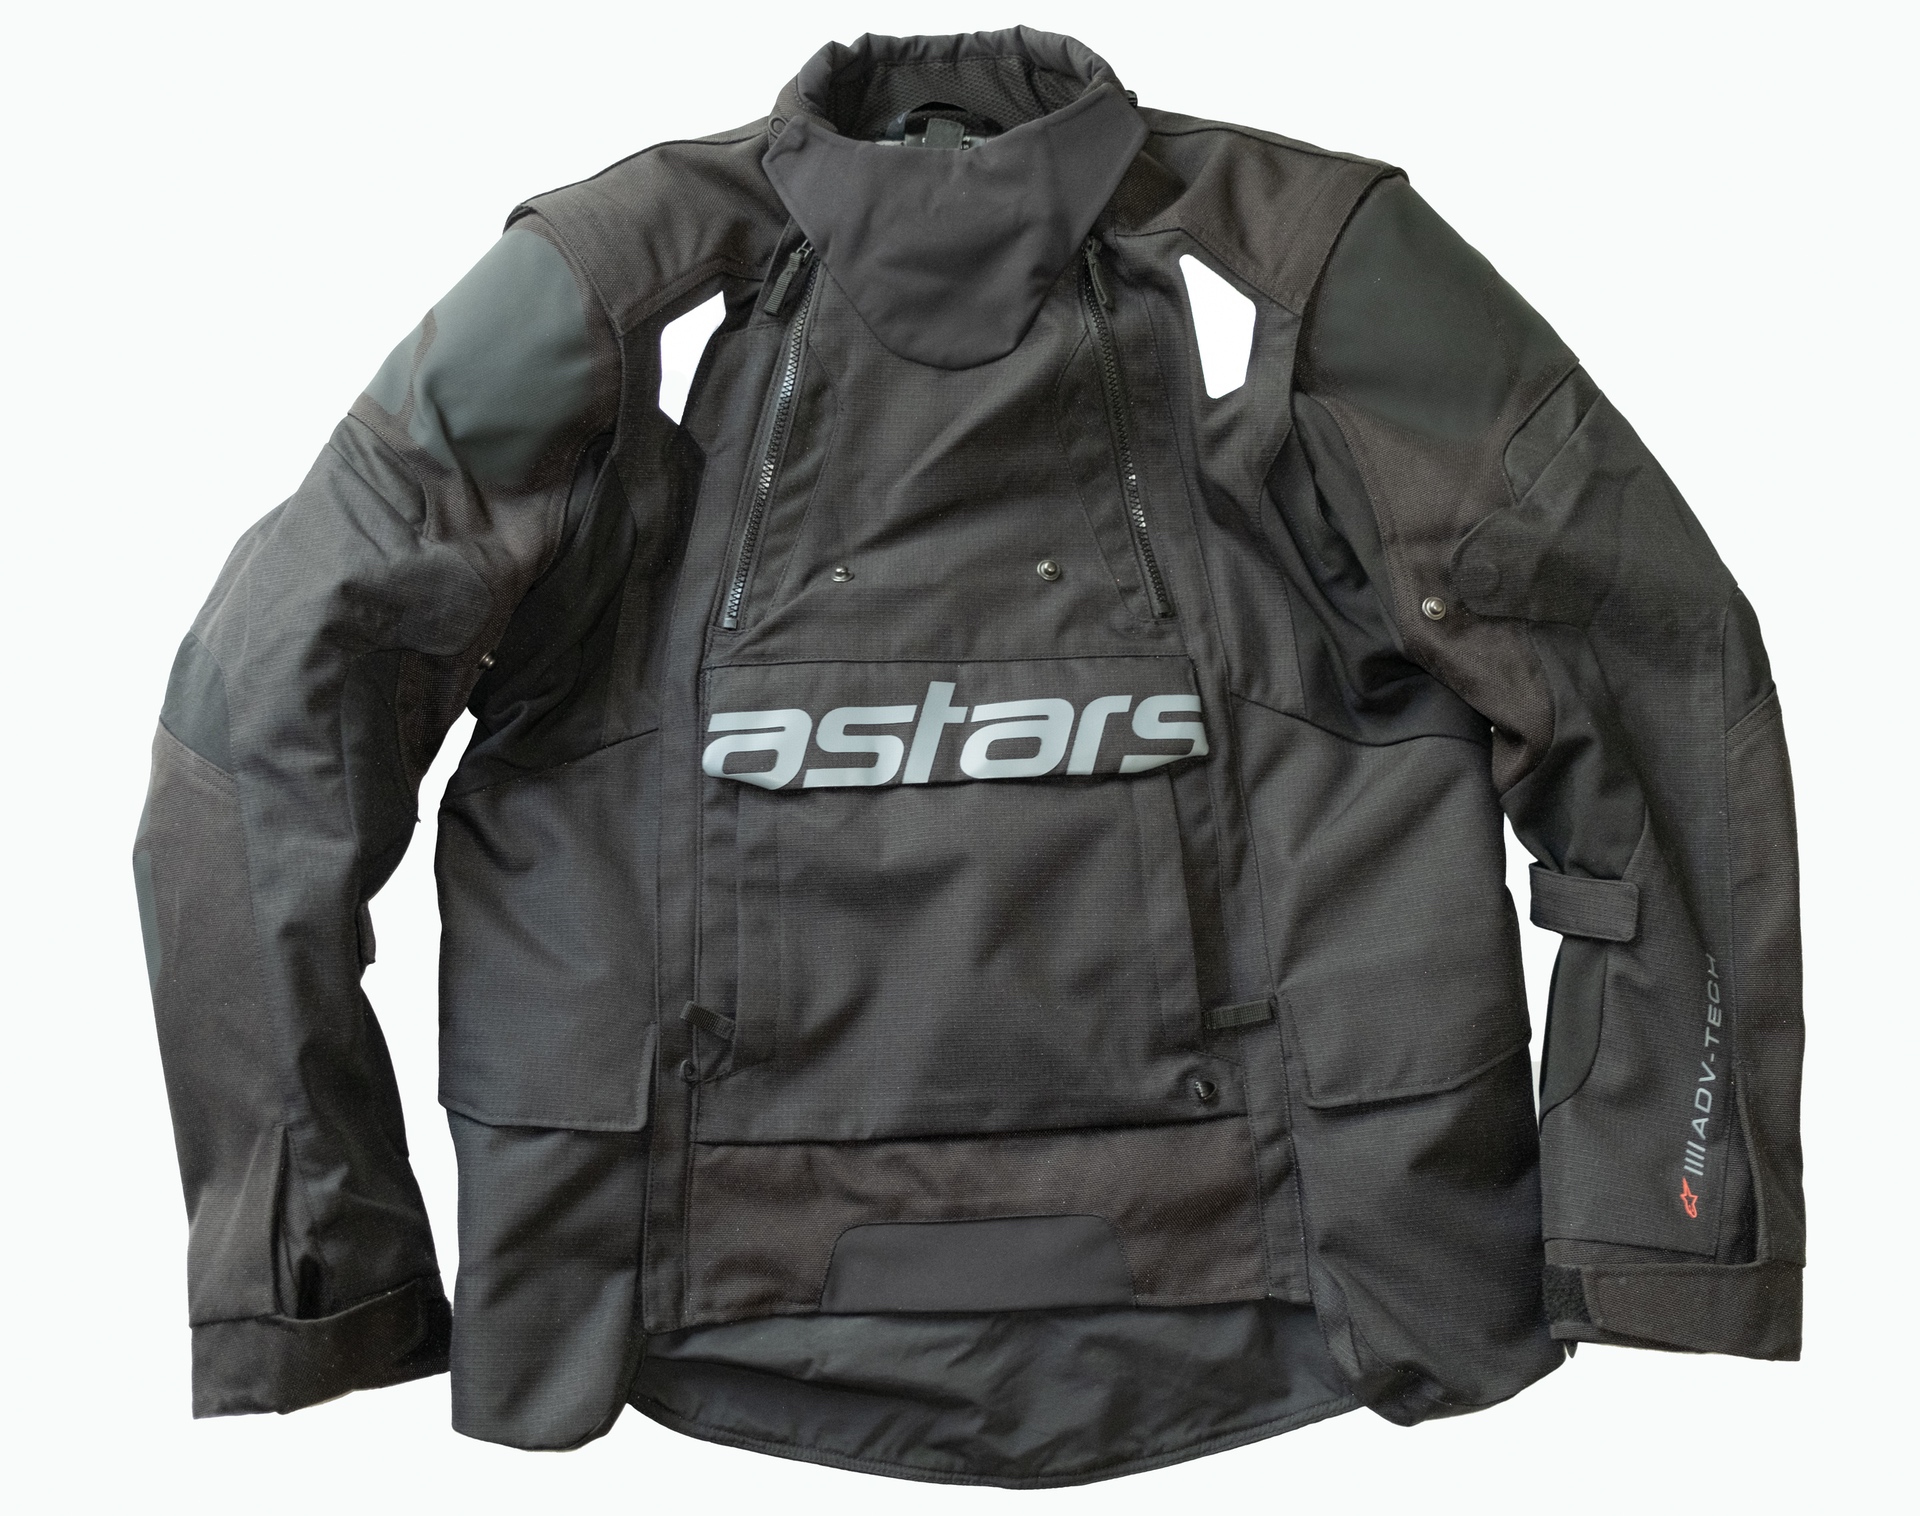
So let’s start with the front of the Halo:
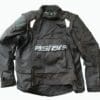
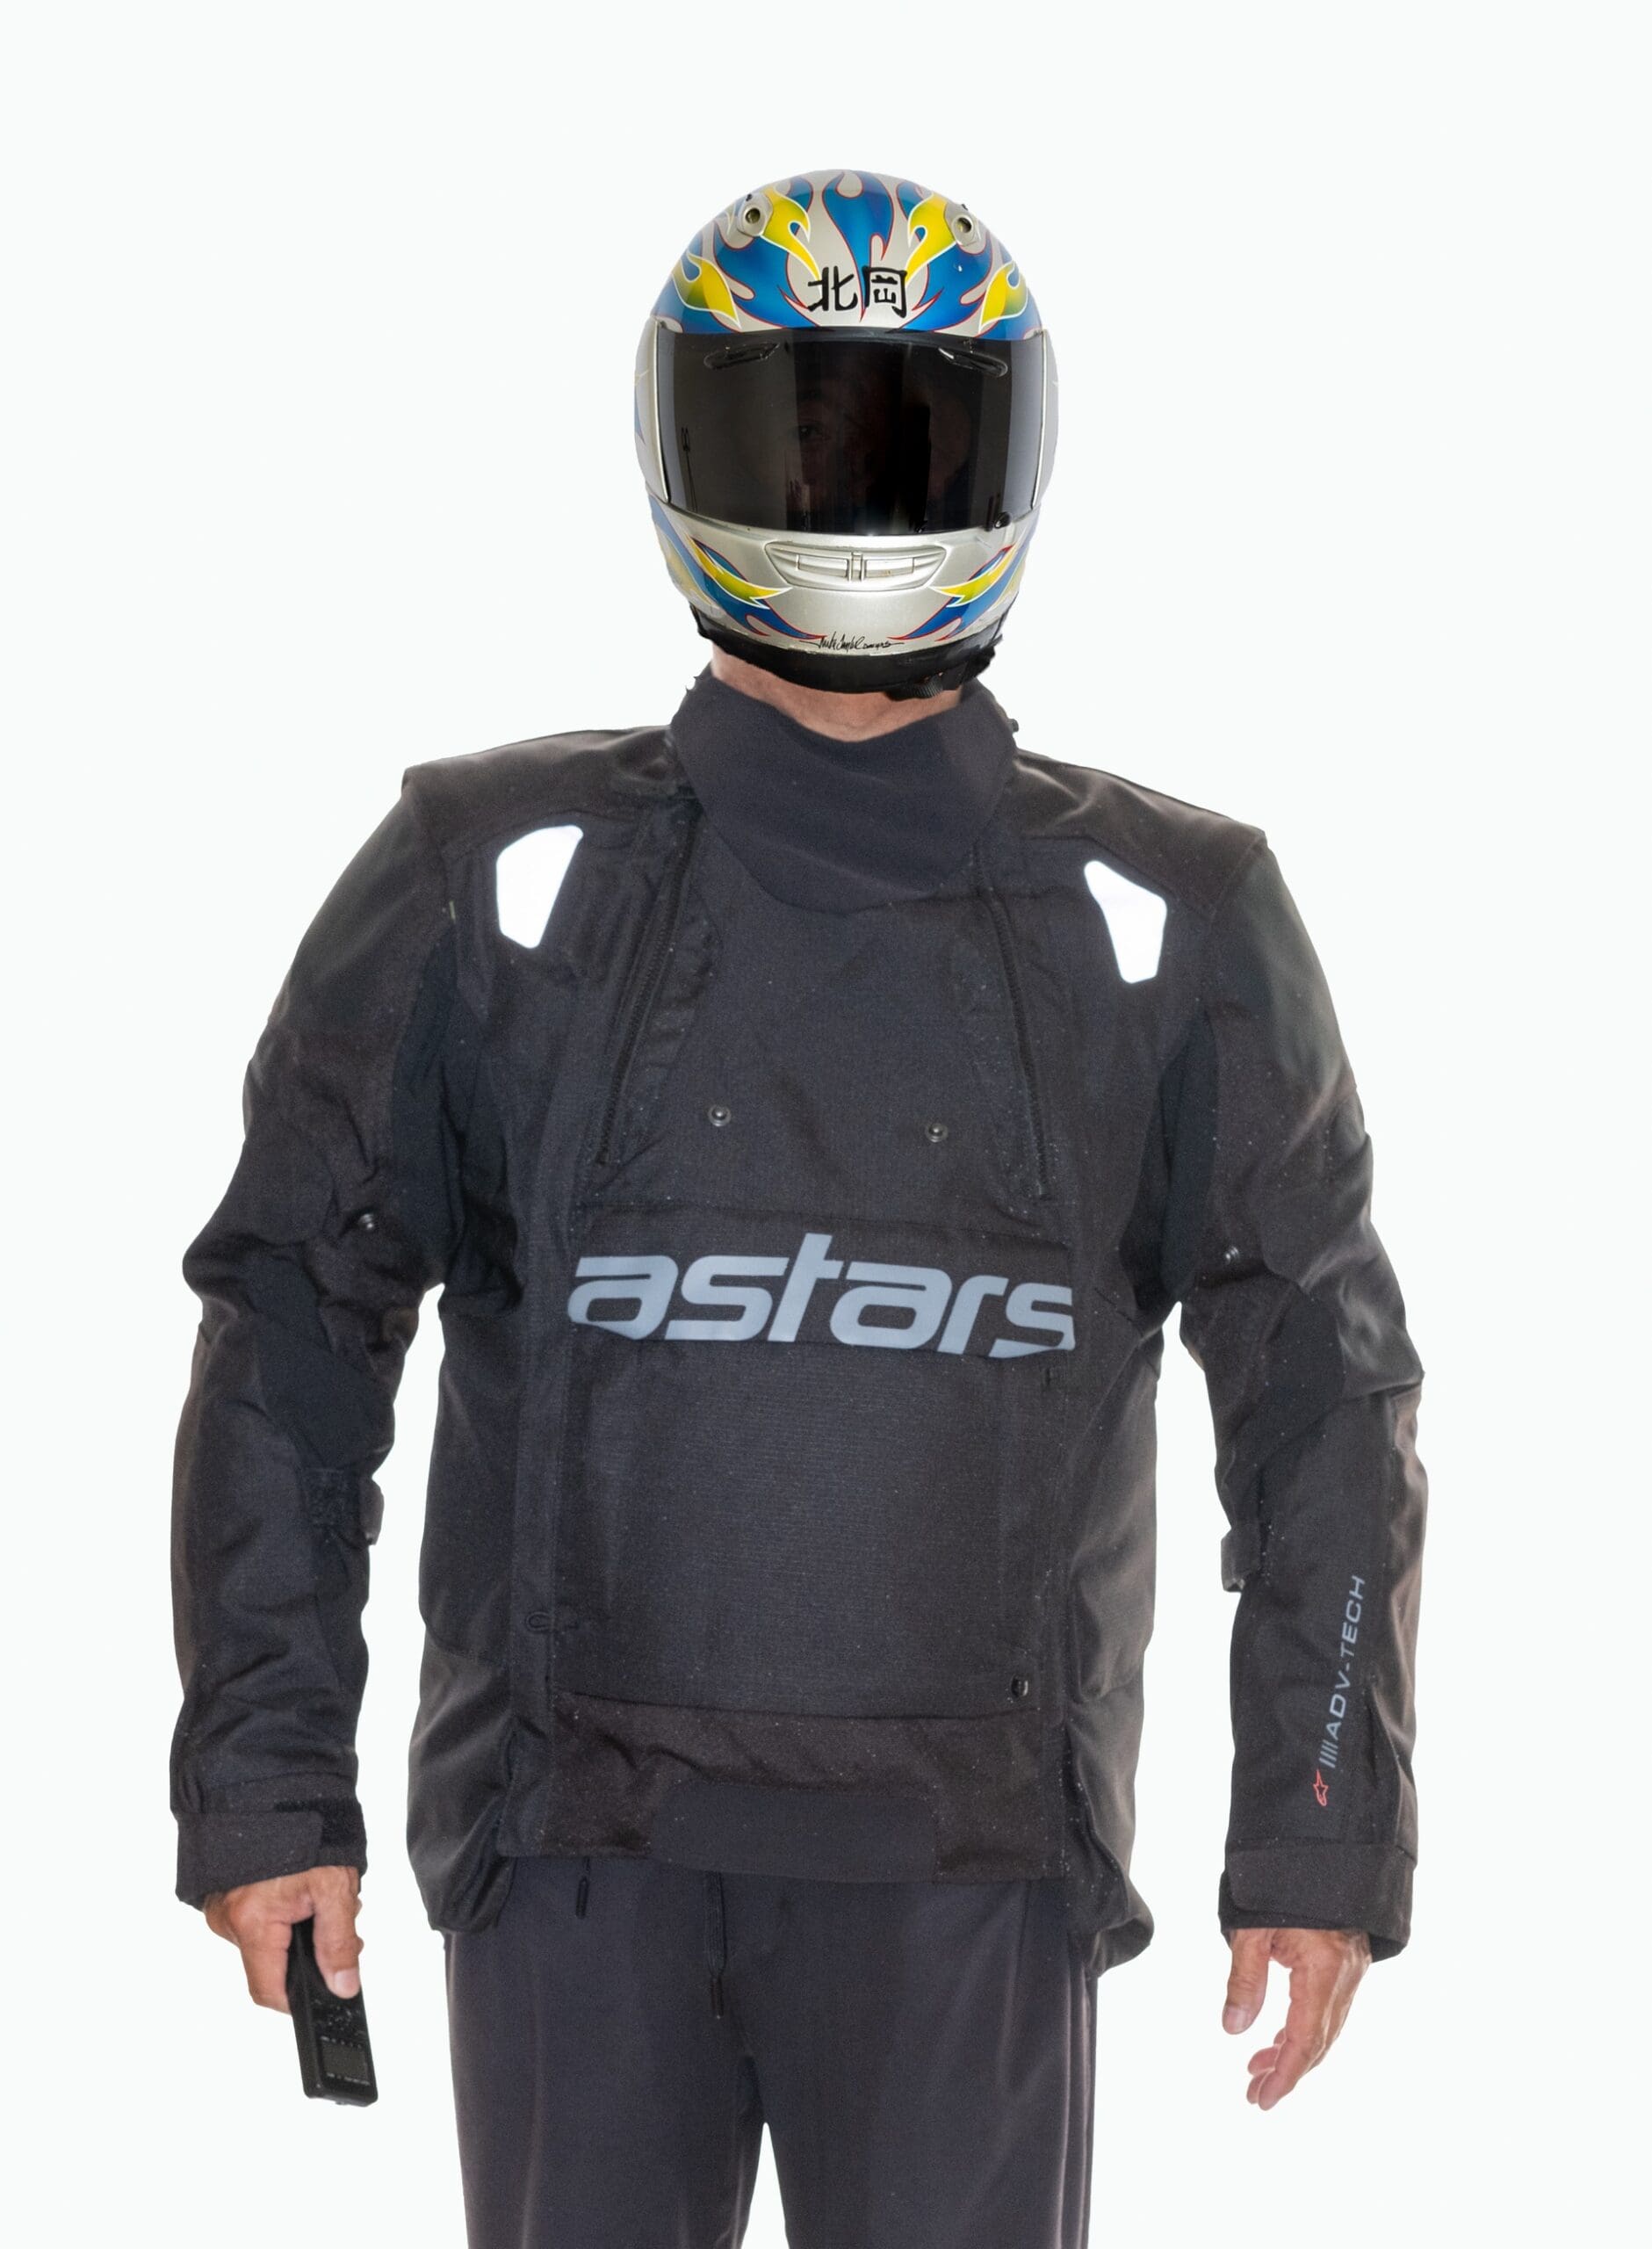
Note that the two white patches on my shoulders are reflective accents, which illuminate in light. The Alpinestars logo is not reflective. My camera’s flash activated the reflective material.
In this image, the Halo is completely zipped up. To unzip the jacket, I would take my right hand, the one you see where I’m holding my camera’s remote control. I’d lift my right hand straight up to the right side of my neck and unzip the jacket.
I’m going to state my first bitch here. Because the primary zipper for the Halo is asymmetrical, I have one hell of a time inserting the zipper tab into the zipper pull. I may just have a mental deficiency, but I have yet to figure out a simple way to do this. It may be that I’m just not accustomed to using an asymmetrical zipper. Only time will tell.
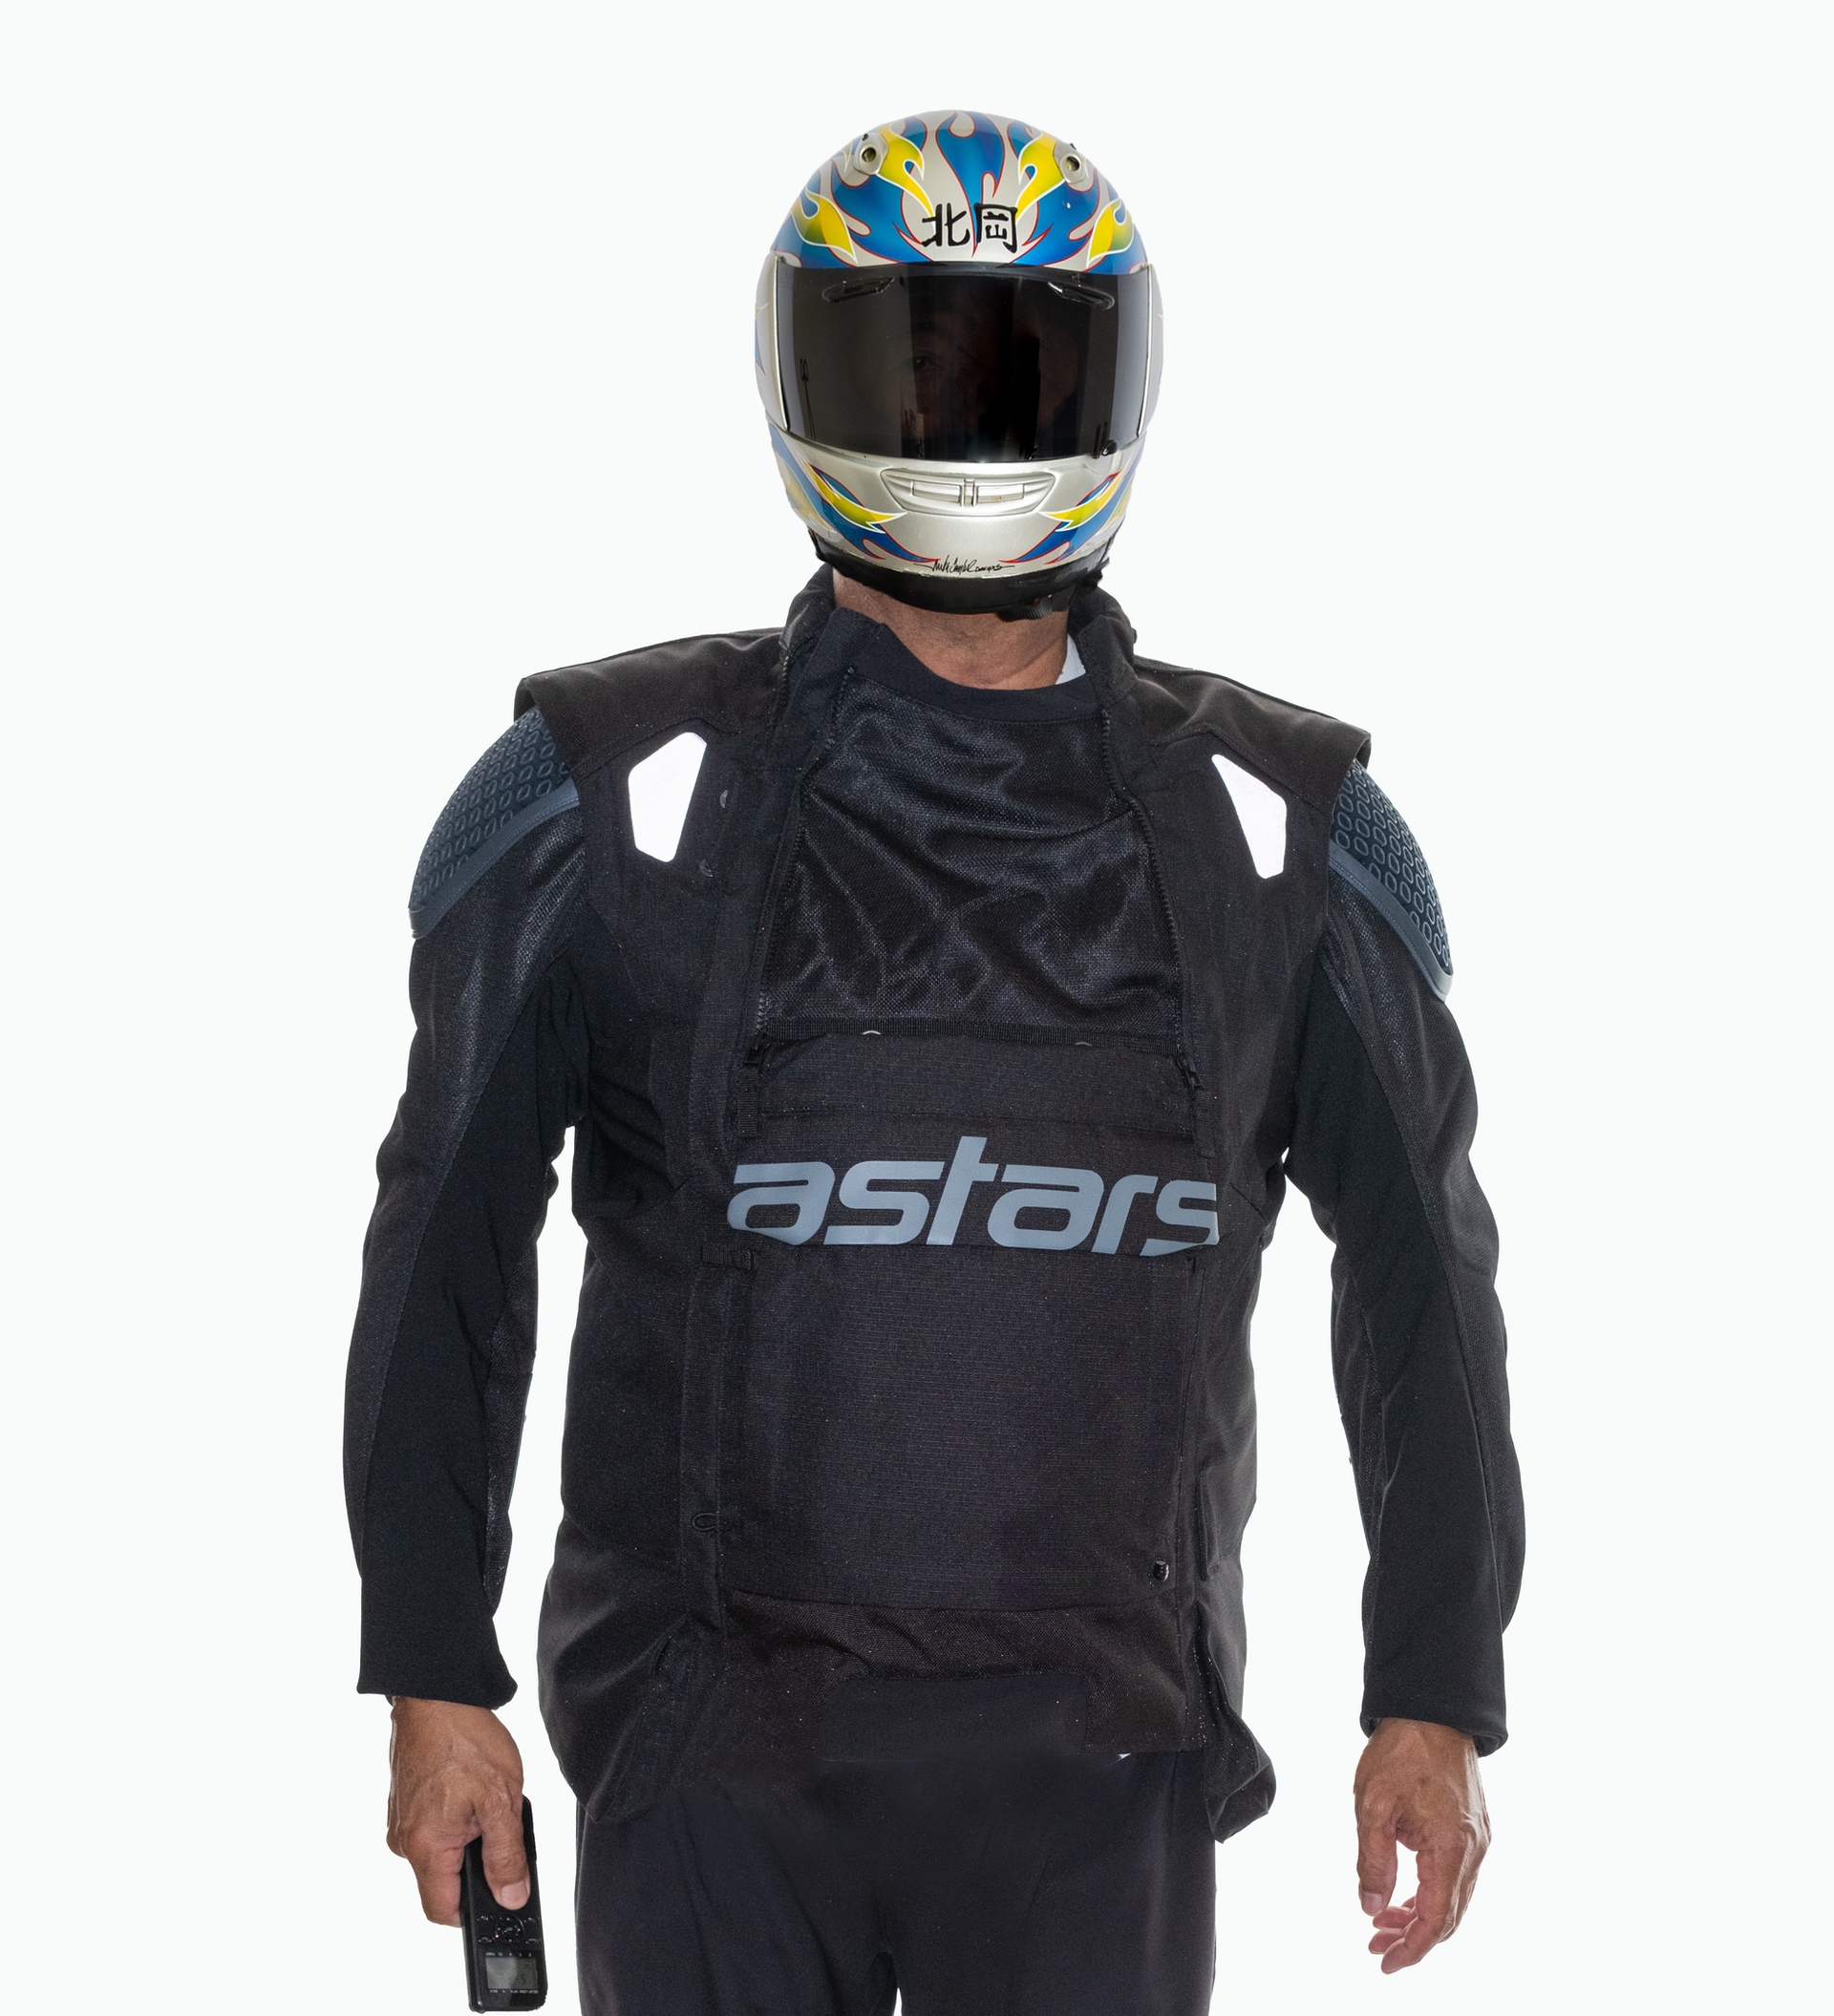
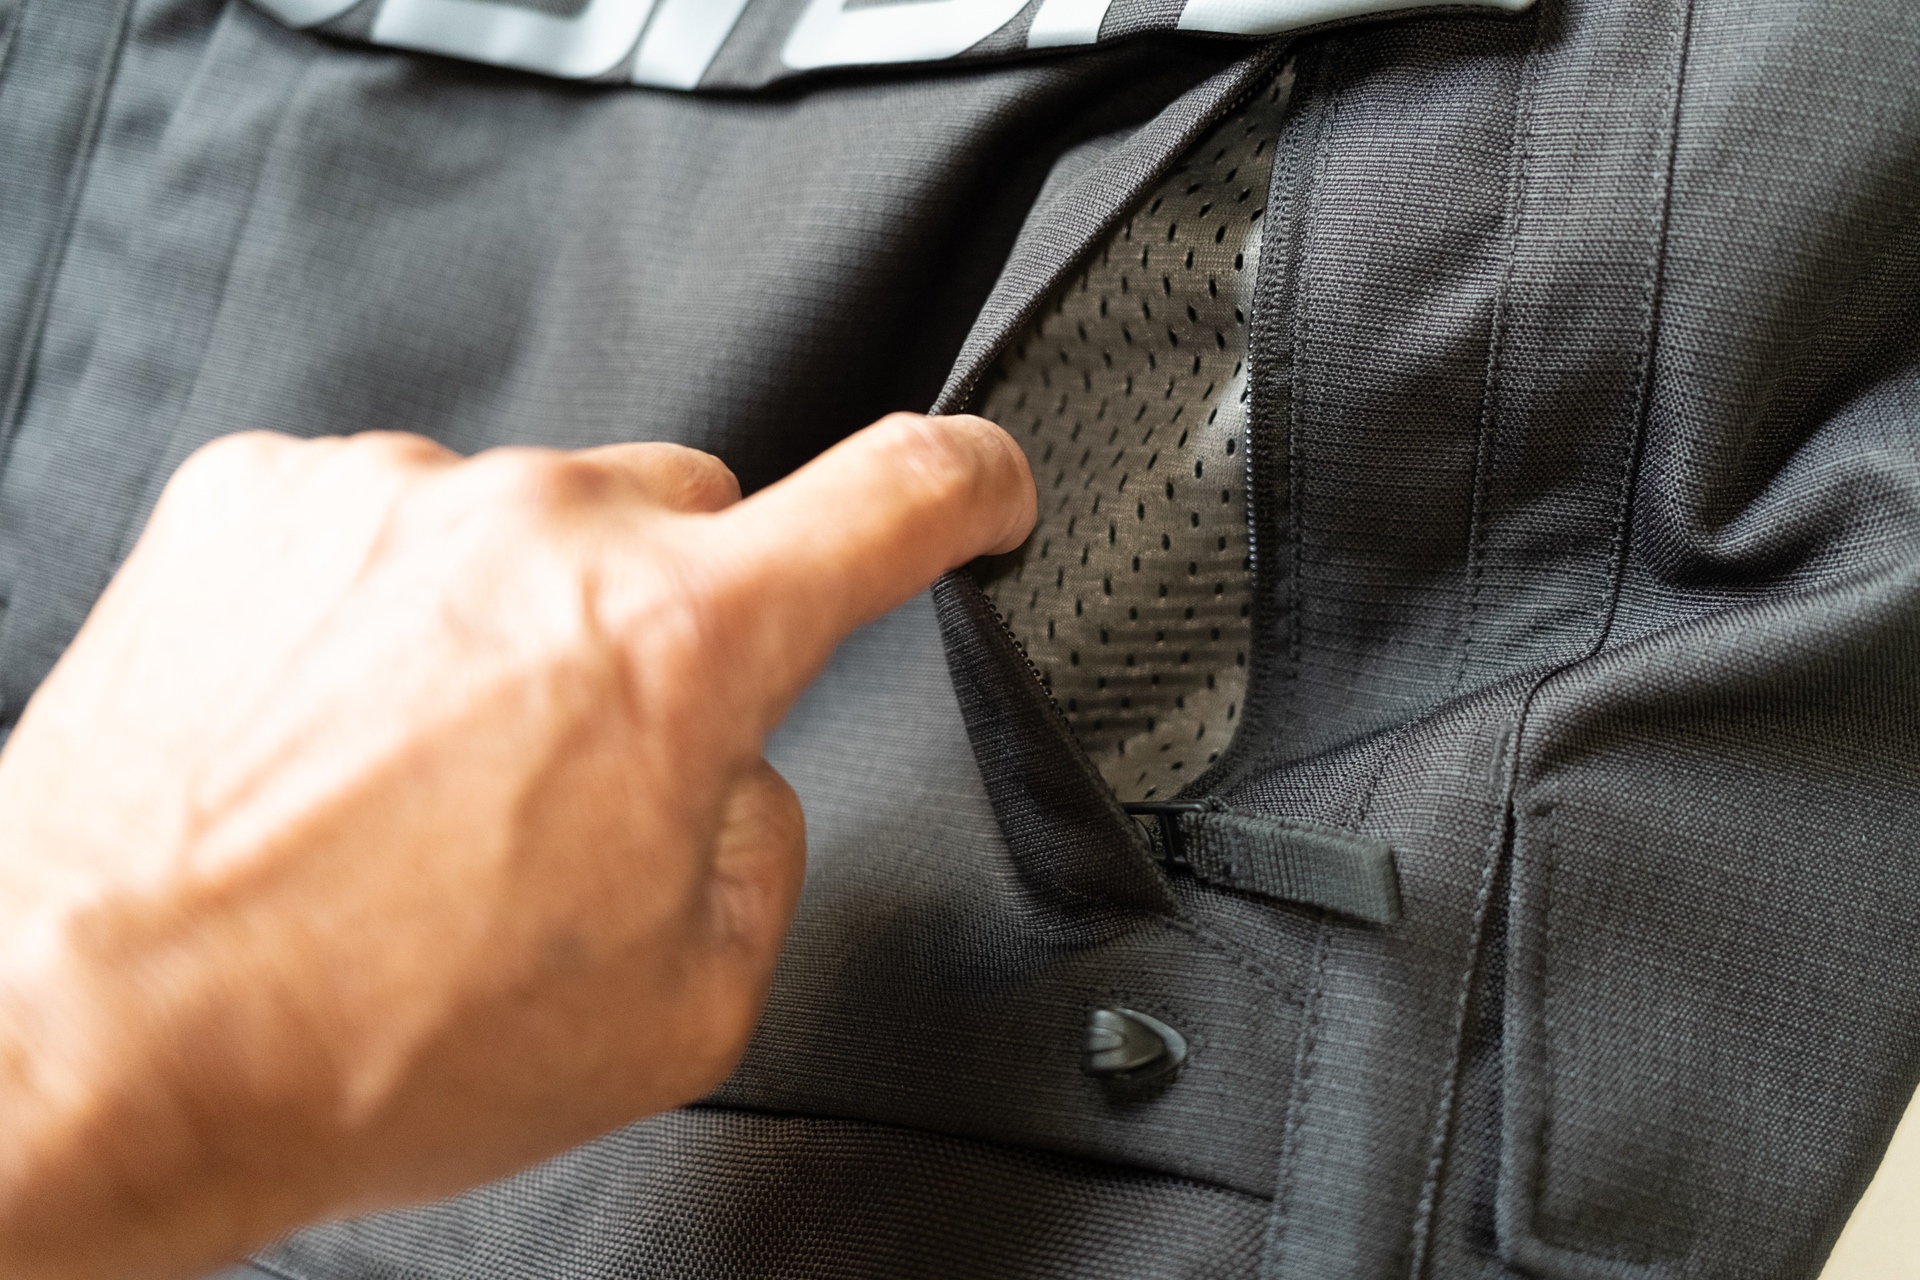
In the center of my chest are two zippers that, when lowered, allow me to roll down the center portion of the jacket’s chest vent window.
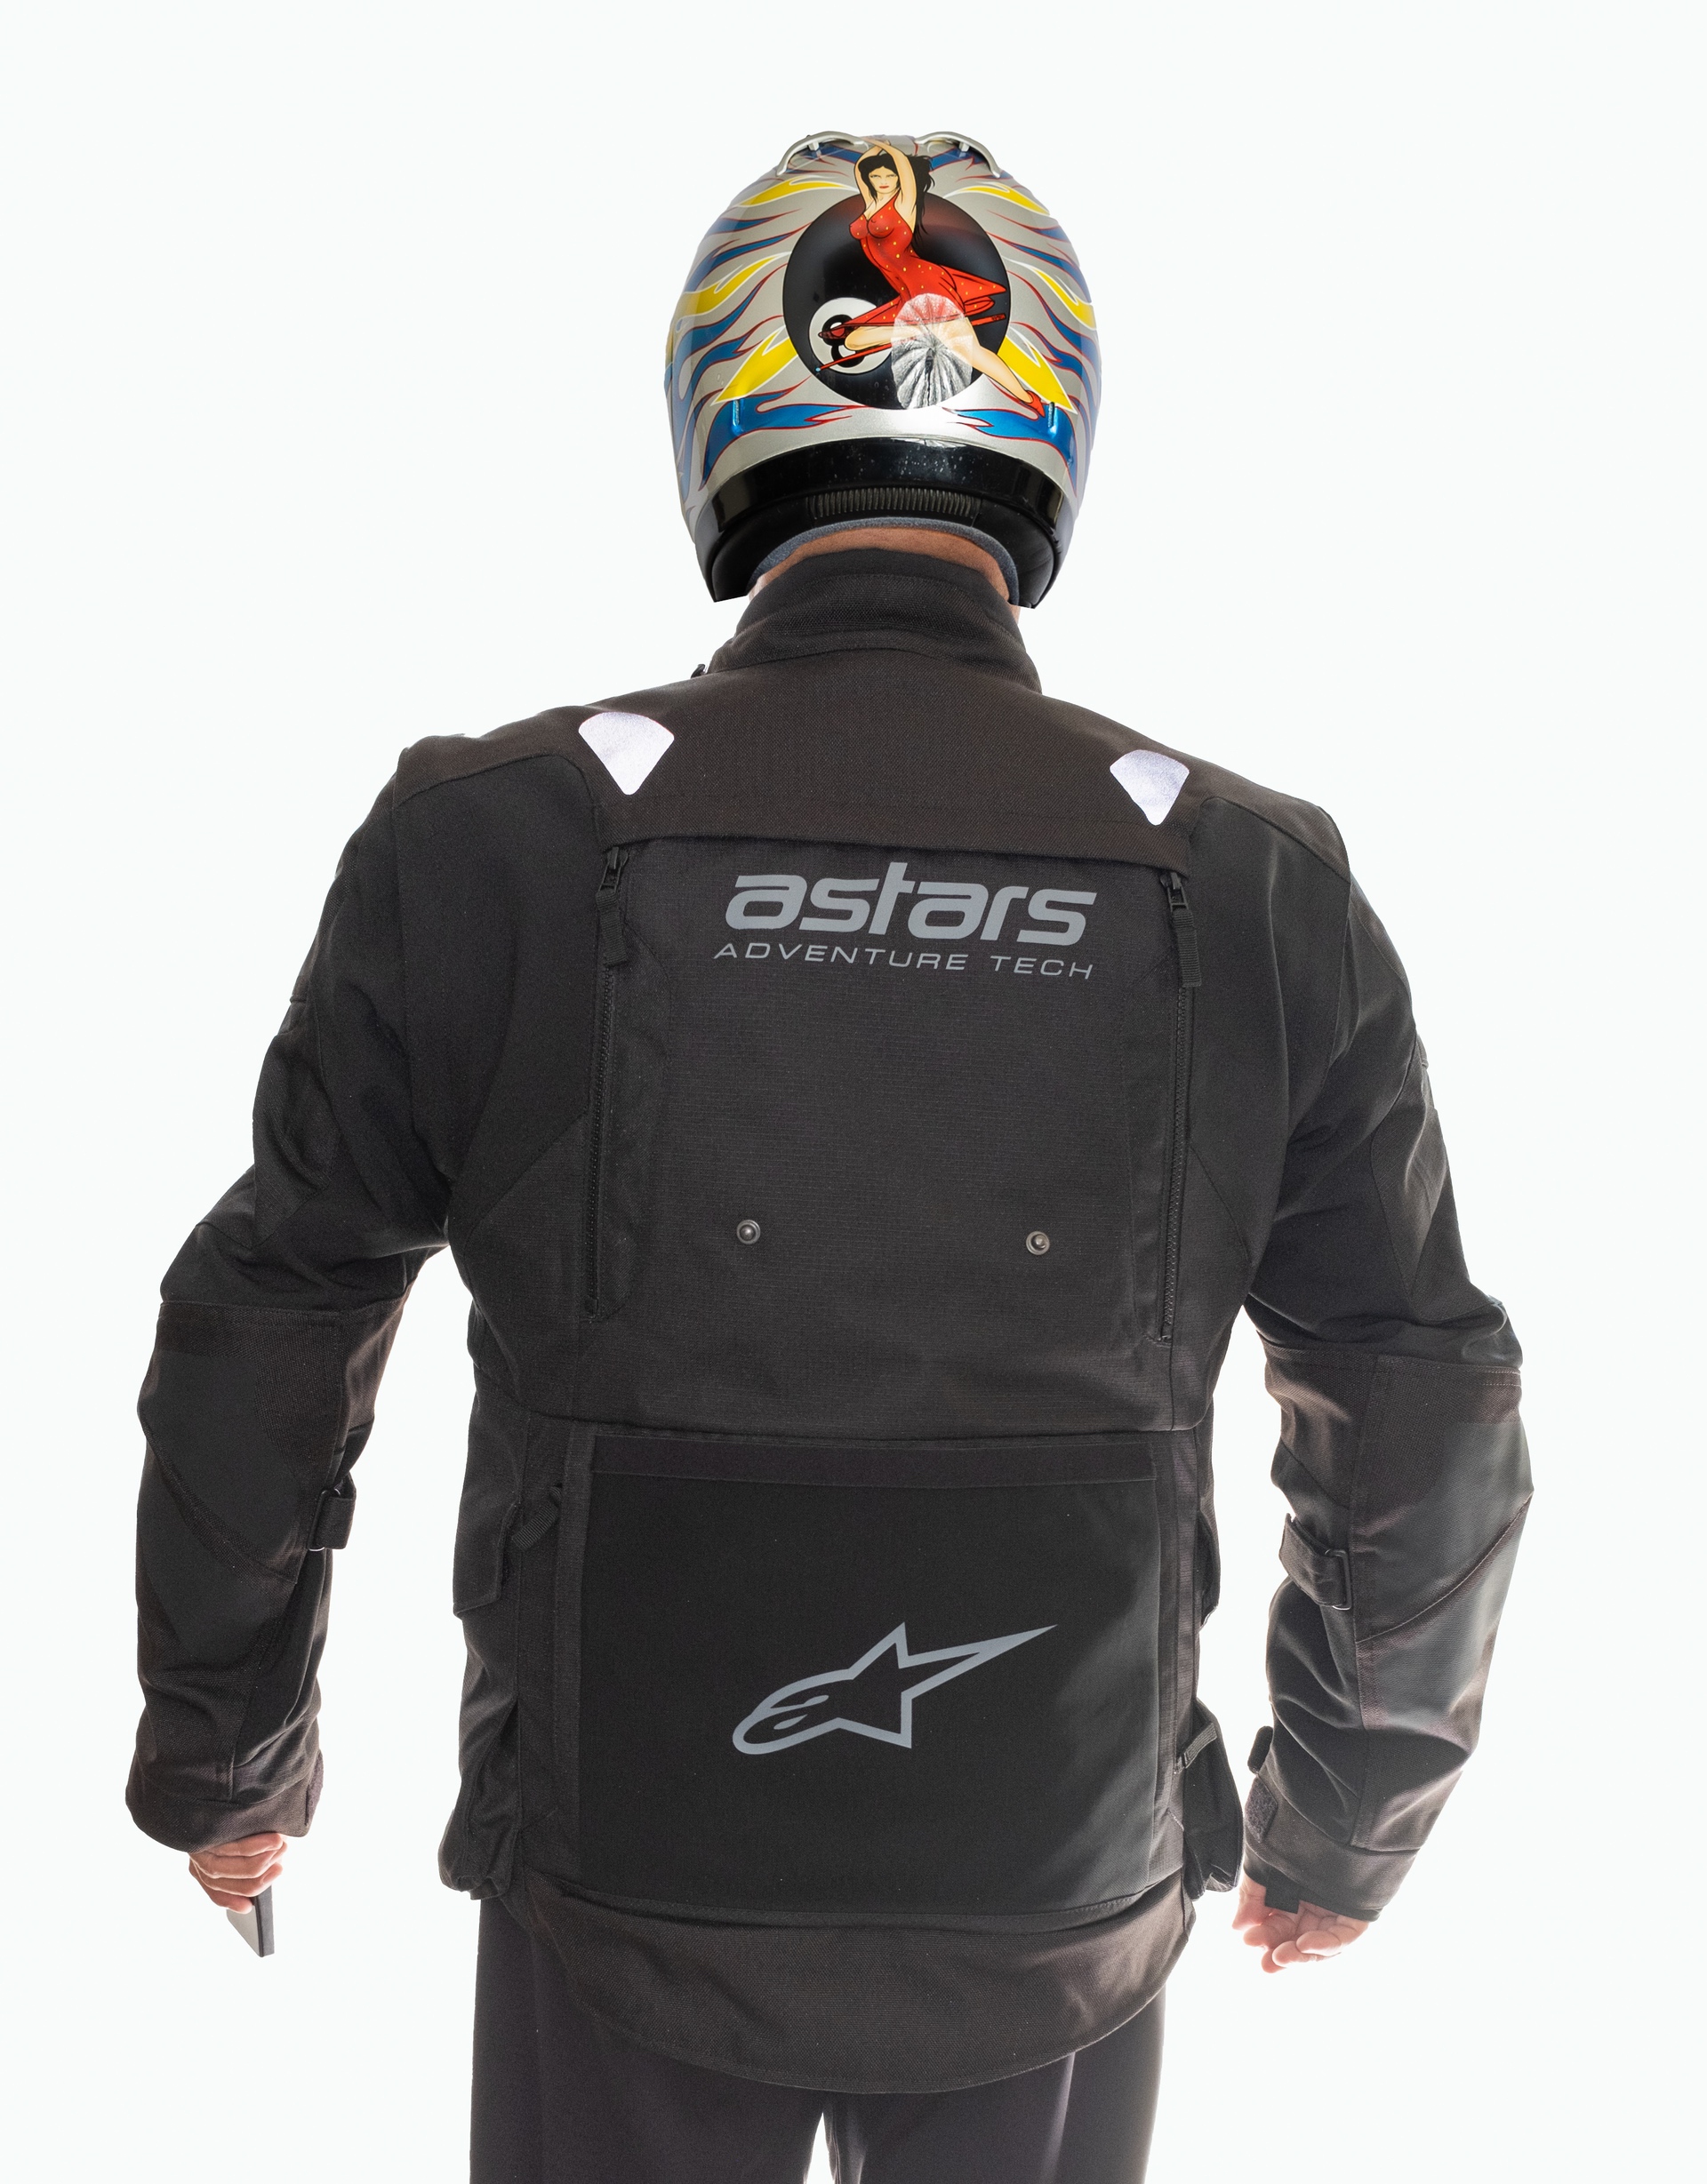
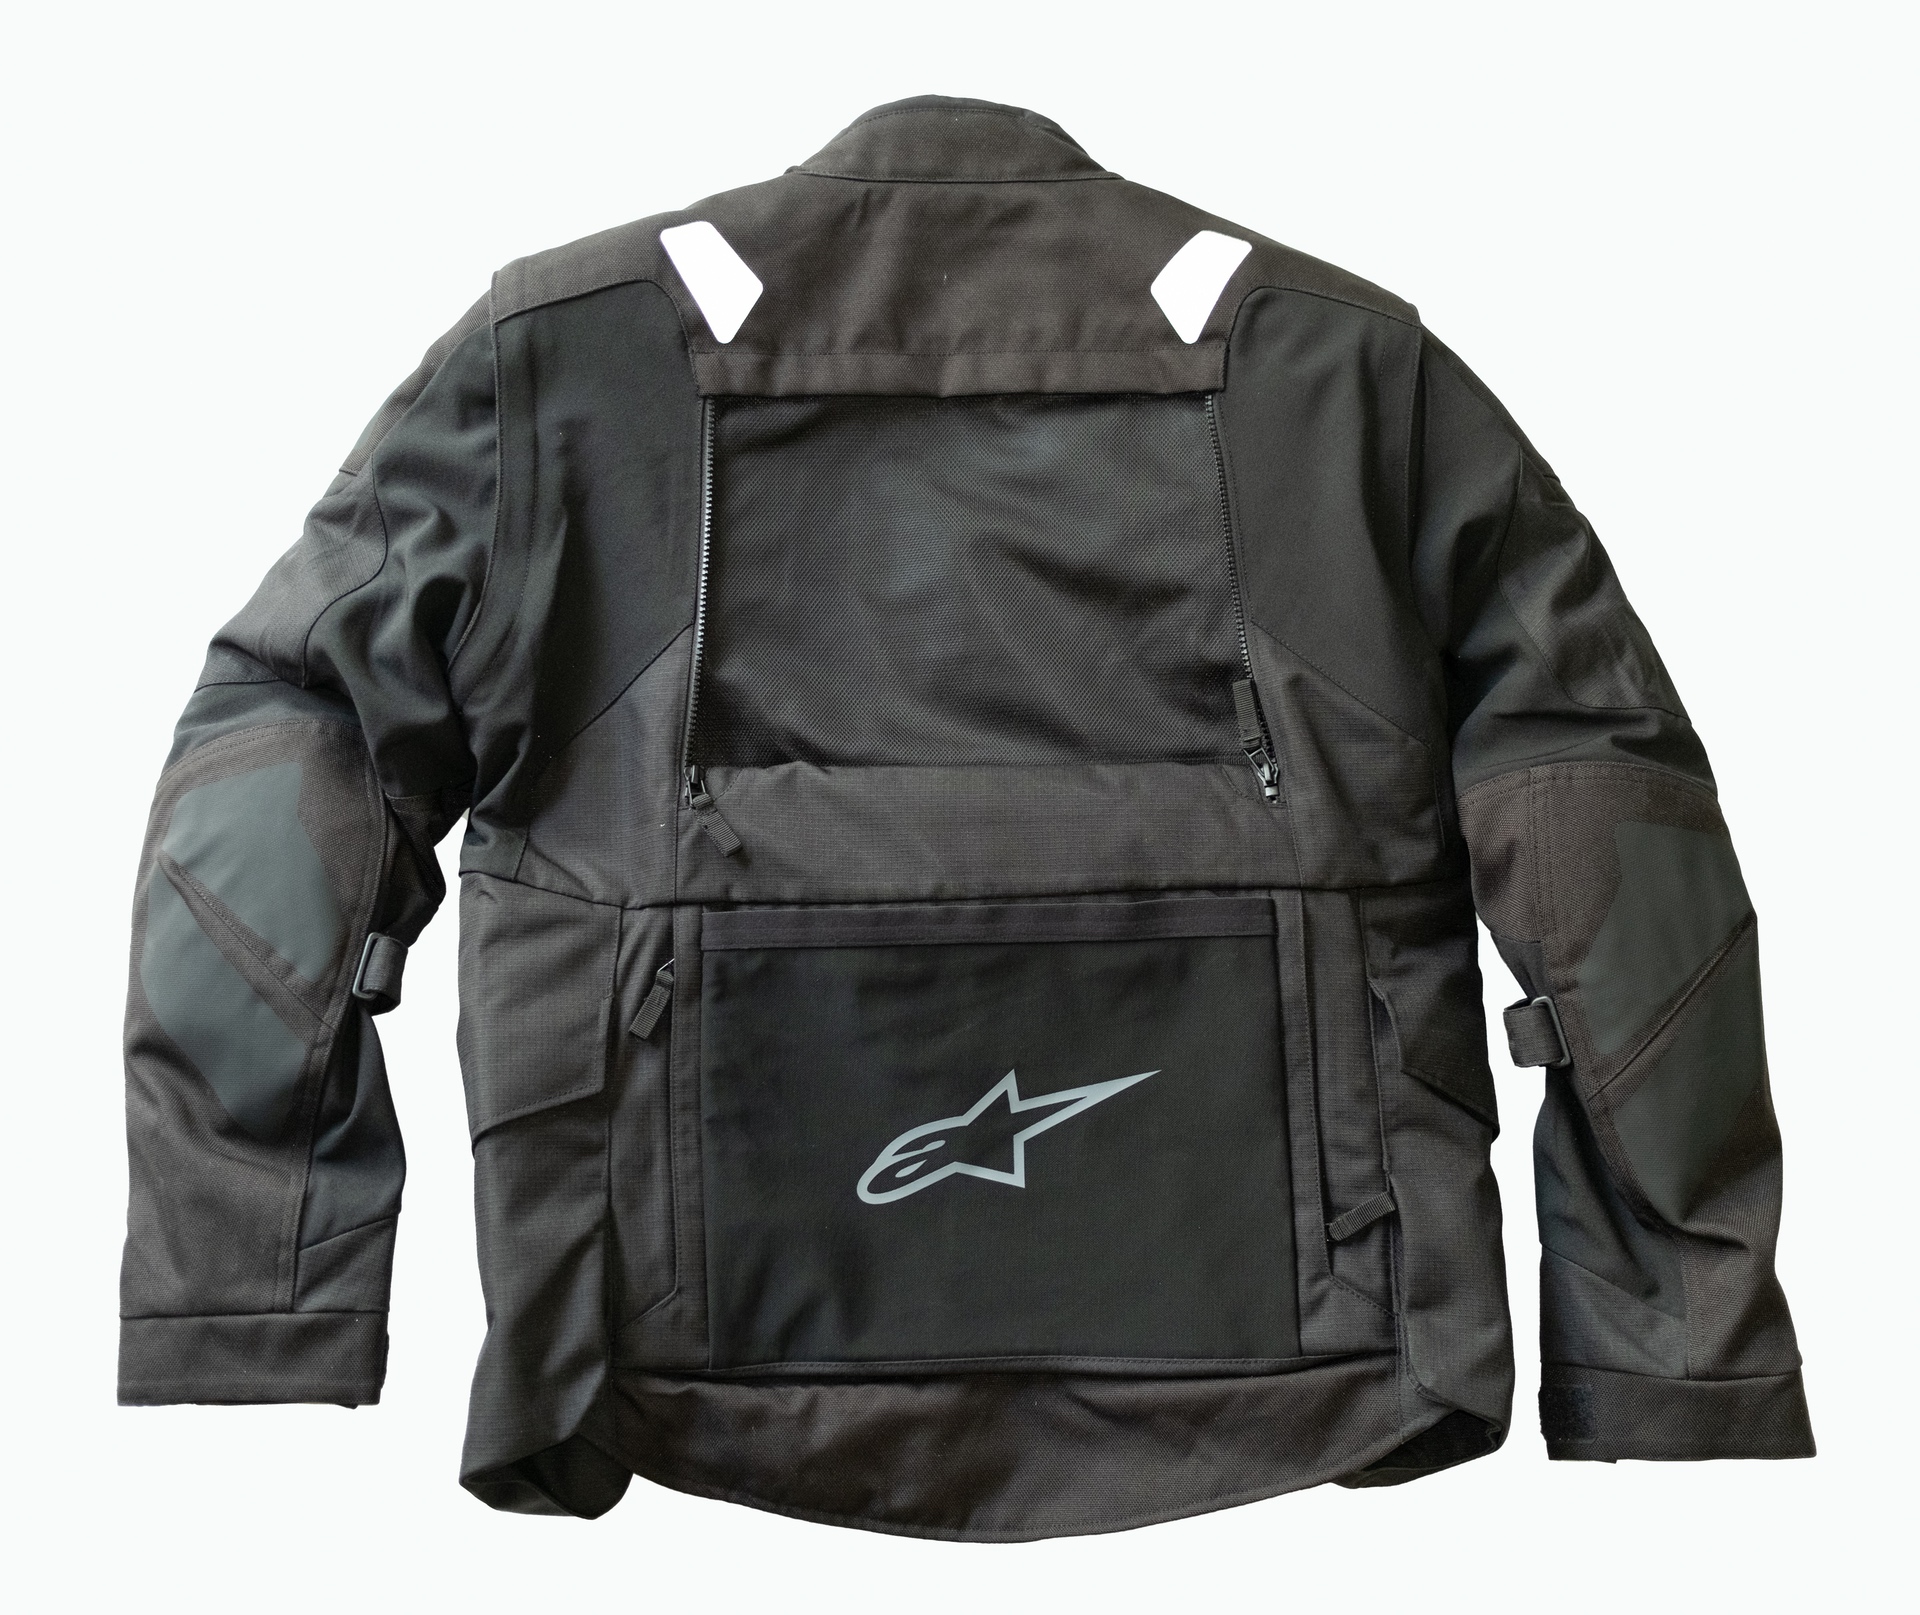
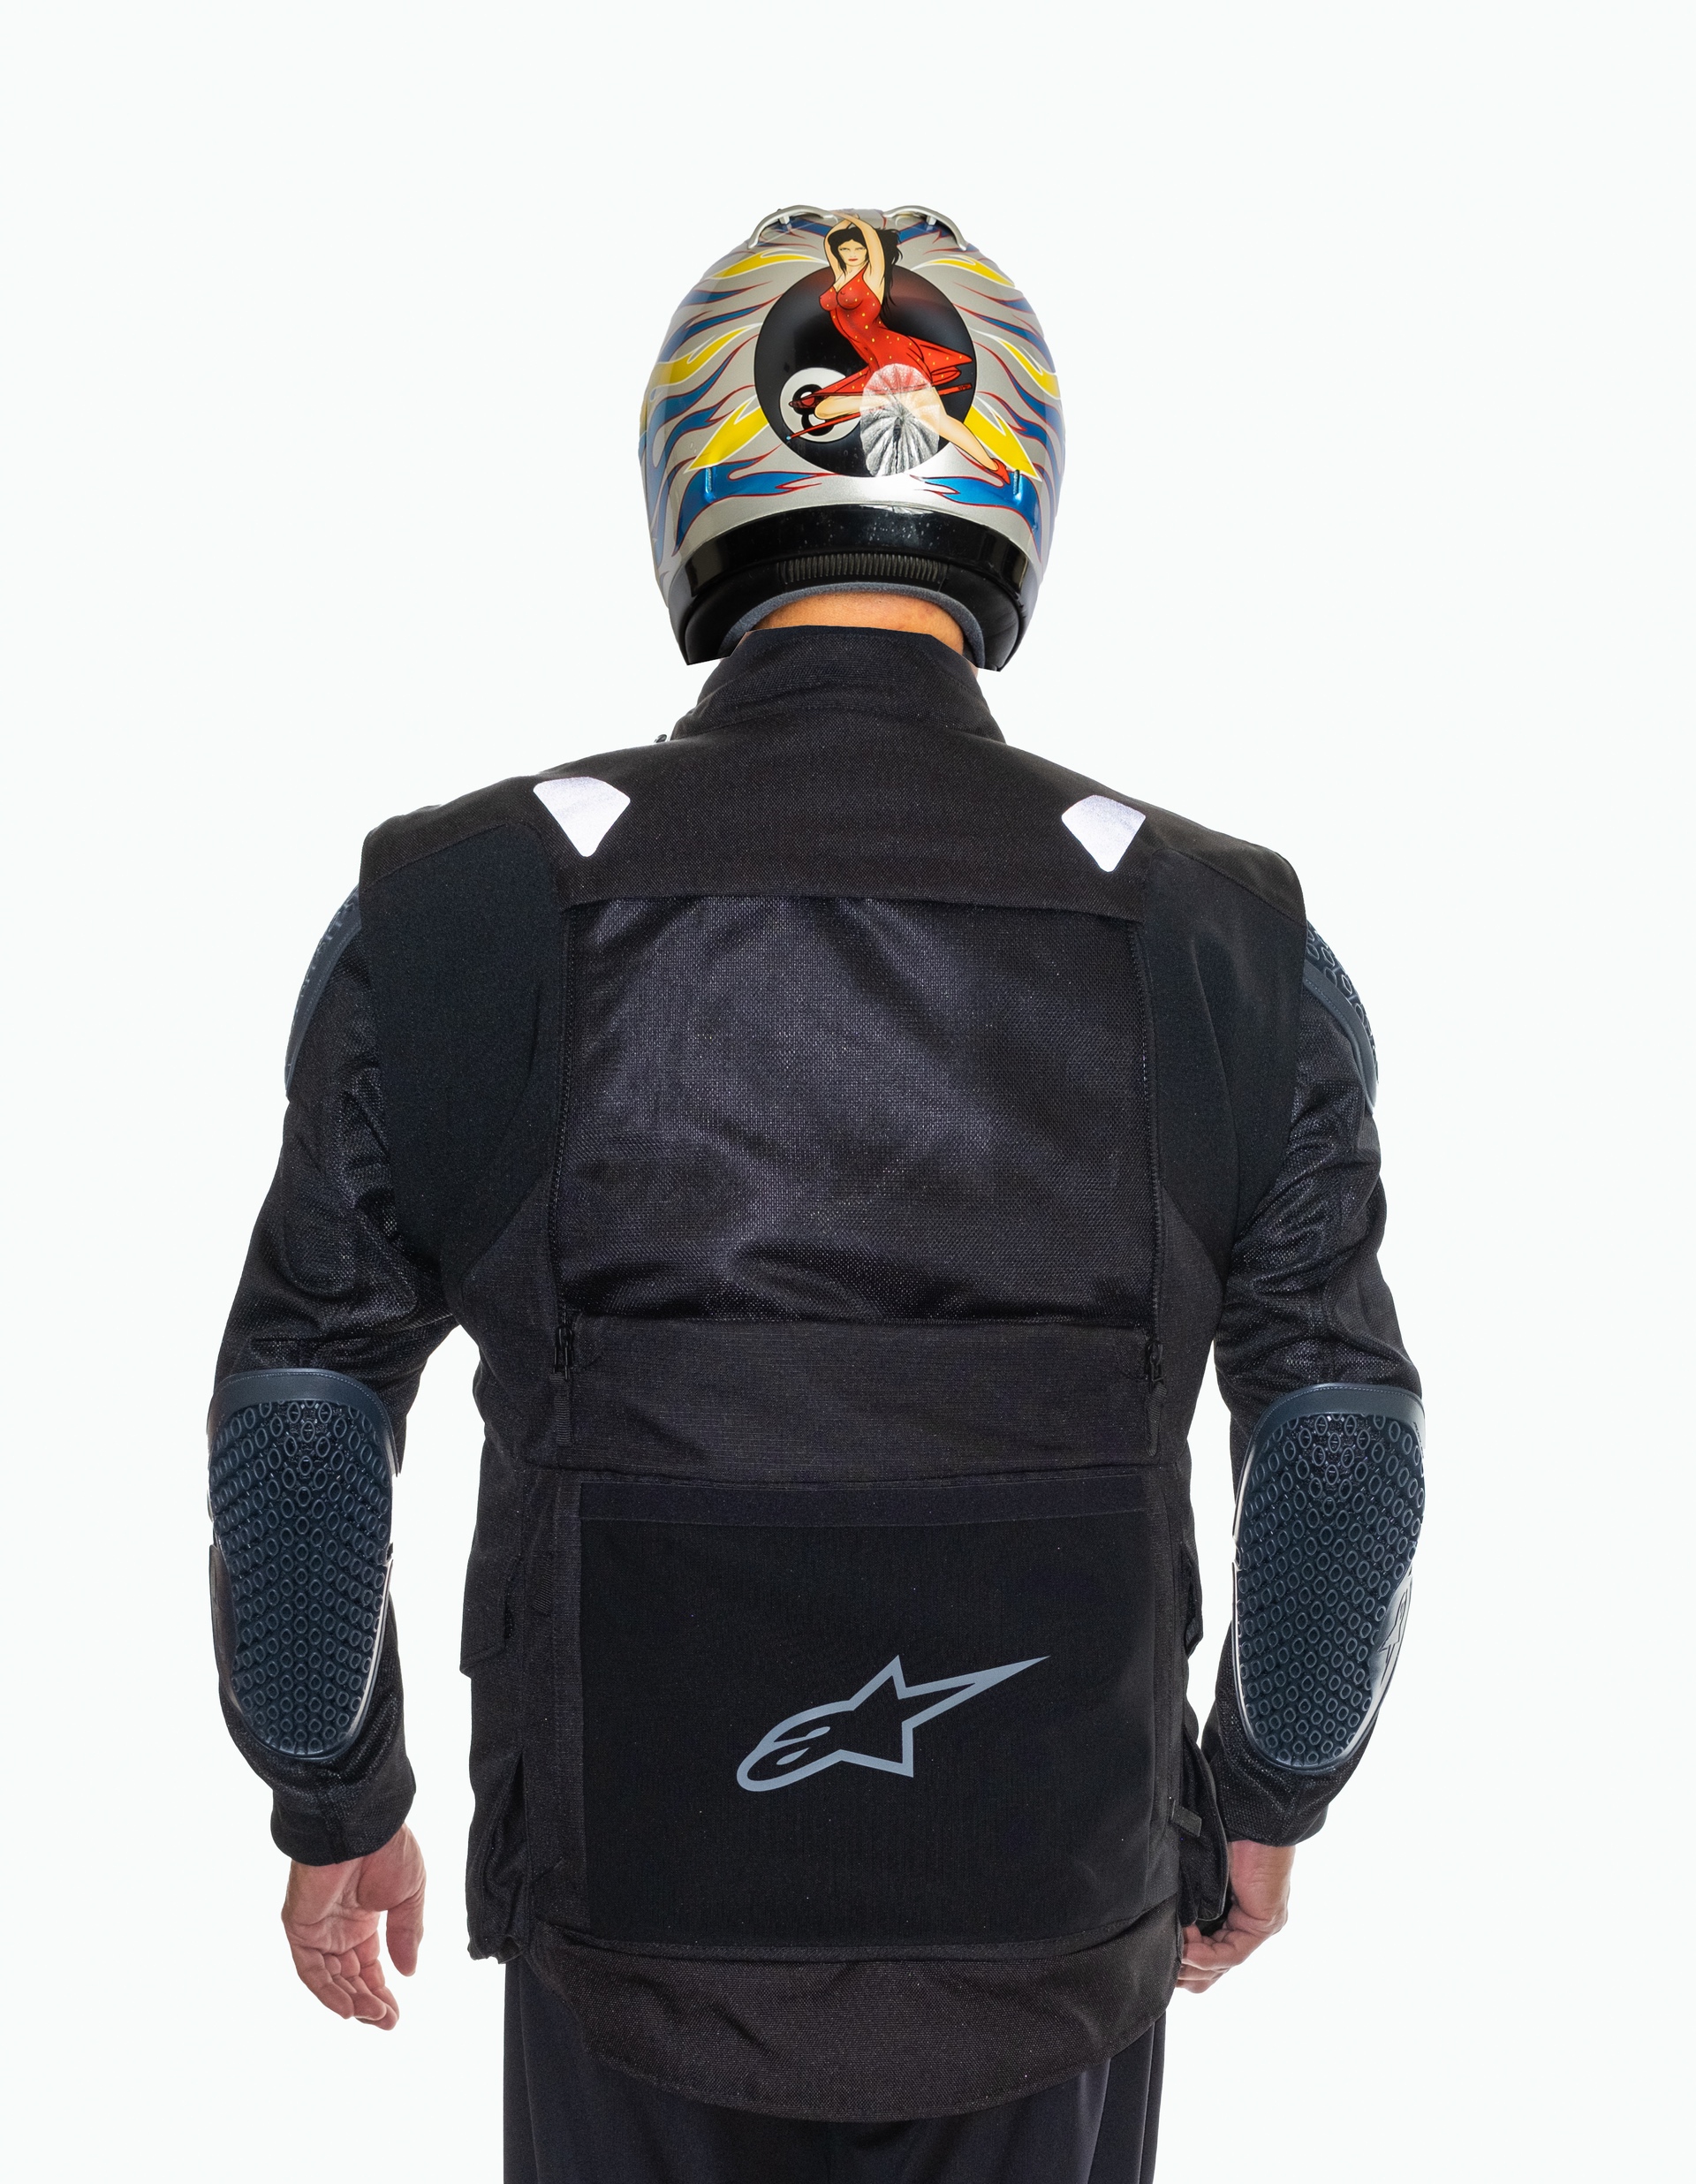
There is a corresponding vent window opening on the back of the jacket. In this image, the rear vent window is zipped up.
This is how it appears zipped down with the panel stored into the pouch below the vent window.
Note that the two white patches on my shoulders are reflective accents. The Astars logo is not reflective. My camera’s flash activated the reflective material.
Both the front and rear vent windows have corresponding snaps, which are used to secure the rolled down fabric in place. A nice feature, but I have found that just rolling the vent fabric down into the storage panels is enough. Not a big deal, but a nice-to-know real world thing.
This configuration allows an incredible amount of air to flow through the Halo. I ride a Zero DSR with a touring windscreen, and even then, the jacket with both vent windows open flows a great amount of air. At the end of this review, I’ve linked to a video where I talk about the feeling of the airflow through the Halo.
With ‘normal’ motorcycle riding jackets, we would use our left hand to zip up the center of our partially open jackets if we get too chilly. We can do the same with the Halo’s front vent window, but obviously not the rear window… like in Hitchcock’s Rear Window.
Then we have sleeves that are removable!
With the sleeves removed, the armor stays in place. I will discuss the protection level difference when we get to the Protection section.
It’s quite difficult to describe how the Halo feels in warm/hot weather when both window vents and the sleeves are removed. The amount of airflow increased by removing the sleeves is incredible.
Prior to the Halo, I wore some jackets with zippered vents in the sleeves and enjoyed the cooling effect they offered. So to take it to this level is wild. Who knew that my arms retained so much heat? Anyway, on HOT AF days, I plan to ride with the sleeve off. And then we have this:
I’ll explain more in the Fastener and Features sections, but you can wear the Halo completely open! It’s crazy and feels like I’m just wearing just a t-shirt when opened and the sleeves removed. Now that we’re on that topic, my t-shirt says “It’s all fun and games until someone loses a weiner.” And yes, I wear it in public in mixed company.
In all seriousness, I would not actually ride like this—on or off-road. My feeling is that the jacket won’t offer enough protection with the strain placed on the kidney belt loops. More on this in the Protection section. But I do wear the Halo this way when I’m wearing my Helite Turtle 2 Airbag Vest (which is always) on hot days.
Why? Well, having the Helite worn over the Halo when configured so the front is completely open while wearing the elastic kidney belt mitigates the chance of the jacket opening in a fall. In this manner, I feel I get the best of both worlds: incredible airflow and excellent protection.
Pockets/Storage in the Alpinestars Halo Drystar Jacket
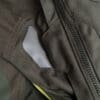
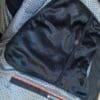
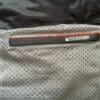
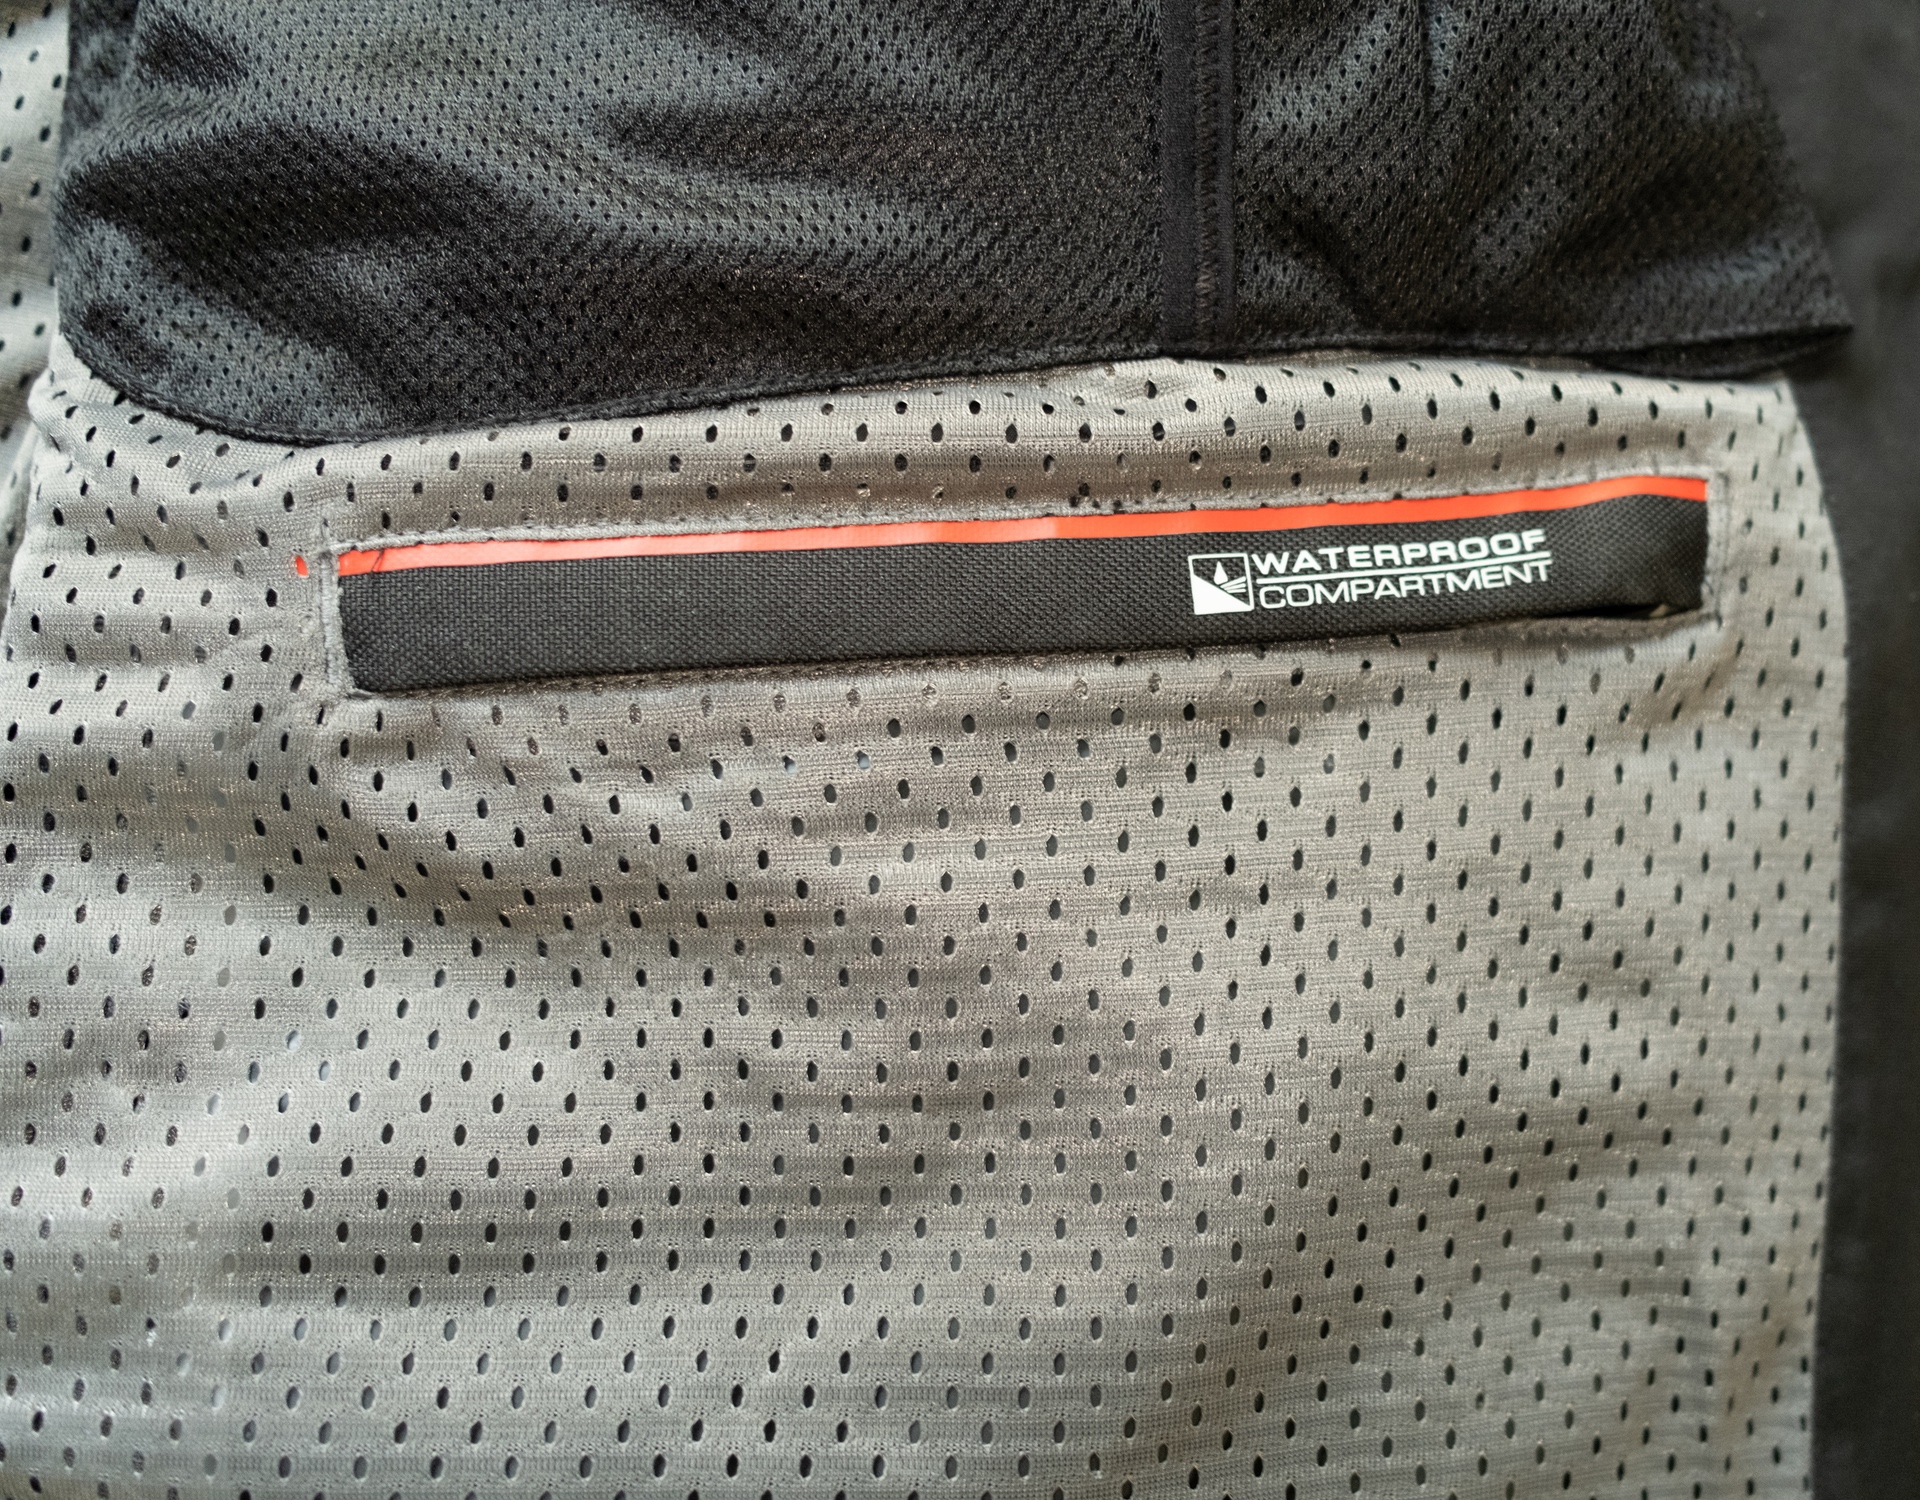
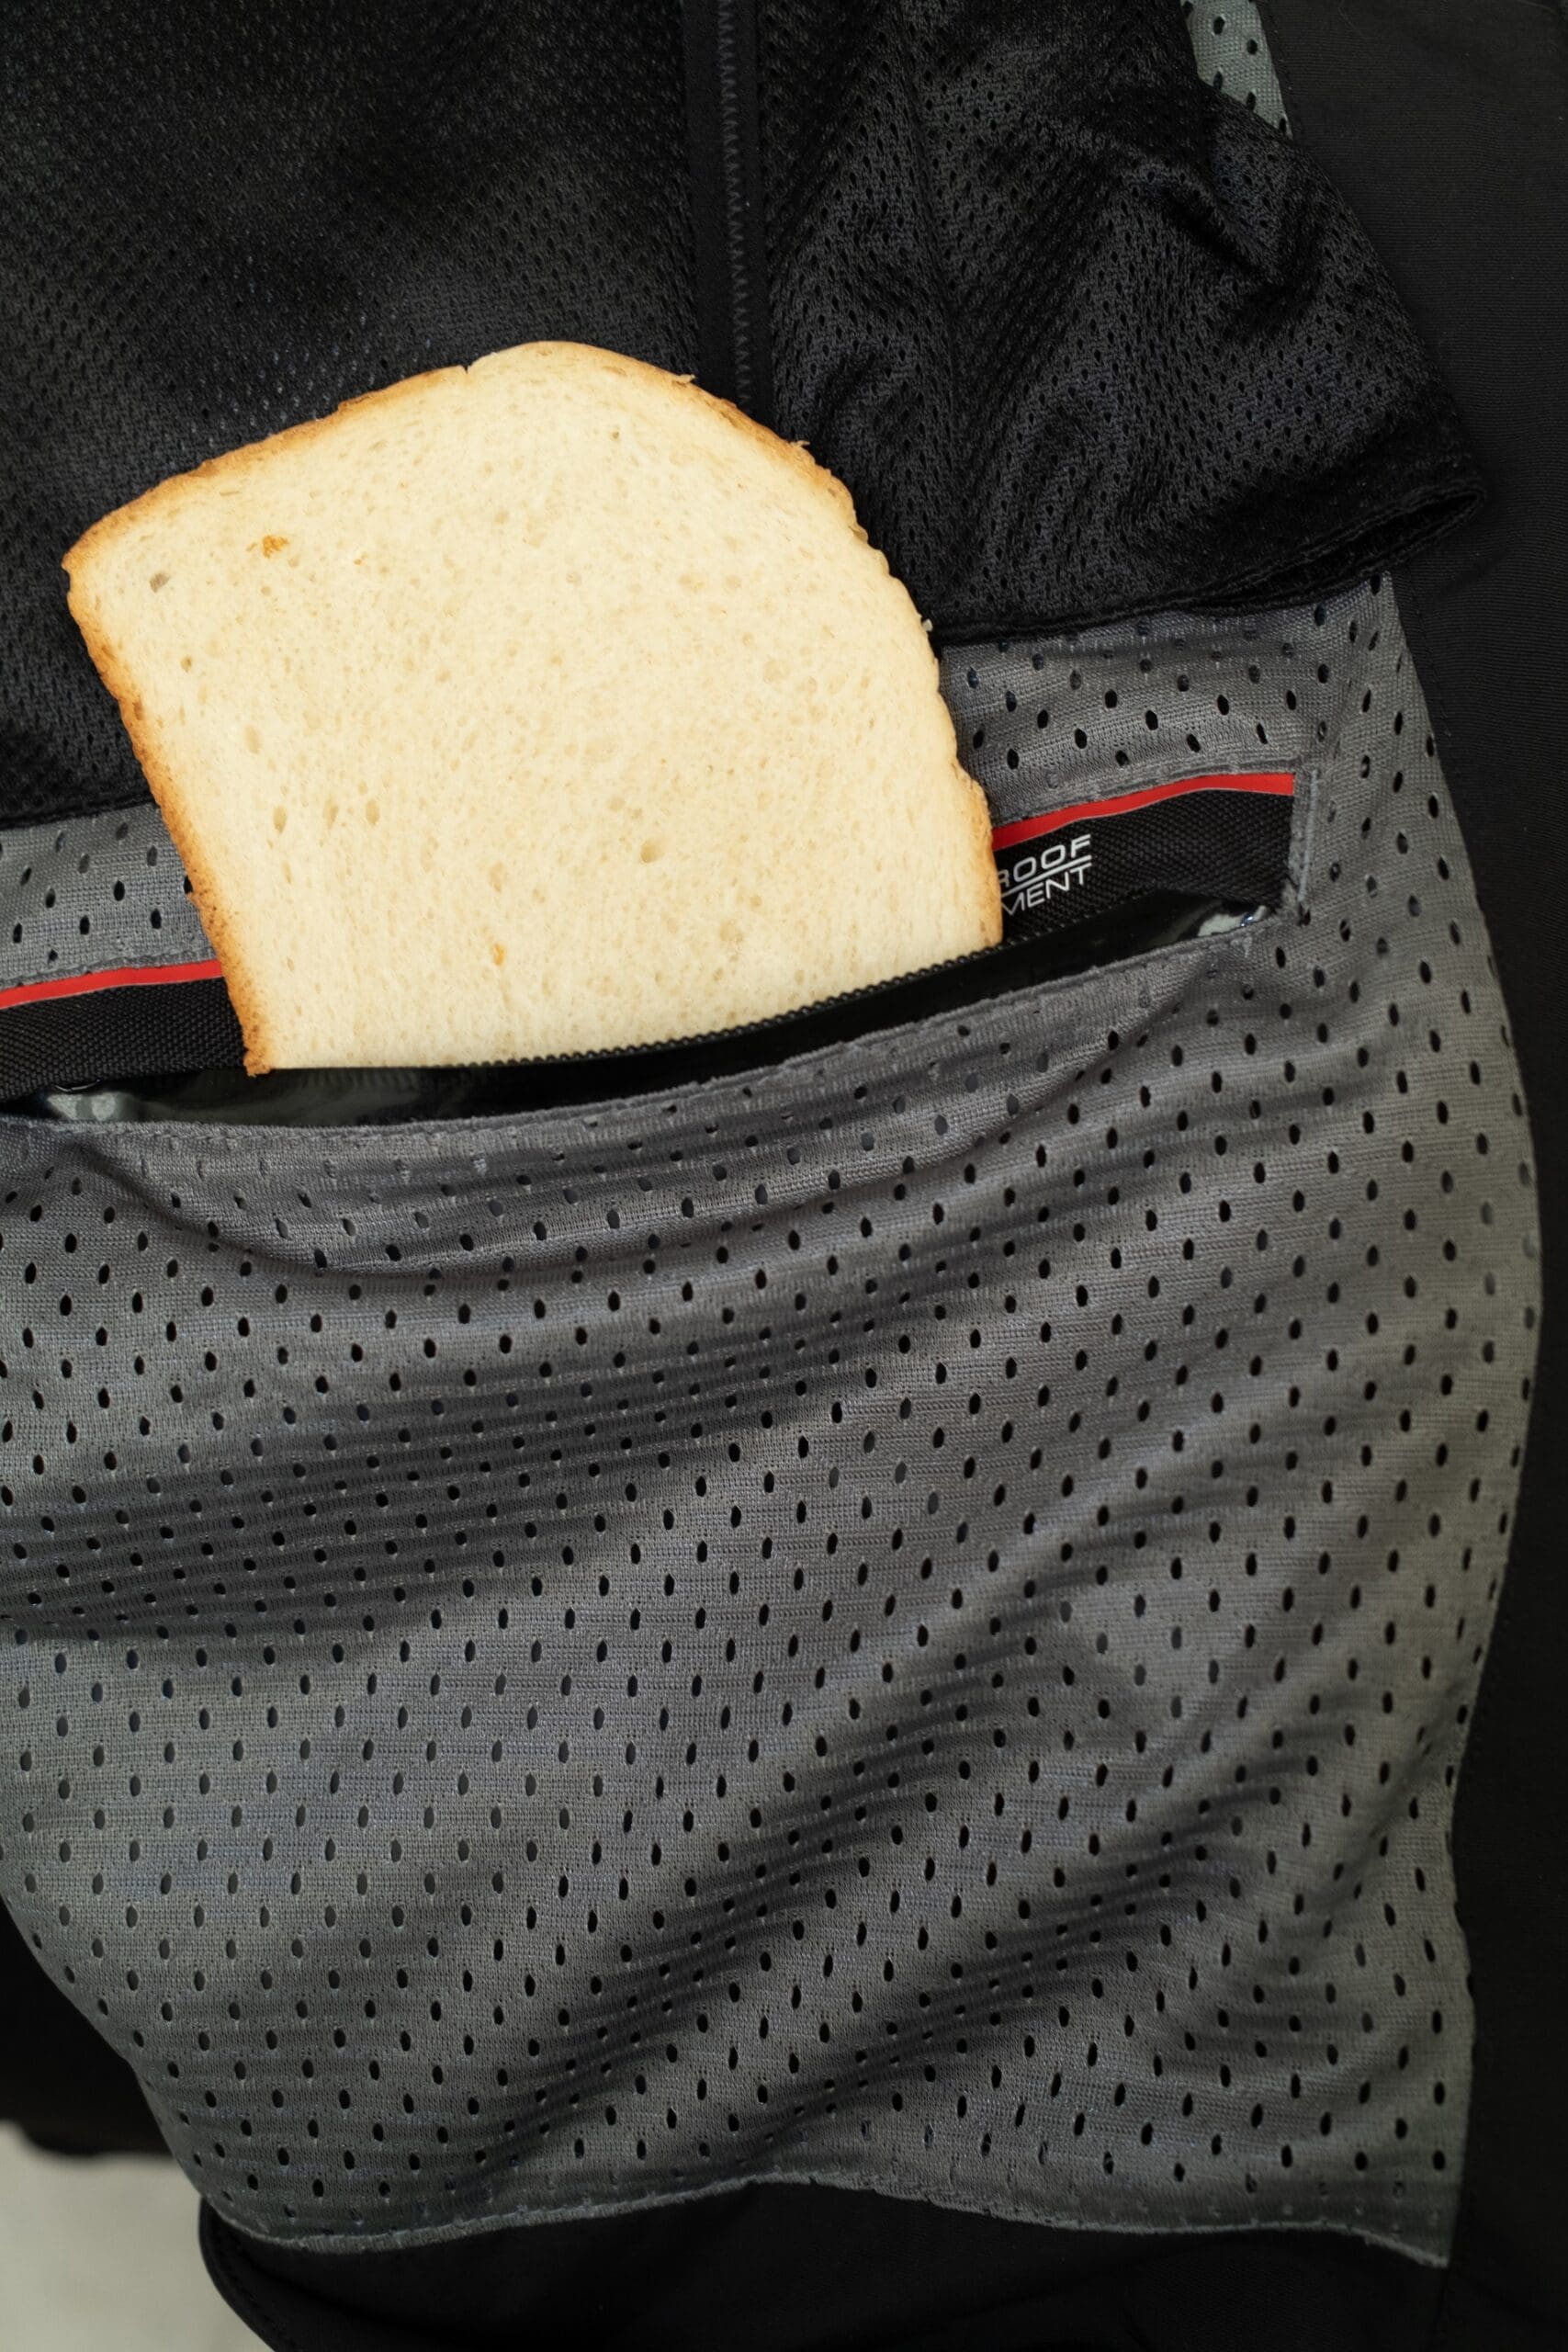
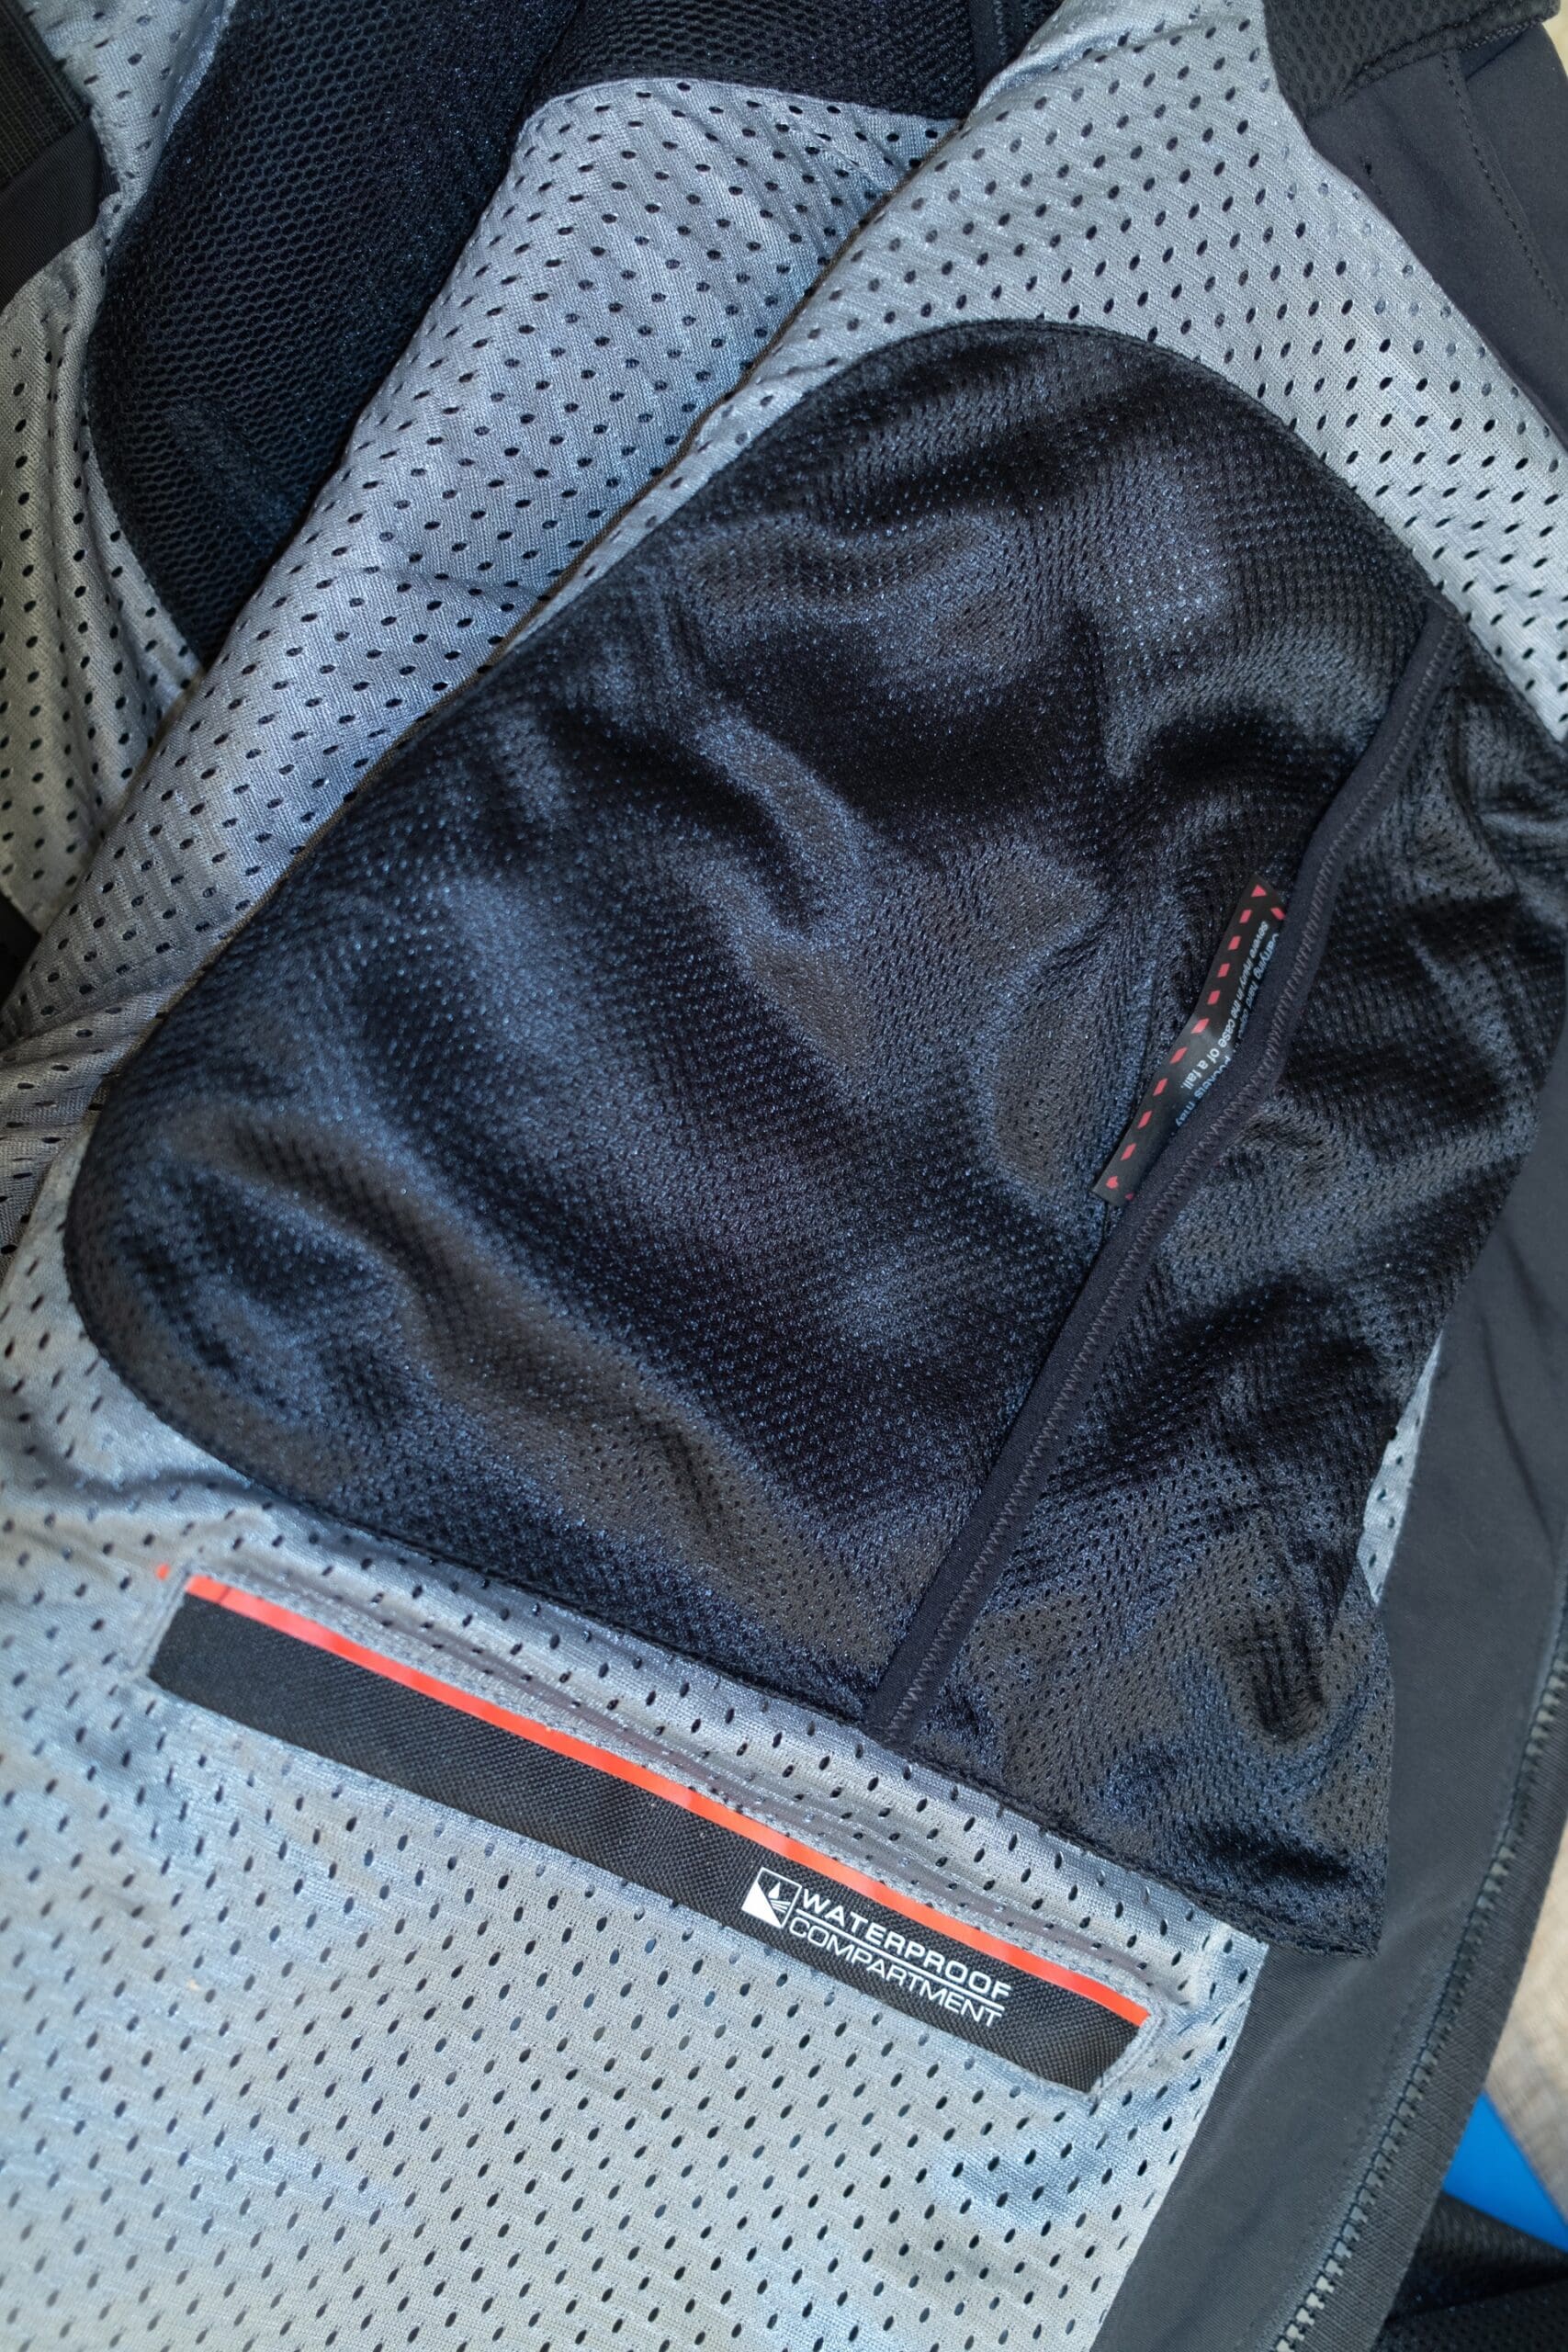
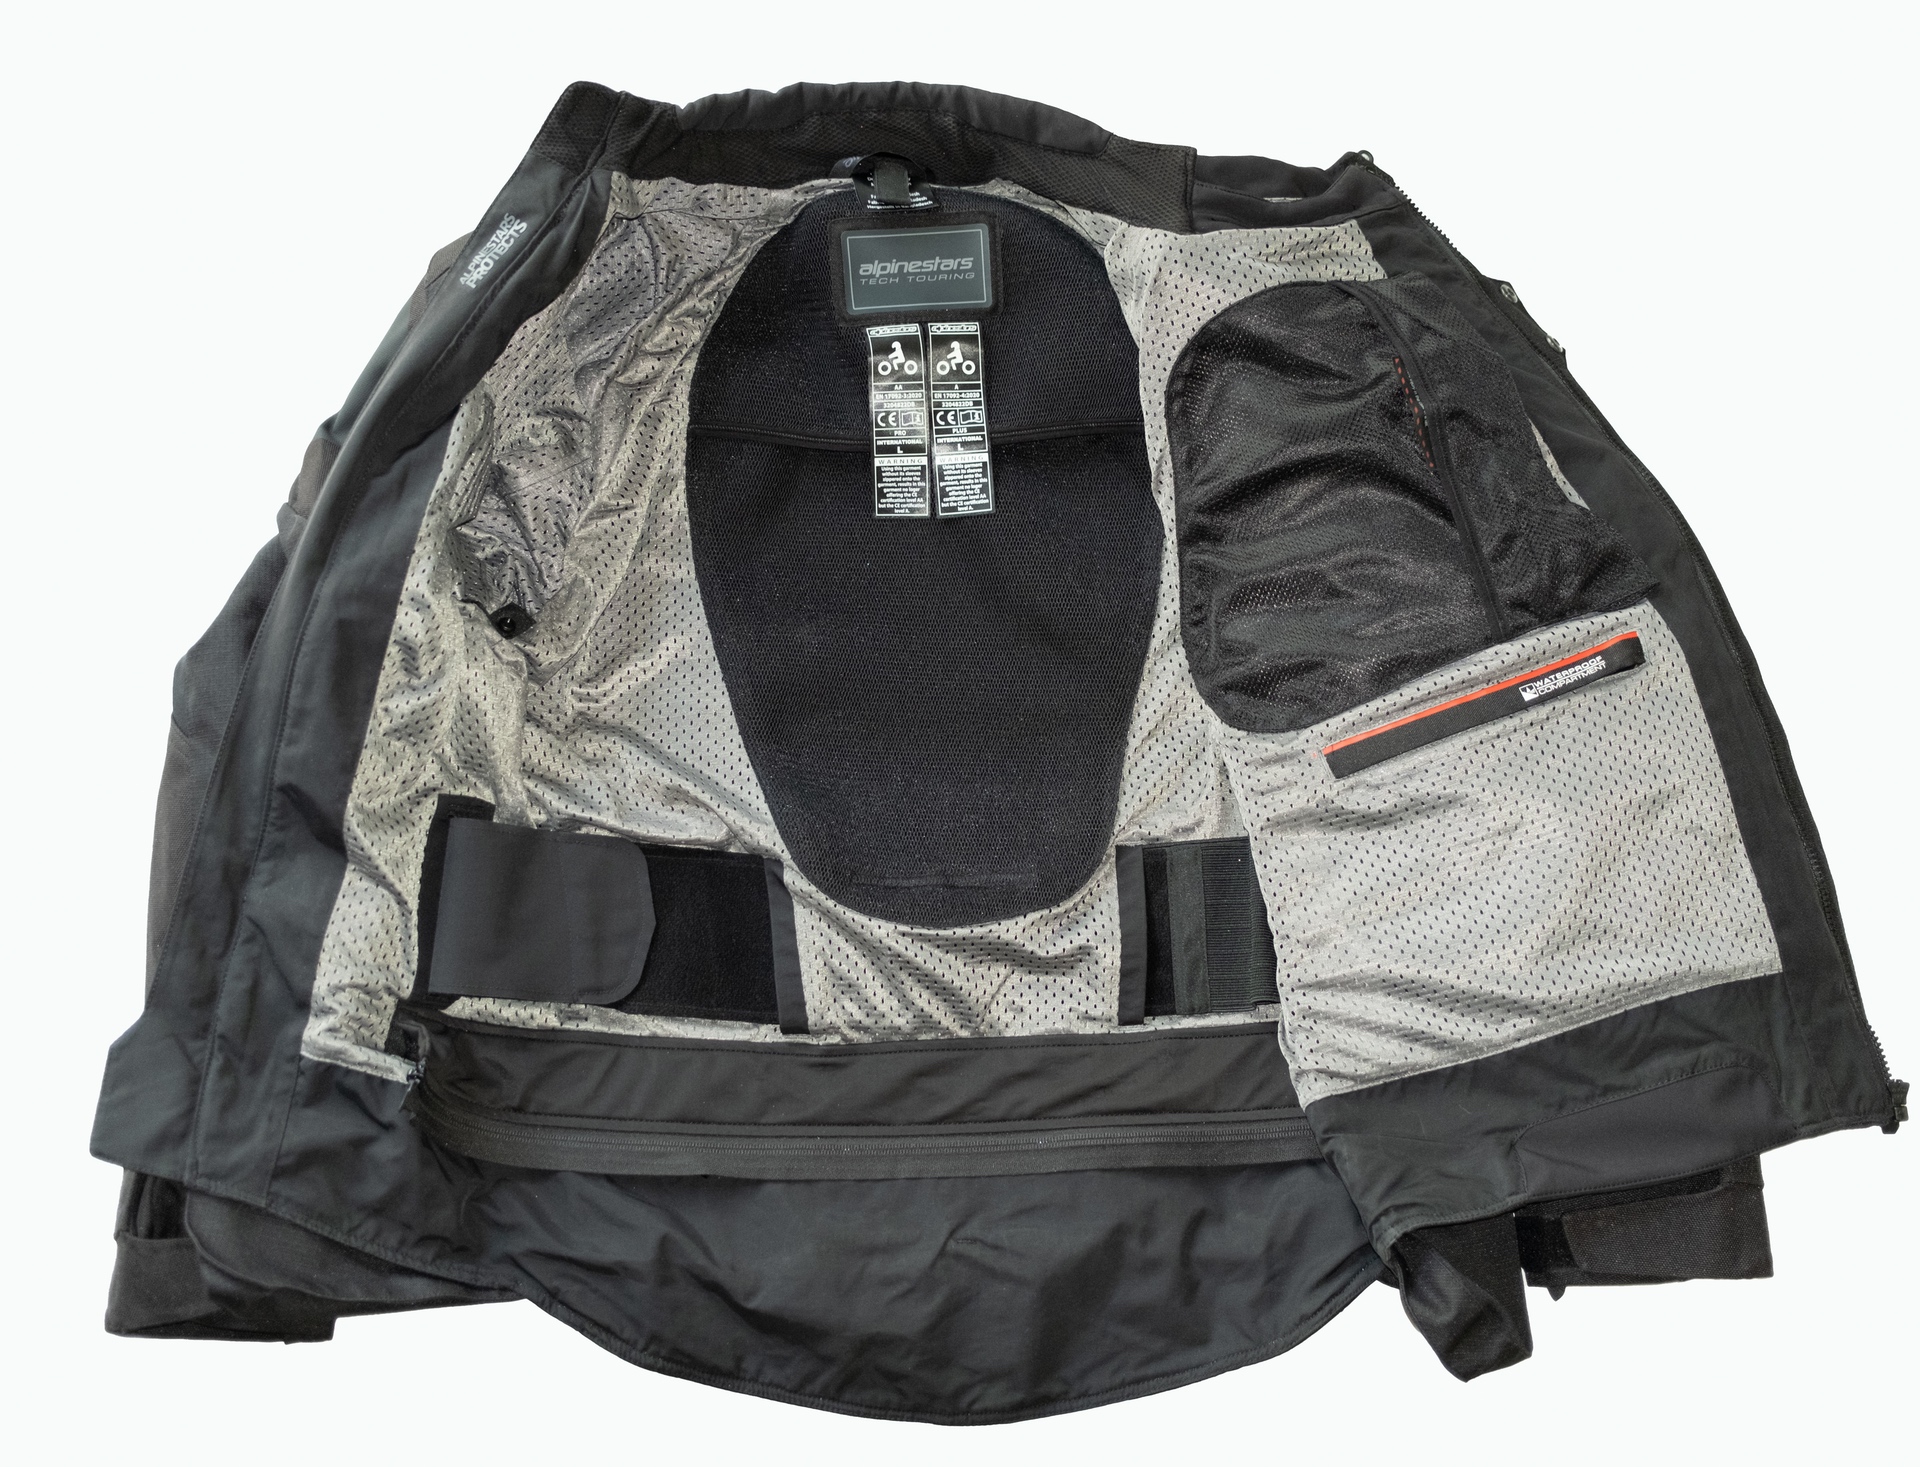
Whew man, where do I start? OK—let me start with the easy one first: the inside of the Halo. There is one ‘official inside pocket’ on the left side of the inner lining. And it’s WATERPROOF. I had heard from another reviewer that the Halo doesn’t have any waterproof spots to store stuff. But unless Alpinestars mislabeled this pocket, it has one. I don’t show it, but the zipper is one of those lined waterproof types.
I didn’t put a ruler in front of the pocket. Sorry. It would easily hold a large sandwich on regular sliced bread. Not sure about a Hoagie. And since the pocket is waterproof, it would prevent a soggy sandwich… I HATE THOSE.
On the same side just above the waterproof sandwich pocket is this storage pouch:
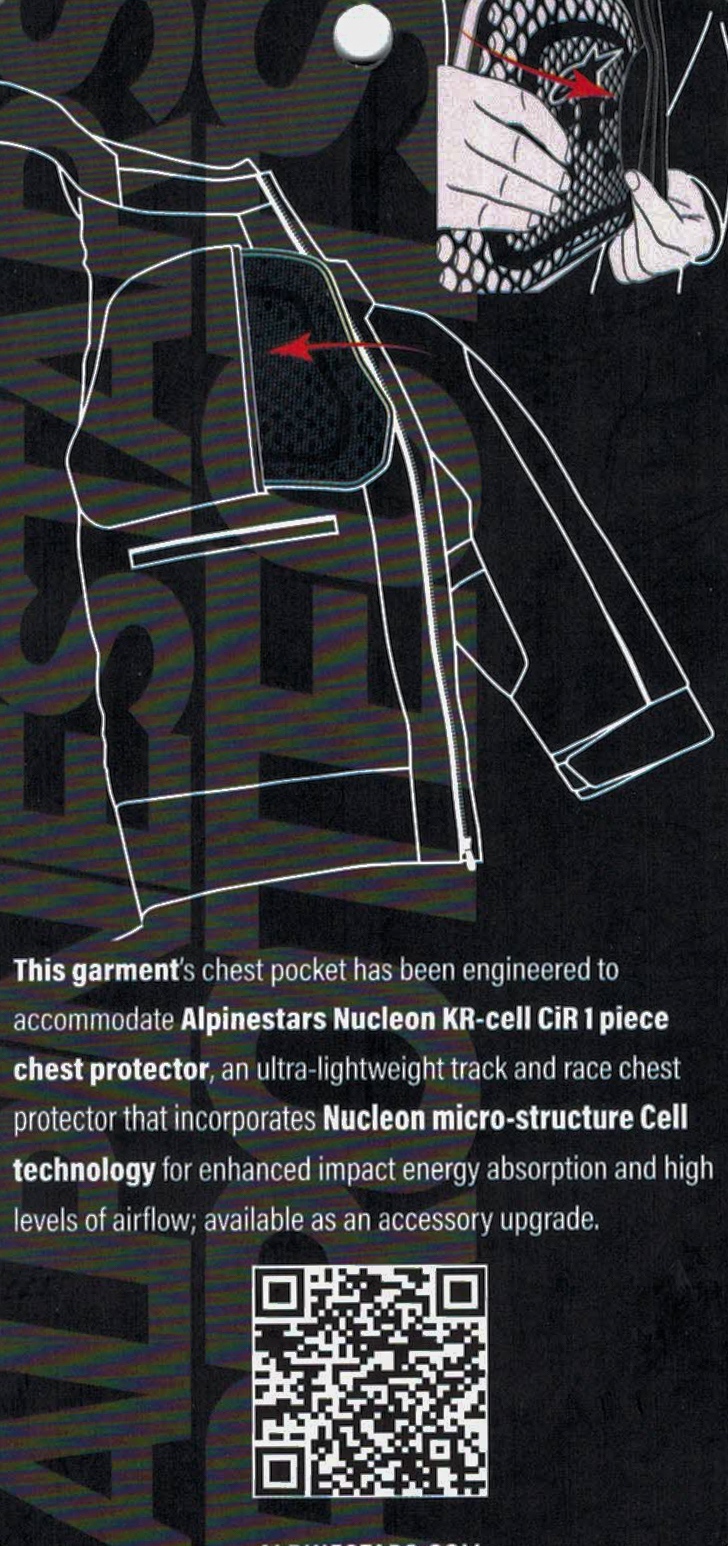
I had to look through the tags that come on the Halo to find out what purpose this little pouch serves.
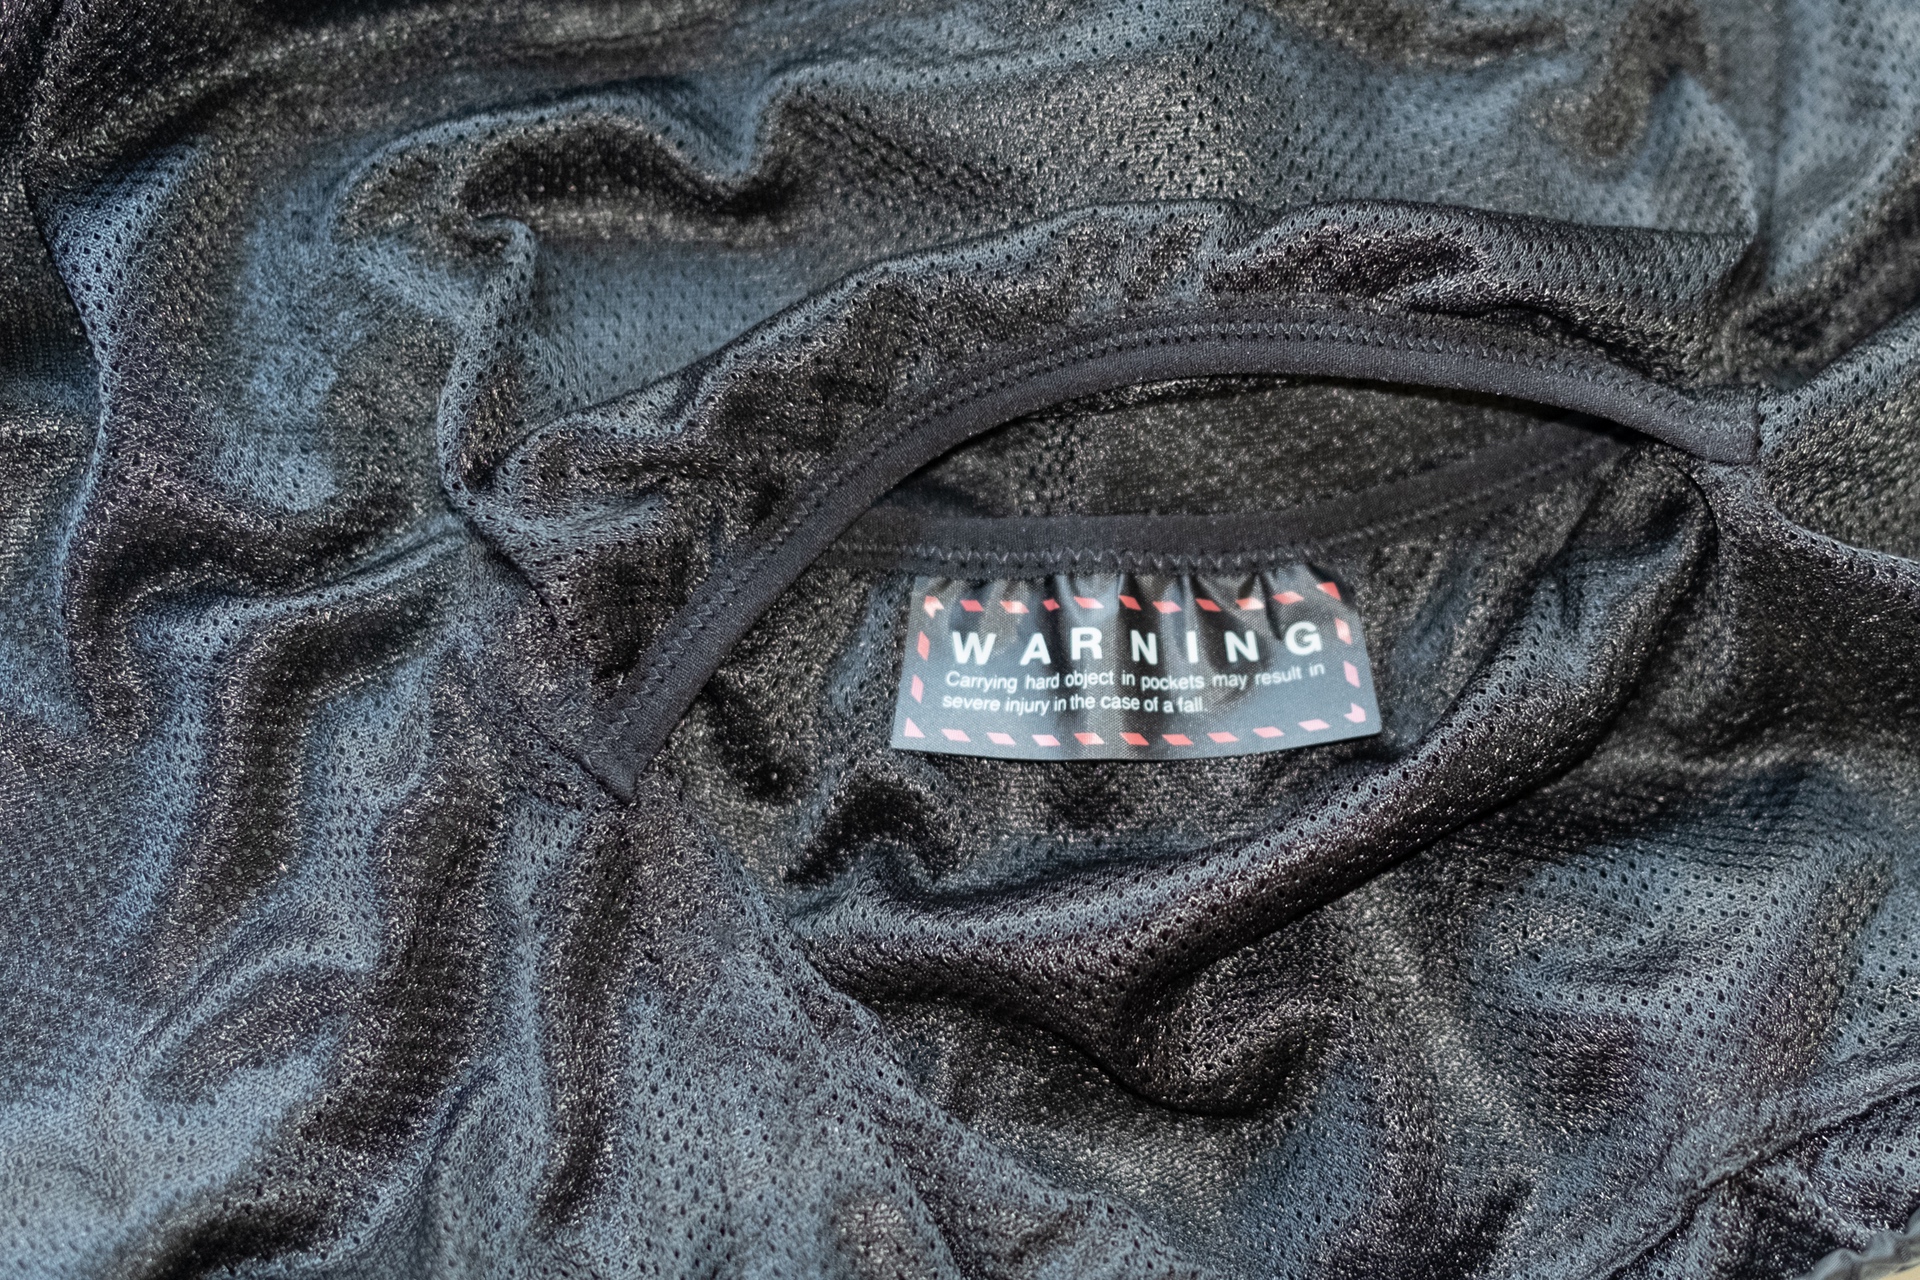
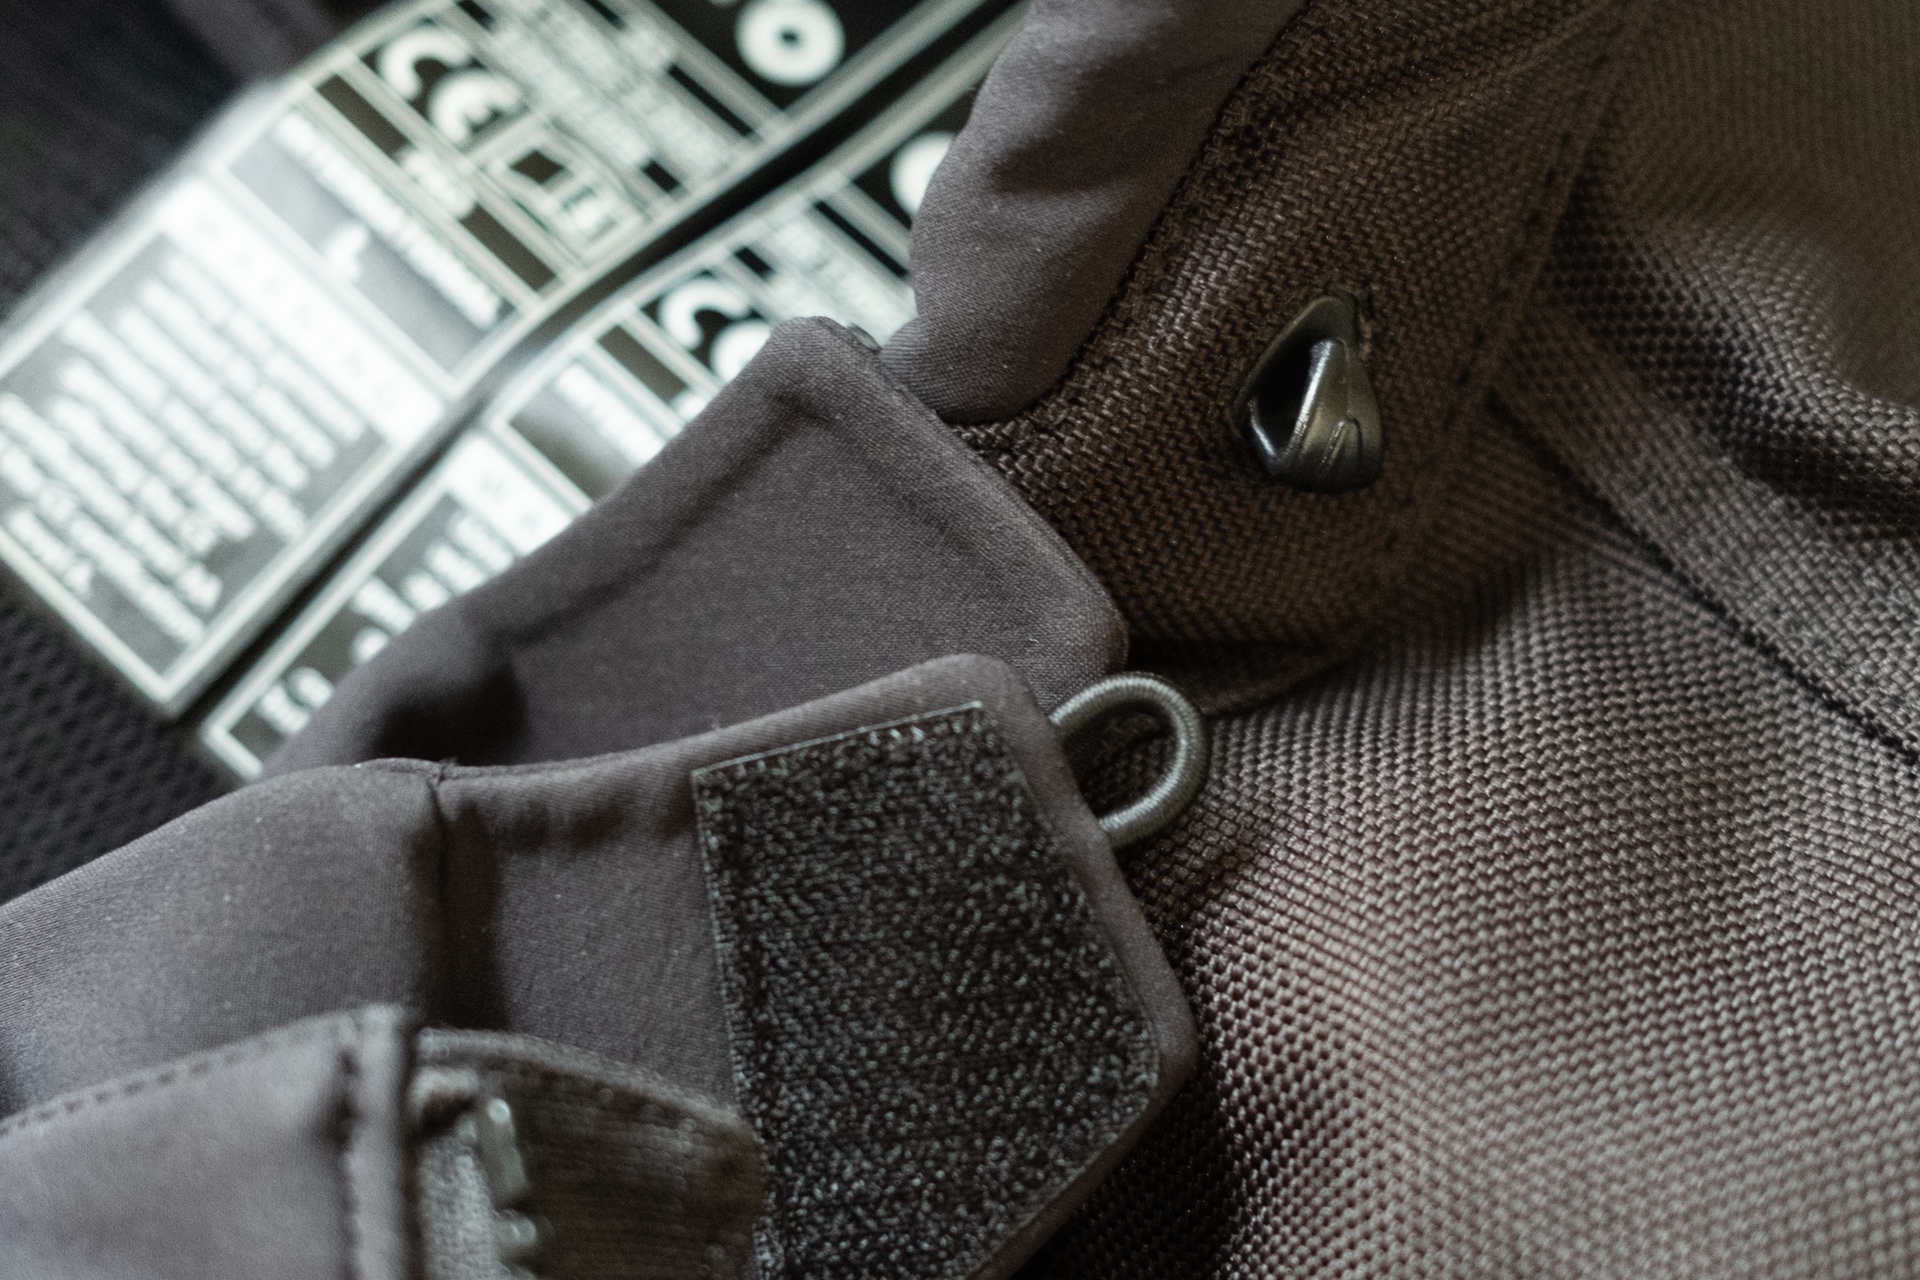
You have the ability to purchase armor for your chest. Since it appears the armor is vented like what is included in the Halo, I imagine it would not restrict airflow through the front vent window much. There is a warning label in that pouch about NOT placing sharp objects into the pouch.
These labels are on all pouches to remind children not to run with scissors or with a lollipop in their mouths or around the pool. And for those adults who don’t listen or read, it’s called “Natural Selection.”
Whew—OK, let’s move to the outside pockets and storage. Better have some time for this one…
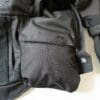
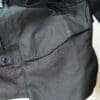
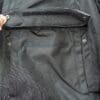
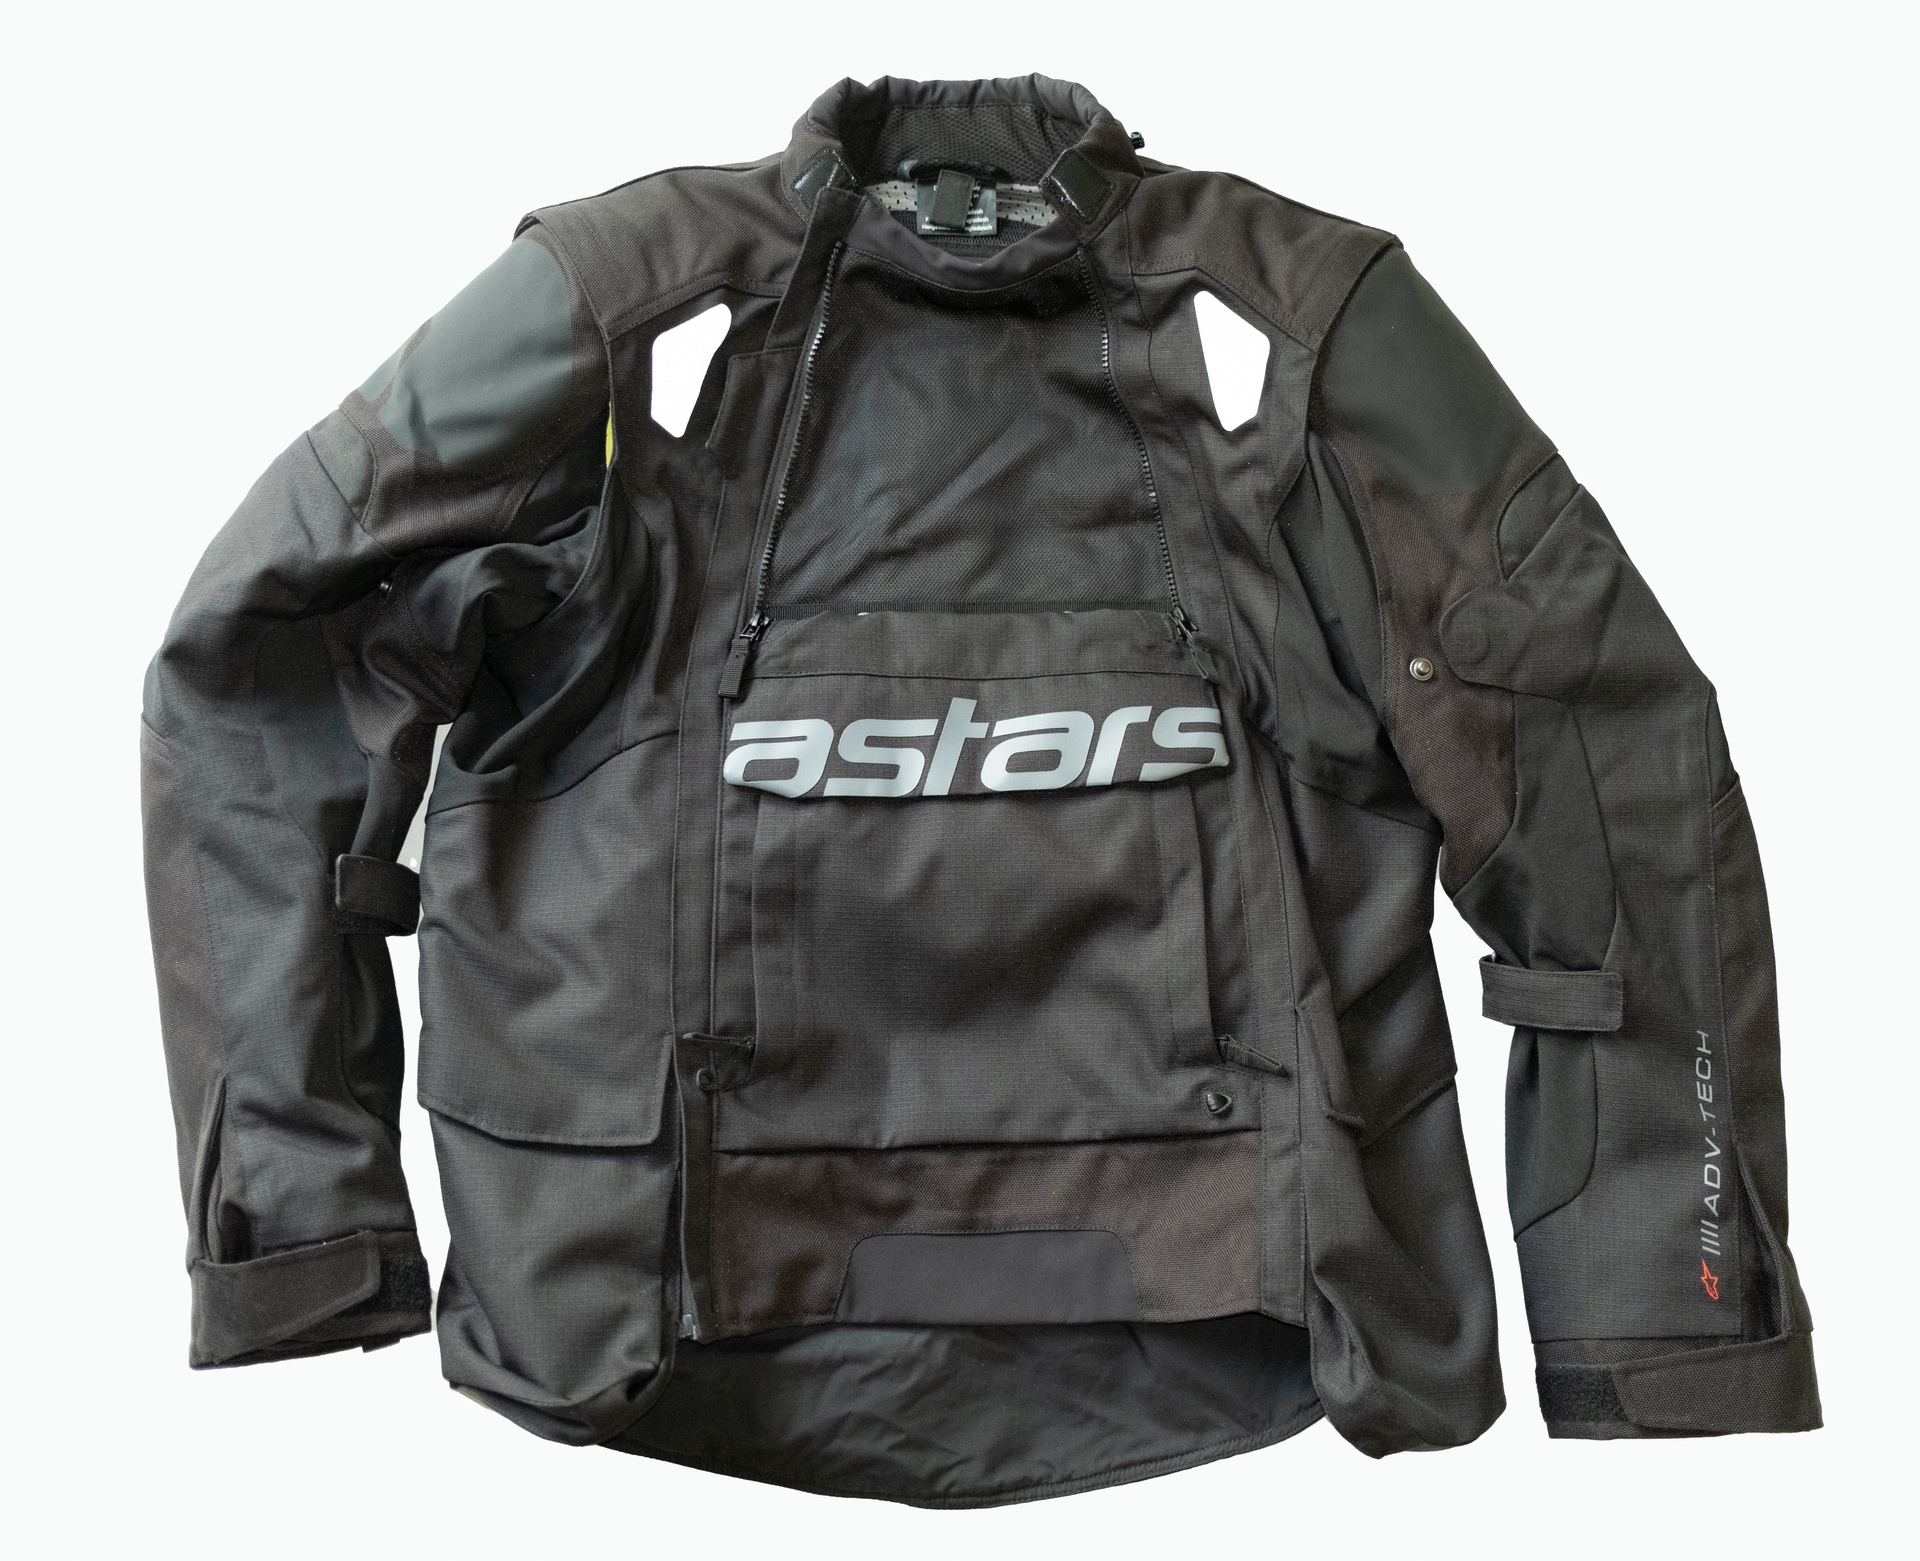
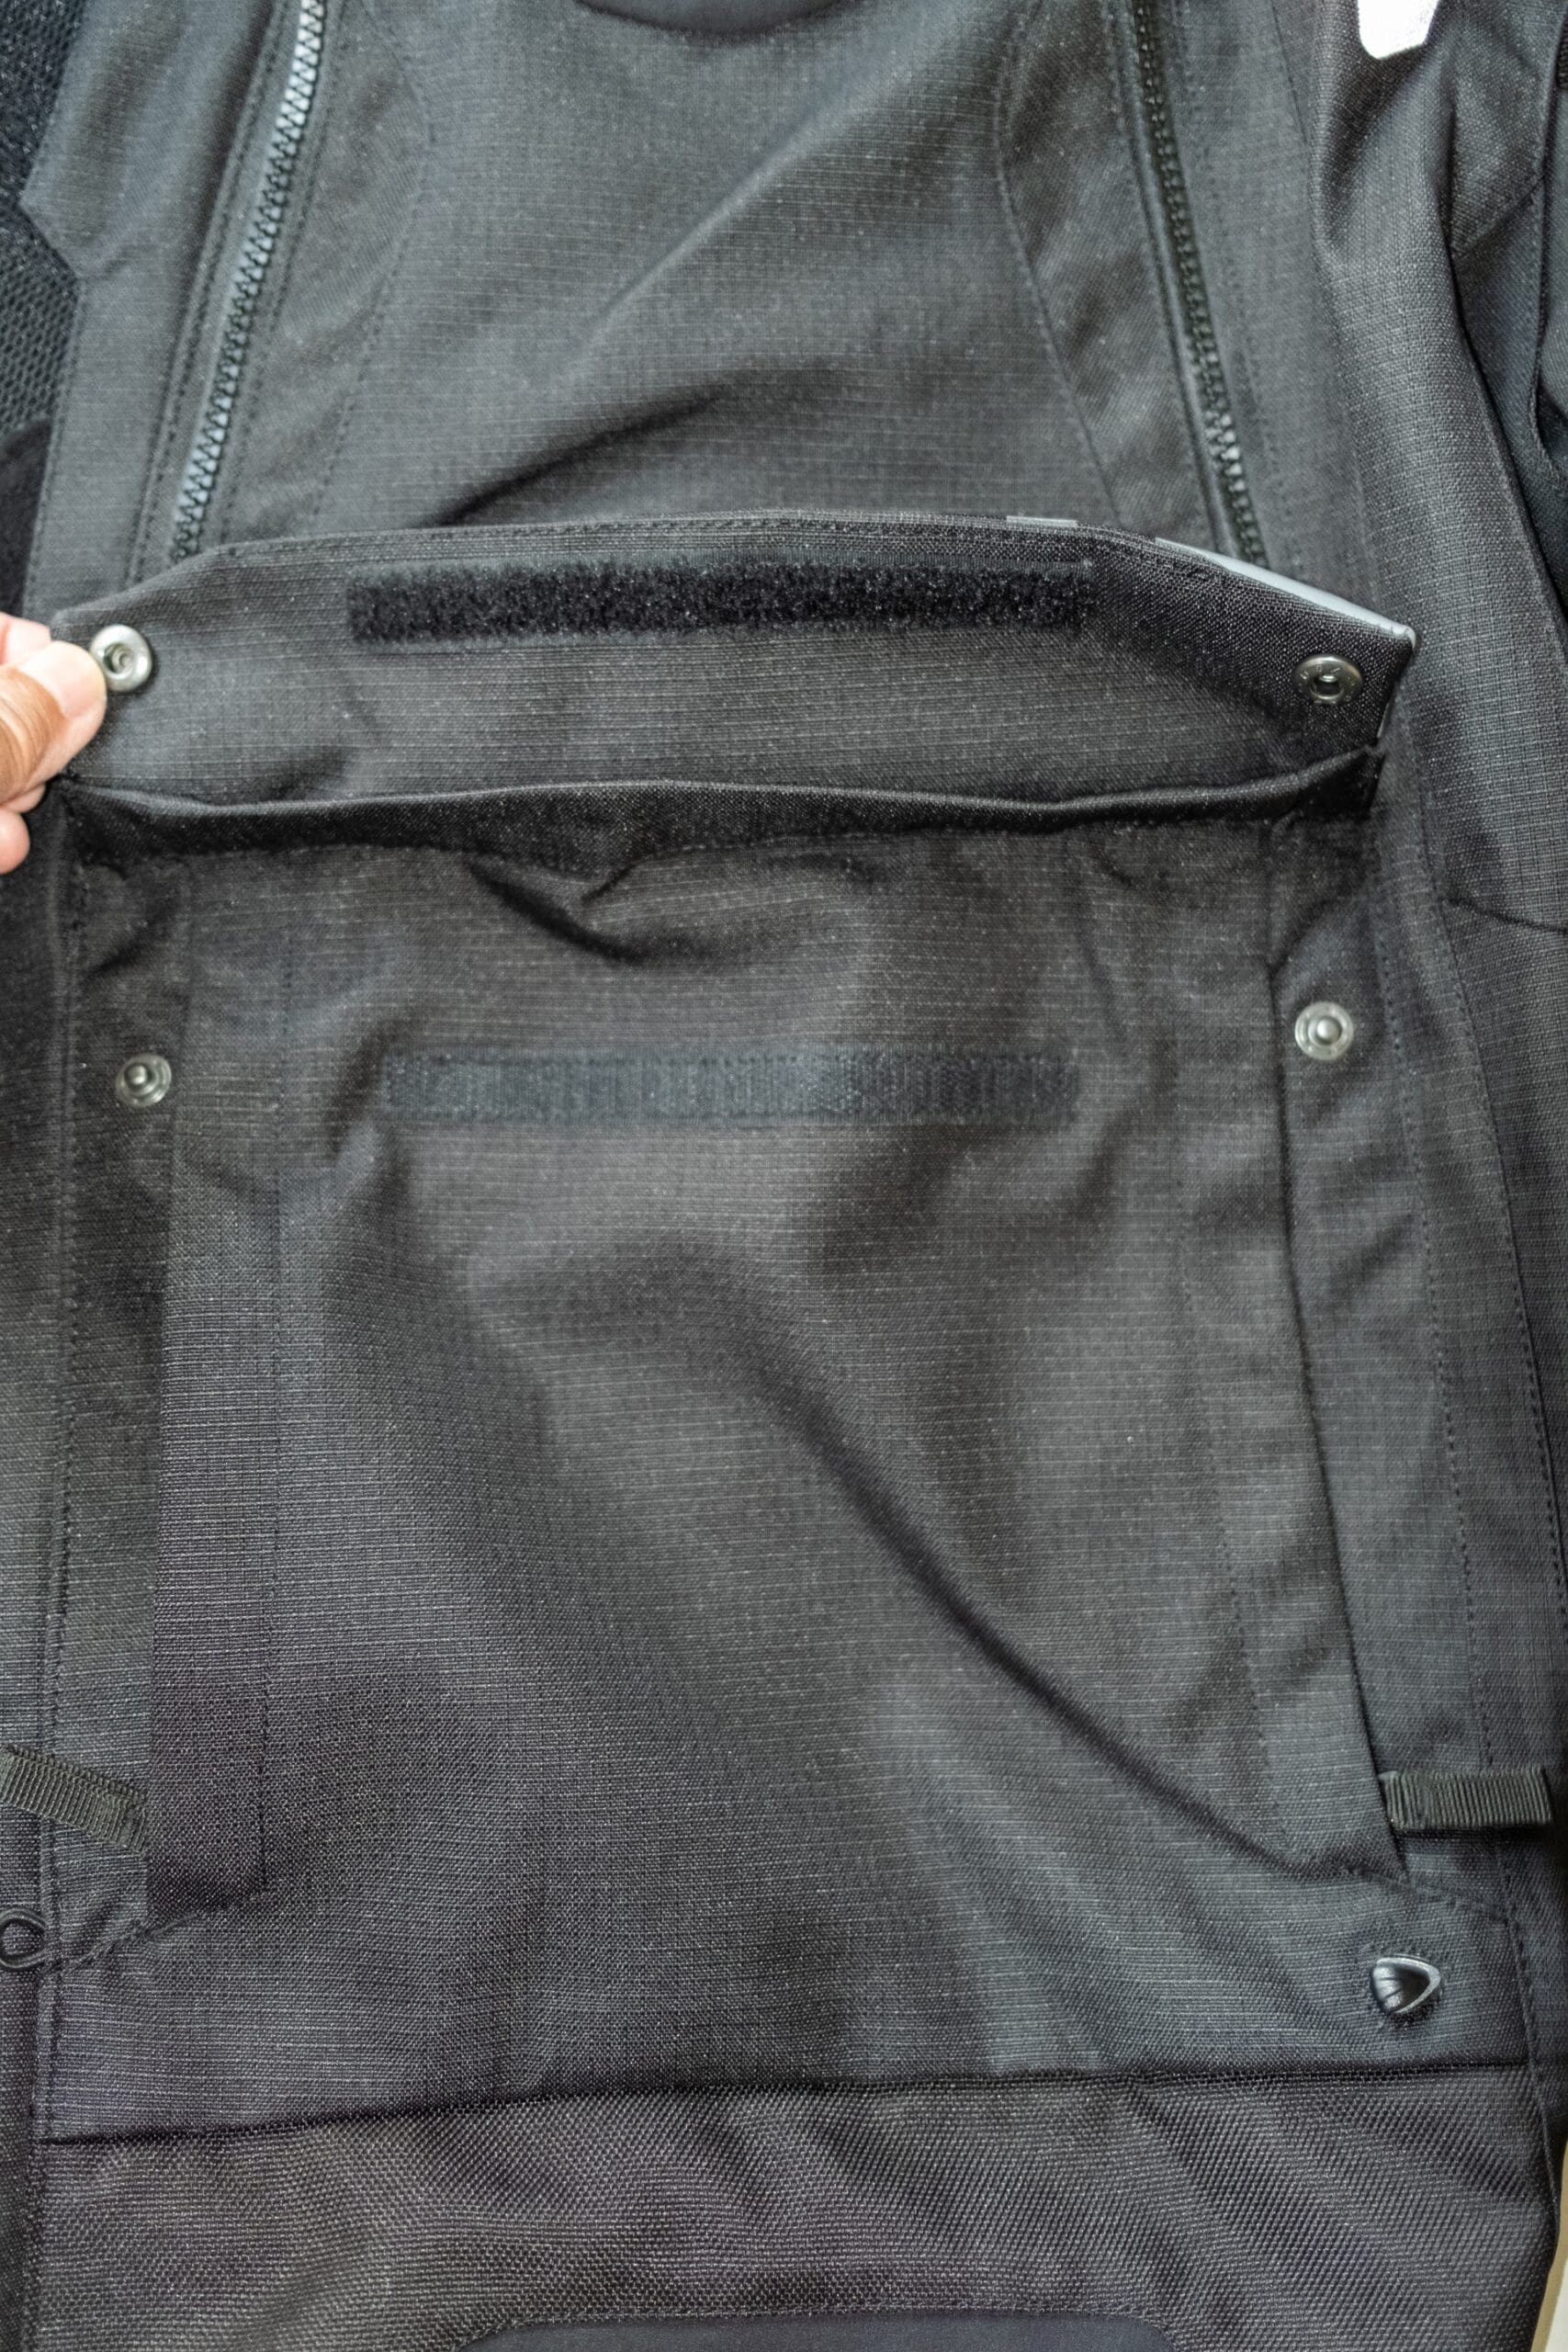
On the front of the Halo is a kangaroo pocket located just below the front vent window. The pocket’s flap is held in place with Velcro and two snaps on either side of the flap. I believe the intent of this pouch is to hold the removable sleeves when they are detached from the jacket.
But since Alpinestars is so poor about ACTUALLY EXPLAINING HOW TO USE these features, I’m not certain. More ranting about this later.
On either side of the front pouch are two zippers on both sides. Opening the zippers reveals another storage area behind the kangaroo pouch. Think of this area as you would with a front hoodie pocket. It is a tube that runs horizontally. This zippered pocket and the kangaroo pouch have separate compartments which are not shared.
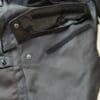
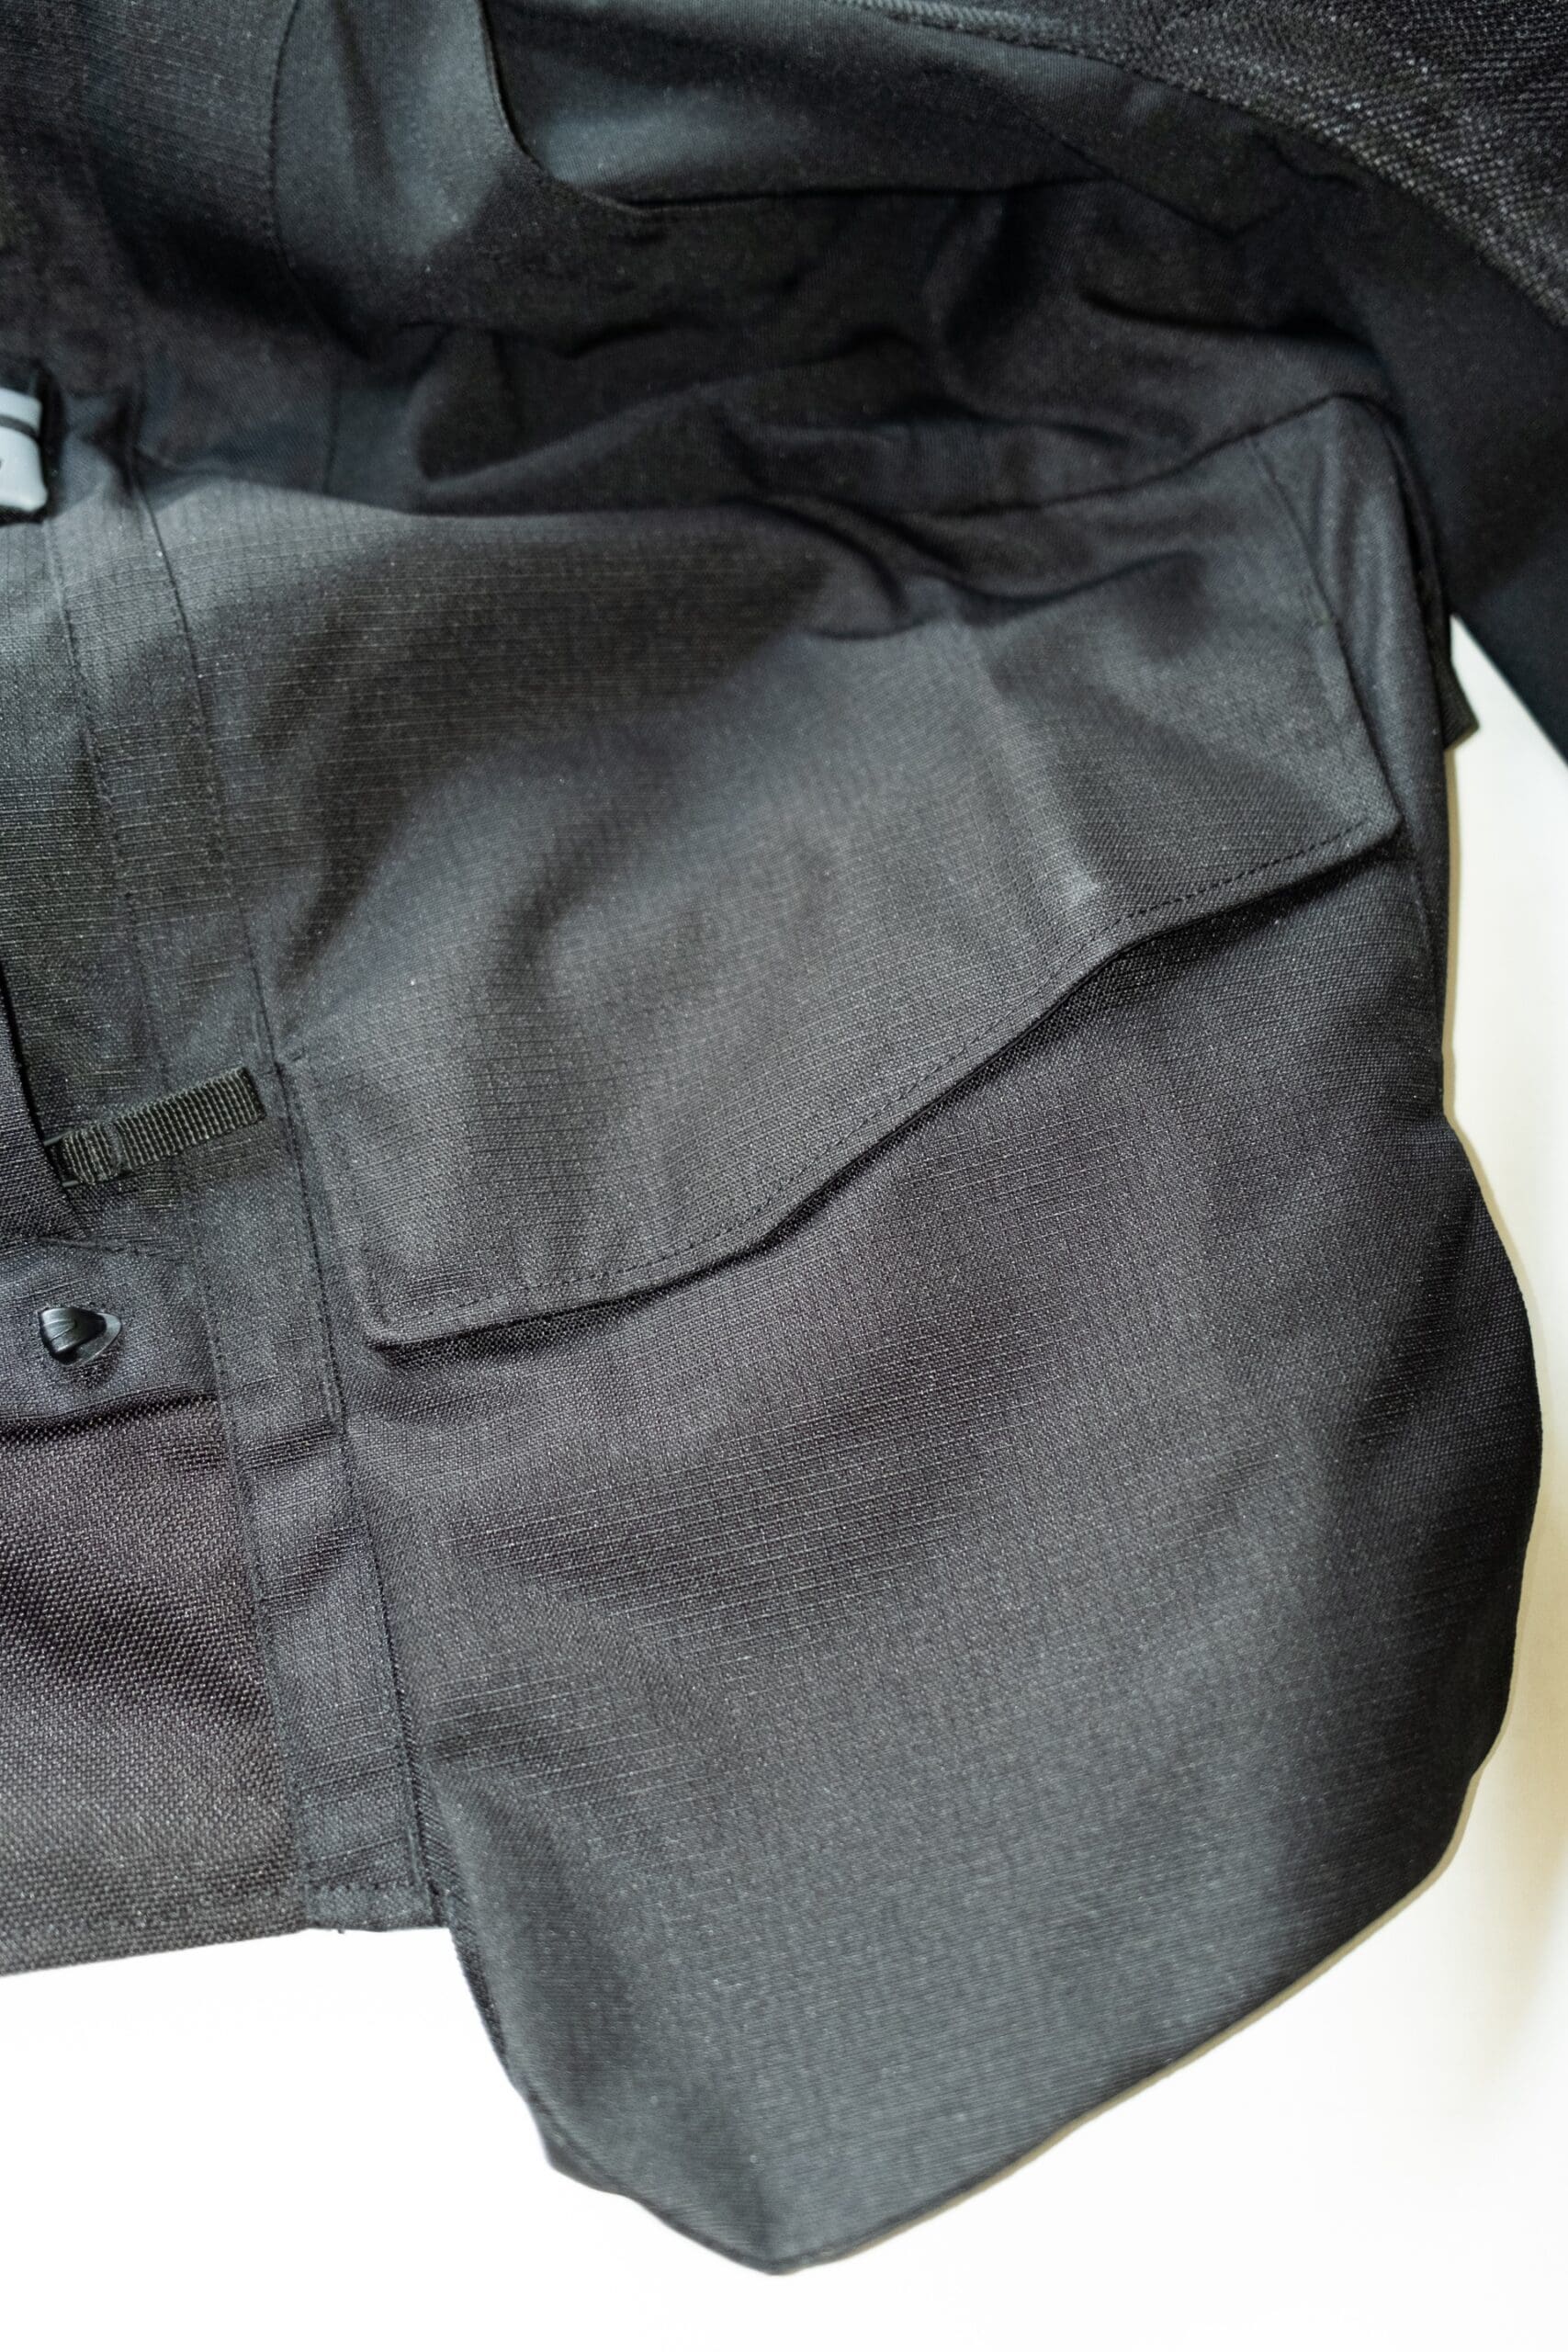
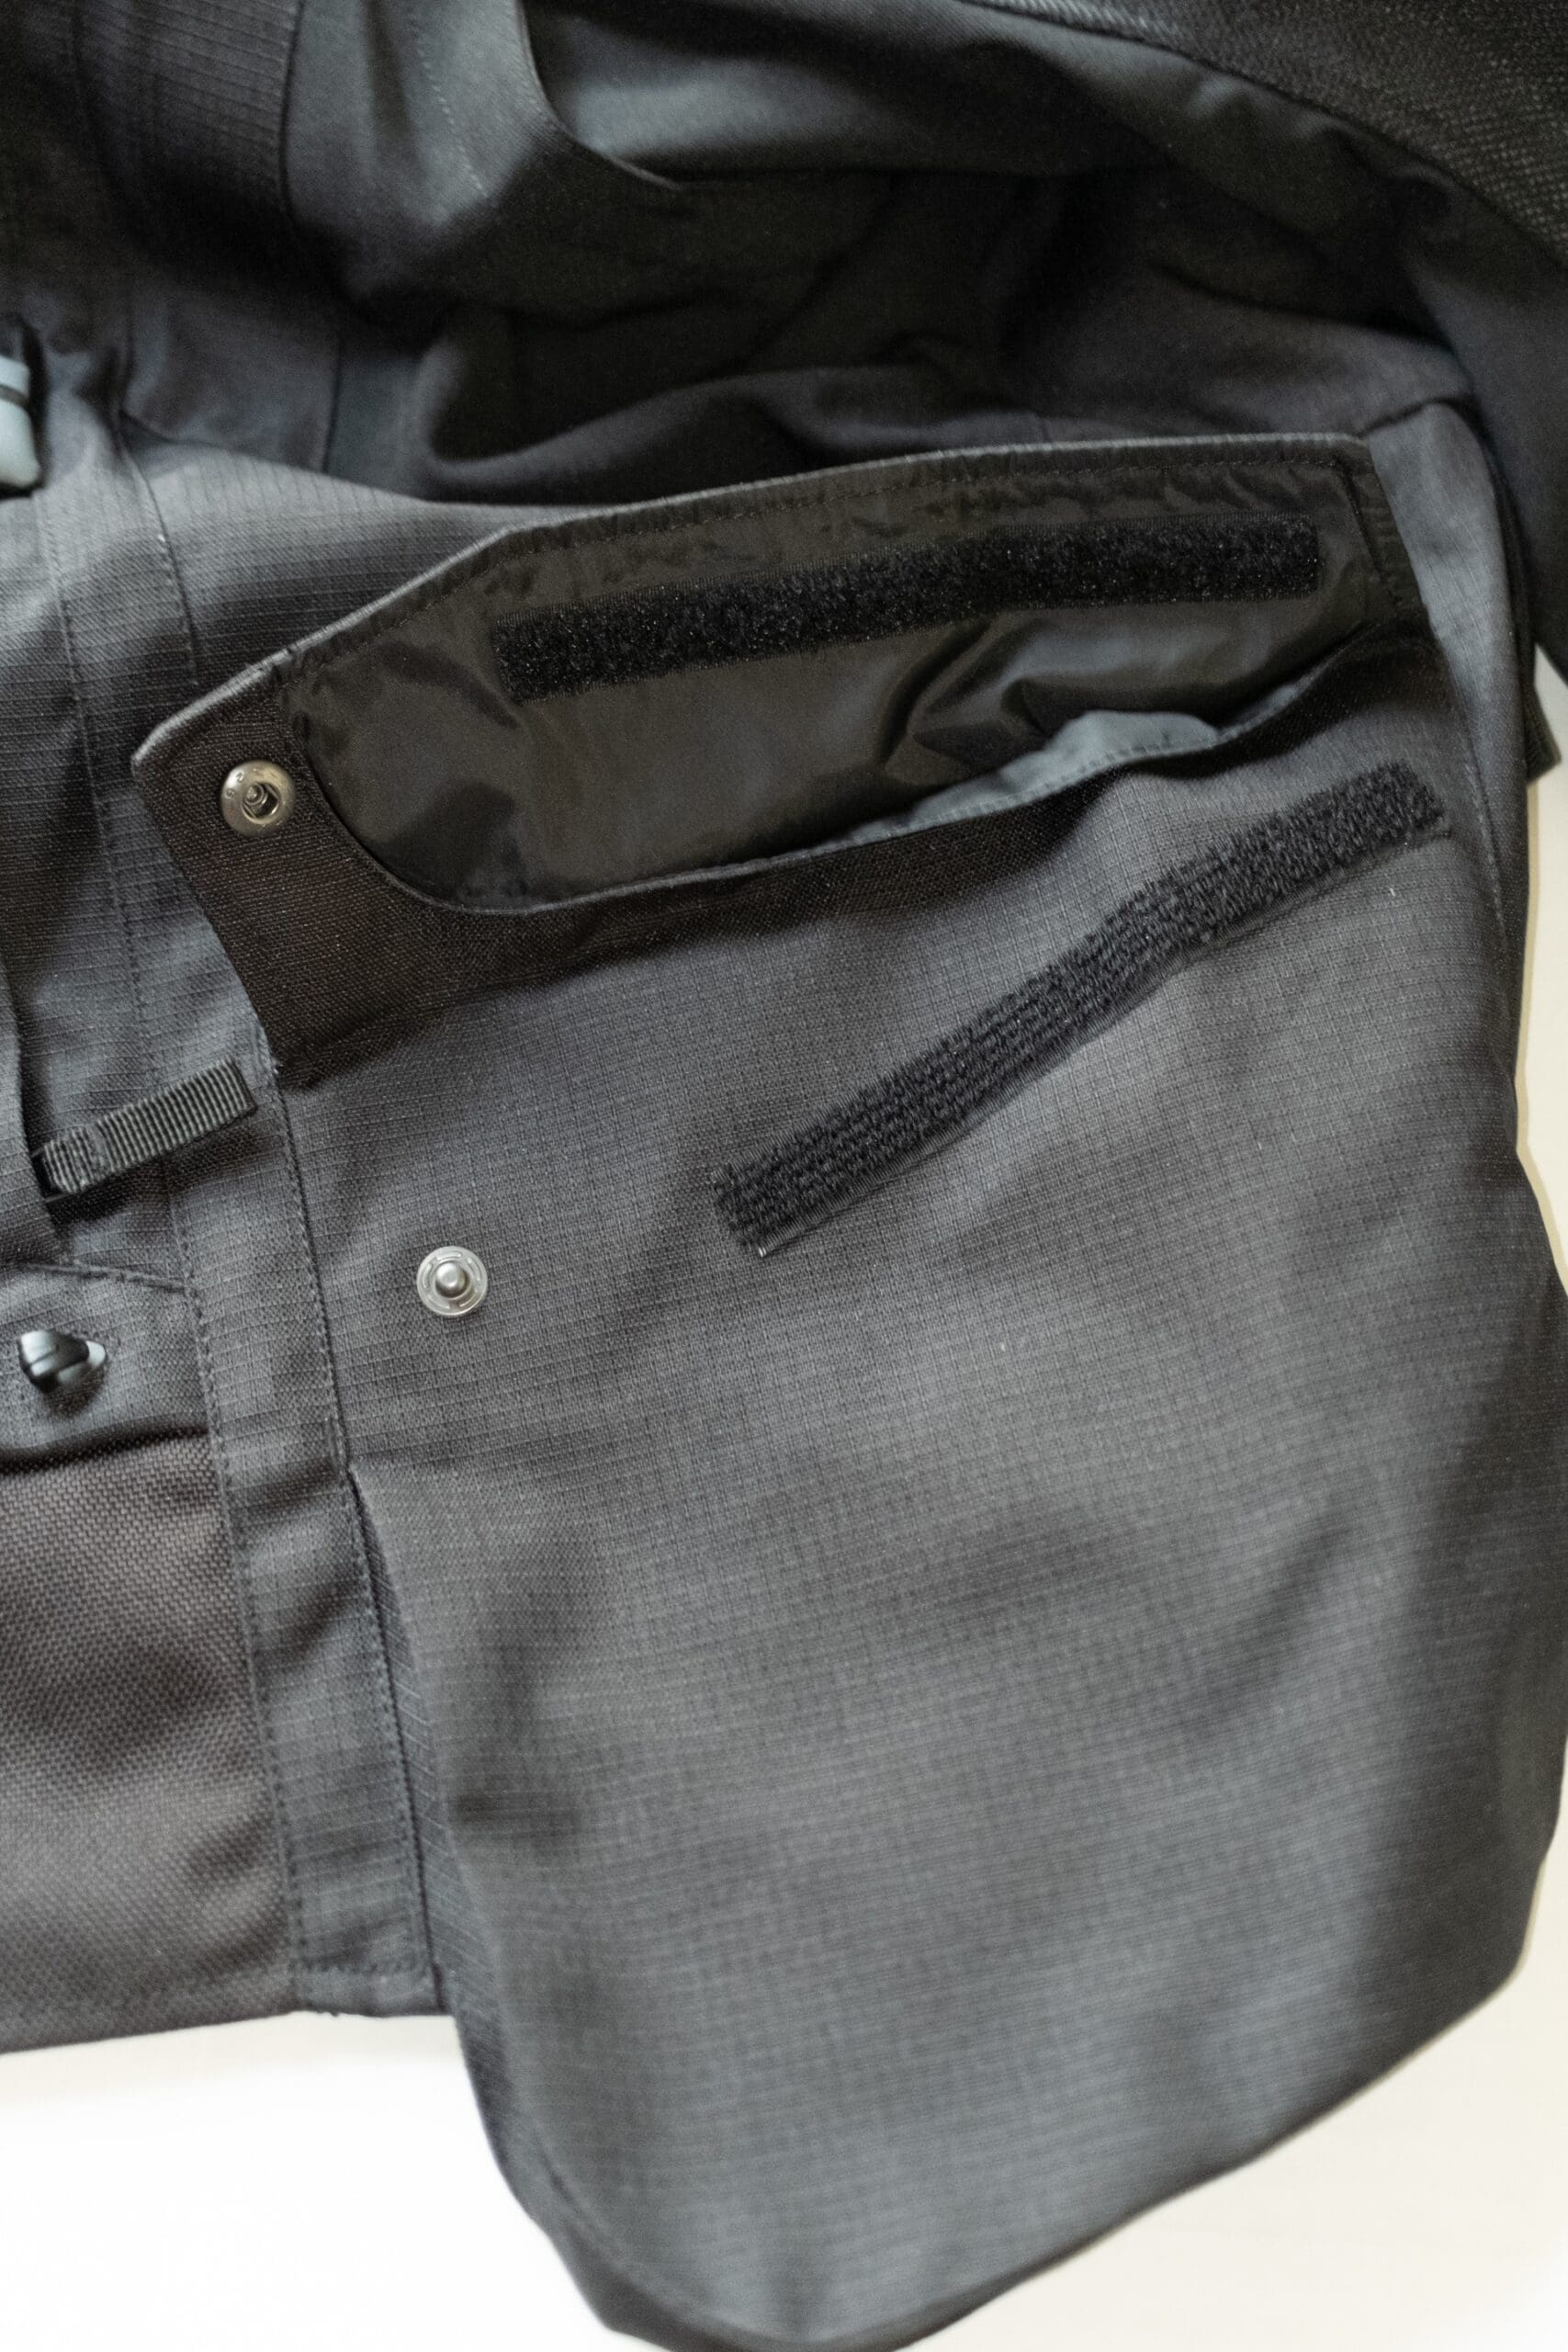
On the right and left side of the Halo are side pouches, which are sealed with Velcro flaps and a single snap. Their design mimics a dry bag just a little. Rather than just having a flap, the pocket of the pocket extends up like a dry bag does. Nowhere does it state that these are waterproof. Interesting.
 |
 |
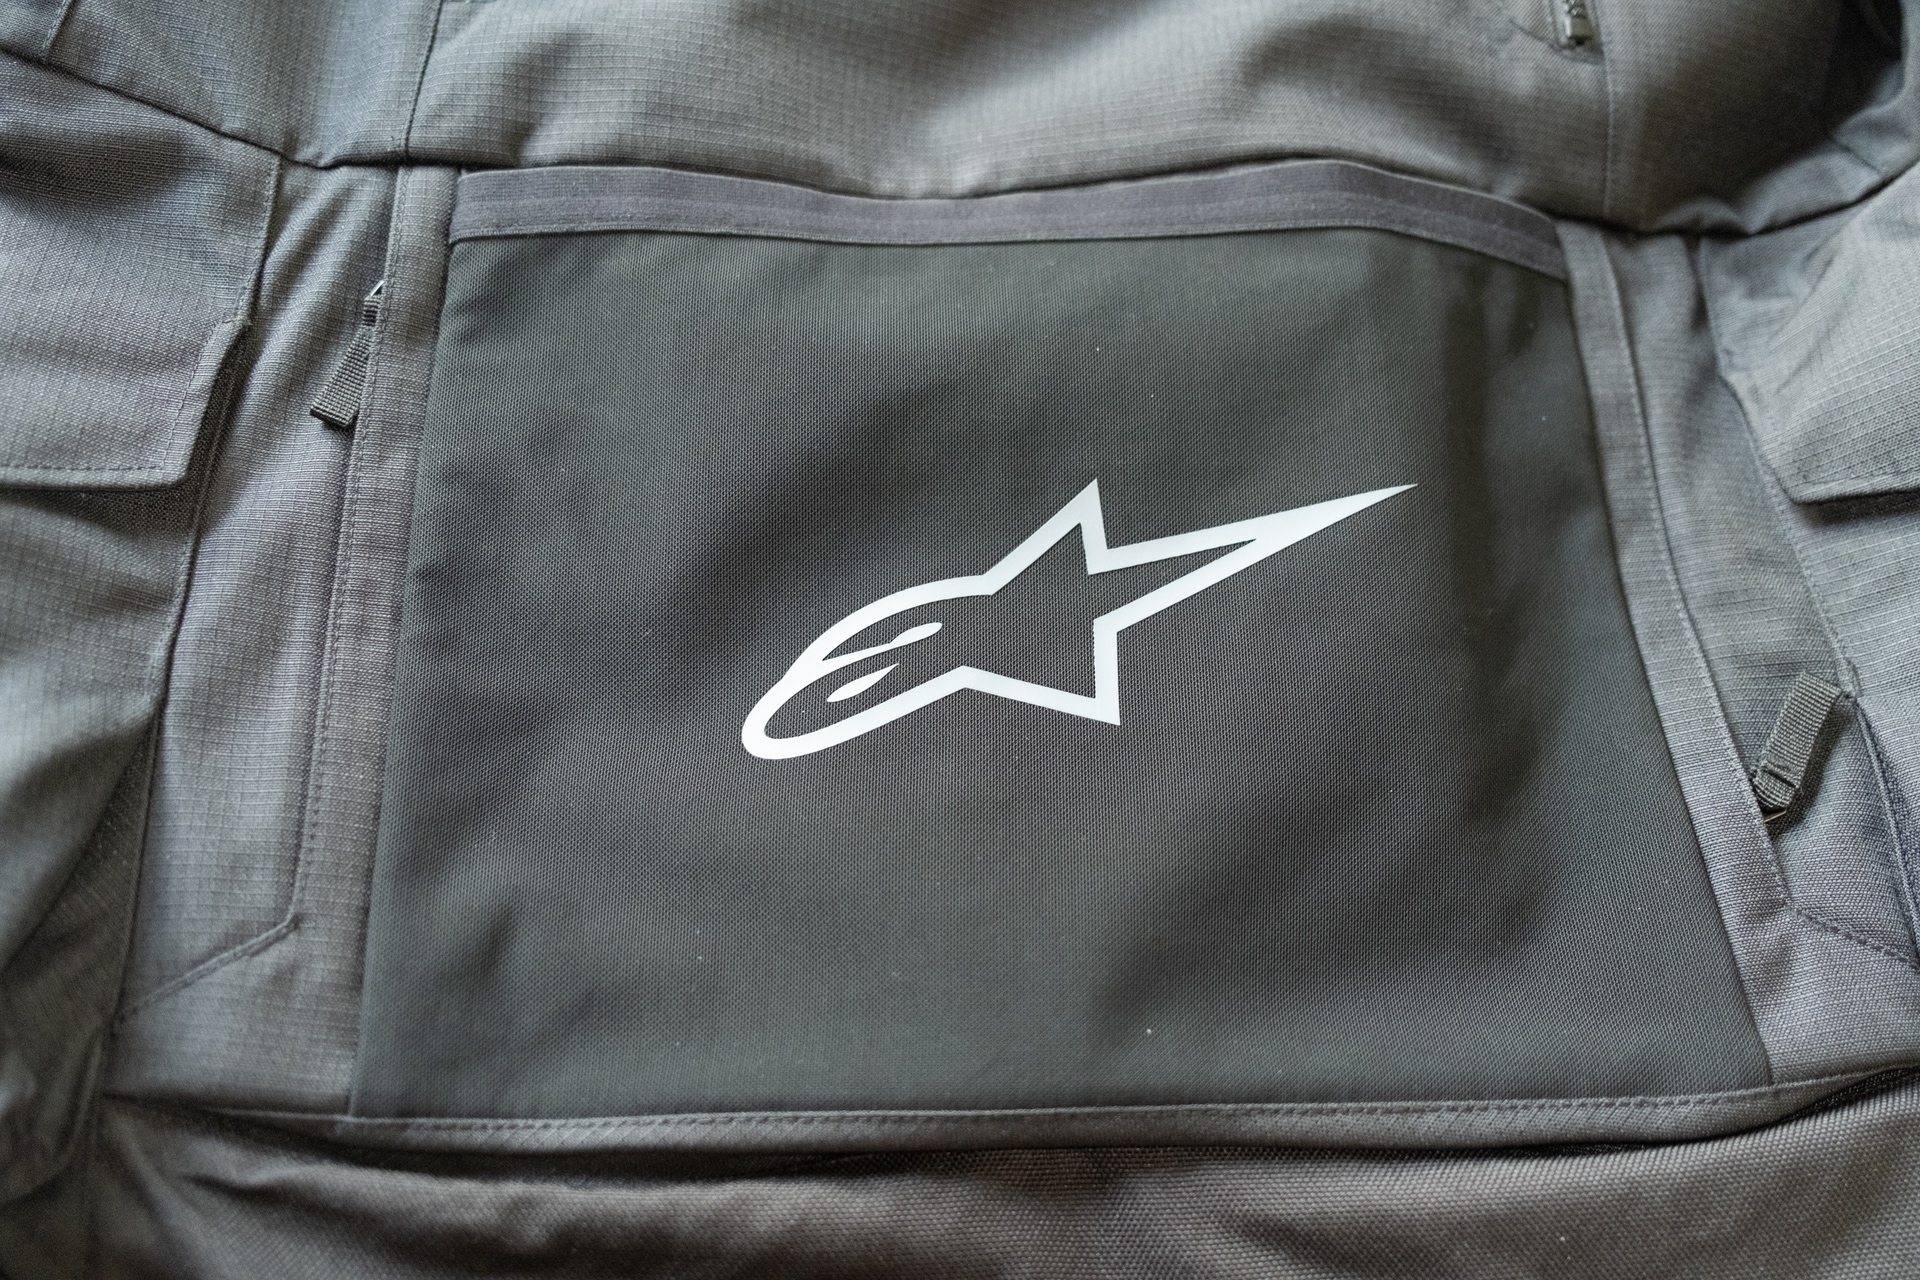
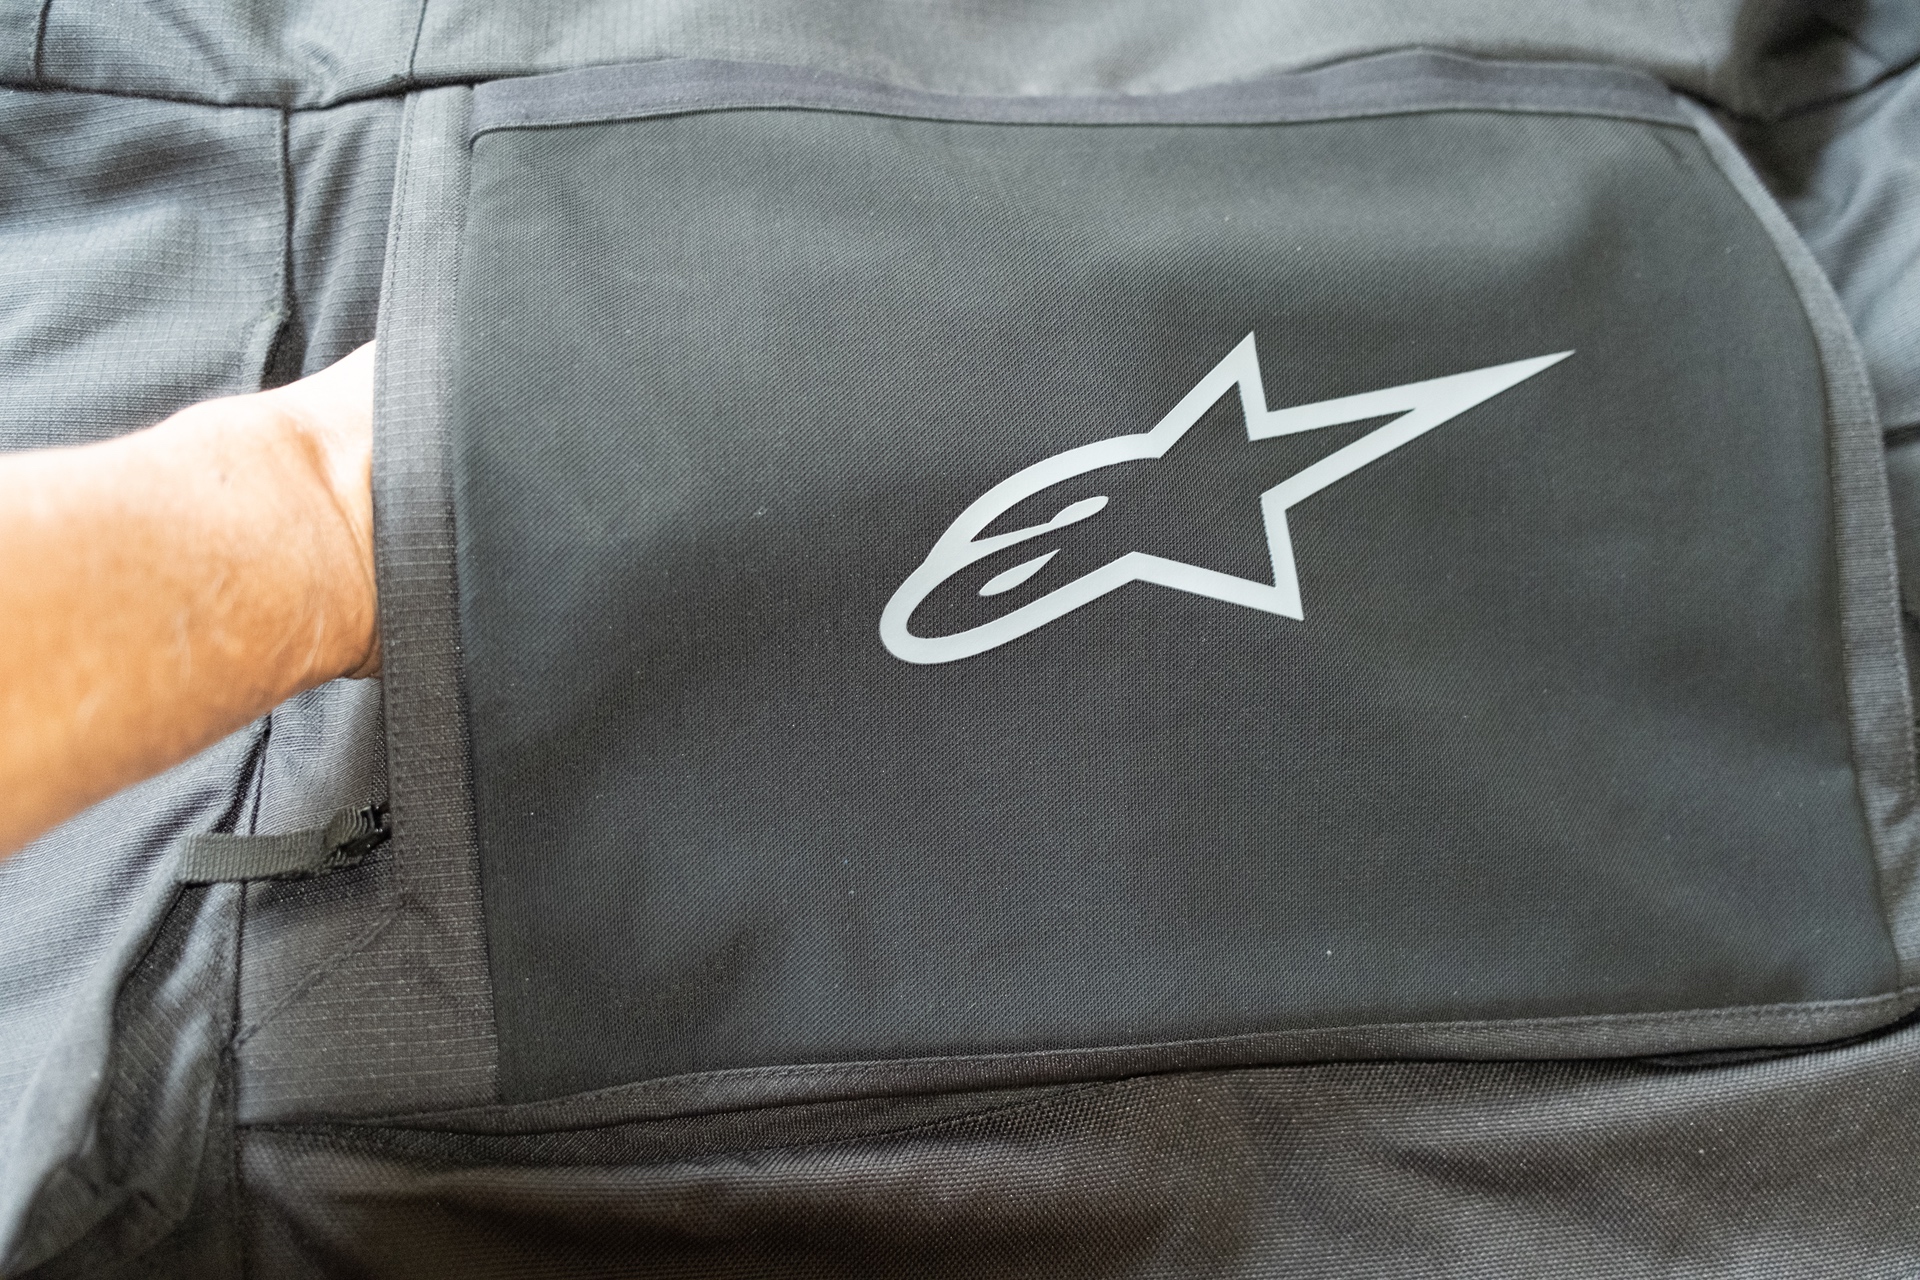
Now let’s move on to the back of the Halo. In the rear of the jacket just below the rear vent window resides a large kangaroo pouch that uses an elastic band to secure any contents placed inside the pouch. I plan to keep the waterproof liner in this pouch.
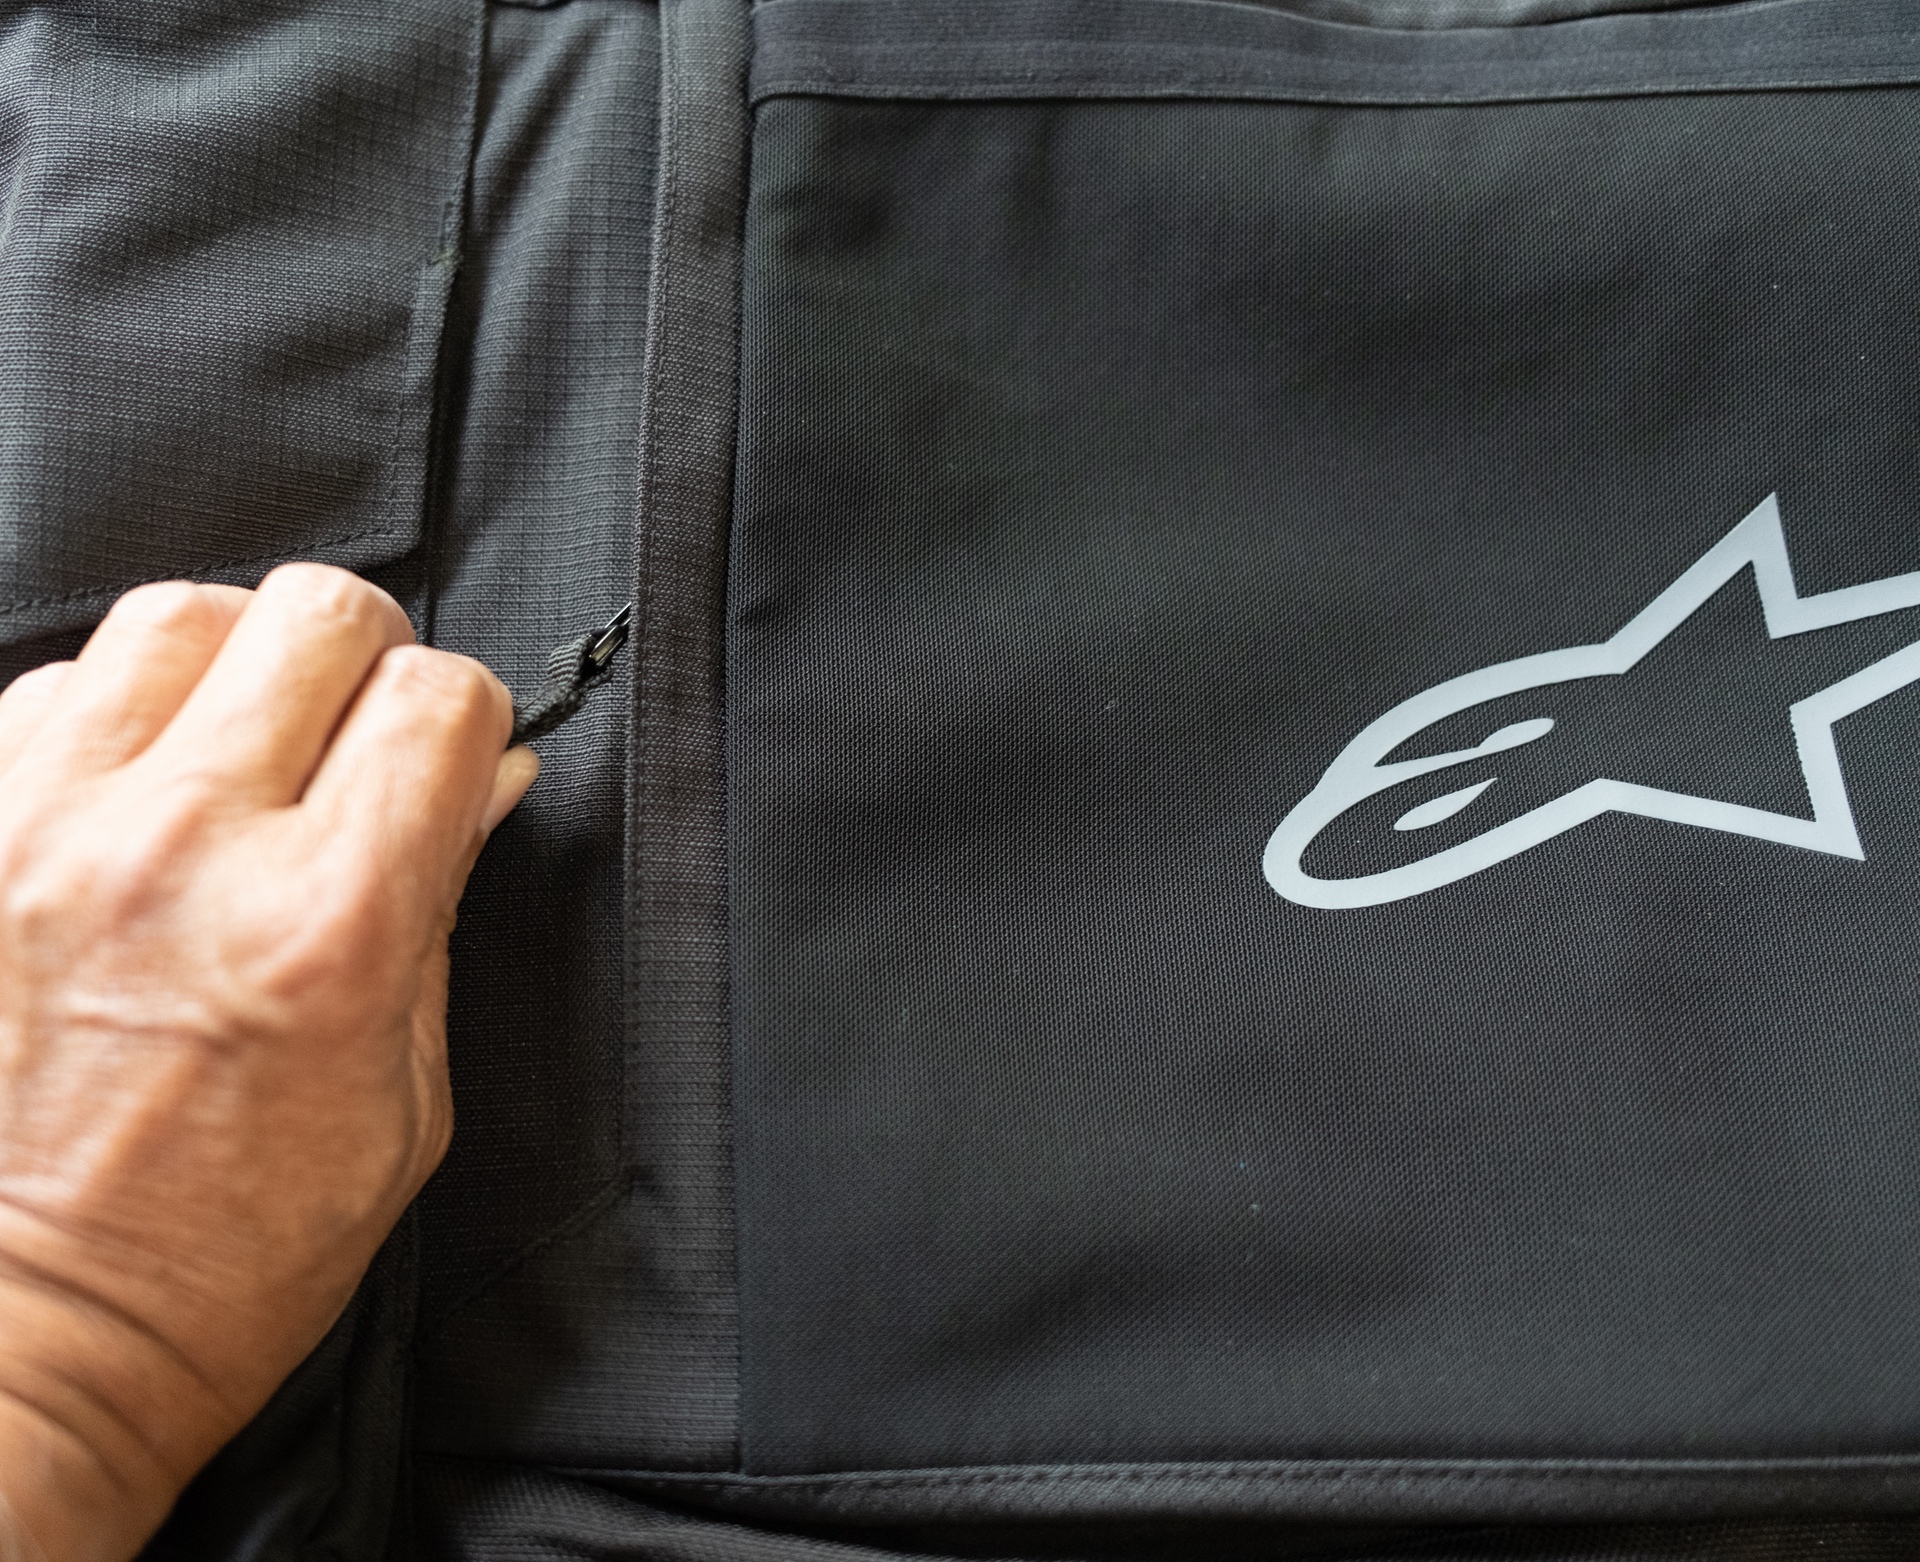
As with the front kangaroo pouch, on either side are zippers, each of which reveal another pocket.
The width of the rear pouch is wider than the front. The front’s pouch is limited due to the main zipper. You can easily put more junk in your trunk.
That’s it for the pockets and pouches. Alpinestars has warning labels on many of these pouches advising against placing sharp objects inside. It’s up to each person to decide what to store in them. I personally keep hard, sharp or breakable items in my tank bag or top box.
Alpinestars Halo Drystar Jacket Protection
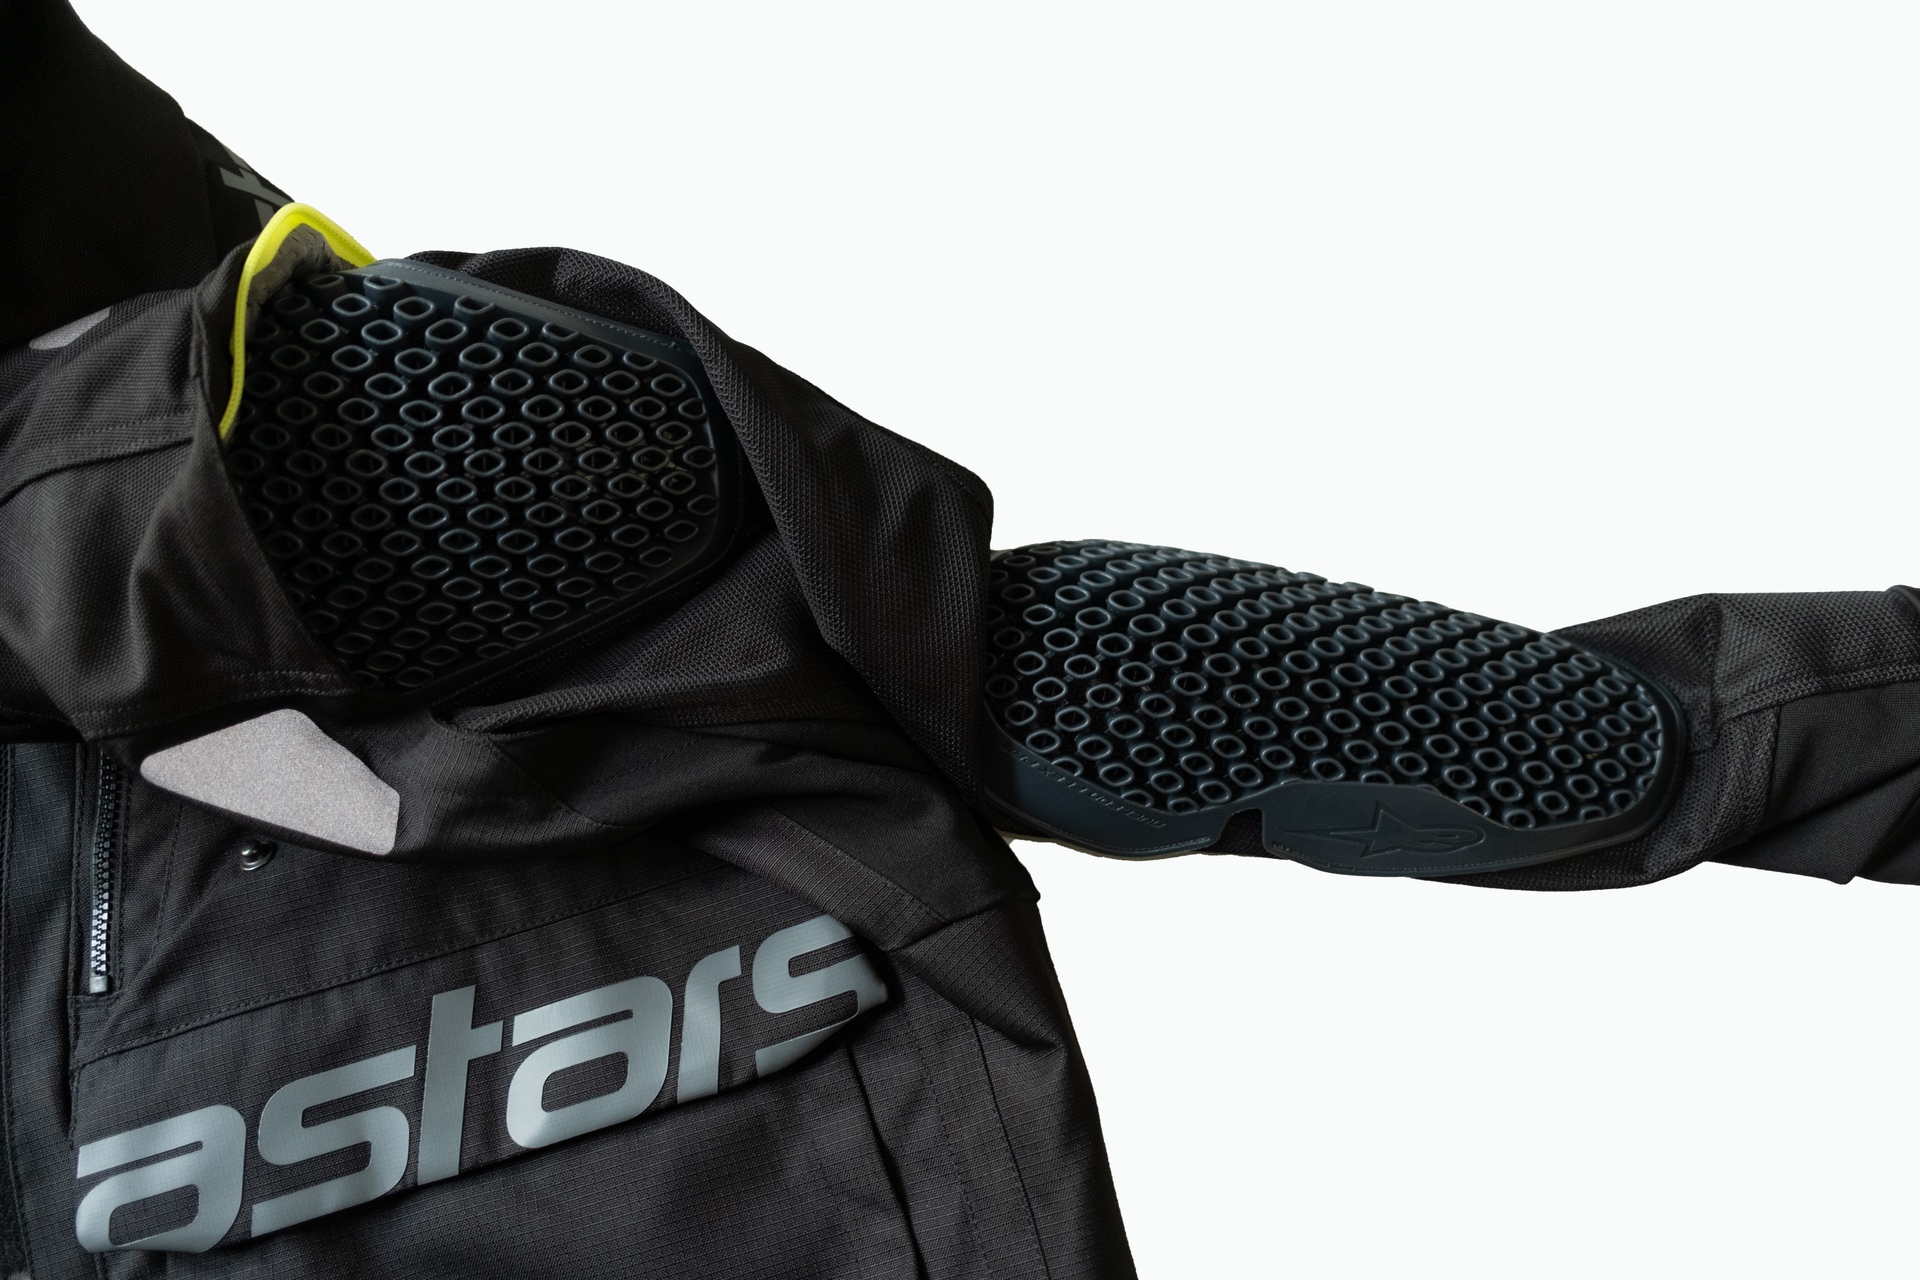
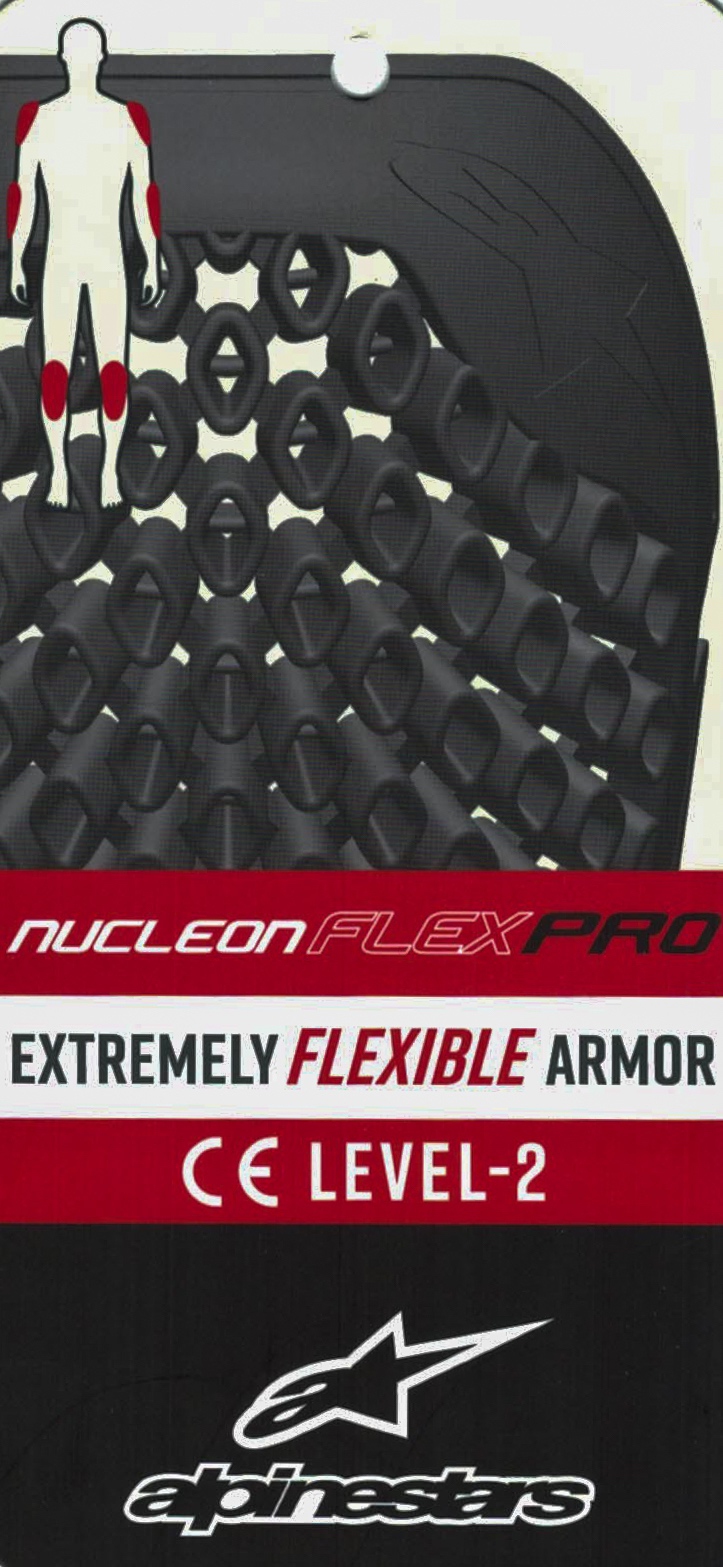
The Halo uses material they named Nucleon Flex Pro in their shoulder and forearm armor. It carries a CE Level 2 rating.
 |
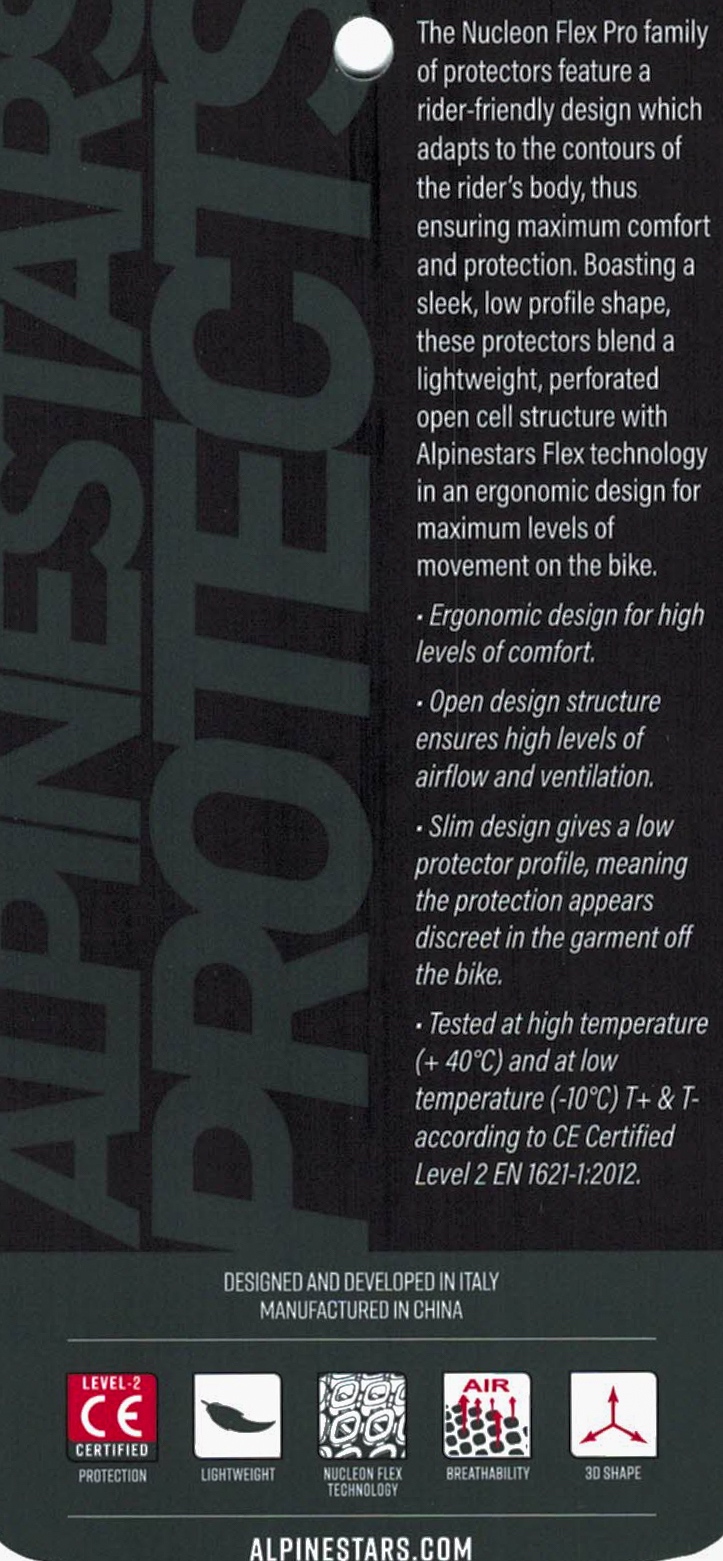 |
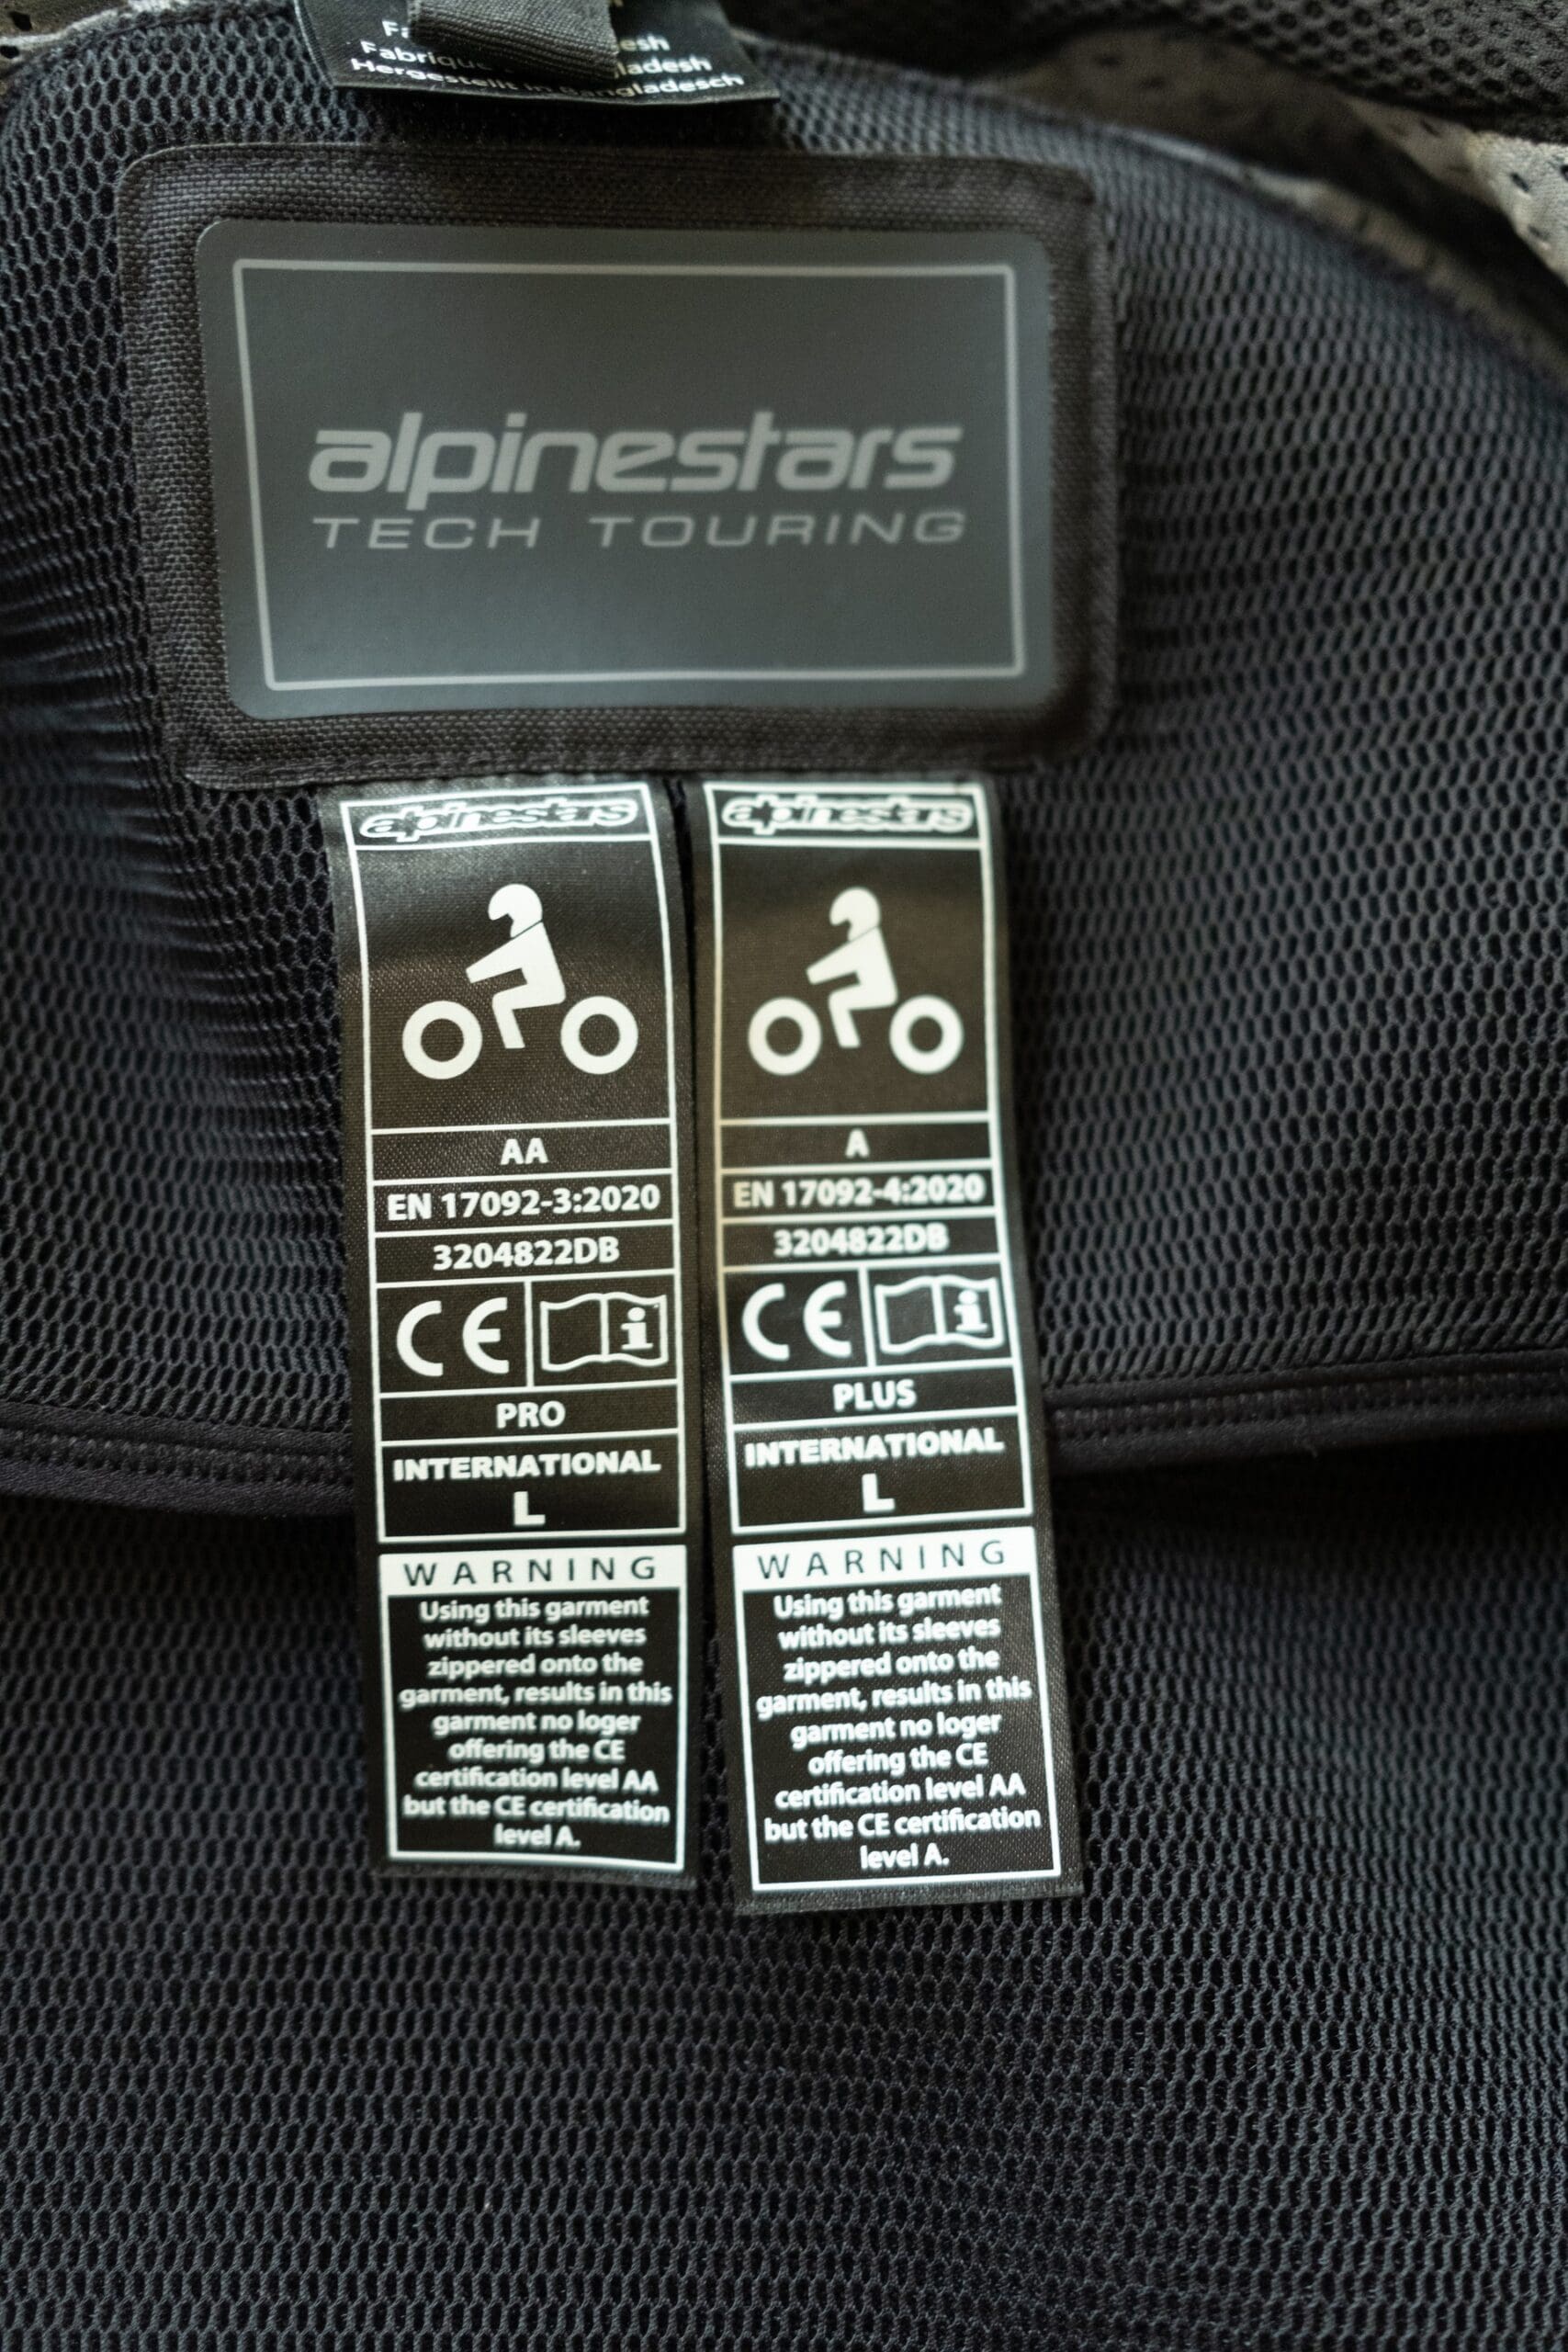
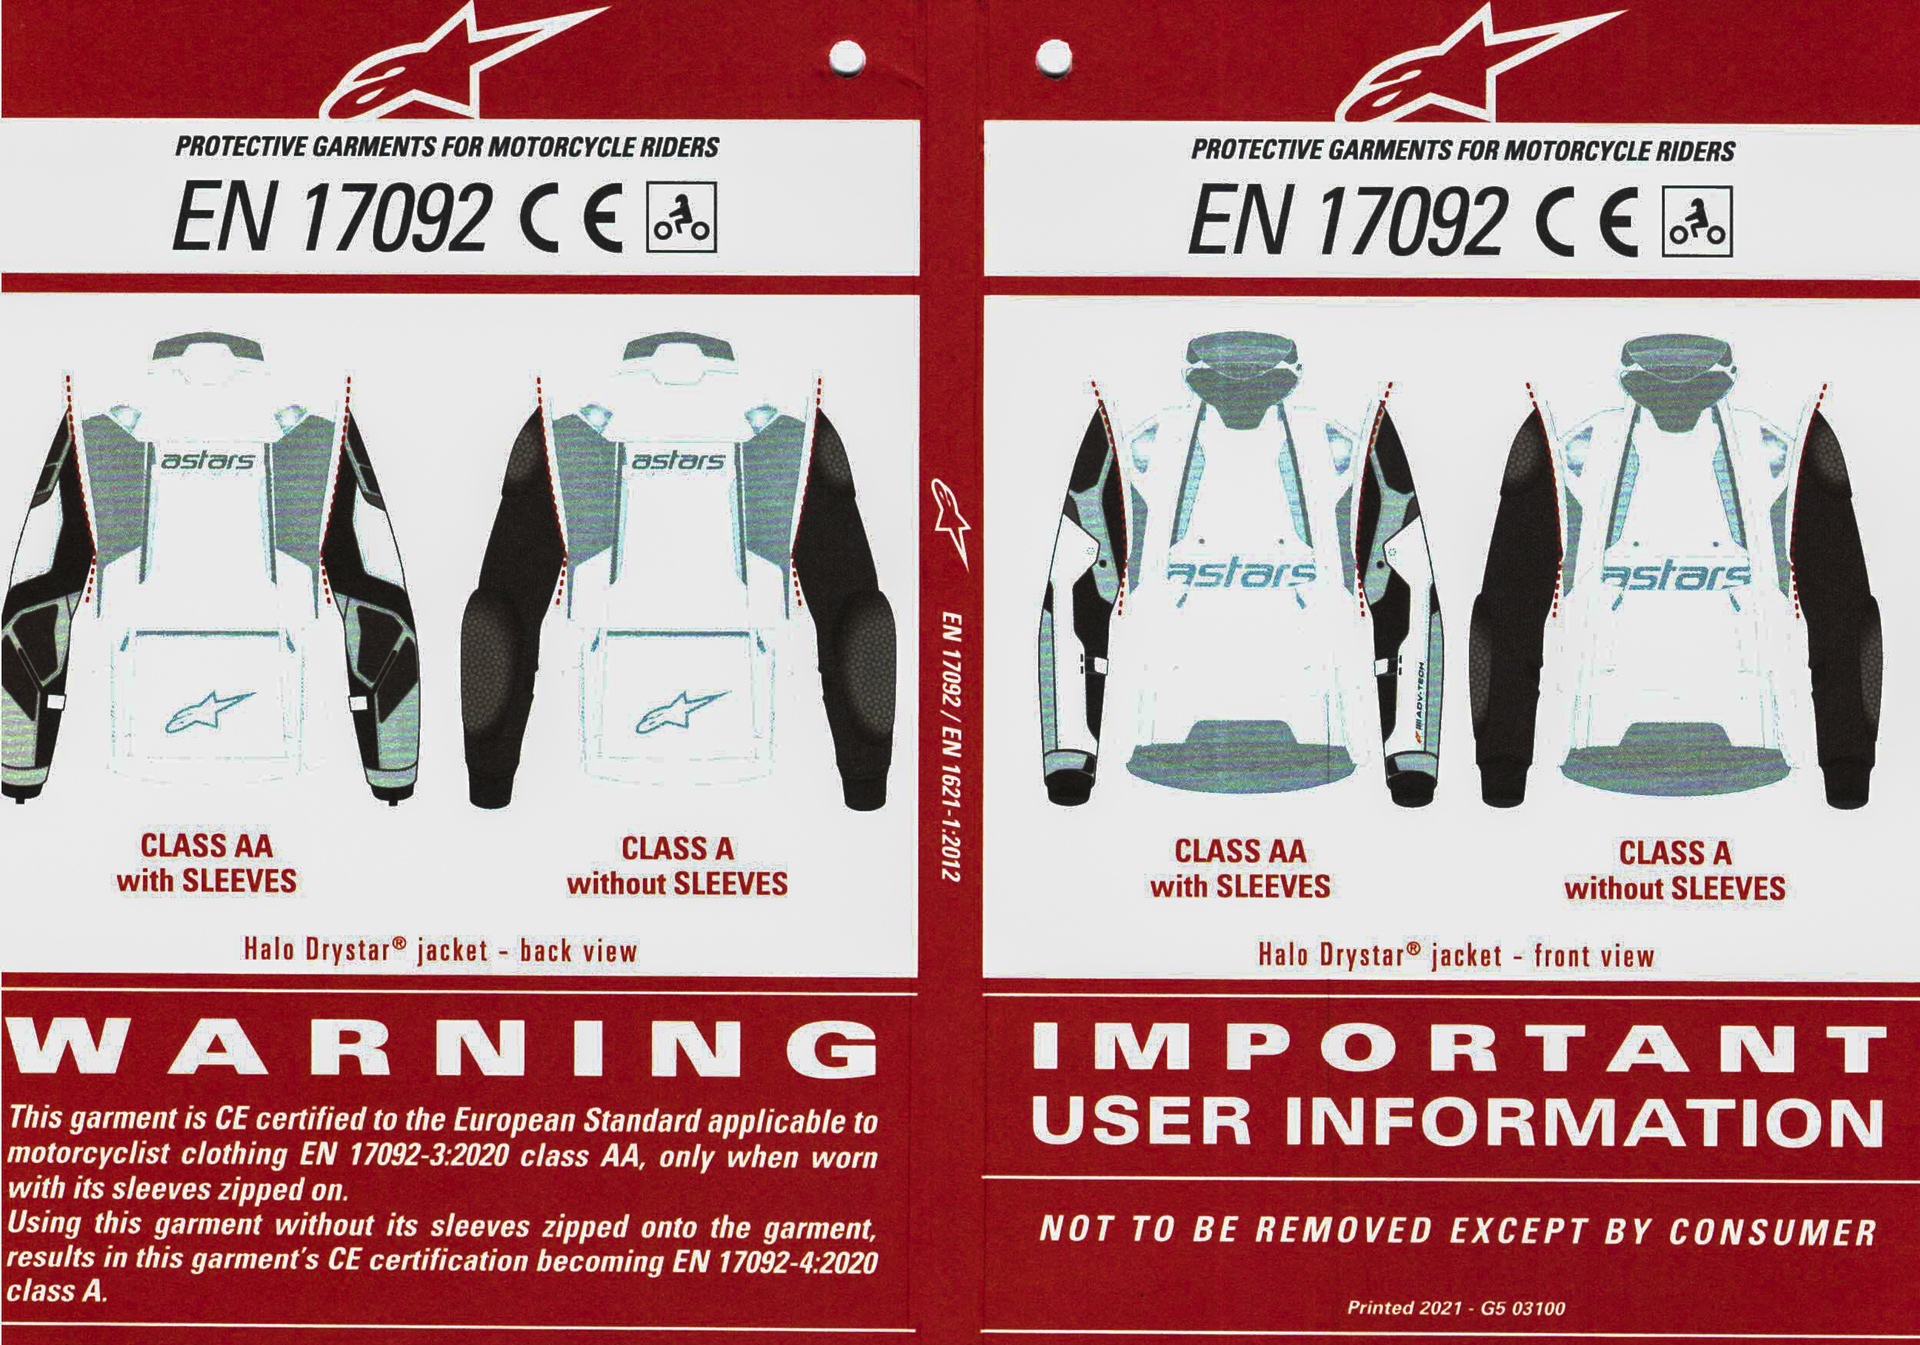
I have found that many other models of jackets use CE Level 1 armor. It is reassuring that the Halo Drystar jacket uses CE Level 2. They also include a tag that explains the rating of the Halo with and without the sleeves attached:
- Sleeves Attached Class AA
- Sleeves Removed Class A
Here is how the shoulder and forearm armor appear:
The armor is attached to the mesh sleeves of the Halo. When the outer sleeve is removed, the armor stays in place, which provides Class A protection. In addition, the Halo offers attachments that assist in keeping the armor in place based on each individual’s size.
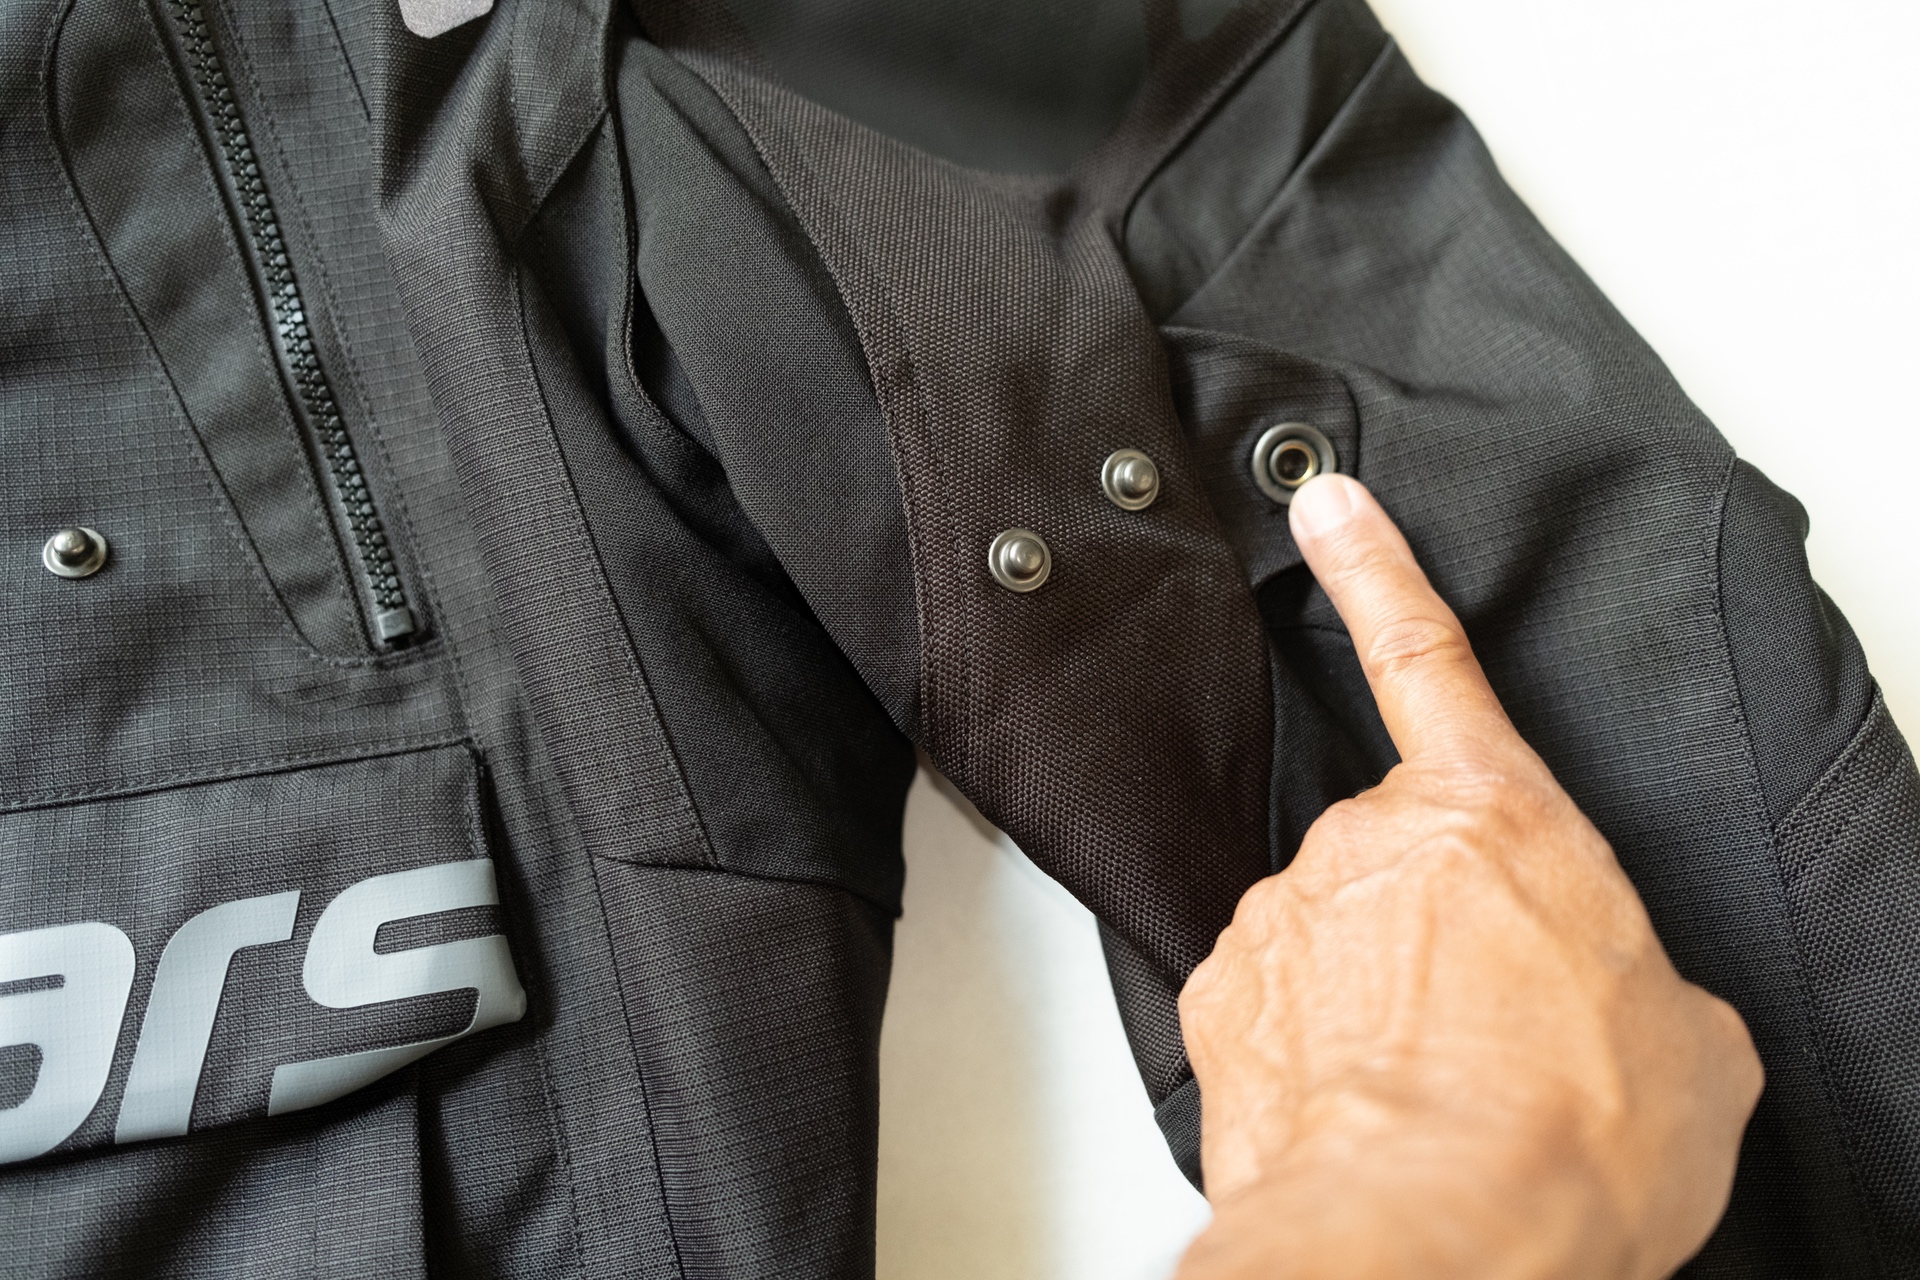
I find this very important. The acceleration that happens when your arm impacts the ground can and does move the armor’s location—and if loose enough, it can cause burning of your skin between your dermis and the lining of any jacket. It’s why leather riding gear is so effing tight; it is designed to eliminate or reduce the space between your skin and the protective covering. Alpinestars has these two adjustments on the Halo.
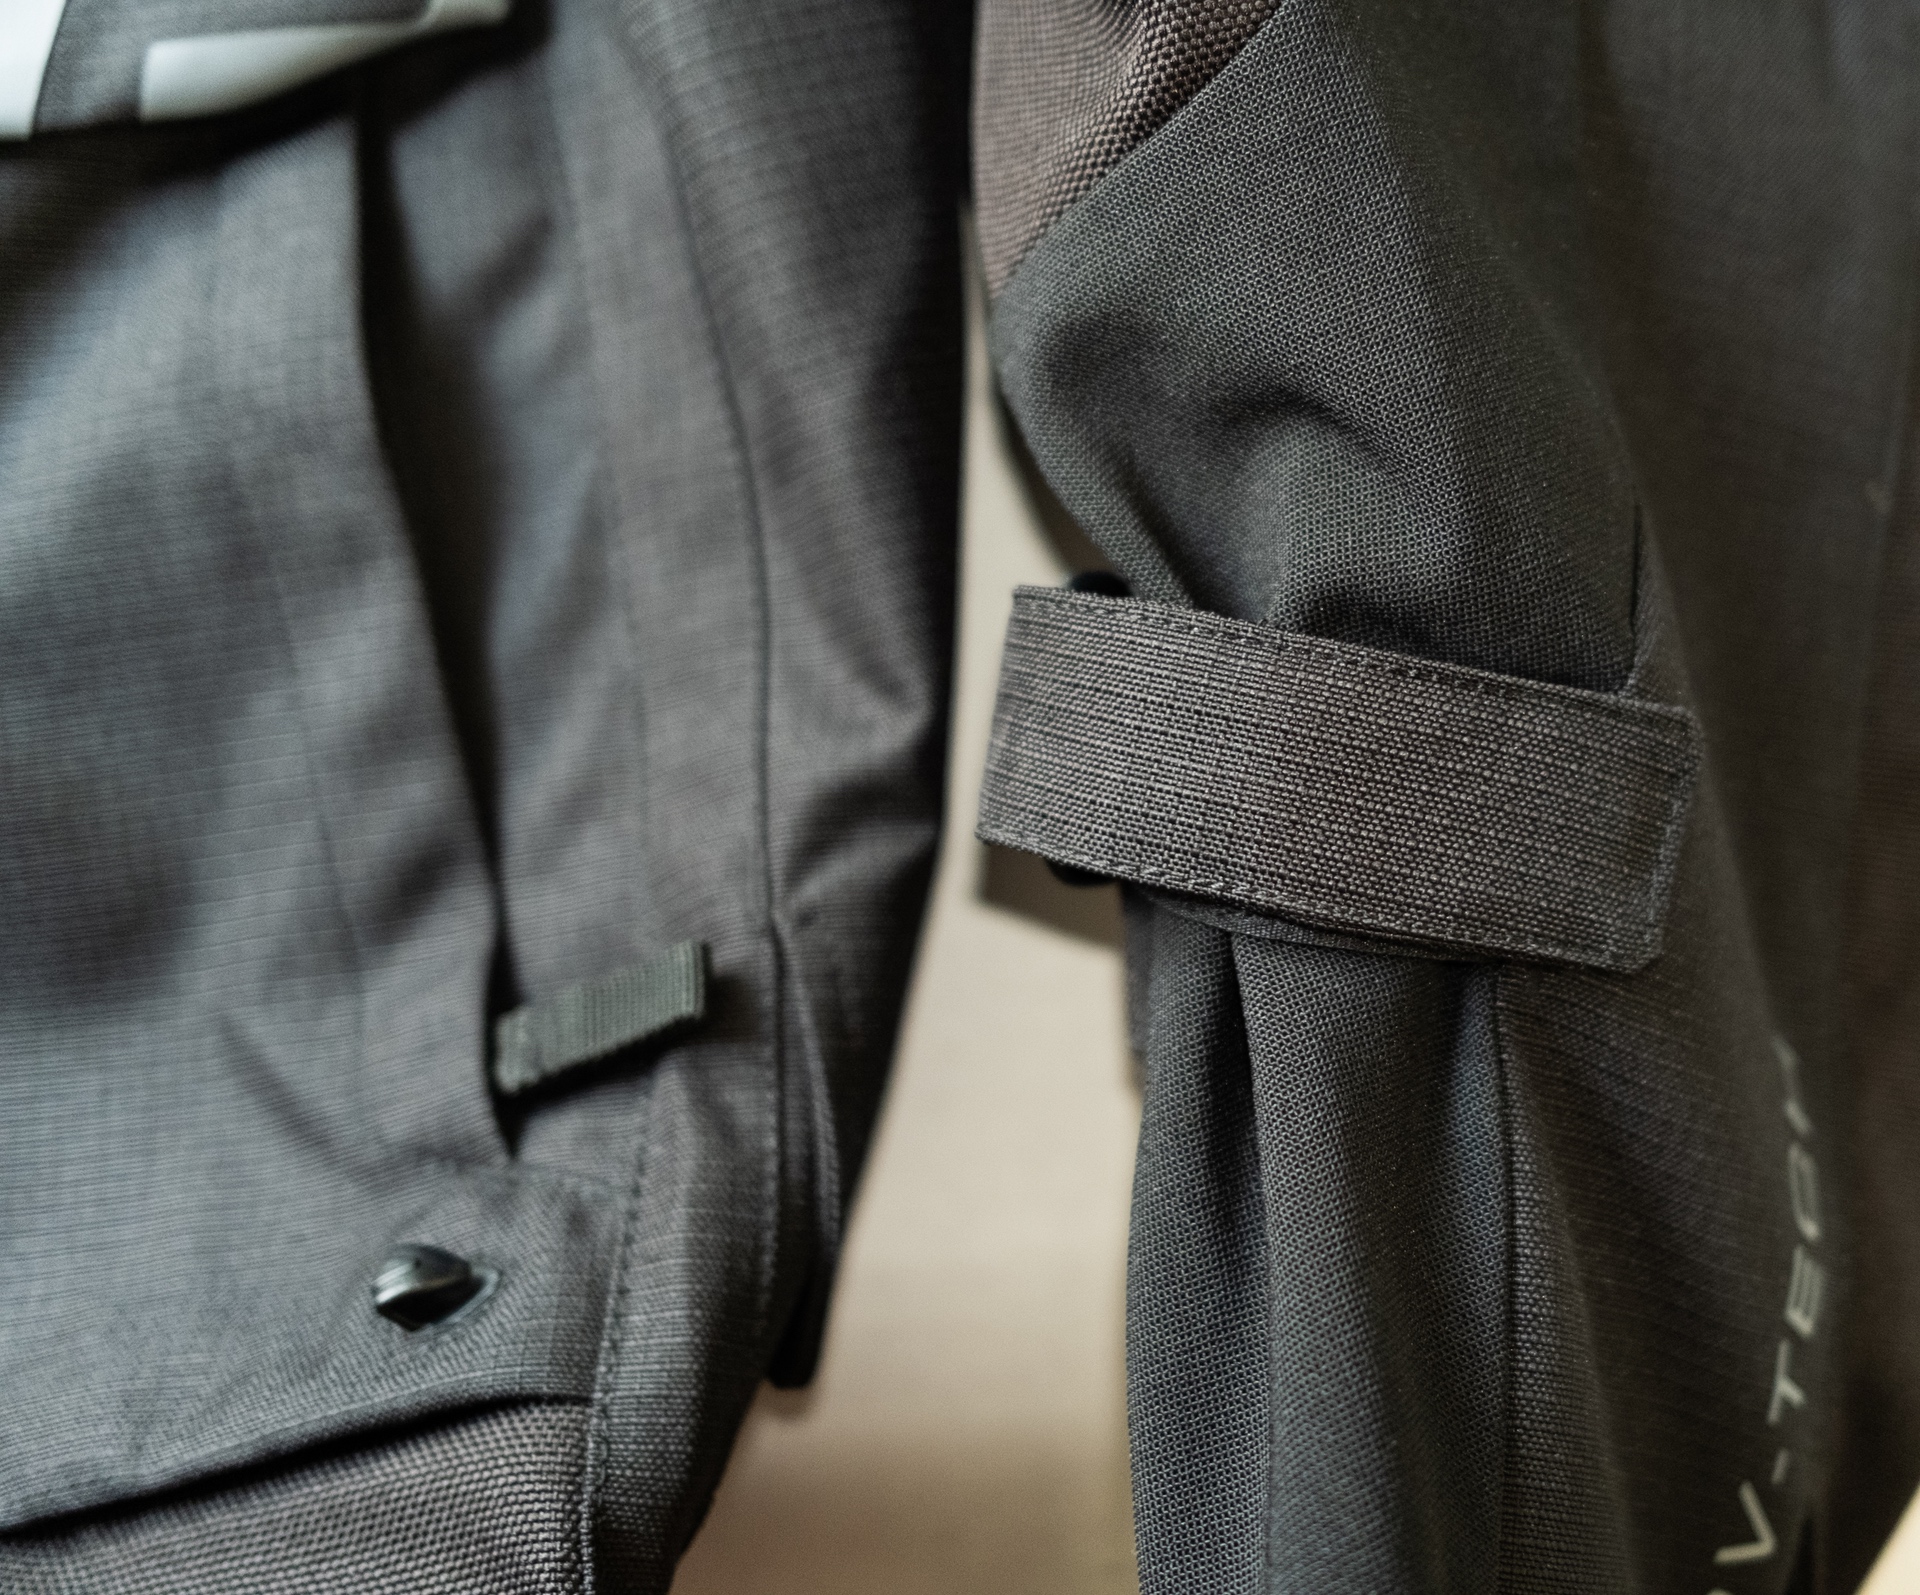
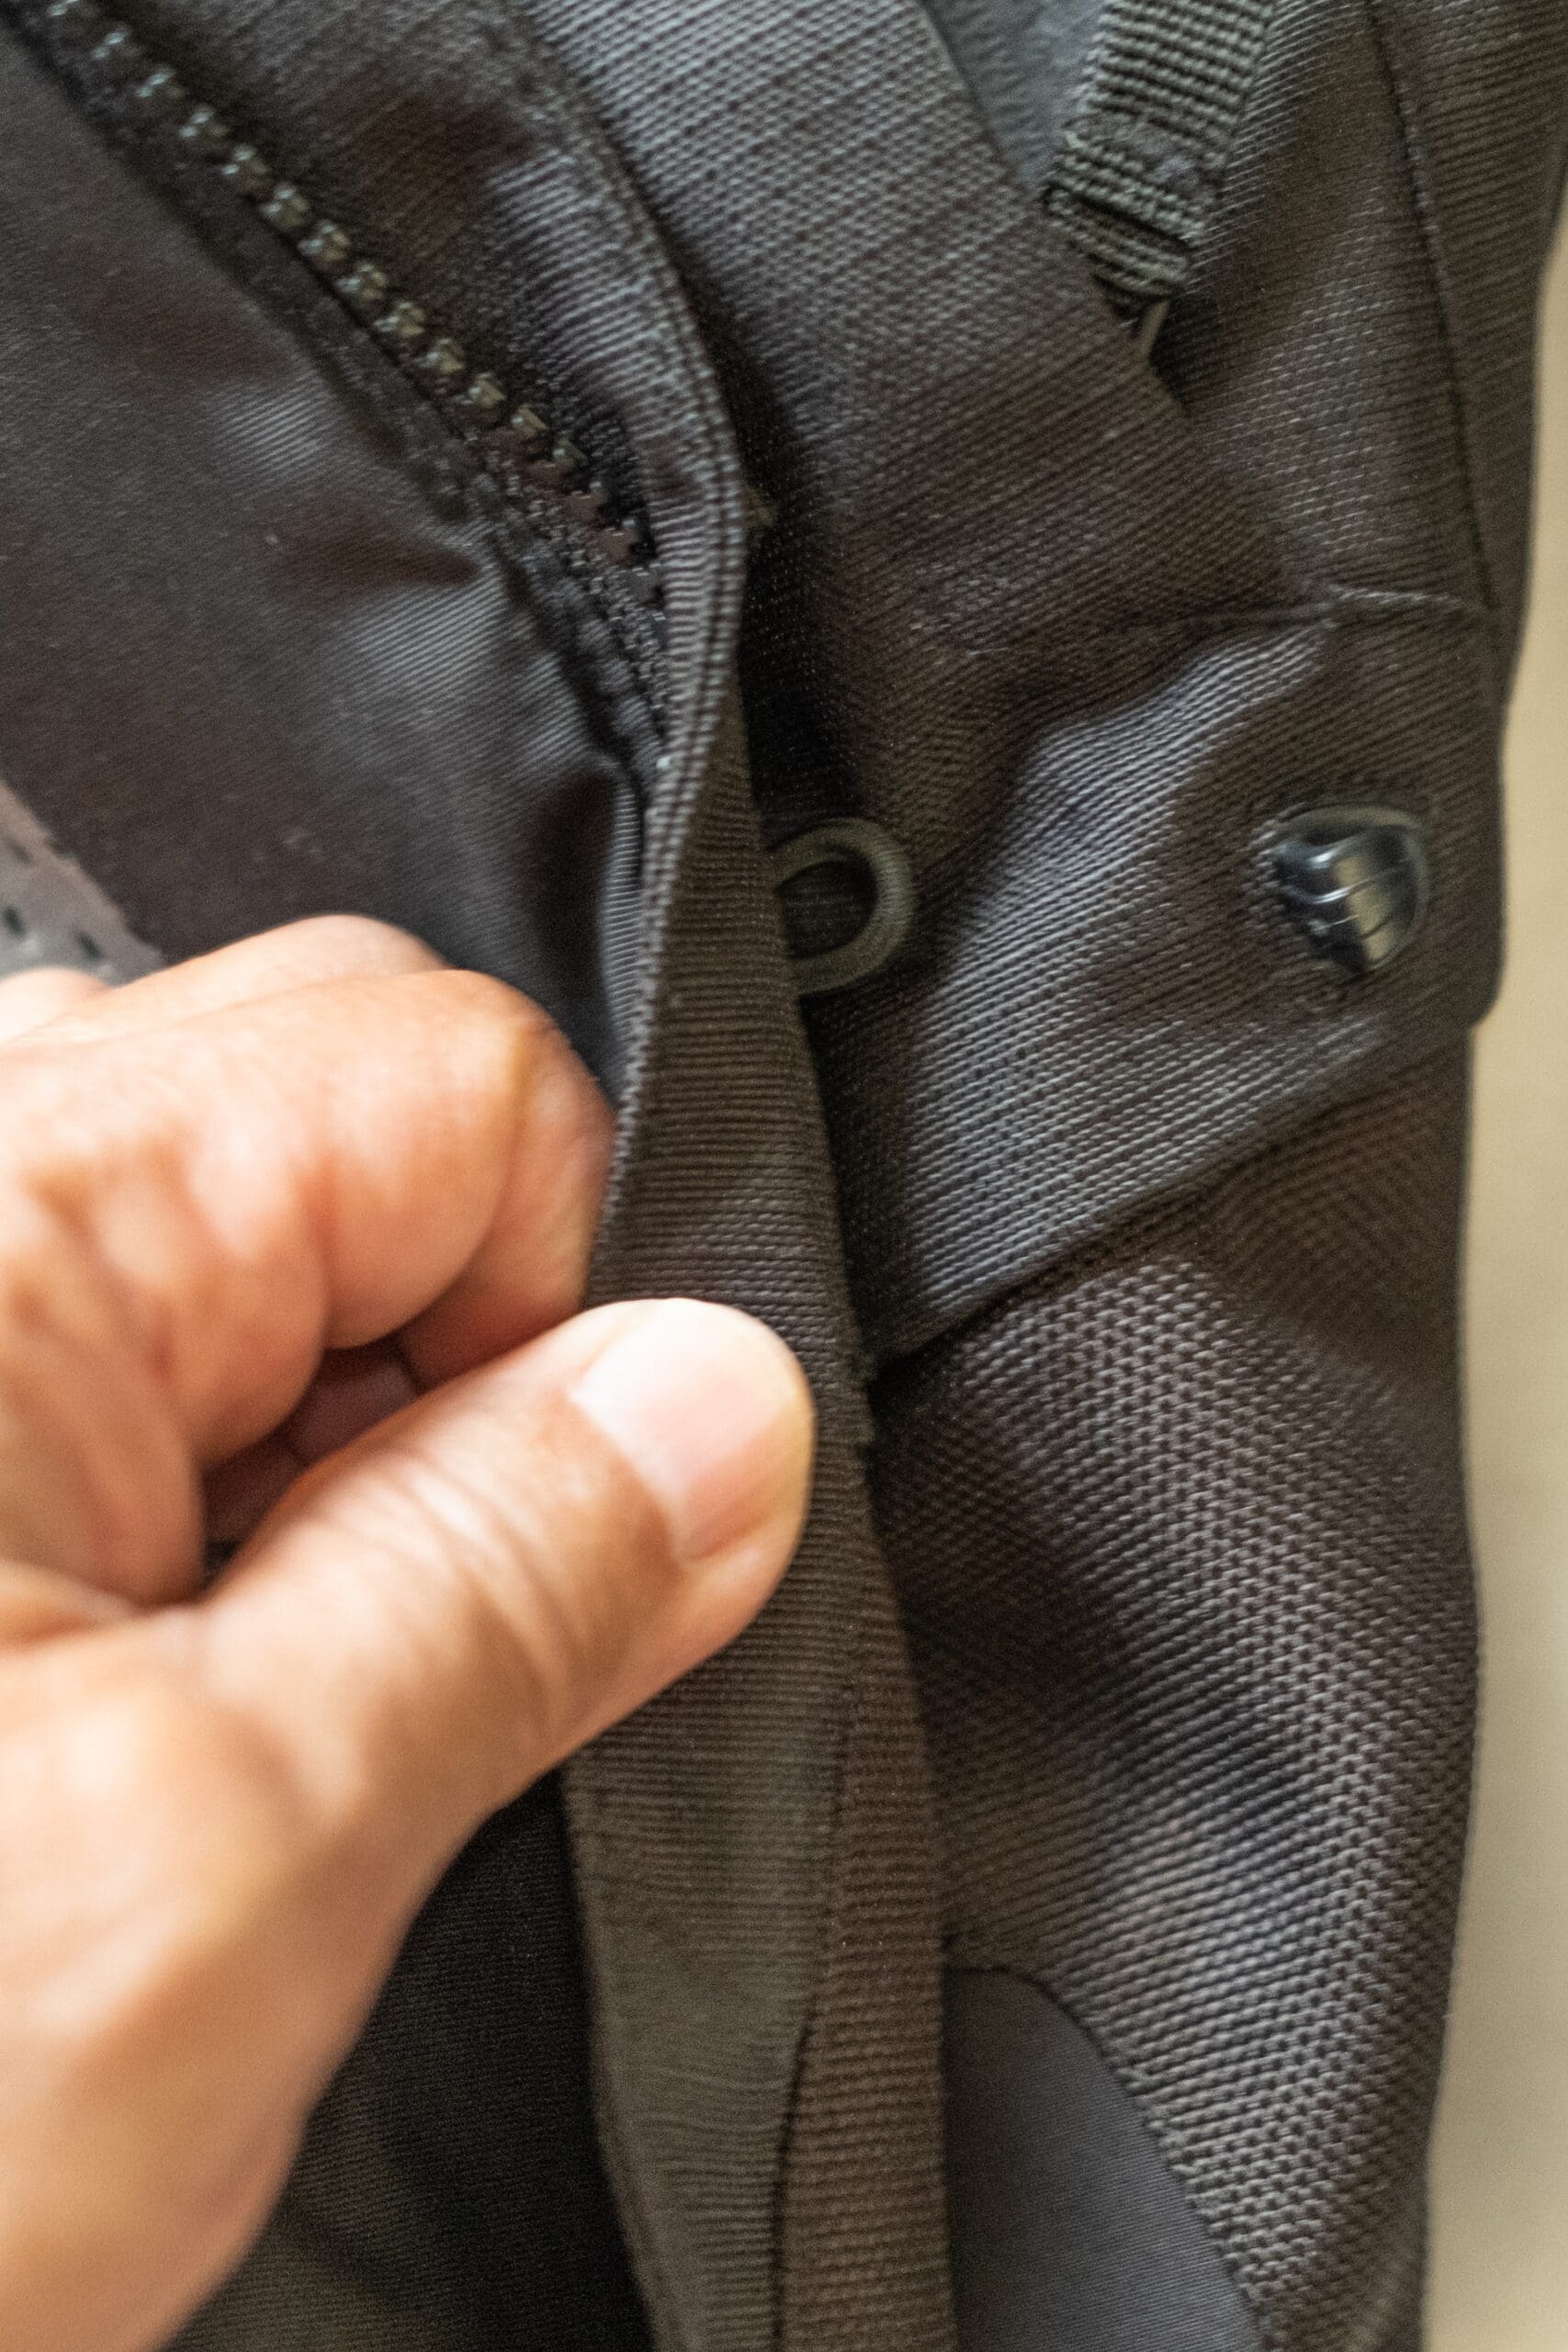
There are snaps on the biceps to adjust the sleeve width for each individual. In addition, there are adjustable Velcro straps to adjust the forearm material to your arm width.
As mentioned previously, Alpinestars has sewn-in areas where you are able to purchase a back and chest protector for the Halo.
Alpinestars Halo Drystar Jacket Key Features
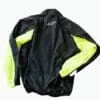
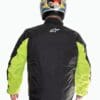
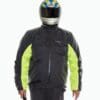
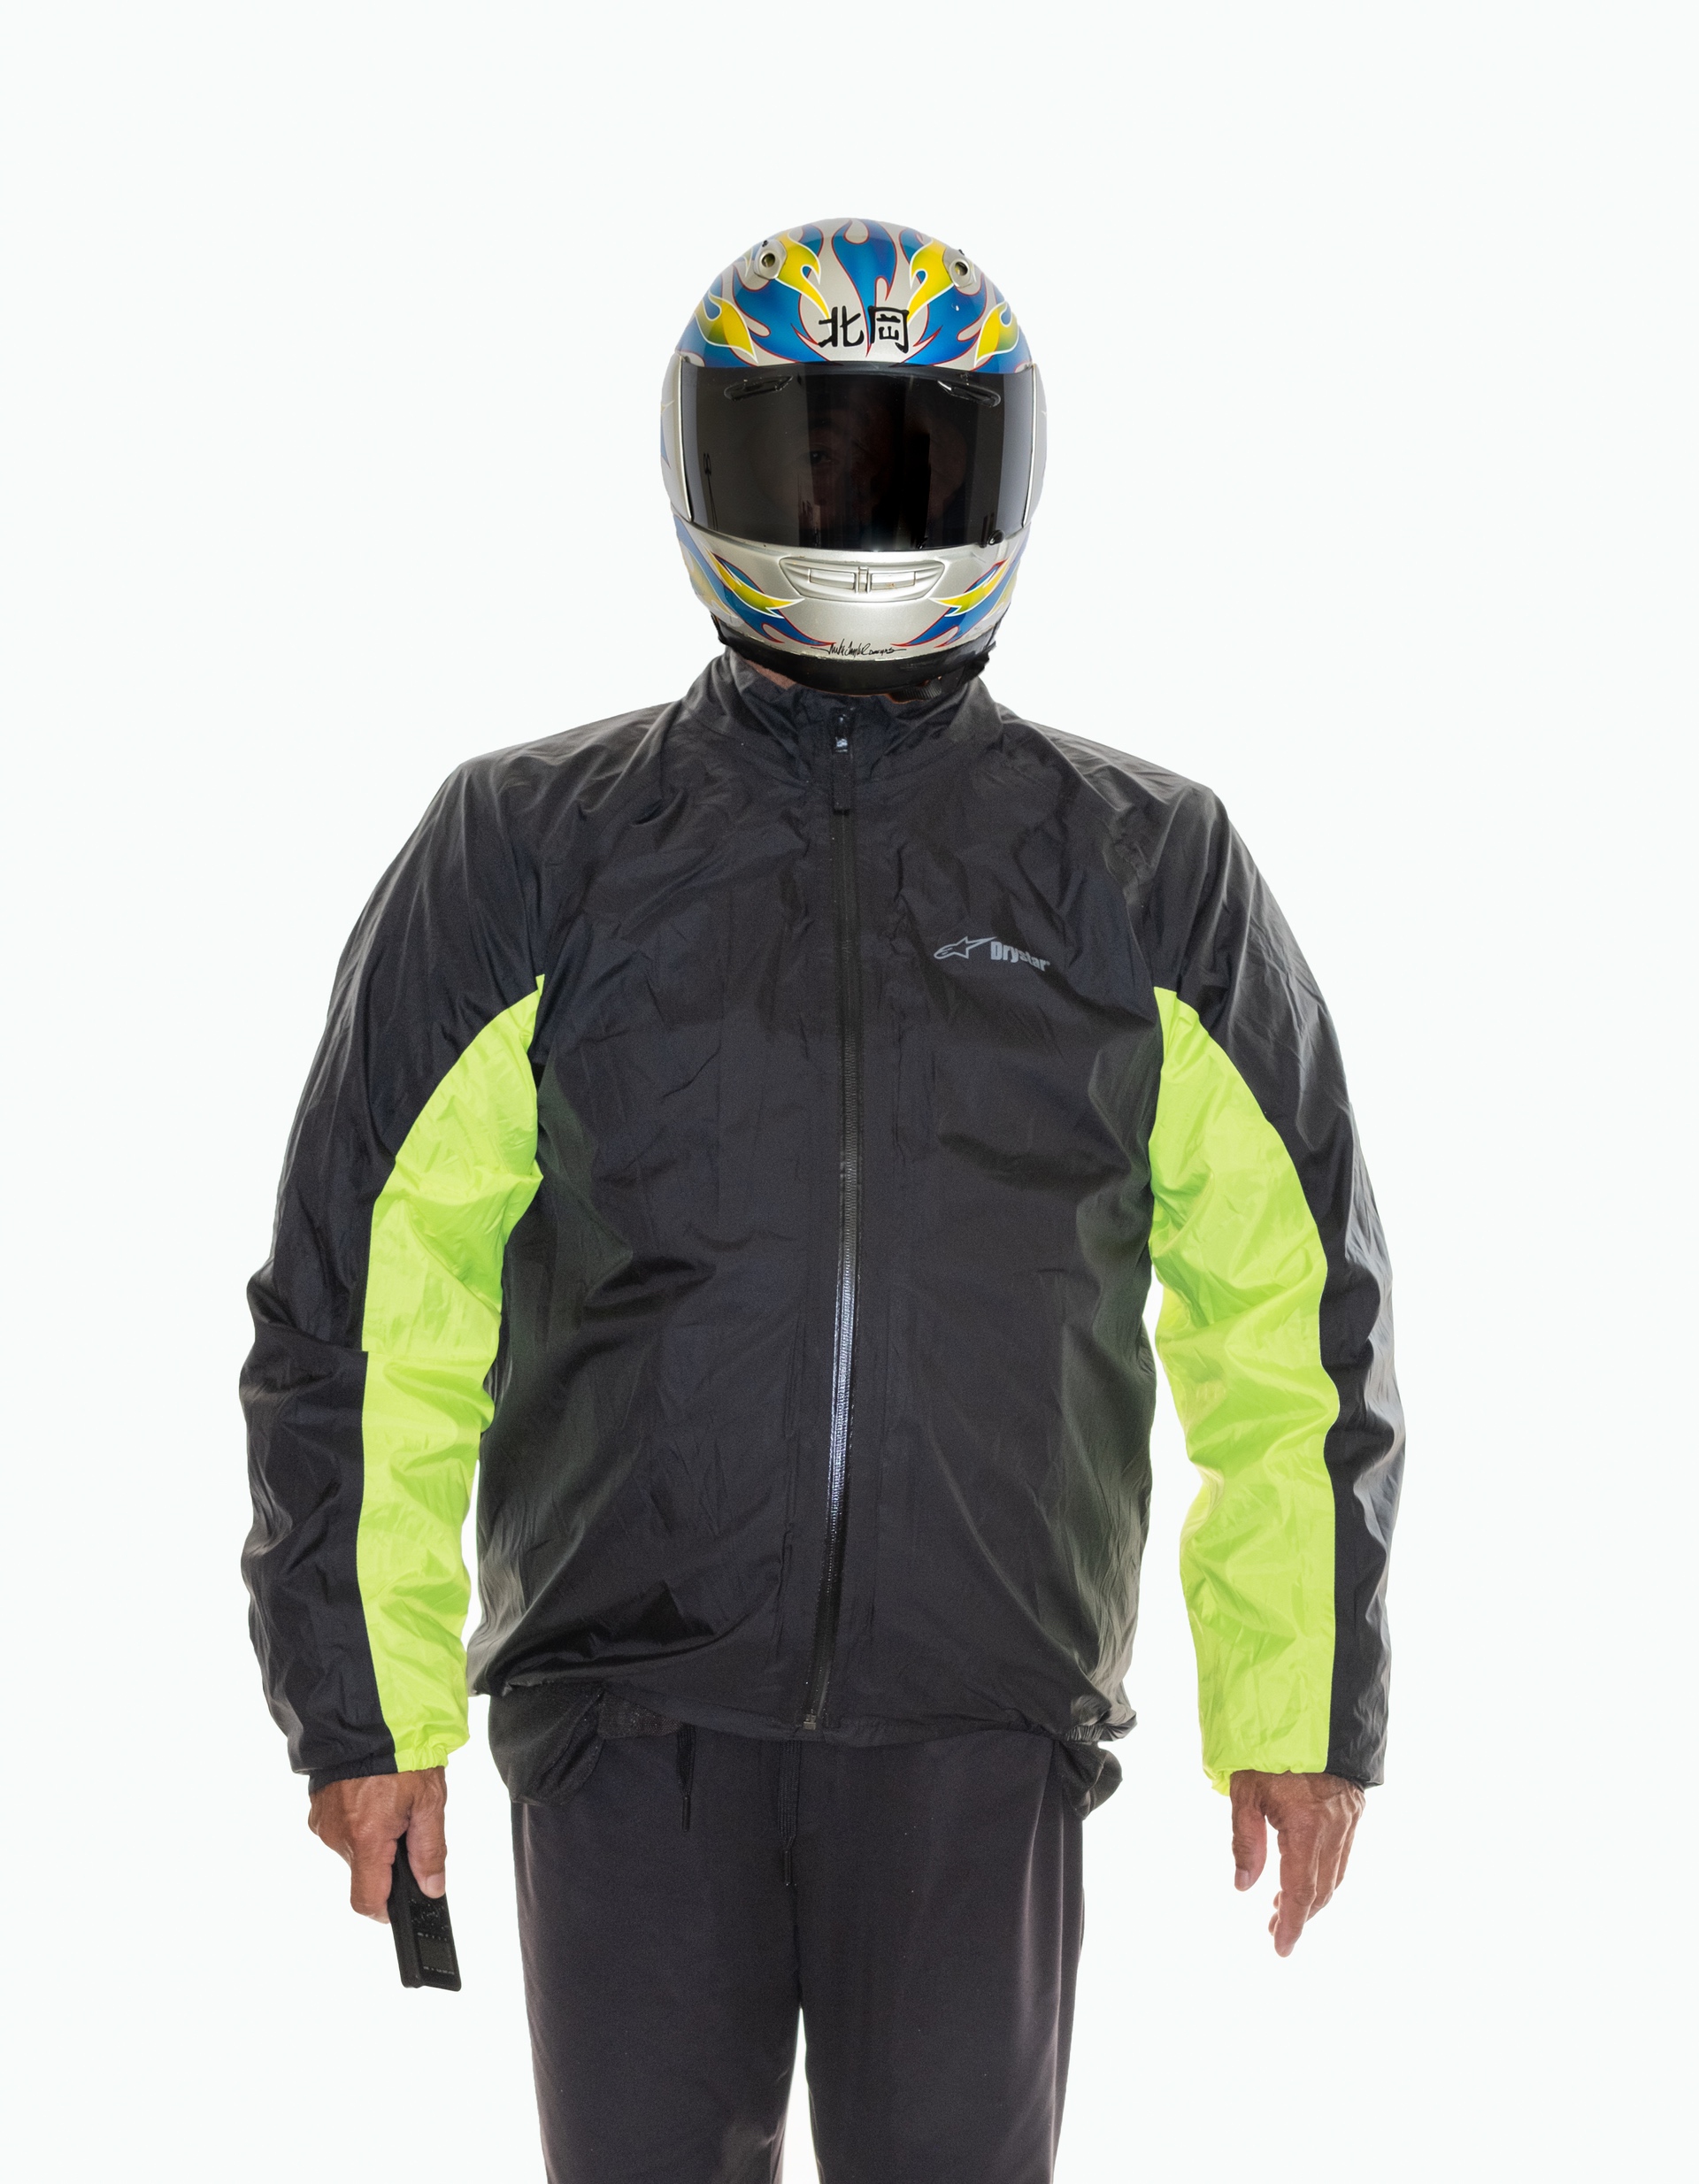
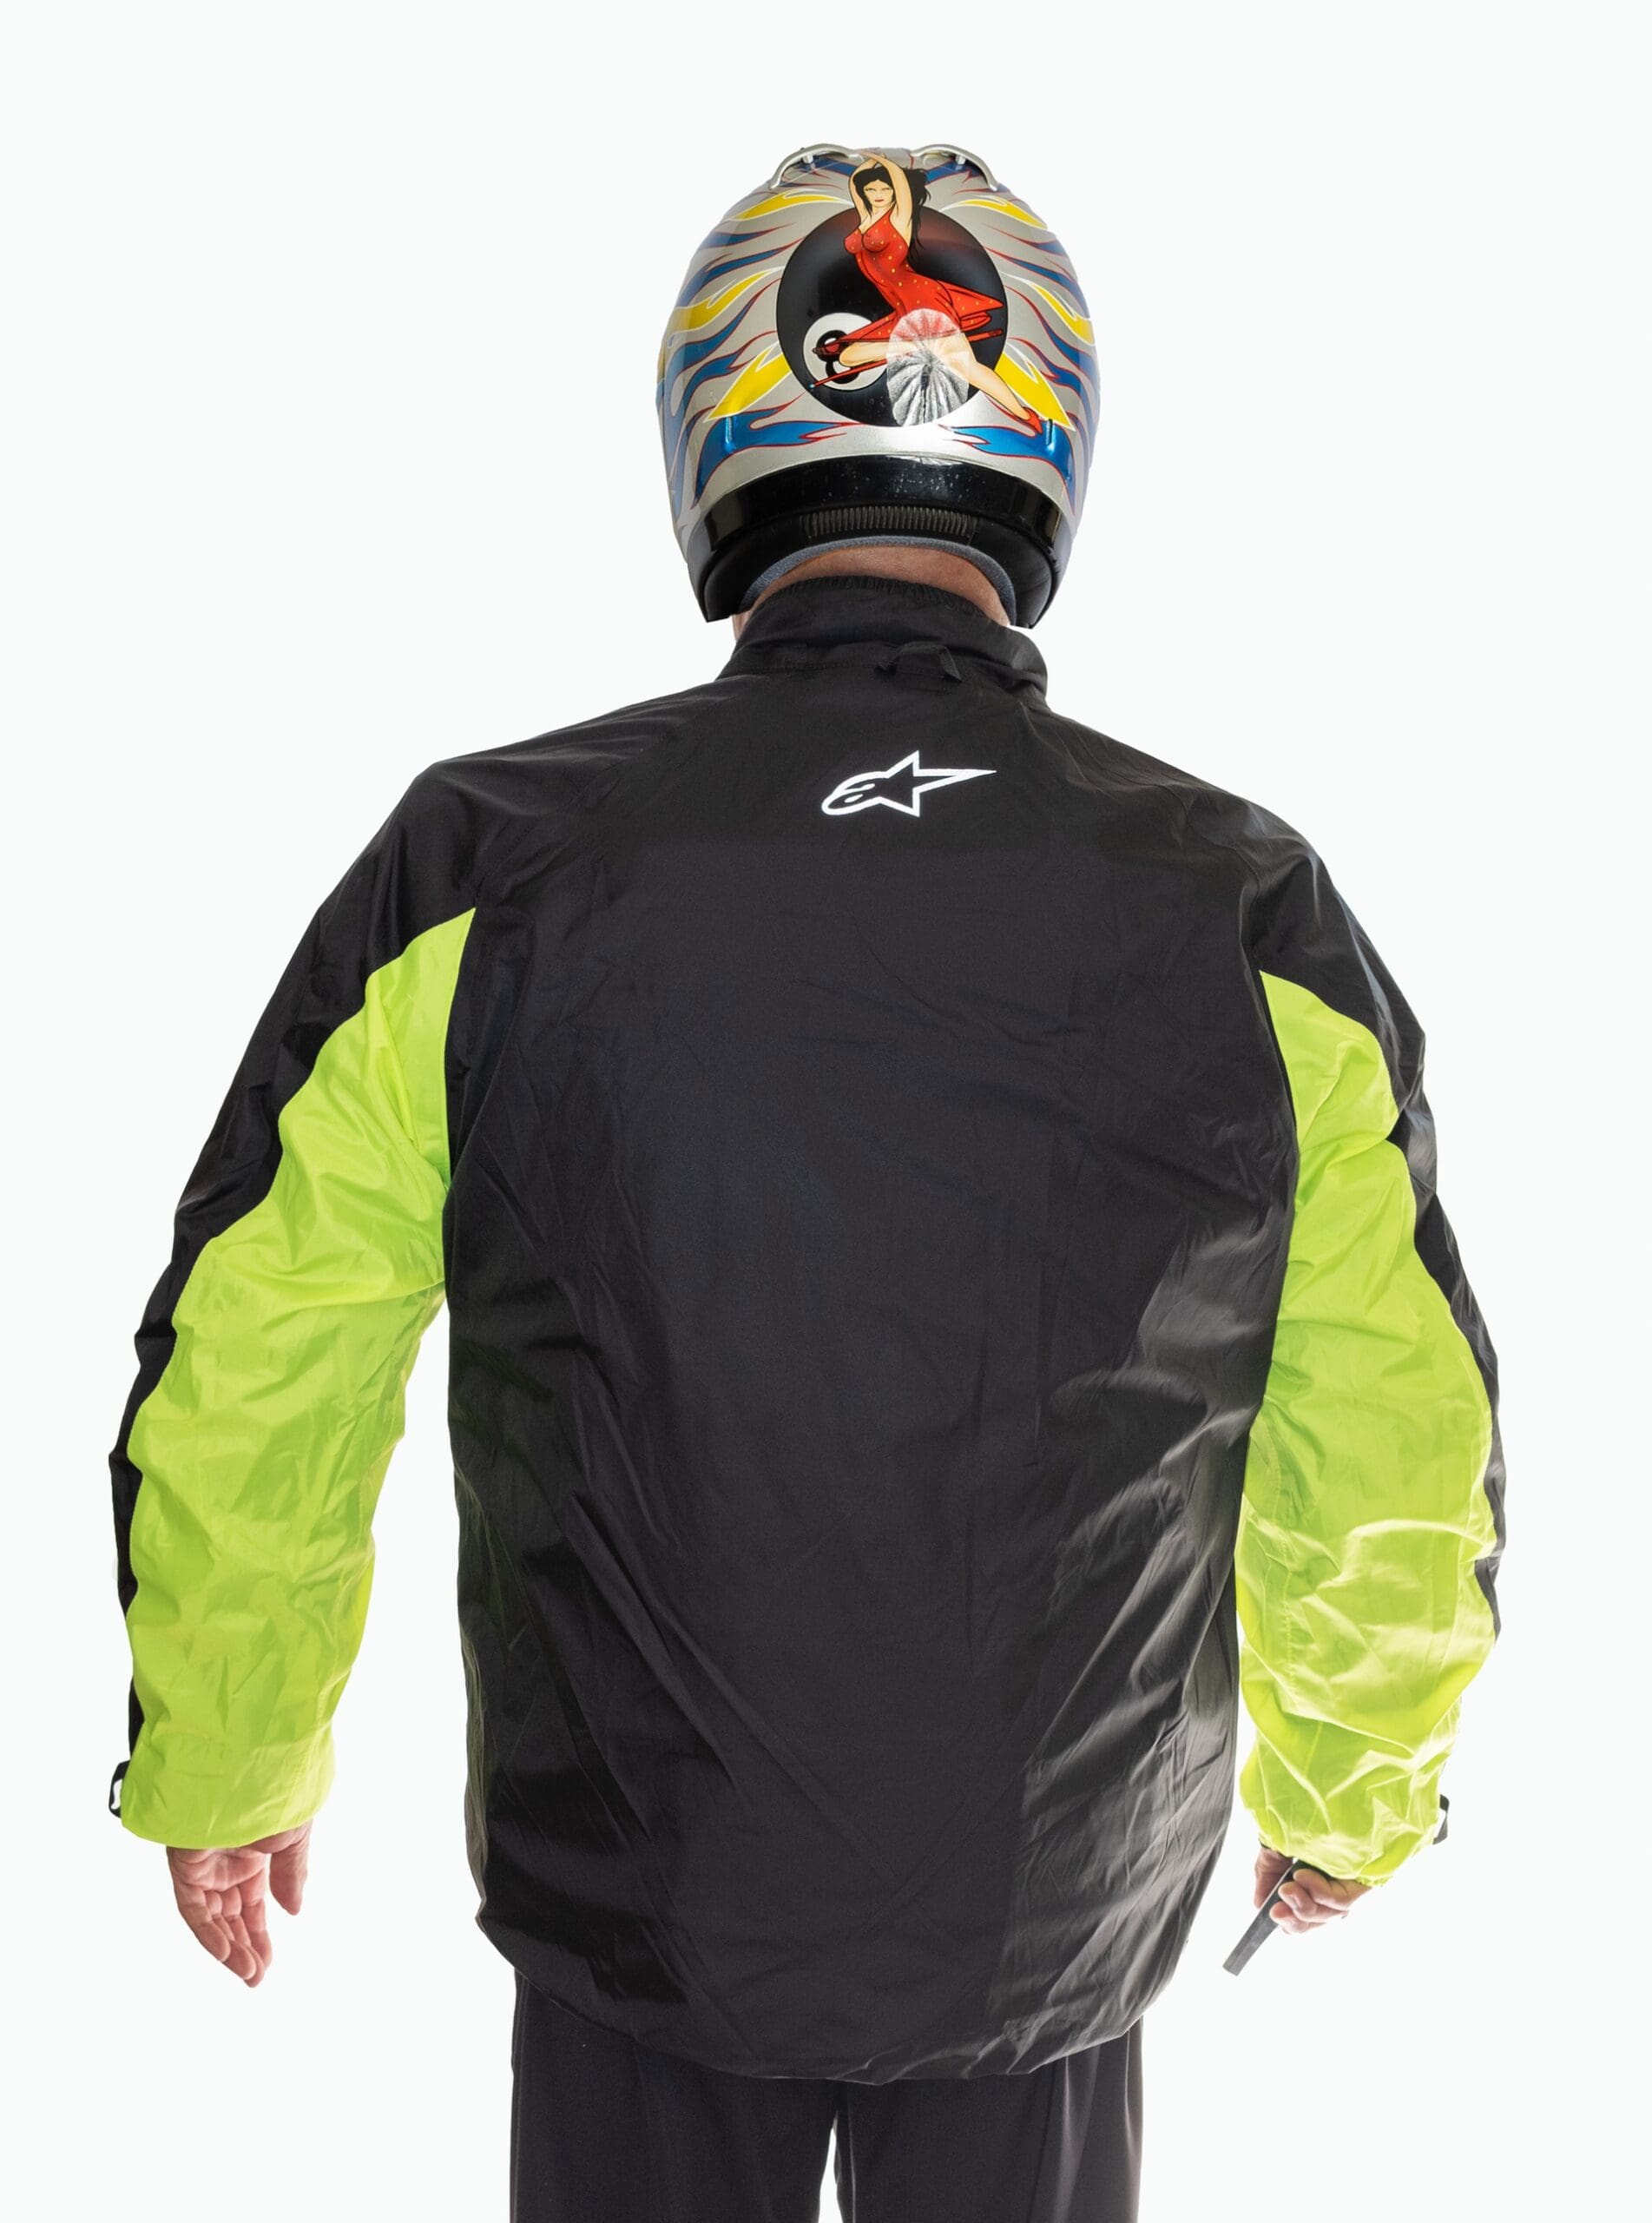
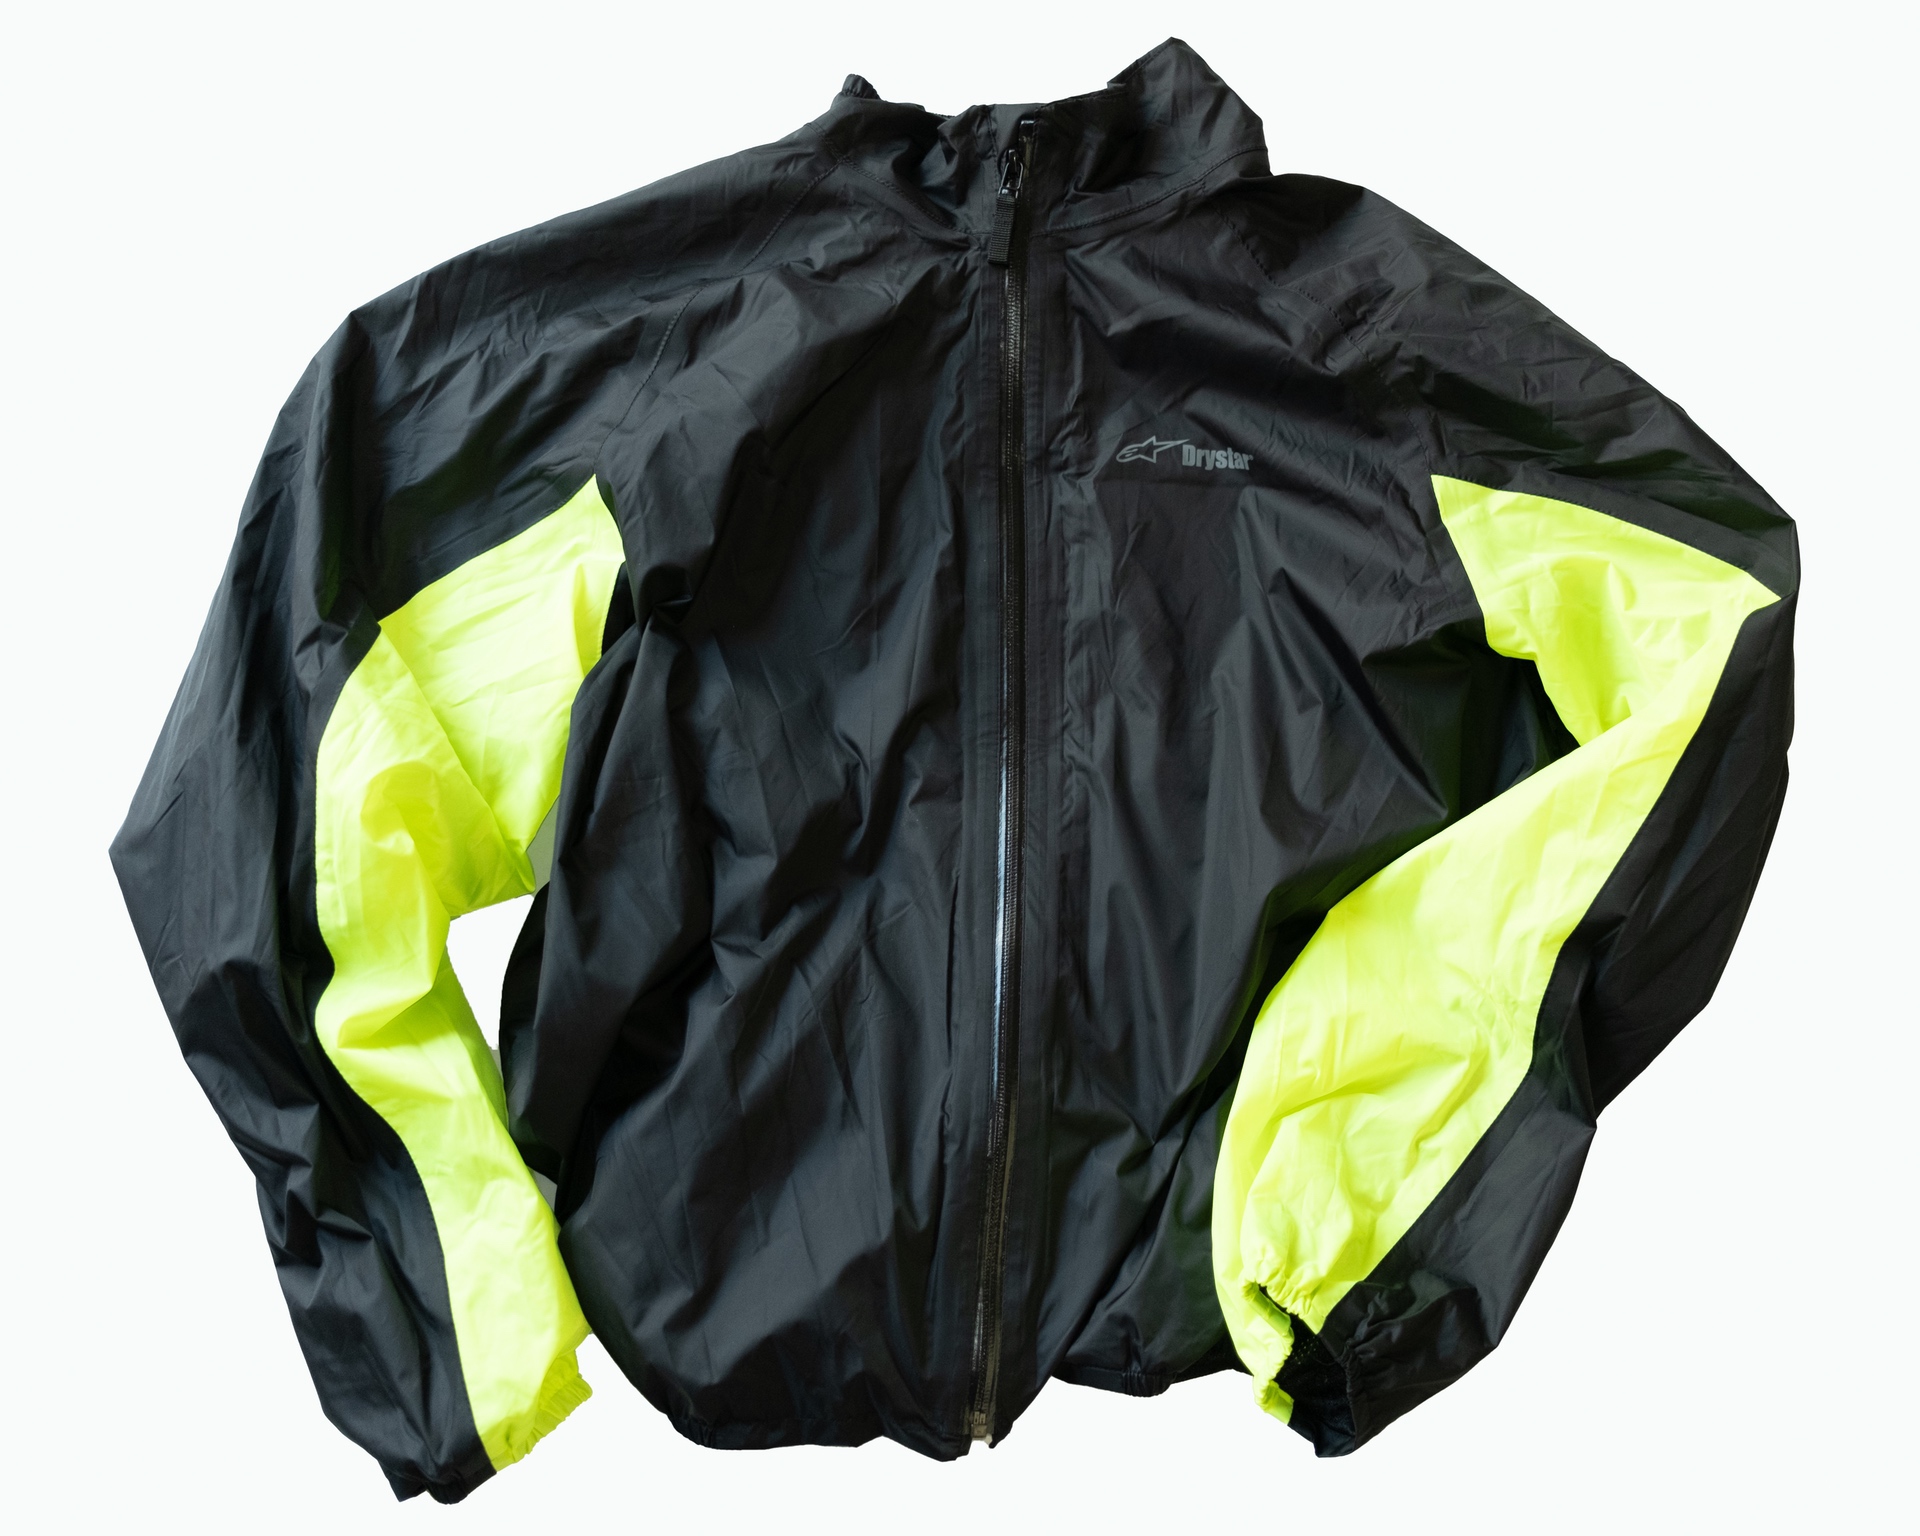
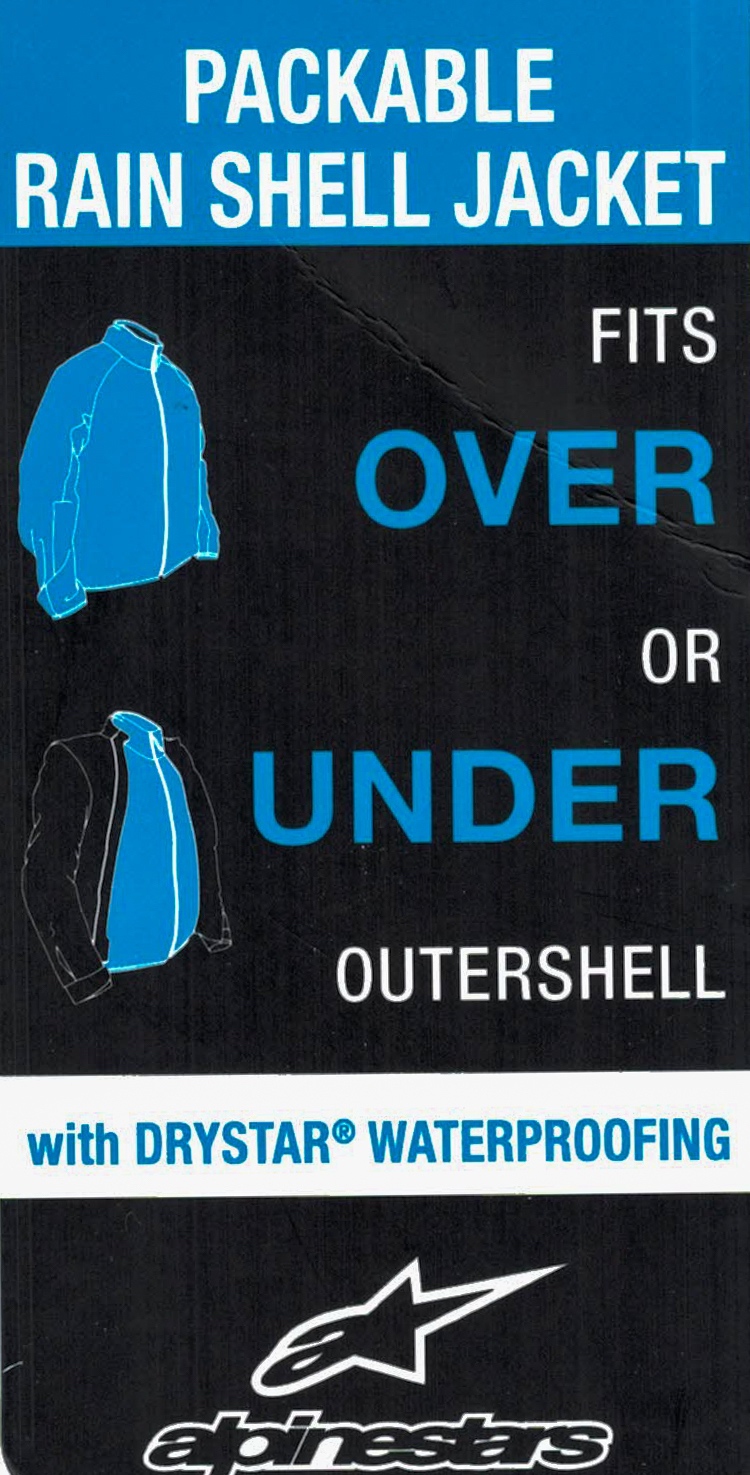
The Halo includes a waterproof rain jacket that can be worn over the Halo for full water protection. It can also be worn under the Halo if so desired. I have found that the waterproof liner worn under the Halo has wonderful heat retention properties on cool-to-cold days. For me, it can replace my usual mid-layer sweat shirt and offers a much more comfortable range of motion.
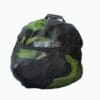
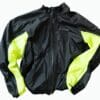
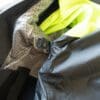
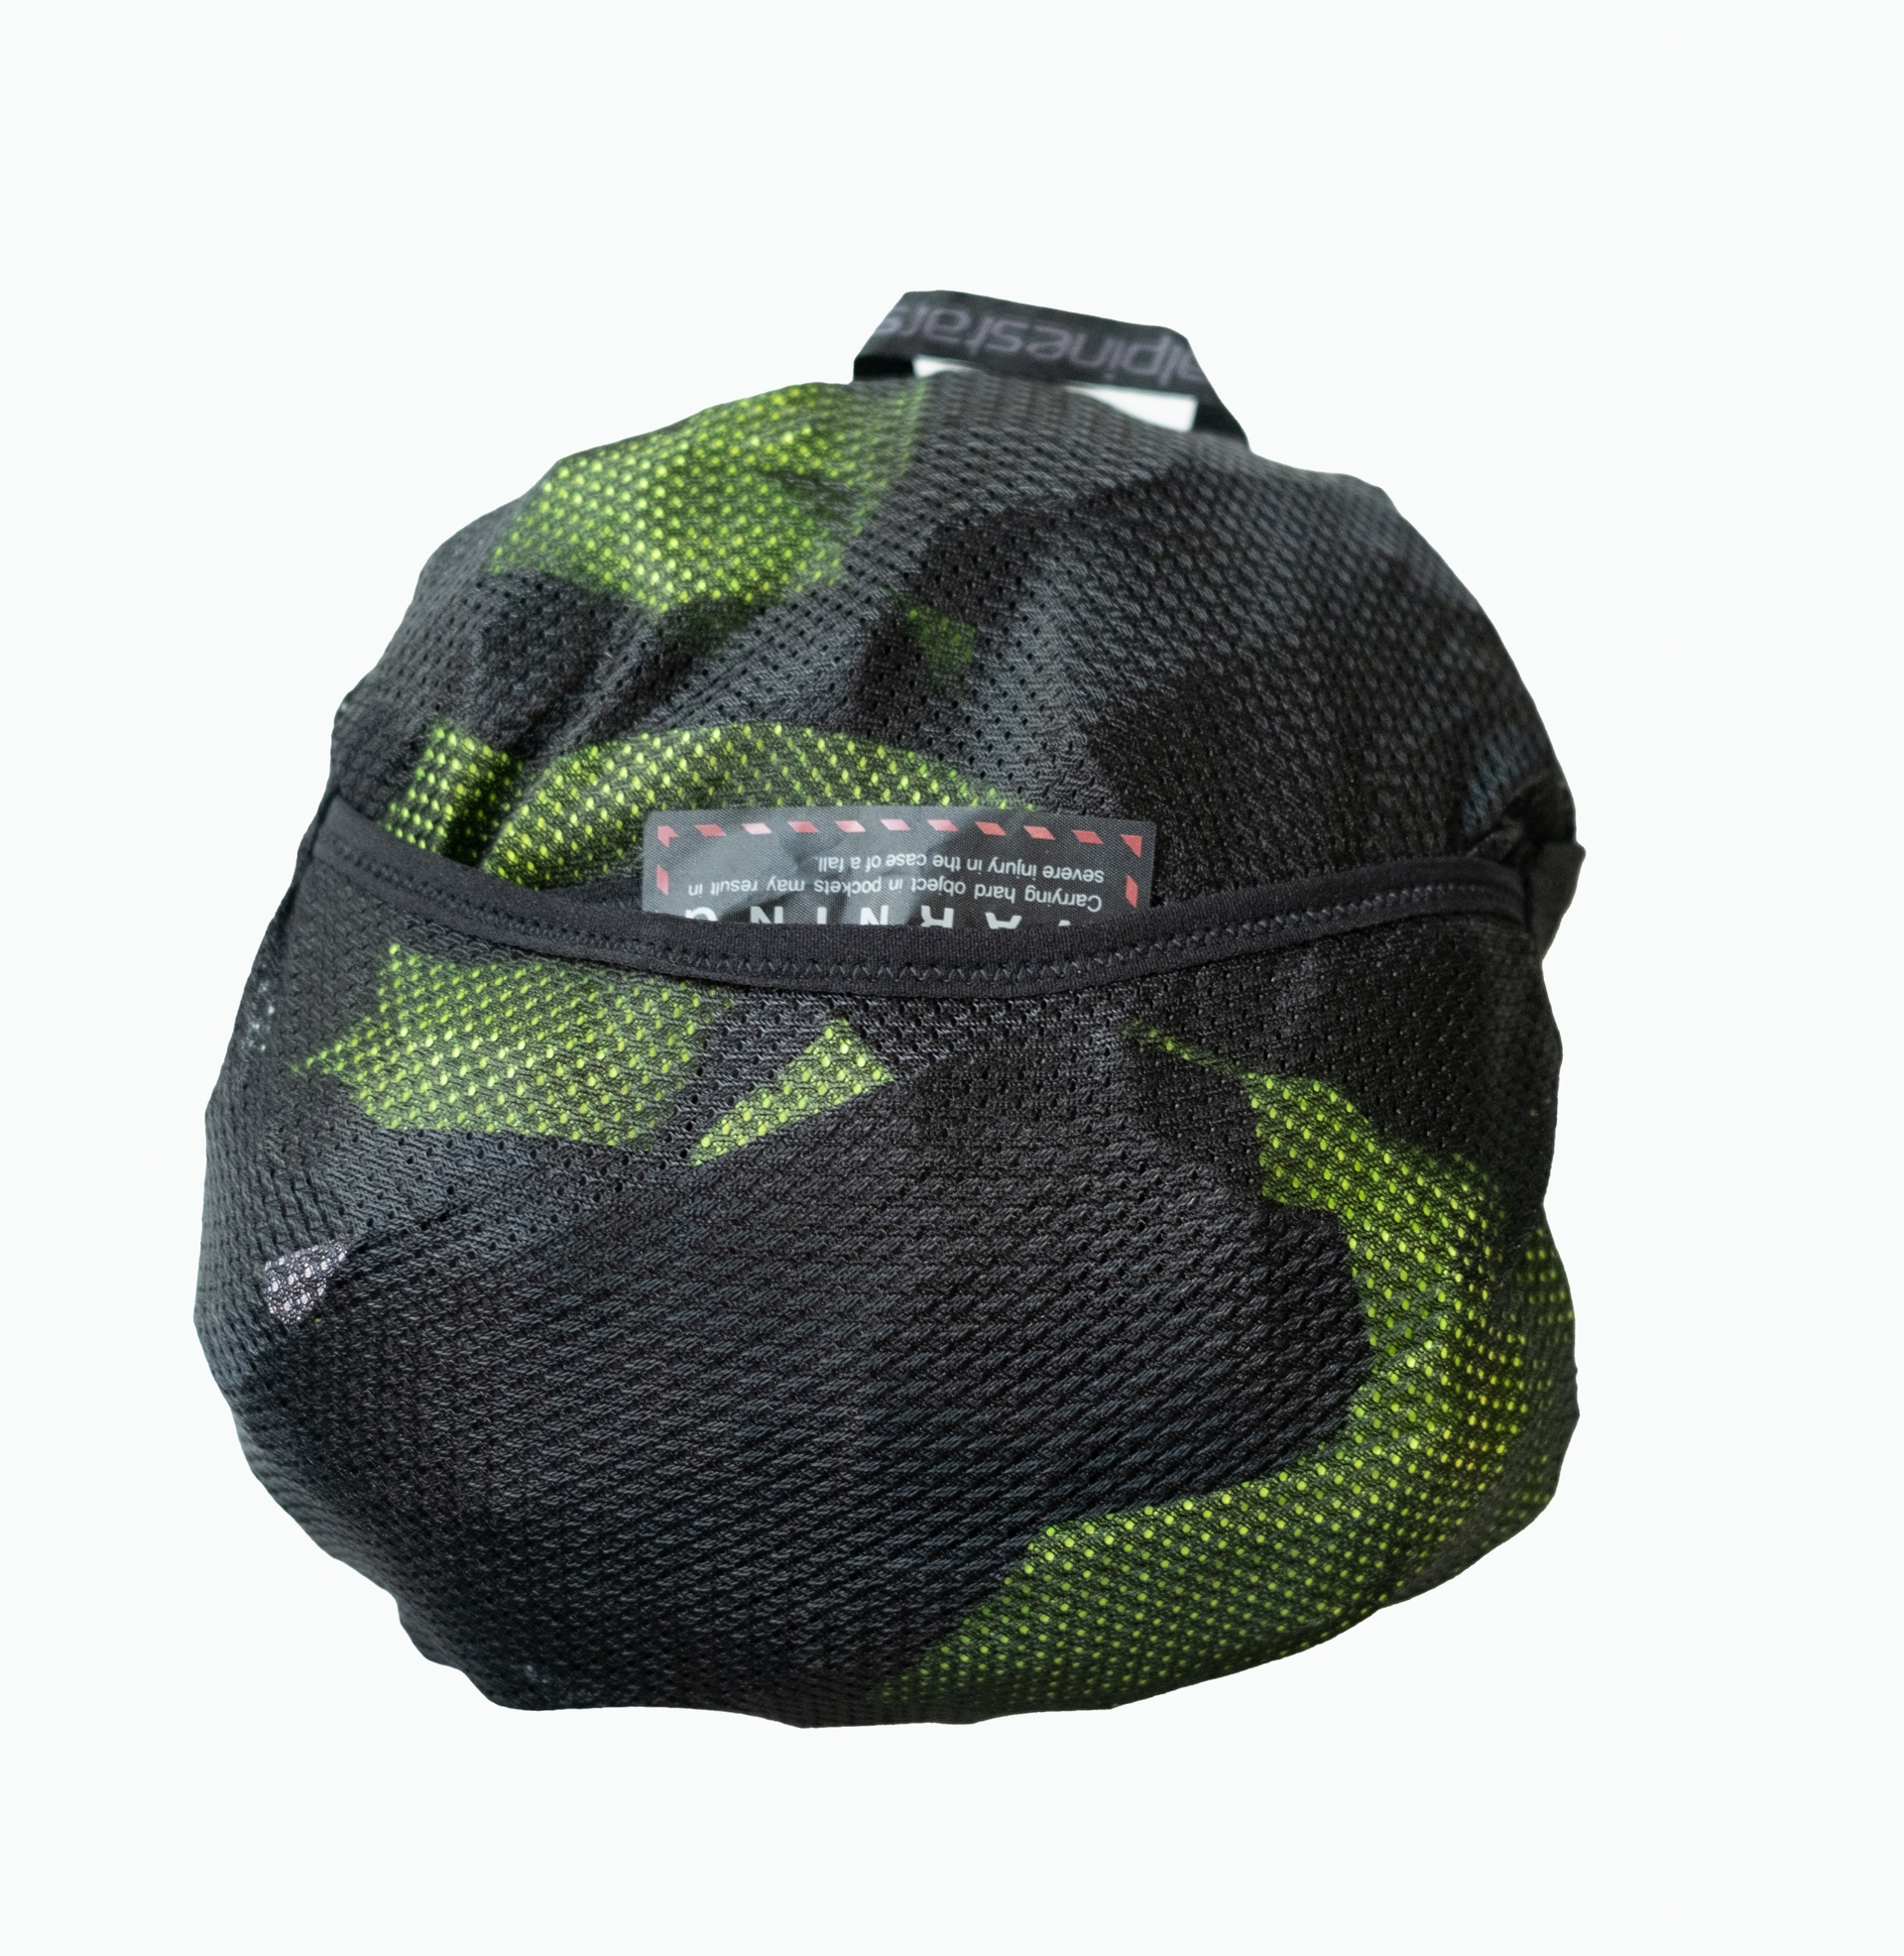
The rain jacket has Hi Viz yellow accents under the arms and can be worn separately too. It also packs down into its own little pouch sewn into the rain jacket’s mesh. Slick.
 |
 |
 |
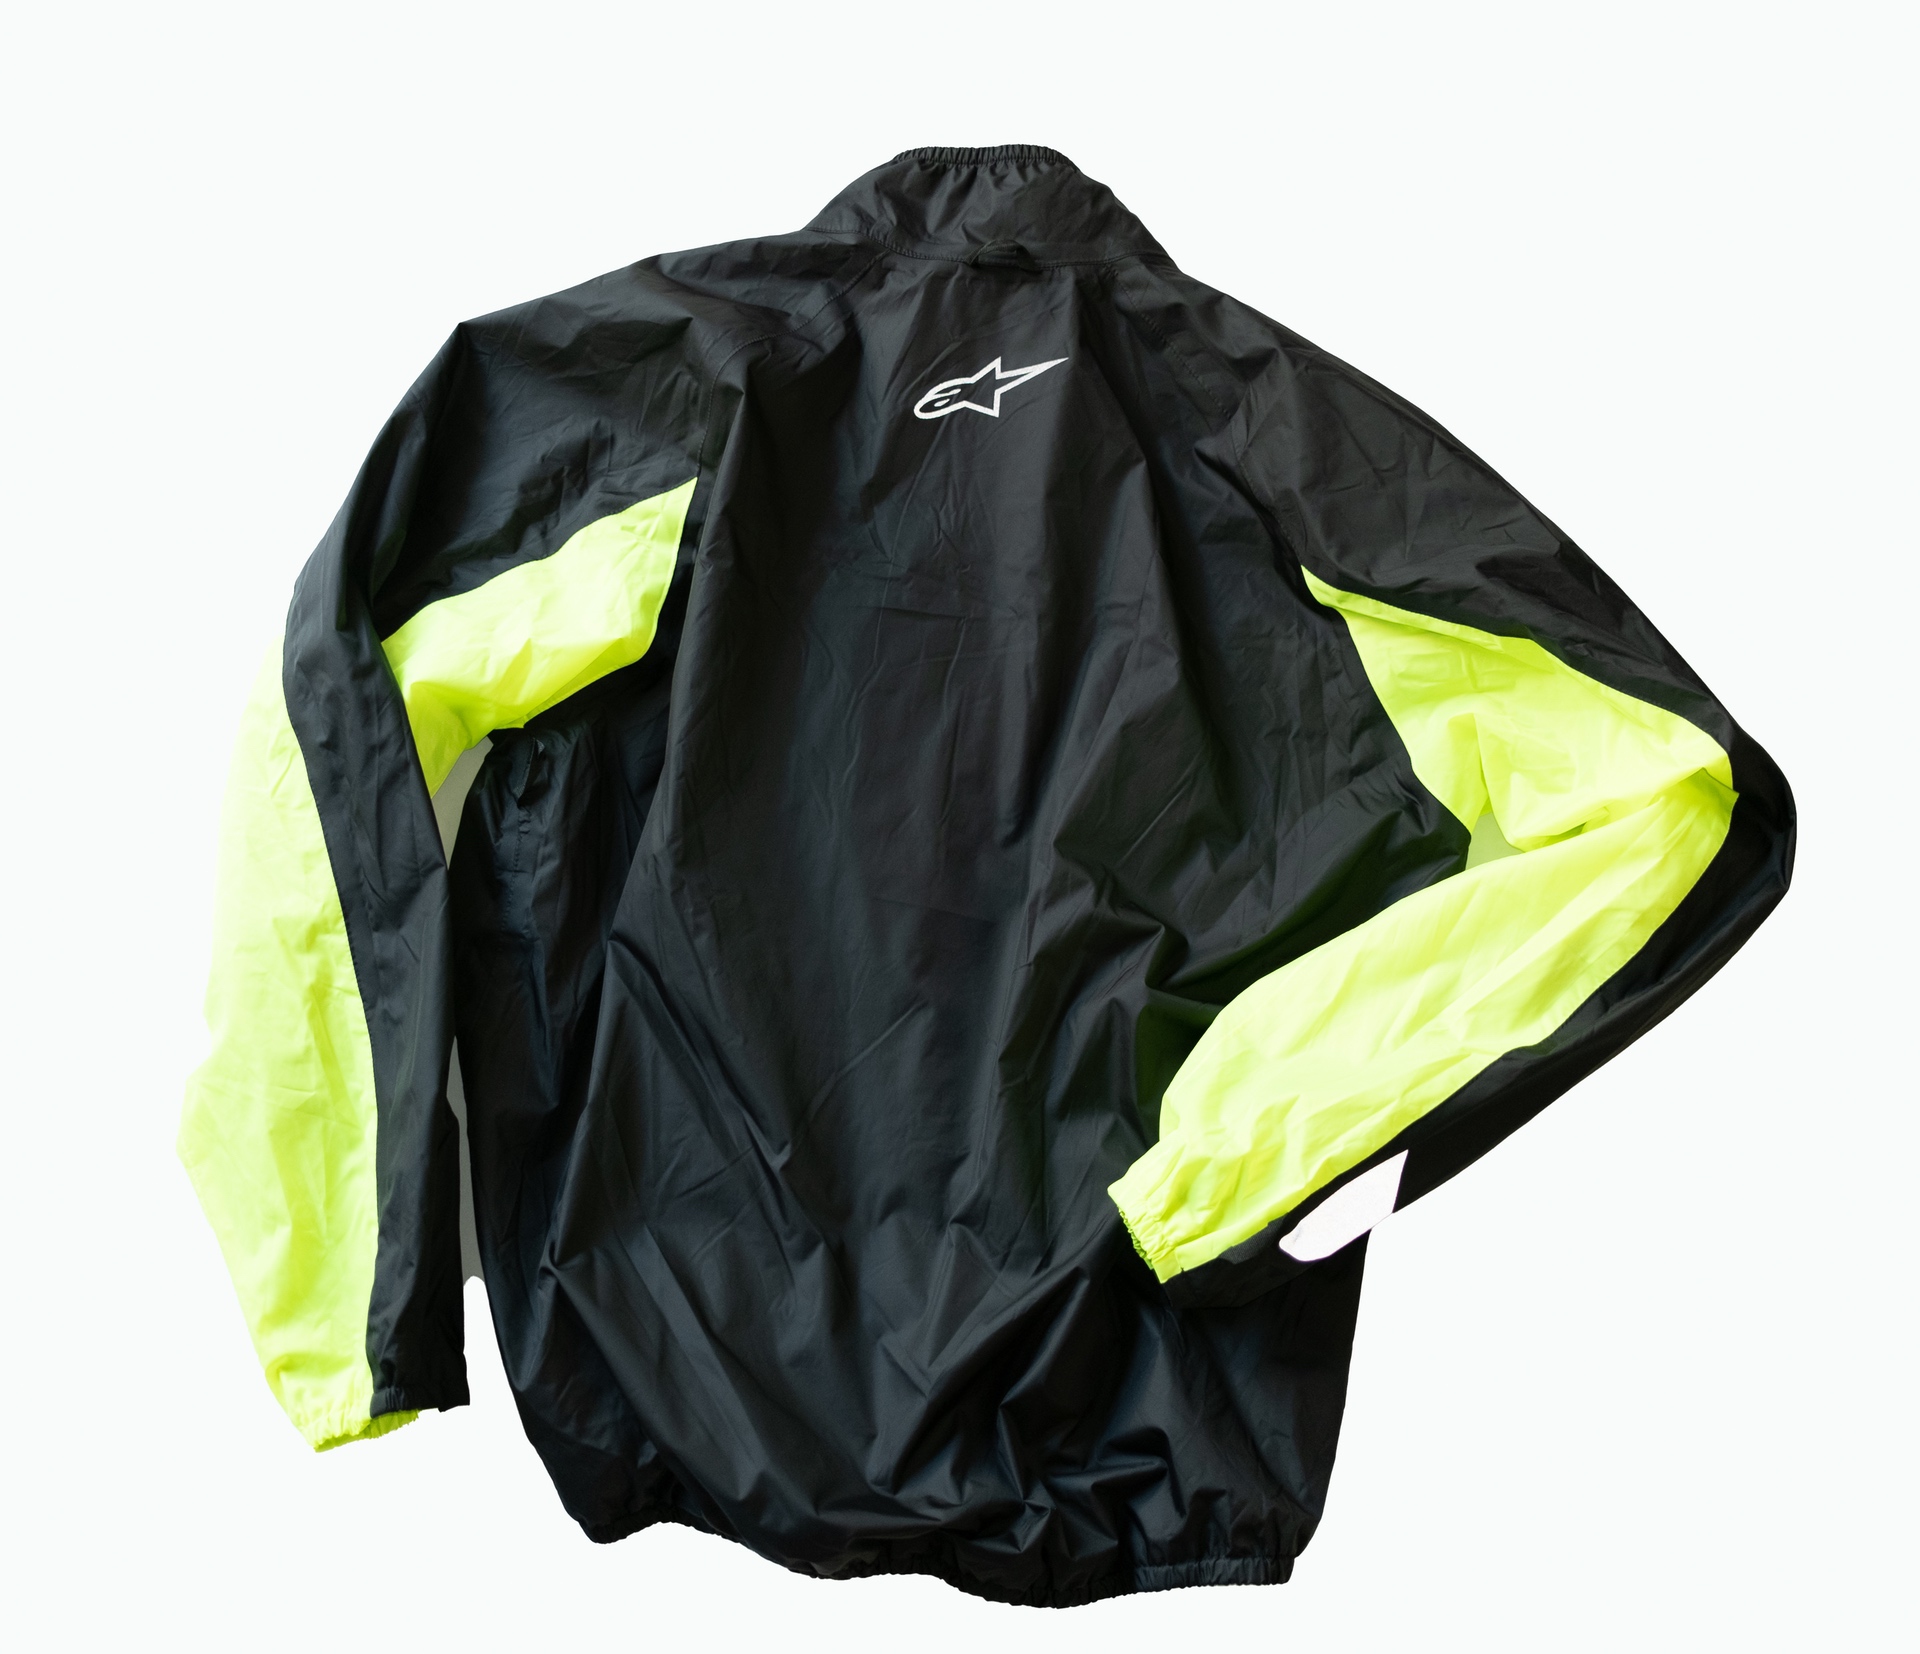 |
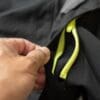
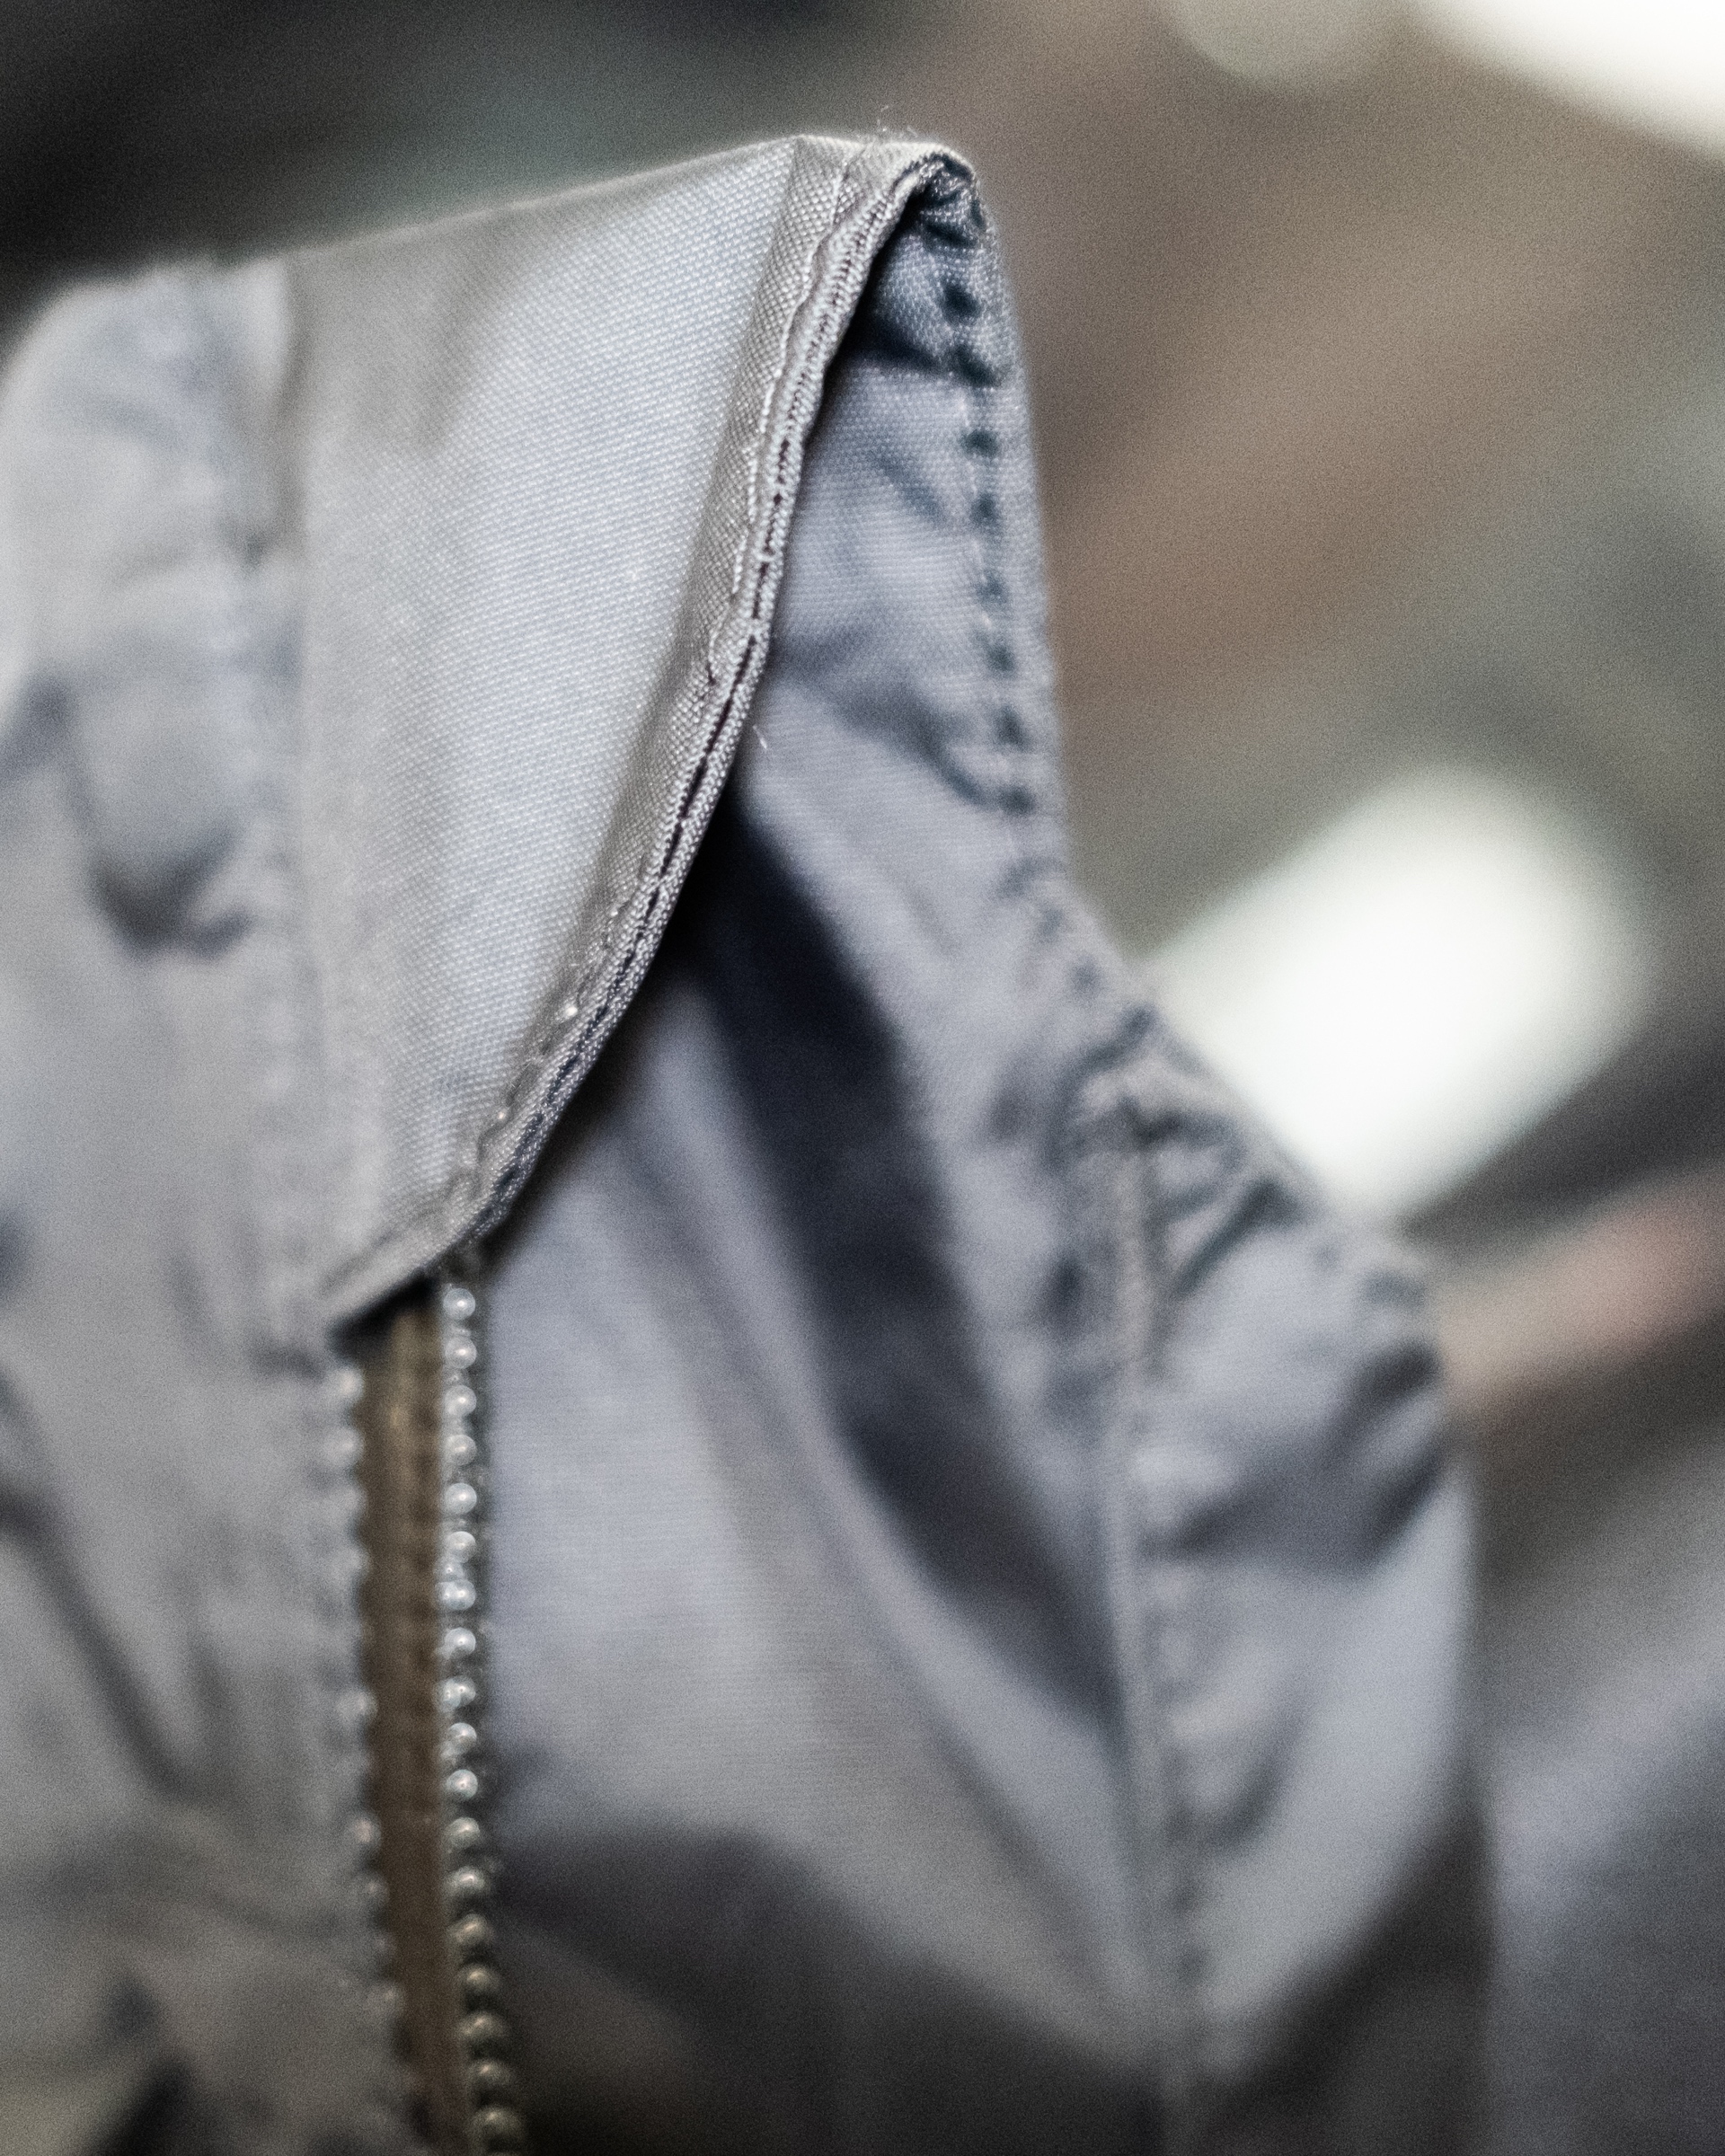
A small appreciated detail about the rain jacket is the zipper garage at the top. BTW, I had never heard of the term “zipper garage” until Helite mentioned the term. Anyway, small details like this add to my comfort, which is great.
I place my rain cover into one of the side pouches or the rear kangaroo pouch. It all depends on what else I’m carrying.
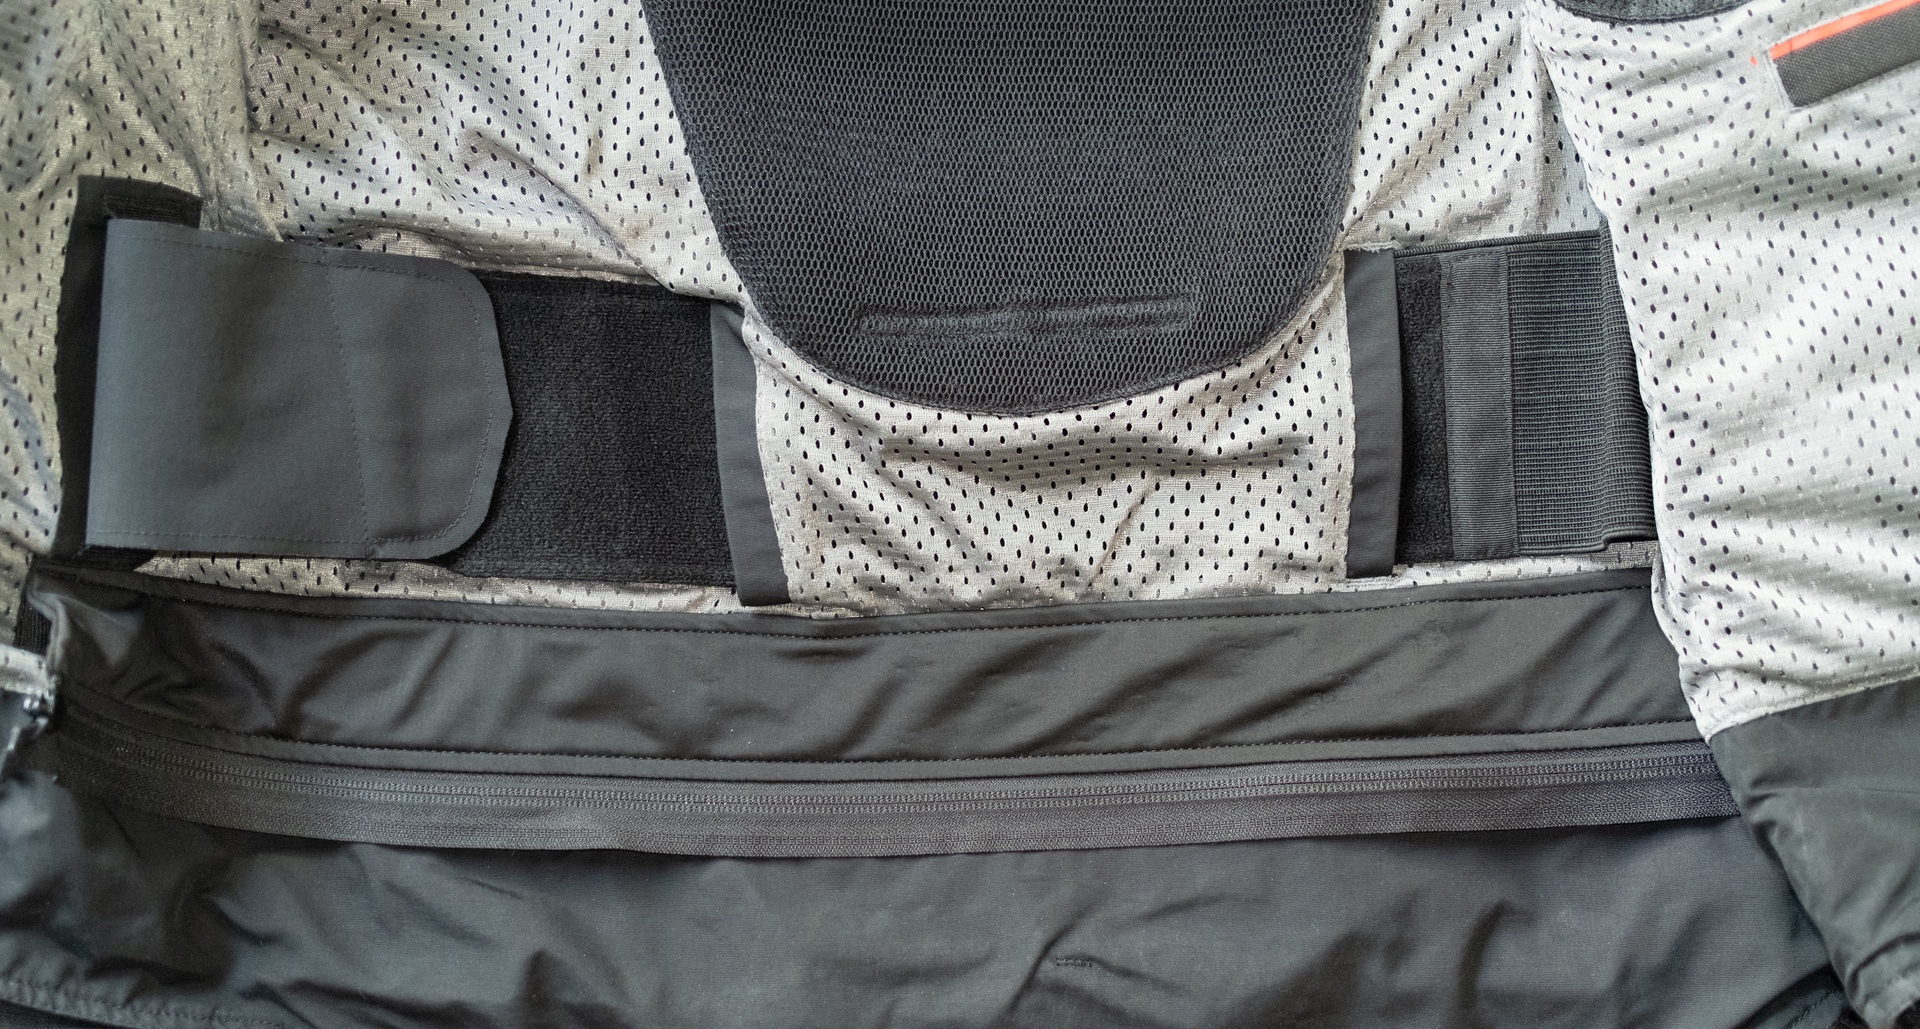
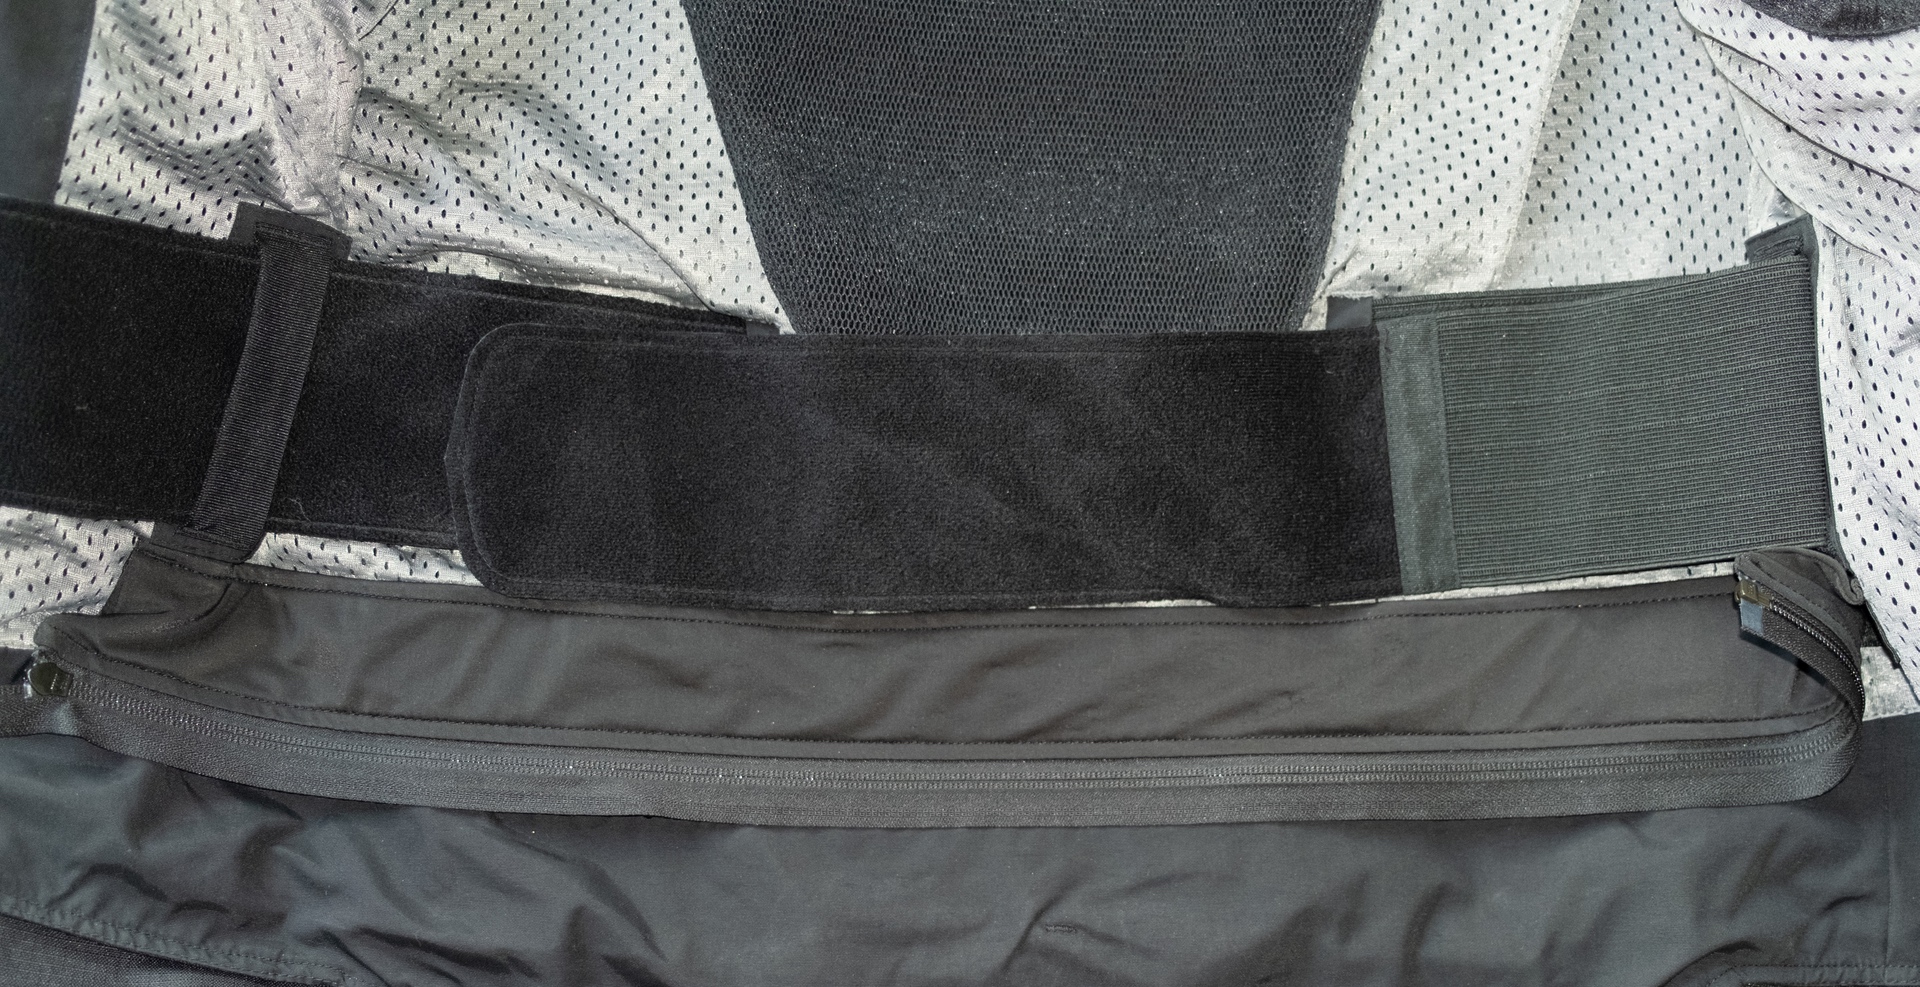
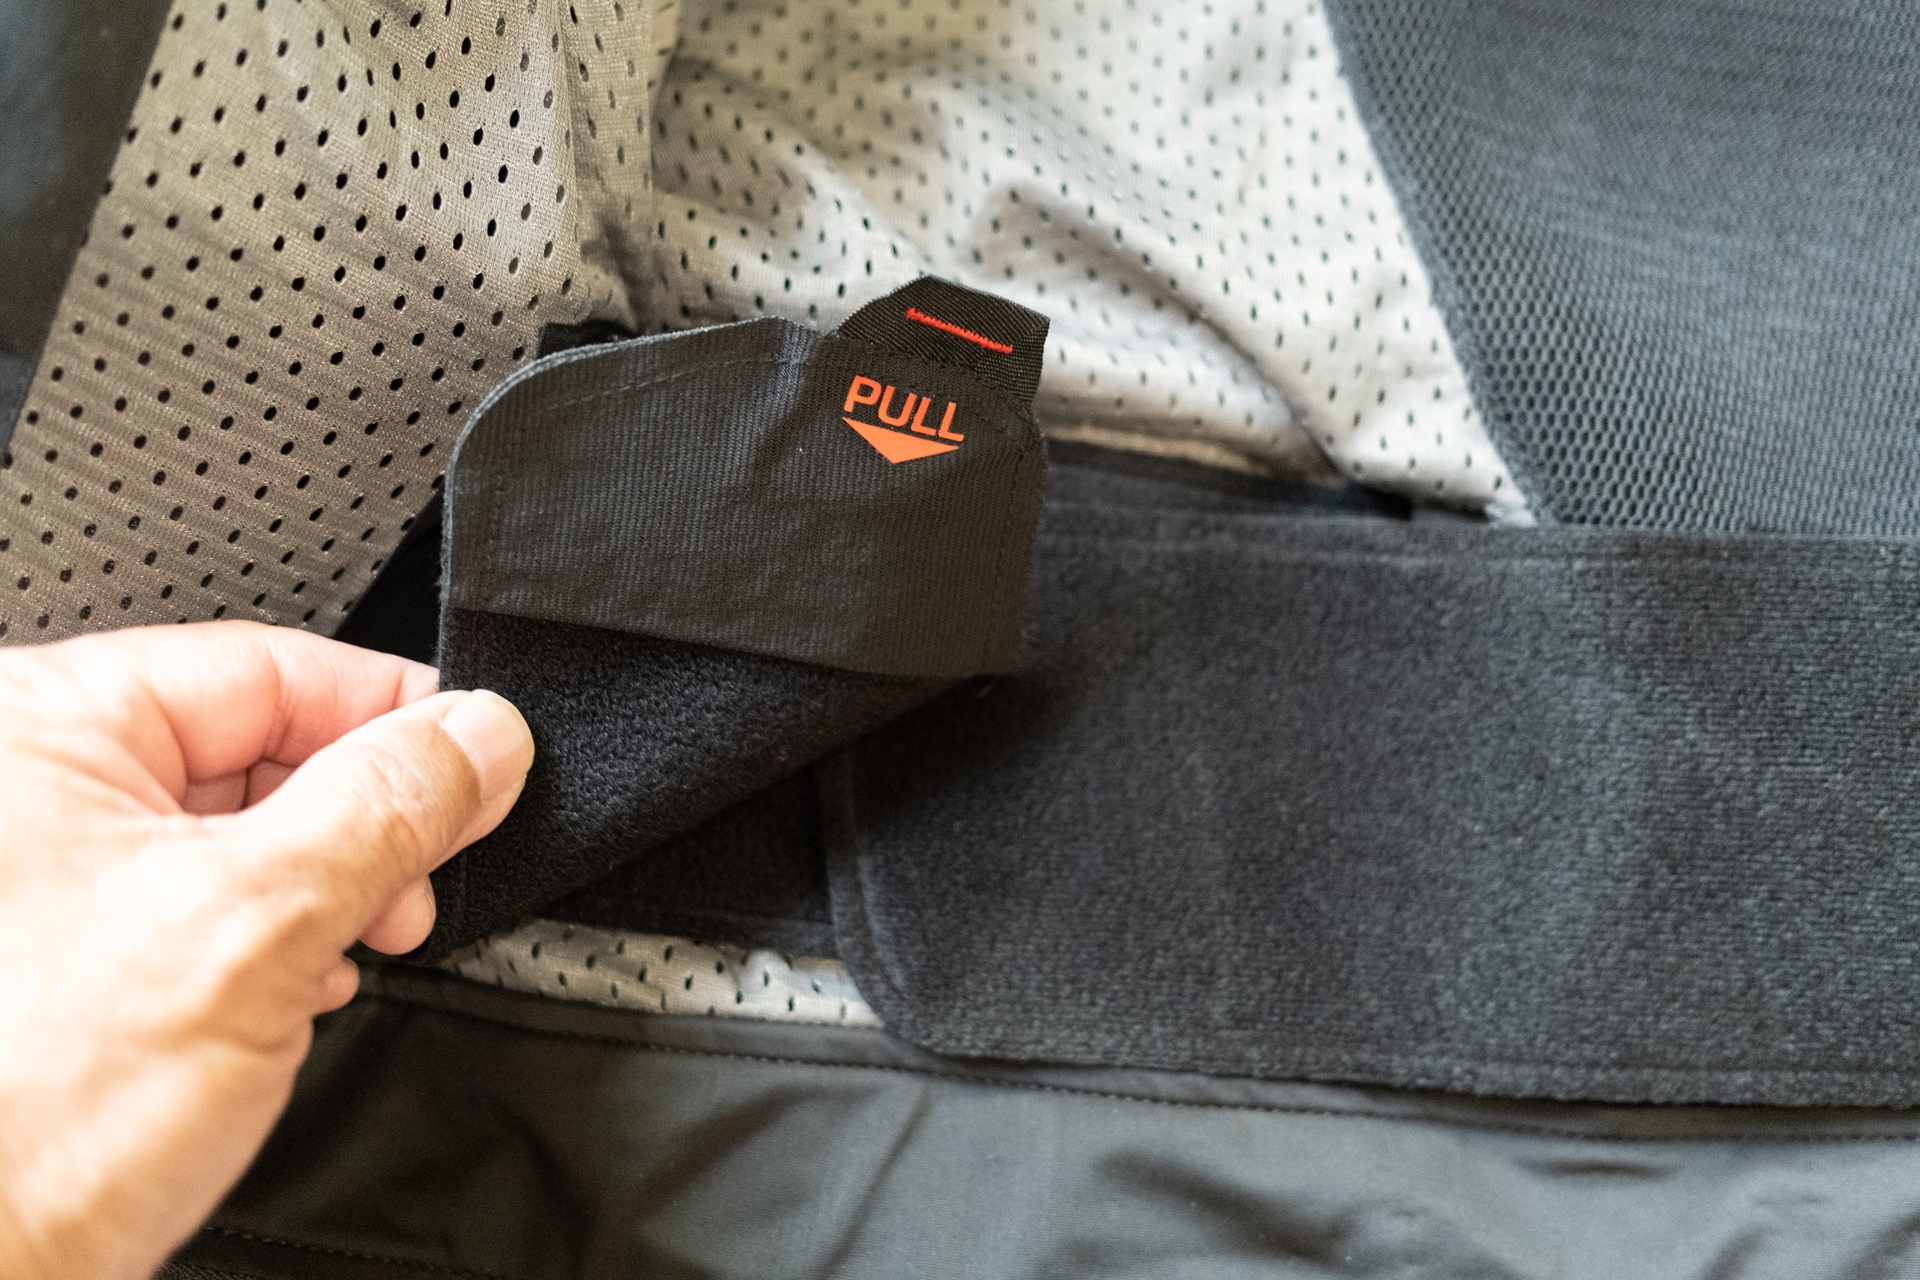
As I have mentioned before, the Halo has its own kidney/waist belt made out of elastic and sewn into the jacket itself. The Halo also includes an almost full circumference zipper designed to mate to the Halo Drystar pants, which I will be reviewing soon.
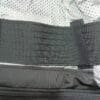
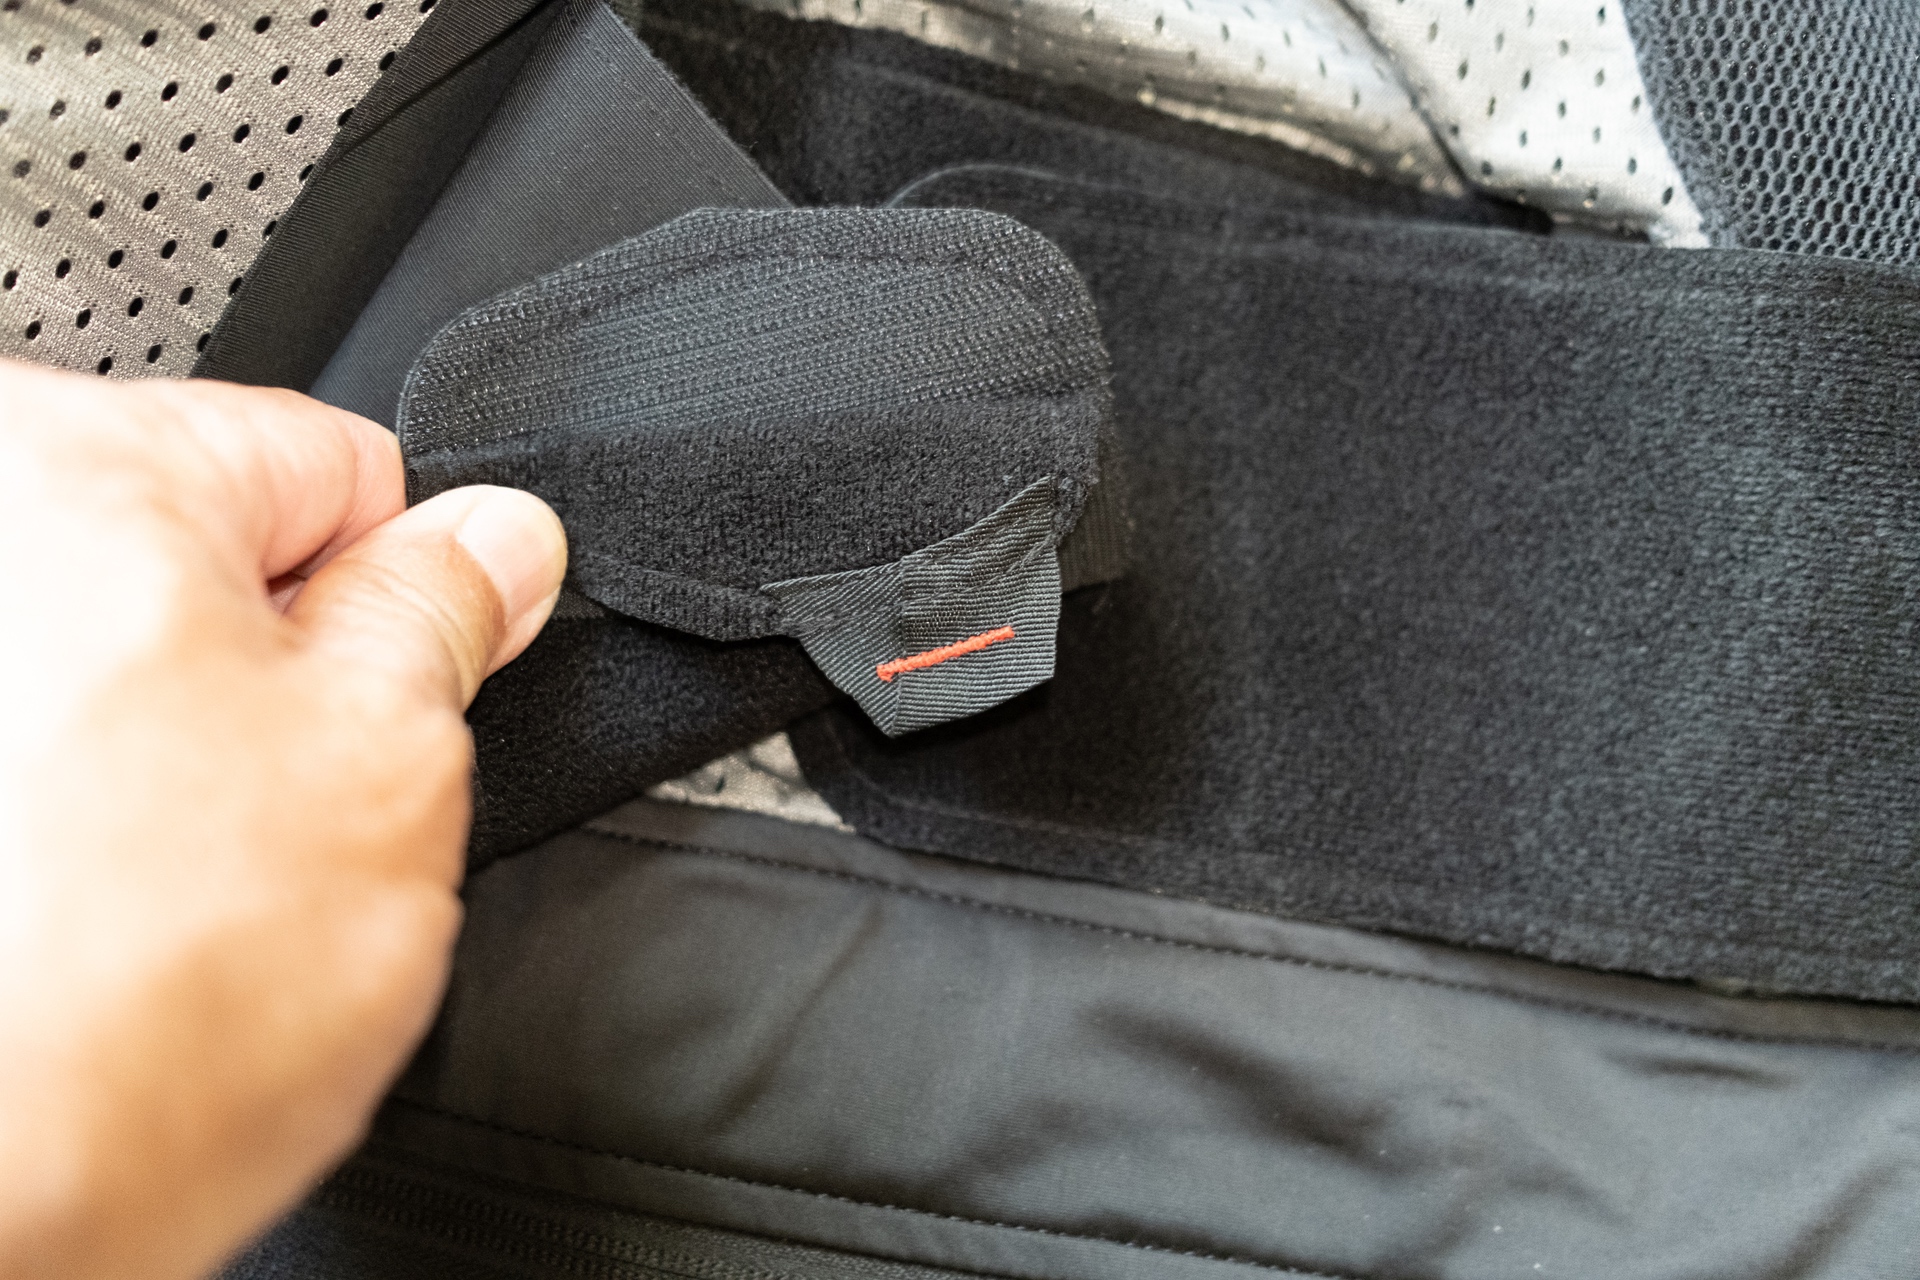
The waistband has a clever cover to keep the Velcro from adhering to the other side when not needed. By lifting the cover, you’re able to attach the belt to the other side.
 |
 |
I also keep my waist belt fastened together with the Velcro. If not, then the belt hangs down below the bottom of the Halo.
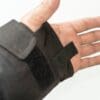
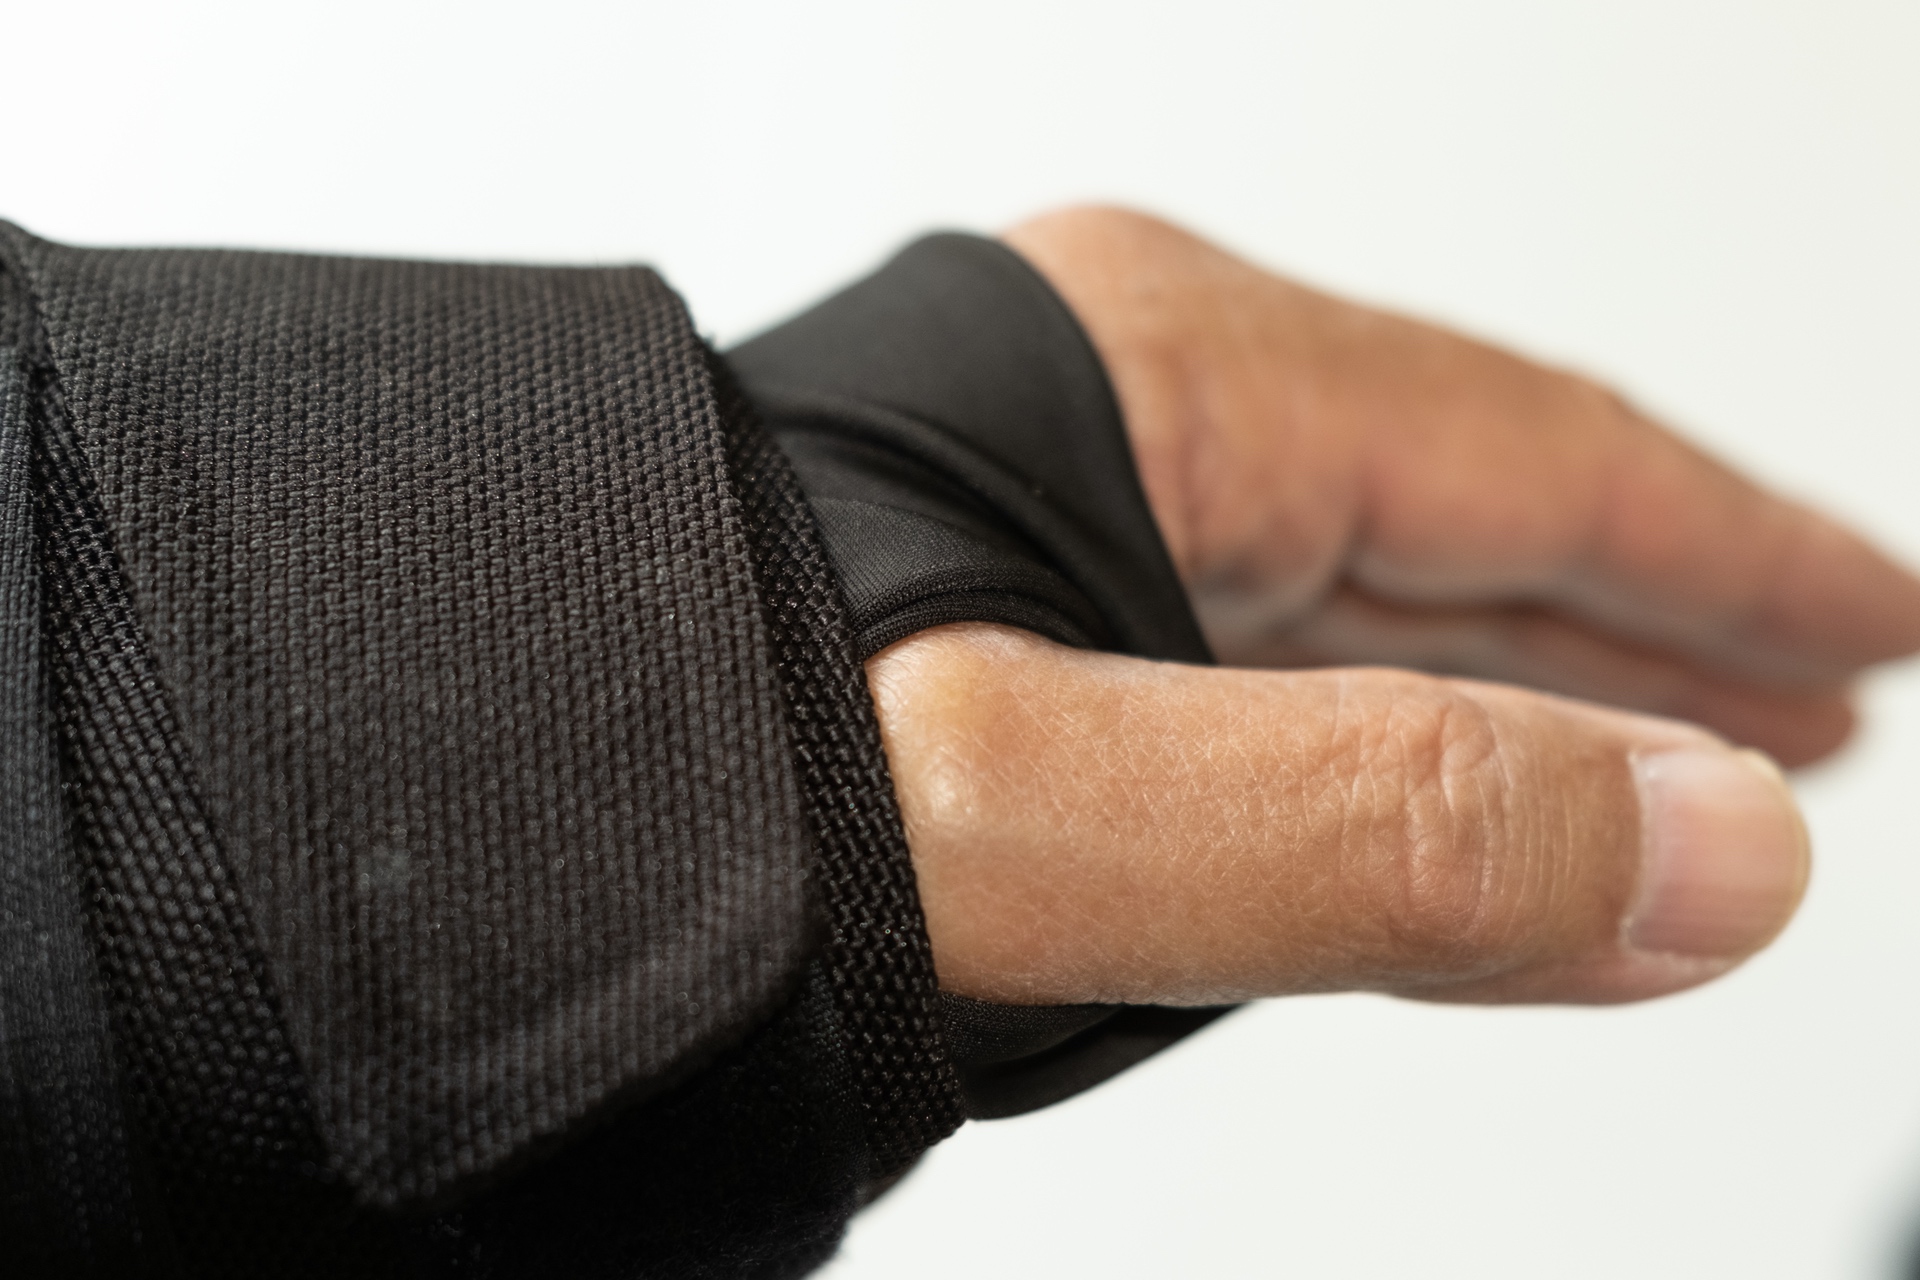
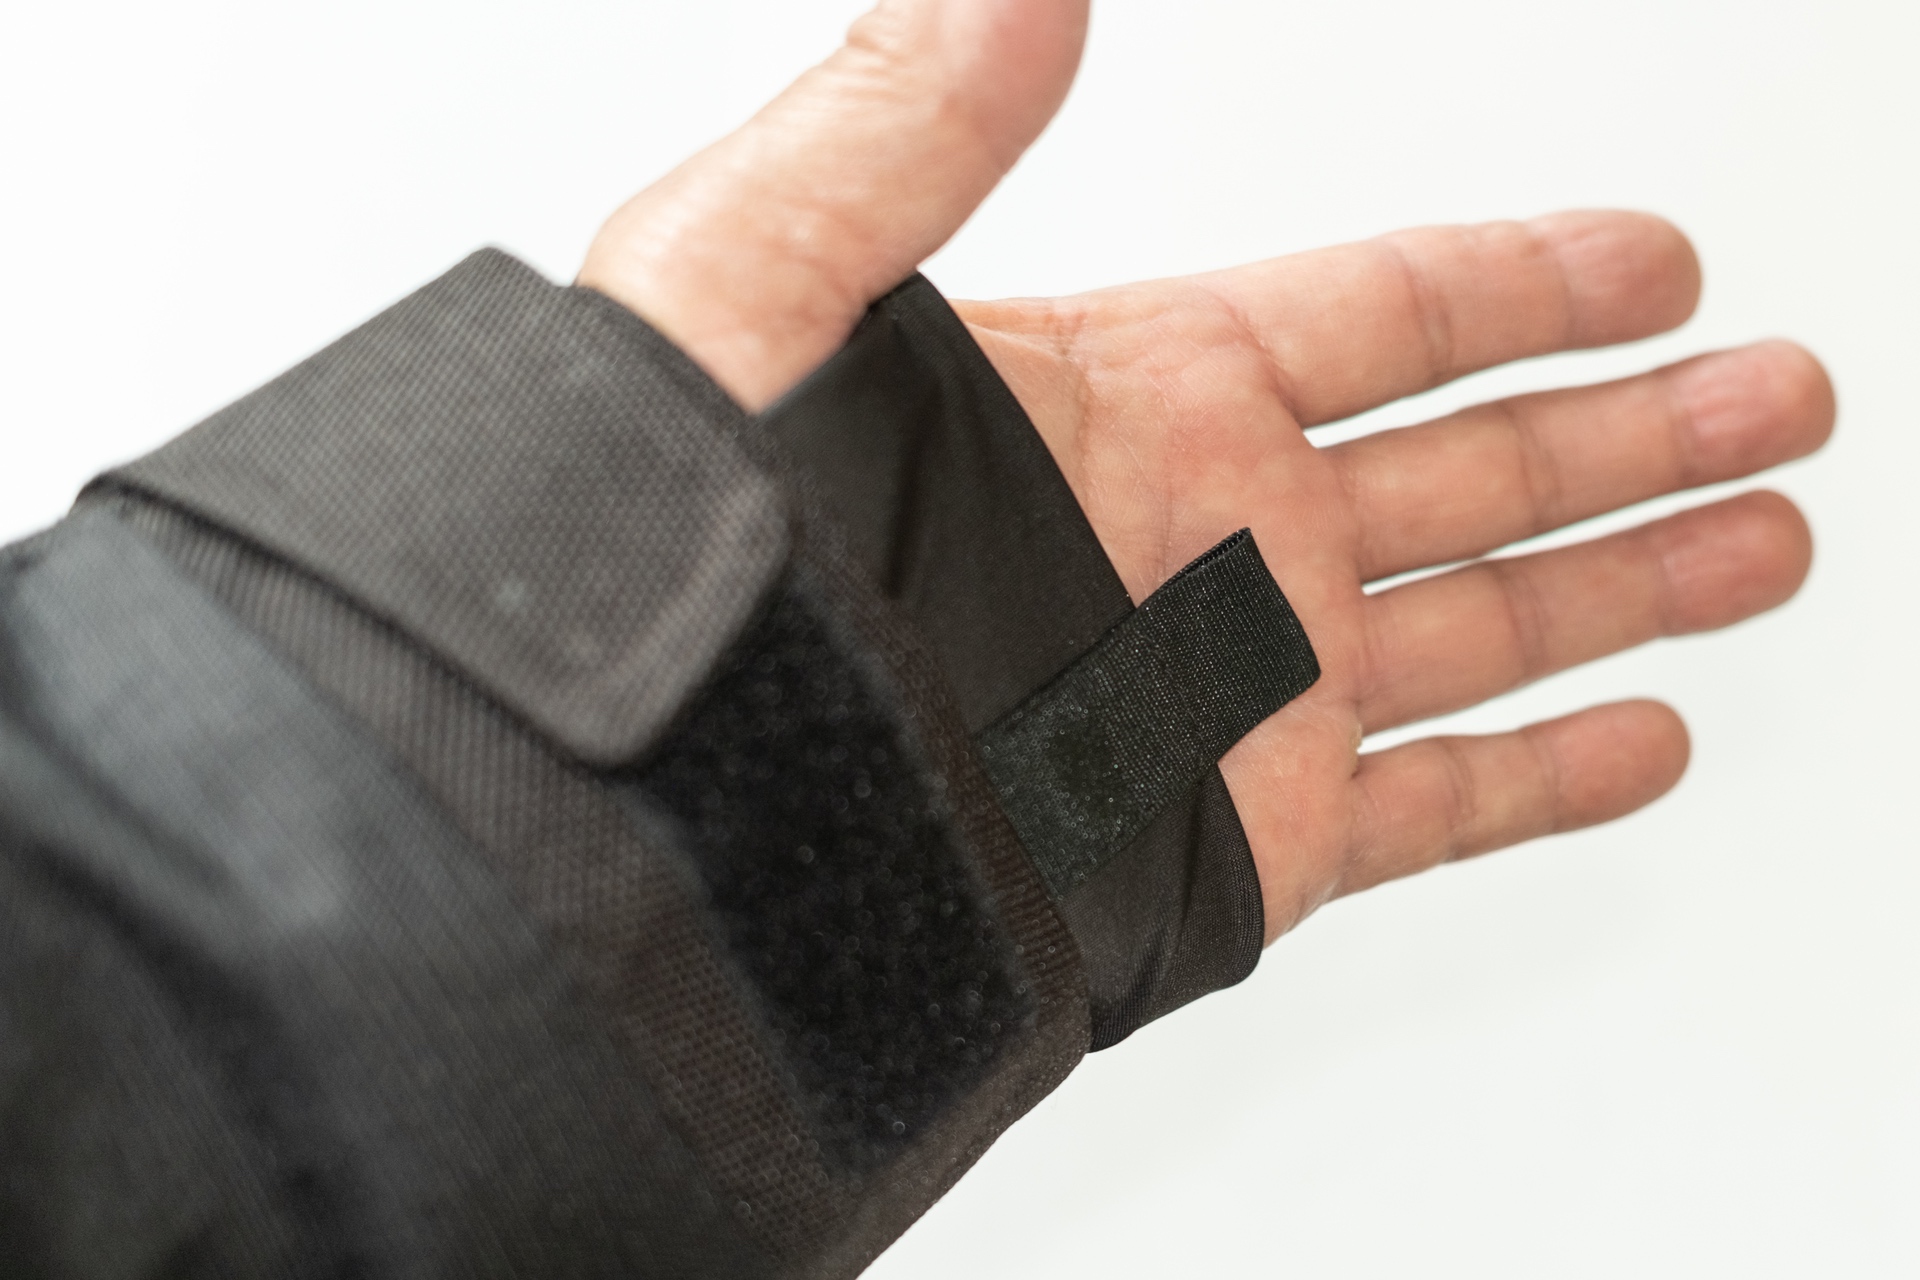
On the end of each sleeve are these cool cuffs that incorporate thumb holes to keep the cuffs extended. They’re much like the ones I see on sweatshirts, and very slick. On cool days, it keeps the inner liner of the sleeves secure into my gloves. If not needed, I just roll them back into the outer sleeve. I really like this thoughtful feature.
The Halo Drystar also incorporates a small rectangular pull tab into each cuff sleeve. Again, this is a small but useful touch, which makes it more convenient for securing the inner liner while removing or putting on the jacket.
Fasteners
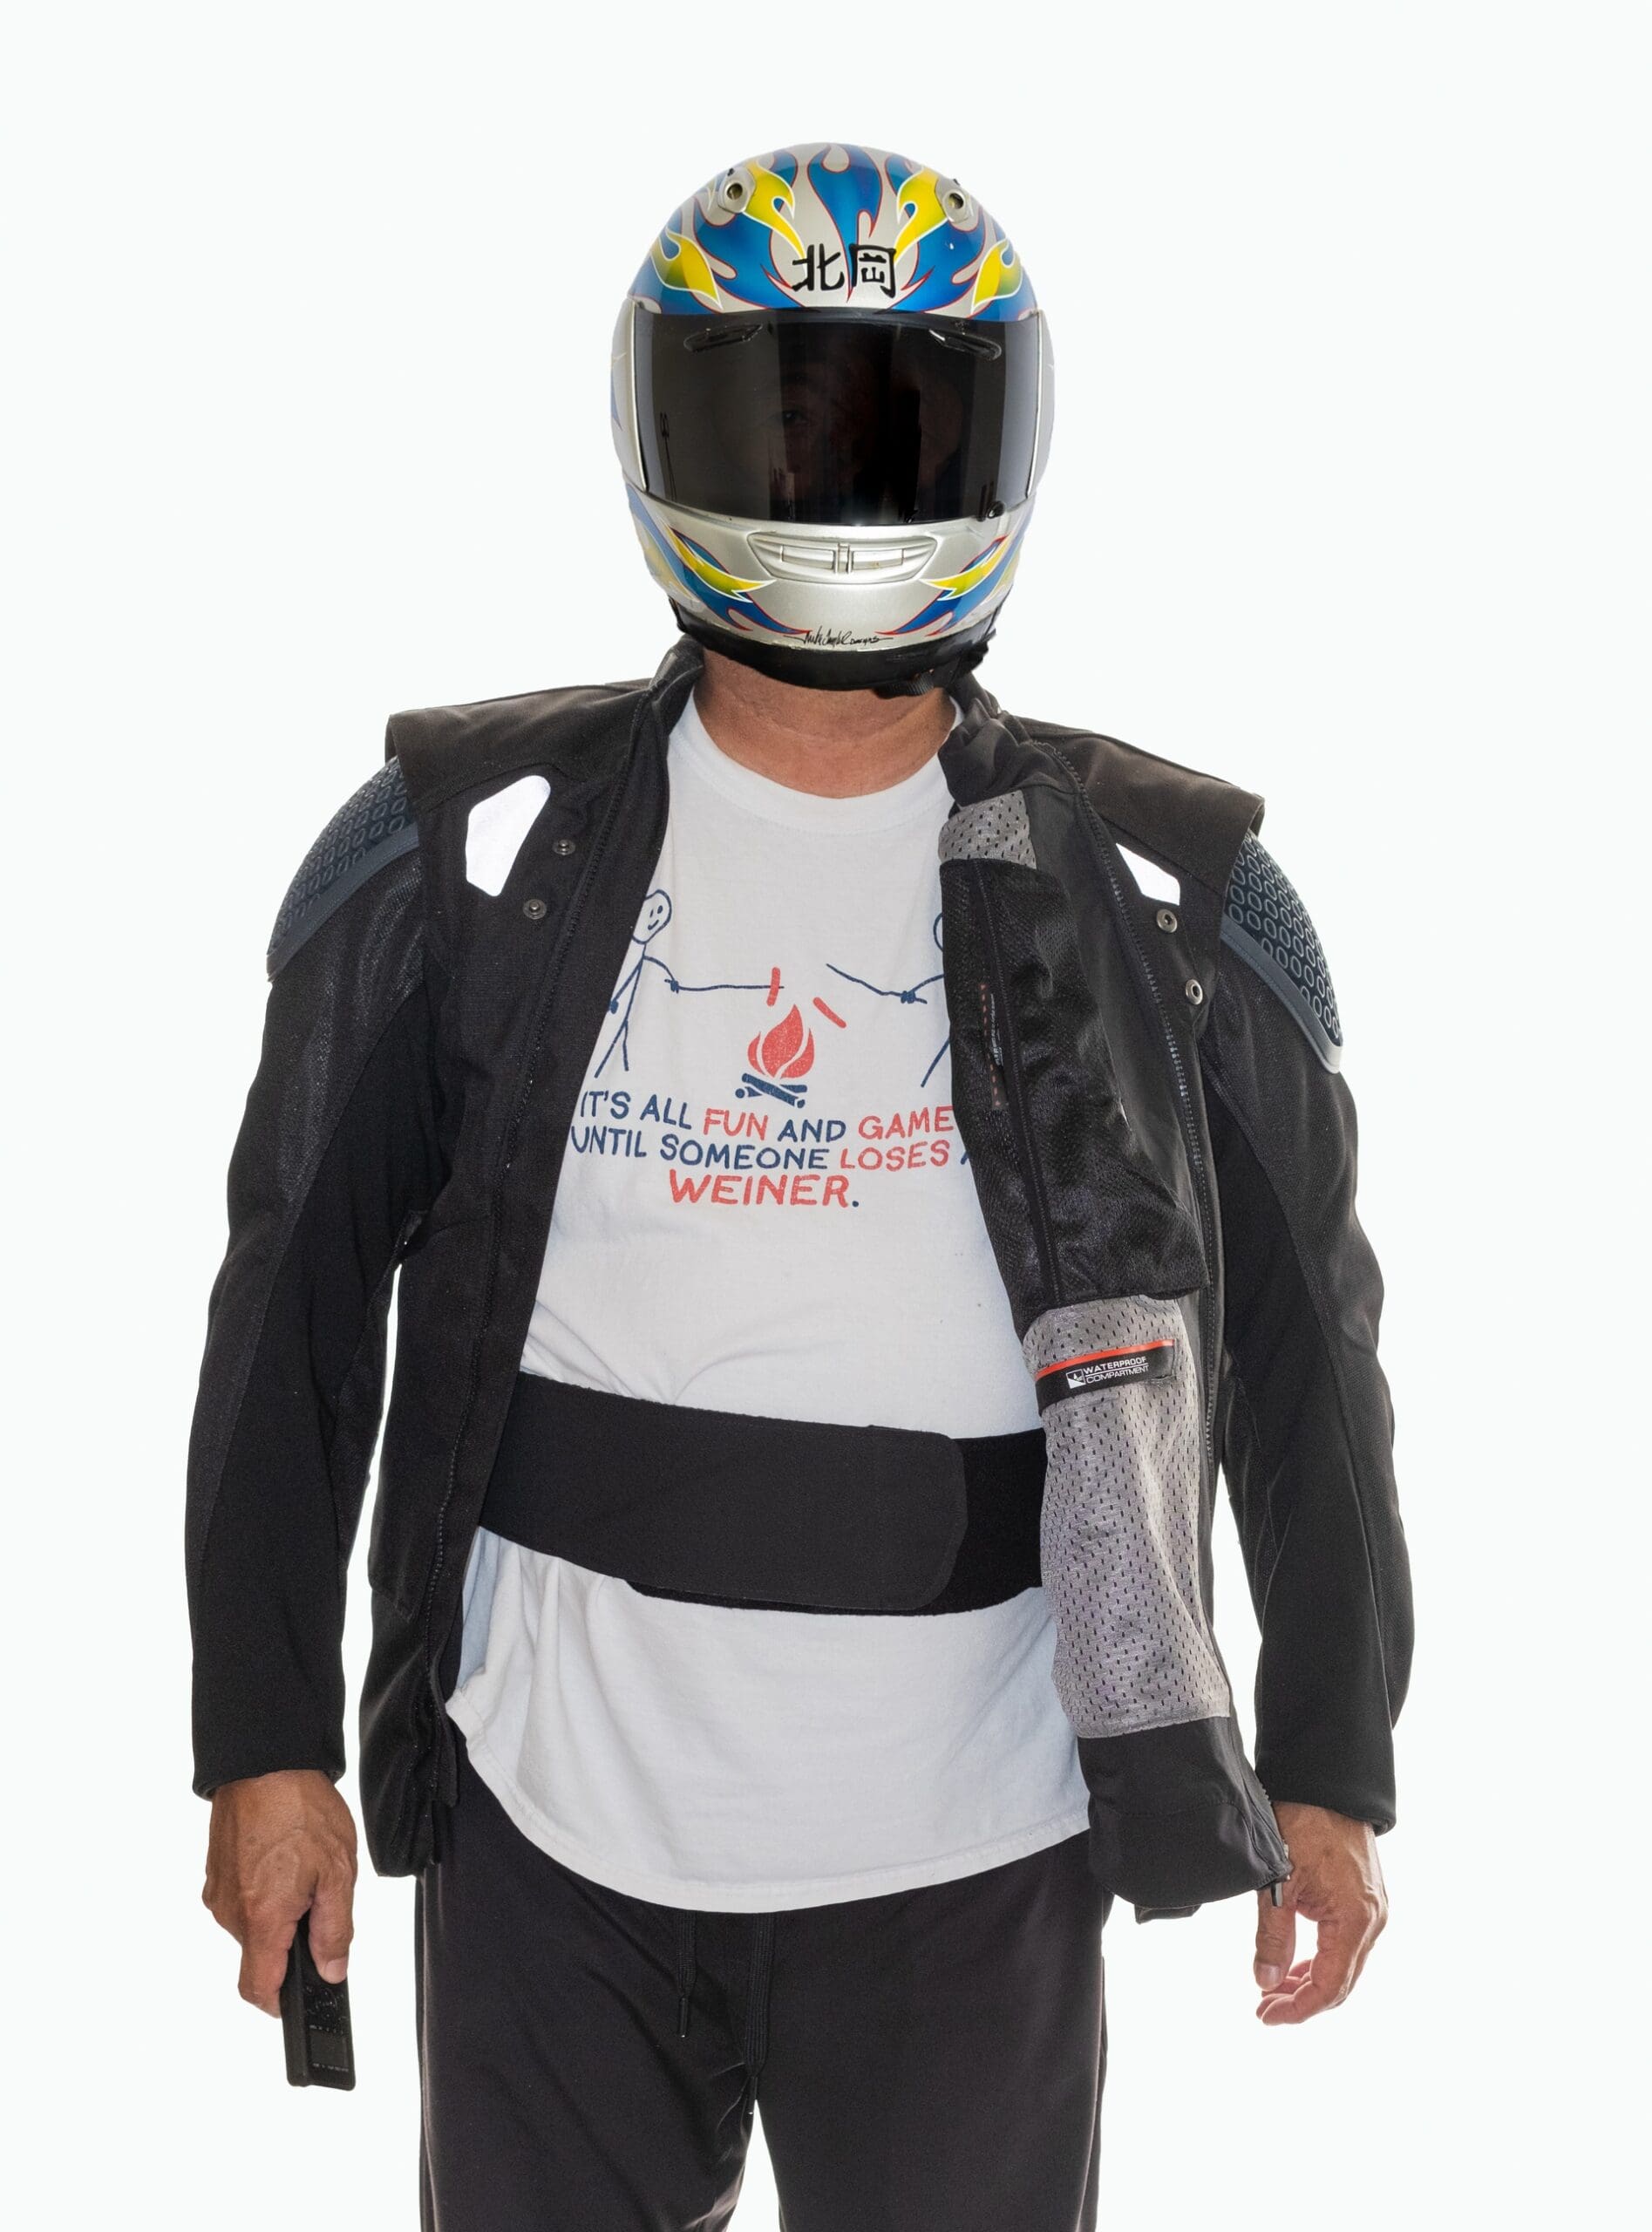
There are a few that are not found on other jackets. Let’s start with the elastic clips and hooks that hold the left side of the jacket open.
 |
 |
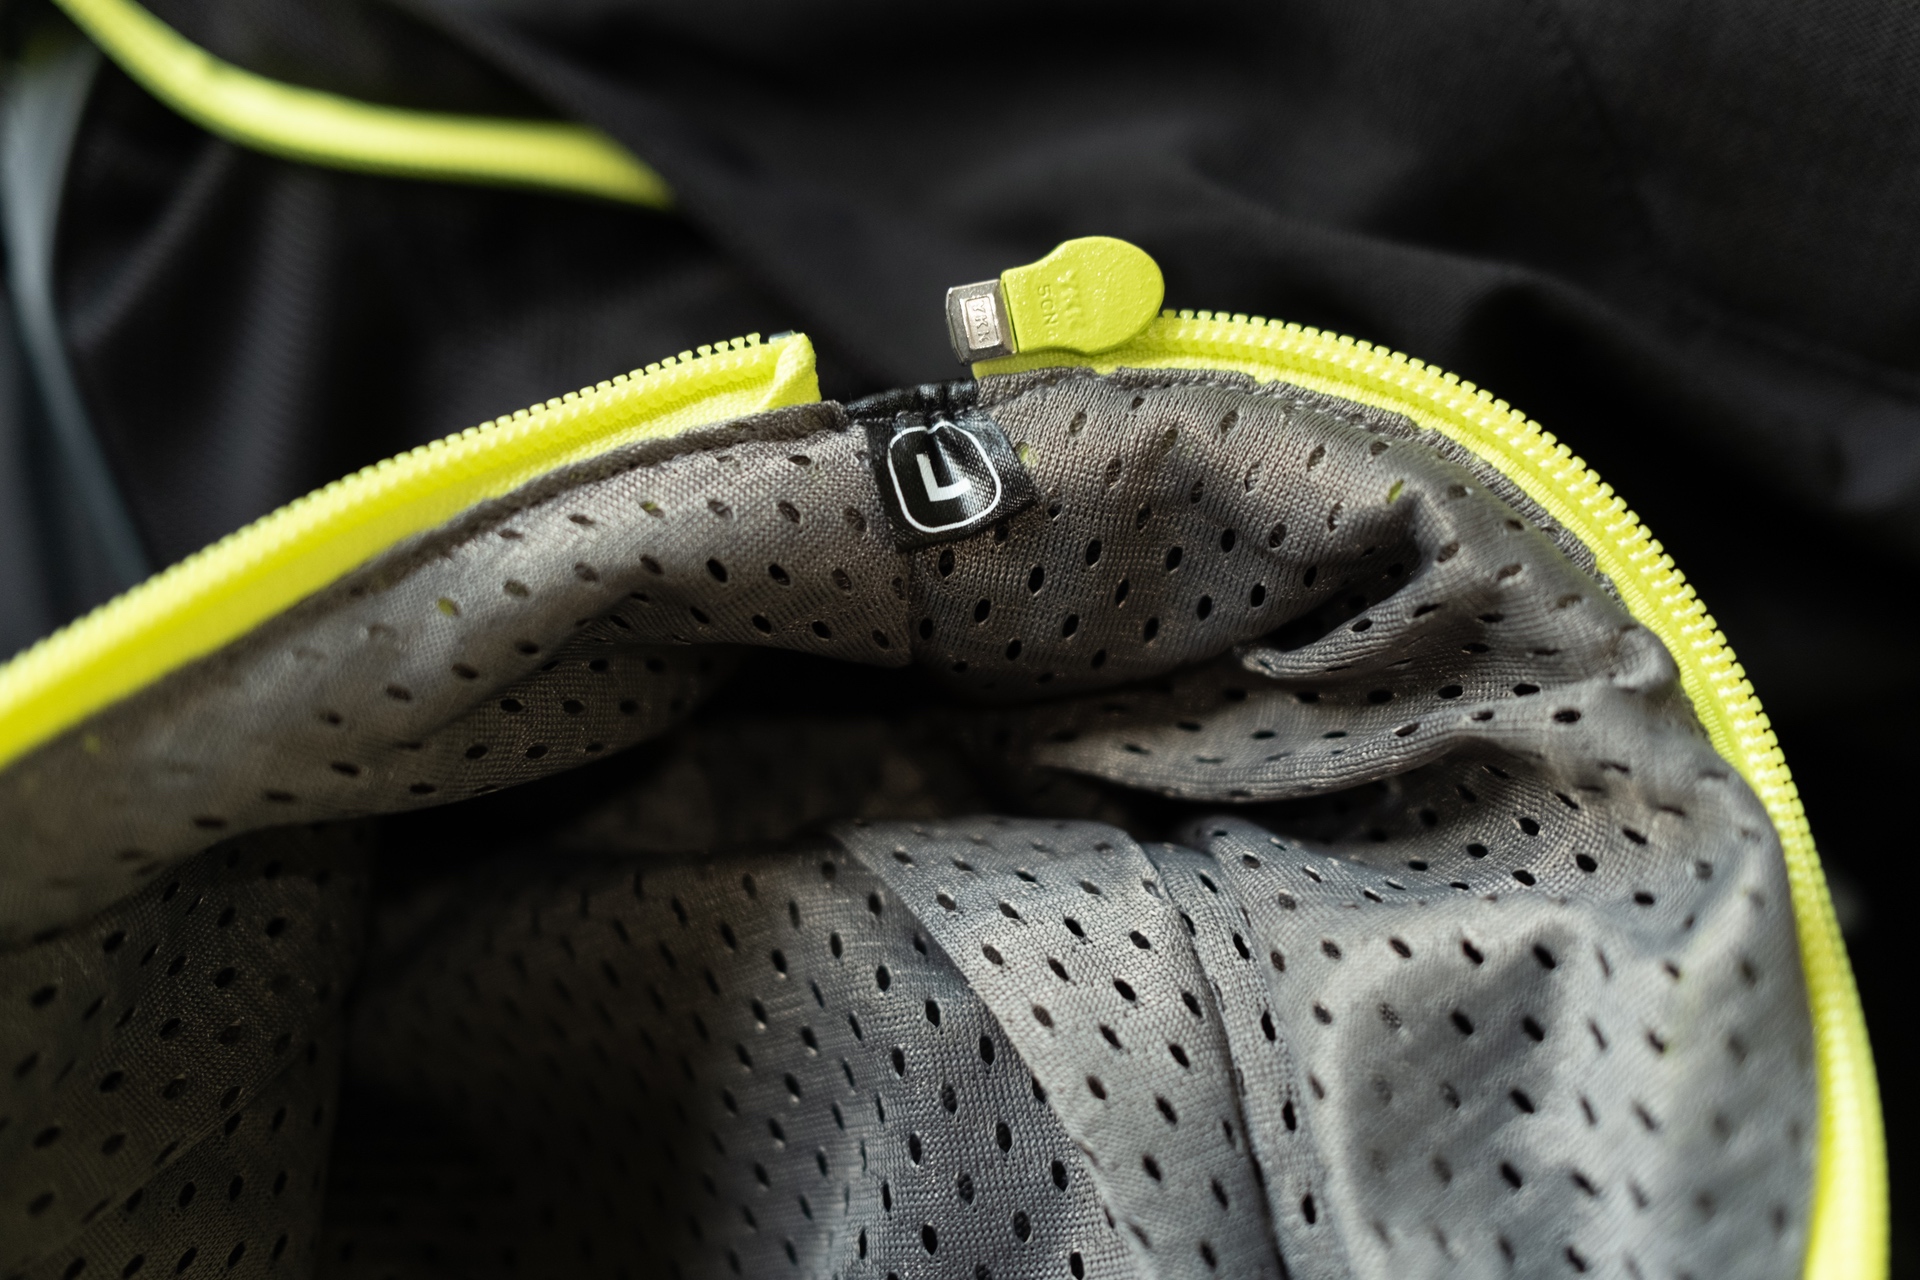
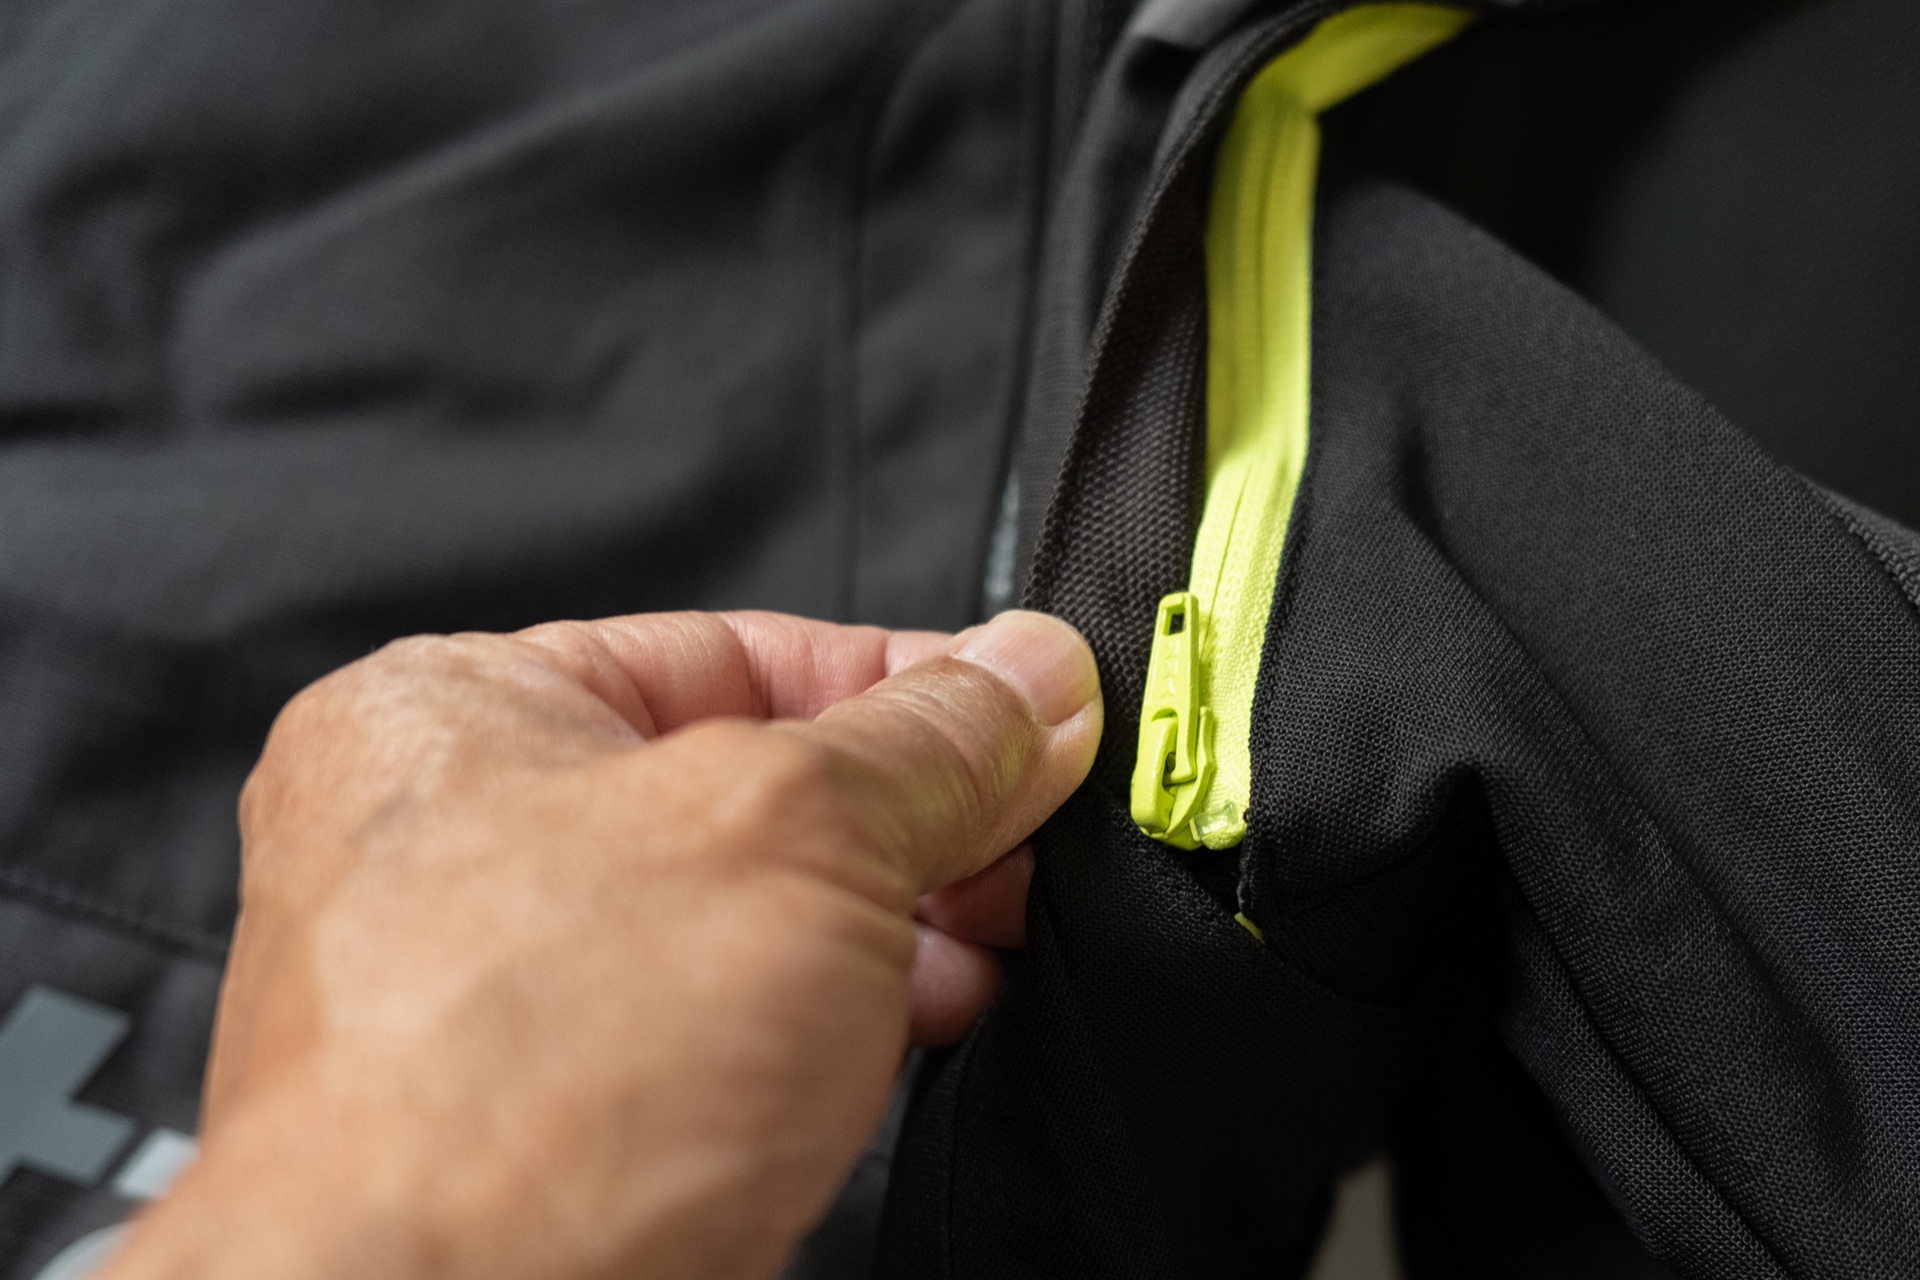
The removable sleeve zippers on my black Halo are yellow. I especially appreciate that contrast, which makes them very easy to see. Alpinestars also includes an identifying tag on each sleeve to know if you are placing the right one on the right side. Little details like this are much appreciated.
 |
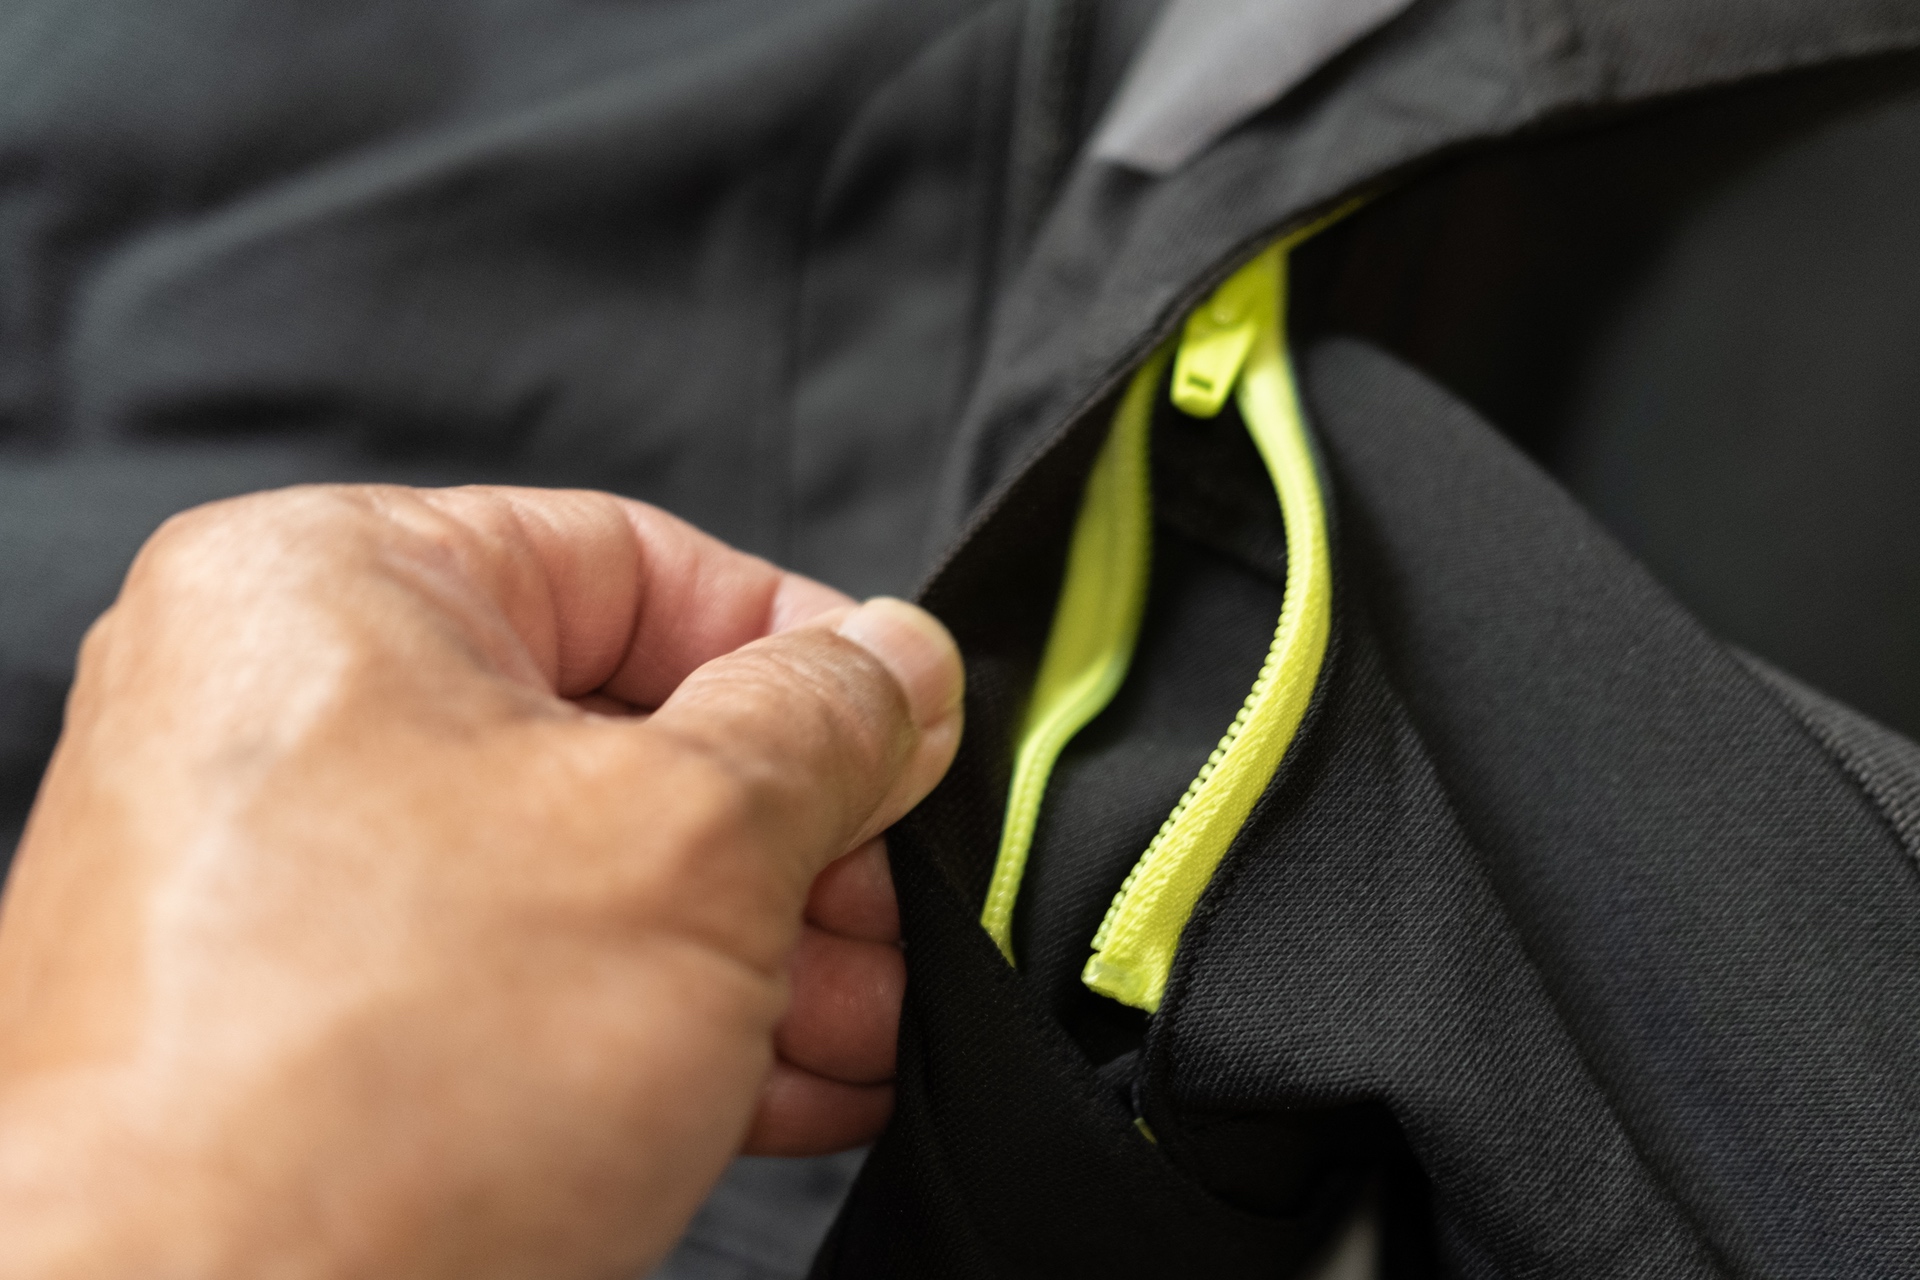 |
The sleeves can be stored wherever you wish in the many pockets and pouches on the Halo. I choose to store mine in the front kangaroo pouch, or I put the right one in the right side jacket pouch and the left one on the left side.
The Halo uses a high quality set of snaps in many different locations. I appreciate this, because I’ve had other garments, both riding and non-riding, that use cheap snaps that don’t work or don’t line up. A total PITA. Not so with the Halo. The image below shows the main zipper snaps, which cover the zipper once in its fully zipped up position.
 |
 |
Yep, the Halo uses these slick snaps all over the jacket—in this case, for the front vent window’s roll down cover.
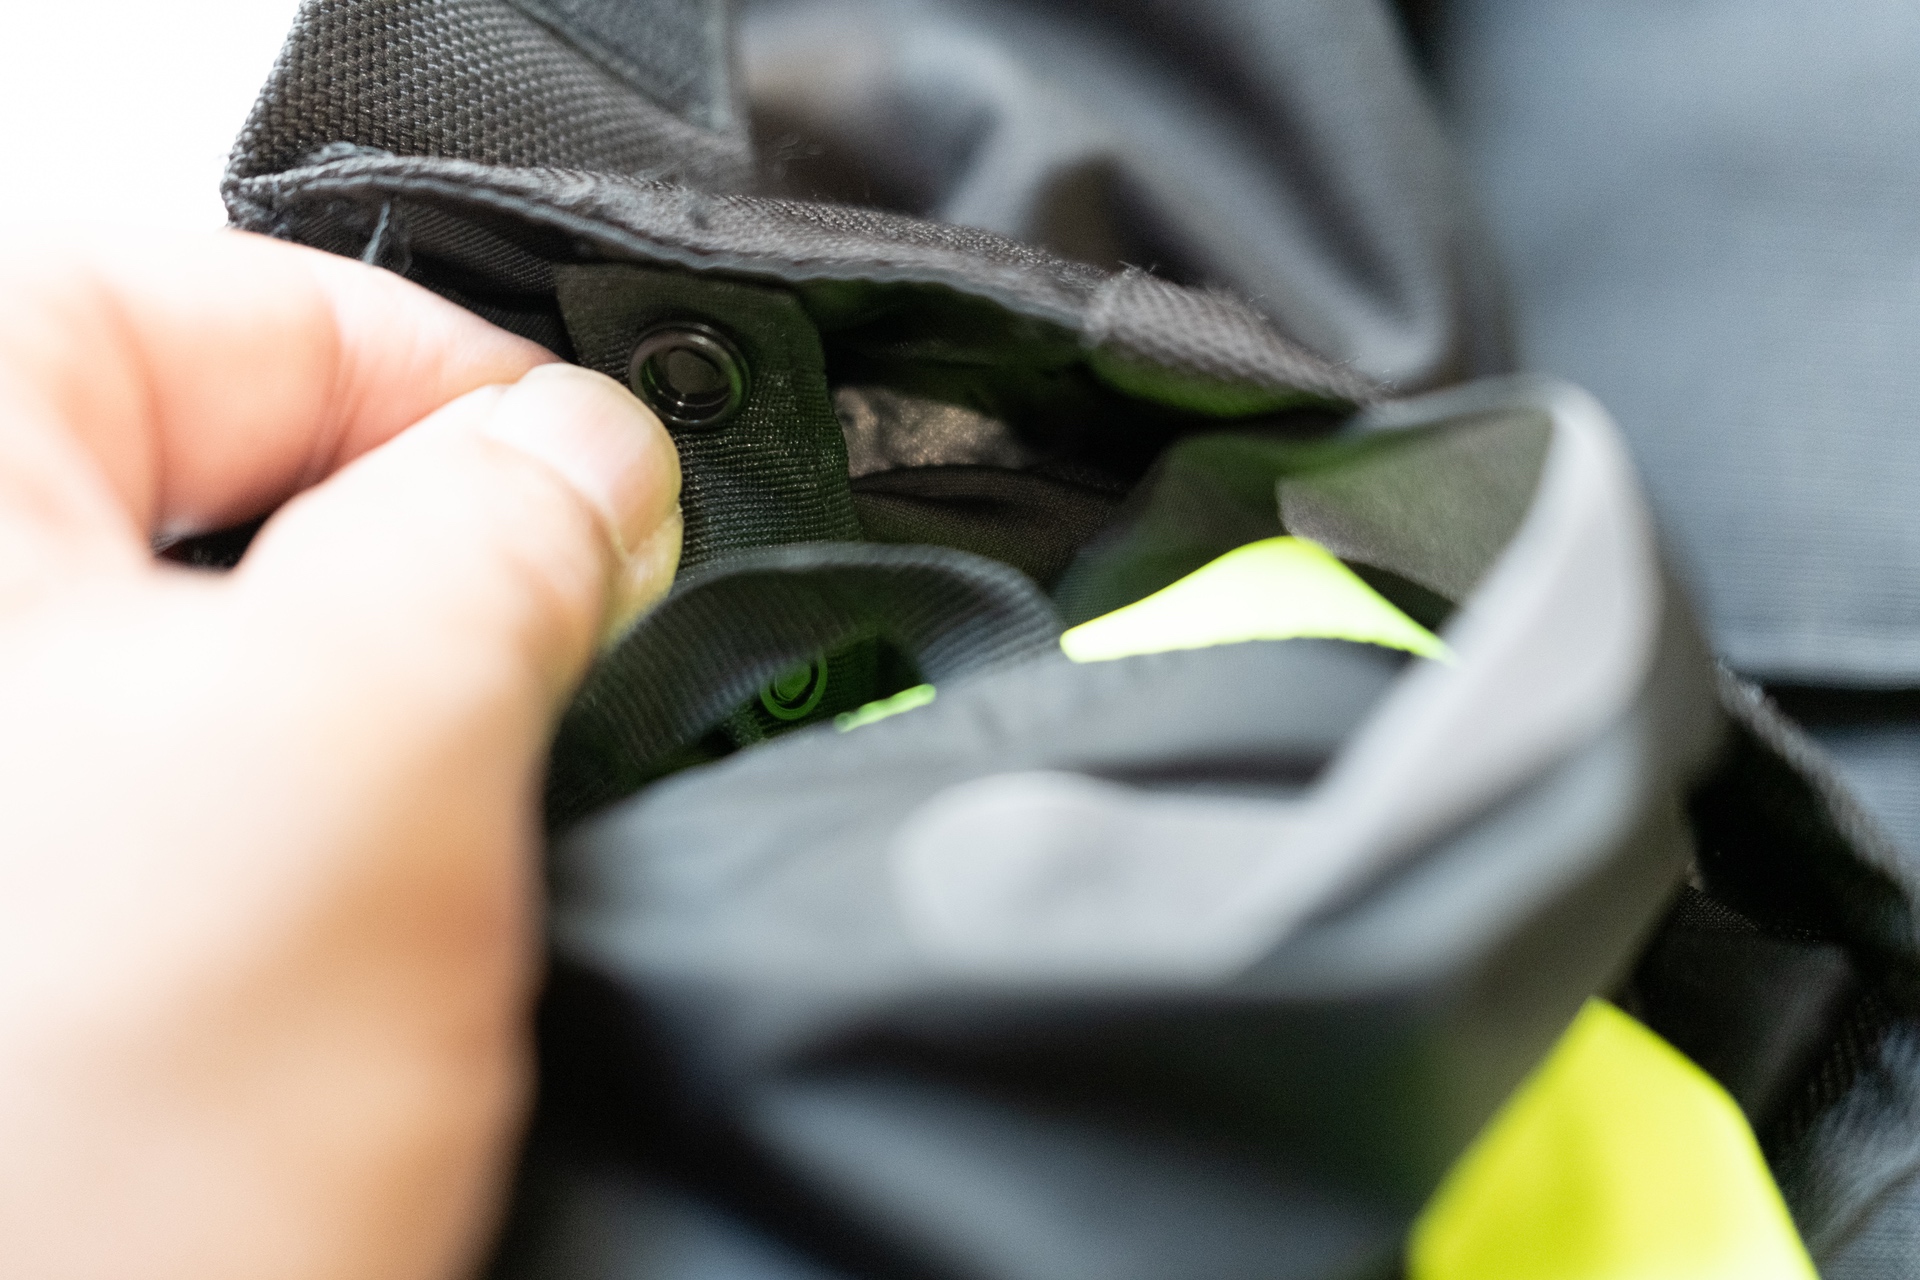
This is the only fastener configuration that I have a total bitch about. The rain jacket can be fastened into the interior of the Halo. But doing so is such a PITA that I just put on the rain jacket and then the Halo. Why? Because of the hassle involved to attach the sleeves of the rain jacket to the sleeves of the Halo. Not worth it for me. Mark’s cussing level rating is 8/10.
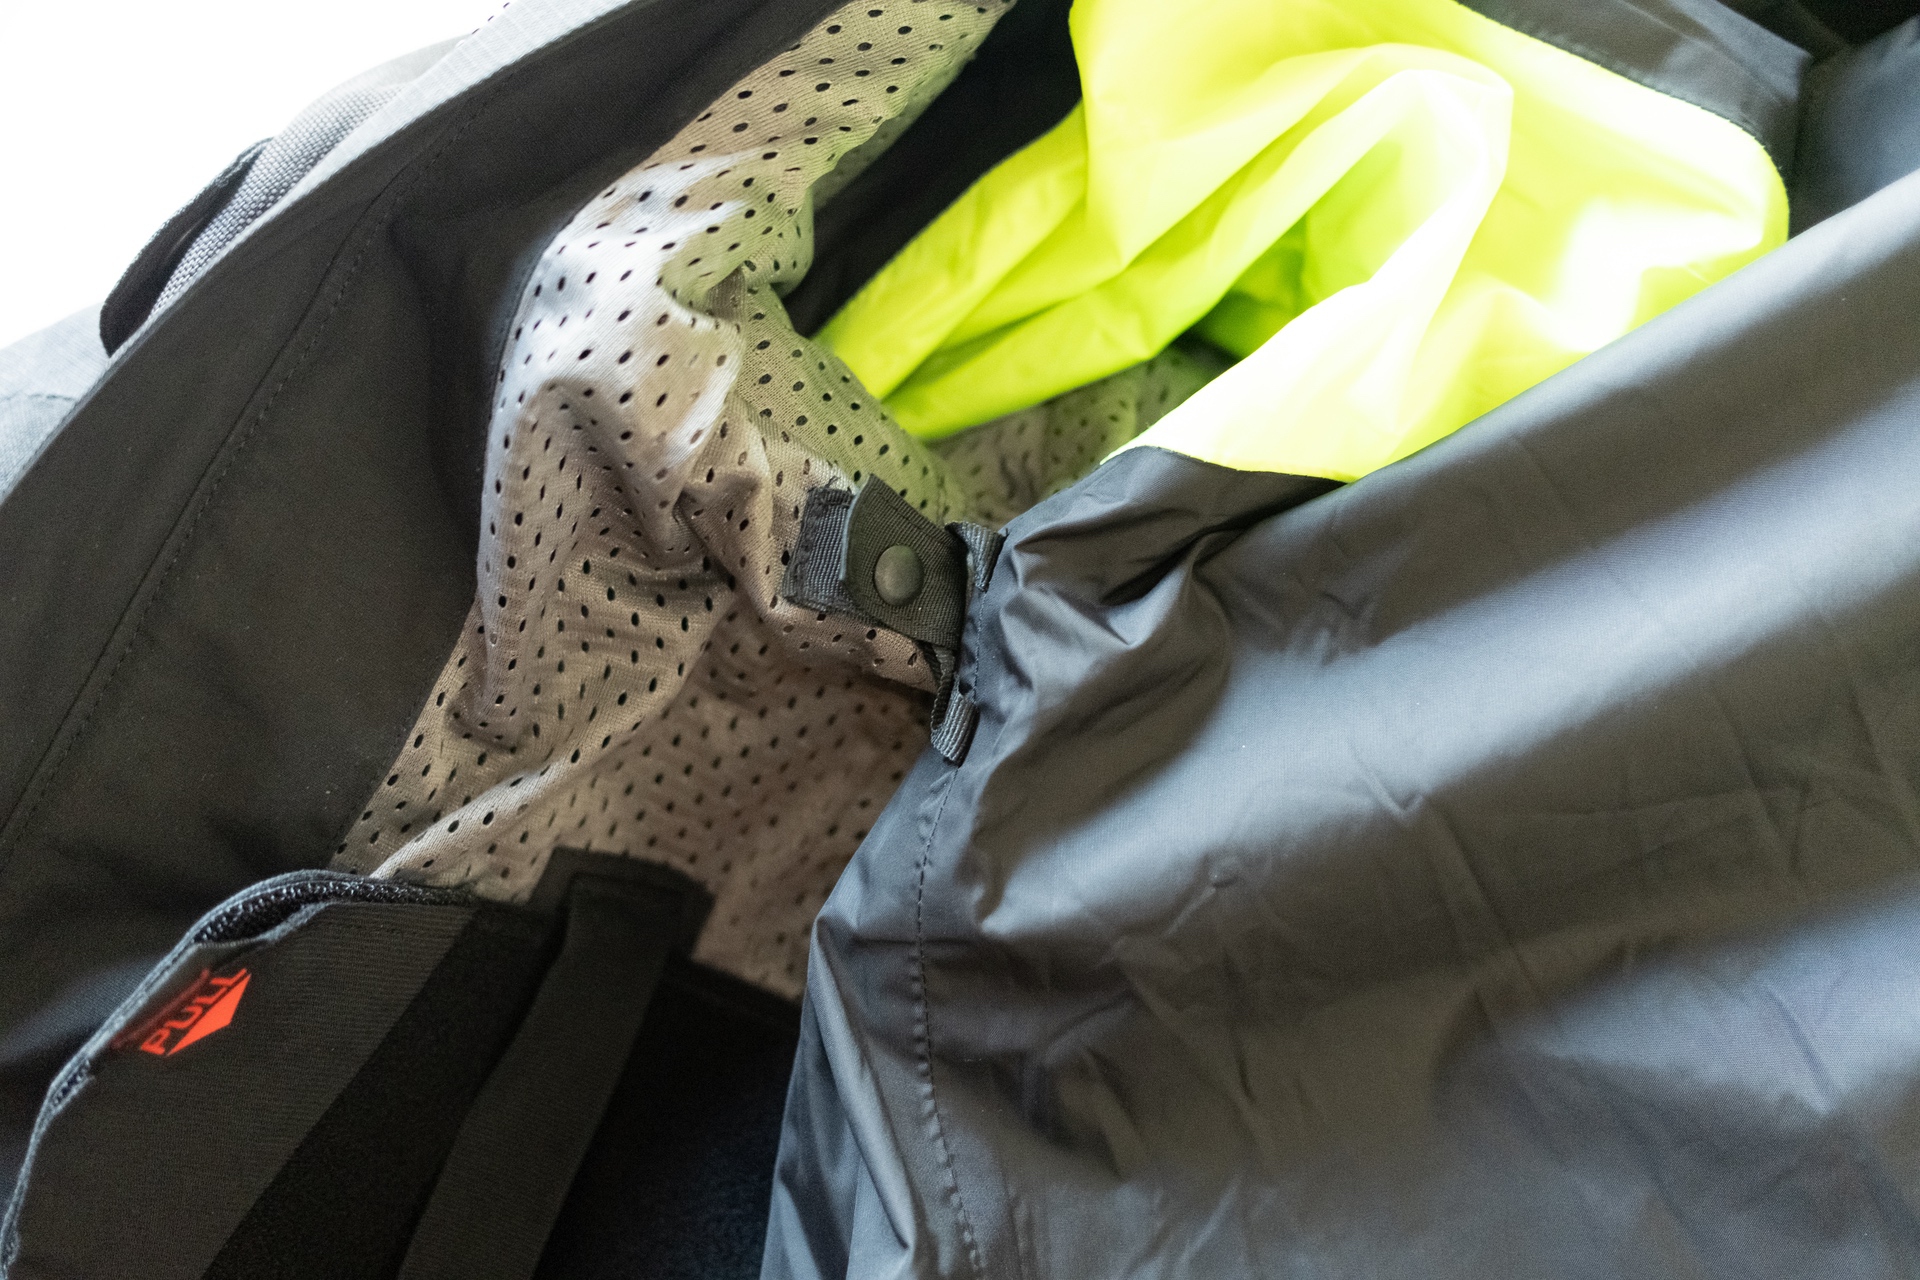
All of the attachment points are easy to use, EXCEPT FOR THE DAMN SLEEVE CONNECTIONS. This one attaches to a loop sewn into the top of the rain jacket.
 |
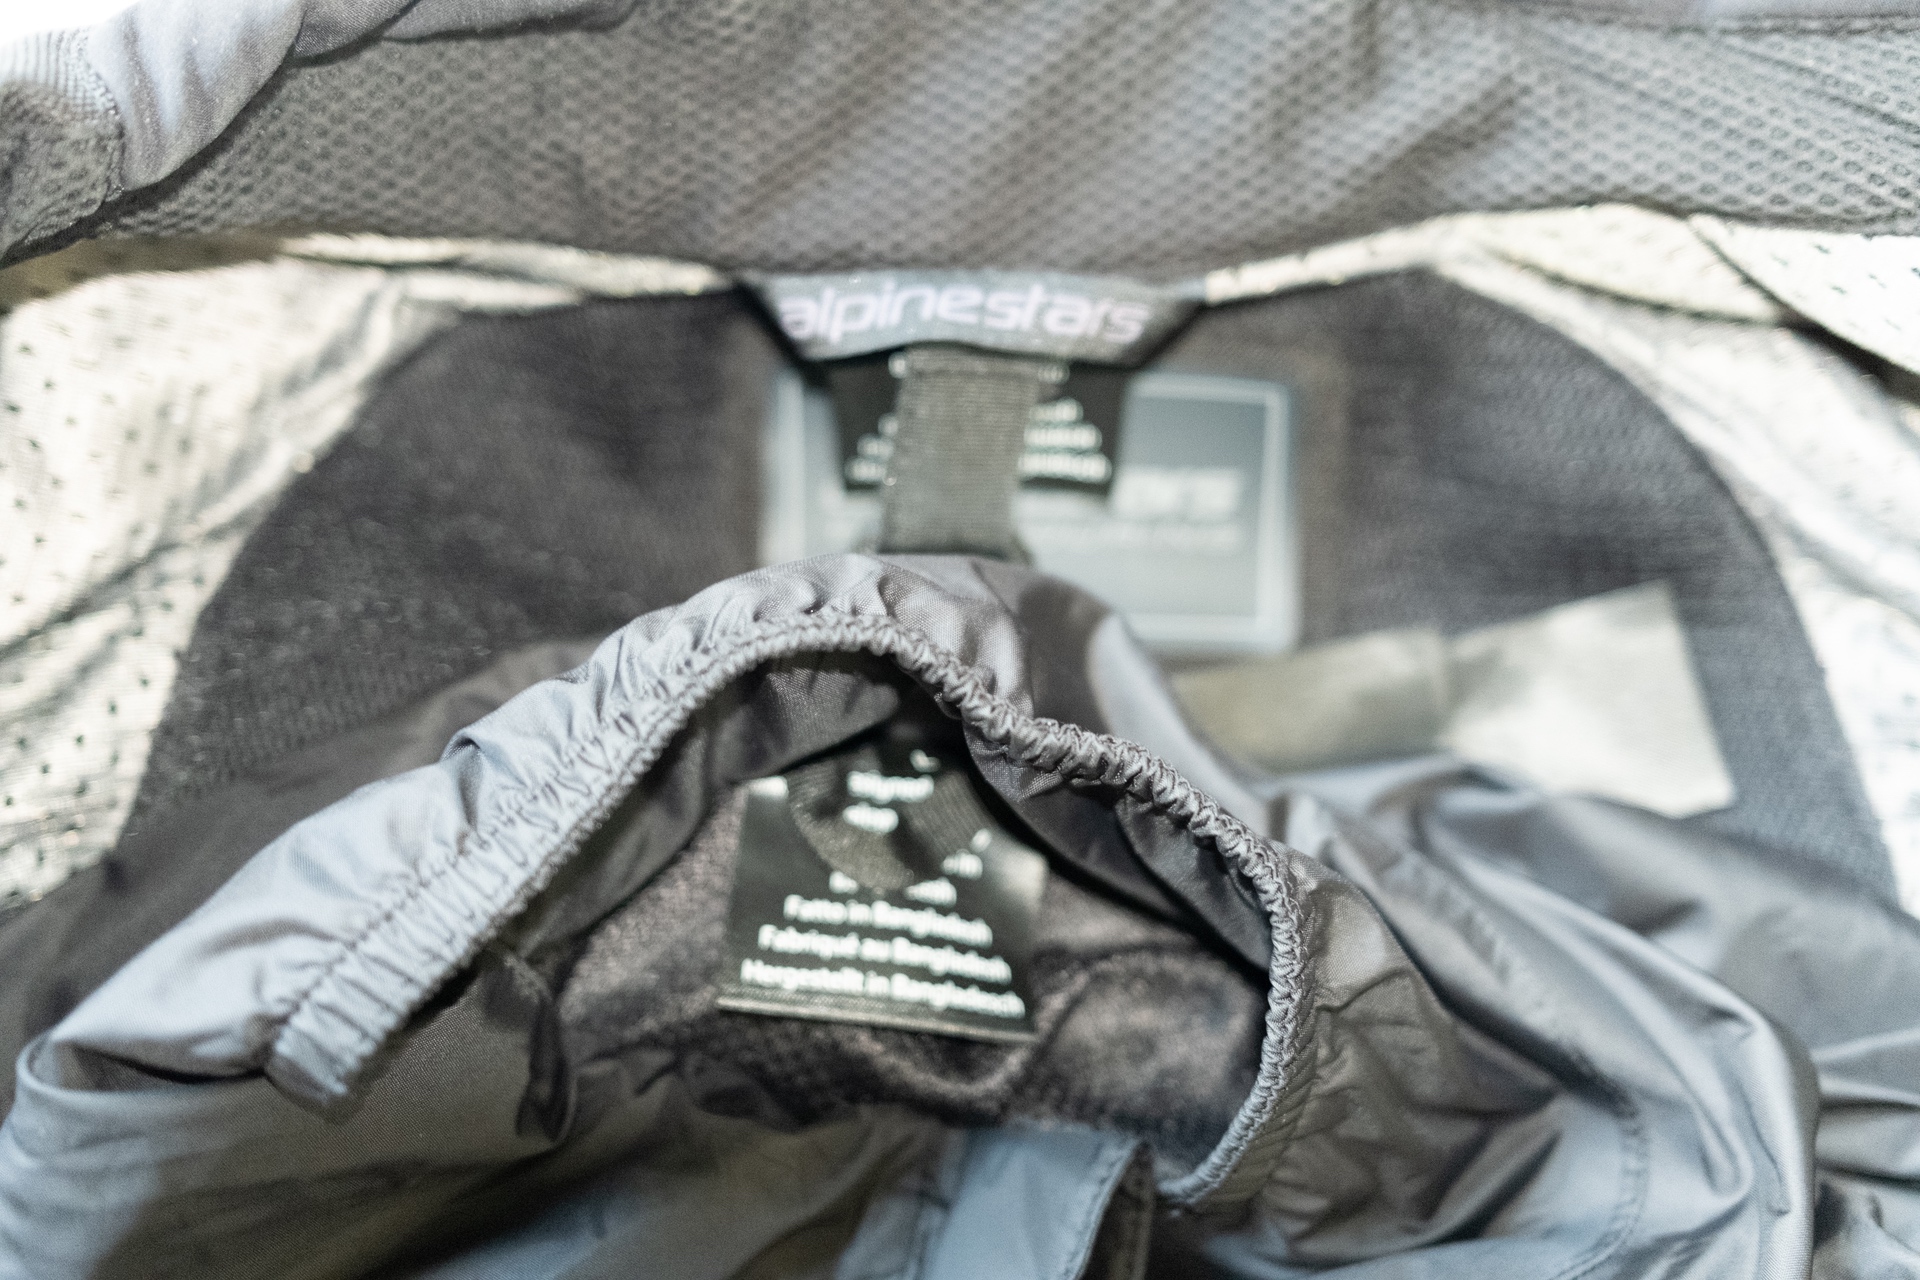 |
These attach to each side of the rain jacket inside of the Halo.
And here is where the nightmare begins. Fishing the snap from inside the Halo’s sleeve and then looping it through the rain jacket’s sewn-in loop is cussing central for me. I won’t say more; do what you want.
 |
 |
Interior Labels for Alpinestars Halo Drystar Jacket
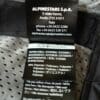
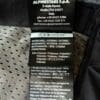
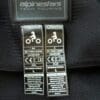
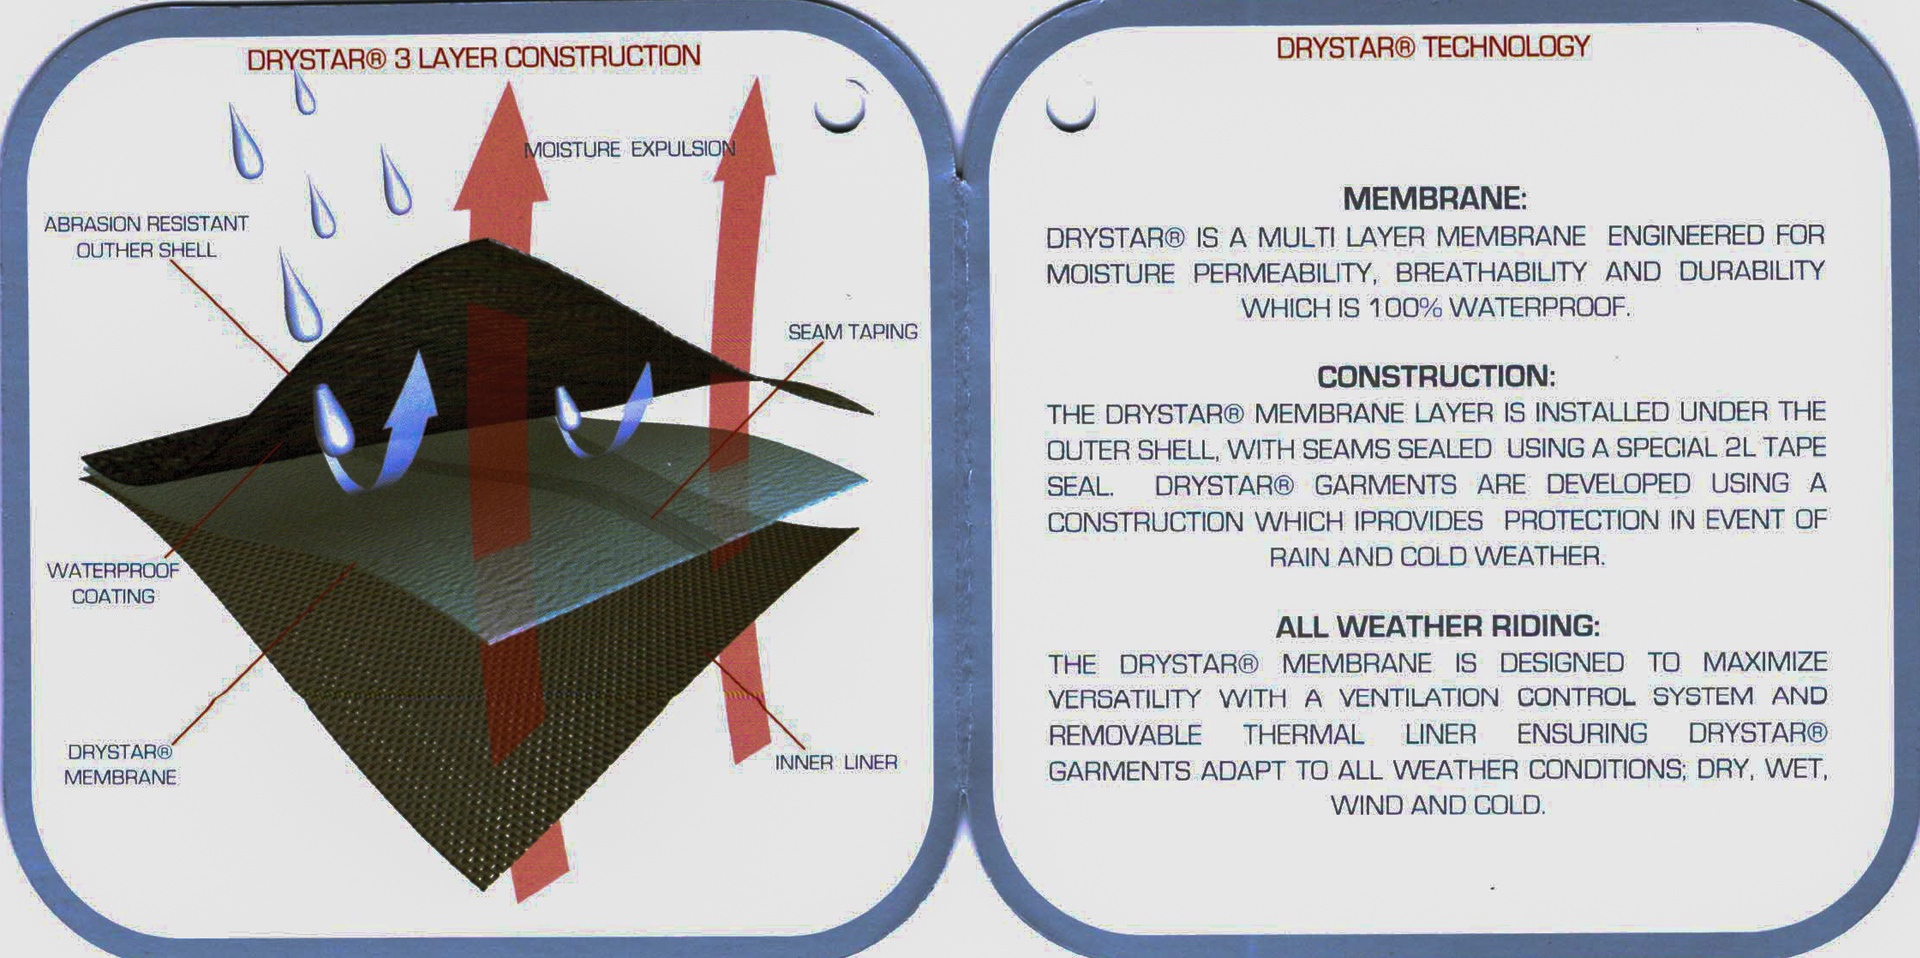
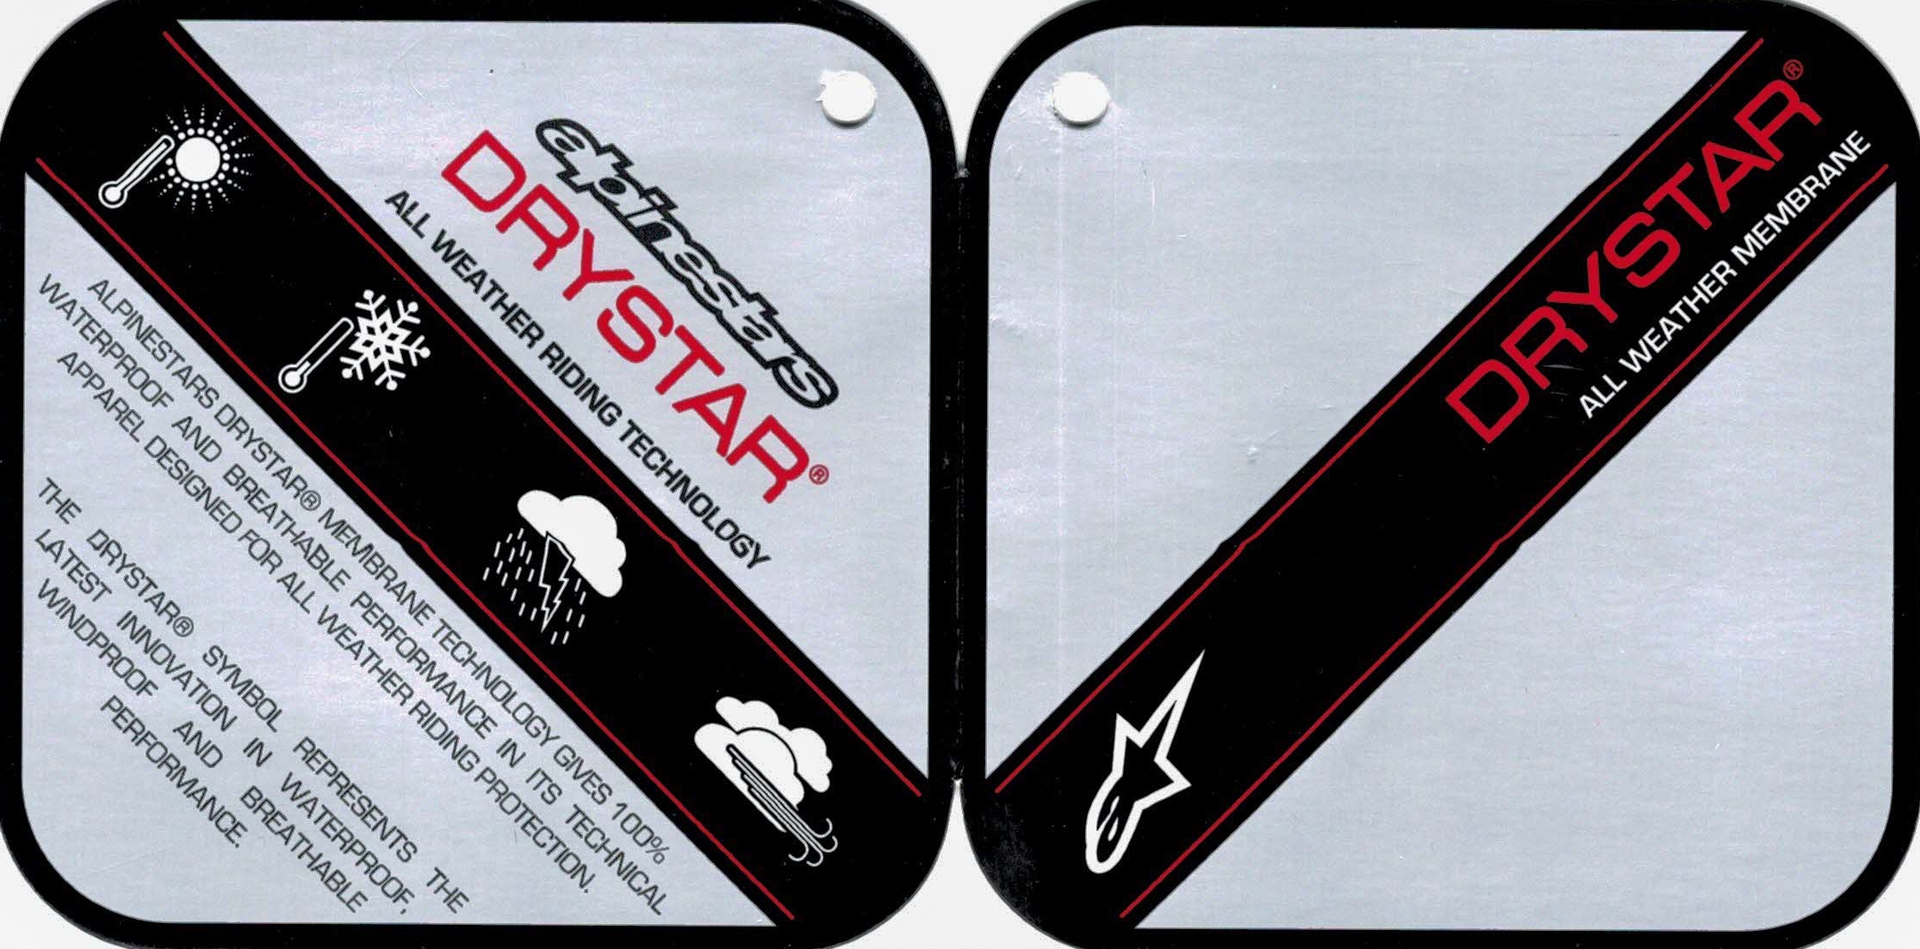
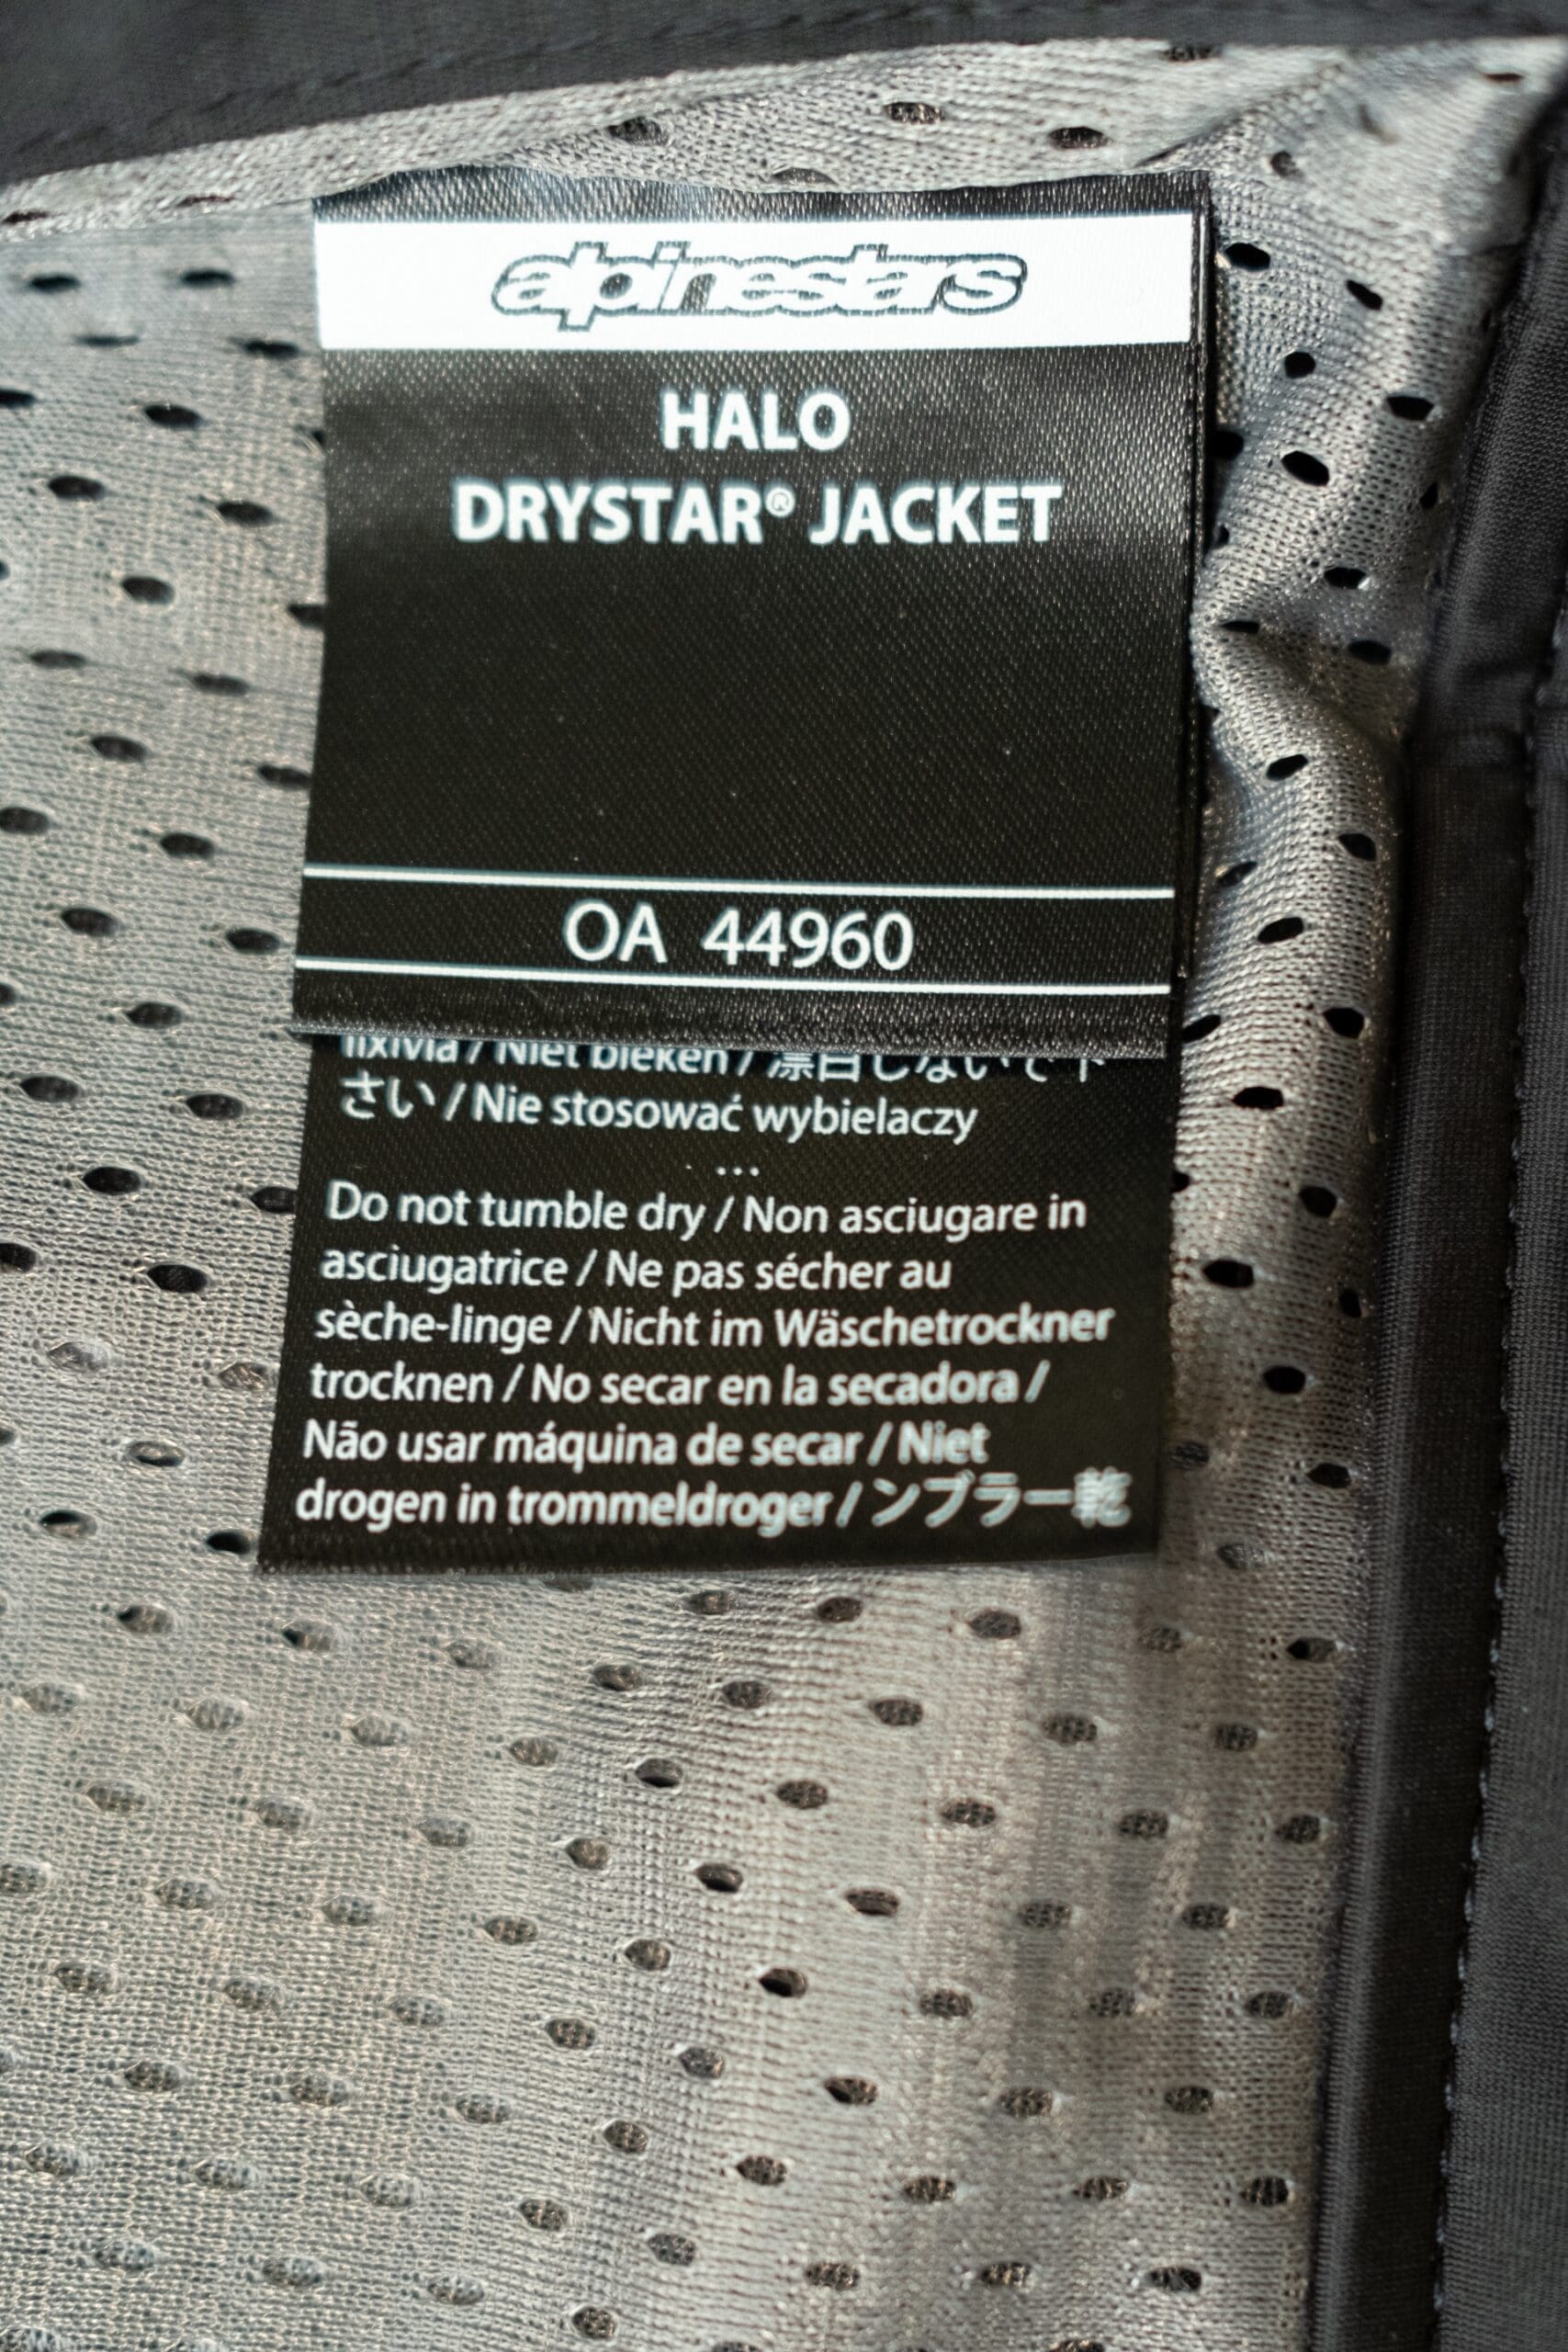
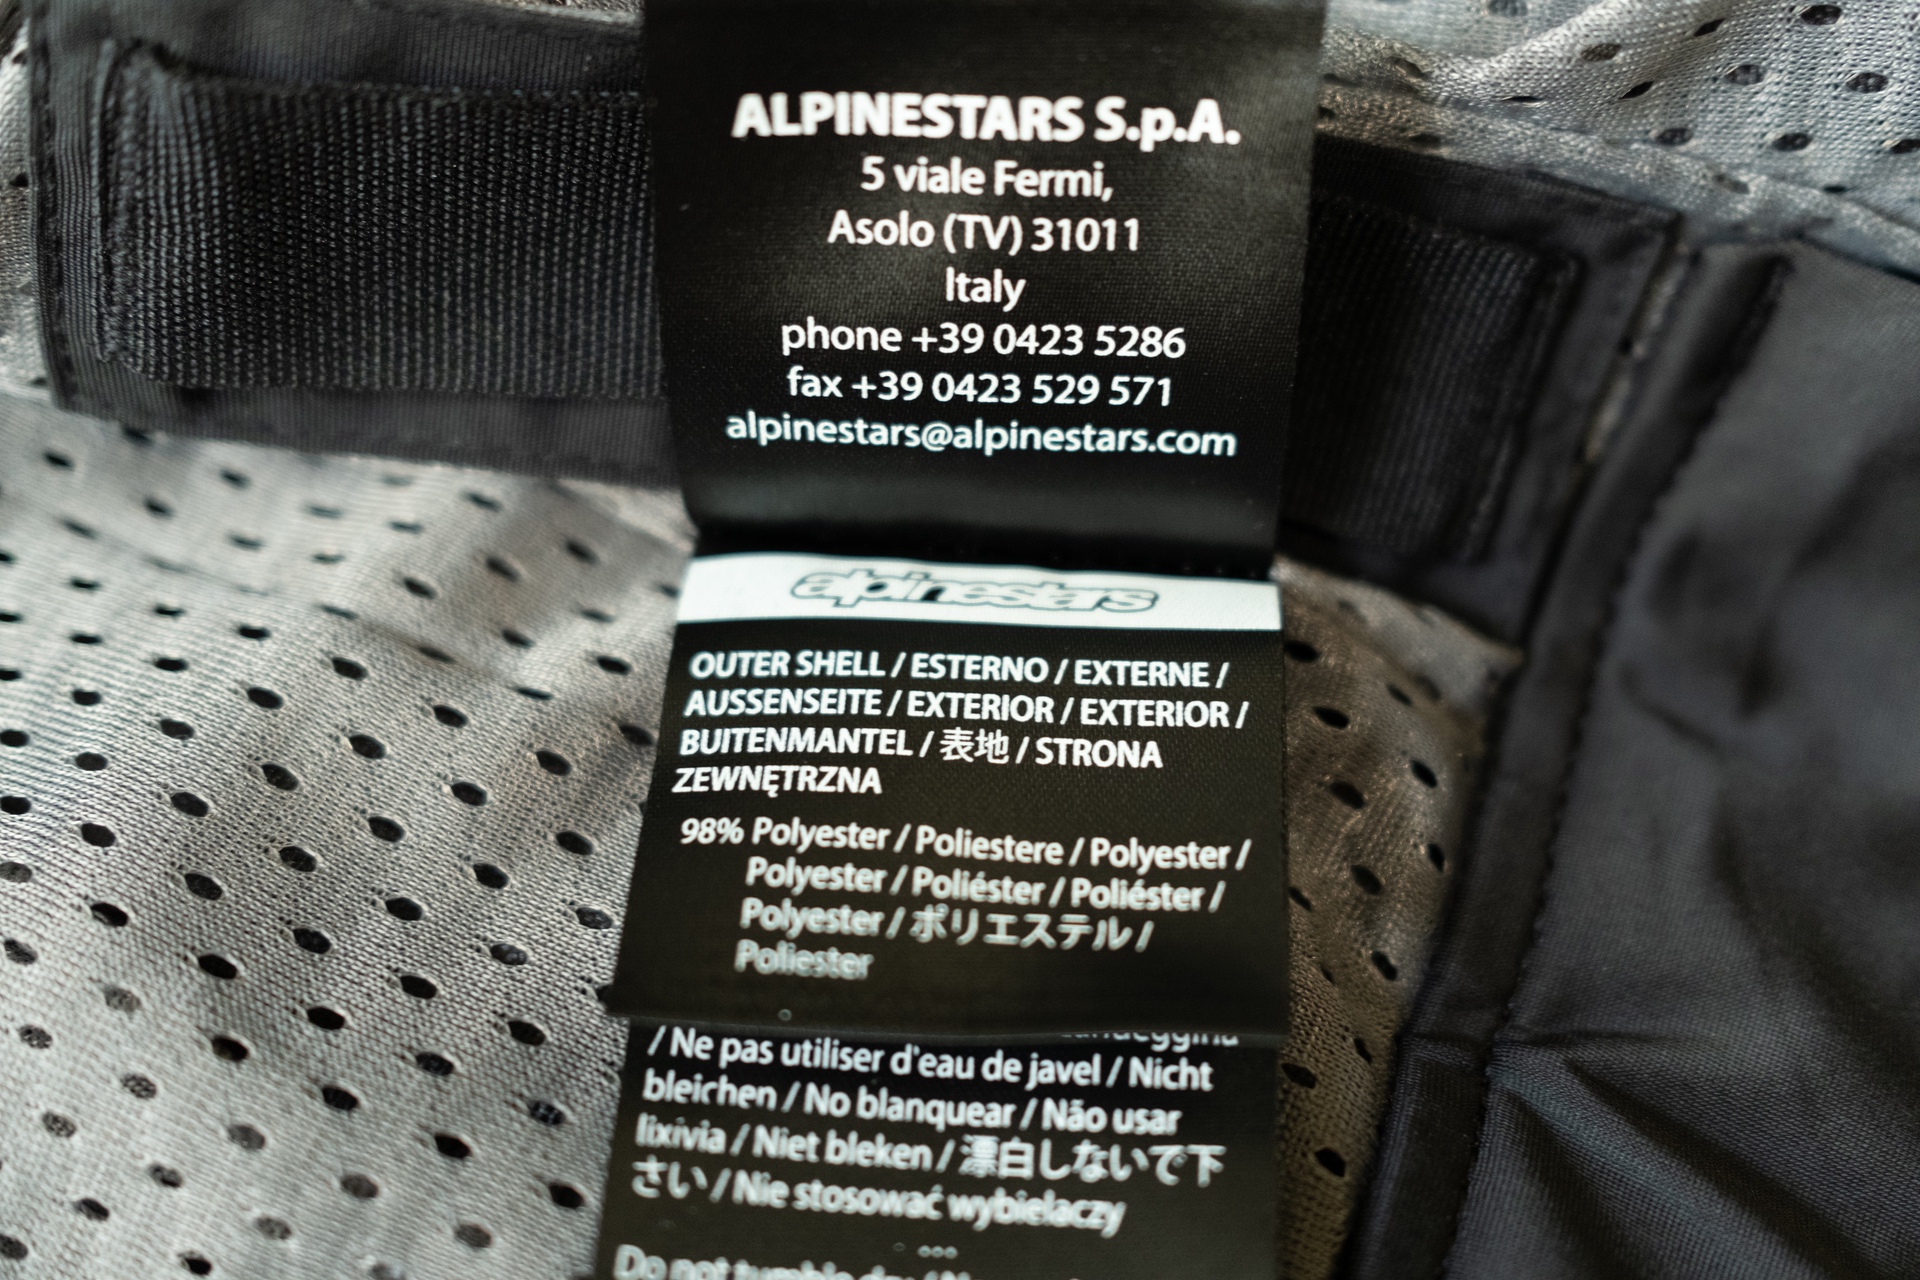
Here are images of the important notifications that are either labels sewn into the Halo or included with the jacket. I include them in this review because there are some folks who like to know this information before a purchase.
 |
 |
 |
 |
 |
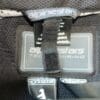
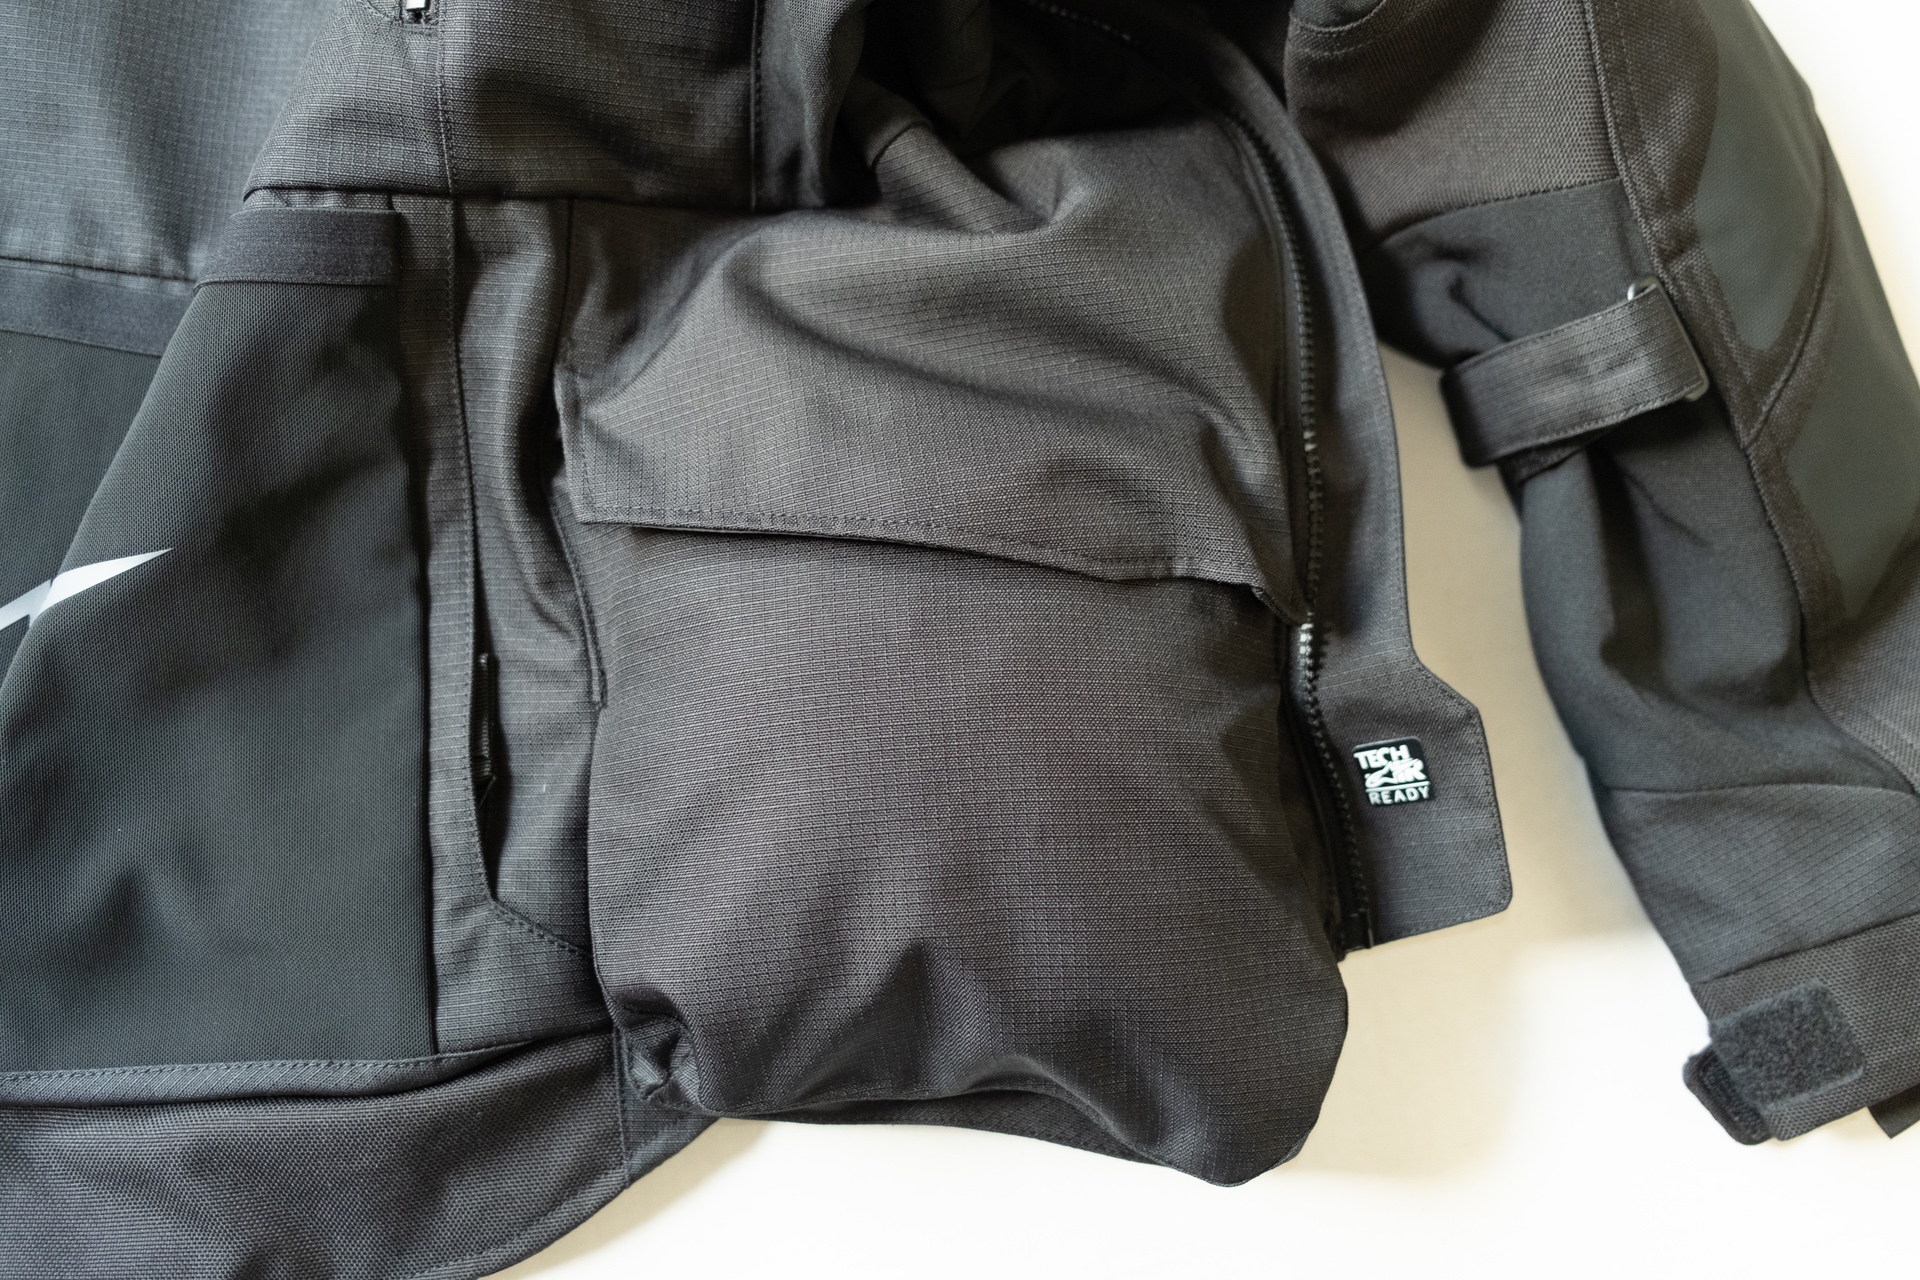
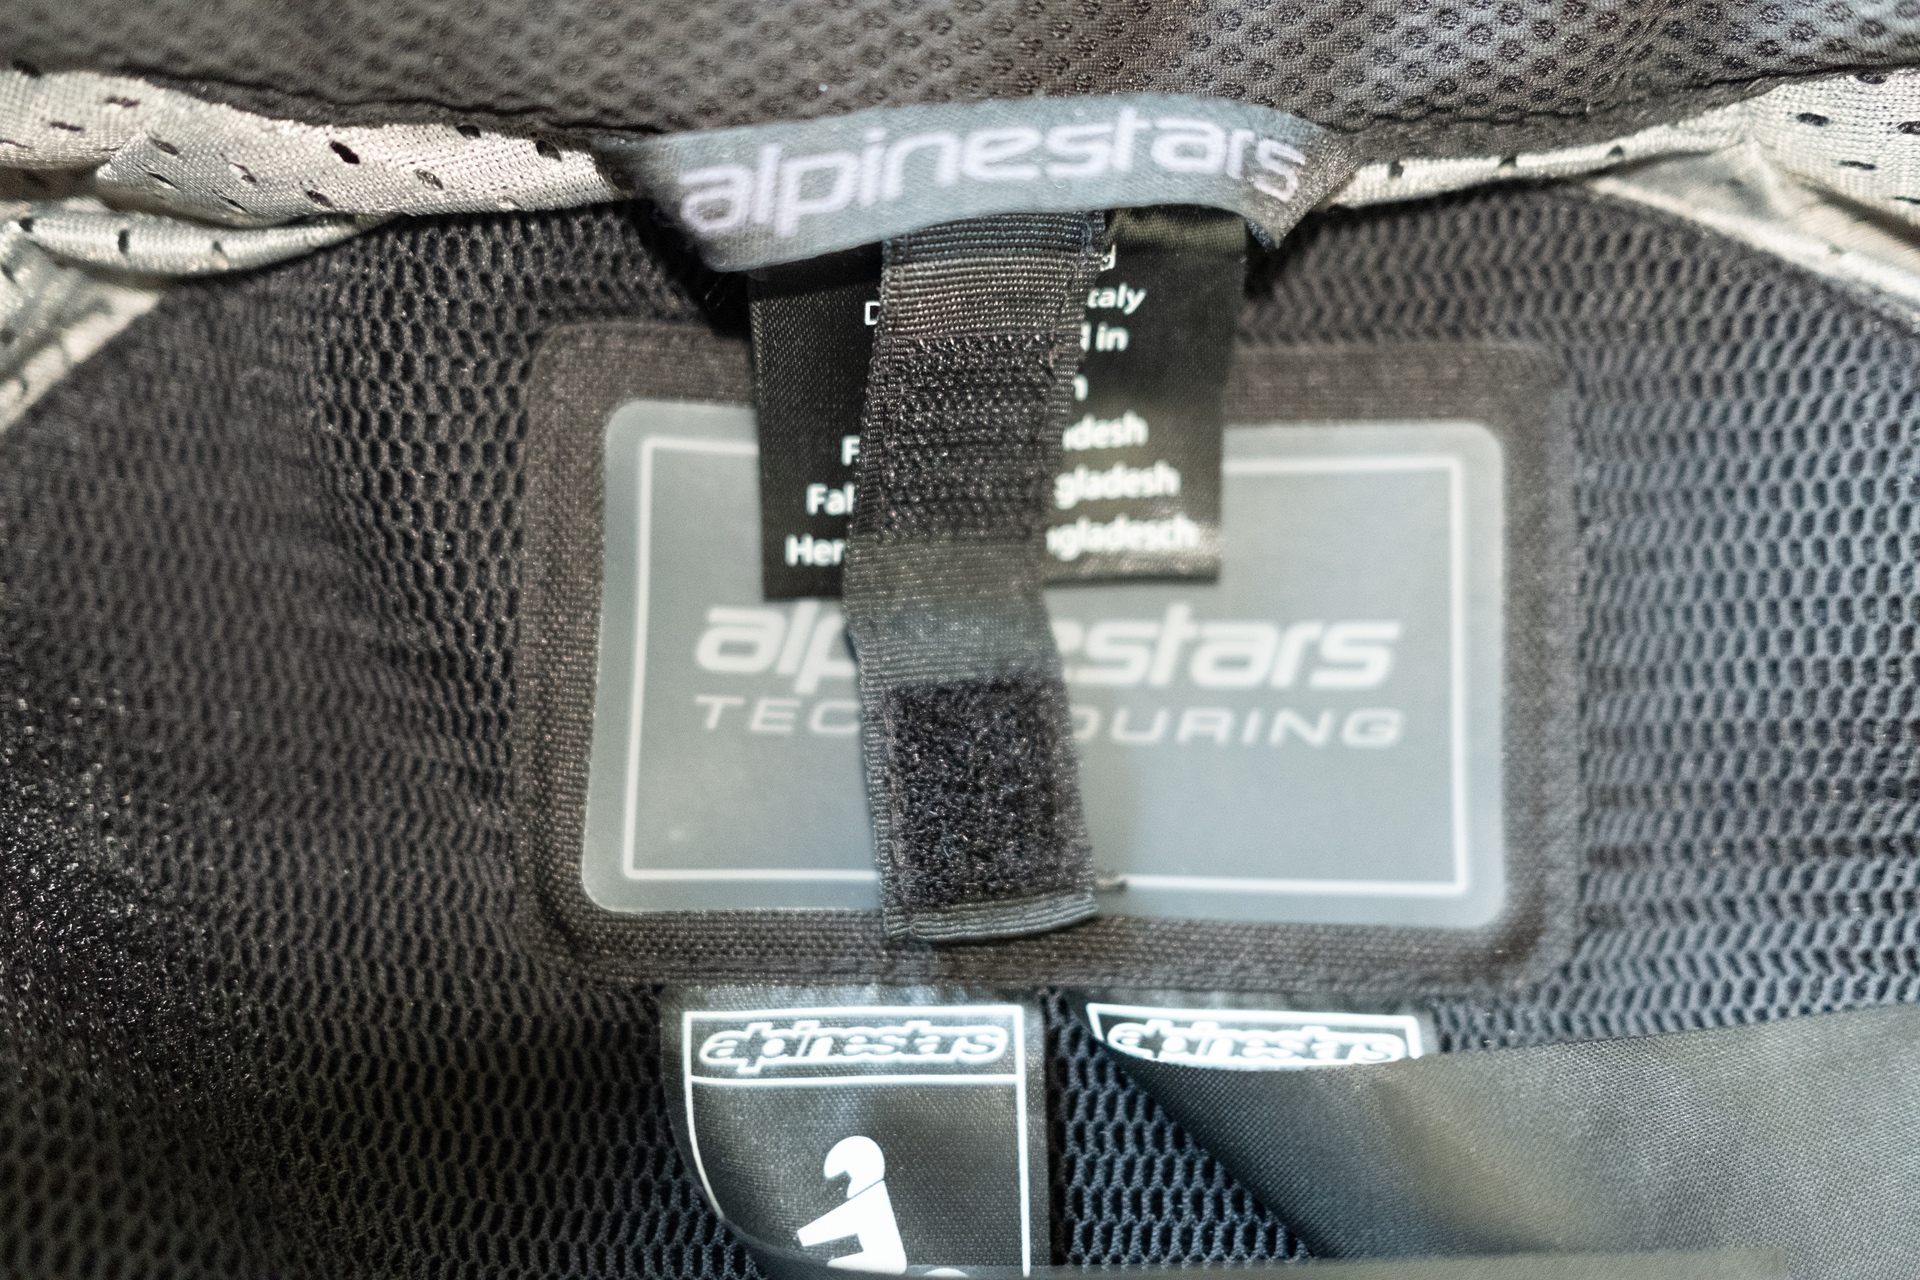
This label indicates that the Alpinestars Halo Drystar Jacket is Tech Air ready, which means it is compatible with their airbag vest.
Complaints about the Alpinestars Halo Drystar Jacket
There aren’t many, to be sure. In a past life, I worked for Playstation and in 2007 was tasked with developing a Quick Start Guide for the products. In Japan, the culture is to read all directions, warning labels, etc. In the USA, we read NOTHING and do everything until we cannot—and then we MAY refer to instructions. So I am intimately familiar with how to develop instructional content.
Besides the horrible sleeve fastening system for the rain jacket, my real bitch is about the absence of instructions on how to use the incredible features of the Halo. Sure, it shows you how to remove the sleeves, but what I find is that most of their ‘instructions’ are simply cursory in execution.
When I watched Ryan’s video from his F9 channel, he stated something about this being the first time he had to “read the manual” for a jacket. What manual? This one?
 |
 |
Thick as hell, but it says next to nothing. Come on, Alpinestars—you have produced a remarkable product, innovative and thoughtful. Put some effort into explaining how to use the damn thing.
In the End: Final Thoughts on the Alpinestars Halo Drystar Jacket
It’s not often that I find a motorcycle product that is innovative and useful. My trusty Aerostich jacket and pants have been with me for decades. And although I’ve never experienced a real street crash in them, other than a stupid tip over, I cannot say firsthand how my Stiches fair in a crash. I can say that while teaching people at the track, some have worn the Roadcrafters and crashed at speed. Their protection was fine.
So to purchase this Halo was a big deal. And I will say, for me, it is worth the money. The ventilation is incredible and so are the features. The asymmetrical zipper, allowing a full vent window in the very center of my chest with a corresponding vent window in the back, is genius.
Removable sleeves while retaining the armor is also genius, and I remove them when riding off road in hot weather. Will I remove them while riding on the street? That’s as-yet unknown.
Like my Zero DSR dual sport, the Halo is not ‘the best’ at all things. It’s not as protective as full leathers, or as comfortable as my KLIM Marrakesh jacket. But just like a dual sport bike, I can use the Halo in many situations where other purpose-built jackets and bikes would fail. On any trip where I may encounter rain, high heat, or even snow—hands down I’ll take my Halo.
The fit is more European than American—more fitted than, say, KLIM jackets. I like the look, which I explain as “if Star Trek married Star Wars and had a Samurai kid!” The silhouette of the jacket is a bit Japanese, which OF COURSE I like.
I have created a video about the FEELING of airflow through the Halo. I figured it’s much better to show this portion than to tell. “The right tool for the right job” is one of my many mottos.
Finally, I wanted to mention that the Halo is currently difficult to find. This is as of August 2022 and may change.
Specs
- Manufacturer: Alpinestars
- Price (When Tested): $479.95 USD
- Available Colours: Black/Black (as tested), Dark Khaki/Sand Yellow Fluo
- Sizes: SM, MD, LG, XL, 2XL, 3XL, 4XL
- Review Date: August 2022
Important Links / Where to Buy


