Introduction
If one has been riding motorcycles for a while then the name Aerostich is likely a familiar name. Starting back in the early 1980s the company (called Aero Design & Mfg CO. Inc.) developed the original Roadcrafter riding suit. The Roadcrafter was a departure from the motorcycle gear of the day and employed Cordura and Gore-tex fabrics in the construction instead of leather.
These materials were assembled into a one-piece, coverall style, suit designed to offer protection from crashes as well as the elements. Convenience was an important factor as well and was achieved by using a unique full-length zipper running from neck to ankle. In combination with a leg length zipper on the other leg, this arrangement made it easy to step into and out of the suit easily and quickly.
Over the following decades, Aerostich would expand their offerings to include jackets and pants like the Darien and Falstaff lines as well as a multitude of accessories for the motorcycle rider. The Roadcrafter has been updated to the current R3, the latest version of their Cordura one-piece suit while at the same time still offering the Roadcrafter in multiple versions including the Classic, Stealth, and Tactical versions.
Trying to describe the entire current lineup of suits would be enough for an entire article in itself so I’ll just point our readers to the Aerostich website for the descriptions. The point is that the company offers something for just about everybody.
Recently WebBikeWorld was given the opportunity to take a close look at Aerostich products and a couple of us were asked to choose what we’d like to review. Seeing as our last review of their gear was back in 2004 with a review of the Darien Jacket, we all felt it was long overdue.
Kathy Koewler chose to review an R-3 one-piece suit which is third-generation of the venerable Roadcrafter and you can read her review here. For my part, I wanted to look at something that I wasn’t that familiar with.
Before we get rolling I want to set expectations for this review. As one might have guessed by the “Part One” in the title, what you are reading is the first of what will be multiple installments evaluating the Cousin Jeremy suit.
A suit like this has a lot of details and will break in over time, and I want to present a complete picture for our readers. This installment will go over the appearance and construction details.
More details will come in future installments regarding fit, comfort, protective features, and more as I get additional seat time with the Cousin Jeremy suit.
The Cousin Jeremy Two Piece Suit
Haven’t heard of the Cousin Jeremy suit? Neither had I until I looked through the current Aerostich catalog. The best way I can describe the Cousin Jeremy is that it’s a vintage twist on a classic design. Ok, so that may have made it clear as mud so let me see if I can draw a more clear picture.
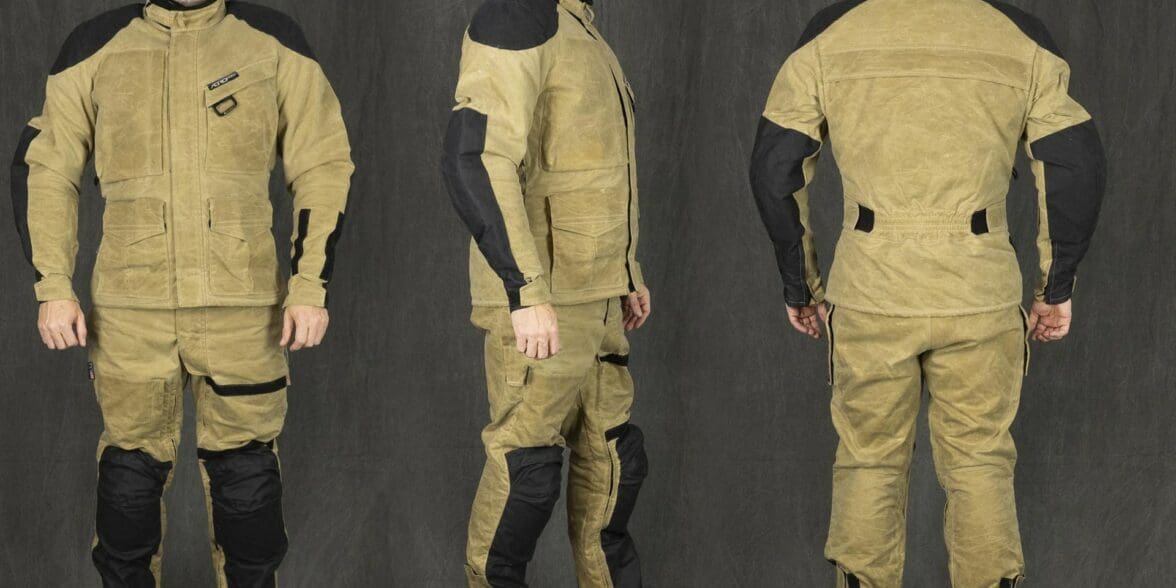
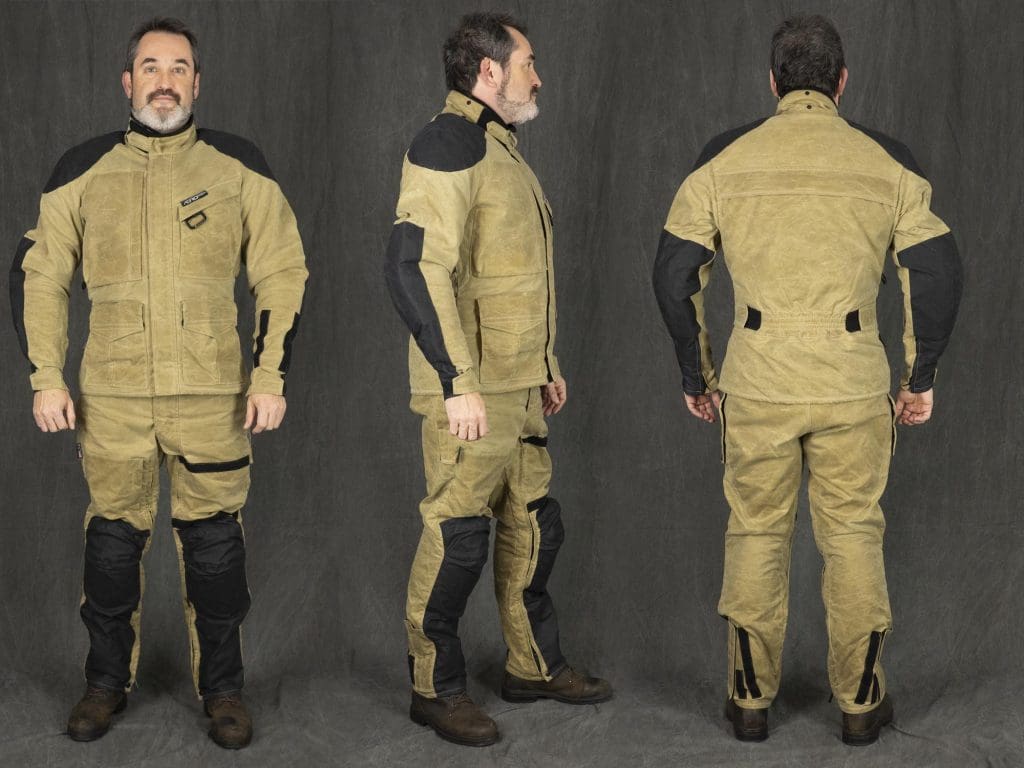
The Cousin Jeremy suit, released in 2017, takes the Roadcrafter Classic shape and wraps it in a 10 oz waxed cotton shell. The Roadcrafter classic was ahead of its time back in the early ’80s and, as the name suggests, is considered a classic today. So what should it be called it when one takes a “classic” riding suit and constructs it from what is considered a “vintage” material?
It looks like a new term needs to be coined here but whatever it ends up being called, I was intrigued by the idea. I admit I’ve never been that taken with the look of Aerostich’s suits with the exception of the (sadly) discontinued Transit suit. The aesthetic just never grew on me.
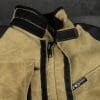
The Cousin Jeremy changed my mind. I really like the way the brown and black worked together and the texture of the material all work together to create something very different in my eyes. Words like classic and vintage come to mind but so does utilitarian.
Construction
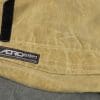
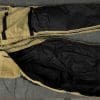
Heavy. If I had only one word to describe the jacket and pants heavy would be it. The shell is made from a 10 oz waxed cotton fabric with double layers (visible in black) in the impact areas such as the seat, shoulders, and elbows. The stitching appears single stitched for most areas but there are some double stitched areas on the pants. The work on the seams here is very neatly done and very strong from what I can discern.
The cut of the various panels is excellent as the garments lay nice and flat with little to no wave or buckling. I asked Carmen to examine them and she backed up my thoughts here. She has some education in textile manufacturing and agrees that these are very well put together.
This is not something to be considered lightly as there are a lot of panels that make up the jacket and pants. These are not simple garments by any stretch and it takes a lot of time to construct something like this in a way that it looks good and will last.
I want to point out that the quality of construction shown here is a large portion of why Aerostich gear has what is often considered a “premium” price associated with it. The materials have a cost but the time and skill required to produce these garments are what the buyer is paying for. Having an appreciation for this kind of quality work makes for a balanced equation for me when comparing cost versus value. One gets what they pay for as the saying goes.
The Jacket
The waxed cotton exterior of the jacket gives way to a smooth, dense weave, black nylon called Supernyl. For those who decide to “Google” Supernyl (I did), I don’t believe Aerostich is referring to the trademarked SUPERNYL™ polyamide film. The nylon used in the suit will actually allow air to pass through where the polyamide film of the same name is intended for use as a gas barrier and would be quite stuffy if used to line a garment.
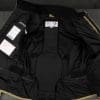
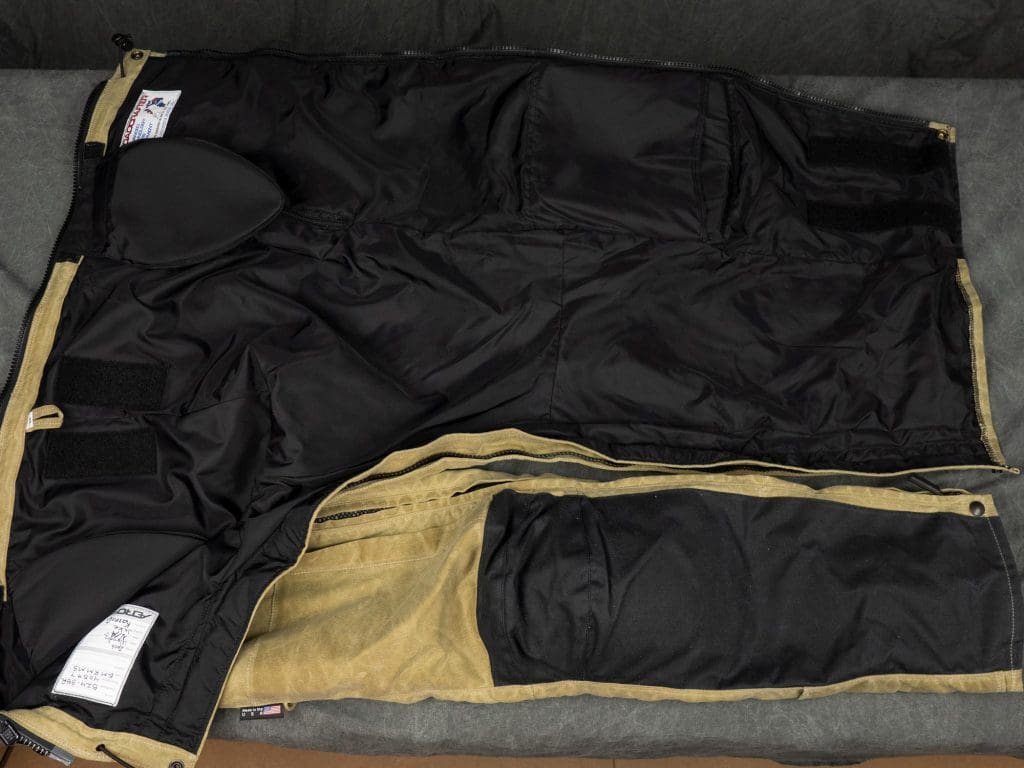
The lining makes it nice and easy to slide the jacket on and off. The lining also contains pockets for the shoulder and elbow armor. These pockets use overlapping flaps as closures making it easy to install and remove the armor as needed.
Speaking of armor, there are several patches of hook and loop fastening points placed for connecting a back protector. There are also two locations for attaching optional hip armor when the jacket and pants are zipped together.
On the subject of zips, there is a 280 deg zipper in place for attaching the jacket and pants. This zipper is placed in a way that cuts across an Aerostich back protector if installed. As such the protector should be installed after zipping the pants and jacket together if that is the intended use.
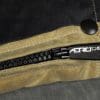
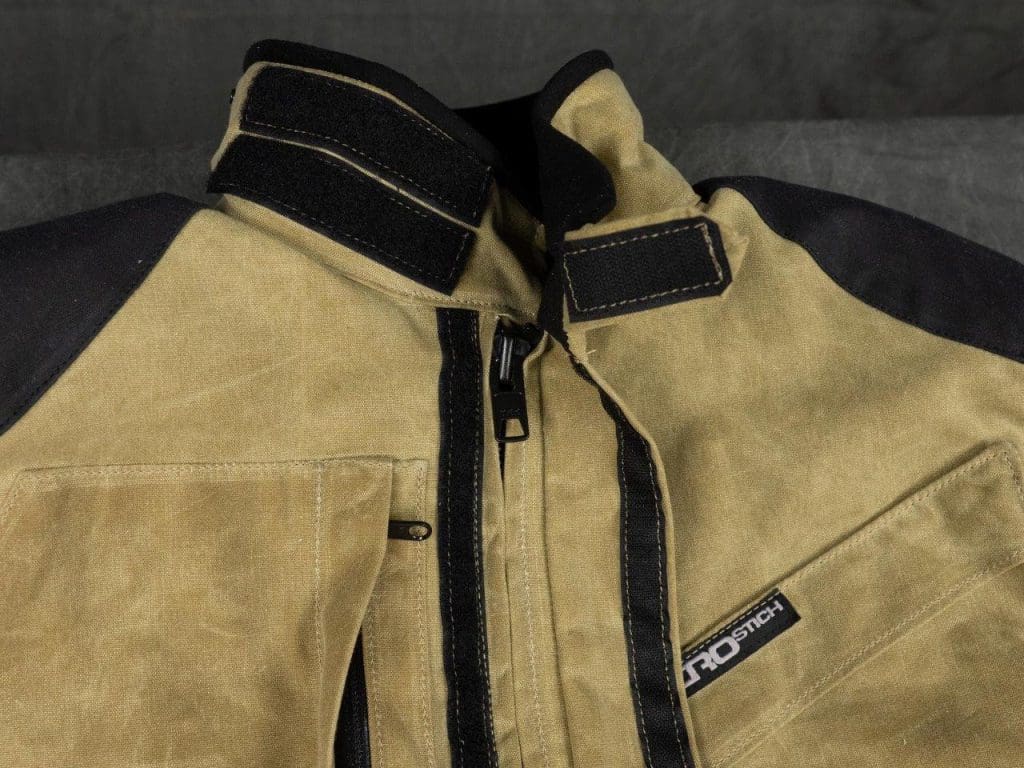
Moving to the exterior of the jacket the main closure uses a heavy duty dual zipper which is covered by a flap of the shell. The flap can be secured over the zipper using several strips of hook and loop.
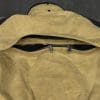
The collar has a small strap of hook and loop to adjust and secure it closed. There is also a small loop of fabric that can hold the strap out of the way if one wants the collar open for more ventilation. The collar also has three sets of plastic snaps allowing it to be folded down for more comfort in hotter weather.
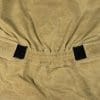
At the back near the waist is a section of elasticized fabric with two large adjustment straps for adjusting the fit. Each sleeve has a gusseted section with a zipper closure as well as a hook and loop strap for cinching down the sleeve opening.
Vents
Up between the shoulder blades is a wide vent with a waterproof zipper. Two zippers are used for airflow adjustment. Behind the vent is a large mesh section that opens to the interior between the shell and liner. This prevents some air from moving through but it should provide enough to reduce “ballooning” when the front is open.
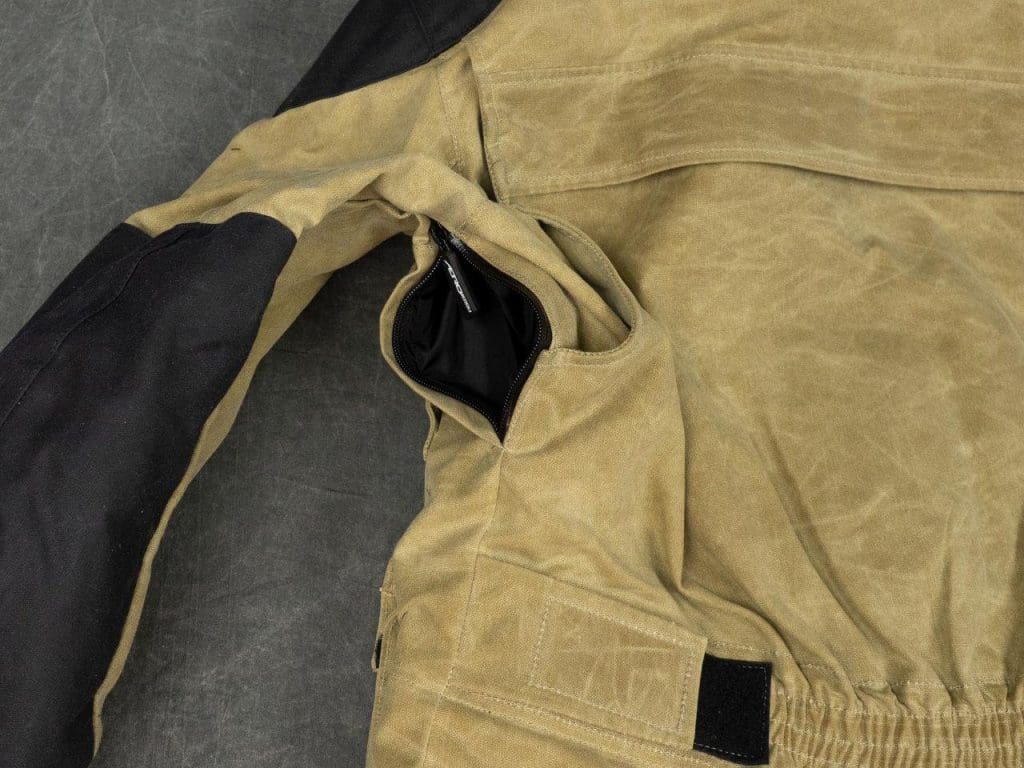
Two smaller waterproof zips are located below the underarms to provide venting and these are completely open to the interior of the jacket. There are no front vents so in order to get more air in the front one simply open the main zipper.
Pockets
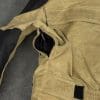
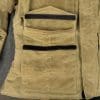
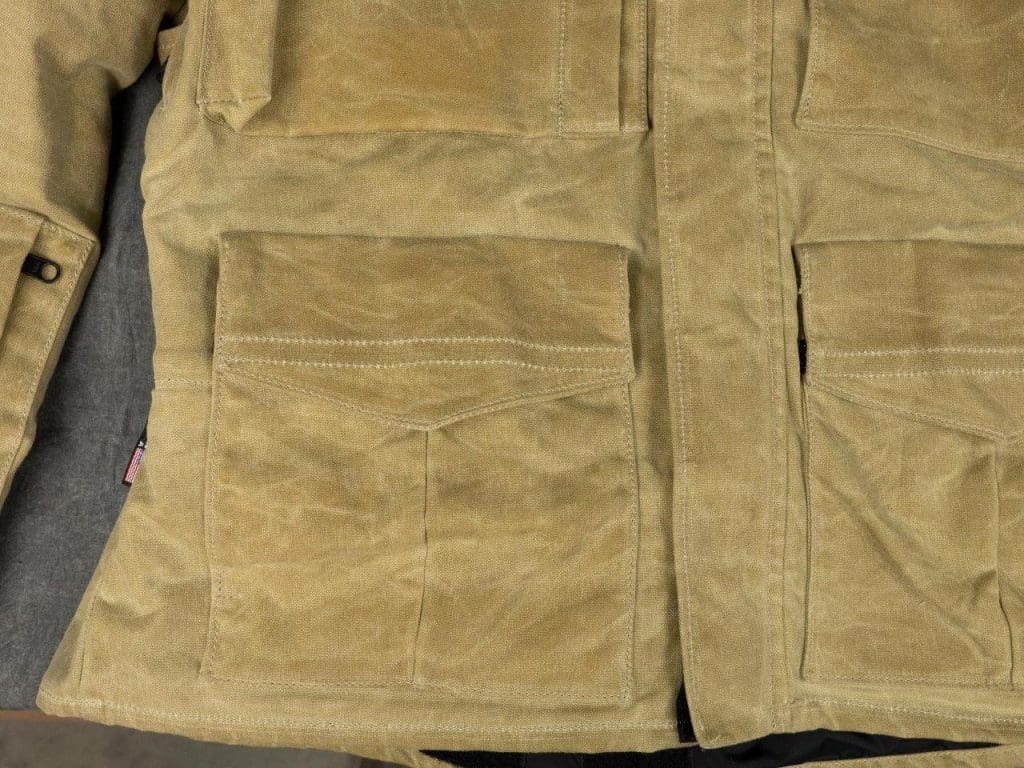
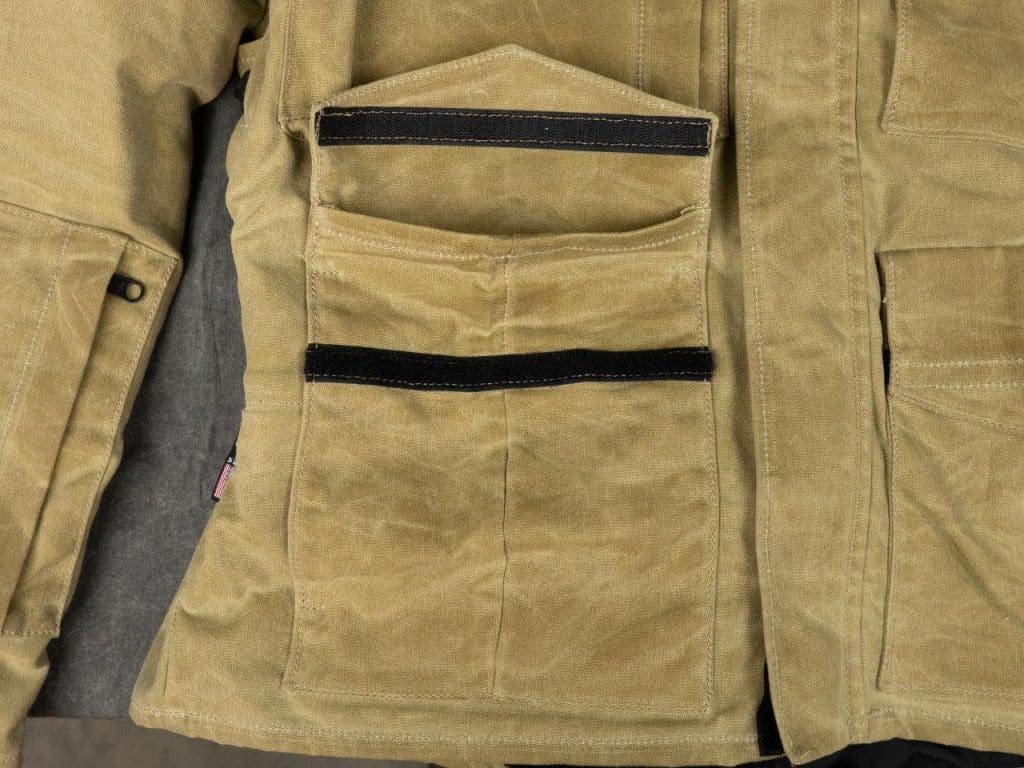
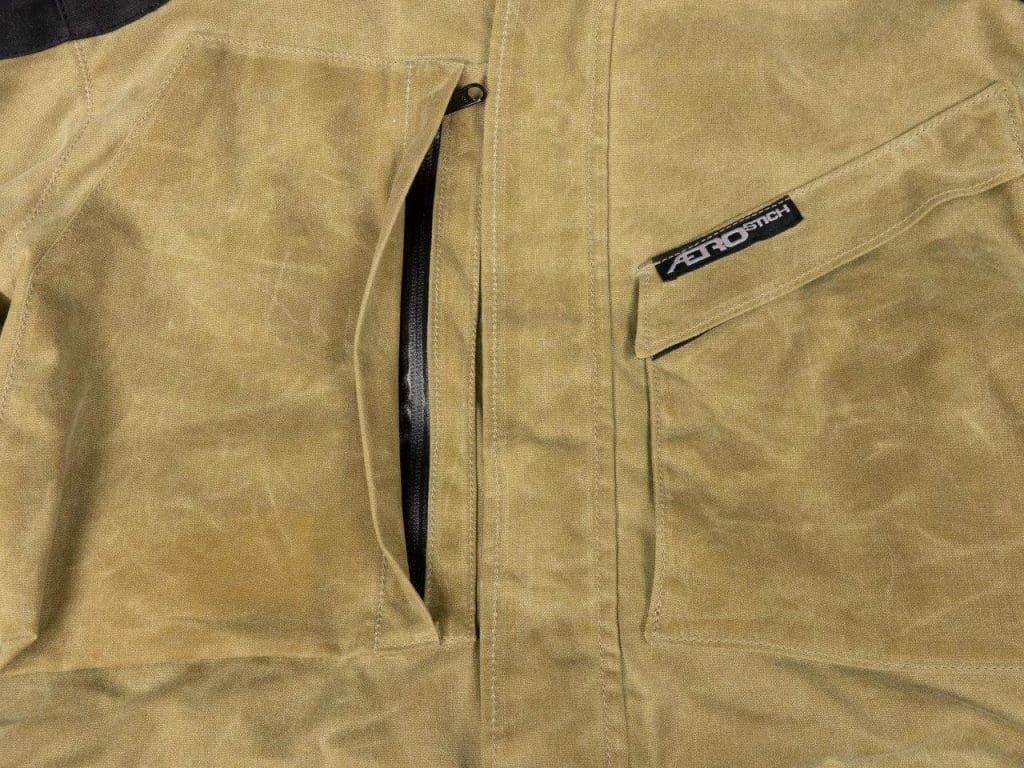
Being based on the Roadcrafter, there are plenty of storage options on the Cousin Jeremy jacket. There are two pockets at the waist with fold over flaps for water resistance and these close with hook and loop material. Each of these pockets has a side opening for handwarmer pockets within a separate space behind the main pocket shell.
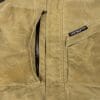
The chest has two pockets with the right pocket having a 10 inch (25cm) vertical opening and a waterproof zip for closure. This pocket also has an internal dividing pocket to organize items inside.
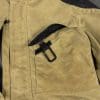
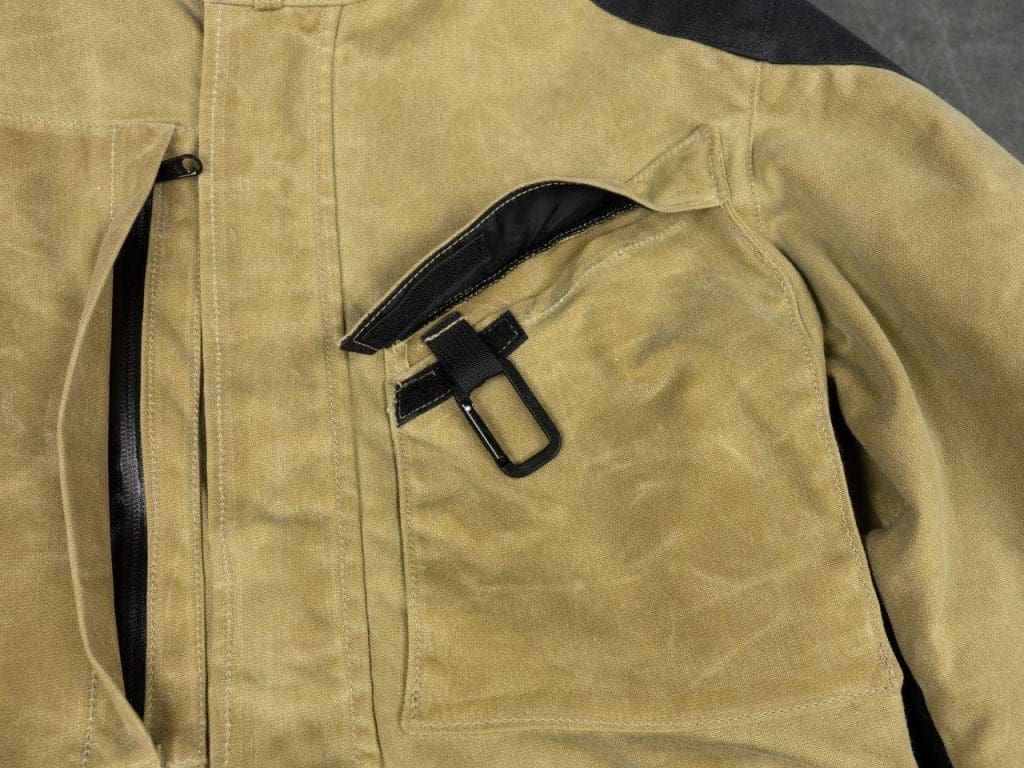
The left chest pocket has an angled top flap with a small section of hook and loop closing it. Inside the pocket opening is a small D-ring clip sewn onto a small fabric strap. This can be used to clip a helmet strap so that one can carry their helmet hands-free if needed. That’s quite a lot of bulk to hand on one’s chest in my opinion but it could work in a pinch. For my part, I’d probably just clip my bike key there.
There’s a little trick that I missed and ended up finding out by reading the description later. The left chest pocket is not attached on the sides to the shell creating space behind the pocket. This is designed for temporary stashing of gloves like when gassing up your ride. Neat idea.
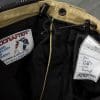
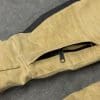
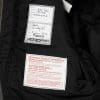
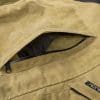
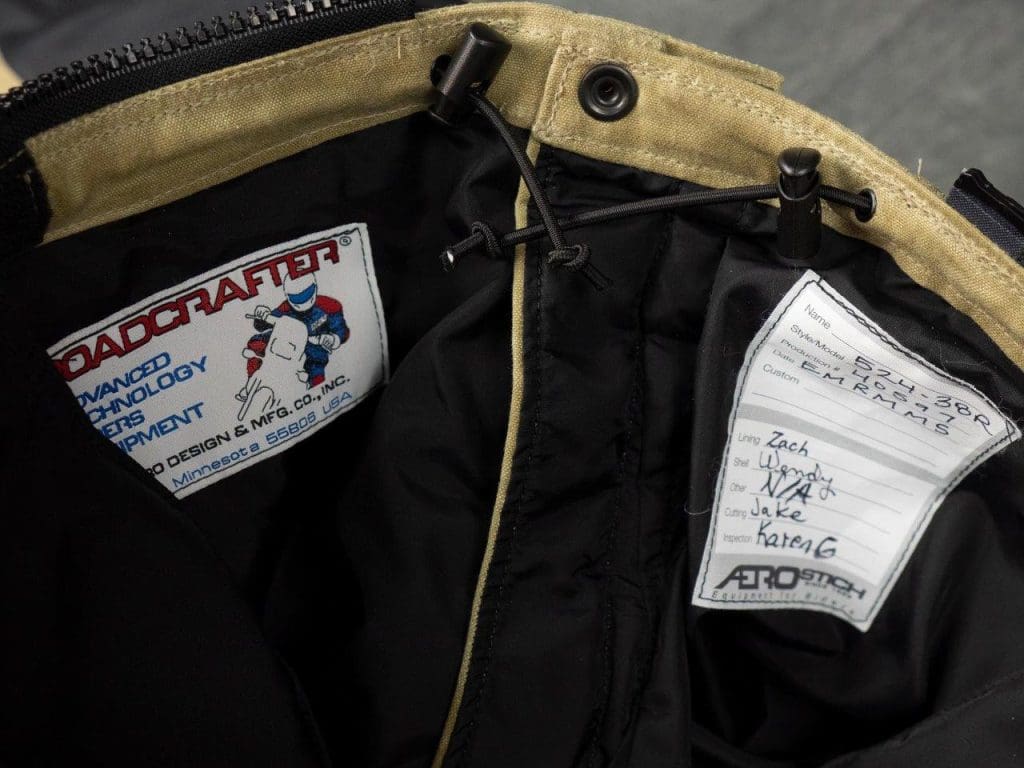
Finally, there is an interior pocket in the left side just under the Aerostich label that would be a good place to store a wallet or mobile device in case of inclement weather. For easier access to small items, there is a pocket on the right forearm. This pocket should easily hold smaller items like a mobile phone, wallet, or keys easily and it has a waterproof zip for closure.
That’s eight pockets in all in the jacket but that’s not the end of storage options. The left sleeve has strips of hook and loop for attaching accessory pockets if desired.
Pants
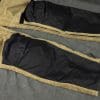
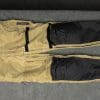
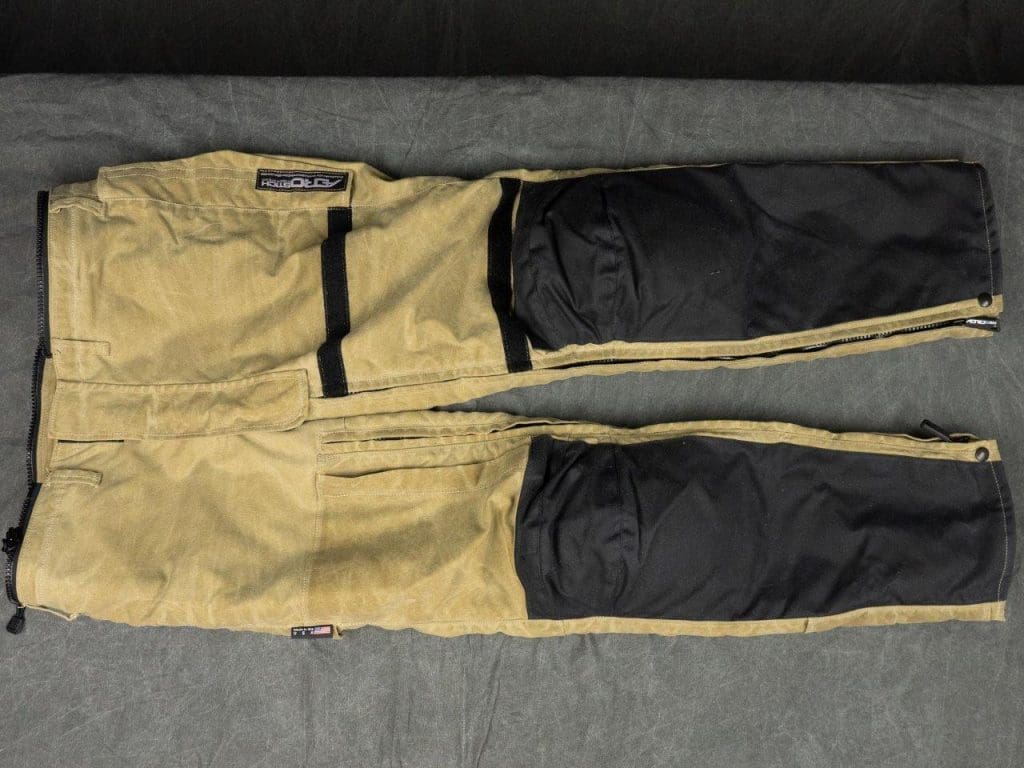
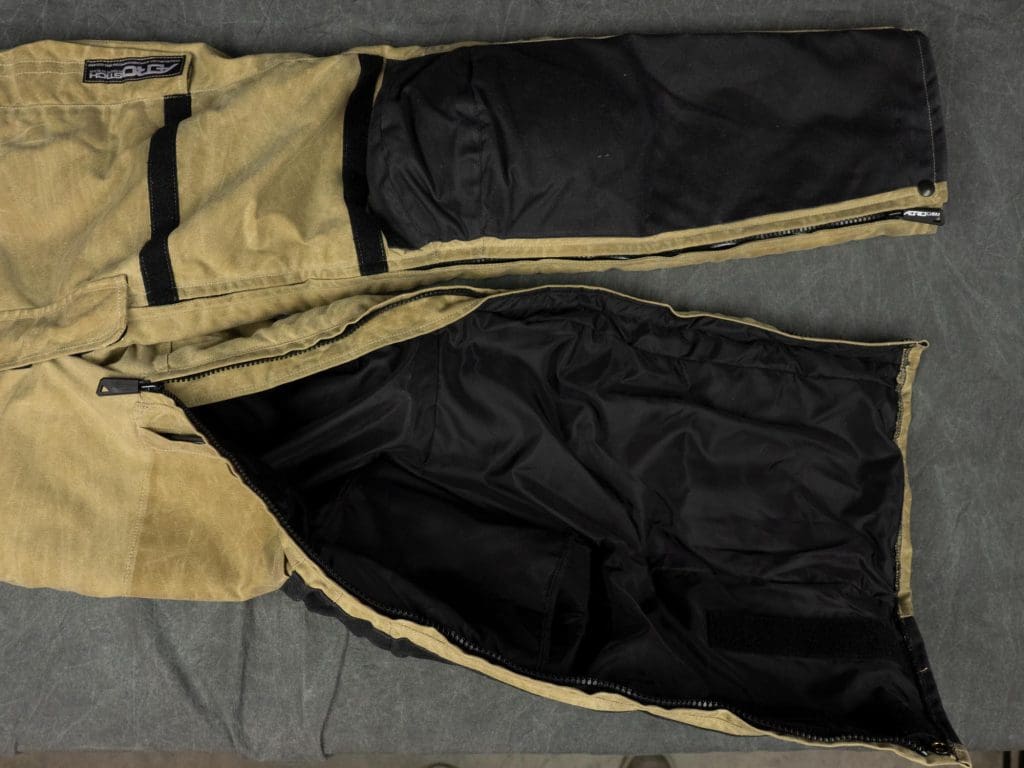
The pants are constructed of the same 10 oz waxed cotton as the jacket with double layers in the seat and knees with the knees and shin outer layer being black, while the seat is the same brown color as the rest of the shell.
Being part of a two-piece suit, there is a 280 deg zipper running around the top of the waist with dual zippers. One of the zippers has a reversible pull allowing it to be pulled from inside or outside the track. This makes it easier to pull when wearing it.
At the waist is a single snap closure and below that is a large dual zipper that runs from the waist down to the inside of the left ankle. The right leg has a large single zipper running from the upper right thigh down to the ankle. Together, these two zippers make it easy to step into and out of the pants without the need to remove boots.
Making ingress and egress even easier is the same Supernyl lining found in the jacket. This slick and tough material makes sliding shoes or boots through the right leg a breeze.
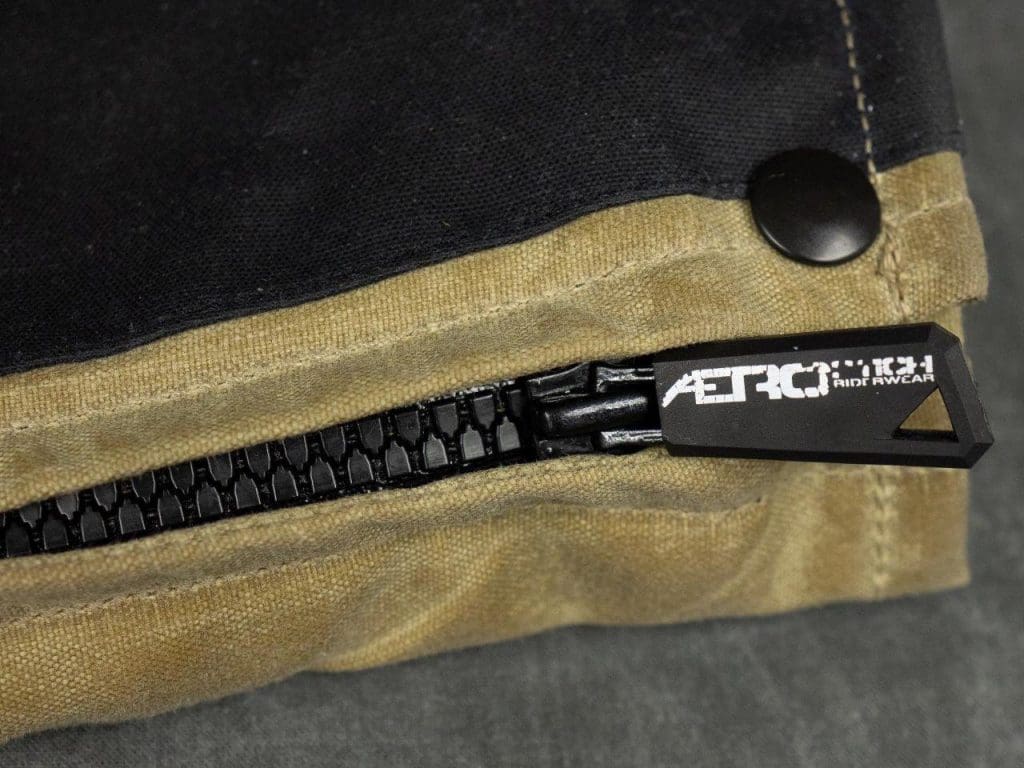
At the bottom of each leg, zipper run is a single snap at the opening. Using these allows one to raise the leg zipper for extra ventilation while keeping the leg opening secured in place. The leg openings can be adjusted using hook and loop fasteners to allow for more or less air to flow up.
At the waist, there are eight belt loops to make it easy to keep the pants in place when not attached to the pants. There is also an adjustable shock cord running around the waist that can be used in lieu of a belt to keep one’s pants properly positioned.
Inside the waist are two hook and loop connection points to hold the optional hip armor. I want to point out these are very well placed and when I attached the hip armor pockets it fell in just the right place over my hip bones.
At the back, there are two large pieces of hook and loop for attaching the bottom of one of Aerostich’s back protectors. These really only come into play if the pants and jacket are zipped together.
Pockets
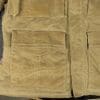
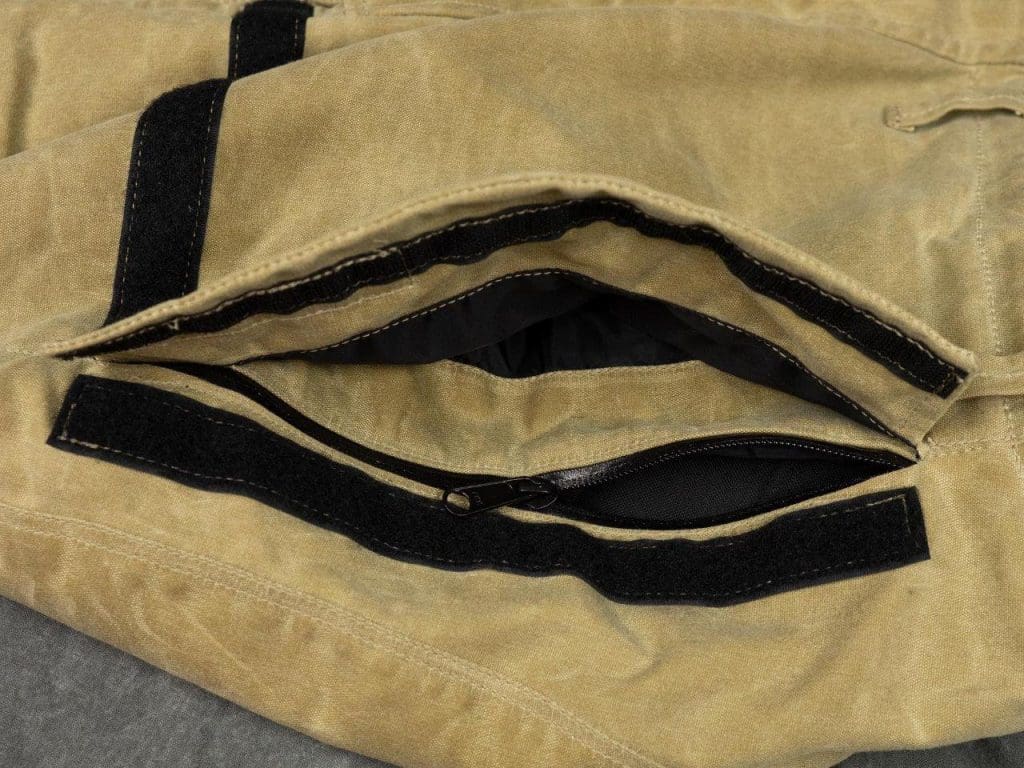
While the pants have a significantly smaller pocket count than the jacket, their storage is still more than enough for me. At the waist are two large pockets covered by a hook and loop fastened flap. These pockets are very large and inside each pocket is a waterproof zipper that opens to the interior of the pants.
These are designed to allow access to the pockets of pants one might be wearing underneath the Cousin Jeremy pants. This pass-through is a great feature for those who have left a phone or key in their jeans pocket and needed to get to it after putting on the overpants. Ask me how I know.
On the top of the right thigh is another large cargo pocket with, you guessed it, a waterproof zippered closure. If I need to use pants pockets during a ride I’d rather place stuff here than in the waist pockets as it will likely be more comfortable.
Rounding out the pocket options is pair of hook and loop strips on the left thigh. Aerostich offers a clear panel map pocket that fits here that can be used for maps but could hold other small items as well.
Conclusion
To wrap up this initial look at the Cousin Jeremy suit, I have to say I’m very impressed with the quality and attention to detail that goes into the construction of these suits. This is doubly impressive considering the complexity of these pieces of apparel.
Pricing for a suit like this starts at $1,154.00 and includes Aerostich’s TF3 armor in the knees, elbows, and shoulders. In my case, I asked for a back protector to round out the protection which adds extra $87.00 on top of the cost of the suit.
Over $1,200.00 is no small investment. The quality of the apparel certainly makes for a good value but that’s only part of the equation. In the next installment, I will detail my experience in working with the team at Aerostich to get my Cousin Jeremy suit properly sized and fitted. We’ll also look at the TF series armor that I received with the suit along with some additional details. Until then keep the shiny side up.
Pros
- High-quality construction
- Tons of storage
- Sharp looking waxed cotton shell
Cons
- Price can be a barrier
- Sleeve zippers work their way open
- Cotton is not very abrasion resistant
Specs
- Manufacturer: Aerostich
- Price (When Tested): $1,241.00 including back protector
- Made In: USA
- Color: Brown and Black
- Sizes: 34 to 54 plus various lengths
- Review Date: March 2019


