The paint job on your motorcycle isn’t vital to the way it functions, but it’s absolutely essential for making sure your ride gets the recognition it deserves. After all, the approving stares you get while seated on a nice-looking bike are half the fun of riding (yes, I’m starved for attention and not too proud to admit it).
But there are lots of eye-catching ways to paint a bike that go beyond solid colors—and today, we’re going to share 5 of our favorites with you. Read on and learn all about how to paint your motorcycle so it truly stands out, whether you’re at the track or in traffic.
#5: Matte
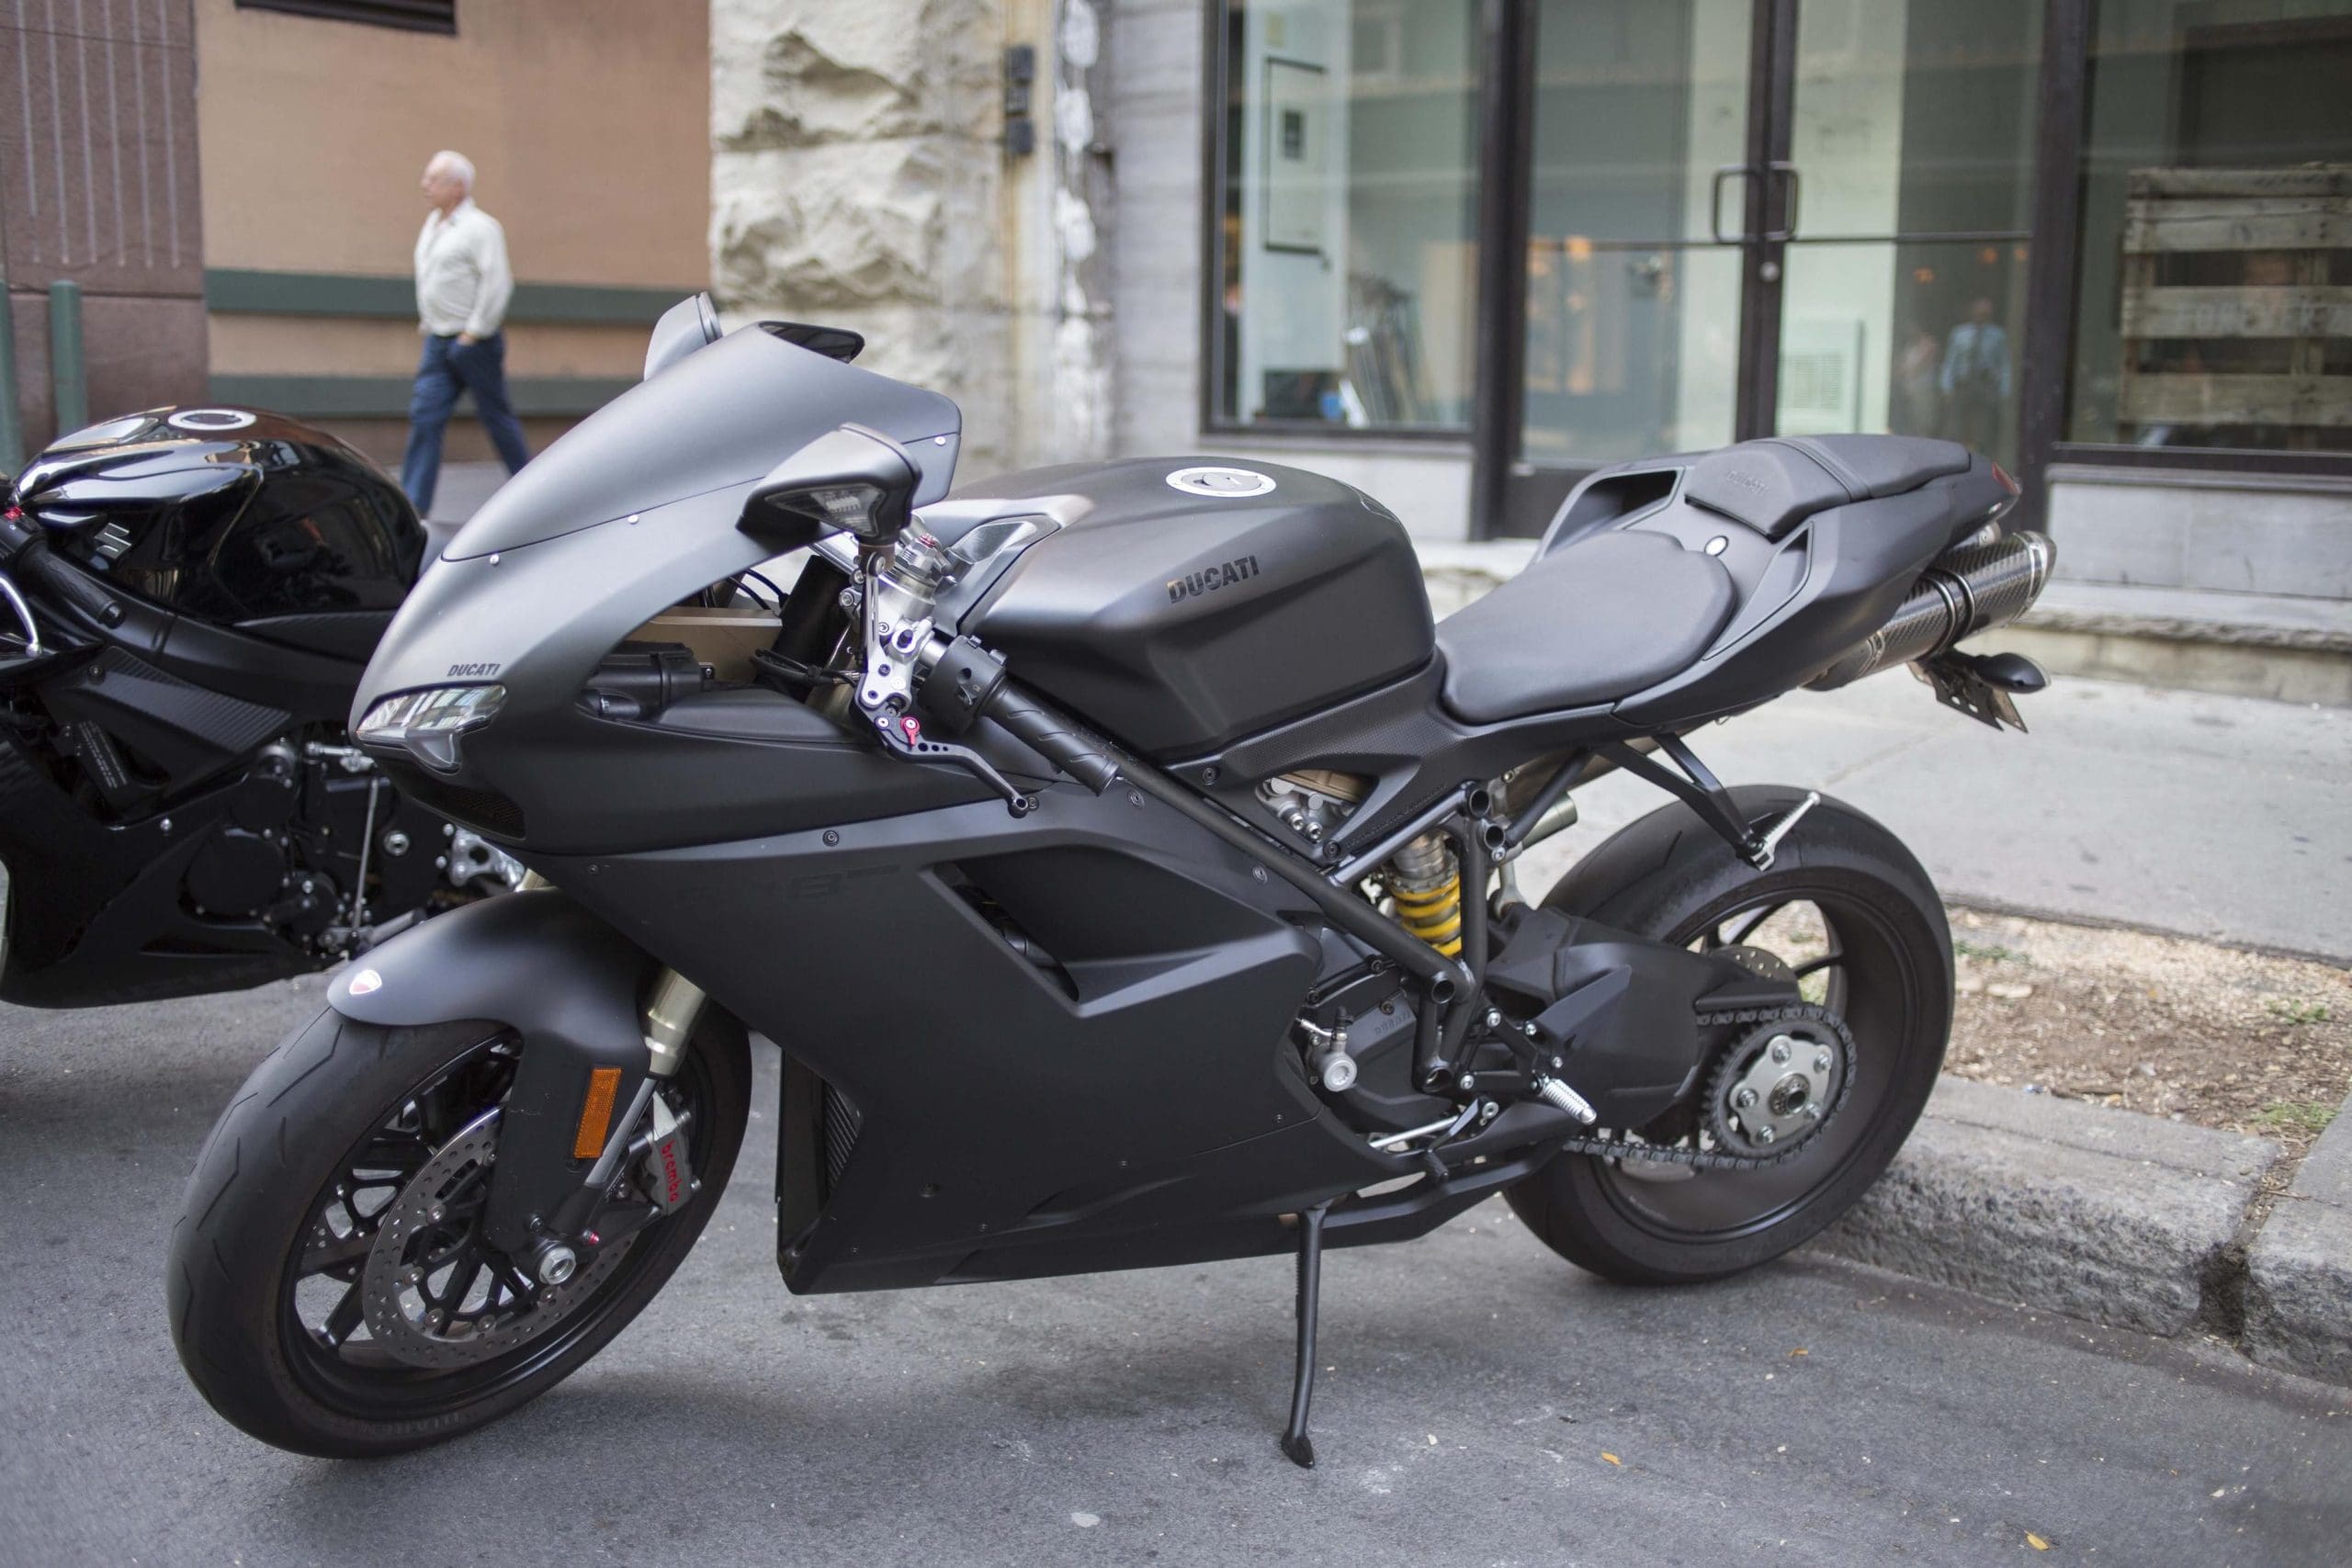
Via Imgur
Matte paint is an excellent choice for bikers who prefer their two-wheelers to look subtle and classy instead loud and proud. Most matte paint jobs are done in darker, more muted tones (blacks, grays, browns, and dark greens or blues)—but they can also look great in white, especially if you’re thinking of throwing a graphic or two on top (flames, band logos, etc.).
#4: Holographic Paint
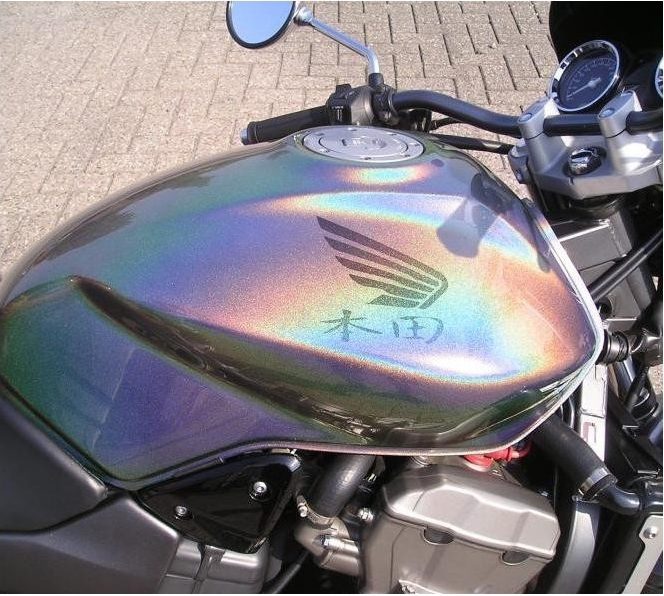
Via Stardust Colors
This is an extremely cool way to paint any motorcycle in existence. You’ll typically purchase a holographic finish, which reflects a spectrum of different colors on top of the original paint. Many motorcyclists choose to use holographic finishes on darker paint jobs, since it creates an intense and dramatic effect. But there’s no reason you can’t throw all the colors of the rainbow on top of a brightly coloured bike as well!
#3: Chameleon
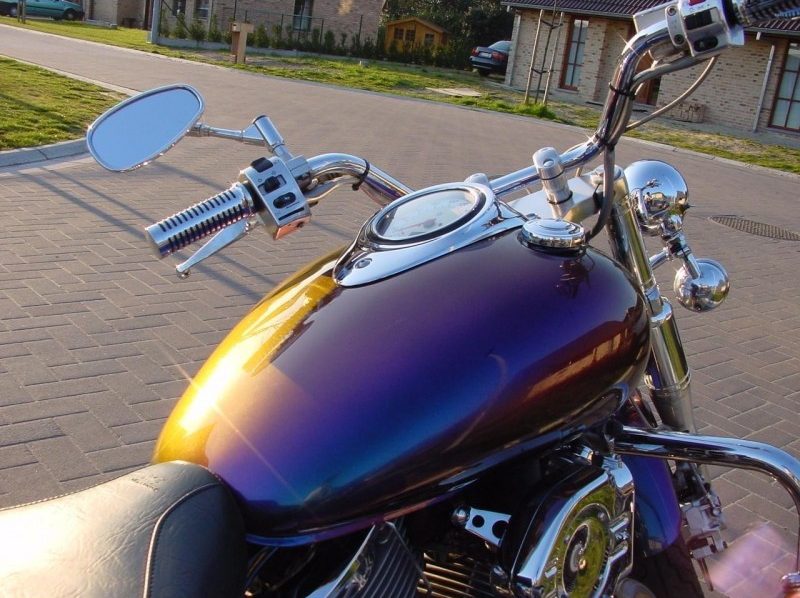
Via Stardust Colors
Chameleon paint kits produce a color-shifting effect when looking at a bike from different angles, and produce a gorgeous iridescent finish. It might look tricky, but don’t worry—many chameleon paint kits are actually easy to apply, as long as you go carefully and follow all the instructions that come with your product.
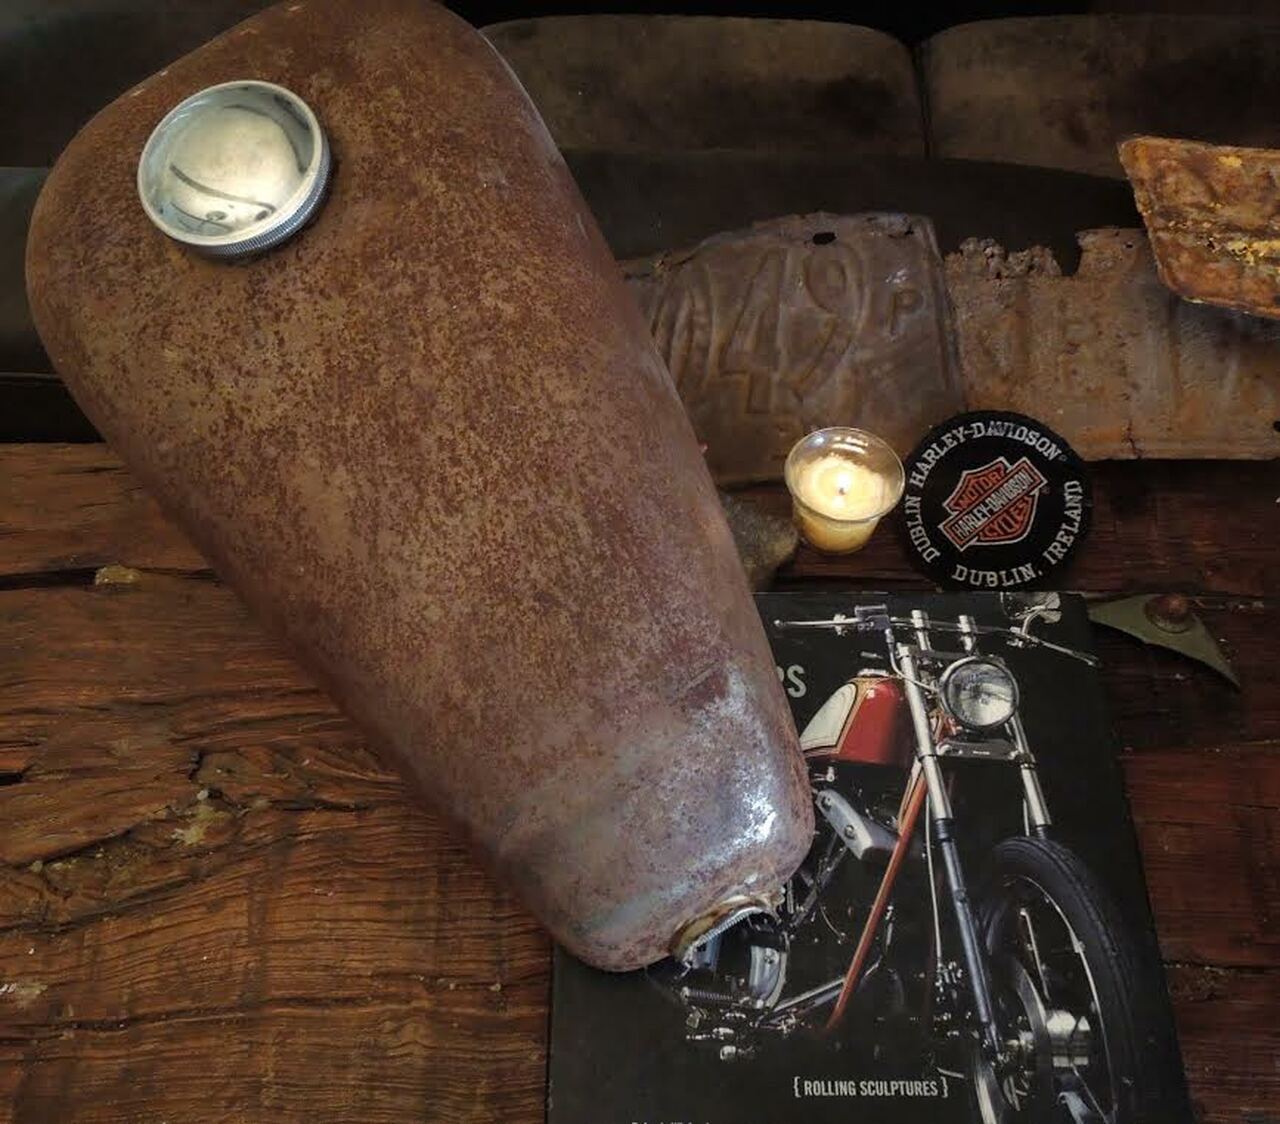
#2: Rust
Via Iron Crow Rockin’ Vintage
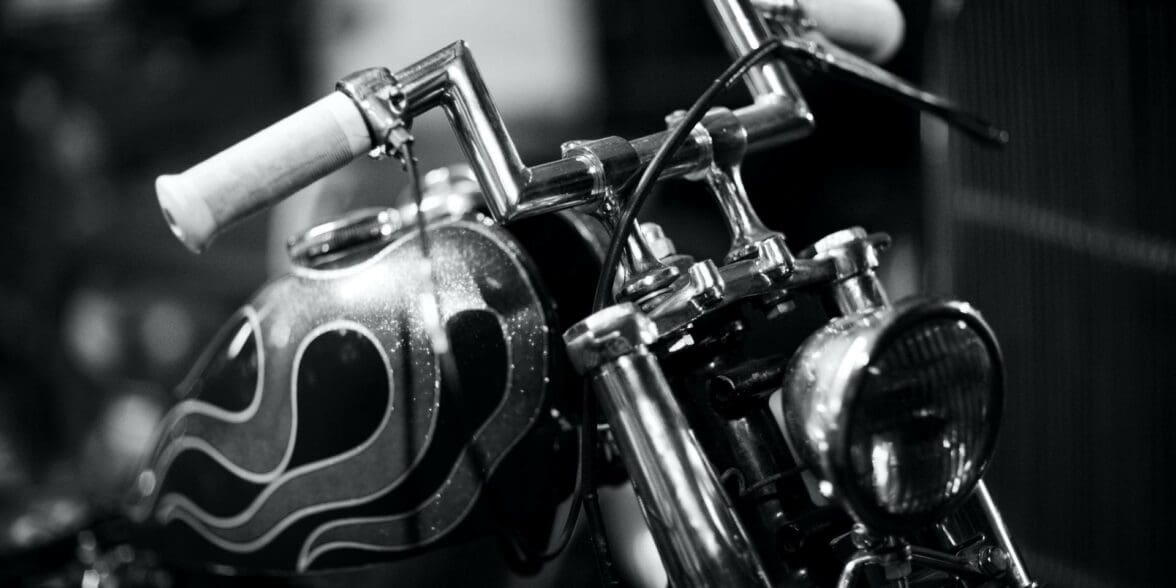
“Hang on”, you’re probably saying to yourself—“isn’t rust a bad thing?” You’re right, of course; nobody wants actual rust on their fuel tank. But if you’re looking for a way to make your bike look rugged and rough around the edges without actually damaging it’s metal parts, applying a rust patina effect with paint is an awesome way to do it.
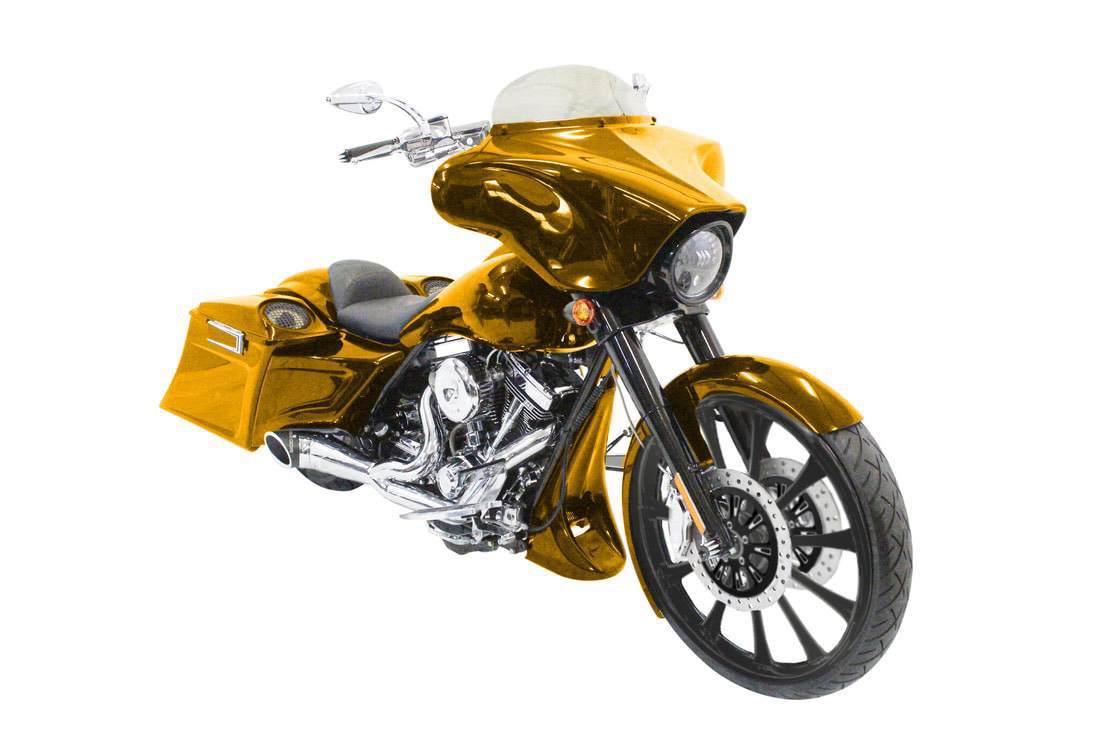
#1: Metallic and Candy Paint
Via Havoc Motorcycles.
This is actually another finish idea, rather than an entire coat. Adding a few layers of metallic finish to your existing coat of motorcycle paint is a fantastic way to make it look shinier and more saturated, which will provide a richer look.
Metallic paint also goes great with candy paint—which is essentially a clear coat made translucent by adding a slight tint. Applying metallic paint underneath a coat of candy paint causes light to reflect back through the translucent layer, adding instant depth to your paint job.
How to Get Started
Slow down, speed racer! Before you start slopping paint all over your beautiful bike, you’ll need to make sure you have a few key items. You’ll also need to ensure you know how to put the paint on. After all, a truly horrendous paint job can attract plenty of attention too—and not the kind you want.
What You’ll Need
Here’s a quick list of things you’ll need to acquire before you start painting your bike:
- At least two paint guns (one for the primer and another for the base coat and clear coats, if necessary)
- An air compressor
- An air hose
- An air regulator (including a water trap)
- Filler
- Sandpaper (80, 120, 400, 600, and 1500 grit)
- A sanding block
- A sandblaster (optional)
- Stencils for any graphics or patterns you want to include
- Finishing putty
- A variable-speed polisher with a buffing pad
- Polishing compound
And of course, you’ll need the actual paint. Just make sure you purchase a dedicated motorcycle paint kit for your hawg—these products are acrylic aerosol paints formulated specifically to resist the elements and last for long periods of time without cracking, peeling, or flaking.
How to Apply the Paint
Now that you’ve got everything together, it’s time to begin the process of actually putting paint on your bike. Here’s how you prepare the bike for painting:
- Pressure test your oil and fuel tanks before starting to ensure no fluids are leaking
- Sandblast the painted portions of your bike to remove old paint (or use 400 grit sandpaper to remove the paint by hand)
- Use a degreaser (non oil-based!) to wipe down the sanded areas
- Apply filler to the bike’s low spots and use 80 grit sandpaper to smooth it over afterward
Next, you can start putting on the primer. Follow these steps:
- Apply two coats of primer and wait for them to dry
- Very lightly spray the dry primer with a spray bomb of black paint to reveal defects in the filler coat
- Use your finishing putty on any defects the spray bomb reveals
- Sand the putty with a sanding block wrapped in 80 grit sandpaper (then follow up with 120 grit and 400 grit)
- Put on the final coat of primer and texturize the surface slightly with 400 grit sandpaper (which will help the base coat adhere more effectively)
- You can also put on a layer of epoxy sealer (this will help prevent bubbles from appearing in your base coat)
Finally, it’s time to add on the base coat and clear coat. Consult the instructions provided by the manufacturer of your specific paint product to ensure you are using the correct number of coats and allowing appropriate time for them to dry. Then:
- Apply the coloured layer first
- Apply your first layer of clear coat
- Wet sand the first layer of clear coat to make it smooth with 600 grit sandpaper
- If your paint job includes a graphic (like the Slayer logo), make sure that goes on after the first clear coat
- Add the next clear coat and repeat the sanding process
- Use 1500 grit sandpaper after the last clear coat to make it extra smooth
Finally, buff out your bike using your polisher and polishing compound. That’s it—you’ve successfully completed a kickass paint job on your motorcycle.


